
![]()
Mega Bloks UNSC Pelican Gunship: Set #97129
Technical Specifications:
Build Time: 1 hour of sorting, 4 hours 15 minutes to build. Total 5 hours 15 minutes.
Set Piece Count: 1161
Minifigs: Spartan Pathfinder (Spec Ops color – Spartan Grant though not named as such); Spartan Operator (Spec Ops color – Spartan Hoya though not named as such); Spartan Scout (Silver color – Sarah Palmer though not named as such); Electronic Promthean Knight Battlewagon
Weapons: Shotgun, 2 magnums, 2 SOCOM magnums, DMR, 4 frag grenades
Accessories: N/A
Price: $68-110 depending on where you buy it from.
Special Features: Front and back cockpit window hatches pivot up/down; VTOL (4) thrusters rotate; wings rotate; top access hatch open/closes; gun mounts rotate; rear landing gear pivots down; main engines rotate; rear hatch opens/closes; side weapon access door flips up/down; vehicle attach post pivots down/up
And on with the pics! (Click pics to make BIGGER) (Video Review at end of article)
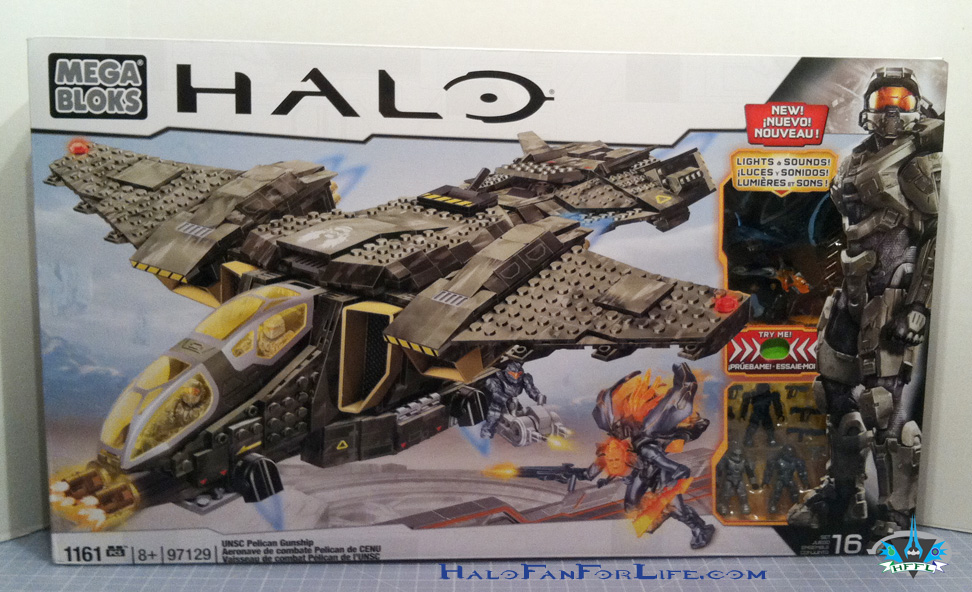 The front of the box. AS you can see to the right, you can press the button to test out the lights and sounds. VERY cool!
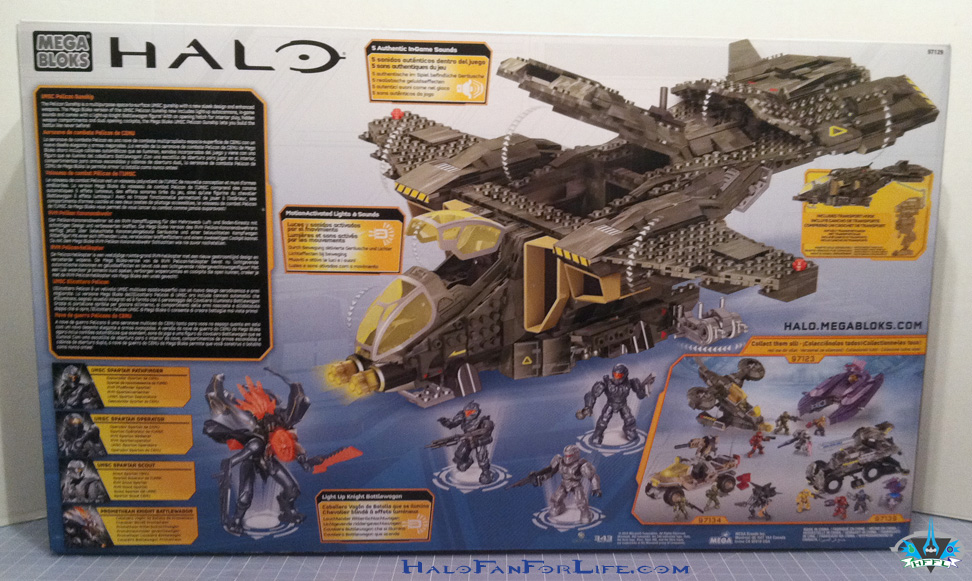 The back of the box shows off the features nicely as well as the minifigs and other sets.
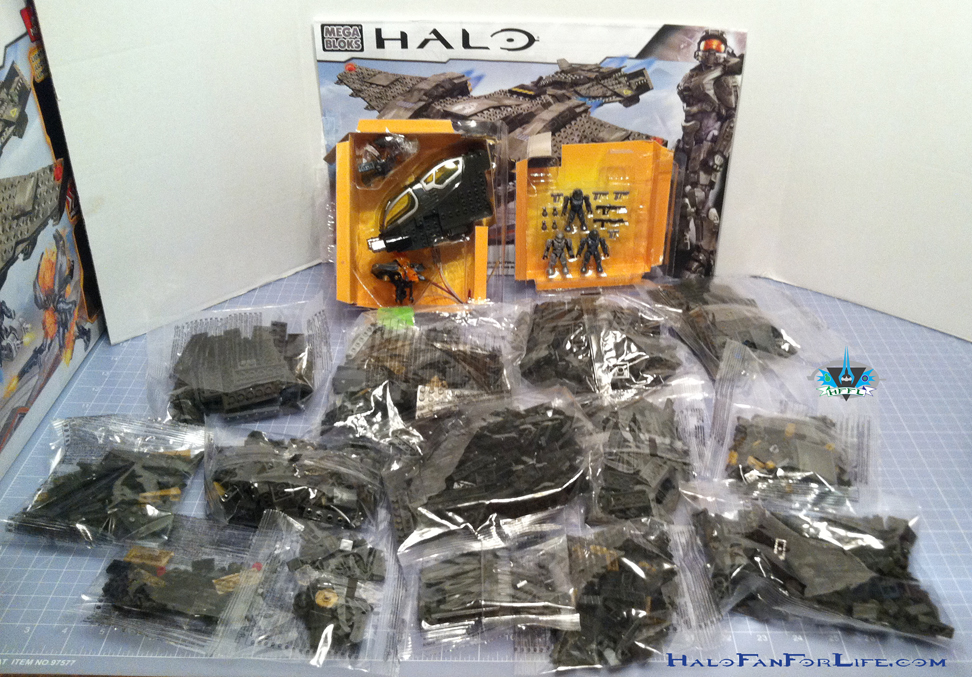 Here is what you get inside. Plenty of bags to sort!
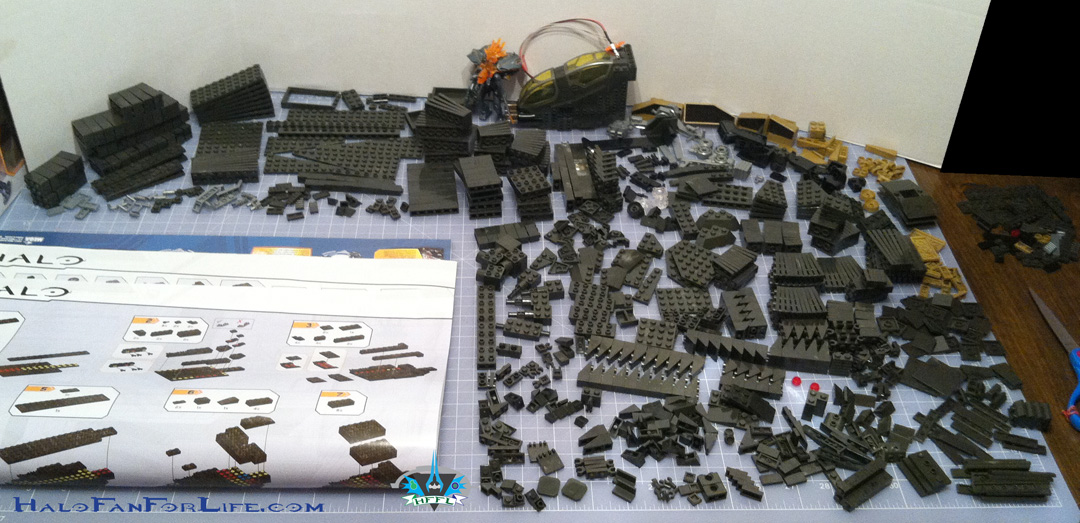 After roughly an hour, I got the pieces all sorted out. Only one part was missing and one a little deformed. I called up Mega Bloks customer service and they are replacing them. I should receive them shortly.
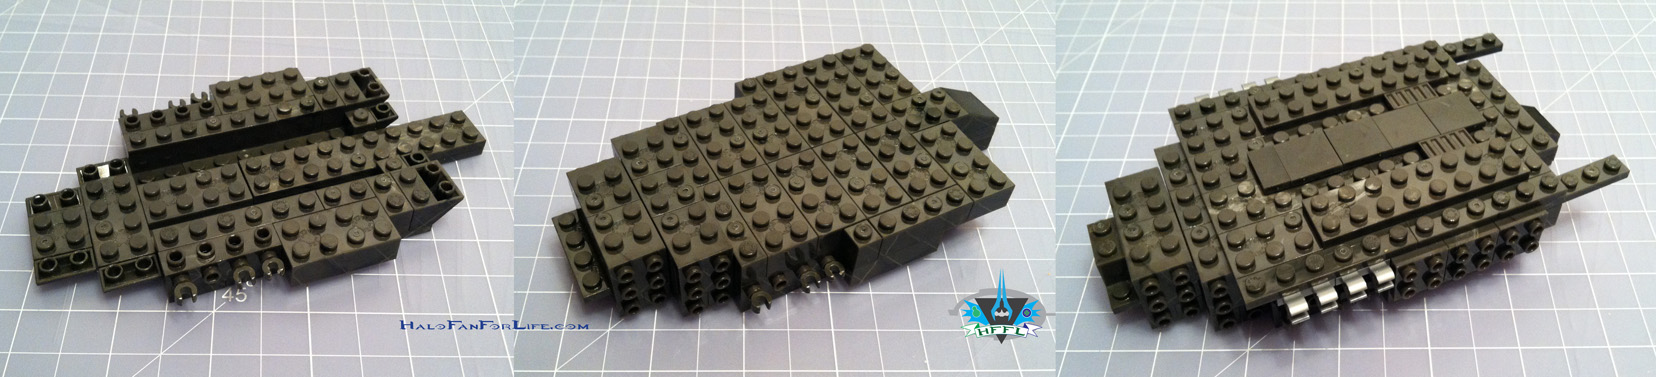 And so the build begins. Here we see the first few steps of the body being assembled.
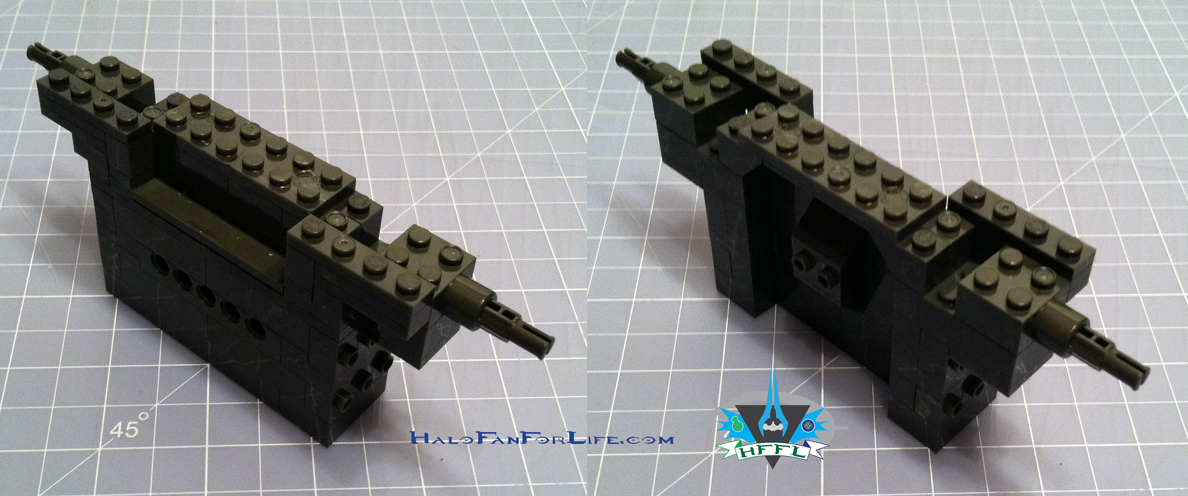 The structure seen from both sides is a transitional piece that connects the cockpit with the body.
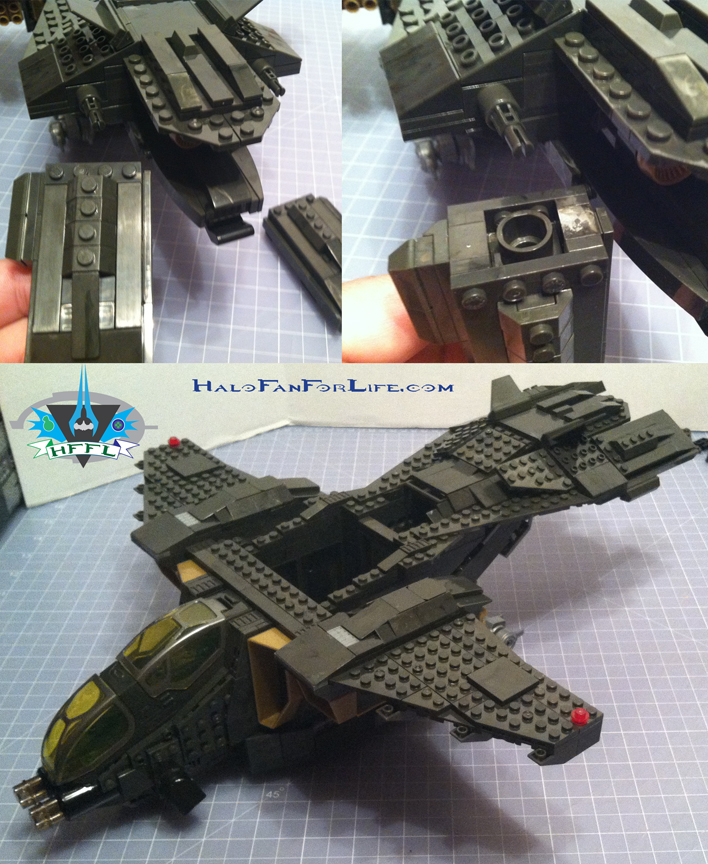
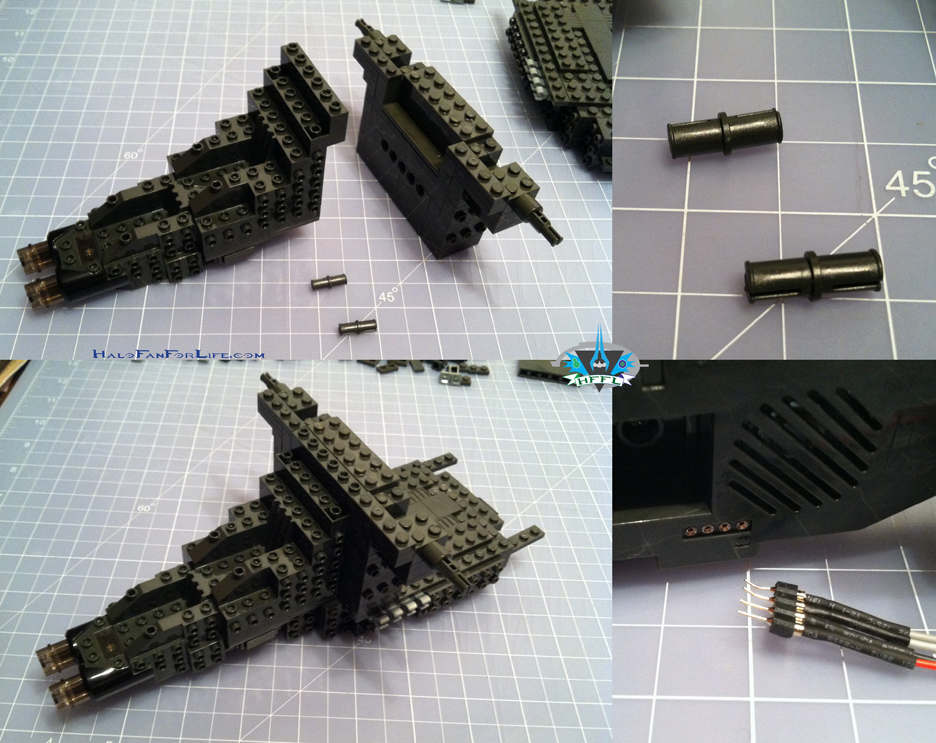 Here is the attachment of part of the cockpit, transitional piece and body. Note the pins are green. Hard to tell from the instructions. Also, shown bottom right is where the temporary electronic connection is for customer testing through the green button on the front of the box.
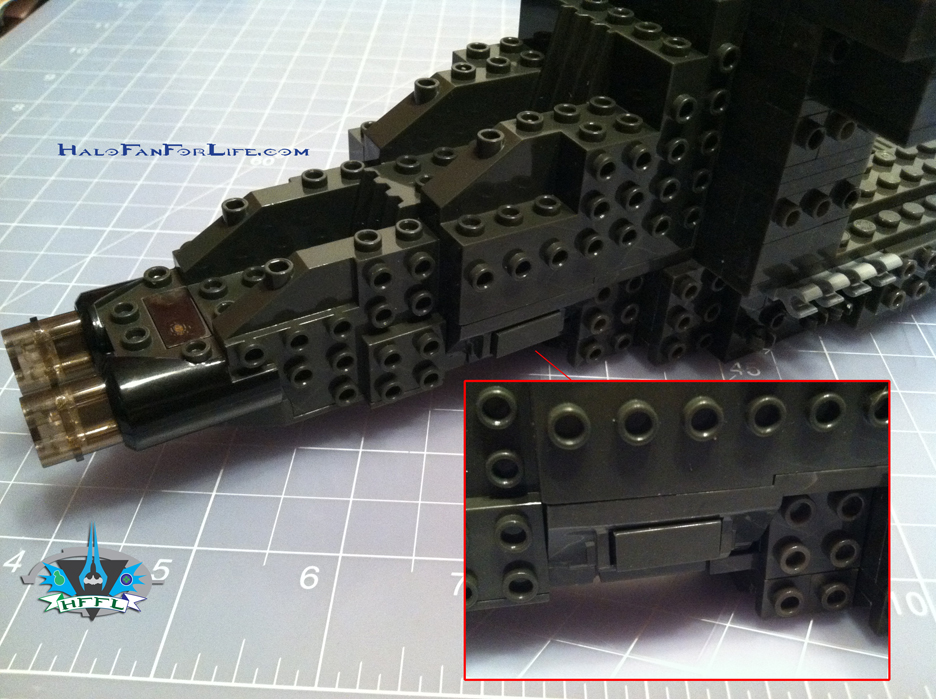 Highlighted in red is the button on the cockpit that you can depress to make the set make various sounds and show lights.
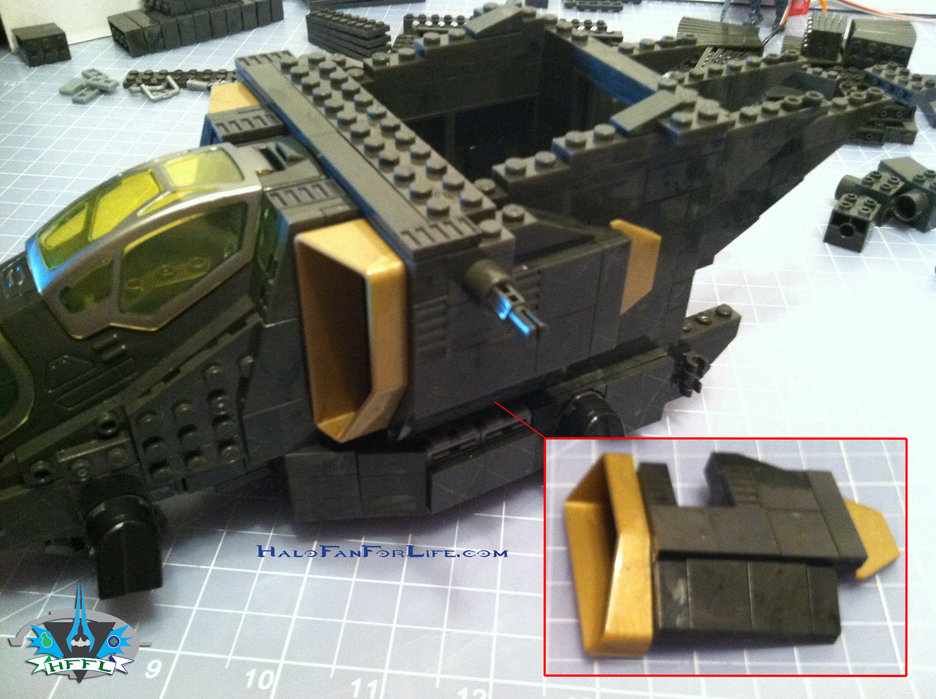
The side exhaust is attached to the body. The gold color really sets this portion apart.
 These are the two rear landing gear assemblies ready to be attached to the Pelican.
 This is where the pin of the landing gear is inserted.
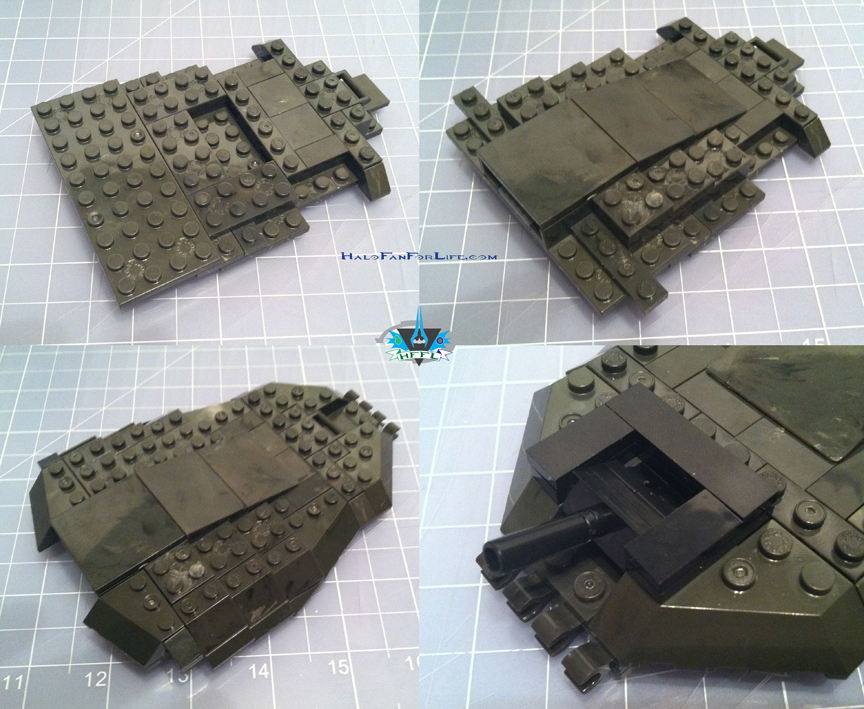
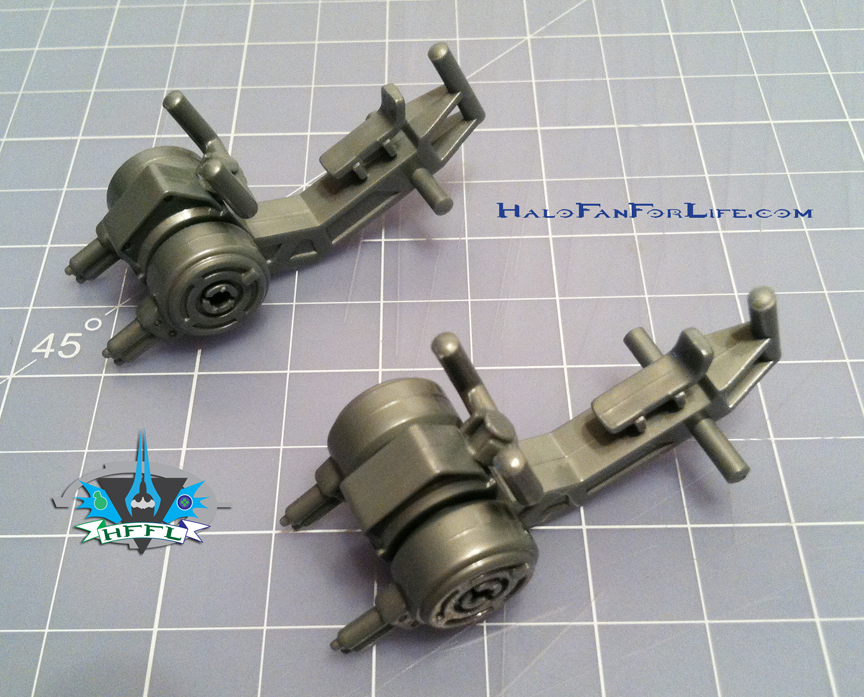 The side gun mounts are cool. Might I suggest you insert the small pins in the round parts first before adding them to the main mount. I had a heck of a time trying to put the pins in first.
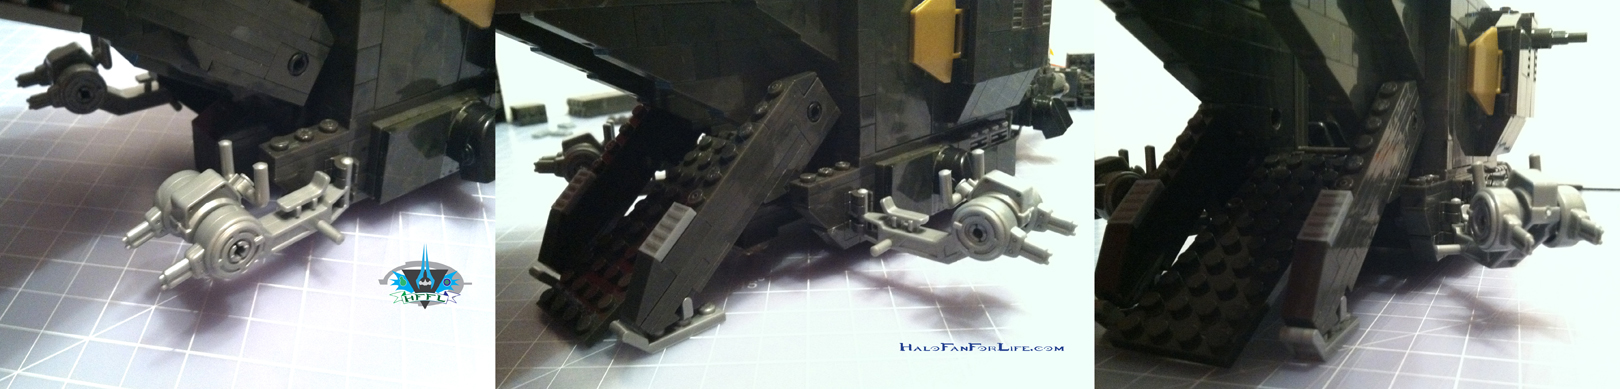 This series of pics shows the gun mount able to be rotated. Nice feature!
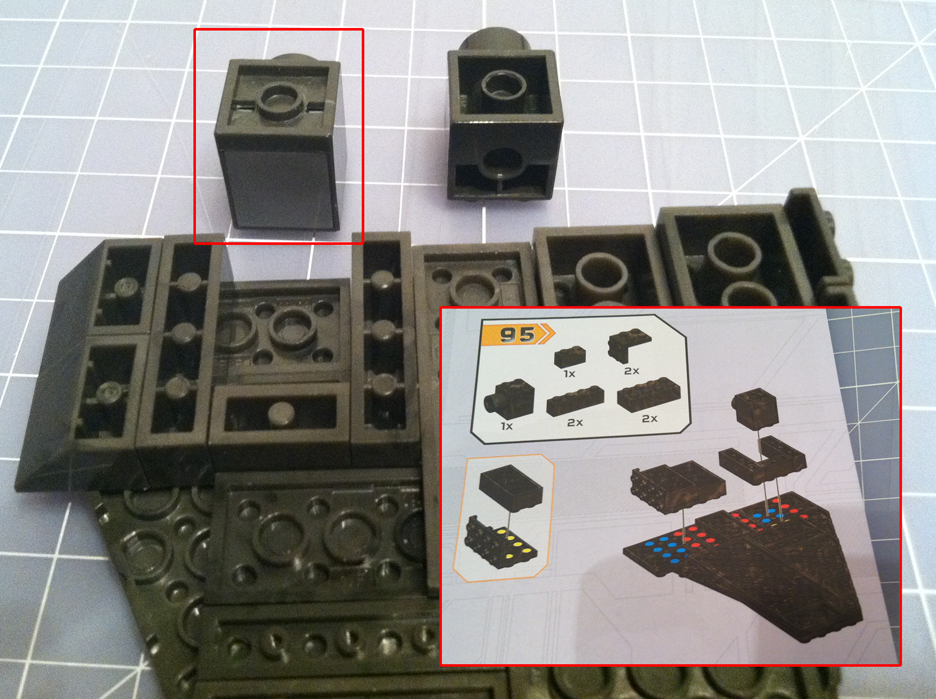 Ah, step 95…this is where I made a mistake. I put on the other part instead. After building the whole wing, I realized it was wrong and had to take it apart somewhat, add the correct piece and rebuild. This is were lighter color for the green would have served we builders better. Tough to tell the difference between those parts.
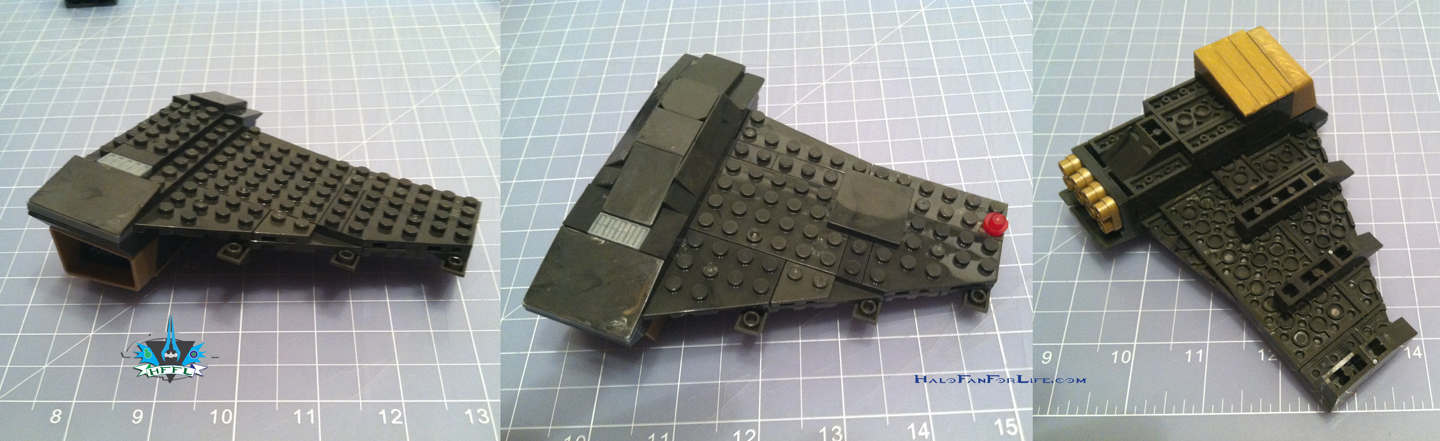 The wing assembly is fixed and ready to be attached to the body!

This step really makes the Pelican come alive that much more. At this point, it’s looking like a Pelican. You’re about 2/3 of the way through building it here.
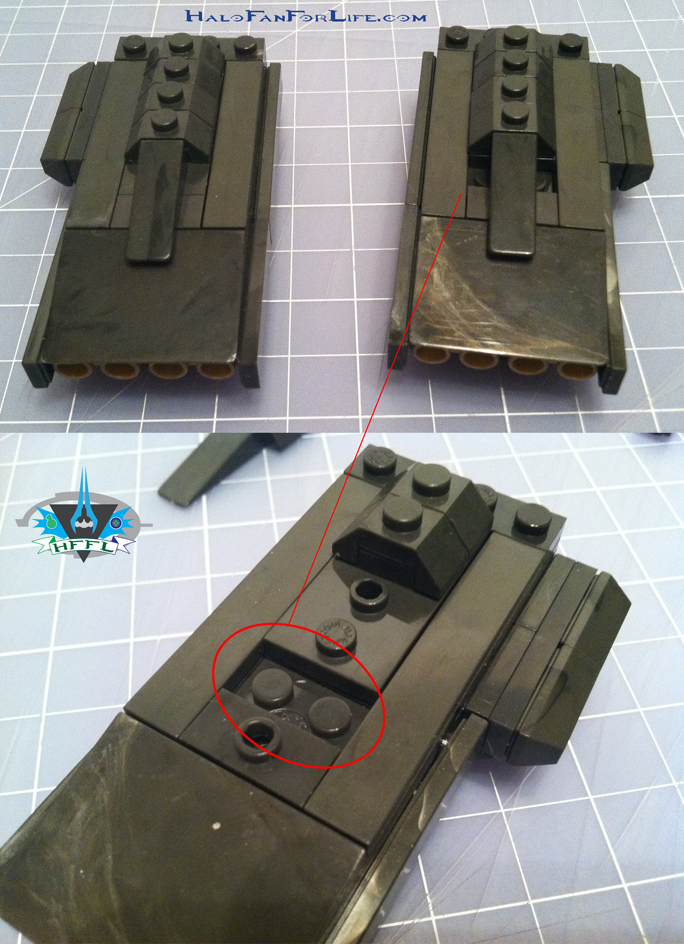
Building the rear engines, I found that I was missing a part. I went ahead with the build, knowing the piece was missing. Thankfully it’s not crucial for stability. I did call customer service and they are sending out the part.
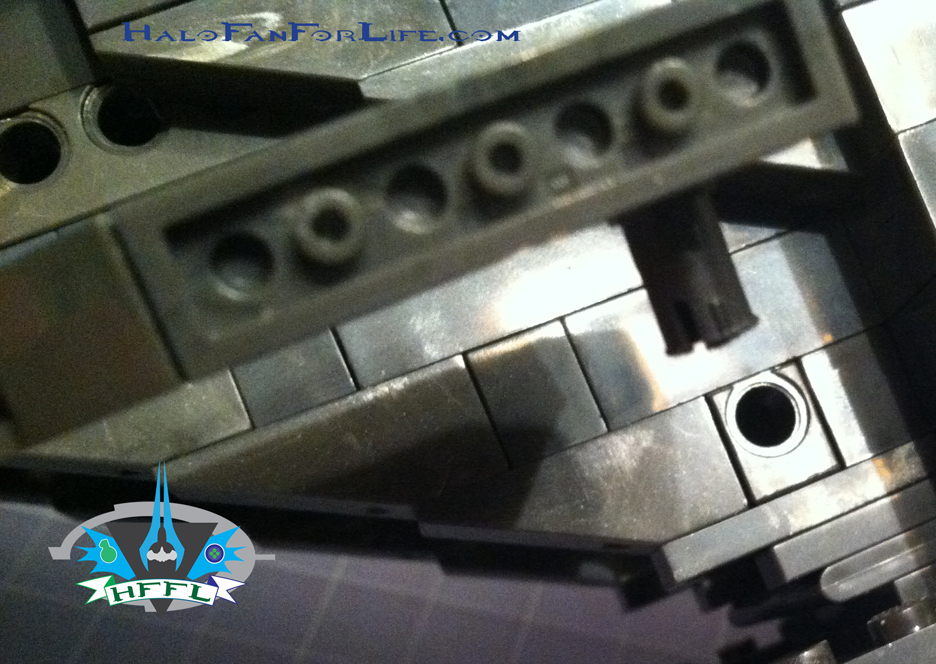
Here is were the pin meets the hole for the engines to be attached to the ship.
 The top hatch in steps of being completed.
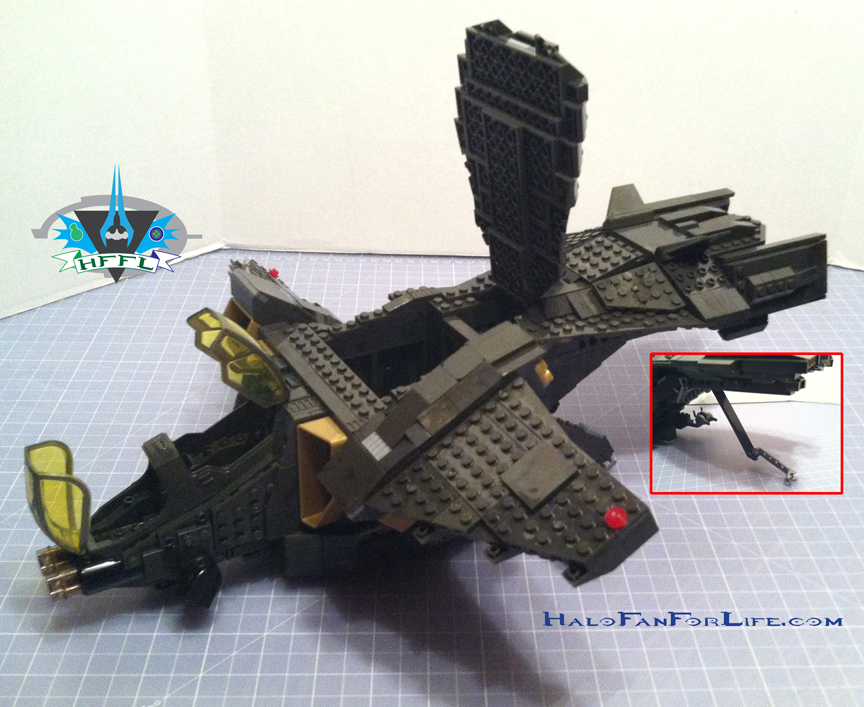 This pic really shows the cool moveable features of the Pelican. LOTS of play value here!
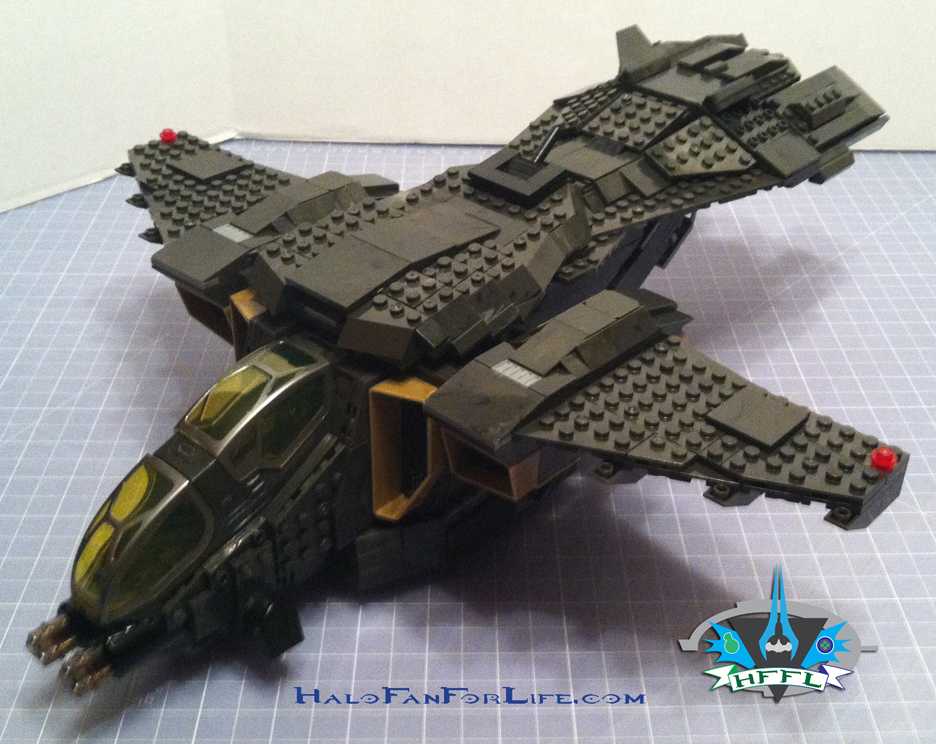 The set completed sans stickers. (Most of you know I don’t like putting stickers on my sets. I worry about them peeling off or scuffing and looking horrible later on.)
 Orthogonal views of the Pelican. It’s 17 inches front to back, 15 inches width and 7 inches tall. It’s quite impressive in person!
Now on to the minifigs, accessories and leftover pieces!
 The Promethean Knight Battlewagon is VERY cool. As you can see by the last pic, it’s electronic too! The watcher that comes with this is static, meaing it’s wings and limbs do not move. It’s actually the battery casing for this minifig. The only small issue I have is that this didn’t come with a regular head besides the one with the armor opening to expose it’s skull. Still, that last shot really shows off the FUN of this feature!
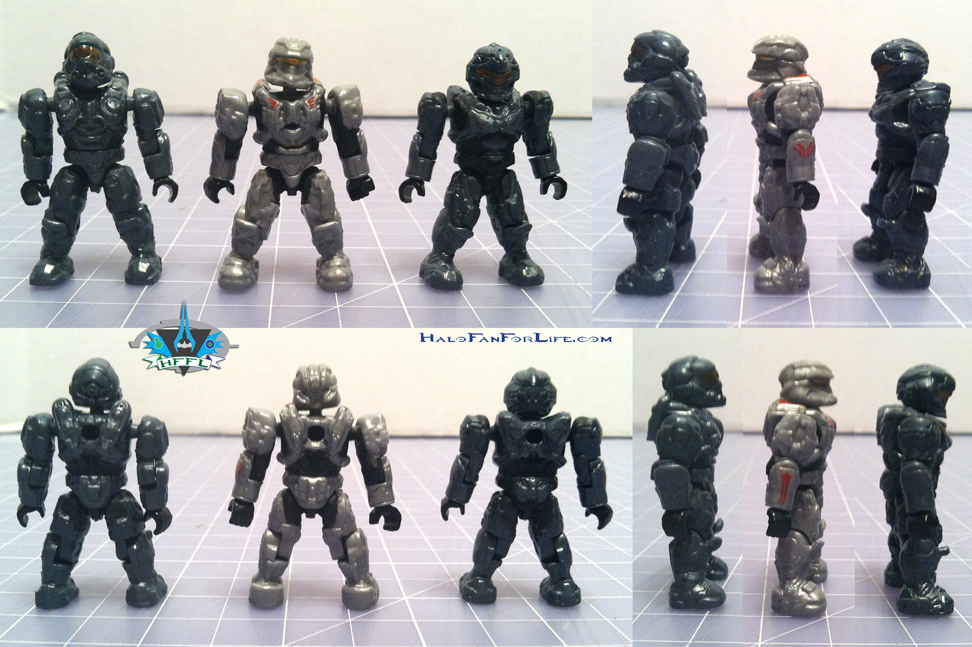 Beyond the knight you get three spartans. From left to right, Spartan’s Hoya, Palmer, and Grant. Though none are named directly, one of the Mega Bloks personnel let that slip during a video from this year’s New York Toy Fair. I’m VERY happy to have there. Palmer’s visor isn’t the right color. That is SO minor though and I plan on fixing that with a repaint of the visor on mine.
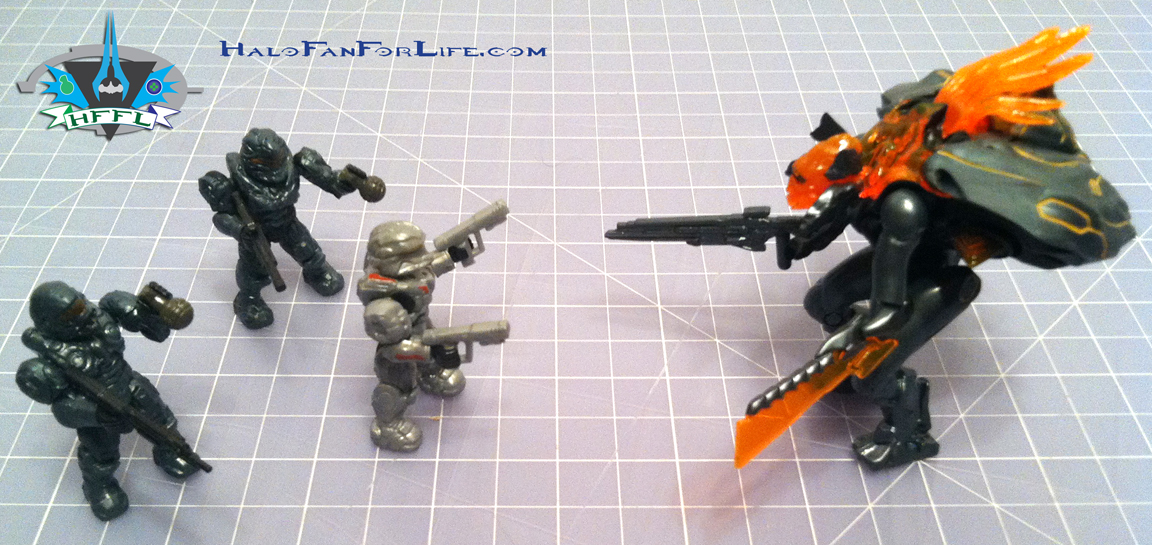 Minifig battle! Who’s going to win? I’m placing my bet on the Spartans!!!
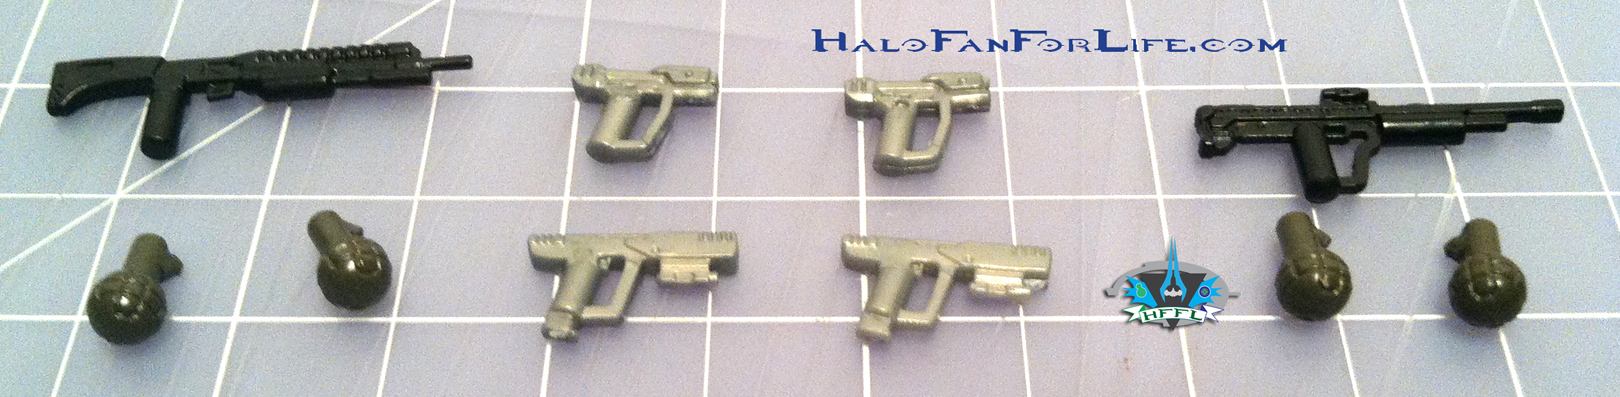 Speaking of, here are the weapons close up that you get with this set. Not to mention the Binary Rifle and Sword form the Knight are removable!
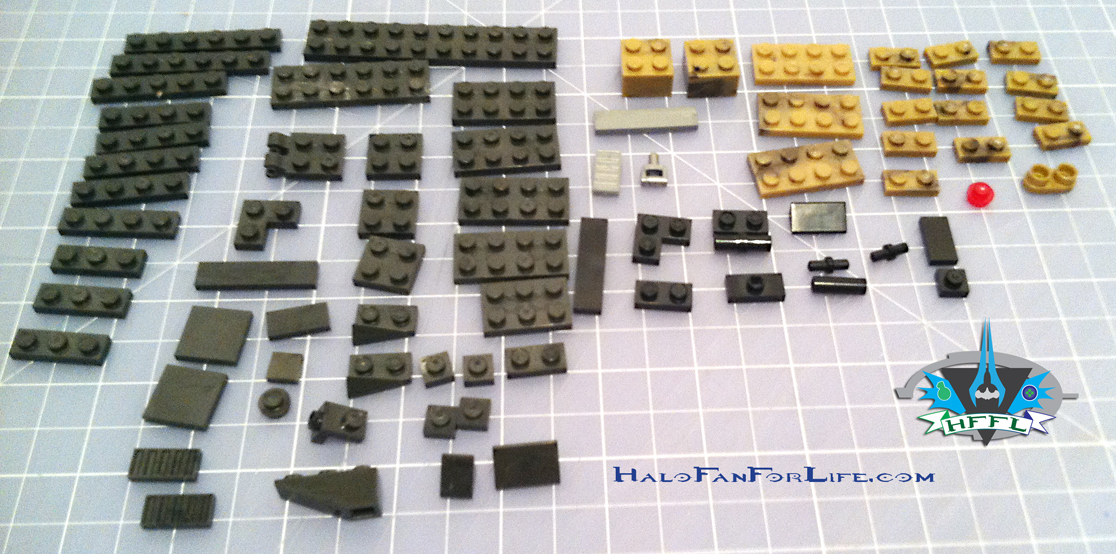 As always, Mega gives us left over pieces. This set has a LOT of them. The tan camo ones were used during the build as stability pieces. I’m happy that Mega made them in this color as they can be used as terrain pieces to go with your tan baseplates if you so choose. I chose a different path for them though…
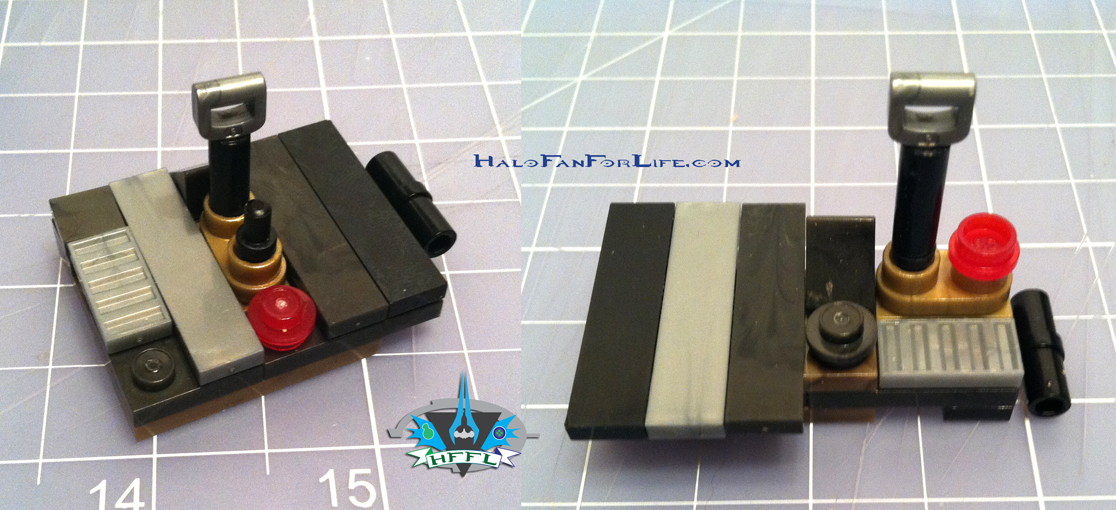 Two variations of some sort of battlefield kit.
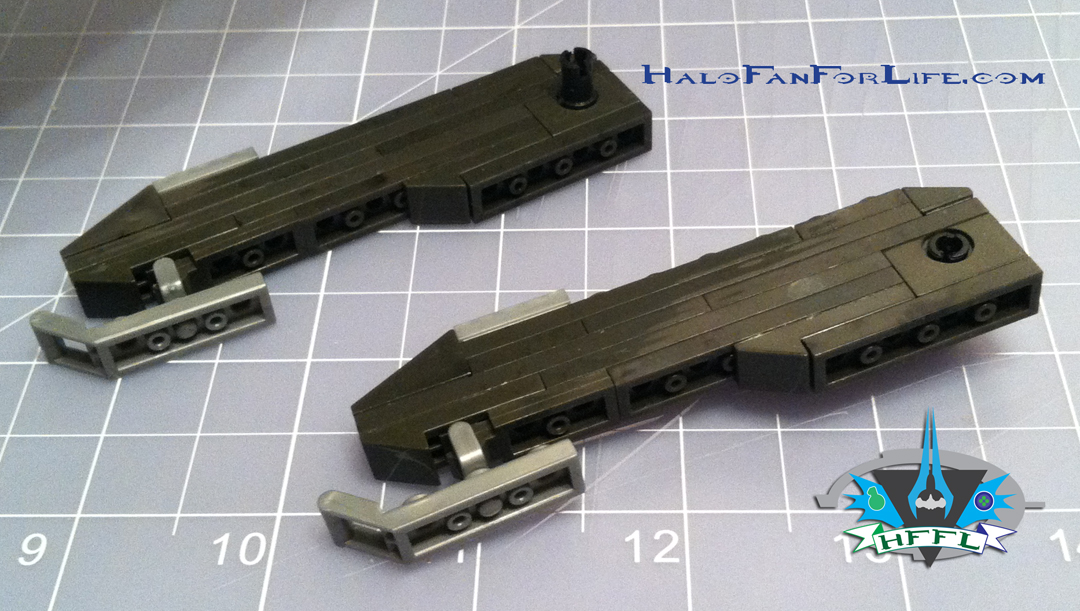
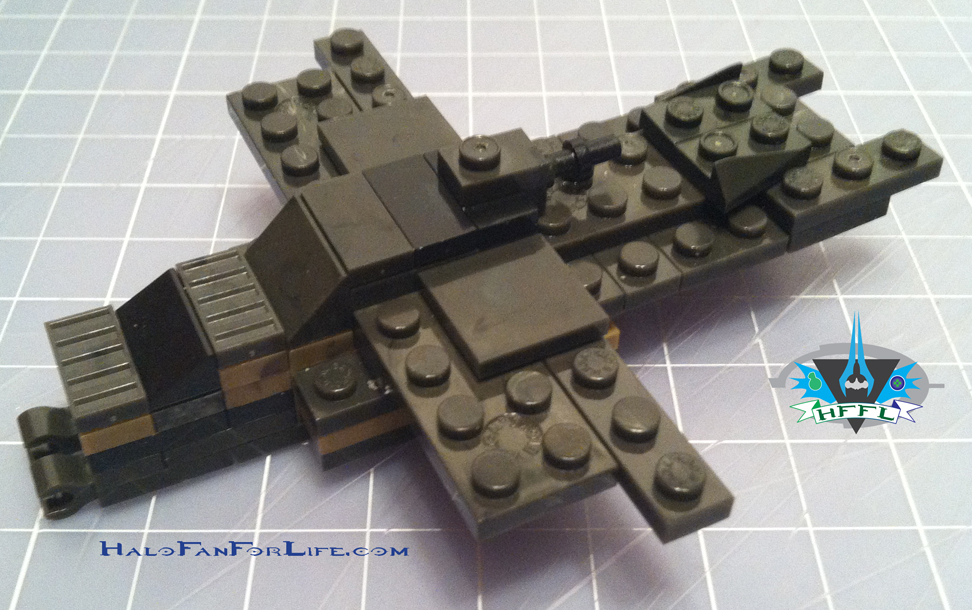 This is what I REALLY think is cool that I was able to make from the left over parts. A MINI-Pelican! Okay, not quite accurate, but it’s clearly recognizable! I love it when I can make a mini version of the set from left over pieces!
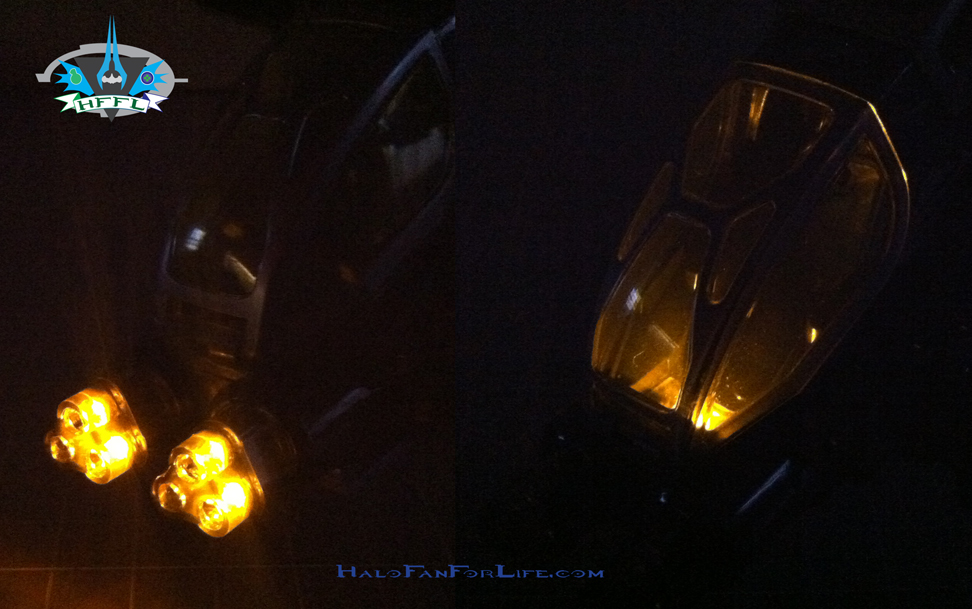 Here are the lights of the guns and cockpit in the dark. Extremely cool!!!
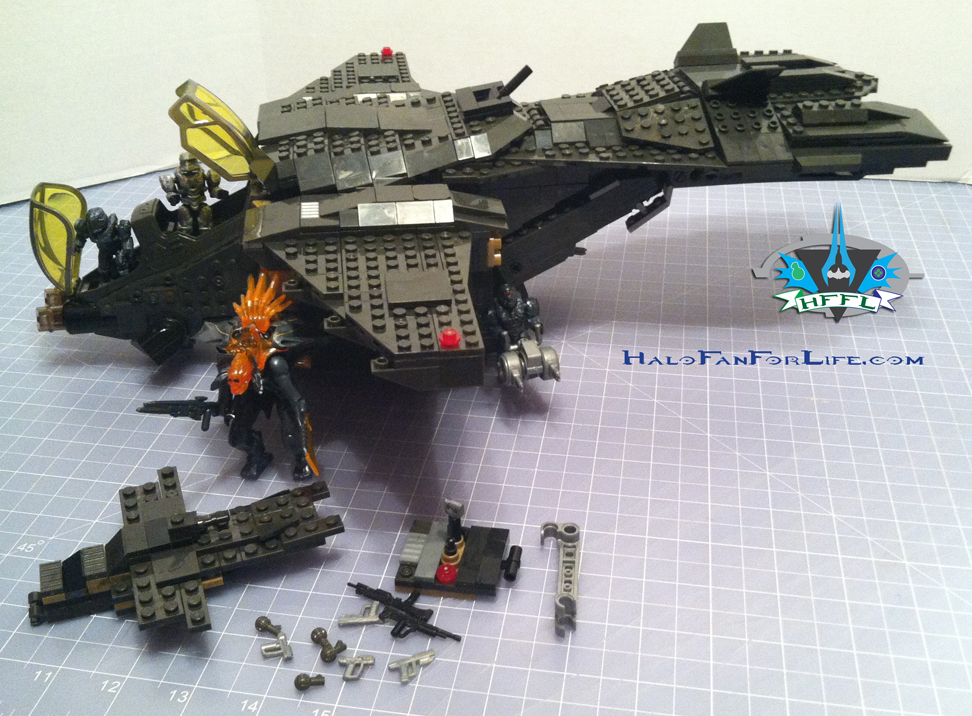 Last but not least the whole set with minifigs in place, the leftovers being show and the weapons scattered about.
Summary: The build time is not particularly fast. The sort time alone made me wait until the next day to start building it. Then, I built at a casual pace working over three days to finish this in steps. Still, if you’re adventurous you CAN build this in one sitting.
There are a few small issues I have with the build. For one the instructions needed to be lighter in color.
• It became hard at some points to tell the difference between dark green and black parts.
• The rear vehicle post I feel should have been shorter, but I’ll take it. Better than NOT having it.
• Step 95 as you saw above made me misstep and I had to rebuild the wing. Again, it was the color of the instructions that made this happen for me as I couldn’t tell the difference between the parts shown.
• The top hatch does leave a gap between it and where the cockpit meets the body. This is not too bad though. Just something I’d have tried to cover up a little better.
• The main compartment in the back, like the pelican’s predecessor is still way to thin. I know this was done to use less pieces and keep the set affordable. Still, I’d have preferred a wider body.
• Actually, for that matter, the cockpit could have been wider too. Those both though are something that becomes necessary to do to keep a set affordable.
• The rear engines no longer pivot up and down, instead only right to left somewhat. Using the joint system from the mantis would have potentially solved this.
Upgrades I enjoyed from the previous version are:
• Lights and Sound! Really, these are cool!
• Nice DARK green color. VERY military!
• Plenty of moving parts!
• Side gun mounts are fantastic! Yes, this was an upgrade by 343 and Mega Bloks interpreted it nicely into the build.
Overall Rating: I give this set 9 out for 10 medals. Even with the few issues I had, I still find this to be an INCREDIBLE set. VERY much worthy of the Halo Mega Bloks line!
I HIGHLY recommend getting it. That said, I got mine from Wal*Mart for $68 online as opposed to say Toys R Us for $110 in the store. So shop around a bit before you buy and save some money!
Video review to come tomorrow!
Thanks for reading and let me know what you think of the review. If you have this set yourself, please give me your thoughts on it too!
-Sal
Pingback: Halo Toy Review: Mega Bloks Rapid Attack Ghost | HaloFanForLife