
Hello friends.
On Tuesday this past week, I was surprised and awed when this set was delivered to me. I wasn’t expecting and and found out that it came from a family member (not my wife this time). I’ve been asked to not divulge whom it is (though a few of you do know).
Anyway, this is first part of a FOUR part review of the Mammoth. Like the Mega Bloks Foward Unto Dawn set, it’s HUGE. So to try and get the review done in one article would being a disservice to the set.
Starting today and for the next three days thereafter, I’ll post up the following part to this review. Specs for the set will be in the fourth part.
So let’s begin with Part 1: Packaging and Sorting. (Click on each pic bigger)
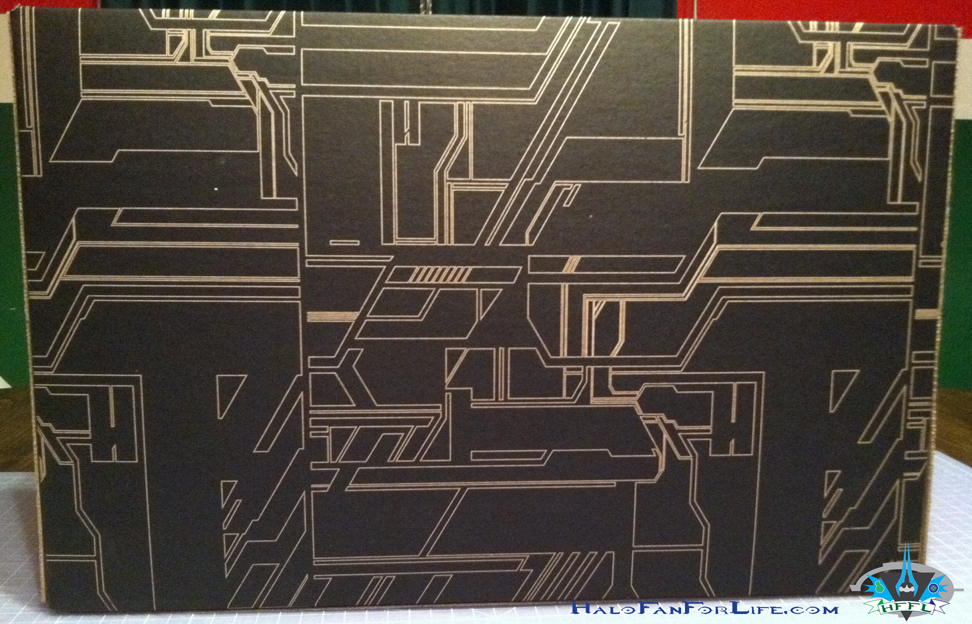
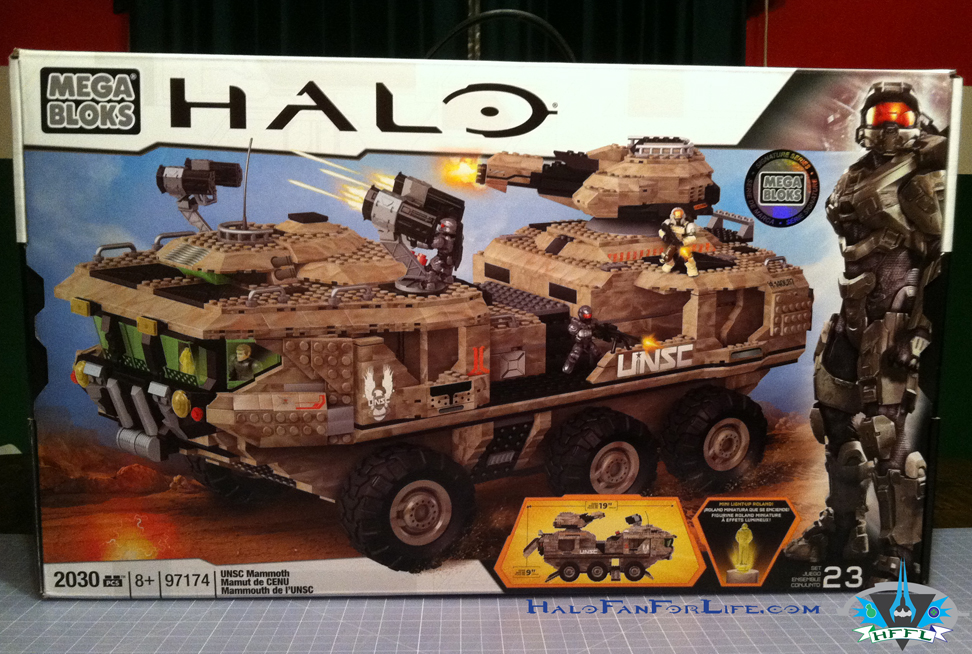 Here’s the box front. Folks, this box is HUGE and has a handle on the top to prove it. With more than 2,000 pieces it really is a “mammoth” set. The front of the box highlights the ramps and doors that open, as well as a Micro Roland that is included in the set.
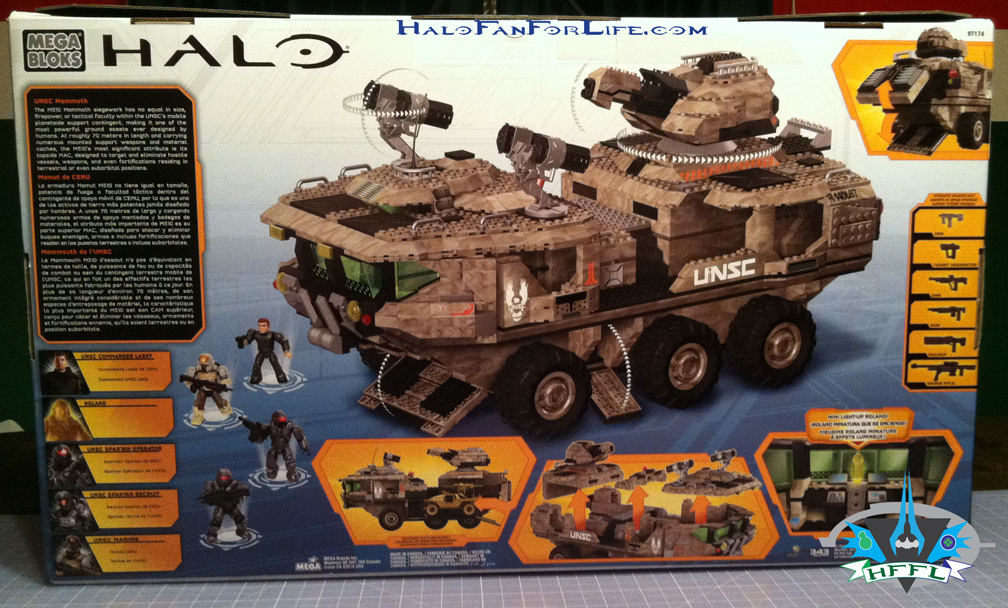
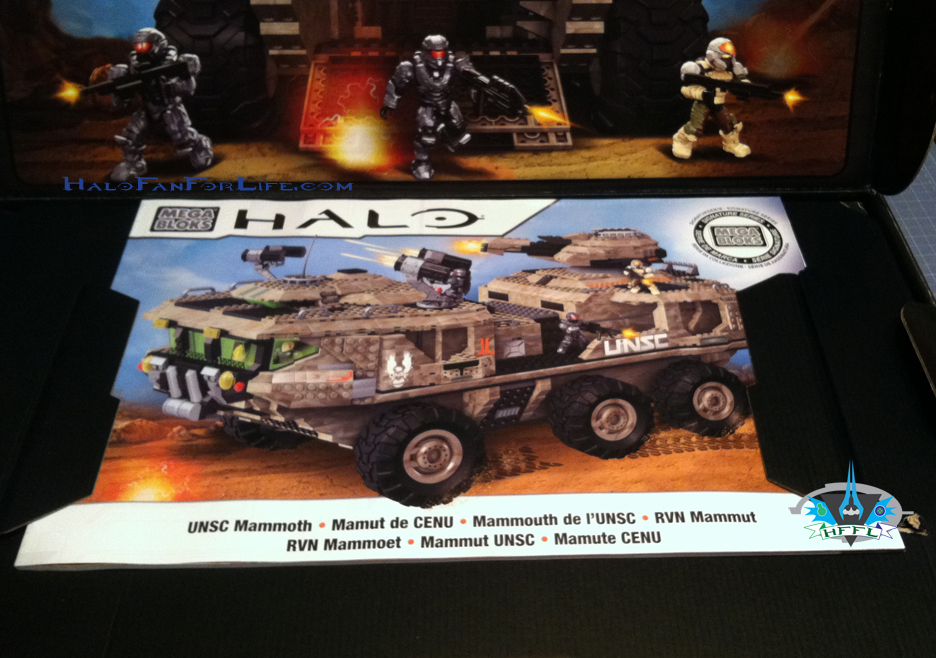
The back of the box gives us plenty of details. The main focus being the Mammoth itself, showing again some of the ramps as well as the rotating rocket launchers and Mini-Mac canon on top.
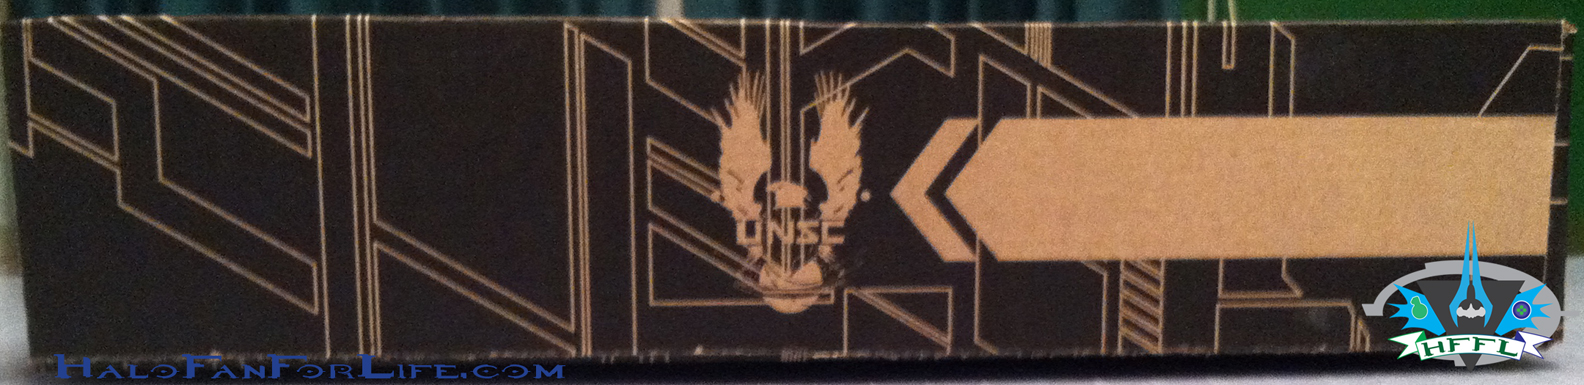
The side of the box.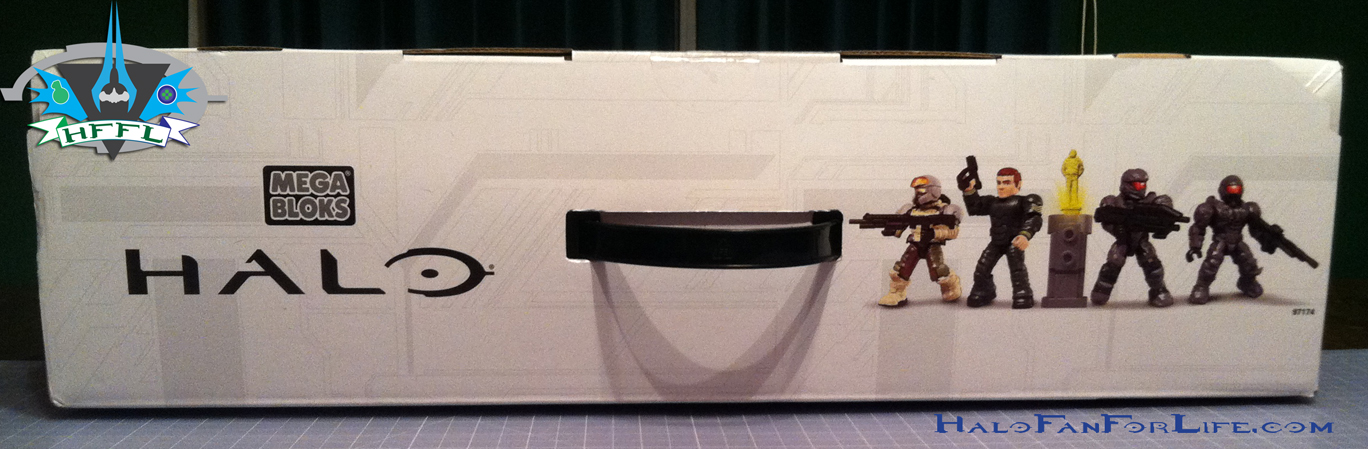 The top of the box. As stated, it has a handle to carry it.
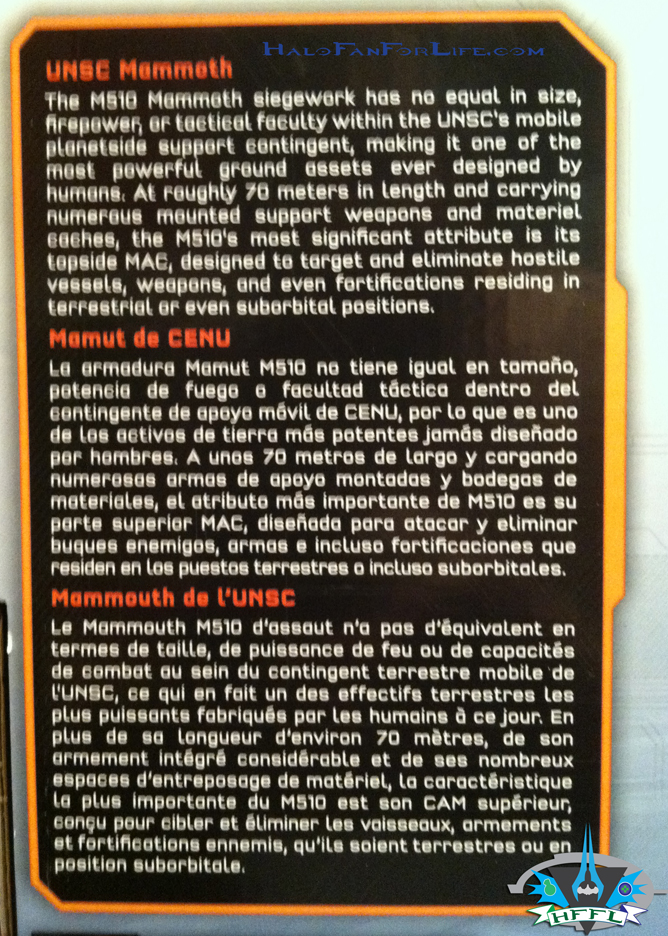
Part of the details that describes the vehicle in-game. (Apologies for the fuzzy pic)
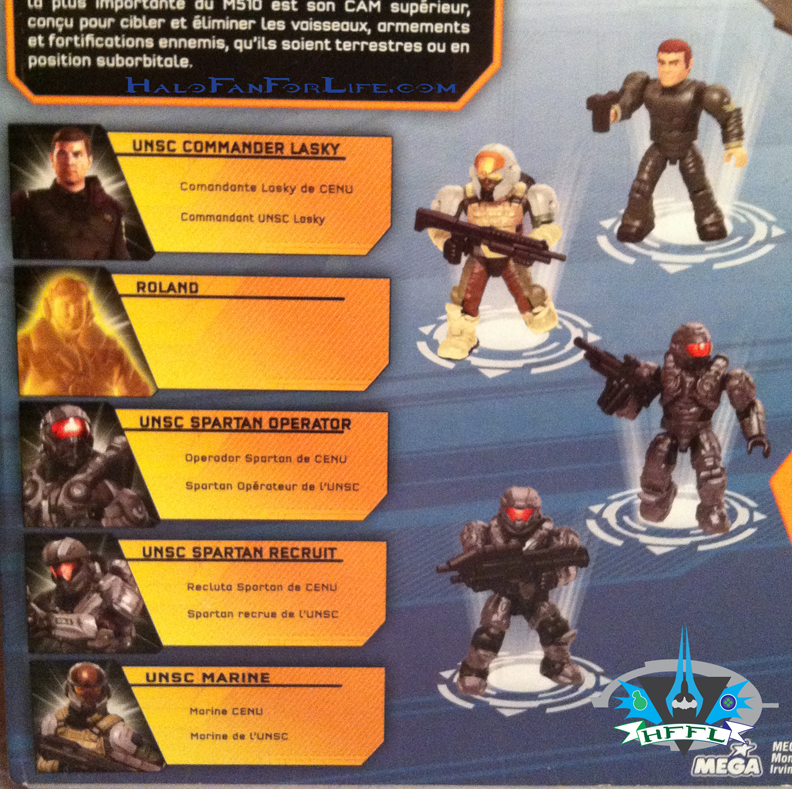 Just below that the minifigs are shown. For the first time a UNSC Officer is named and it’s Lasky. As shown there is also a UNSC Marine, this time with brown skin. Two spartans are included. One in Recruit armor, the other in Operator armor. I’ll have more to talk about the minifigs in the fourth part of this review.
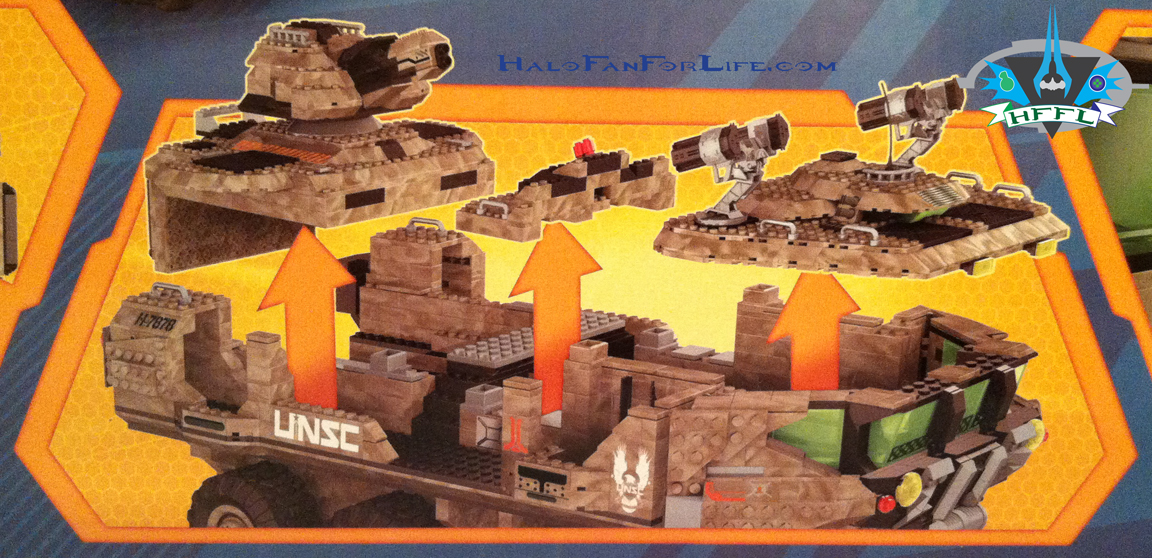 The above pic shows nicely how the top sections come off to allow access to the interior of the Mammoth.
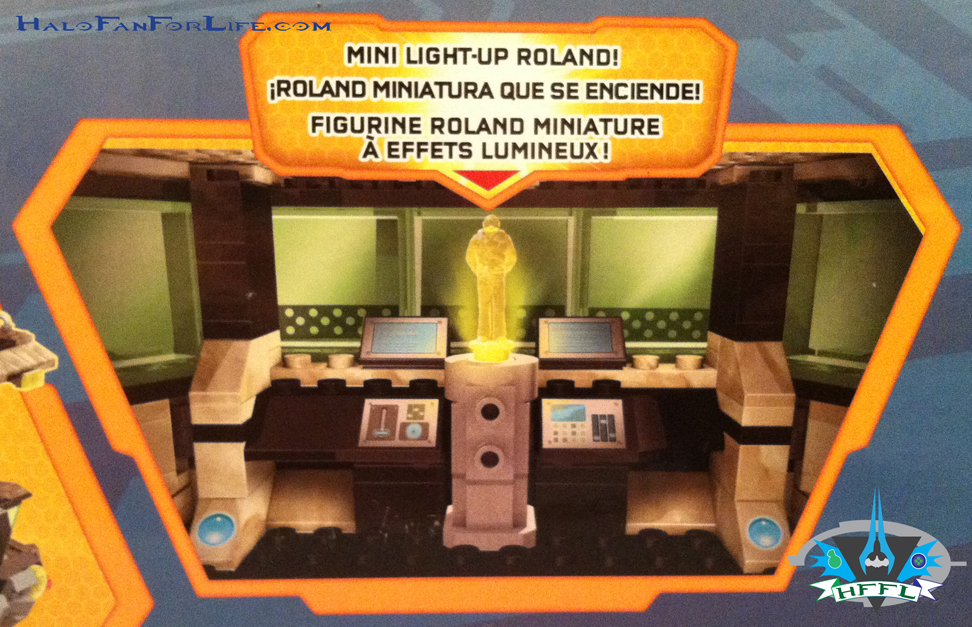 The bridge of the Mammoth with Roland in place.
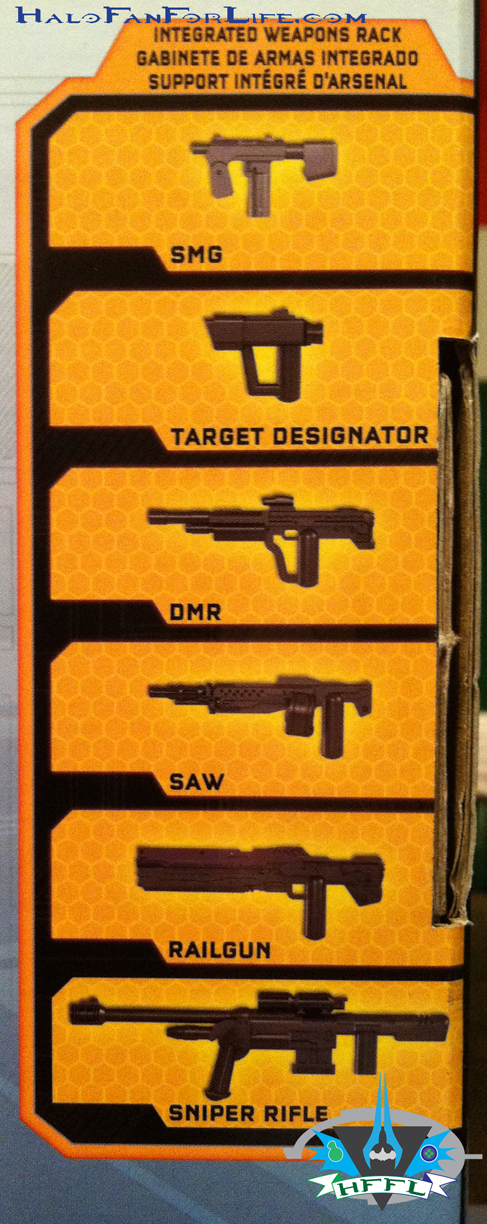
The last of the detail shots shows the weapons included. Absent is the target locator. Though technically that’s not a weapon, but an accessory in this set.
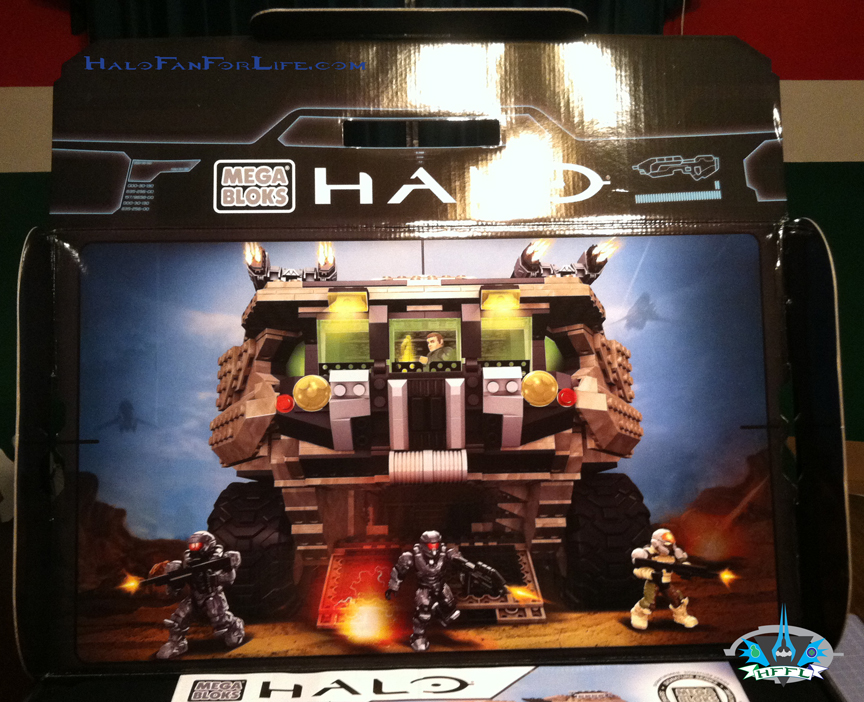
When you first open the box you’re greeted to this awesome graphic that is on the reverse side of the front of the box.
Usually I cut my packaging apart and save just a few pieces of it for reference. In this case though, this box is going to stay whole. Though I’d LOVE to have a poster of this. Hmm, maybe I’ll take another photo of this without the flash and fix it up in photoshop.
 Here is what you see in the box. The THICK instruction booklet is within a cardboard section kept apart from the pieces. Very nicely displayed, I must say.
Below that you get two of the following boxes.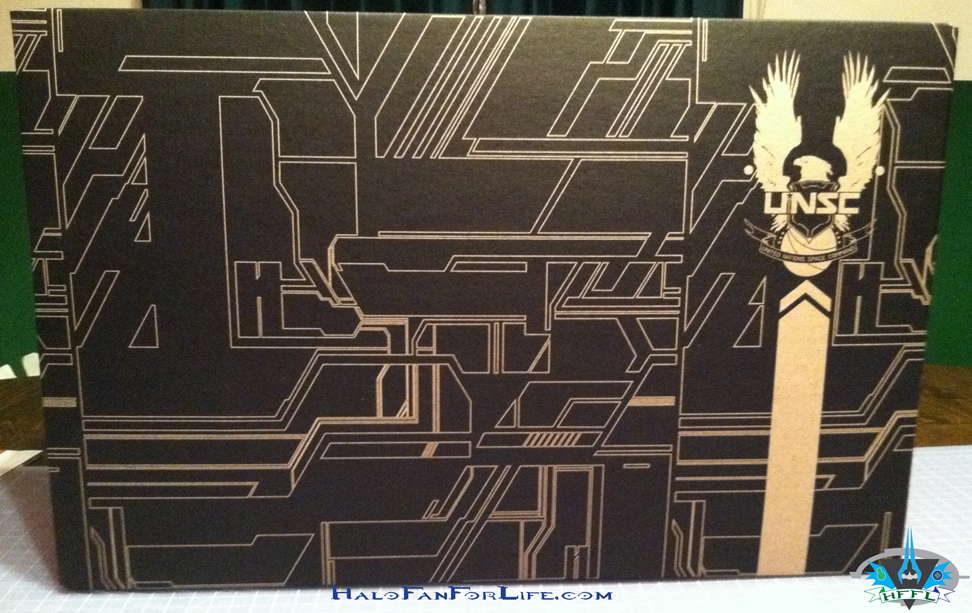 The inner box front. I really like the line work on this and the UNSC logo is featured prominently. If I recall, this is the same inner box design as the Forward Unto Dawn inner boxes.
 The back of the inner box.
One of the sides of the inner box.
Now we finally get to the bloks themselves.
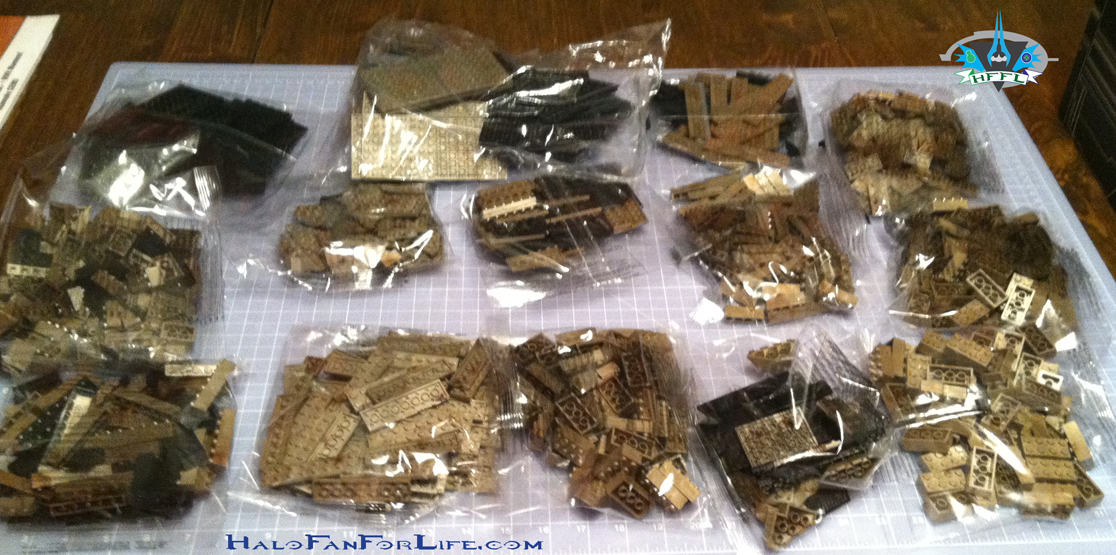
Here are the contents of one of the boxes. PLENTY of large bloks and plates.
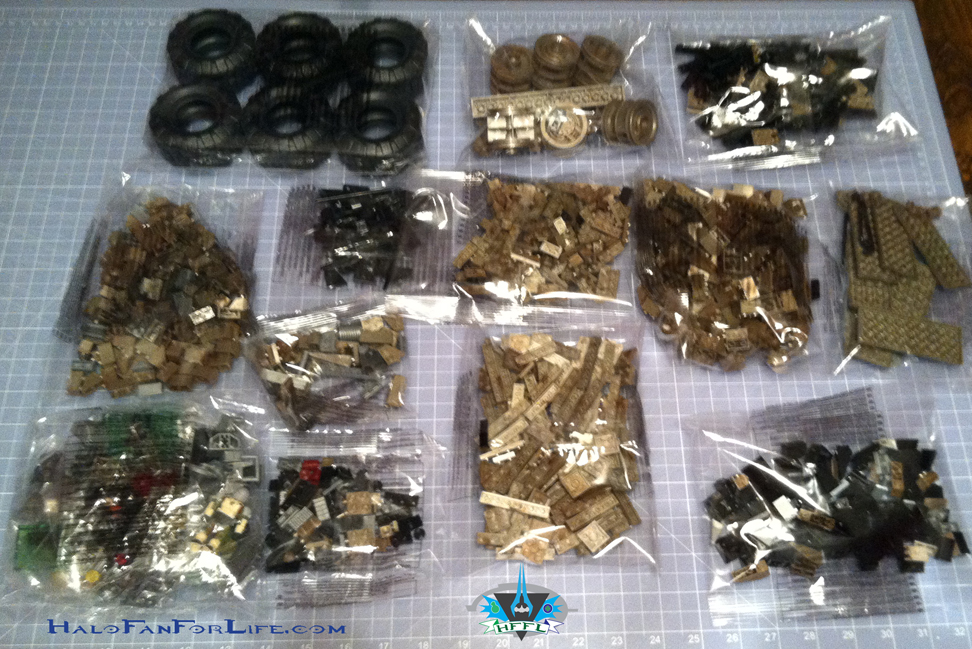 The contents of the second box contain the smaller pieces as well as the wheels.
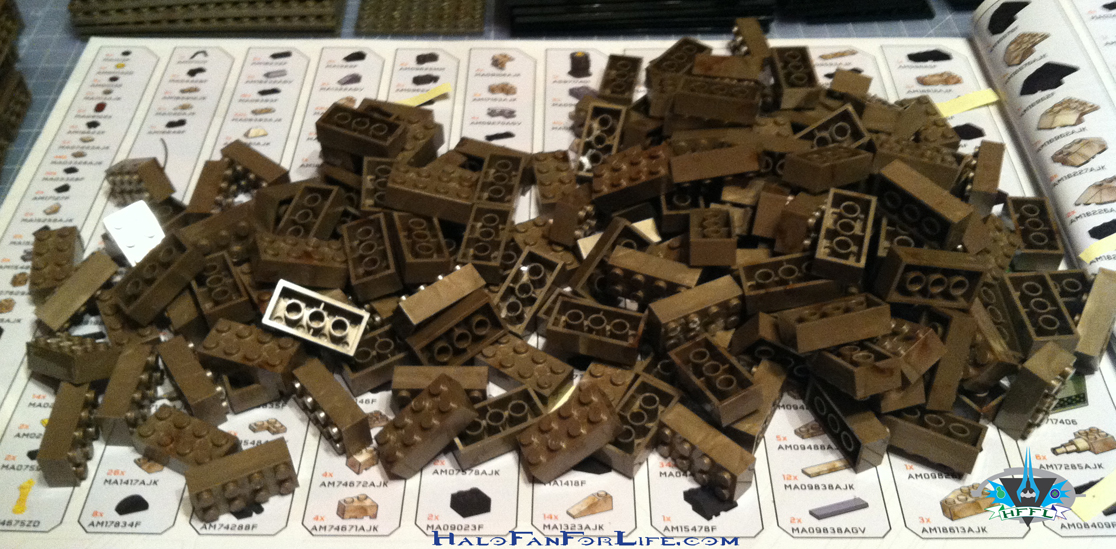 I’m showing this shot to give an example of what just one type of blok looks like in a pile. I like to stack my pieces before hand so as to save room on the table when building. It makes it easy for me to reach the pieces then. Otherwise, I’d be getting up from my seat after every step to put huge sets like this together.
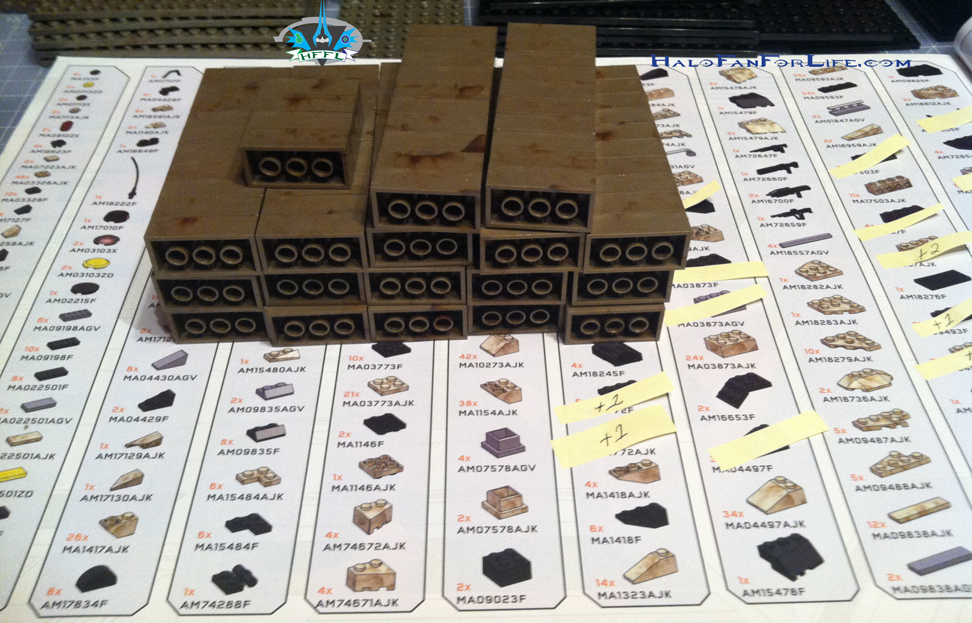 Here are those same bloks stacked. I stack bloks typically in sets of 10. That also makes it easier when a step in the directions calls for a large number. I know immediately that one of my stacks is 10 and can pick them up and count them off with ease. Sure the initial set-up takes longer, but it’s worked for me this long and I like organization.
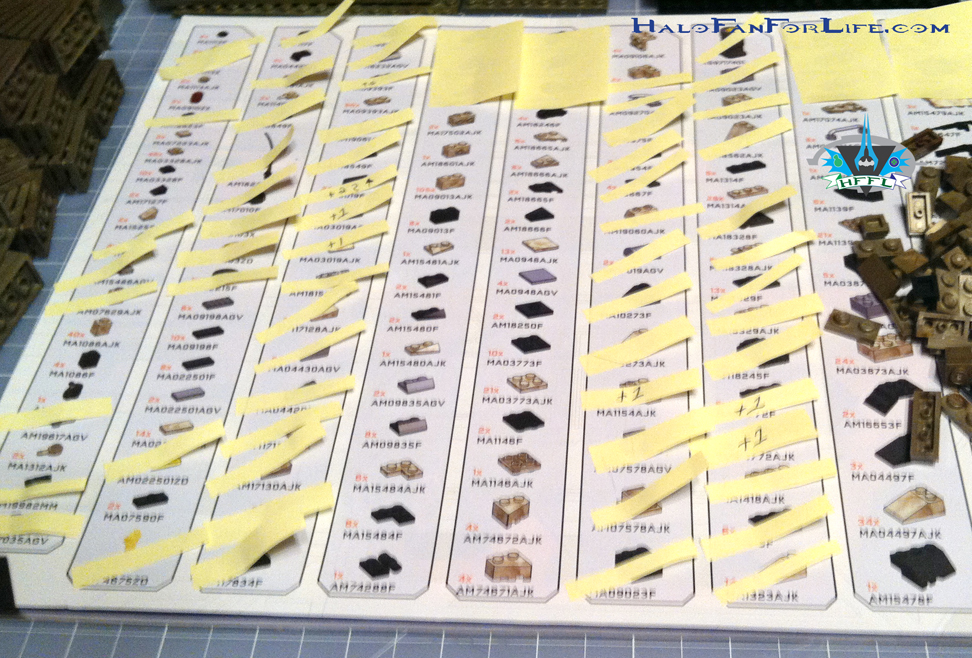 To further illustrate the organization, as I find pieces, I place a small sticky sliver on it. That helps me keep track of what pieces I’ve already found. In the case of some there are extra pieces that MEGA has included. That’s good to know as well so I’m not thinking at the end if I missed a step or a specific part somewhere during the build. The columns above that have a full sticky mean that I’ve found all the parts in that column. In the case of the extra pieces, I’ve put them aside so they are not mixed in with the other parts.
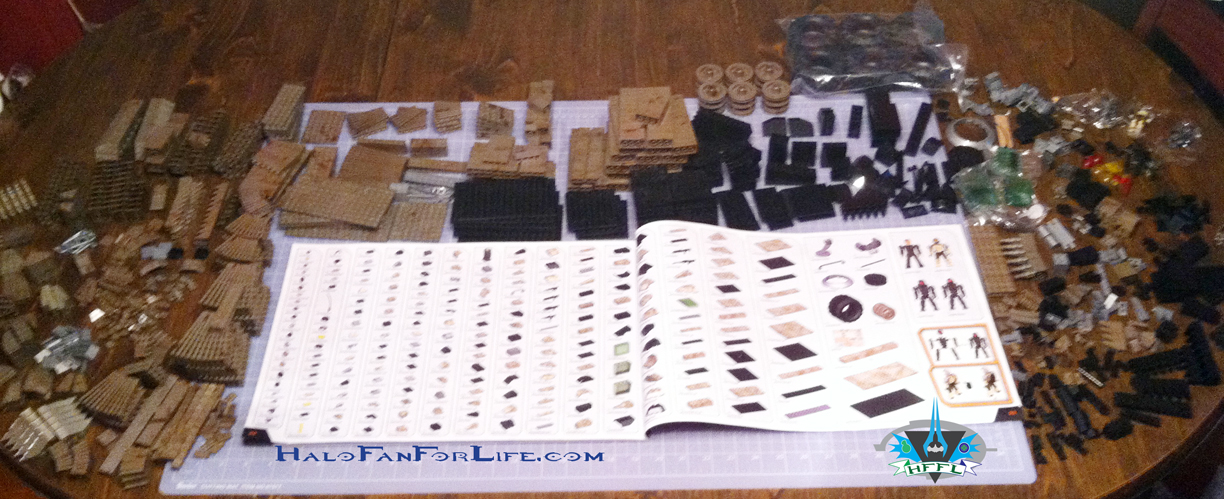 And the last shot for part one of this review shows all the pieces sorted out. As you can see, I’ve kept the left to mostly the golden tan bloks, then the larger black pieces, then all of the really small pieces. The wheels, minifigs and rocket launcher parts are in the upper right of this photo.
Tommorrow, part two will be the two main levels of the Mammoth.
-Sal
Pingback: The Halo Bulletin 3-12-14 | HaloFanForLife