
Well here we are at the third of a four part review for the Mega Bloks UNSC Mammoth. It came together nicely in part two with the body being built. Now we move on to the removable roof panels.
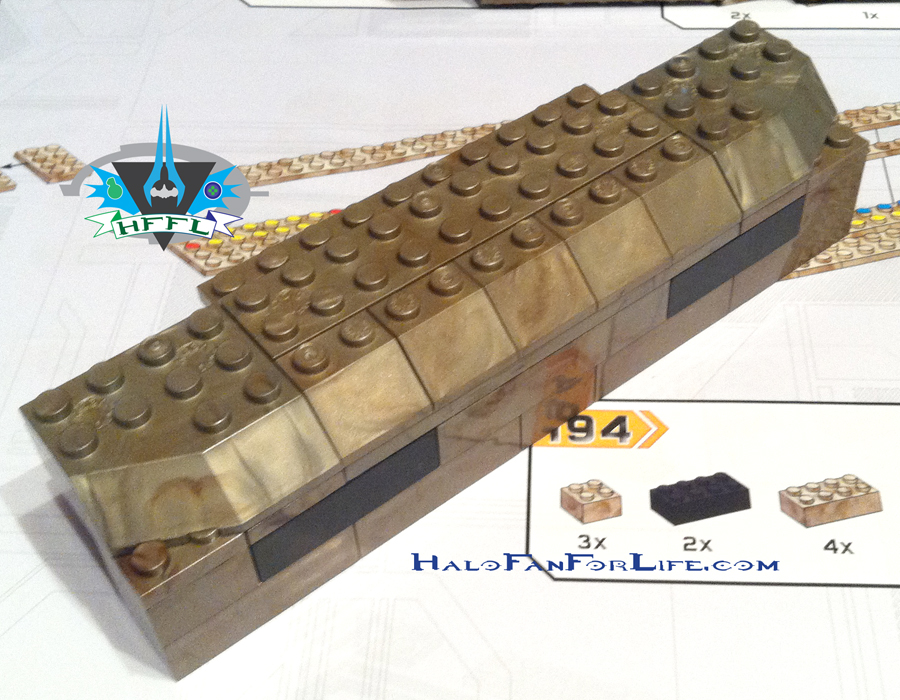
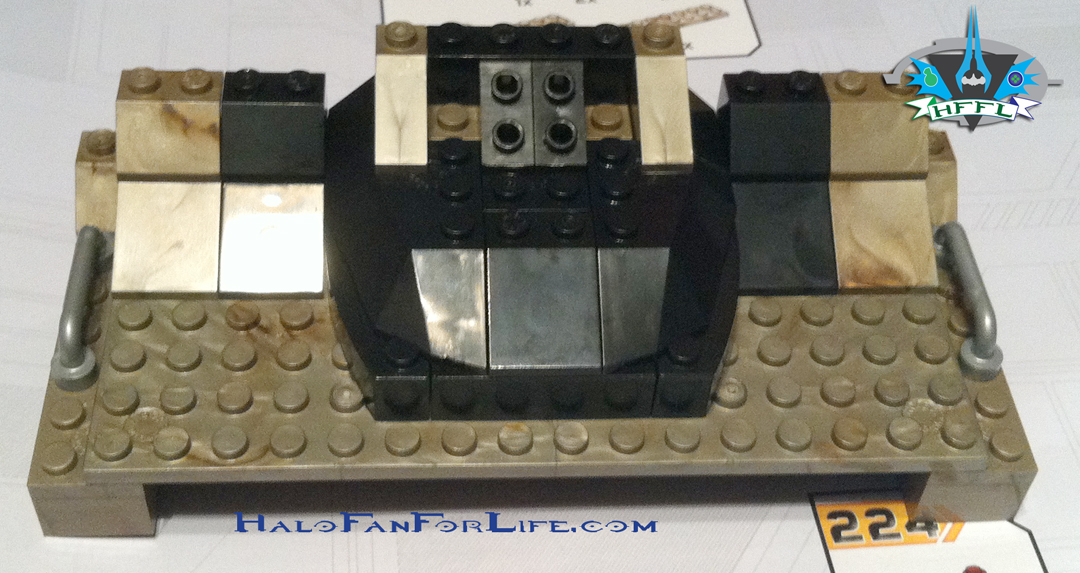
First up are a couple of pics showing the build for what will become the back flap of the rear roof. This enables a minifig sized warthog to fit into the rear of the model.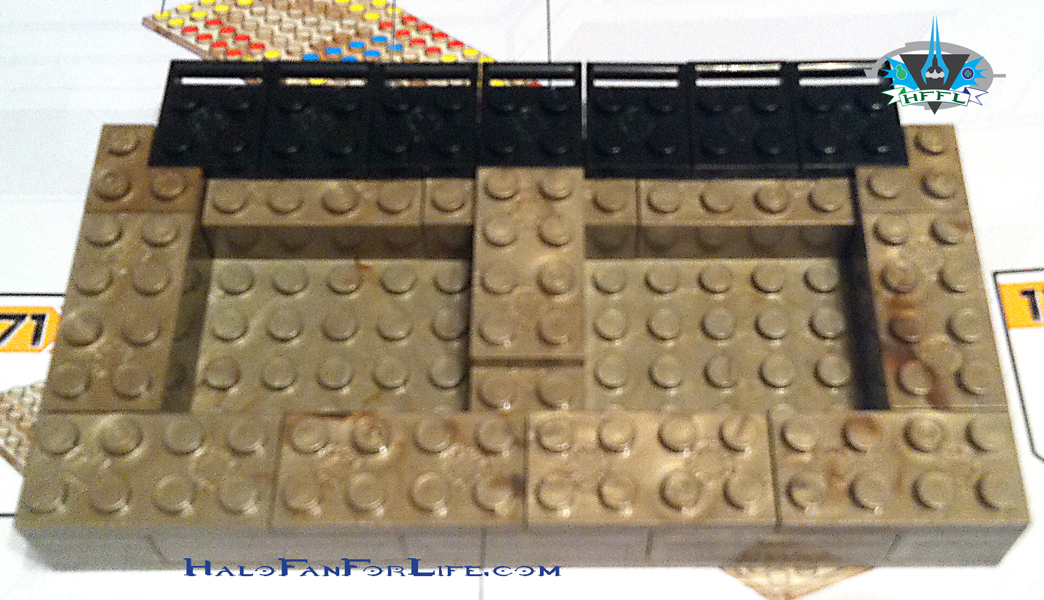
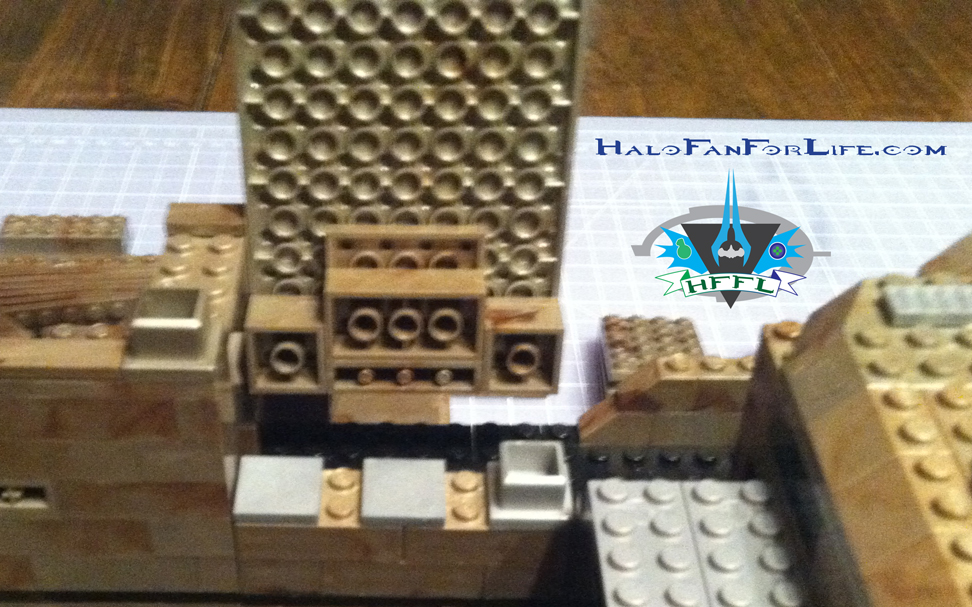
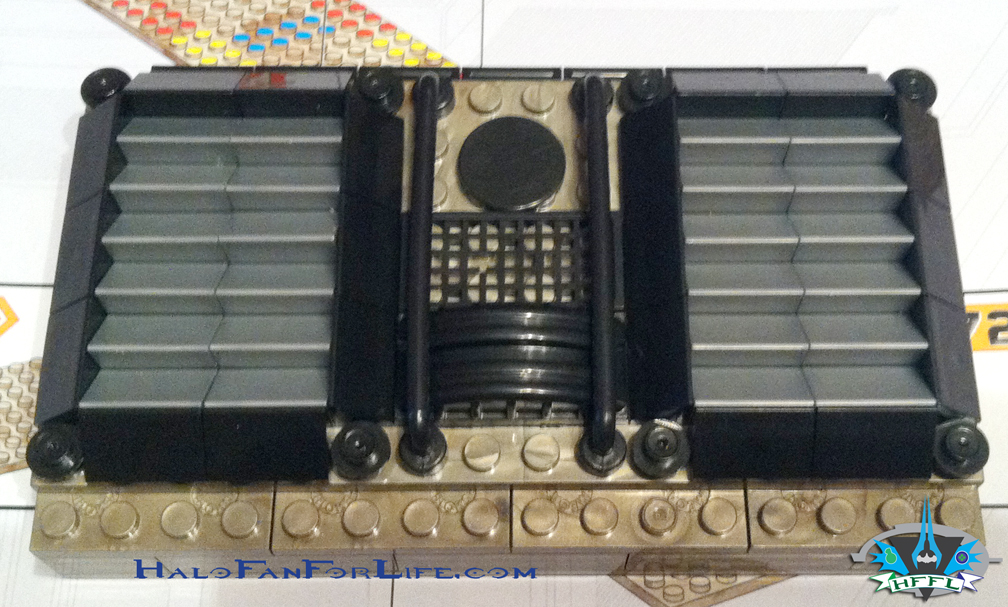 I love all of those little greeblies on the back. BTW, if you didn’t already know, “greeblies” are a term meant for those little extra bits and parts that add depth and character to a piece.
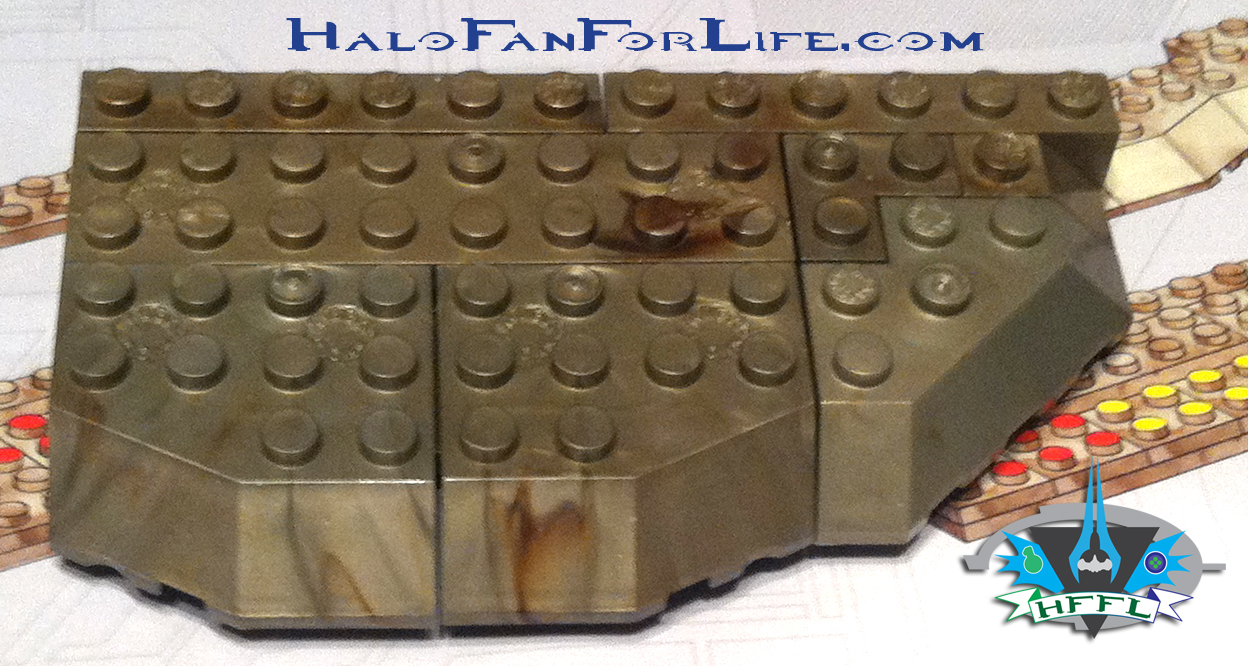
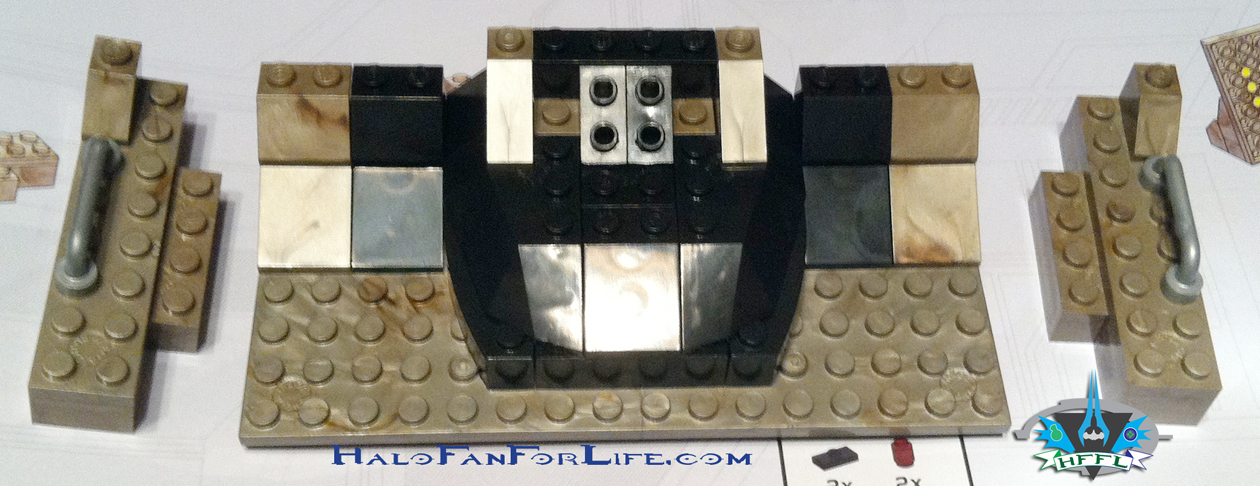
 The above pic is of one of the side walls of the rear roof. The other side is the exact same but flipped. So as before, no need to show it as well until later, when it gets attached.
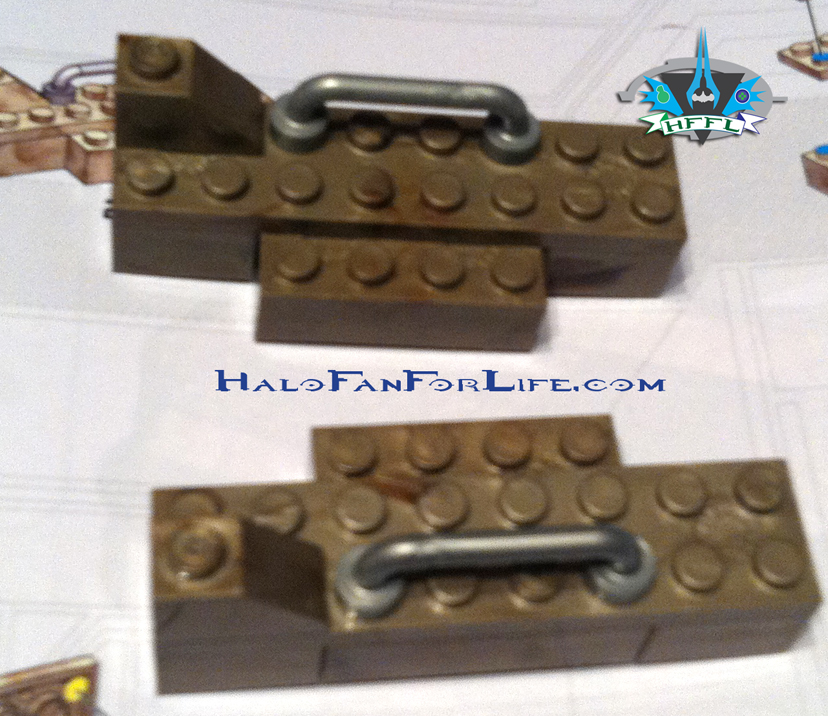
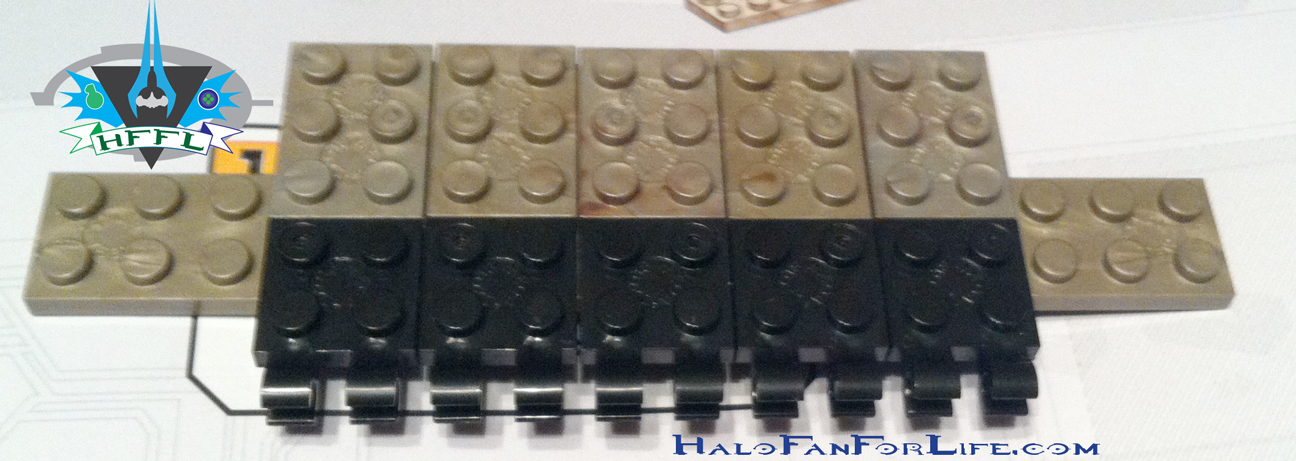 Here is the start of the back hinge that will be attached to the rear roof panel.
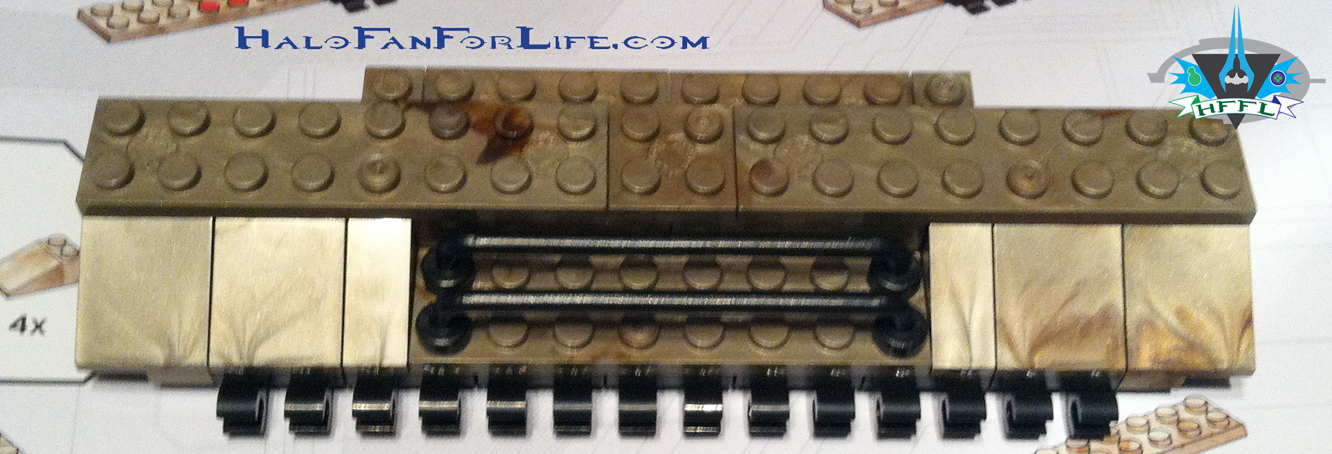
Here it is finished.
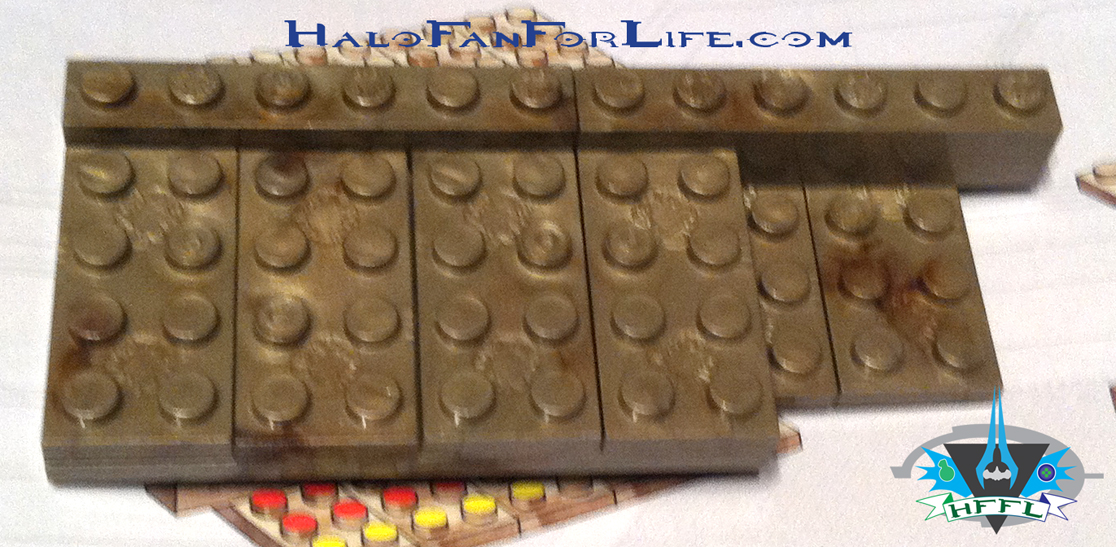
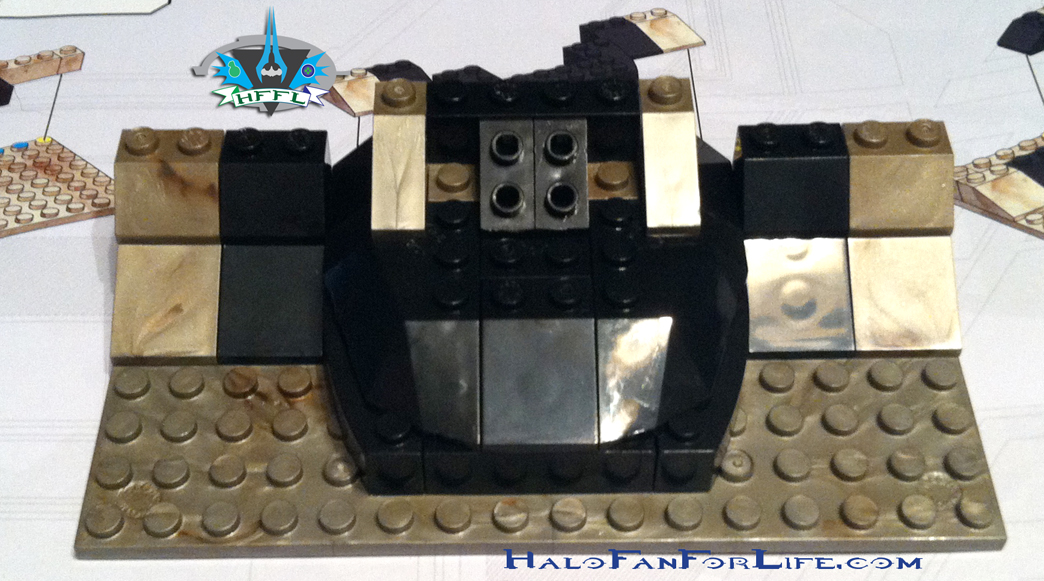
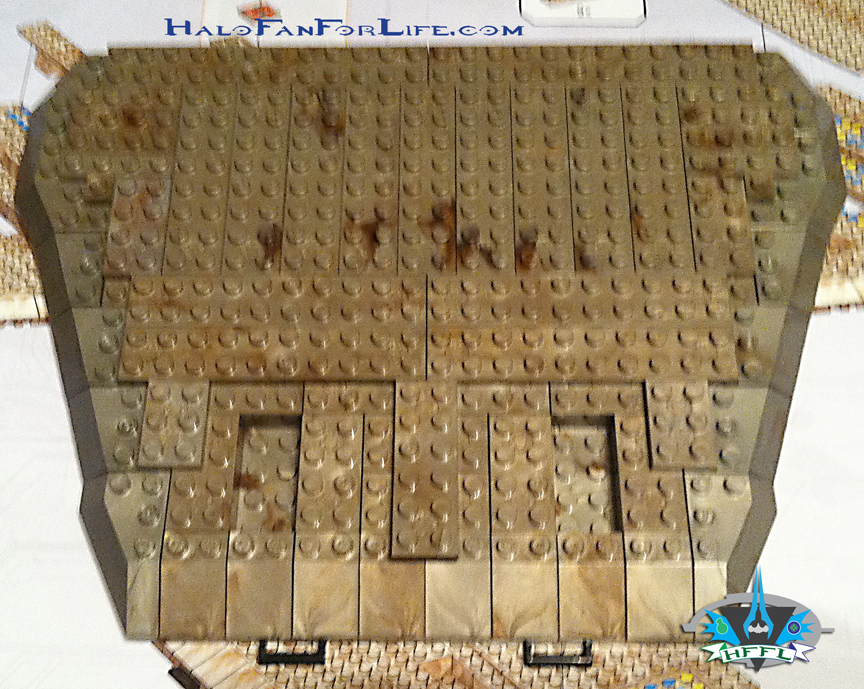
The next few pics are of the construction of the front wall of the rear roof panel.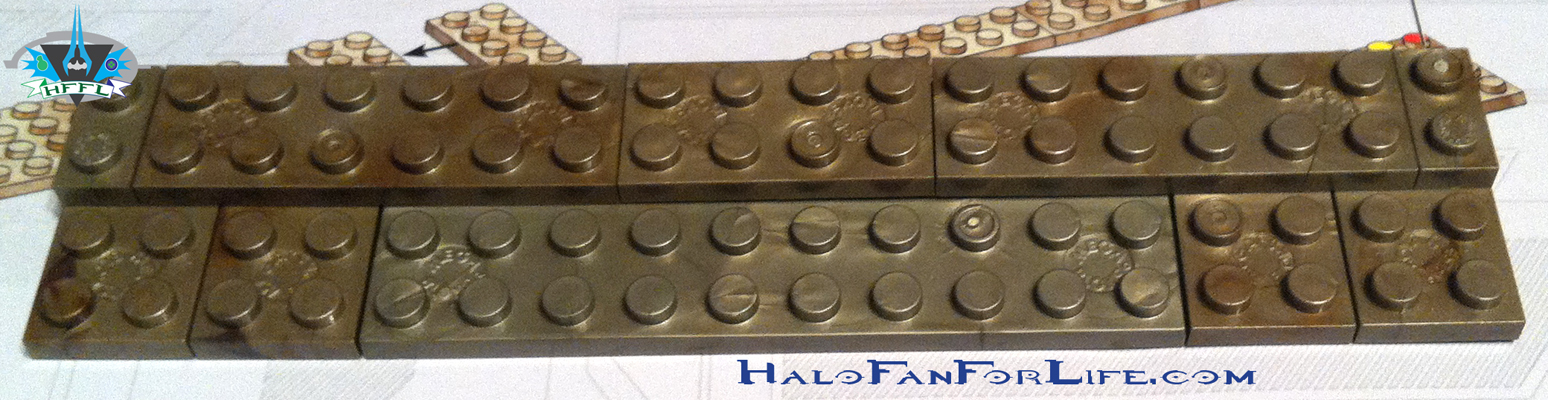
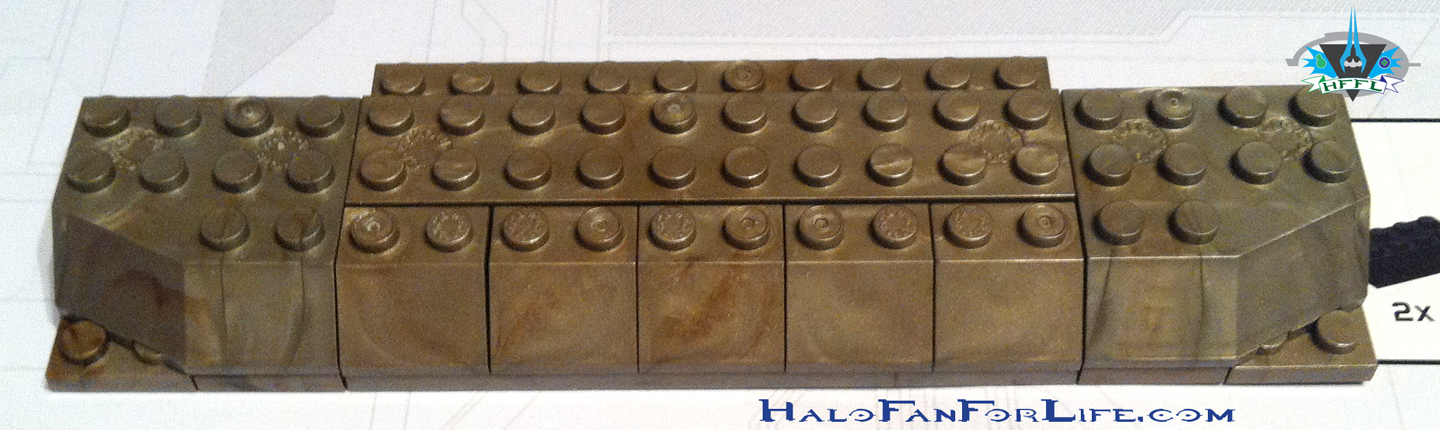
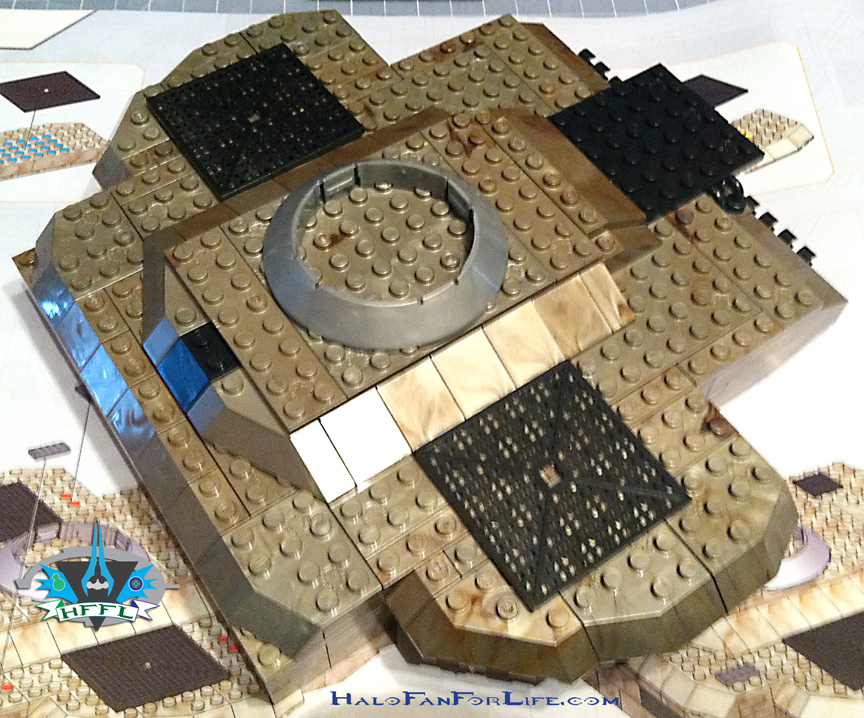
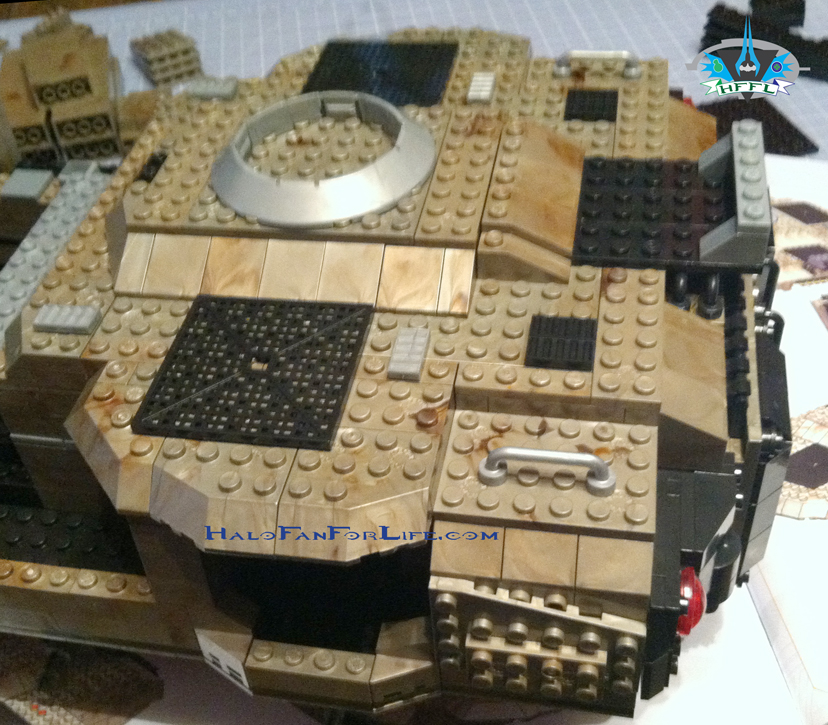
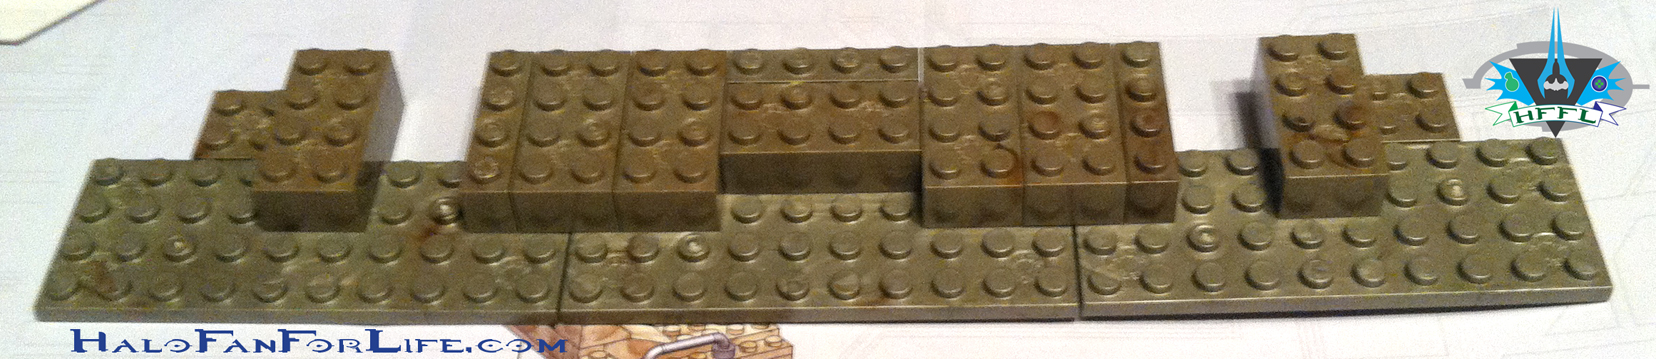
Next are all of the walls of the rear roof panel along with the base part of that roof itself.
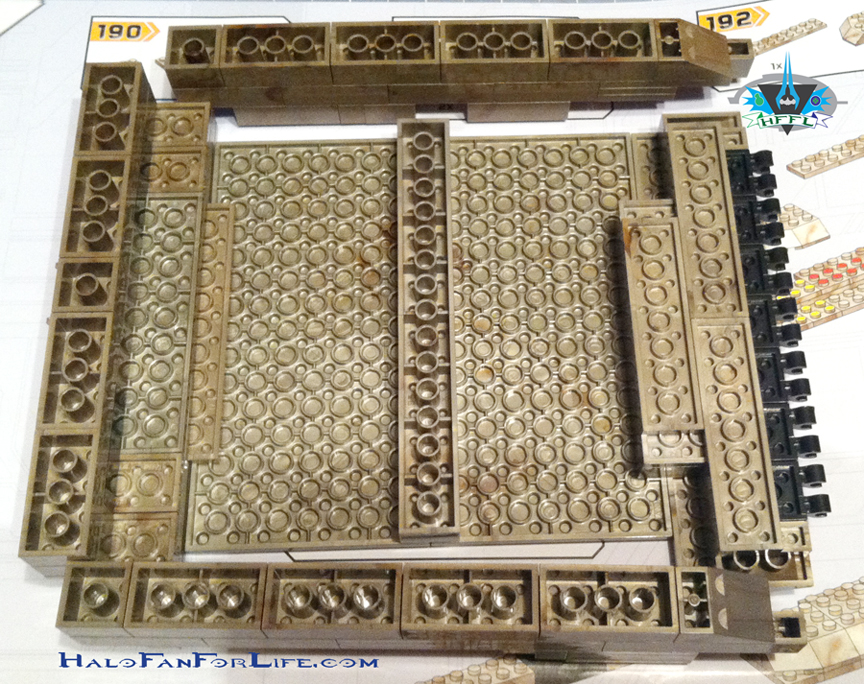
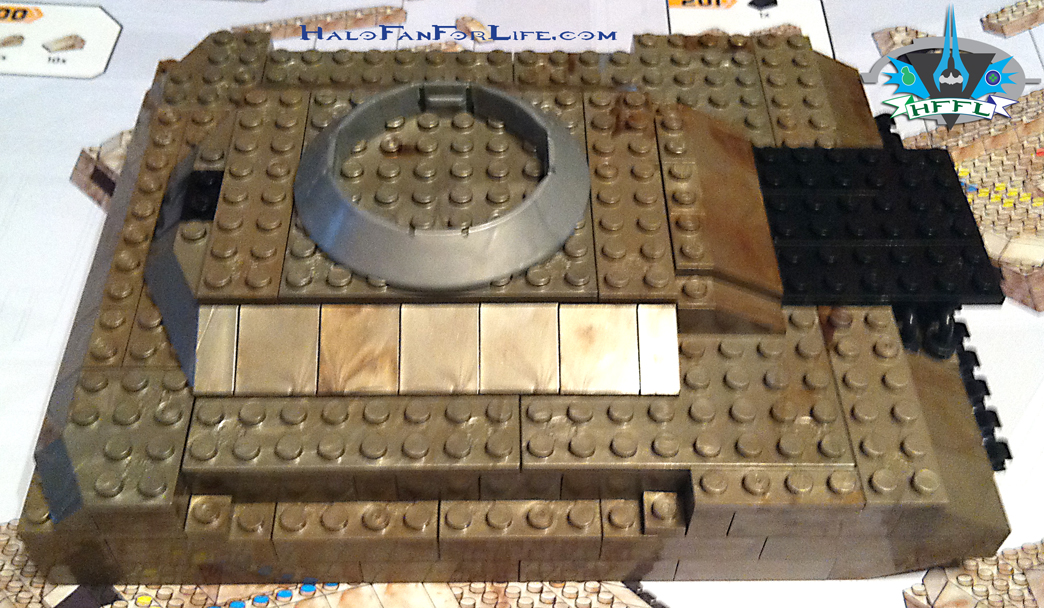
As you can see by the above pic, we now have the spot where the Mini-Mac is going to be placed.
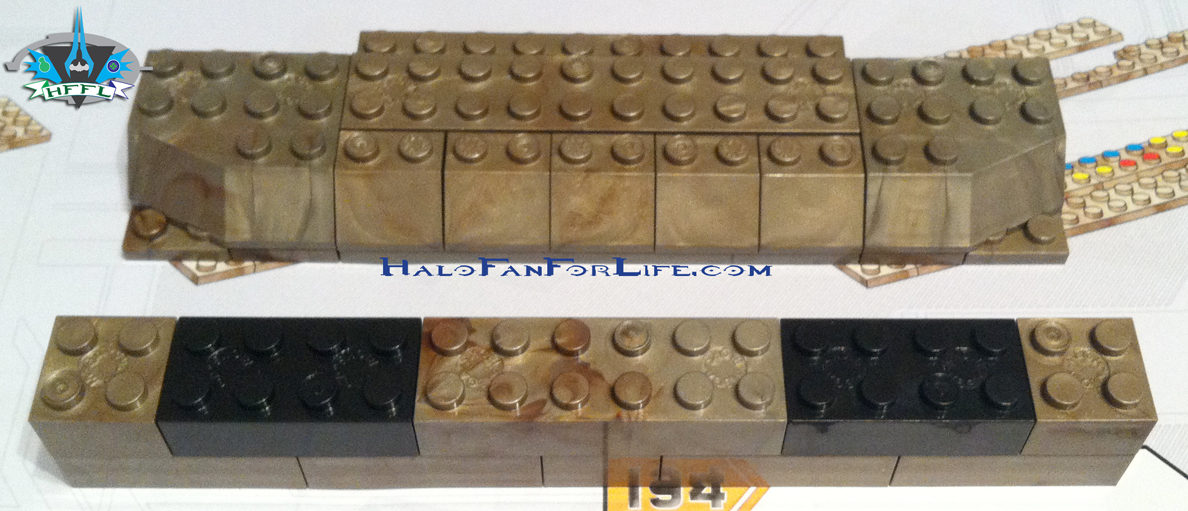
 One of the sides of the rear roof starting construction.
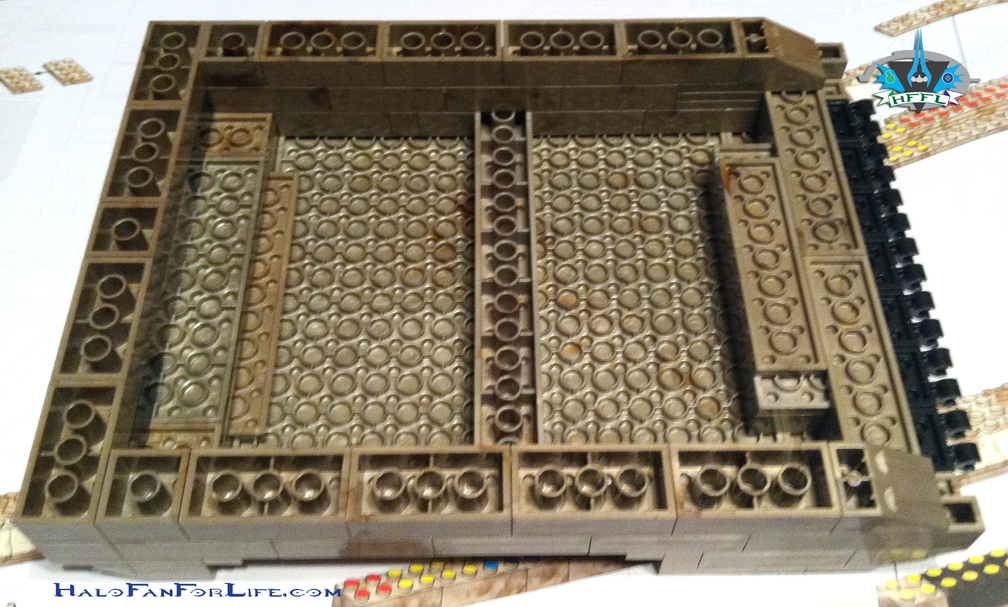
Here are both sides ready to be attached.
Now we’re ready for the rear flap to be attached!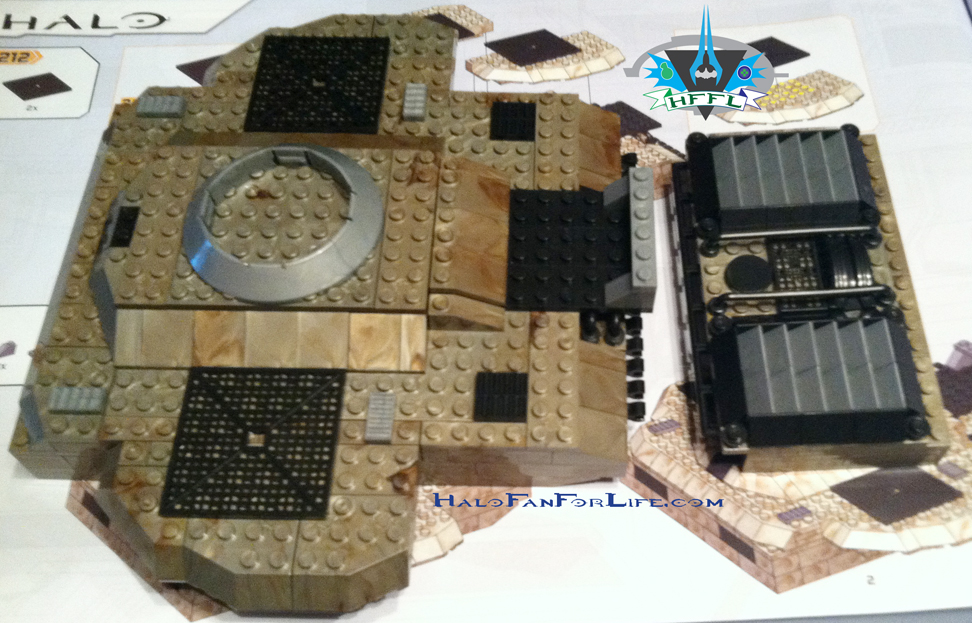
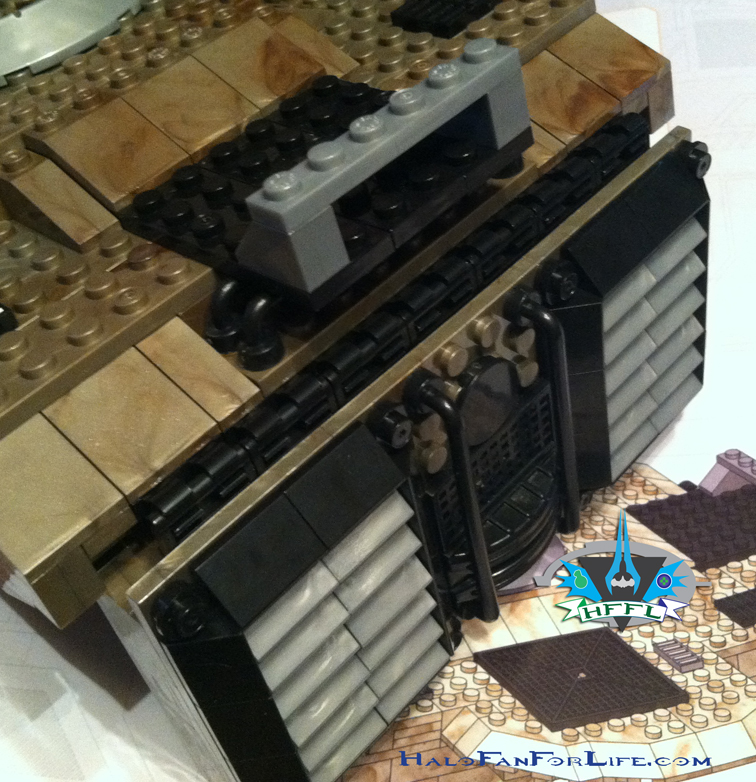 Above shows a close-up of the hinges clamped together. With exception to the very edges, they hide the gap nicely from the roof to the flap.
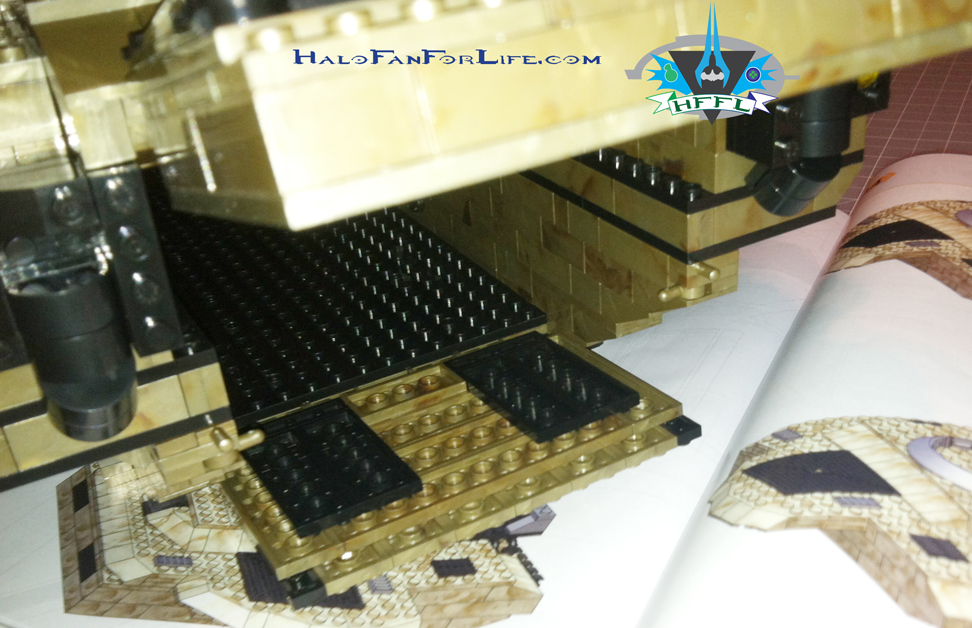
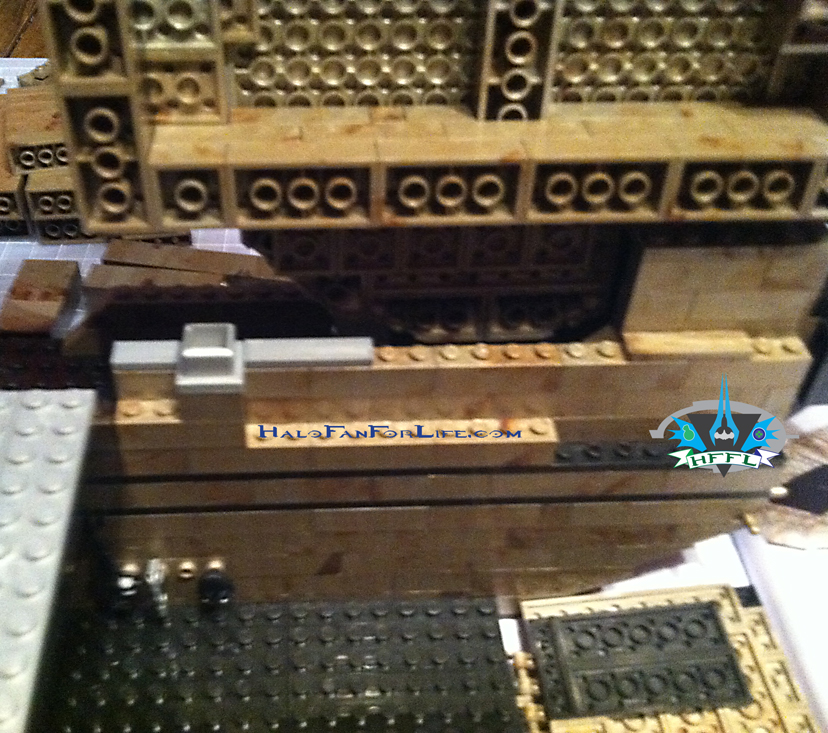 The above pic shows where the rear roof panel is connected to. It rests nicely upon two hollow square grey pieces that keep it in place. As well the sides of the body keep it snugly fit. This is similar to how the Forward Unto Dawn set was done, with regards to it’s removable panels as well.
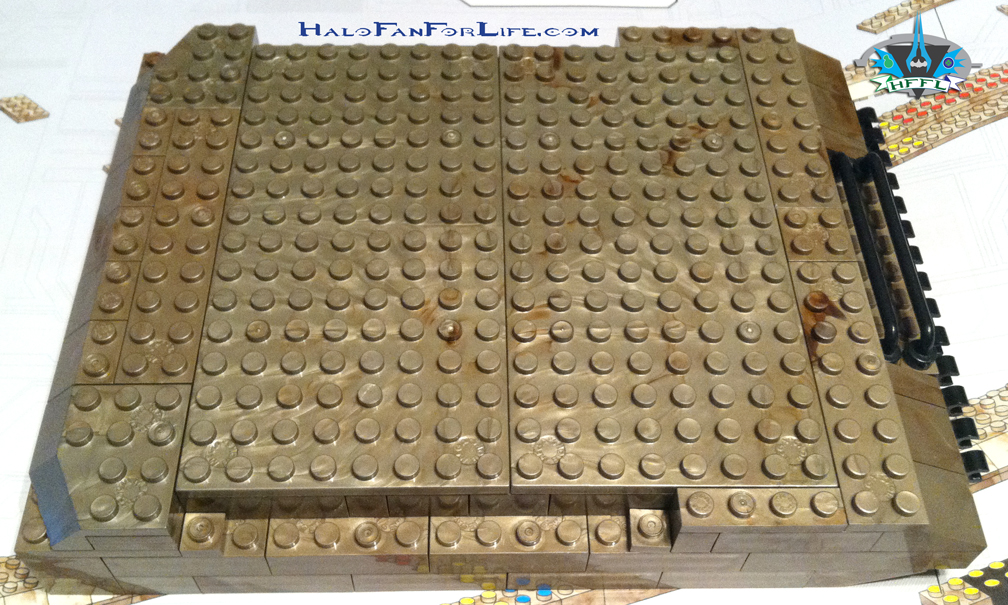
 Shown in position. There should be NO gaps underneath. If there are, you haven’t quite fit it in properly. Believe me, it fits tight and right.
 A look at the rear flap and rear ramp opening into the body of the Mammoth itself.
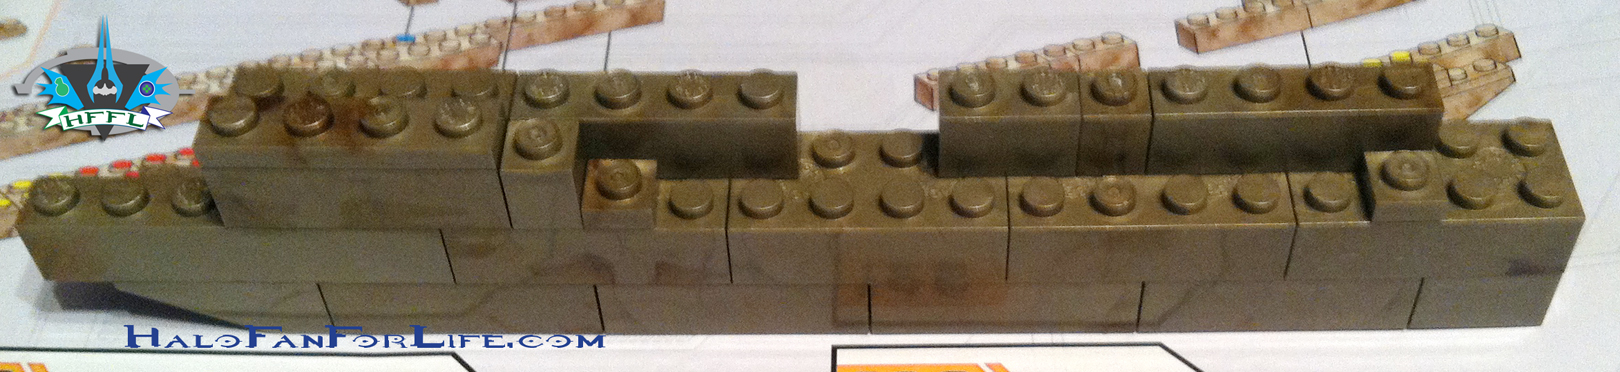
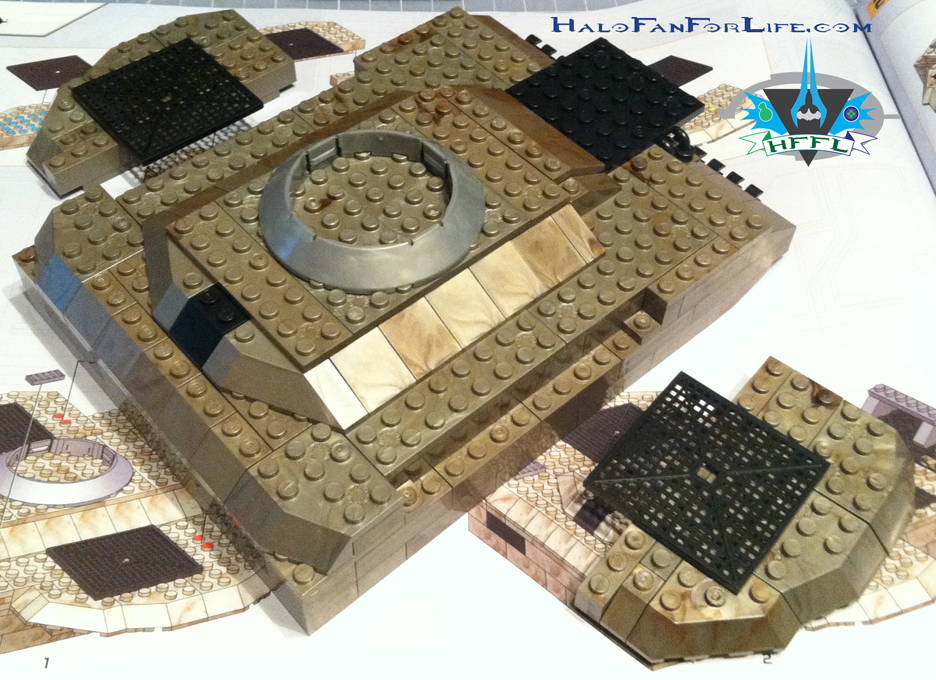
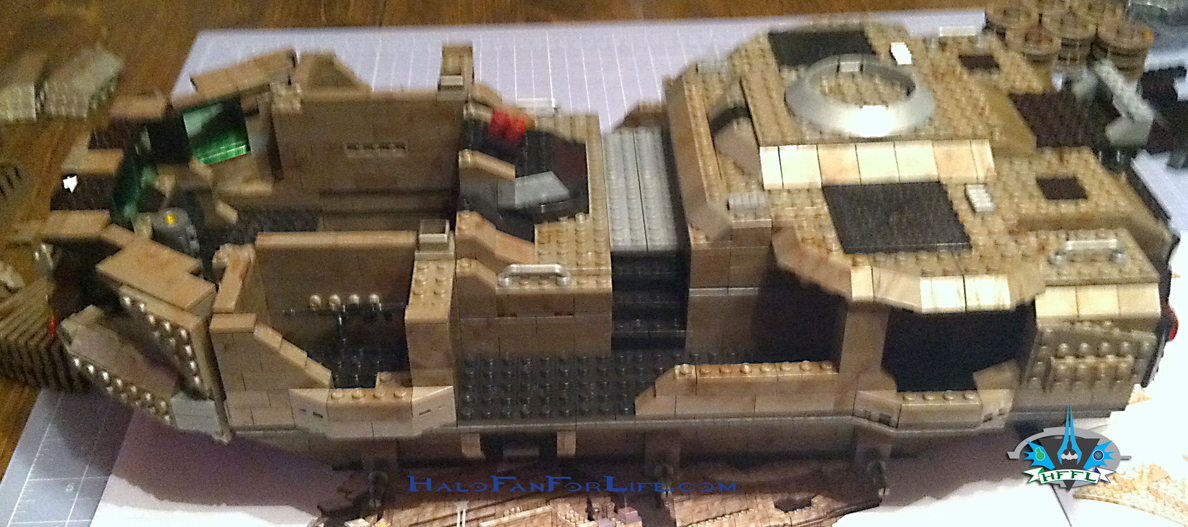
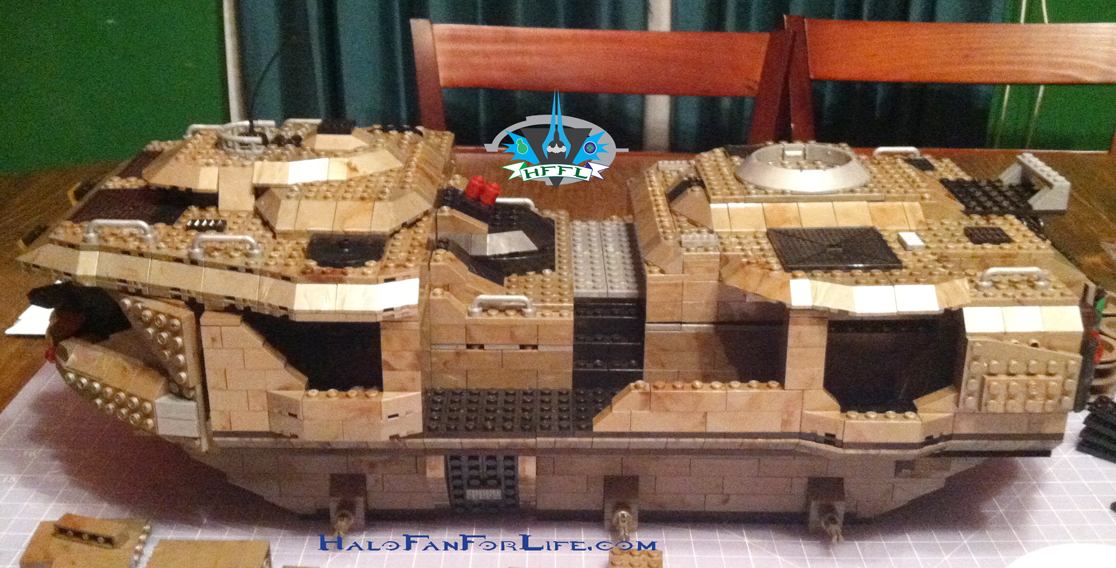
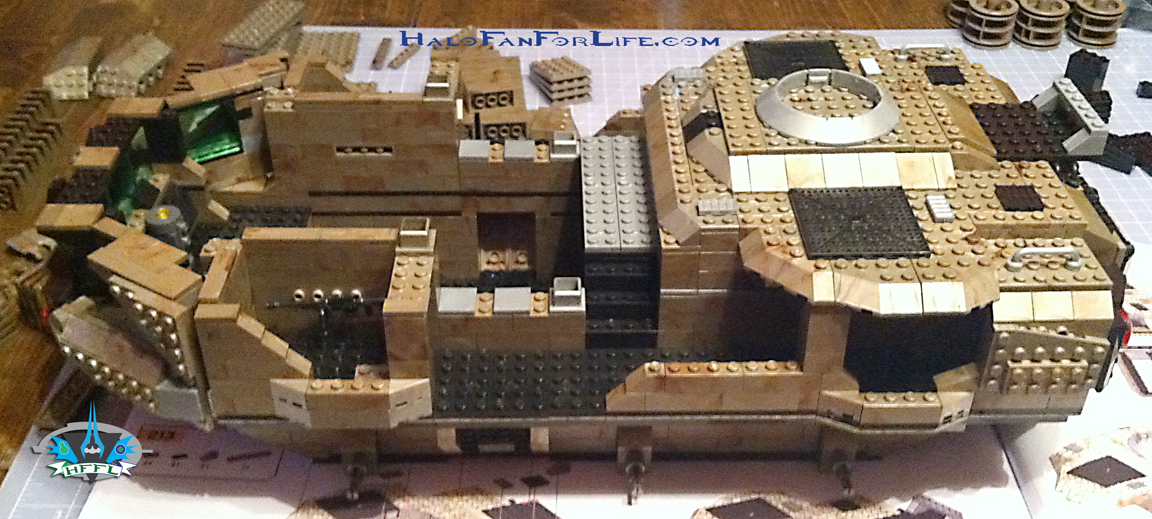 Here’s a full side view with the rear roof panel in place. Wow, is the Mammoth looking great or what?
The next eight pics show the construction of the mid roof removable panel.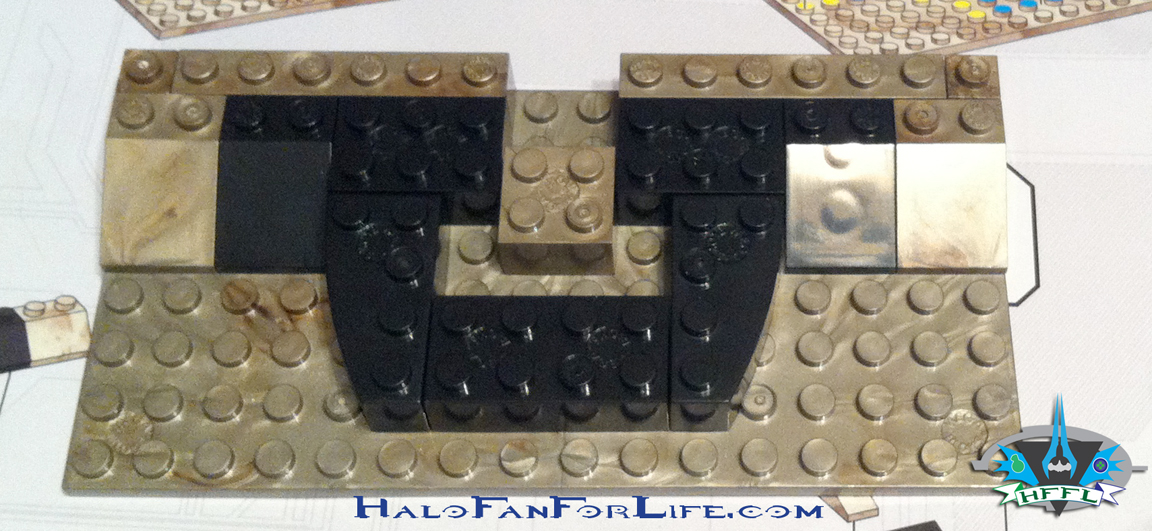
 Here is the attachment point for the mid roof panel. Just as with the back, it too fits snugly onto a hollow grey square piece.
And here it is attached. Apologies for the blurriness of the shot. At this point I was excited to get the front roof panel done that I didn’t go back and retake this shot as I should have.
The final roof panel now starts being built!
Not much to start, but it QUICKLY comes together.

Heh, don’t you think this section looks like some kind of “Space Invader”? Oh, I should mention that in my excitement to get this done, I accidentally skipped a couple of steps and had to go back and rebuild things correctly.
Here is a helpful tip when building large models like these: Have a coin or some other small object to place over the numbered step on the directions to remind you of where you are in the build process. ONLY move it to the next step when you are ready to continue to build.
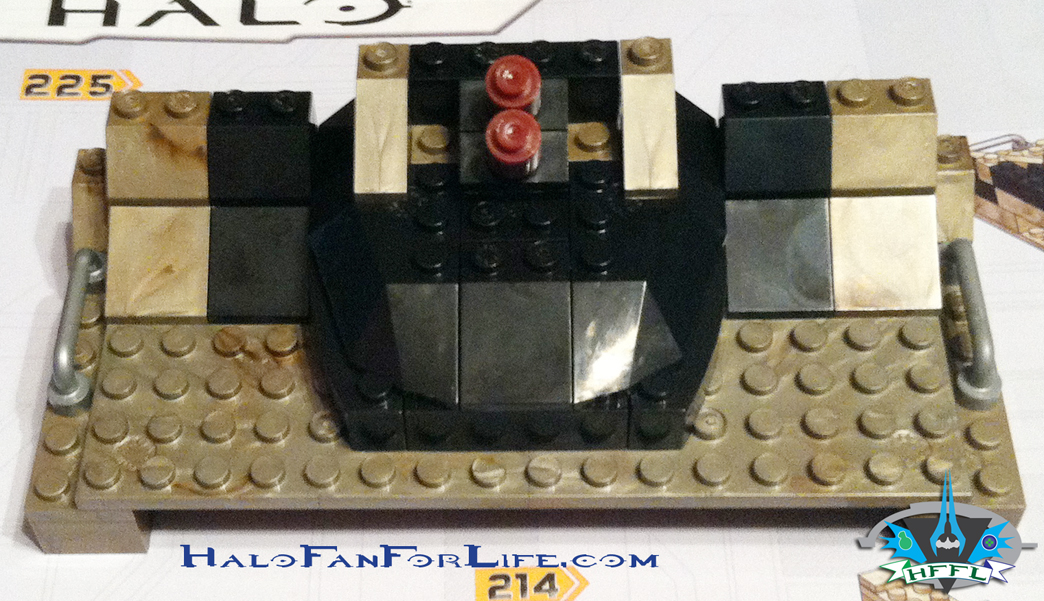
 Now at this point in the build of the front roof panel, I think it looks like a snake head. Copperhead??? LOL
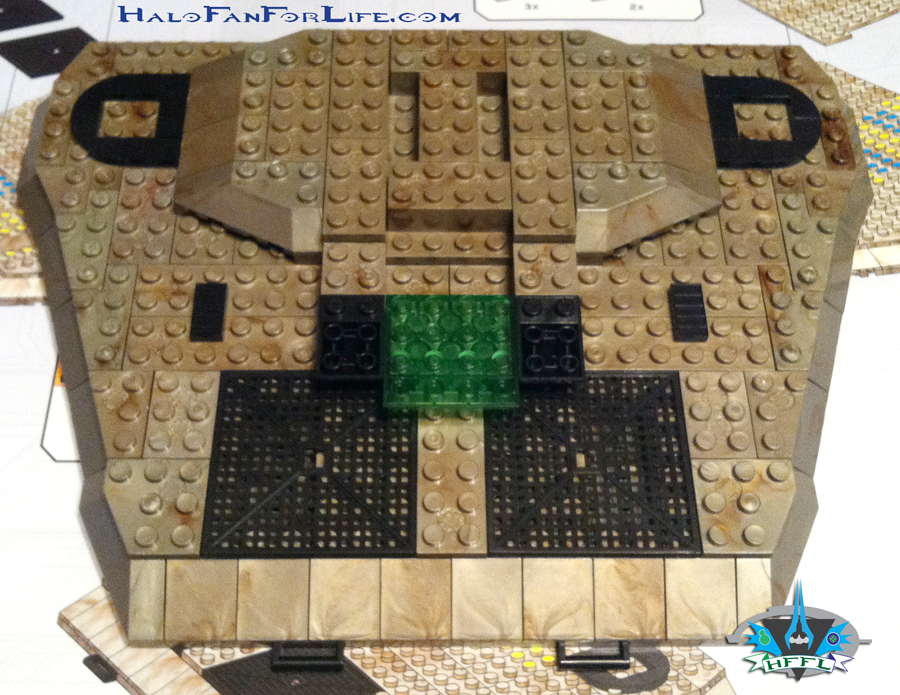
Oh yeah! We’re getting to the “meat” of the roof panel’s build by adding in the green translucent part! (You all know I love transparent toys. That goes for parts too!)
 Dang…it’s mostly hidden now. LOL. Ah well, the in-game vehicle calls for this as well.
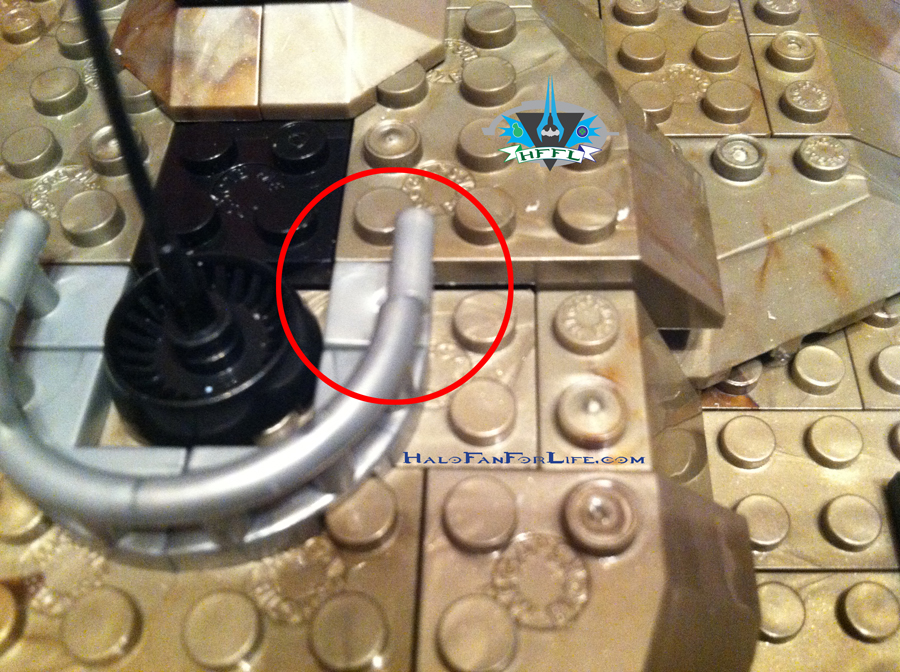 At this point, I did come across a deformed part. The one circled did not fit properly. I did try to gently carve out some of the underside plastic to make it fit. After a bit I stopped. I figured it better to just call MEGA for a replacement part. (More on that in the fourth part of the review.)
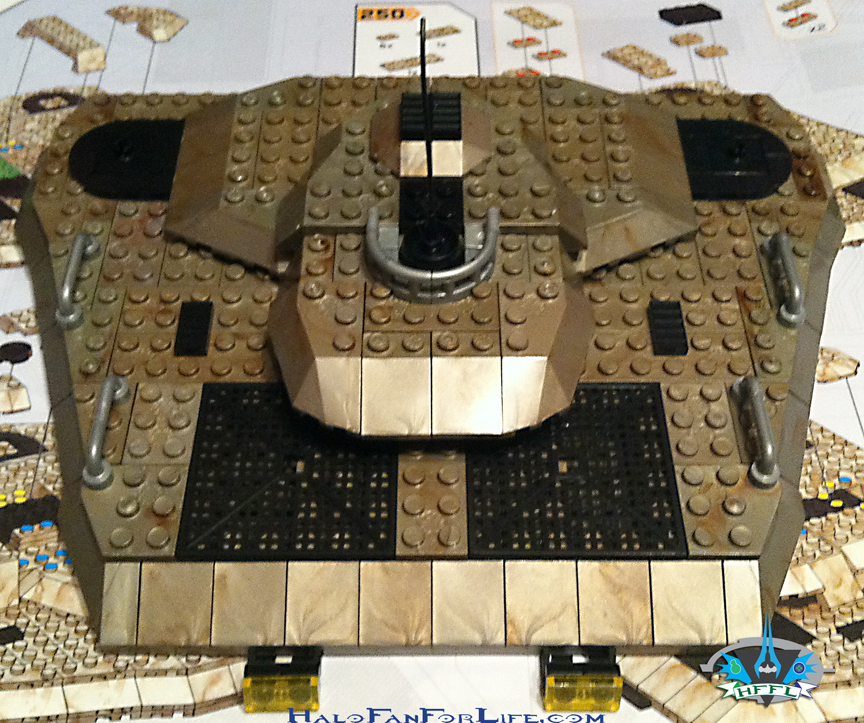
 And here we are at the last pic for this part of the review. The Mammoth is almost done! It’s looking VERY buff and built to last!
I was so excited at being so close to being done with the build that I did complete it then. However, you’ll have to come back tomorrow to see the Mammoth finished. Along with that, I’ll show the minifigs that come with the vehicle.
I hope you are finding this multi-part review helpful and/or entertaining. Please let me know by commenting below. If you haven’t yet registered for HaloFanForLife.com, it’s FREE and easy to do so. Just send me an e-mail at: sal@halofanforlife.com asking to be registered. As well, include what you want your screen name and password to be. I’ll get you set up shortly there after.
-Sal
That really looks amazing! I always enjoy your reviews of the Mega Bloks items and I have lost track as to which ones I want. However, after seeing this I may have to go to my local Toys R’ Us and pick up the Mammoth for their buy one get the 2nd 50% off.
Great work as always Sal!
Thanks. Will you get two of them??? WOW, that would be awesome. Actually, There’s a set I want. Perhaps we can work out a deal where we both save? Let’s talk on LIVE or by phone.
LOL! My wife would kill me if I got two Mammoths! (there is a comment to be made there I think….) Anyway, I am sure we can work something out. I did check today and it went down to buy 1 and get 40% off the second. Still not bad.
I should be on LIVE later tonight, so maybe we can talk then.
Okay, sounds good to me.