
This article is the second of a series of 6 parts for the Halo Mega Bloks Scarab. This is Mega Bloks third Halo Signature series set and it’s largest to date.
Due to it’s very large piece count (3,340), and it’s size, I’ve broken down the review into 6 parts so that you can easily see/read/download the review. I took several hundred photos of this whole set. Having those all in one article would be just a bit much. Not all of those photos made it to the review, though roughly 150 of them did.
When this series of articles is complete, I will go back into them and edit in the links to each part for easy reference later on. For now, enjoy each part as I release them one a day for the next six days!
Mega Bloks Covenant Scarab: Set # 97964
Technical Specifications:
Build Time: 5 hours Sorting, 8 hours Building TOTAL 13 hours.
Set Piece Count: 3,340
Minifigs: 2x Jackal Snipers, Dark Blue Ascetic Elite, Dark Blue Commando Elite, Translucent-Blue Prophet of Regret
Weapons: Fuel Rod Gun, 2x Carbine, 2x Plasma Pistol, Energy Sword (My set had 4 Carbines in it.)
Accessories: Buildable translucent blue Prophet Chair
Special Features: Legs pivot front to back at the hip, cannon turns 360°, hatch lifts up (on upper body), removable roof for cockpit, 2 side compartment area hatches open/close, some articulation at front plasma cannon (mandibles)
Cost: $250 Toys R Us Exclusive
And on with the pics! (Click pics to make BIGGER)
Before we get into the main build, the directions call for the Prophet’s chair to be built.
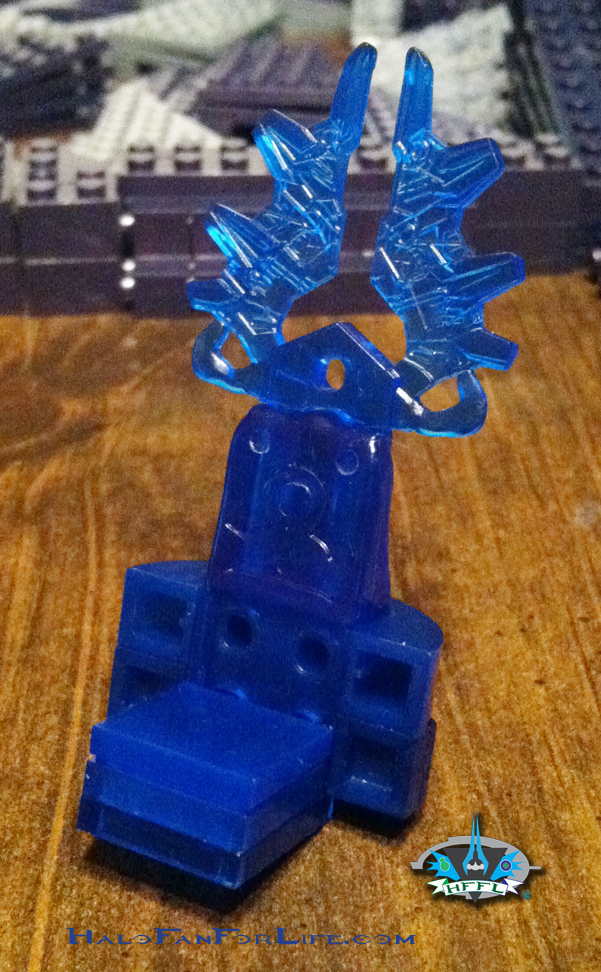
The amount of detail in the top piece is impressive. This is actually part of the headdress for the Prophet. However, given the large size of this piece and the small size of the figure, it makes sense that Mega chose to adapt the piece in this manner.
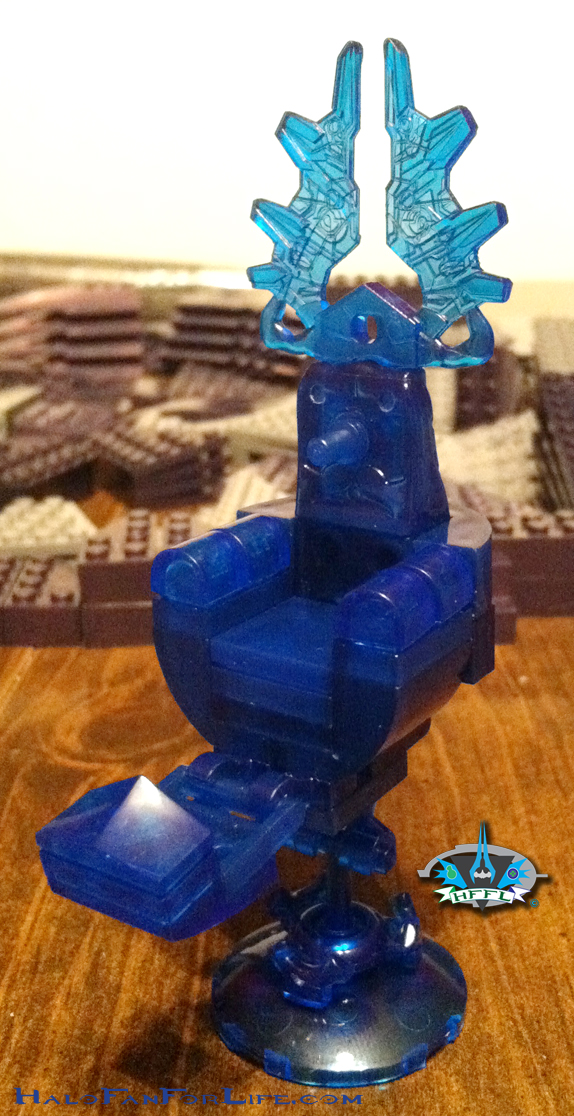
The chair is complete. I really like the deep blue color. Of course being translucent, I’m instantly a fan of it.
Now before I get into the rest of the build and review, I should let you know that in the instructions, Mega has you build both front legs at the same time as they are both the same build. This makes it a lot easier as well as quicker to build. I’m only showing one leg in the review, again since both are the same exact build.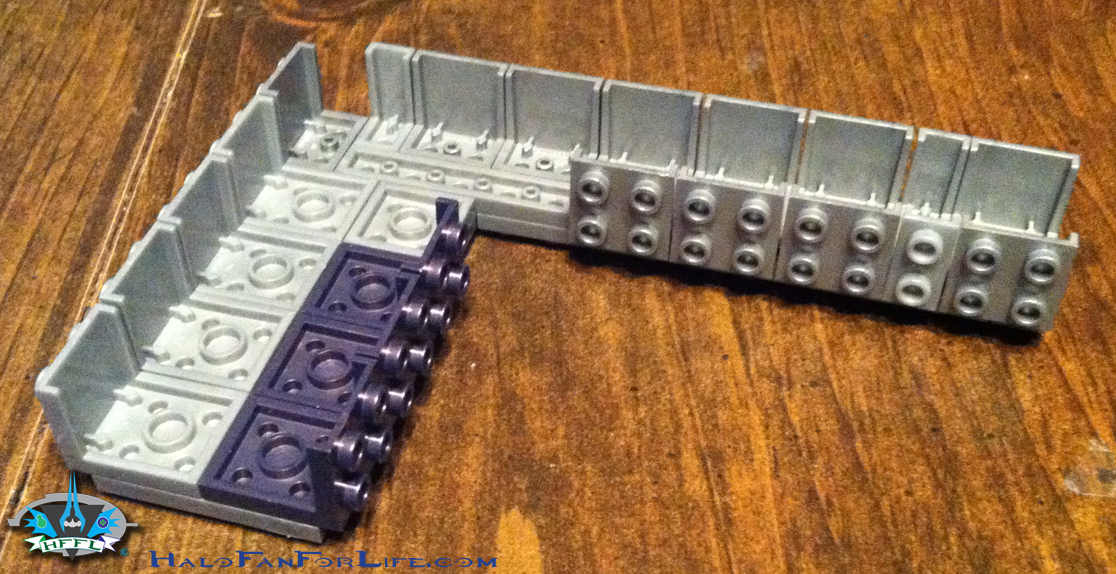
The build starts off as a shell for the knee area of the leg. When I first heard that there would be no knee articulation, I was a little disappointed. However, when I got to the body portion of the build and felt the heft of it, my disappointment vanished. In order to keep the whole model up off of whatever you’re displaying it on, not including knee articulation was absolutely the right choice. Besides, I have a ‘work-around’ for that. I’ll talk about that though in another later part of the review.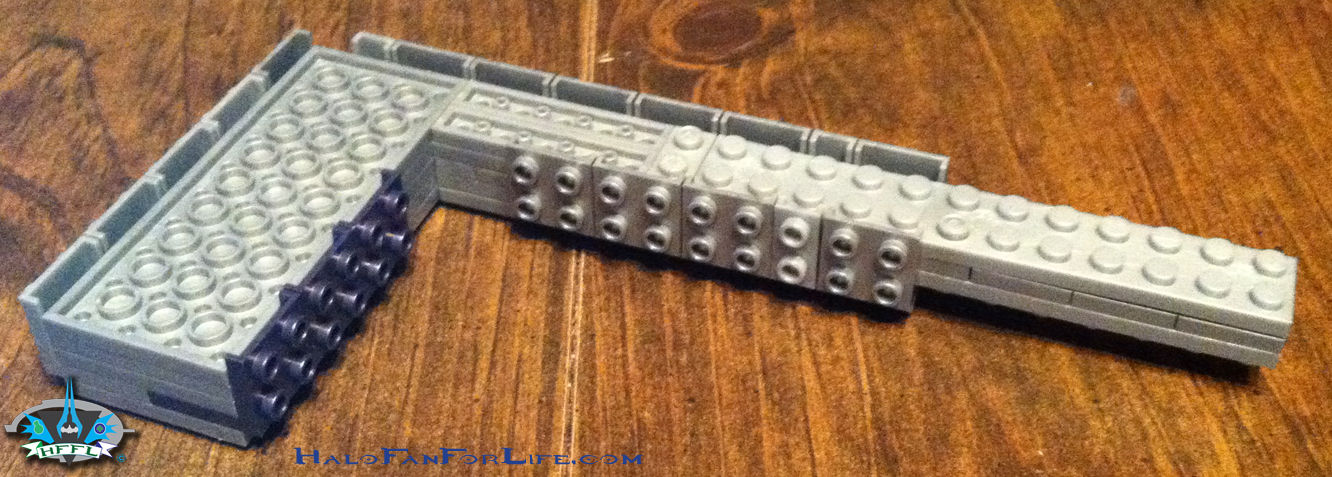
The shell gets filled in with numerous plates. When I first saw pictures of this from Toy Fair this year, I though the lower part of the leg (at right in the pic above) was made of one long blok piece and not multiple plates. There is good reason for the plates though. It keeps the leg symmetrical with the weight being evenly distributed.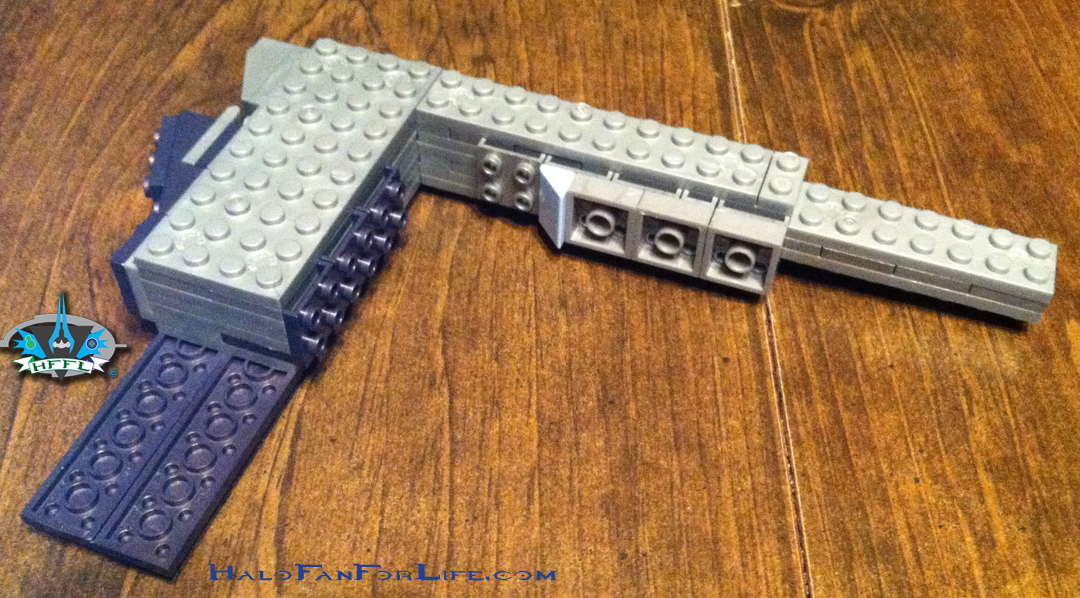
Though you can’t see it in the above pic, double sided stud pieces are just underneath those top most plates. This is what enables the leg to be built on from both sides. And of course, as you can see, the ‘L’ shaped pieces allow for building on all of the other surfaces. I have to say that this was a great bit of engineering on Mega’s part. They were really thinking outside the box here and it works VERY well!
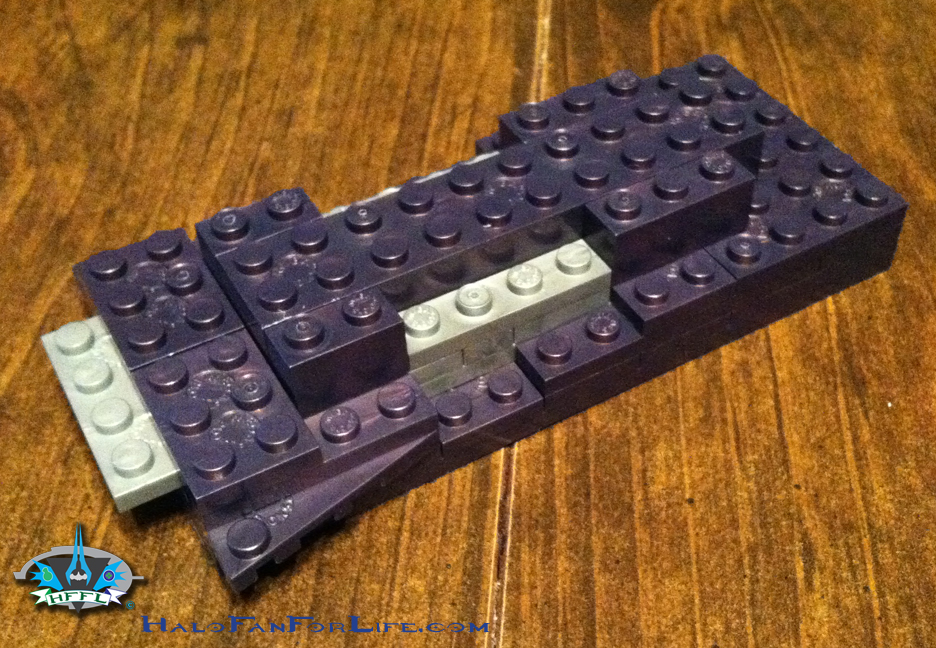
Above we see the beginning stage of the hip joint for the leg.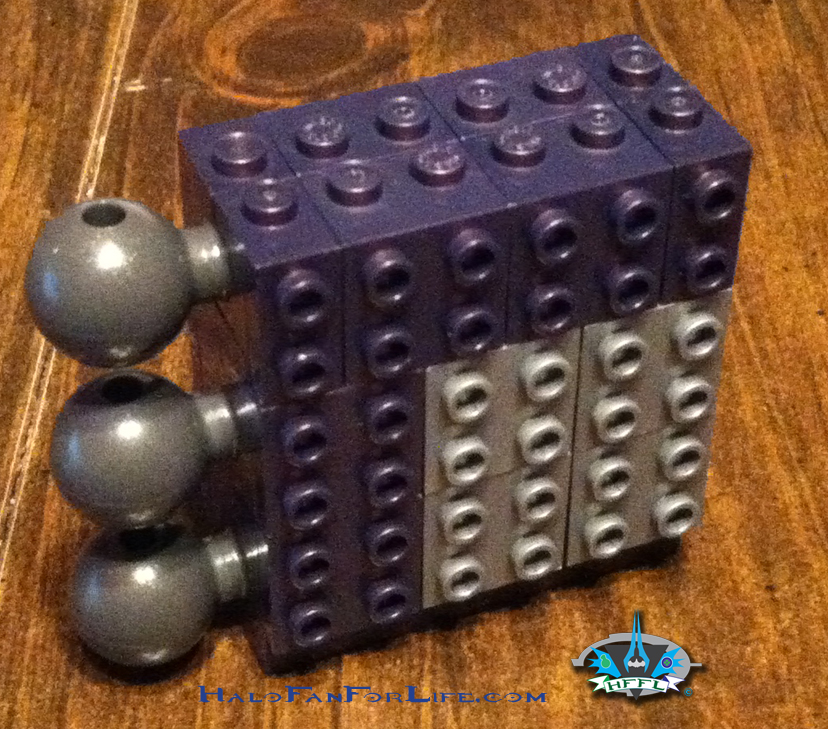
Each successive stage is built similarly. Once built, I was calling this the ‘battery pack’ in my head. I dunno, I guess I thought it looked like a set of batteries you’d buy in a store. LOL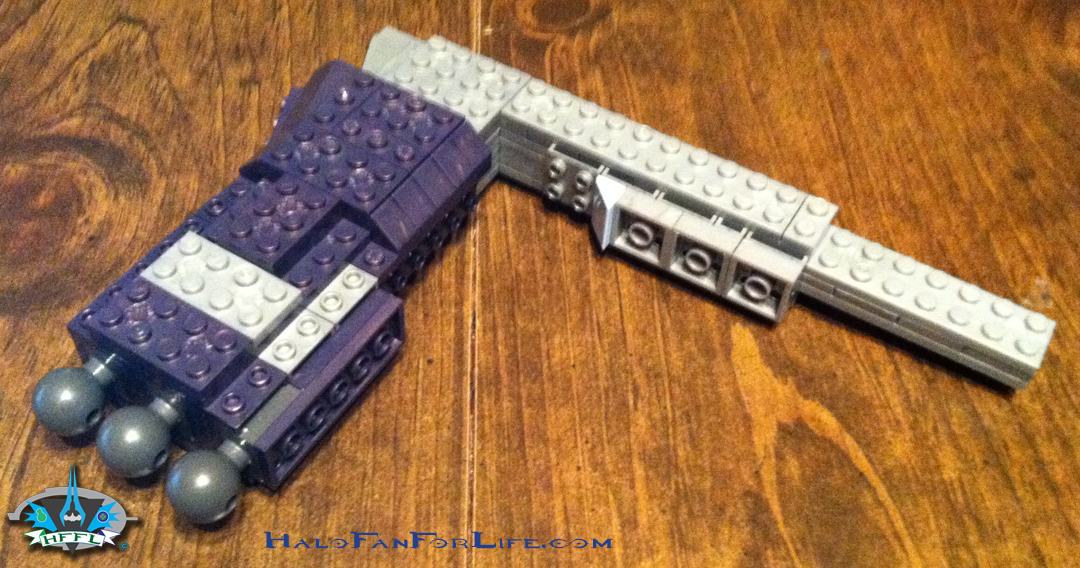
The hip joint is added on and some of the thigh armor is in place.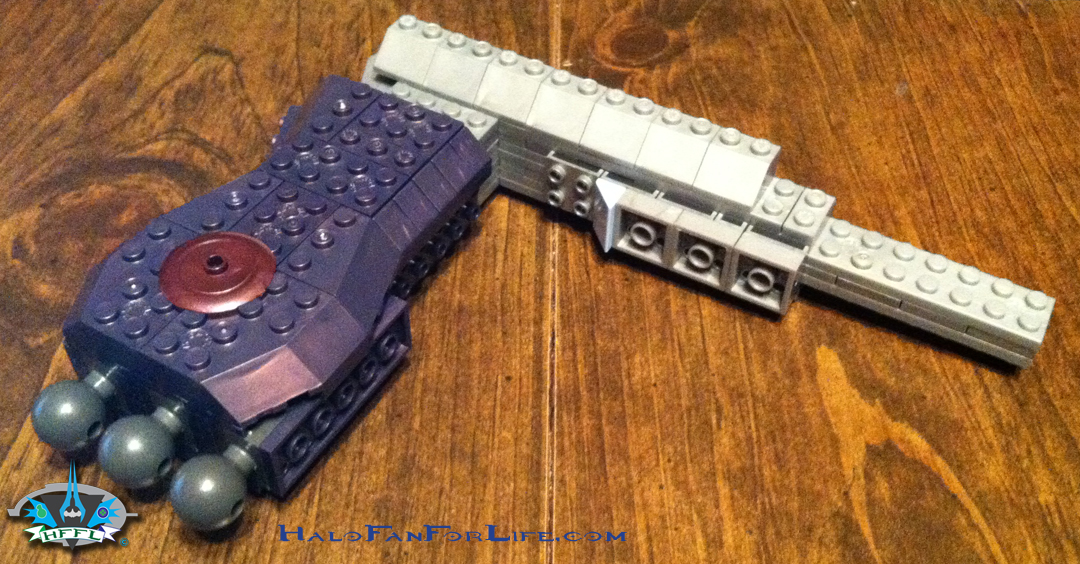
The majority of the rest of the thigh armor is built. Mega made great use of the sloped (angled) pieces here. Not only do they add bulk, but more surface area and greatly help to shape the leg.
Below starts the large part of the shin armor.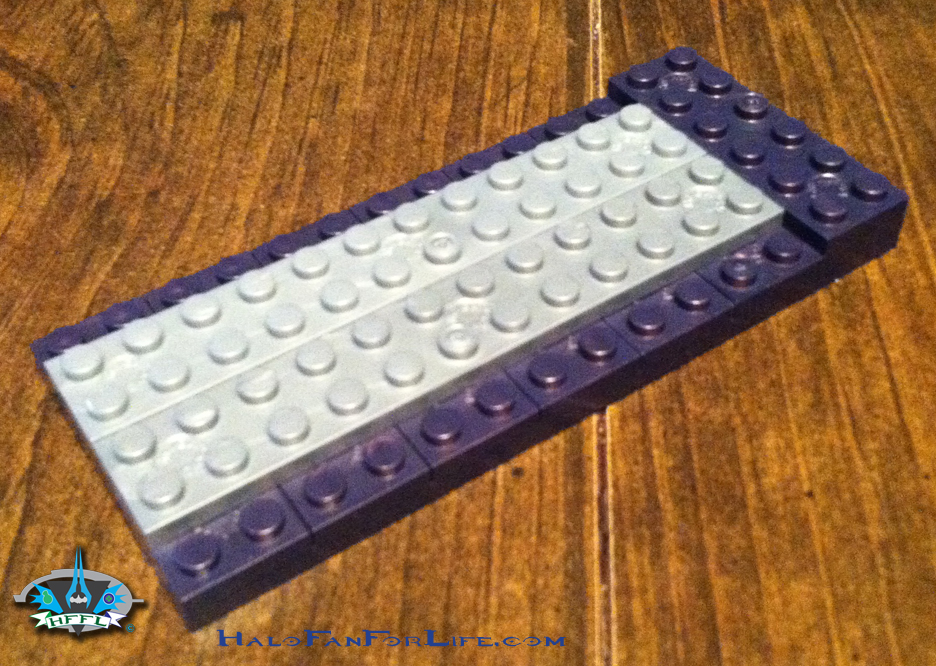
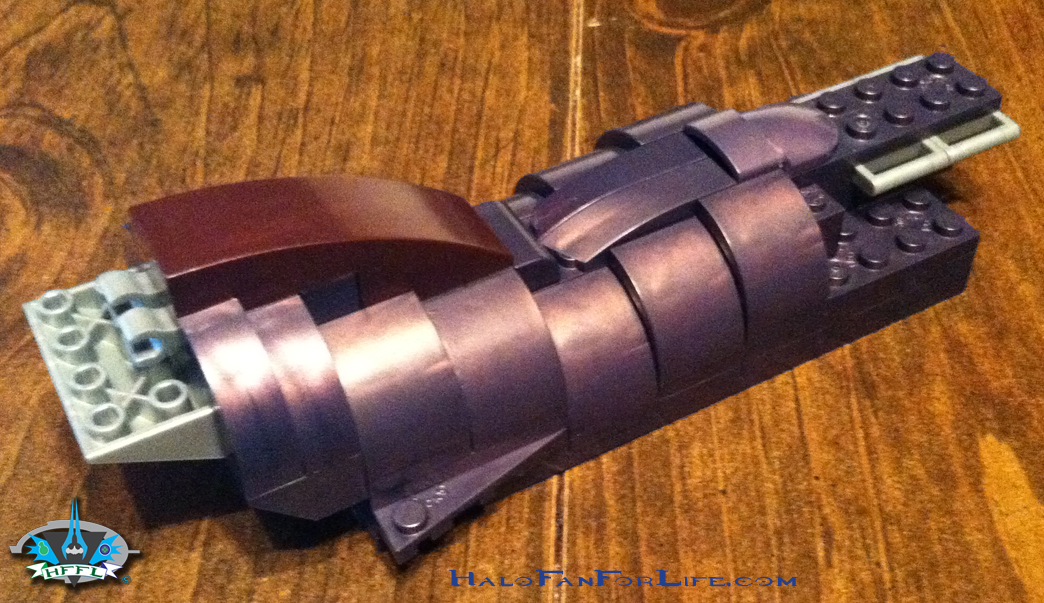
Above, the shin armor is nearly complete and ready to be attached to the leg. Again, liberal use of sloped pieces, this time, curved ones. Again those help to bulk up the legs.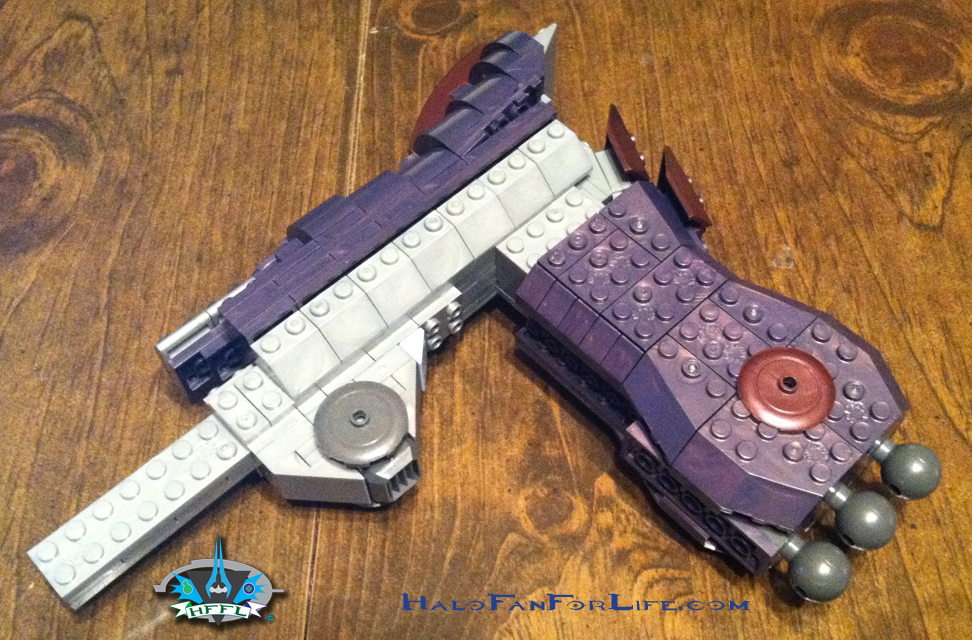
The shin armor is attached. At this point, it reminds me of some kind of sci-fii gun. Nothing from Halo, just a futuristic gun. 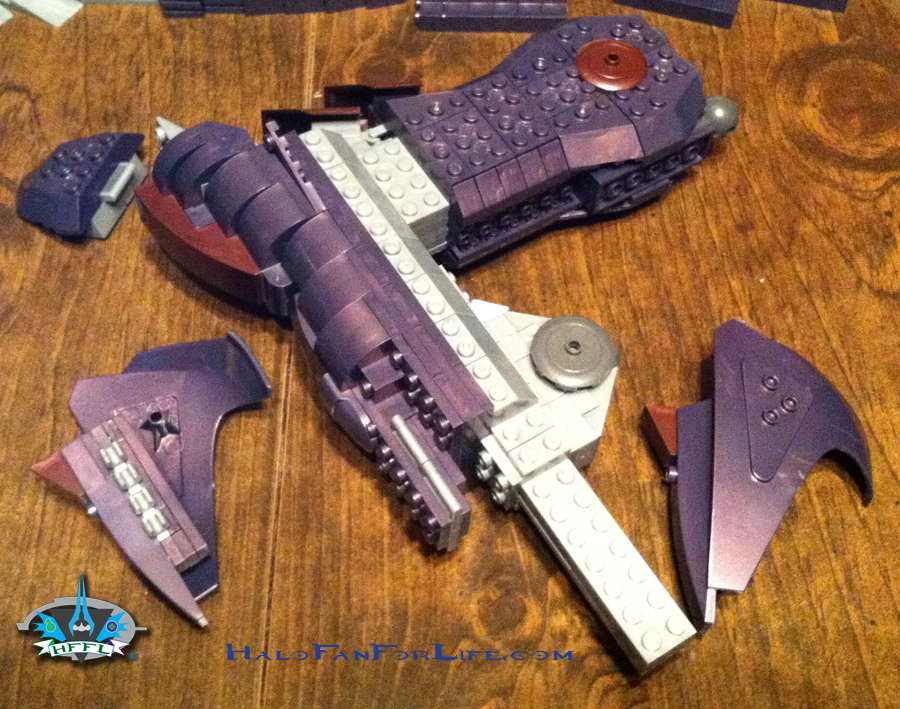
Next the ‘knee’ and lower shin guard sections are built and ready to be attached. Of note for the shin guards, I think it was a fantastic decision by Mega to use those large (relatively) triangular pieces. Those were first and only seen in the Anti-Aircraft Gun set from 3 years ago.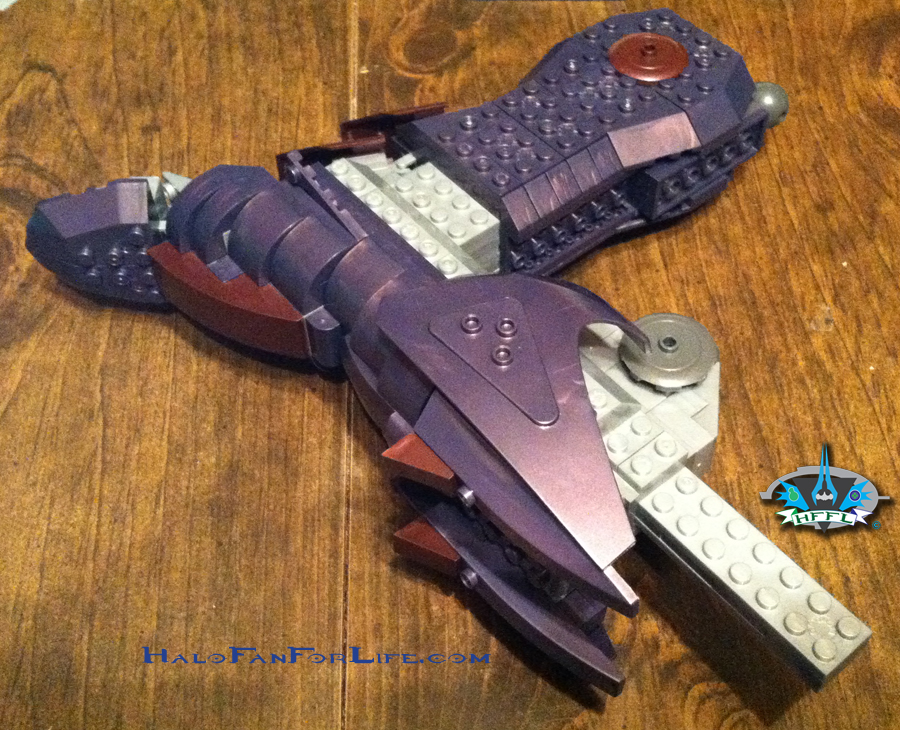 Those sections are added. Now the leg looks even MORE like a futuristic gun!
With that the front legs are done. The level of detail given to these is excellent. At first I didn’t think I was going to like those burgundy color pieces. I found they accentuated the build instead of taking away form them. You’ll see this in play in other sections of the review.
That’s it for part 2. Tomorrow, you will see how the back legs come together.
Here are the links to the rest of the parts of the review:
Halo Mega Bloks Toy Review, Covenant Scarab: Part 1 (of 6) The Unboxing
Halo Mega Bloks Toy Review, Covenant Scarab: Part 2 (of 6) Front Legs
Halo Mega Bloks Toy Review, Covenant Scarab: Part 3 (of 6) Back Legs
Halo Mega Bloks Toy Review, Covenant Scarab: Part 4 (of 6) Lower Body
Halo Mega Bloks Toy Review, Covenant Scarab: Part 5 (of 6) Upper Body
Halo Mega Bloks Toy Review, Covenant Scarab: Part 6 (of 6) Turret, figures, weapons and the rest
-Sal
Once again Sal, bravo.
I’ll be looking forward to part three.
Thanks Jared. Parts 3, 4, 5 and 6, right? LOL
Wow. This is simply amazing to watch. I can’t wait to see the rest!
Thanks man.