
Here we are at the third of a series of 6 parts for the Halo Mega Bloks Scarab. This is Mega Bloks third Halo Signature series set and it’s largest to date.
Due to it’s very large piece count (3,340), and it’s size, I’ve broken down the review into 6 parts so that you can easily see/read/download the review.
When this series of articles is complete, I will edit in the links at the end of each respective article for easy reference later on.
Mega Bloks Covenant Scarab: Set # 97964
Technical Specifications:
Build Time: 5 hours Sorting, 8 hours Building TOTAL 13 hours.
Set Piece Count: 3,340
Minifigs: 2x Jackal Snipers, Dark Blue Ascetic Elite, Dark Blue Commando Elite, Translucent-Blue Prophet of Regret
Weapons: Fuel Rod Gun, 2x Carbine, 2x Plasma Pistol, Energy Sword (My set had 4 Carbines in it.)
Accessories: Buildable translucent blue Prophet Chair
Special Features: Legs pivot front to back at the hip, cannon turns 360°, hatch lifts up (on upper body), removable roof for cockpit, 2 side compartment area hatches open/close, some articulation at front plasma cannon (mandibles)
Cost: $250 Toys R Us Exclusive
And on with the pics! (Click pics to make BIGGER)
Before I get started, I should note that many of the pics in this part will look similar to the fronts legs part. They should as the build for the front and back legs IS very similar. It makes for an easier and consistent build. This also made building the back legs quicker than expected. Okay, NOW on with the pics…
So as with the front legs, the back legs starts as a shell. As with the front legs, you are instructed to build both back legs at the same time as they are exactly the same. For the purposes of this part of the review, I’m only showing one of those legs. 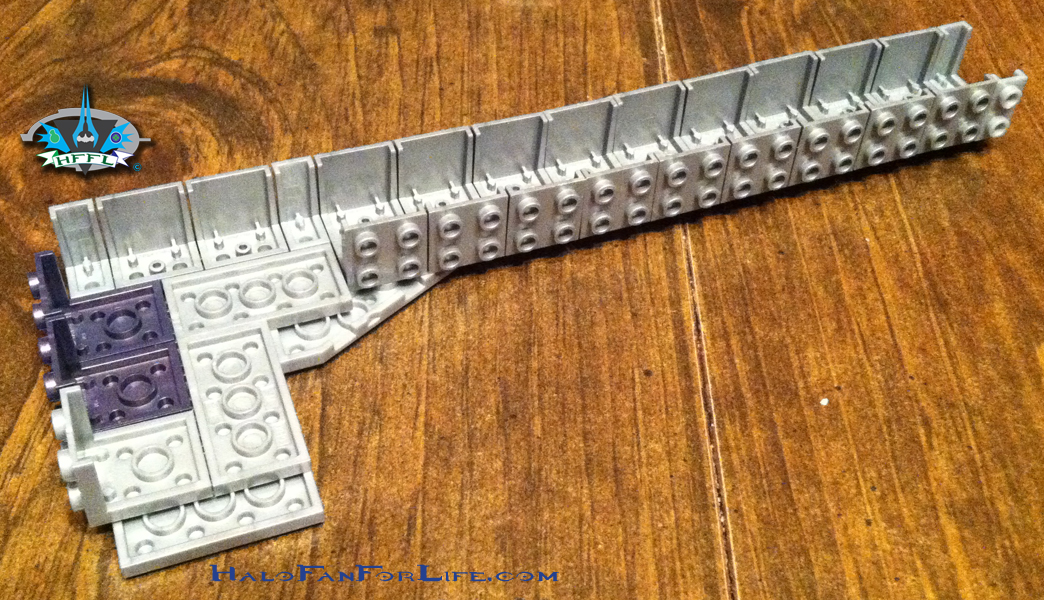
The legs gets filled in with several layers of plates. In the front legs part, I mentioned double sides plates, but they were not shown. Here, I made sure to show them this time so you could see what I meant by them.
Another layer of plates added will allow for building on the outside of this side of the leg as well.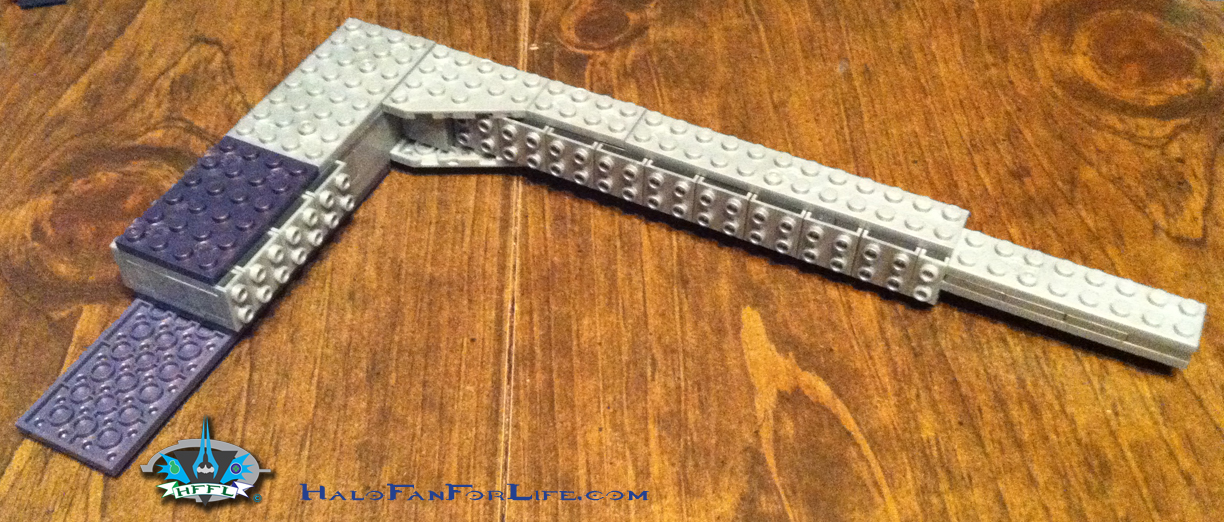
The hip joint is built the same way as the front leg’s hip joint.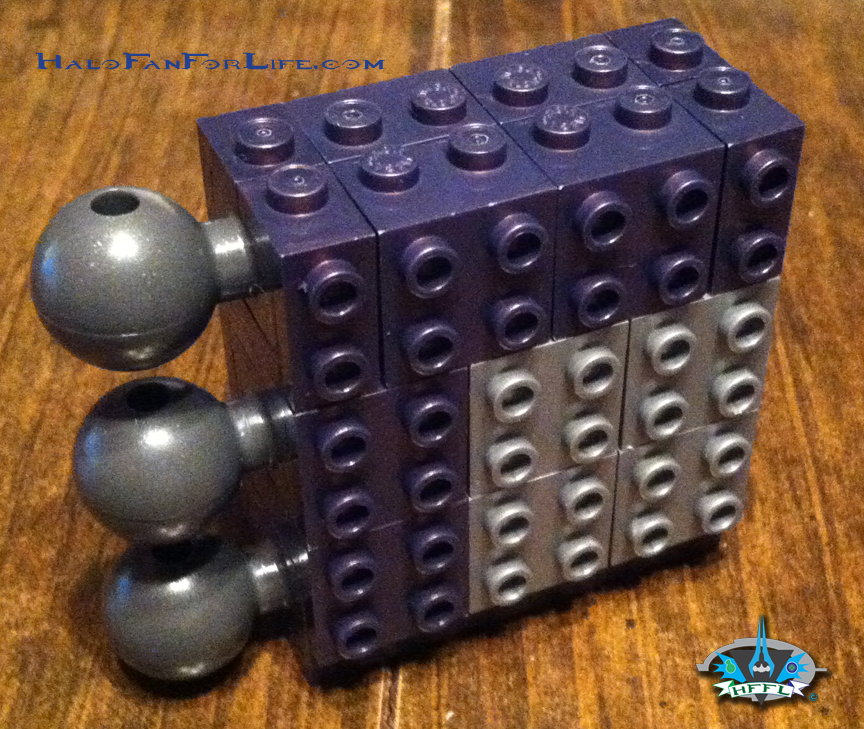
Here the hip joint section is added to the leg and some of the thigh armor is attached as well.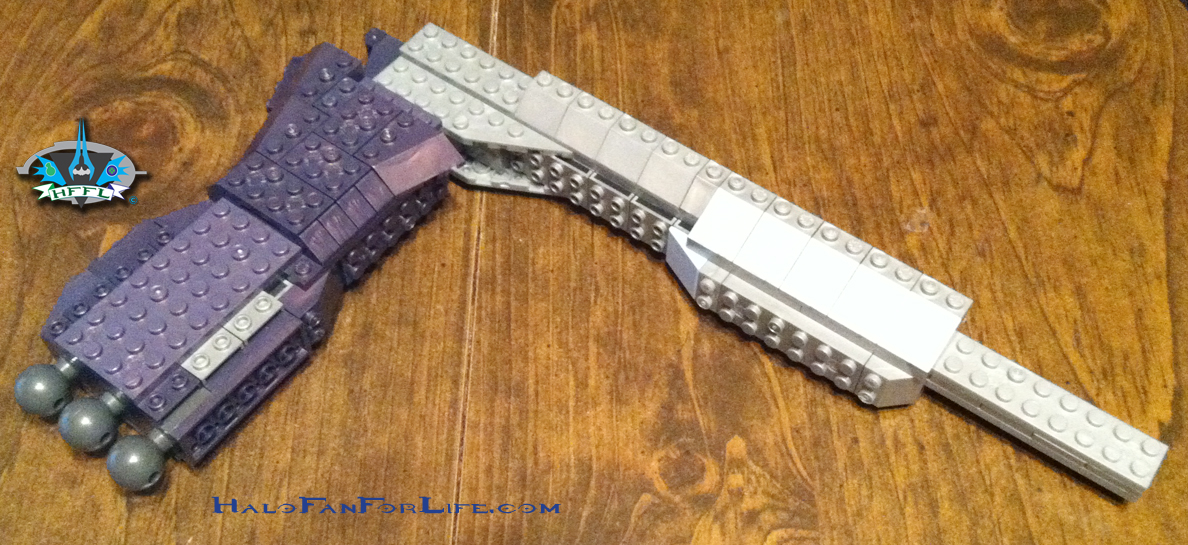
I didn’t show how the Hip armor was built in the front leg section. It’s not as big as the back leg’s hip armor is. What I like about this hip armor is that it reminds me of a turtle shell. Dang, if Mega still had the Teenage Mutant Ninja Turtle license, I could totally see this being reused for larger build able figures…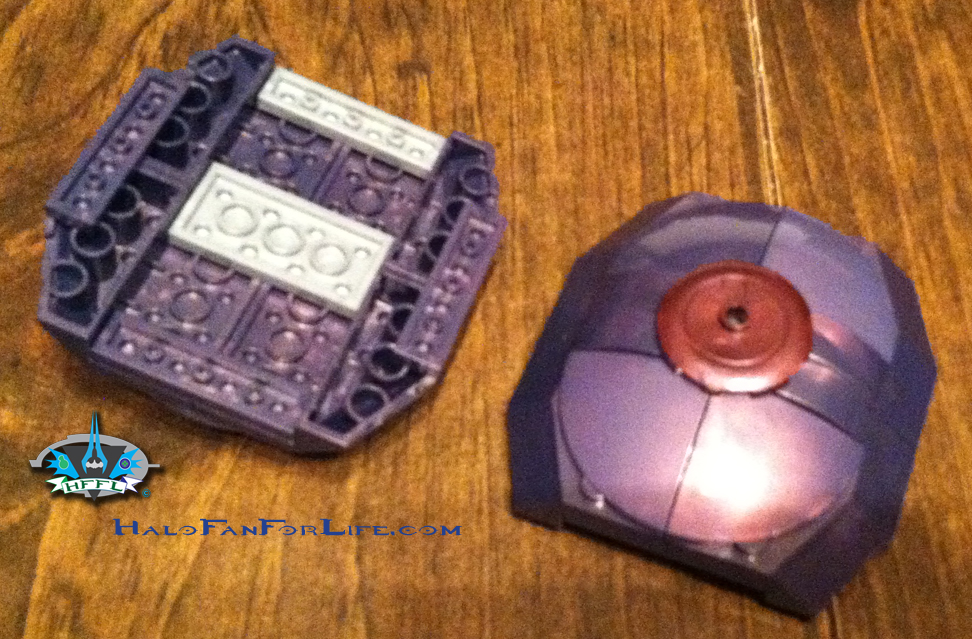
The hip/thigh armor is added. It really helps to flesh out the leg and make it look less blocky.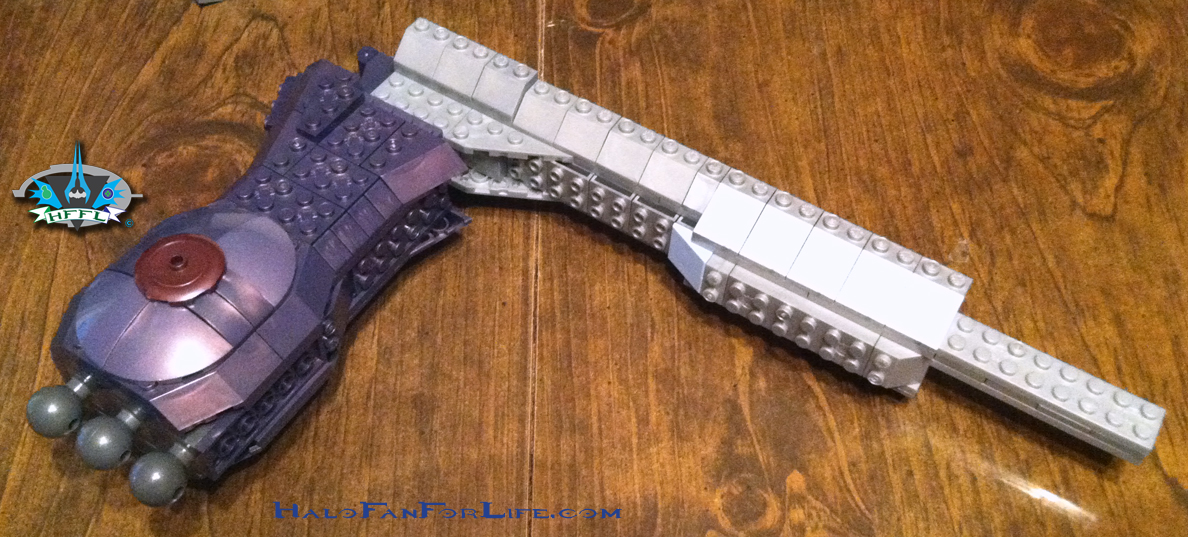
Now we start with the shin armor. 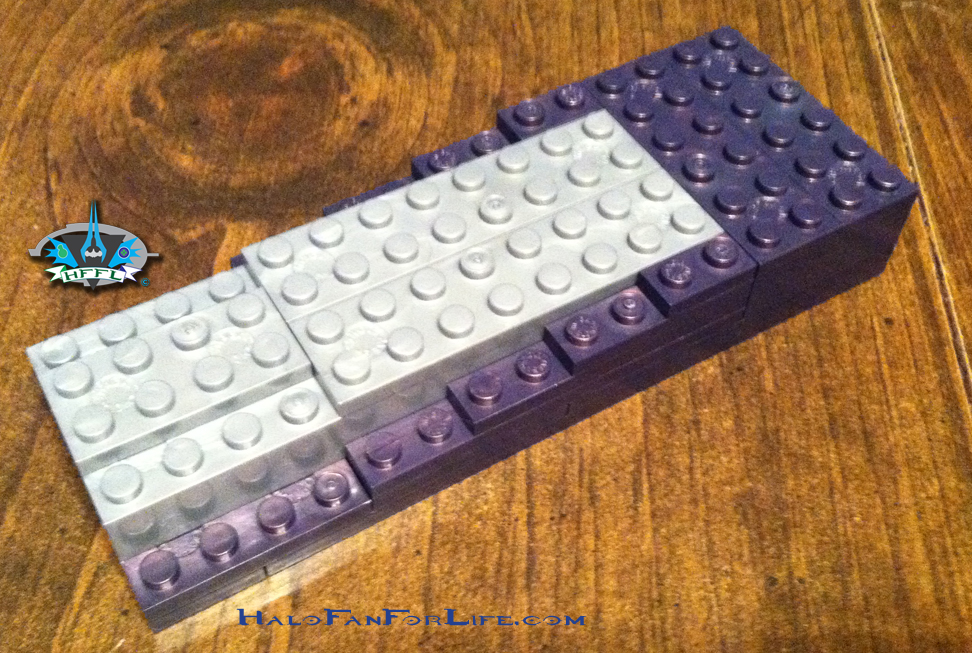
This is just one section of the shin armor for the back legs. Whereas, the front legs had one consolidated big section of shin armor. Once again, we have some nice curved pieces.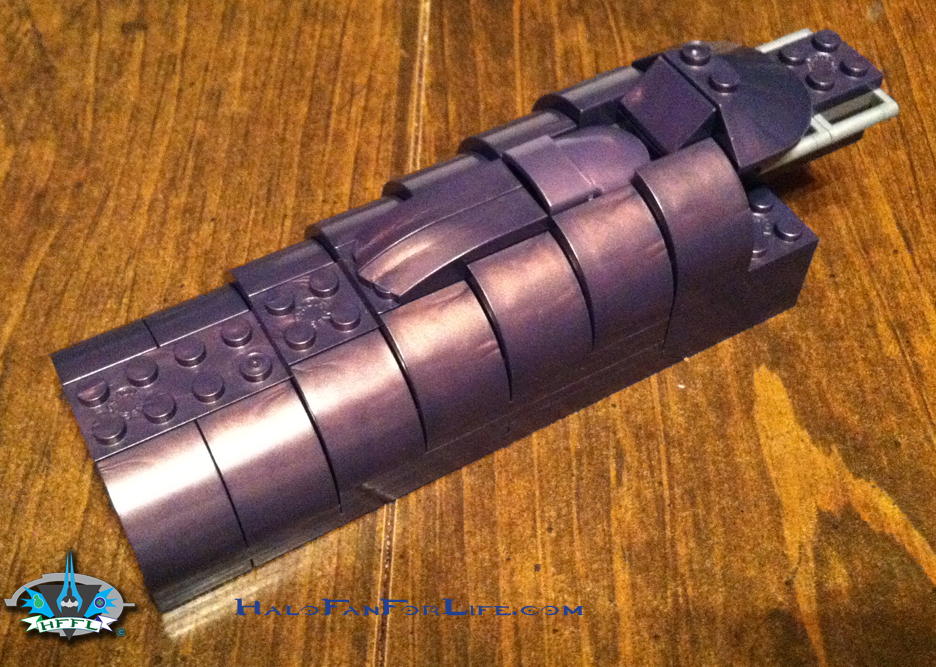
Thus starts the other section of the shin armor for the back legs.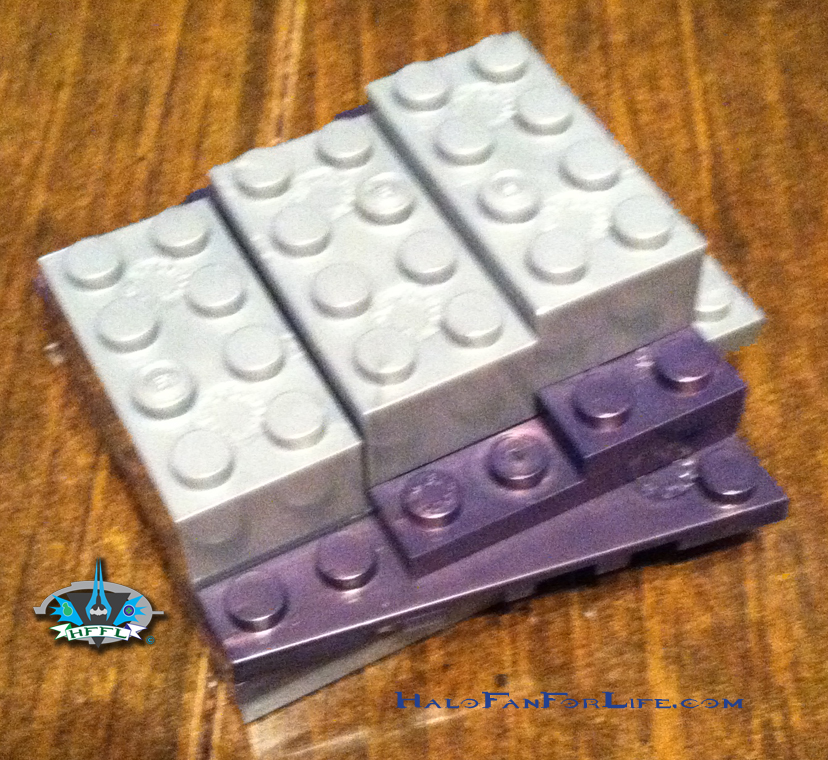
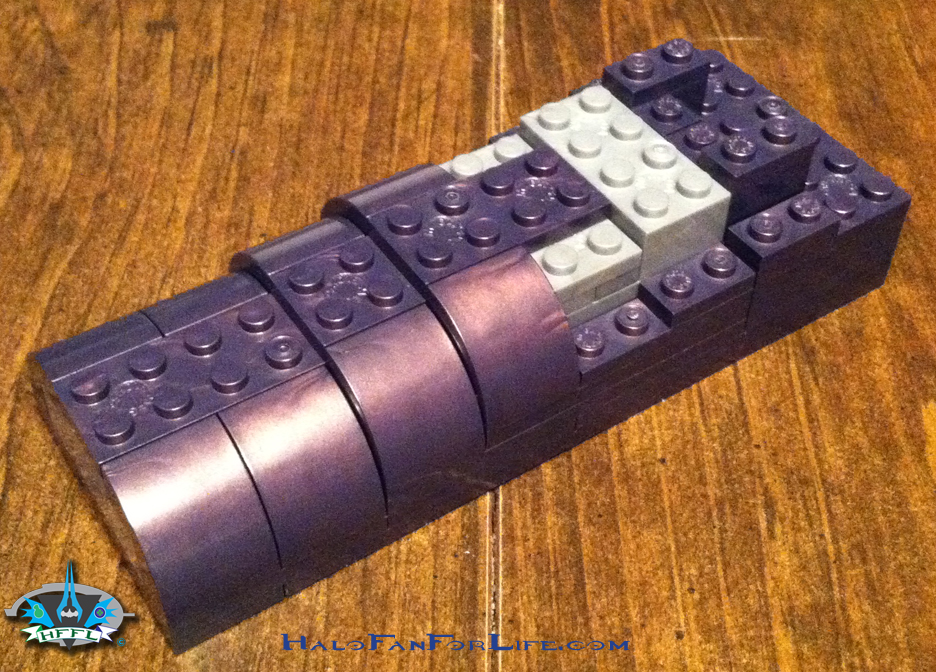
In the pic below you see the small and large shin armor sections unattached (top), then attached to the leg (bottom)
More specialized/detailed shin armor plates are added. Again, we get the somewhat triangular curved plated pieces to add to the leg. Also note that the ‘heel’ octagon has been added. This is bigger than the similar section on the front legs.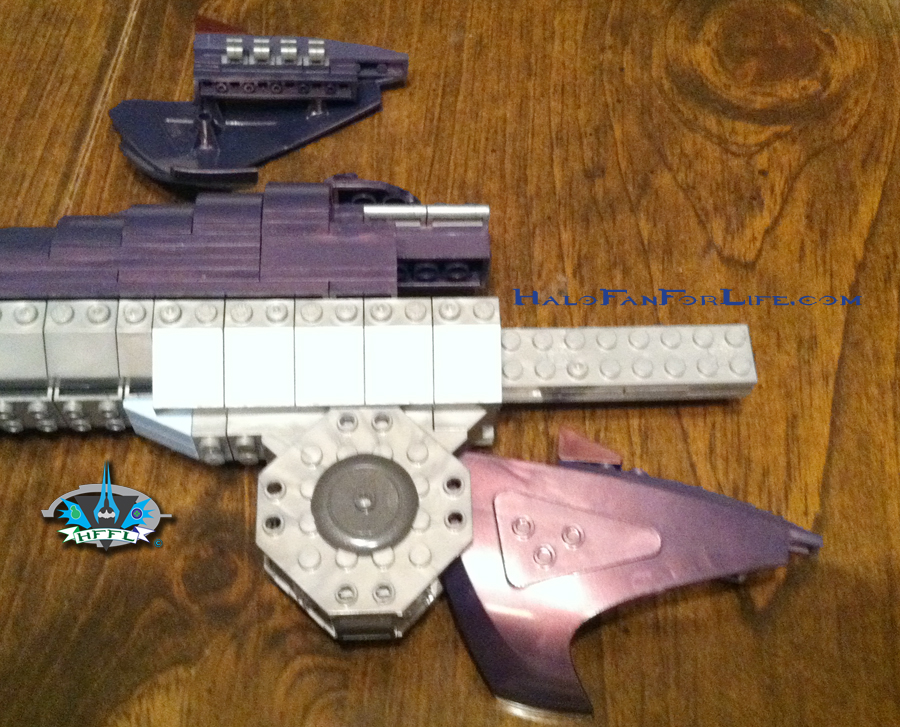
And again, the really look great with the leg and add just that much more detail.
The ‘knee’ armor (top left in the pic) is added. As well a small section of thigh armor is added. In this pic it’s the top of the two burgundy color angular pieces.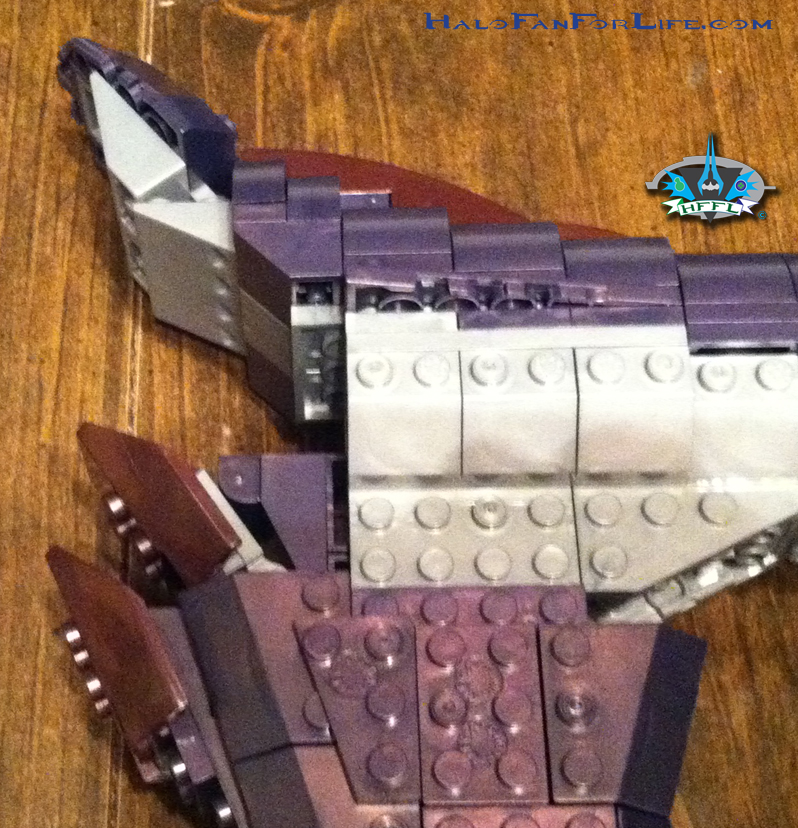
Once again, because the build is very similar to the front legs, the build for the back legs goes really quick. It became second hand for me by this point, knowing where the parts were that I needed to build the back legs.
Now, as much as the legs have some neat detail, they aren’t even the most exciting part of the Scarab. Tomorrow, you will see how the lower half of the body comes together. That part of the review holds some special sections to it that you shouldn’t miss.
Here are the links to the rest of the parts of the review:
Halo Mega Bloks Toy Review, Covenant Scarab: Part 1 (of 6) The Unboxing
Halo Mega Bloks Toy Review, Covenant Scarab: Part 2 (of 6) Front Legs
Halo Mega Bloks Toy Review, Covenant Scarab: Part 3 (of 6) Back Legs
Halo Mega Bloks Toy Review, Covenant Scarab: Part 4 (of 6) Lower Body
Halo Mega Bloks Toy Review, Covenant Scarab: Part 5 (of 6) Upper Body
Halo Mega Bloks Toy Review, Covenant Scarab: Part 6 (of 6) Turret, figures, weapons and the rest
-Sal
Great review Sal.
I can’t wait to see this come together! 🙂
And you will. There are still three more parts of this review to go!