
Before I start this review, I need to thank Bandai for being generous in sending me this set. This is a pre-production set, meaning, it’s one of the ones made before mass production begins. You can tell by the sticker in the upper right corner of the front of the box. I’m told that means ‘sample’ in Japanese.
Further thanks are due as I was told I am the first ‘press’ person to receive this set and noone will get it for roughly a month’s time. So this is the exclusive review that you can not find on any other site. (Please see statement at end of article).
Let’s get started with the review!
The box art is nicely done. I like the pose for Locke here. Not again the sticker in the upper right hand corner. That does not come with the regular retail set.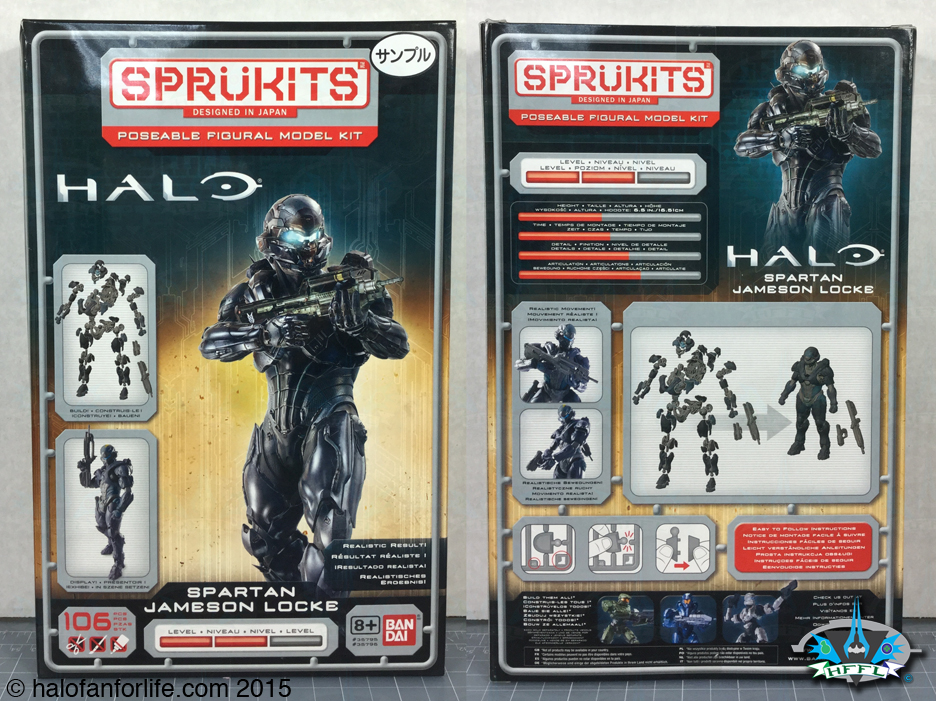
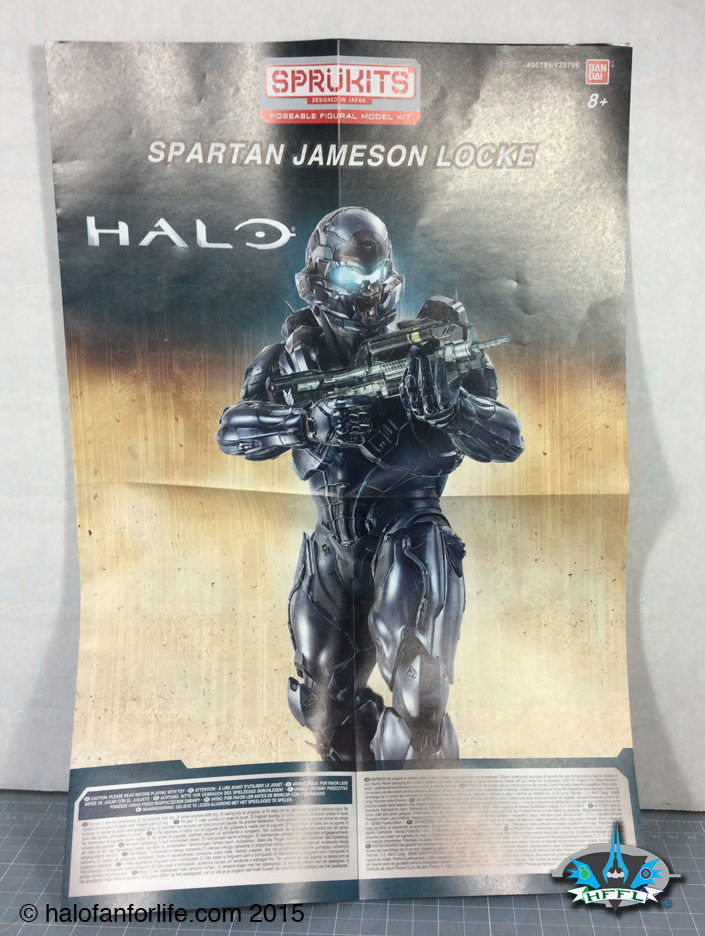
Getting ahead of myself here a little, here is part of the instructions folded out to show Locke again. When you’ve completed the model, you could use this for a poster, if you so choose.
There are two bags of sprues in the box.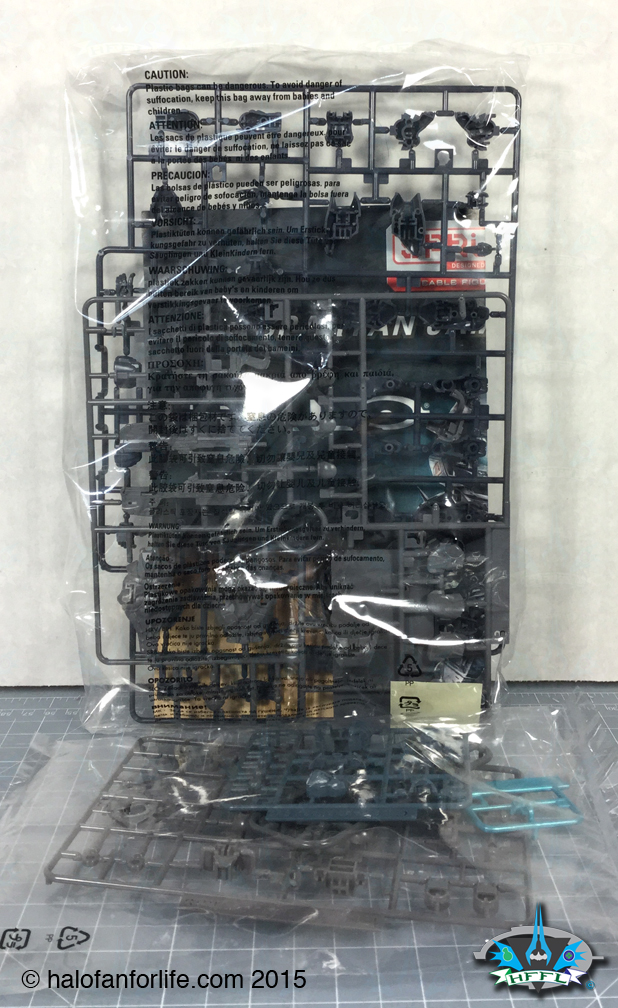
When opened, they contain 5 sets of sprues, 1 baseplate to stand the model on, and a small sheet of stickers.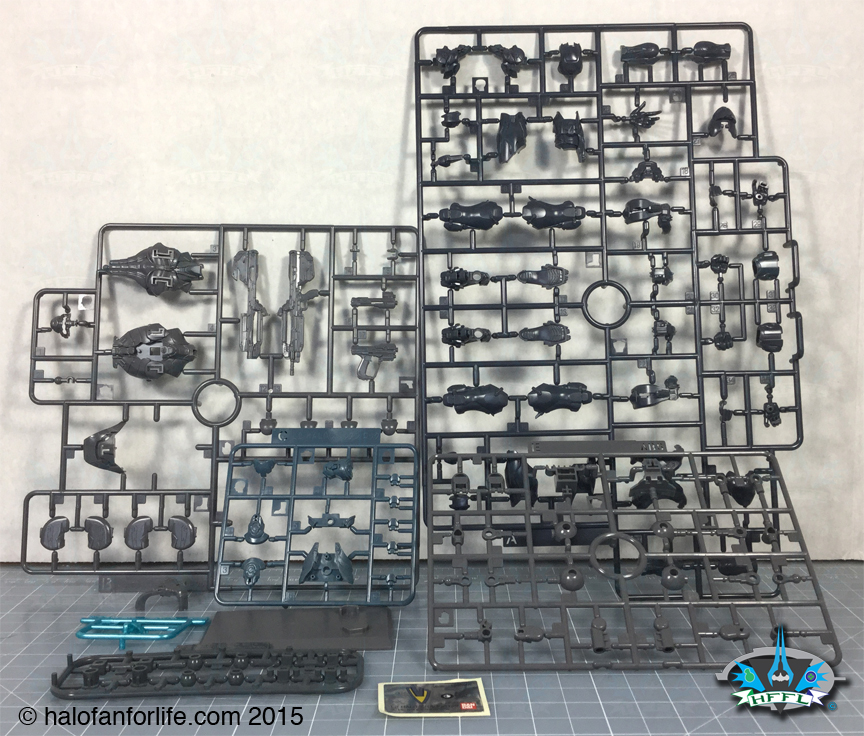
Speaking of the stickers, here they are close up. Only two to apply to the model. When applying the ONI symbol, might I suggest you use a pair of magnifying glasses as well as a thin instrument, like an exact blade (kids, let your parents do this part). The ONI symbol is very tiny. I took my time with this to make sure it was in the right place.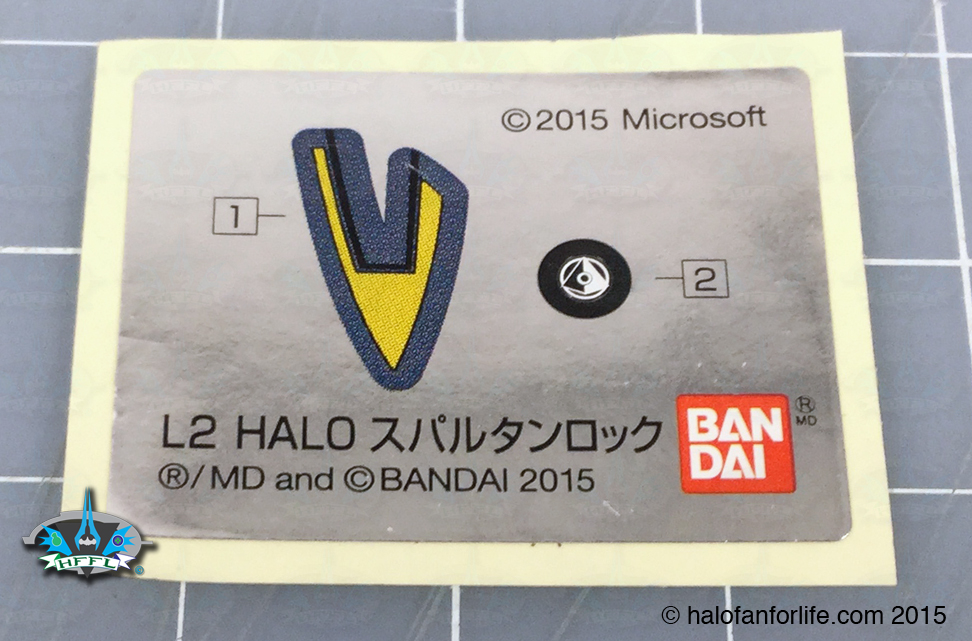
Here are the instructions fully unfolded. As with the other Halo Sprukit models, this is a non-linear build. Meaning, you can choose to build whichever section you want and so on. I always build from the top down, so my first order of business was the helmet.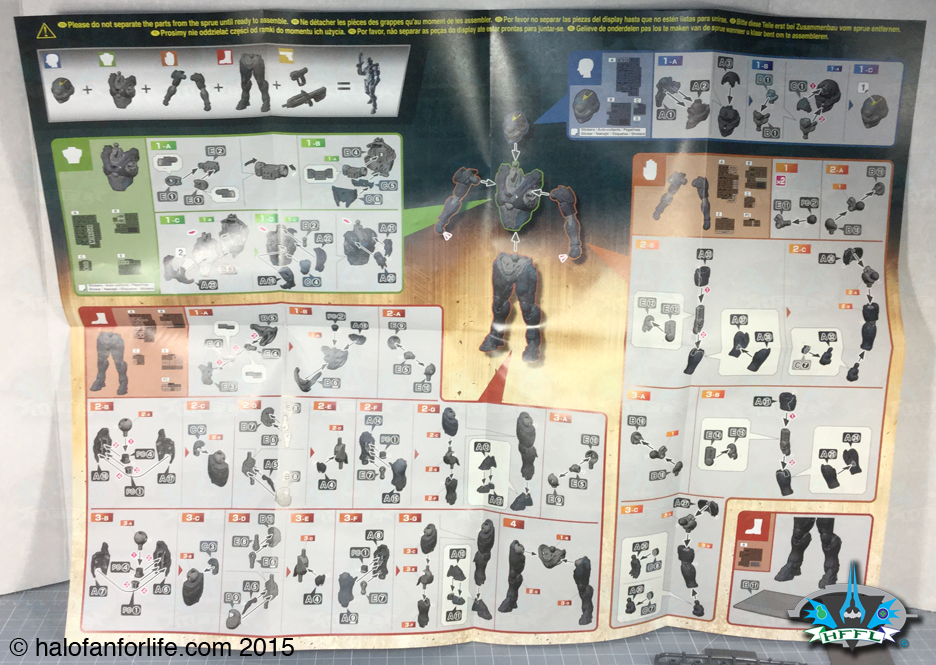
There are six pieces to the helmet and the larger of the two stickers. I had no issues with fitting these pieces together. Remember folks, this and all the other Halo Sprukit models do NOT need glue! 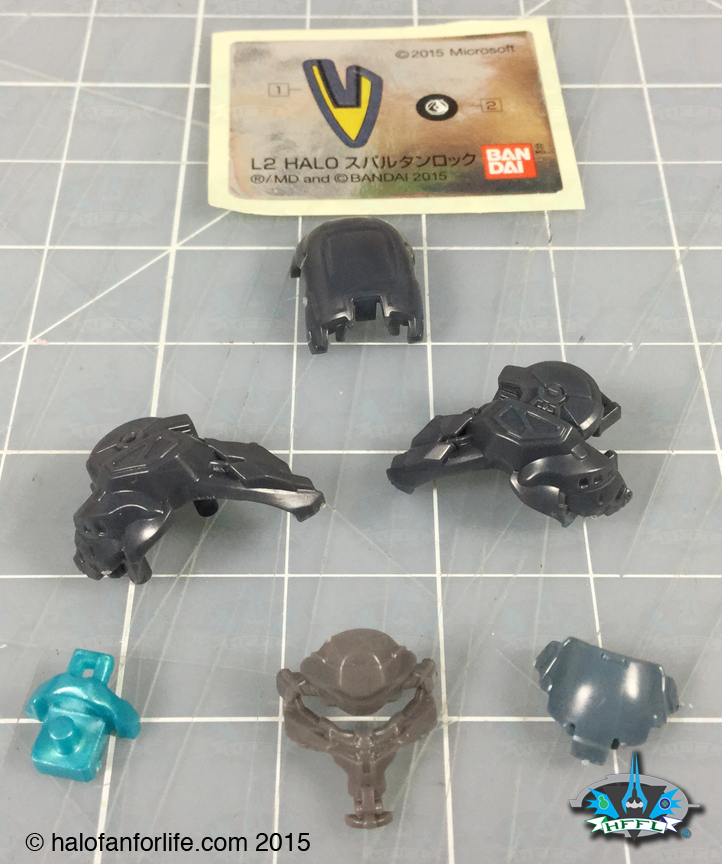
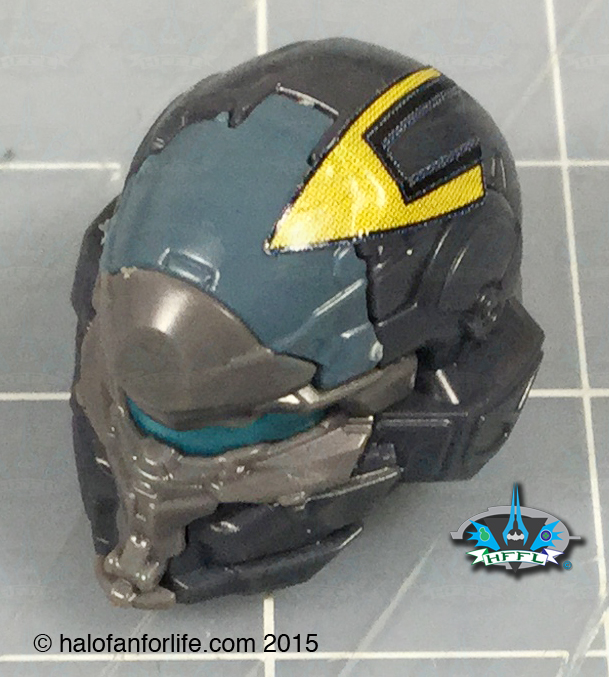
Here’s the helmet from 4 different views. Once again, I took my time placing the sticker.
A close-up. I absolutely love that the armor has different colors to it. Makes it more dynamic. Don’t let that sticker detract you either. While you can see the dots printed on it in this pic, the helmet is small. So, the yellow looks like one color. For those who absolutely don’t want to put a sticker on this, you can airbrush it. Mind you again, this is a small model.
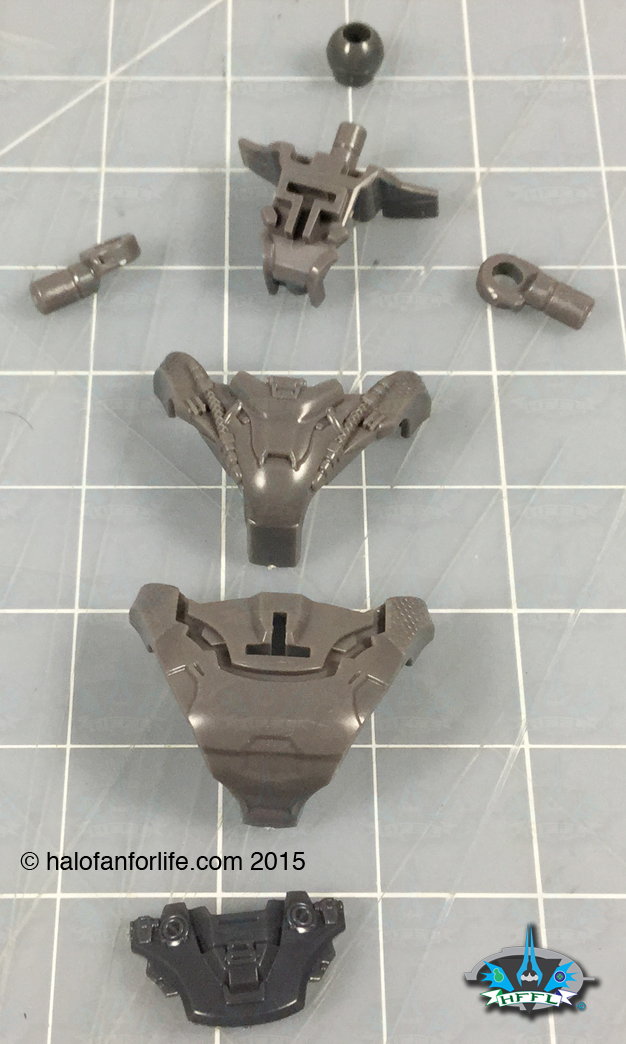
Moving on, we have the torso pieces. Note again the varied colors.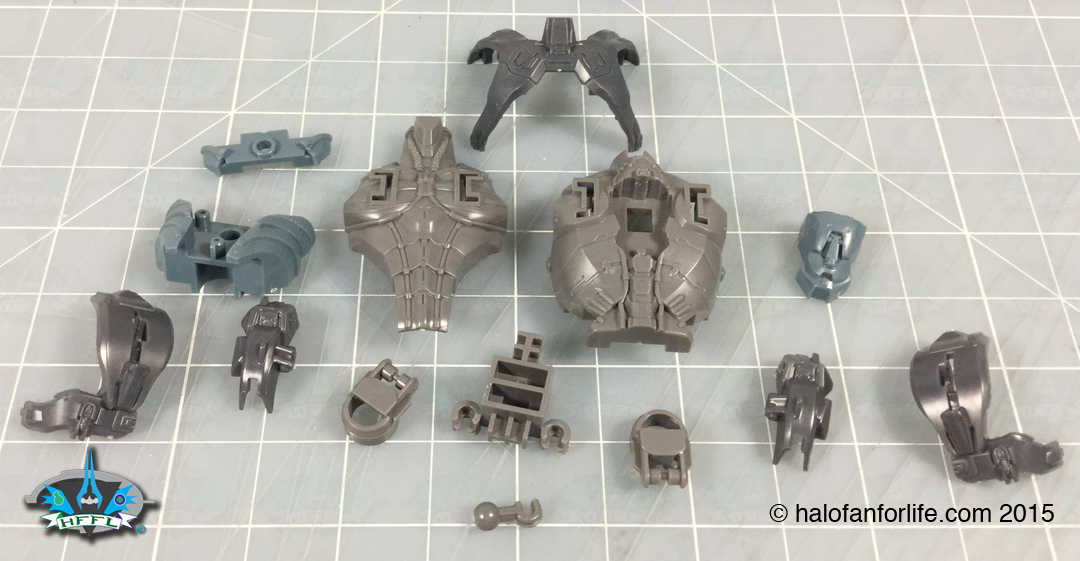
Here is the inner workings of the torso. This shows the shoulder assembly fitted into the torso. Those circles you see will later on hold the ball joint for the shoulders.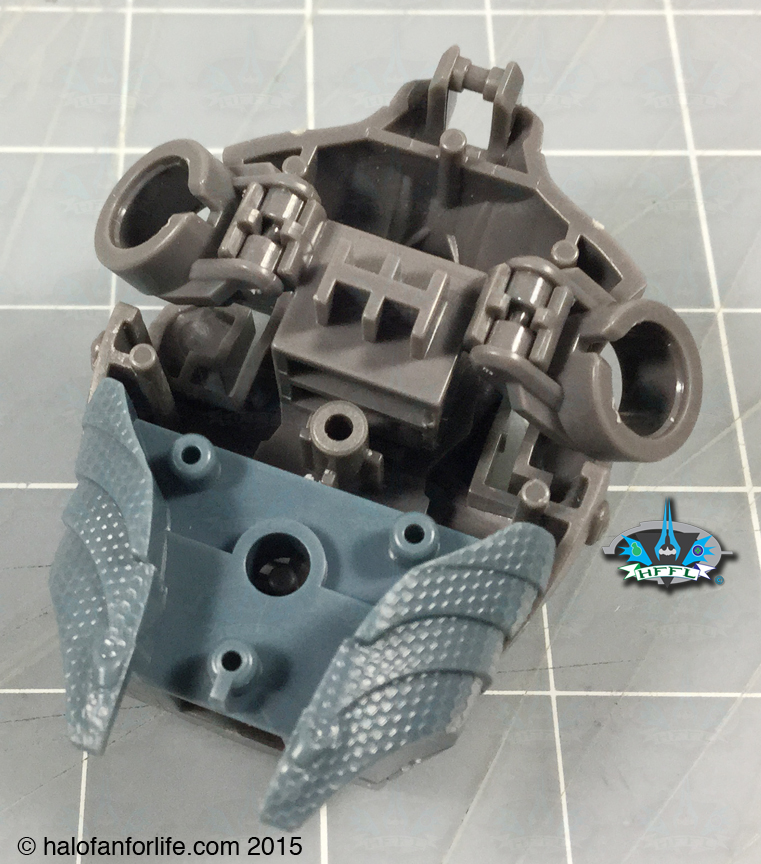
Views of the torso. The amount of detail here is AMAZING! Especially given that this is the smaller sized model, unlike the larger Master Chief model. Not the ONI sticker in place.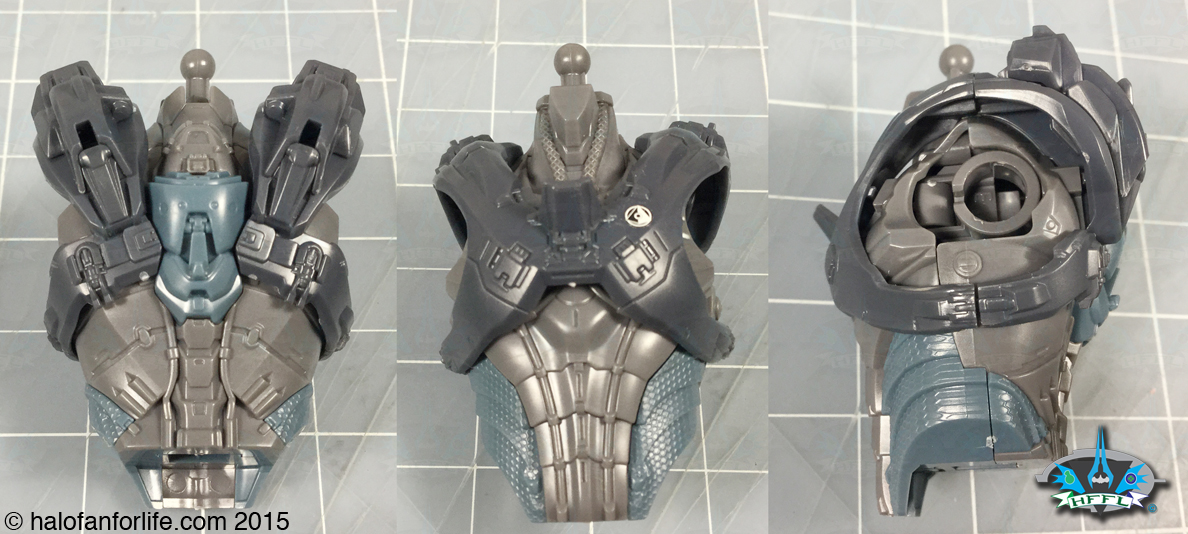
Next we move on to the arms. You might notice two pasted sections to each side of this graphic. I had made a mistake and put on the ball joints early. I wanted to make sure you saw all the parts before any assembly, so I composited this image.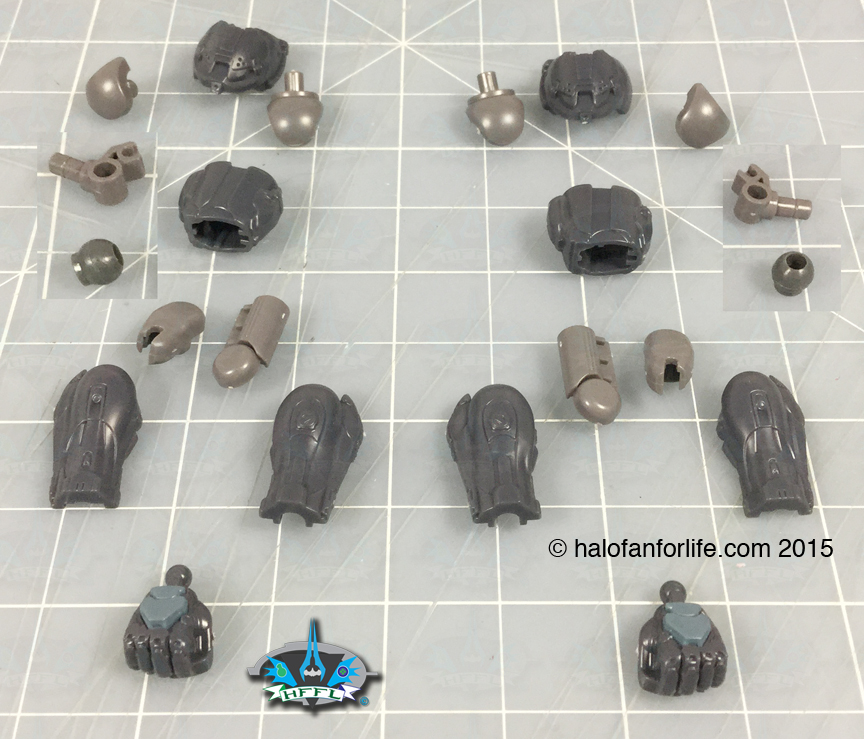
Now, this step was crucial. I am deliberately making reference to instructions. Note on part A33 the thin white line highlight. That clearly indicates which way the bi-cep piece goes on. As the elbow joint only goes in one direction, this is critical to making sure you assemble the arm correctly. On the right side the front face of the bicep is showing for one of the arms, while on the other, the back side is showing. You can see how the armor mold is definitely different.
Now that we have the different sections of the arms assembled, we connect them together.
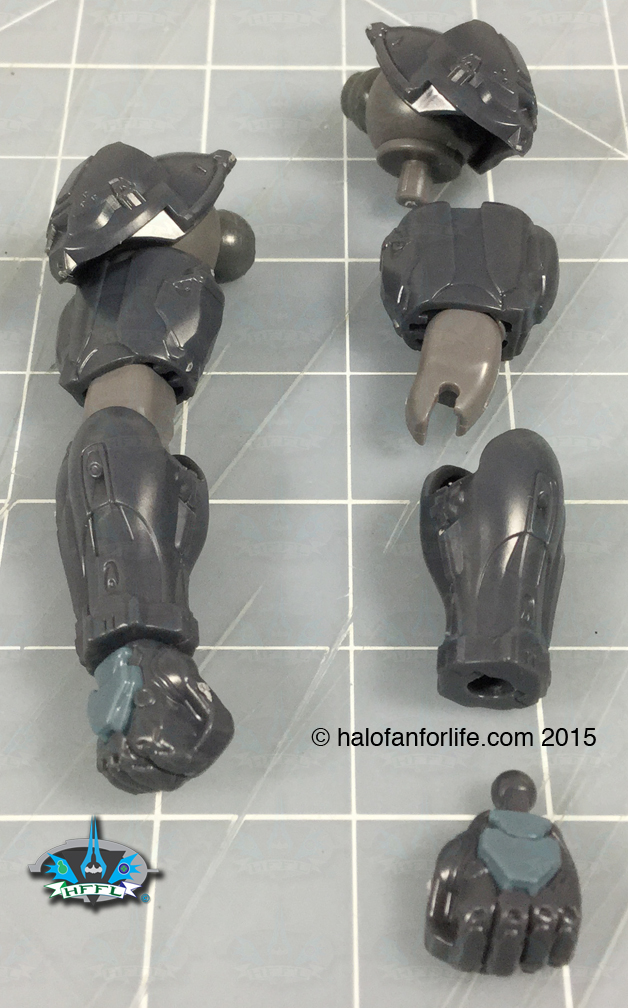
These are the pieces for the hips. The directions actually show the hips and legs. However, that is a lot of parts, so I chose to show you just the hips for this part of the review, then the legs after.
No cod piece for Locke, though he does have a butt plate…LOL.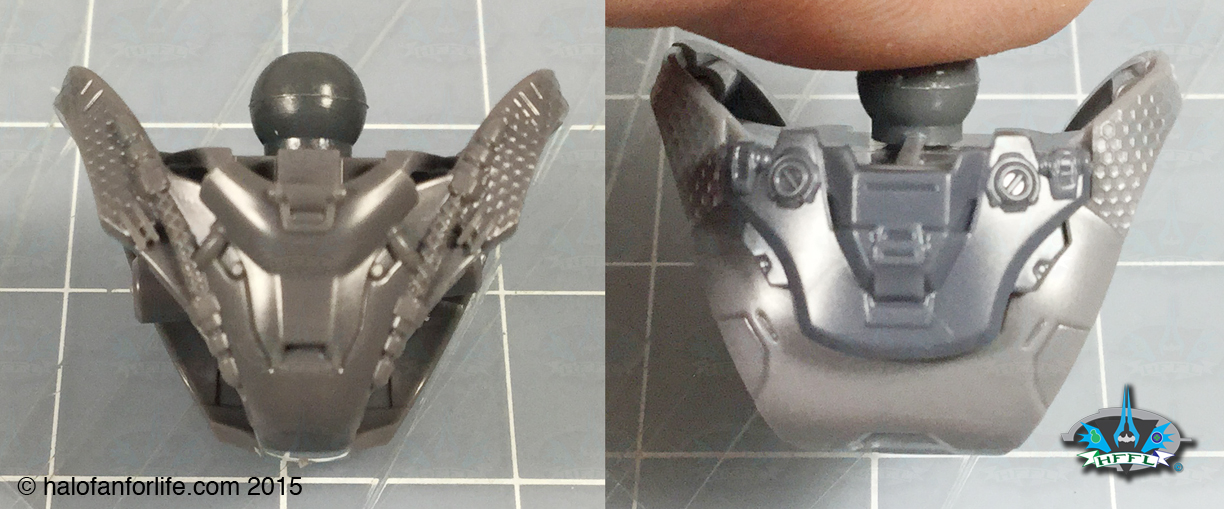
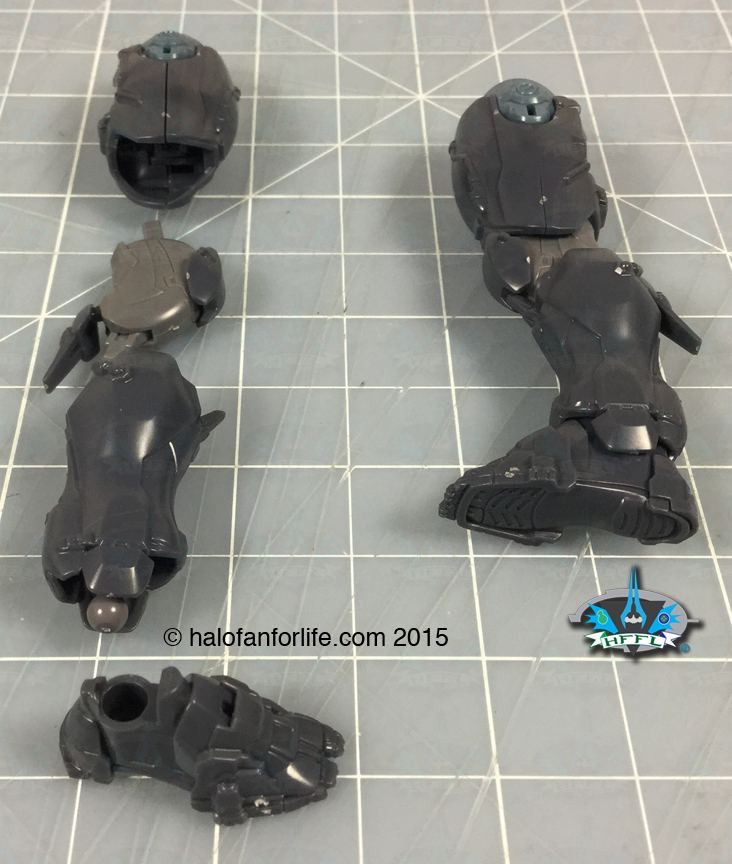
Here are both leg sets of pieces. 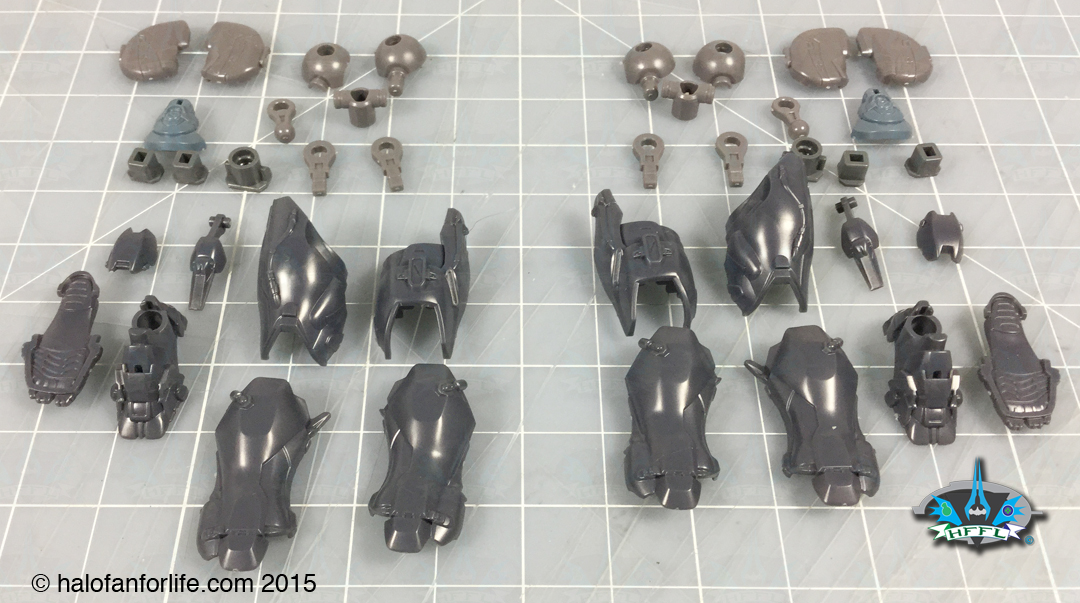
This goes together pretty easily. The only slight bit of difficulty was placing the calf armor (that thin piece protruding from the calf area) into place. You have to hold three pieces at once to get this to fit in right. Not really an issue though. Oh also, make note of the fort show at bottom left. Locke’s foot armor is specific to each foot. You can see that by the big toe being differentiate form the rest of the toes. I kind of like that. Different from what we’ve seen in Spartan armor before now.
Now that we have all of the major components of the body built, it’s time to assemble then all together.
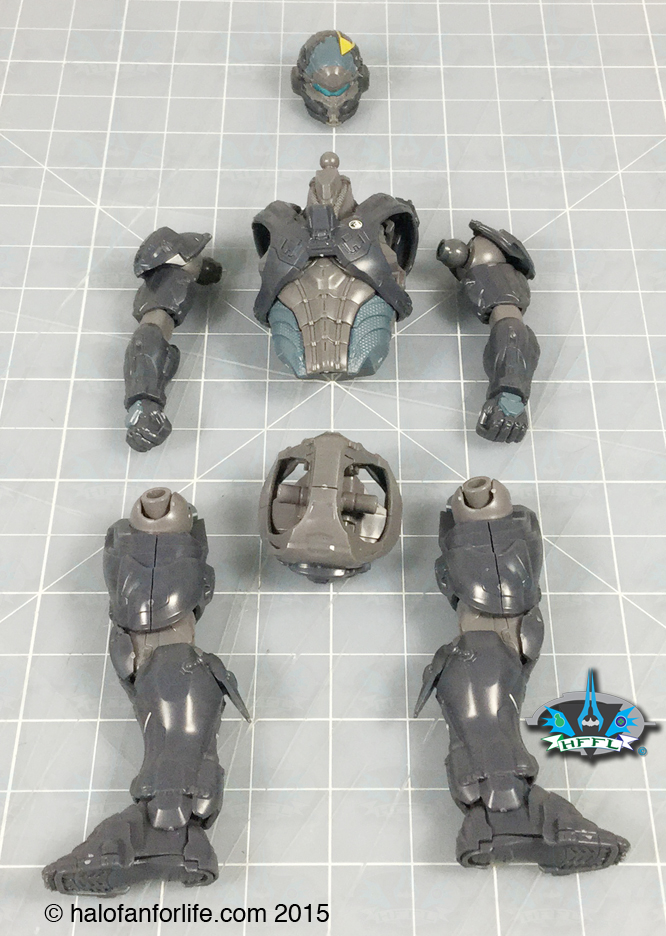
Be sure to click on this pic as you will see a lot more detail in the larger size.
I am really impressed with how the different color armor works together. This is by far the most colorful of the 4 level 2 Halo figure models from BanDai. The detail is impressive to say the least.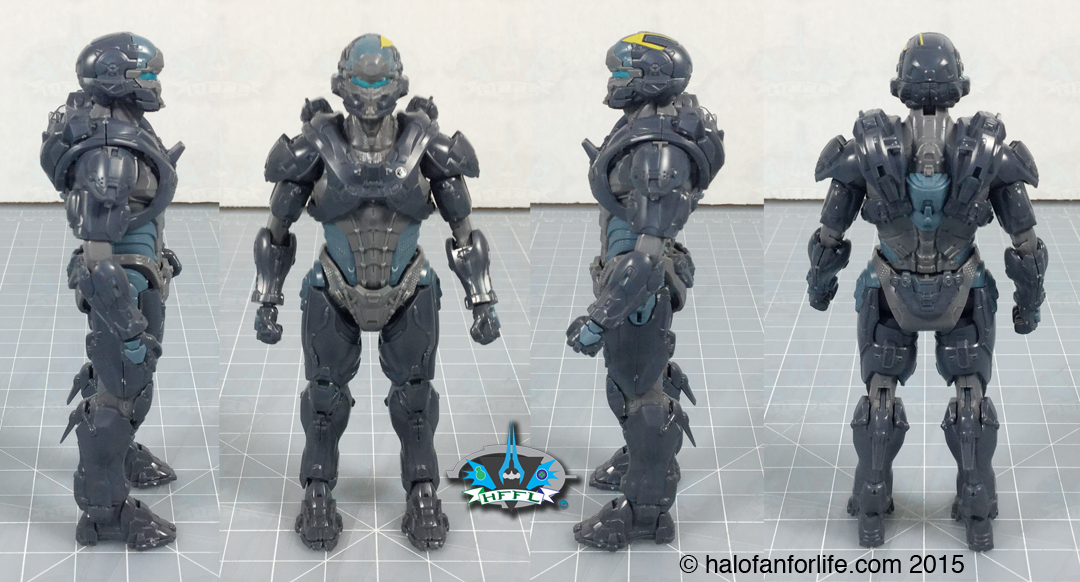
Here’s a close-up. Several things to note here. The sticker doesn’t look as grainy as it did even closer up. The pic shown here is larger than scale, so you won’t even notice those dots from the sticker that I showed earlier. See the ONI sticker? Took me about 5 minutes to make sure I had it in the right place. Again, don’t rush that step. Lastly for this pic, the shoulder armor. It has some slight articulation to it. That is something new. The other 3 level 2 Halo models do not have this. It’s quite an improvement. if you ask me.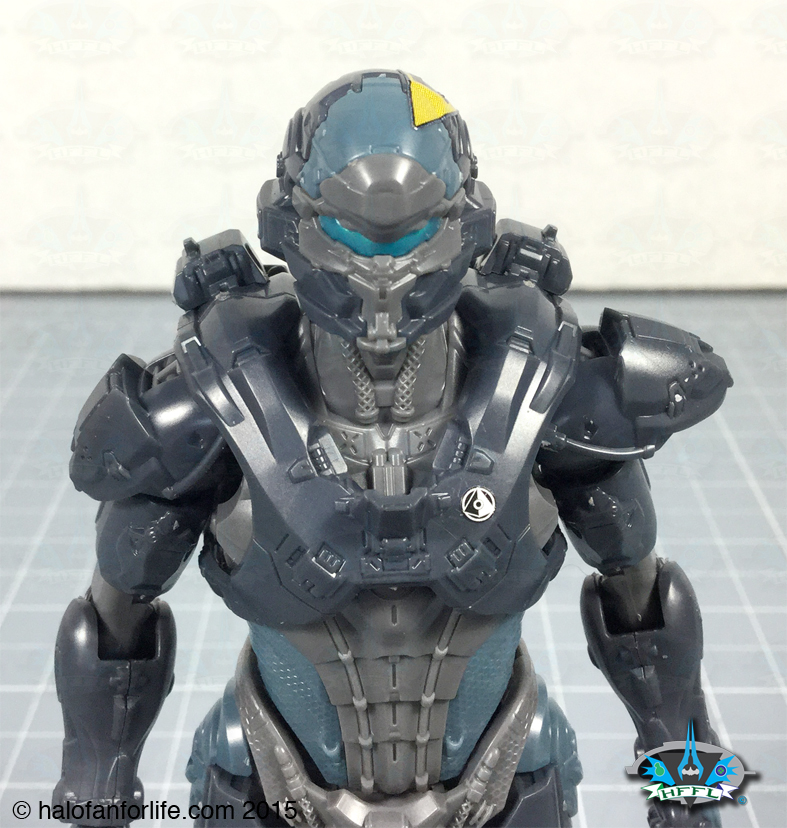
Again, click this one to get a bigger view. On the left the back of the model. In middle, a small pin has been inserted into the right thruster. This pin, at right, is able to hold the Battle Rifle into place. The BR clips in nicely at the trigger.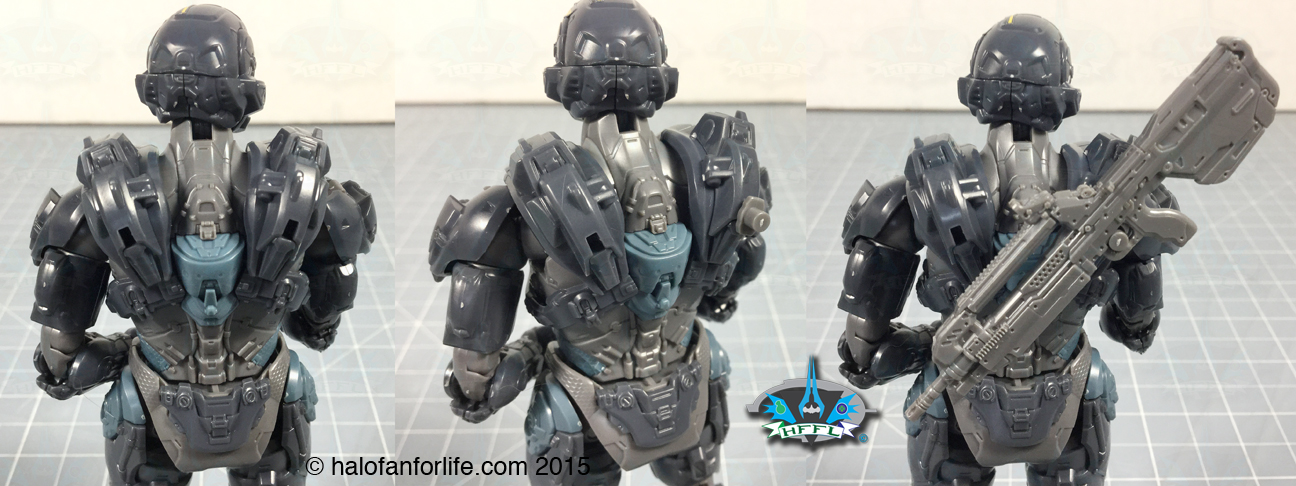
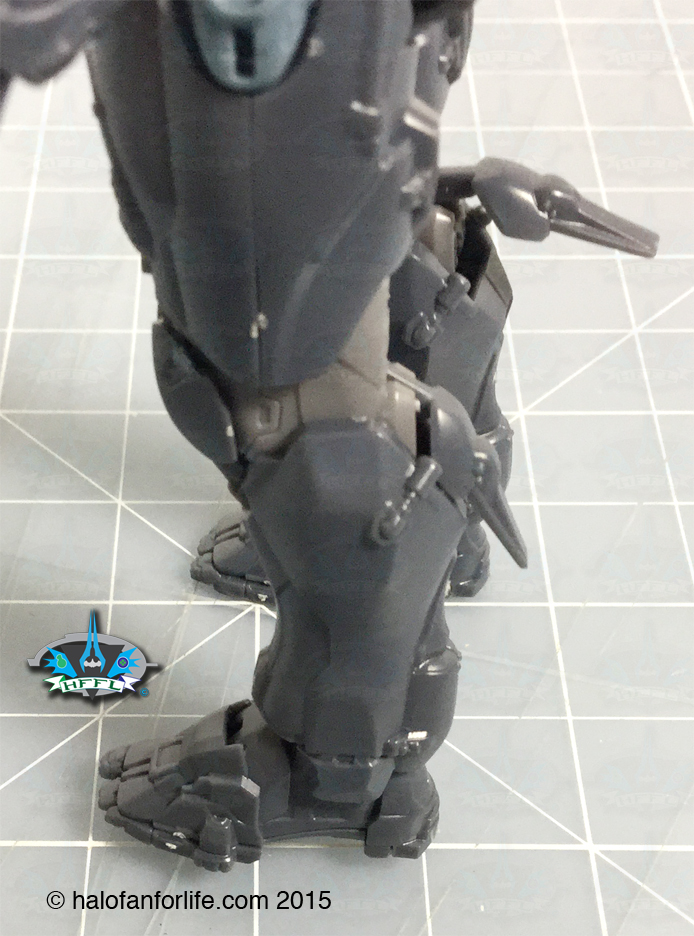
Here’s a close-up of the calf armor I mentioned a little bit ago. It too has some slight articulation to it. Again a first for BanDai’s level 3 Halo models. This really helps aid in showing more dynamic poses. It’s subtle, but it’s there.
This is how the pistol gets clipped on. To the left a small slot. At middle a ‘U’ shaped clip is inserted. Finally, at right, the pistol is slipped onto the clip. This part may require some patience to make it fit right. So take your time.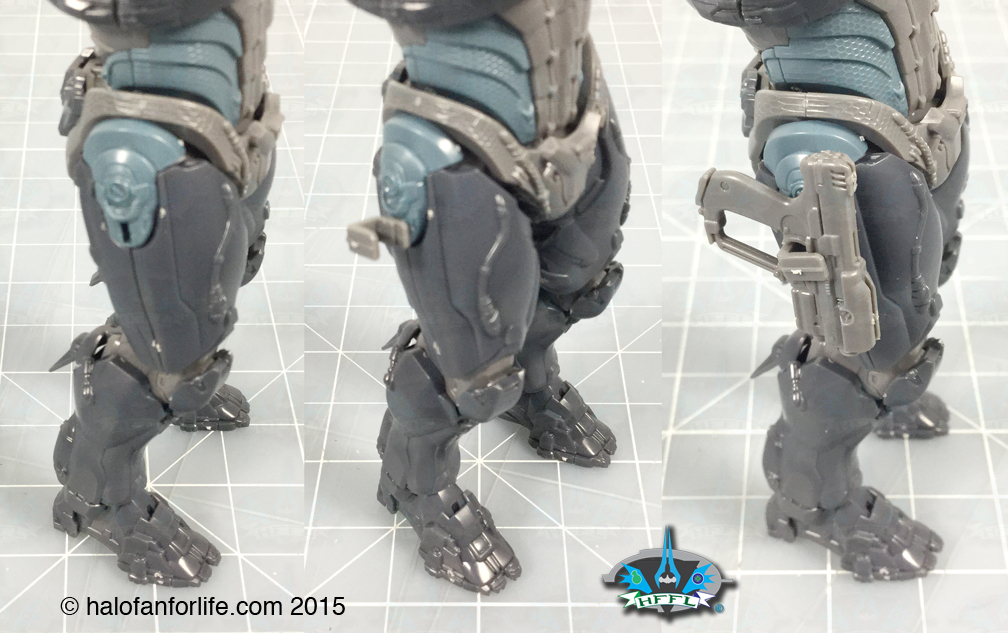
Now let’s look at just a few of the way you can pose the figure. Each showing off some of the articulation that the figure has.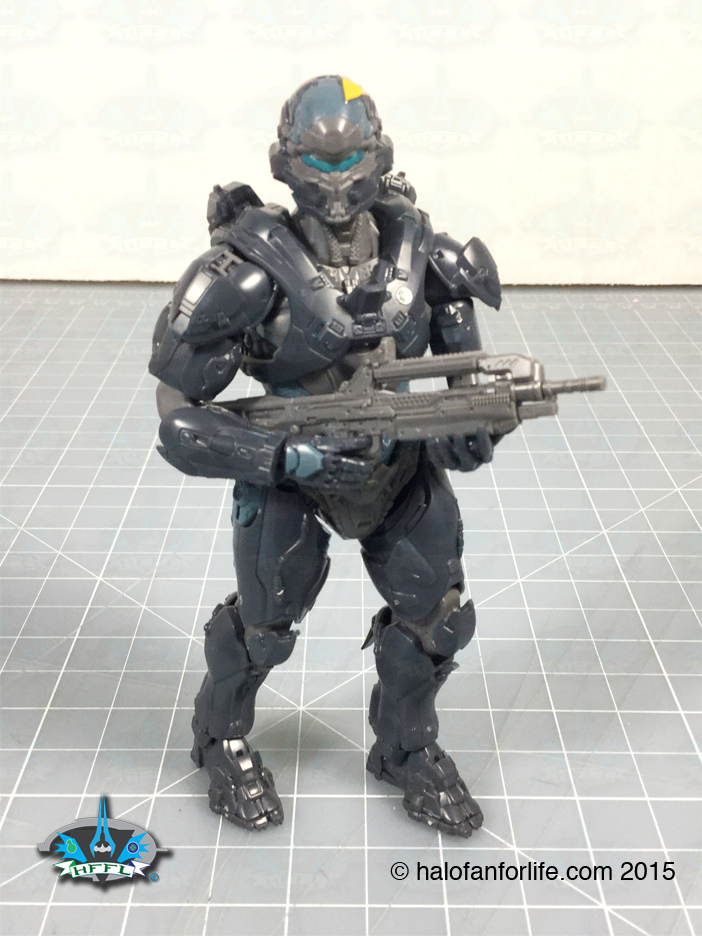
I really like that this figure can bend at the knees properly and still be able to pose, without having to hold it up.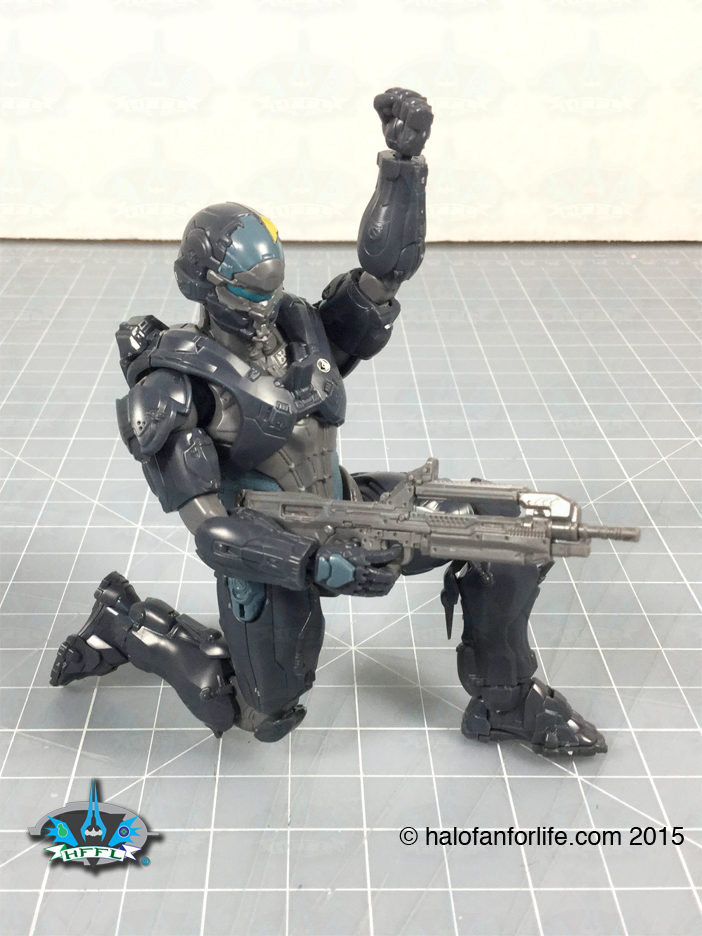
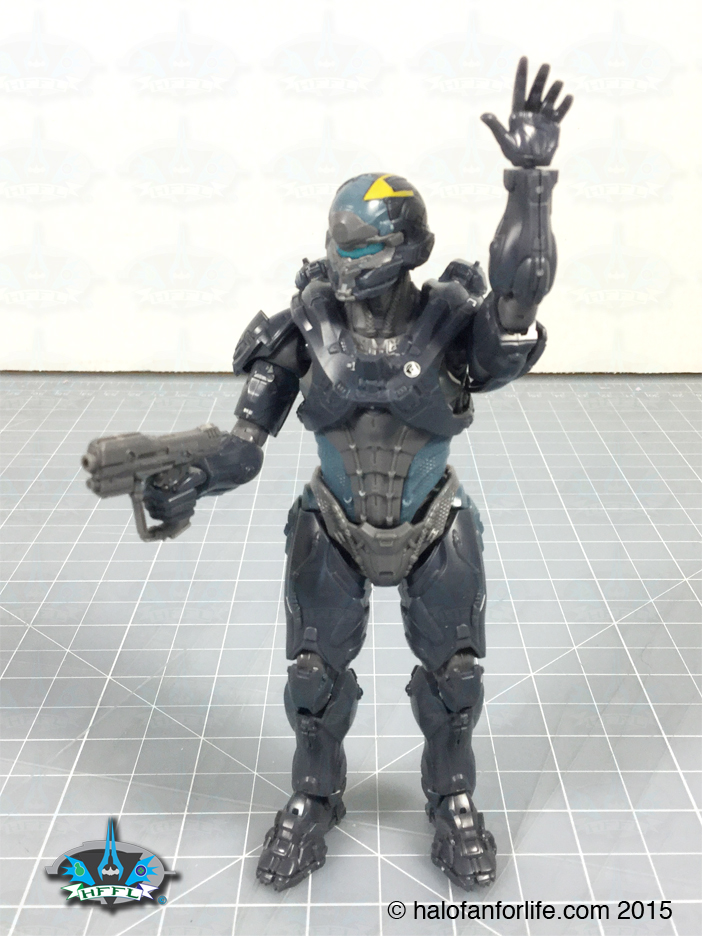
The open left hand can be used to help hold the BR or in this case, Locke is saying to hold here. He could be waving too, but I think he’s a bit too serious for that, LOL.
Now who or what, might Locke be kicking??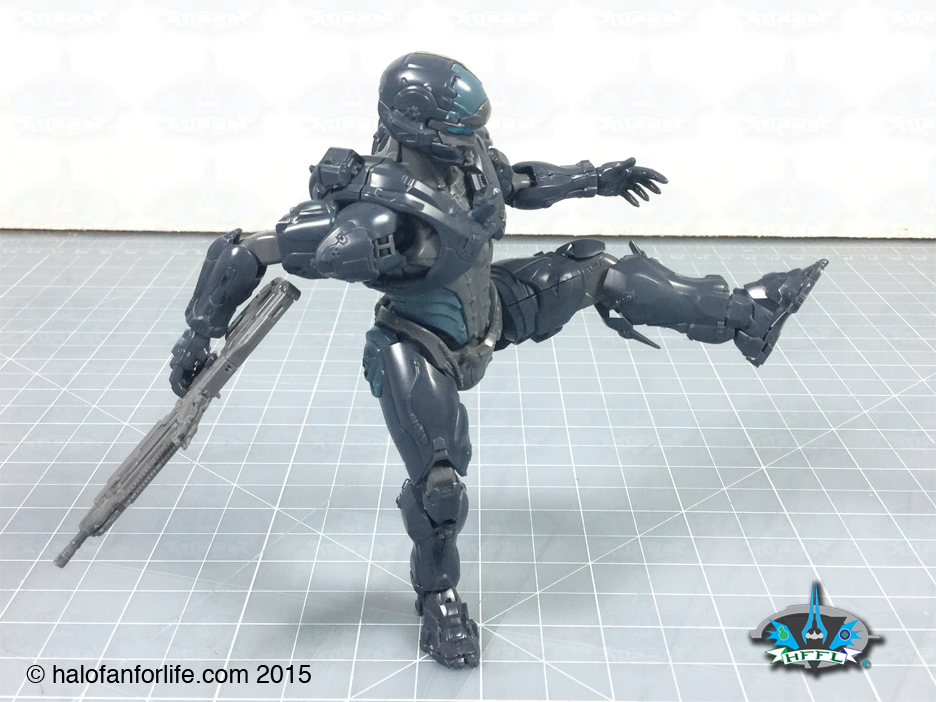
Locke’s just been shot!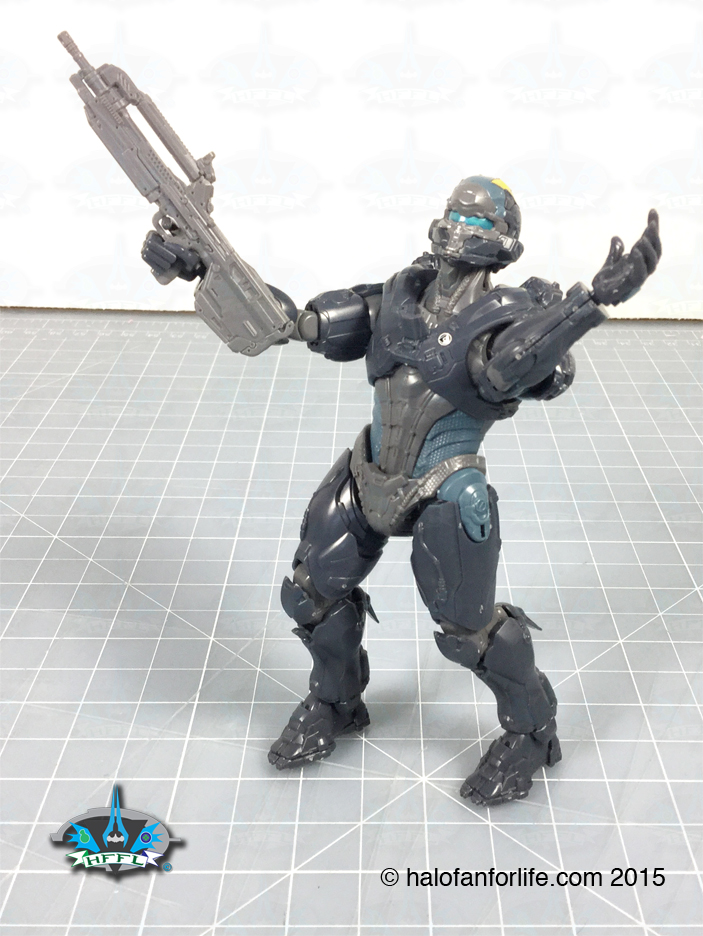
Heh, okay, I had to do this shot. Yes, I added a bit of a glow to the visors.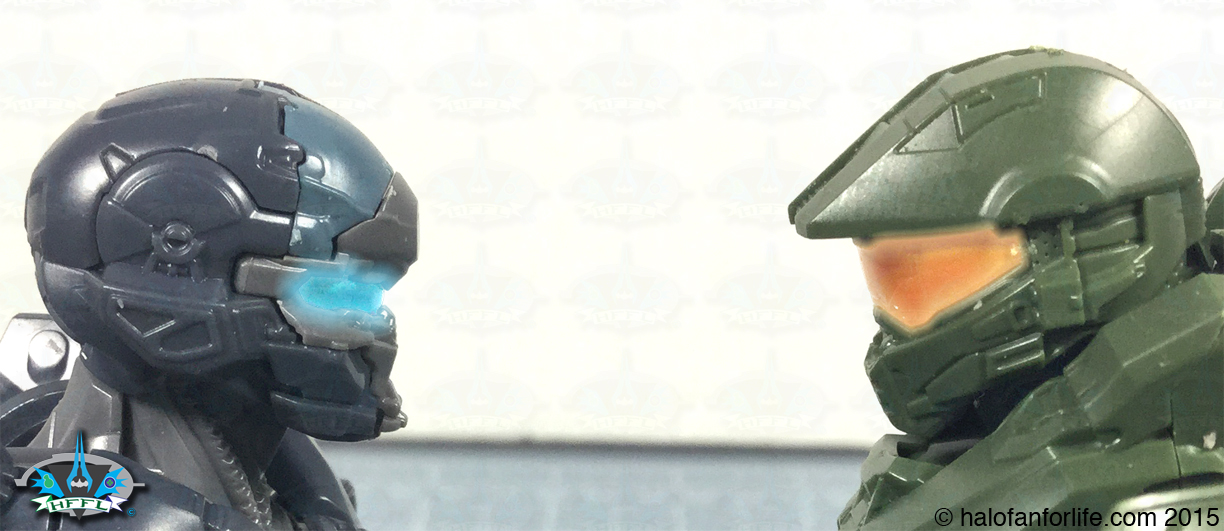
It’s supposed to be reminiscent of this: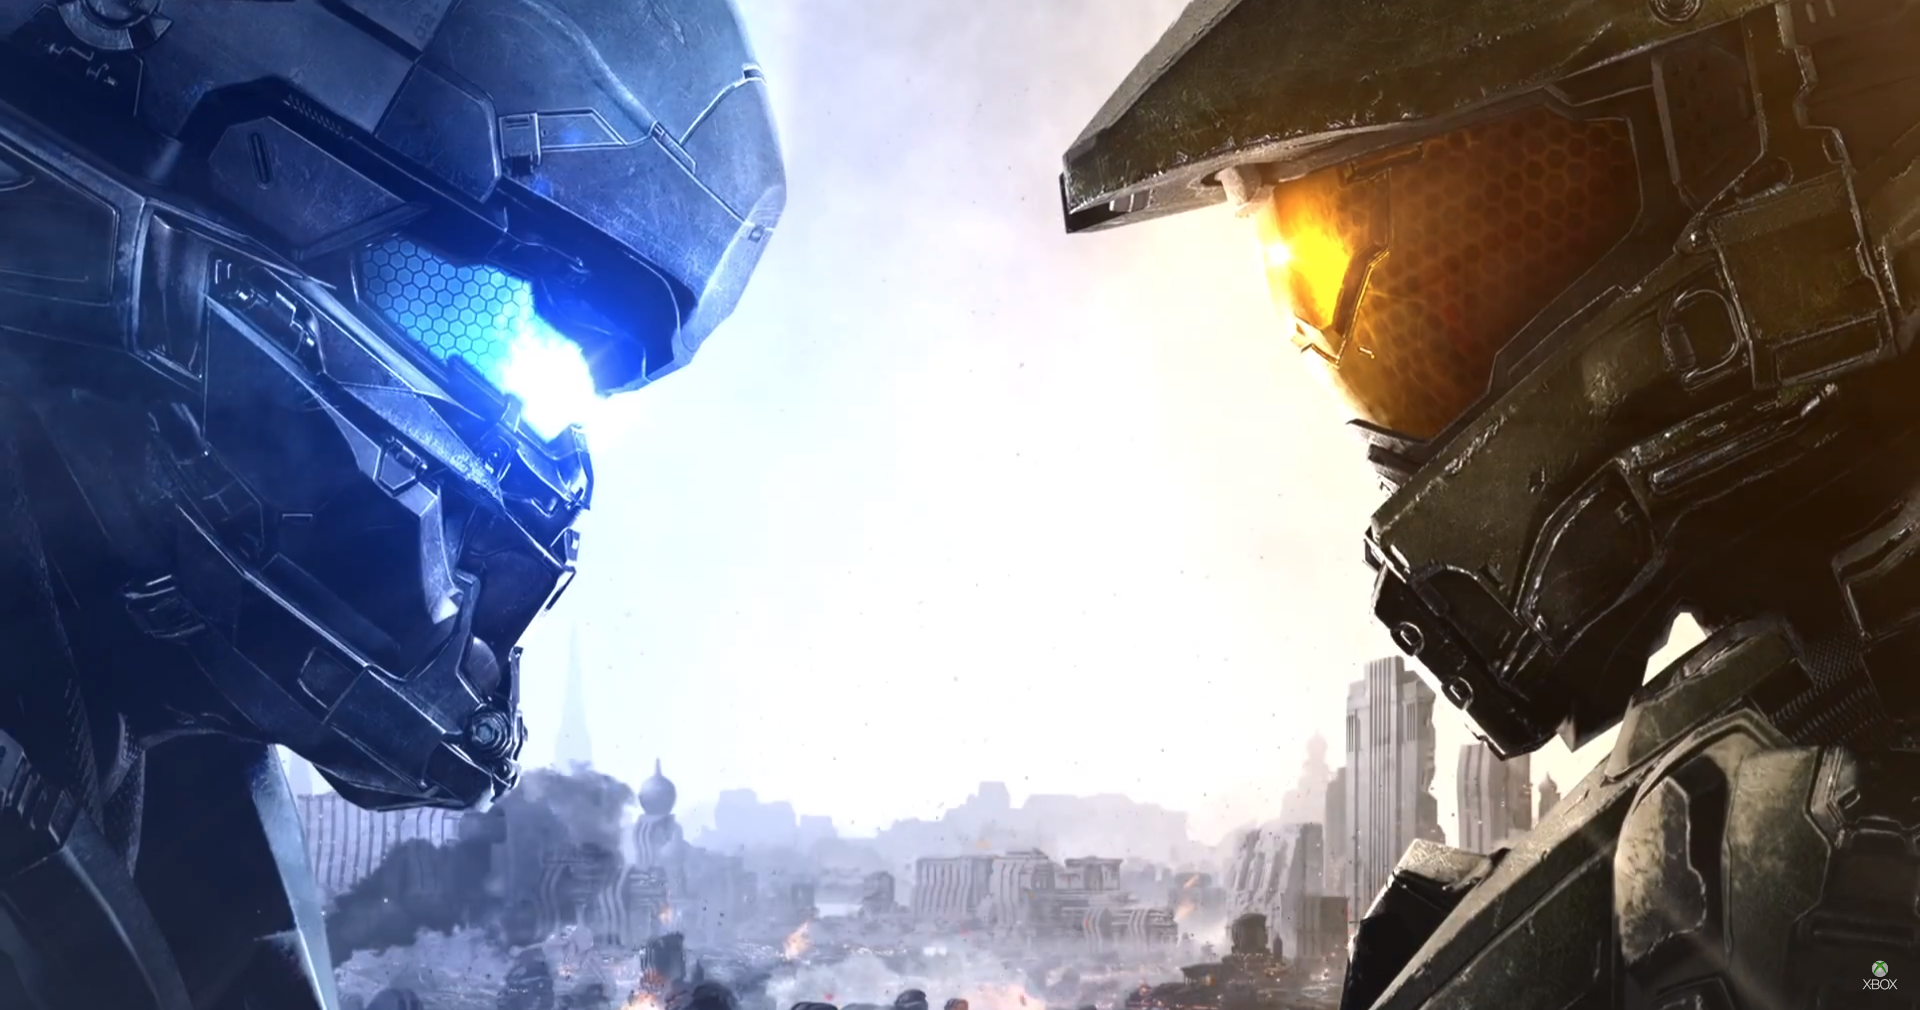
And finally, all four of the level 2 figures. Wow, what a great collection of Spartans!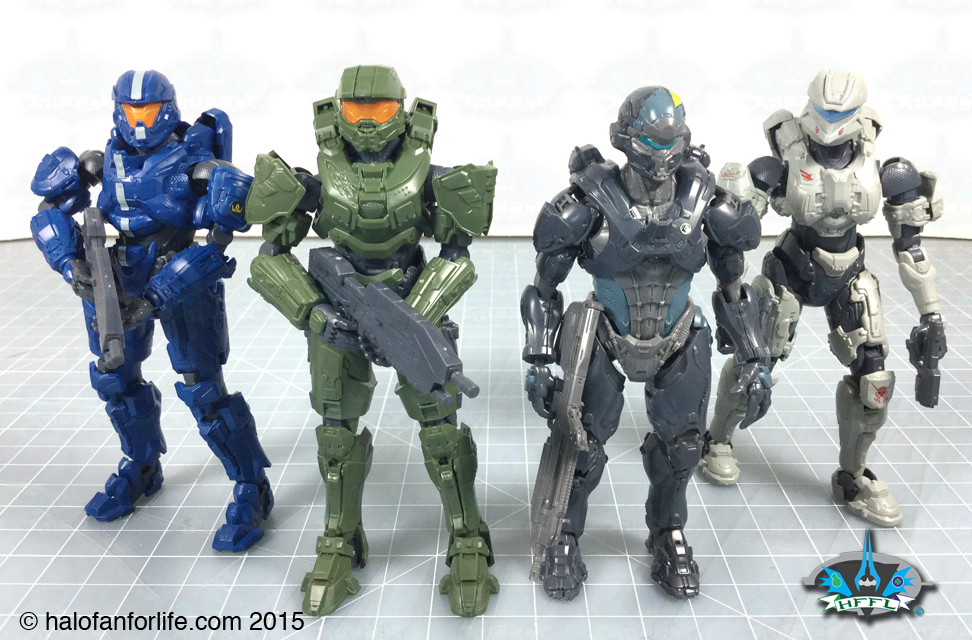
I hope you’ve enjoyed this review of BanDai’s level 2 Spartan Jameson Locke model. These will be on store shelves later this summer.
Let me know if you like this review and/or of you plan on getting this set when it comes to retail. Reply below or send me an e-mail to slashalofanforlife.com.
If you see these pics on any other site or video, such as YouTube, please let me know. I do not imply an agreement to anyone to use these, other than Microsoft, 343, and Bandai. Anyone else is infringing on my copyright as these were pics shot by me specifically. Please respect that this is an exclusive. You may link back to this article. The ONLY pic you may use is the very first one, for reference. NO OTHER PICS.
Good review. Pretty cool that they sent you a sample model before anyone else. I have the MC model. But see Ing your pic of all the makes me want to pick up all of them.
Cool, I definitely recommend them all!
You get to be the first to review this? Nice!
Yessiree! It’s a rarity for me. I’m very thankful. Oh and if you see my images of this anywhere else, please let me know.