
This is part one of two for this review. In this part, I will take you through the contents of the set, the building of the base and platform. In part two, the Pelican itself comes together.
I’ve actually had this set since December 2015. Was missing a few parts, so waited to get those from Mega, then just forgot to post this review as I was busy with other things. Apologies there.
![]()
Mega Bloks NMPD Pelican Base
Technical Specifications:
Build Time: 2 hours to sort, 6.5 hours to build
Set Piece Count: 1792
Minifigures: Mickey (ODST), Brute Chieftain, NMPD Pilot, NMPD Sergeant
Weapons: Gravity Hammer, Sniper Rifle, Assault Rifle, Shotgun, Rocket Launcher (Silver), Rocket Launcher (Black), Magnum, Missile Pod (Detachable), Machine Gun Turret
Accessories: Buildable platform station, Radar Dish
Special Features: Pelican: Cockpit hatch opens/closes, rear hatch opens/close, rear engines slightly pivot, top hatch for placing/removing figures, forward gun rotates, wings rotate; Platform: pivoting ‘flaps’ for lack of a better word.
Cost: $150 Toys R’ Us Exclusive (I got mine when it was on sale for half price!)
And on with the pics! (Click pics to make BIGGER)
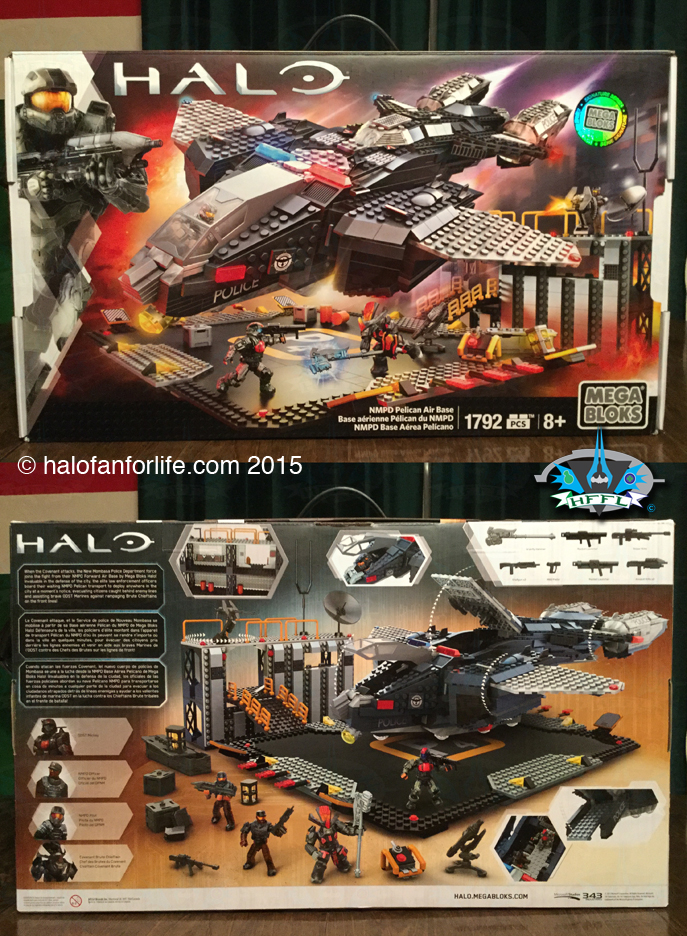
As with the other signature sets, this box is massive for a Mega Bloks set. As you can see it has a handle on top for ease of transport. The action shot on the front is fantastic! On the back the set’s features are showed prominently.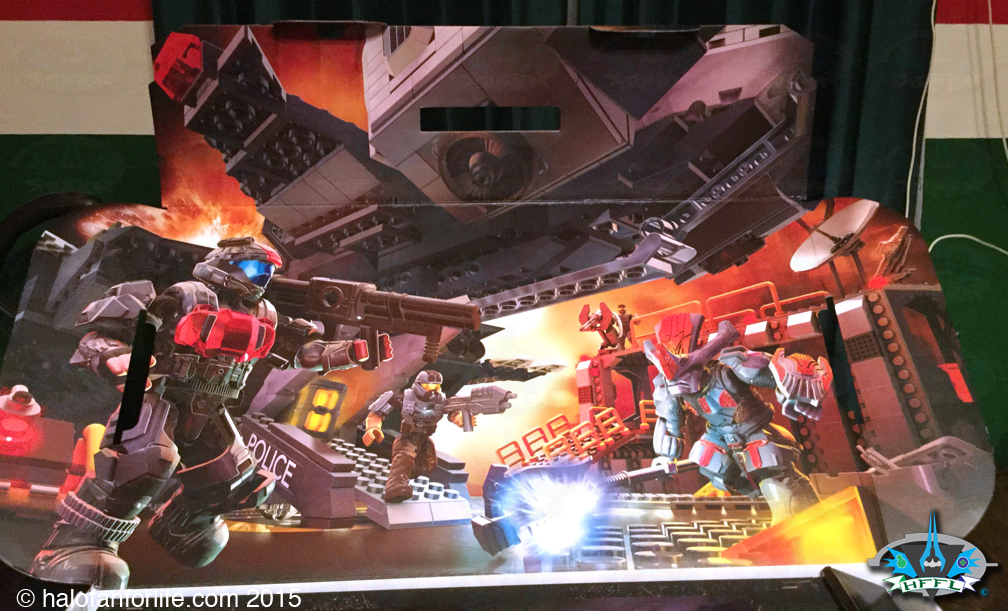
When you open the box, you are greeted to this awesome box art. This is one of the reasons I won’t get rid of the Signature series boxes!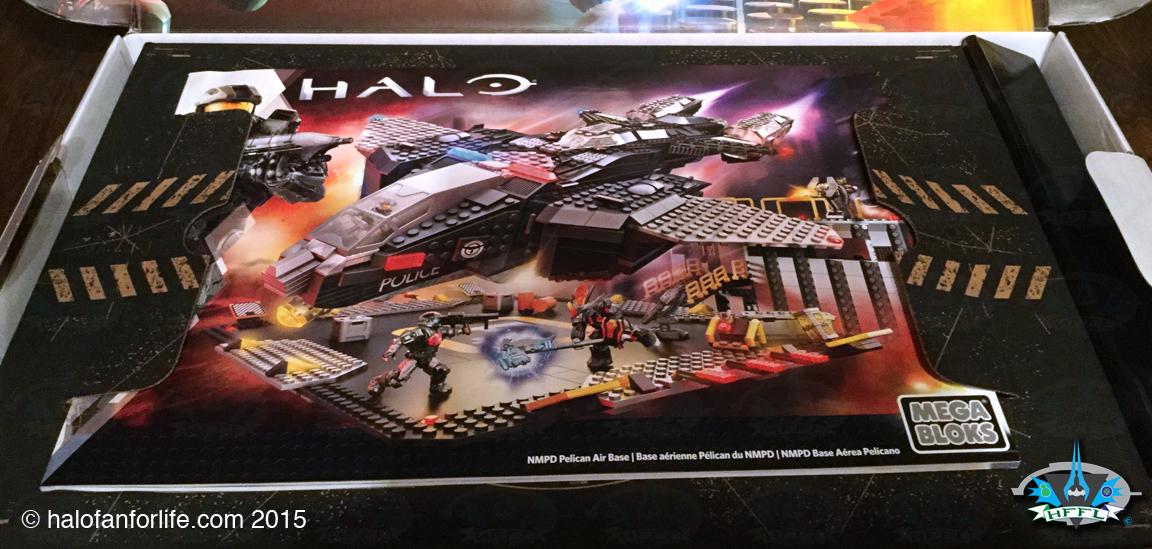
Inside you have a THICK instruction manual.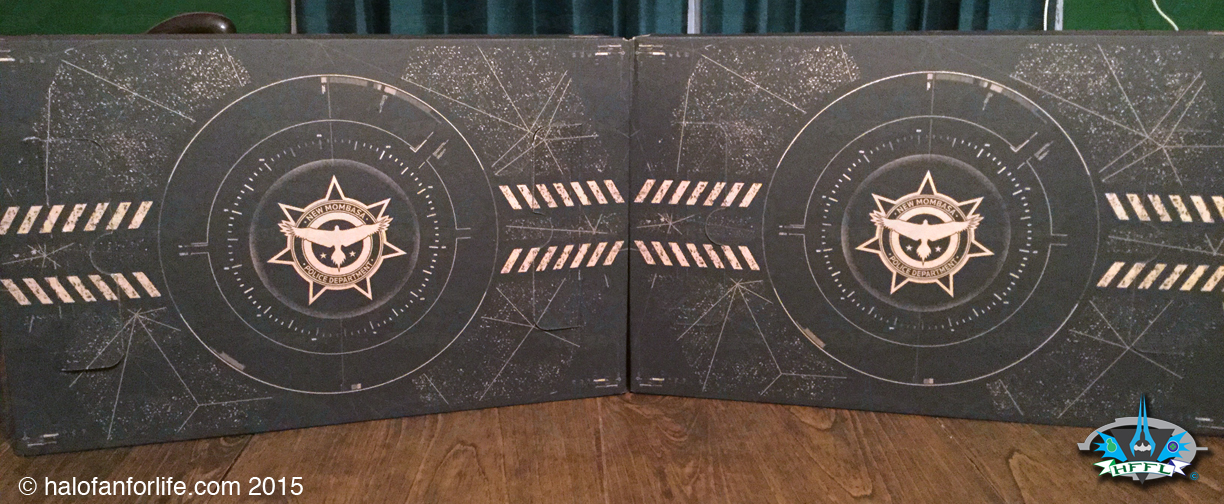
As well, this set comes with two boxes with the NMPD logo on it. Very cool!
Each box has several bags within and a few loose pieces.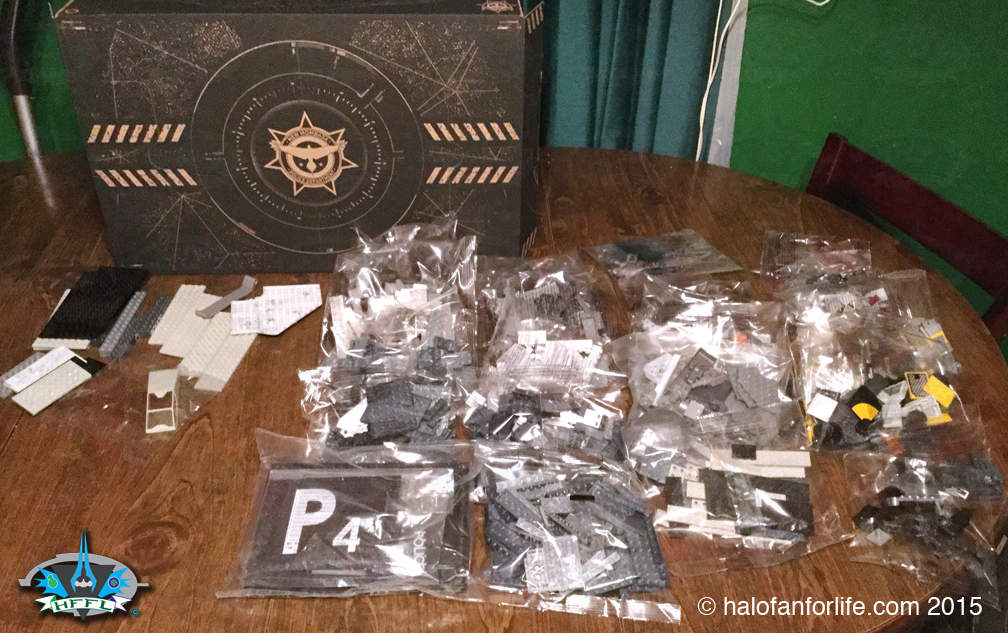
A better look at all the bags within.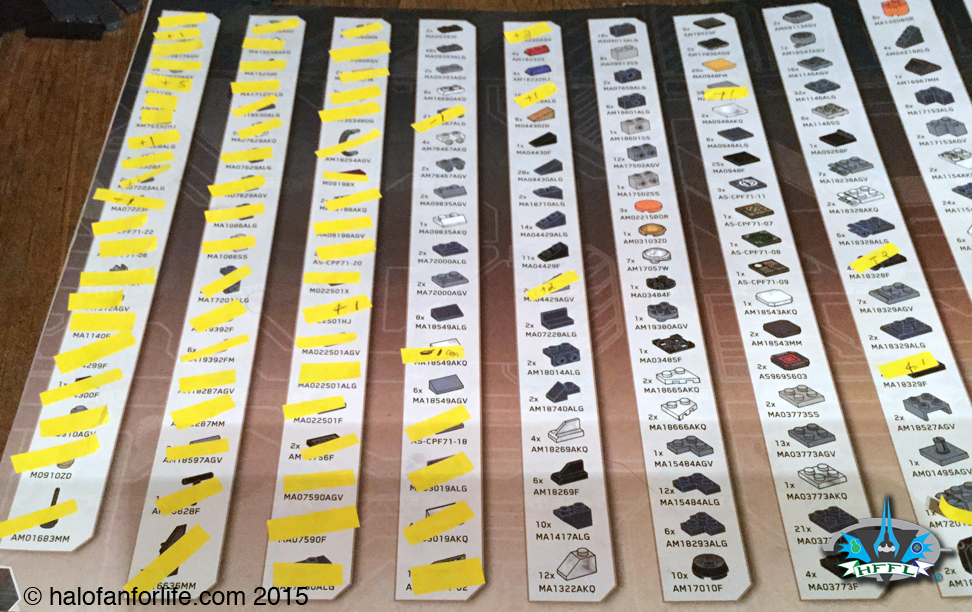
With each signature series build, since they are so large, I count the pieces out and put little stickies on each part so I know they are account for. This also reminds me if I’m missing any pieces later on, when I’m ready to build the set.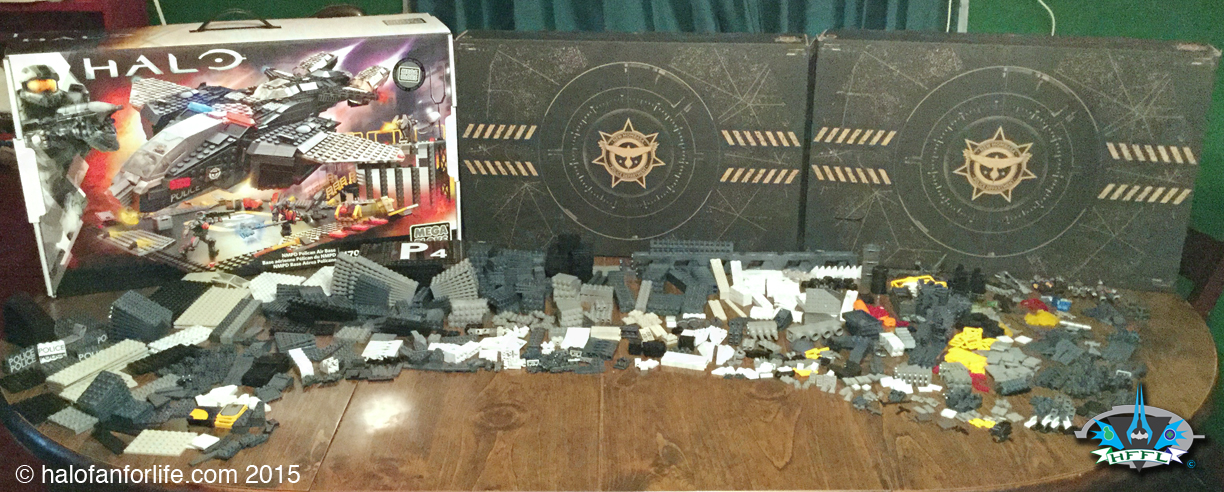
The pieces are sorted out. Yep, they really are sorted. You might want to open up the pick above in a new window to see it better.
Okay, let’s begin the build.
Base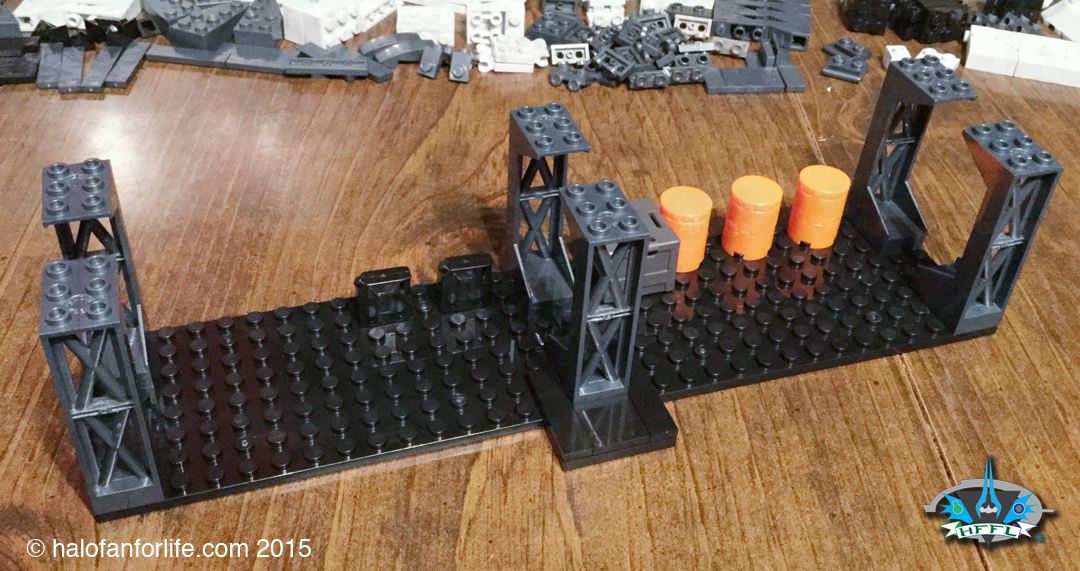
We start out with the infrastructure of the base. Much of it is held up with those tall girder pieces.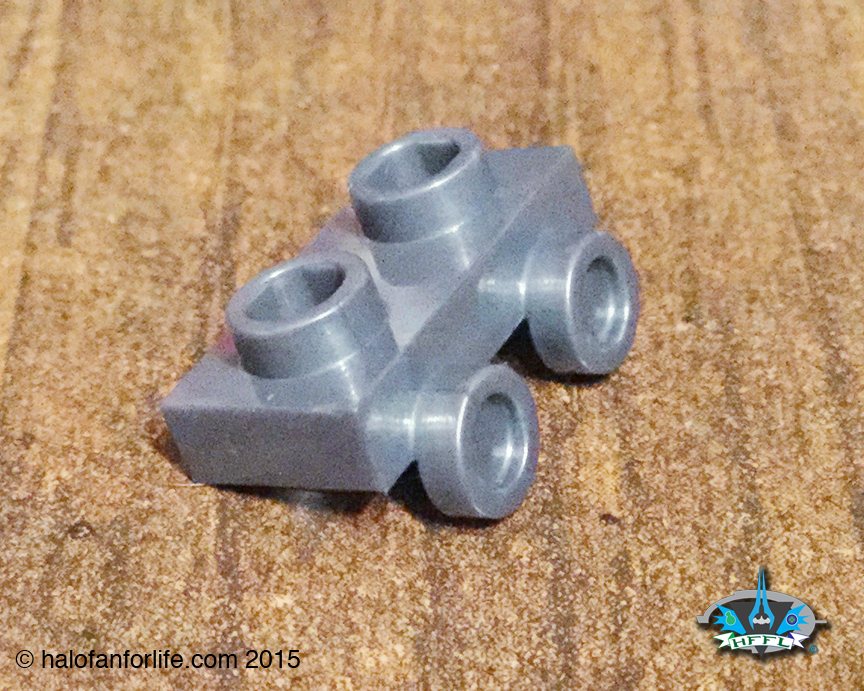
If I recall, the NMPDPelican set is the first to have this rather neat piece (above). It’s since been included with other sets. 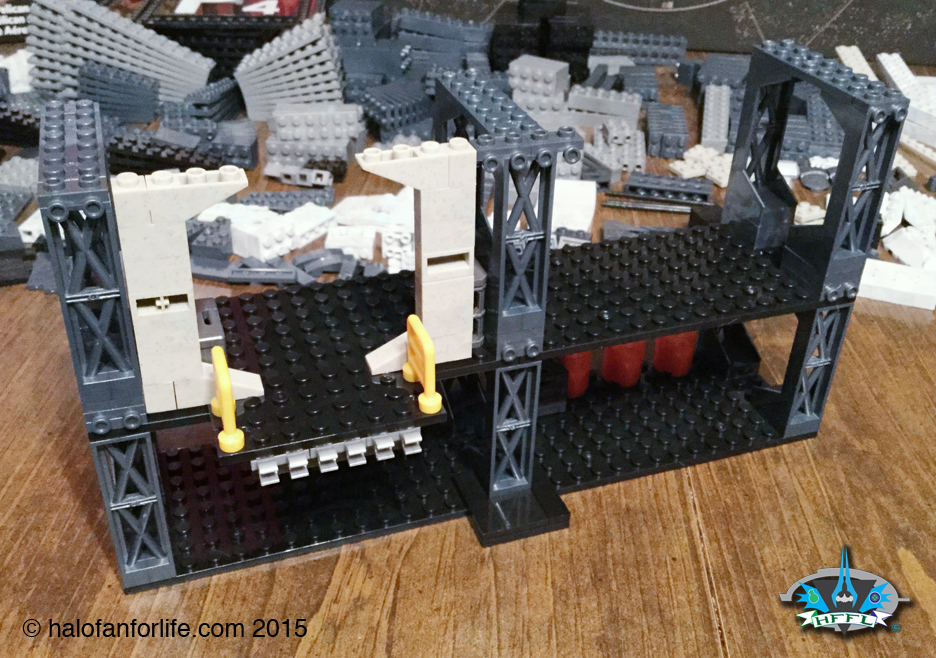
More of the base comes together with the second floor being added.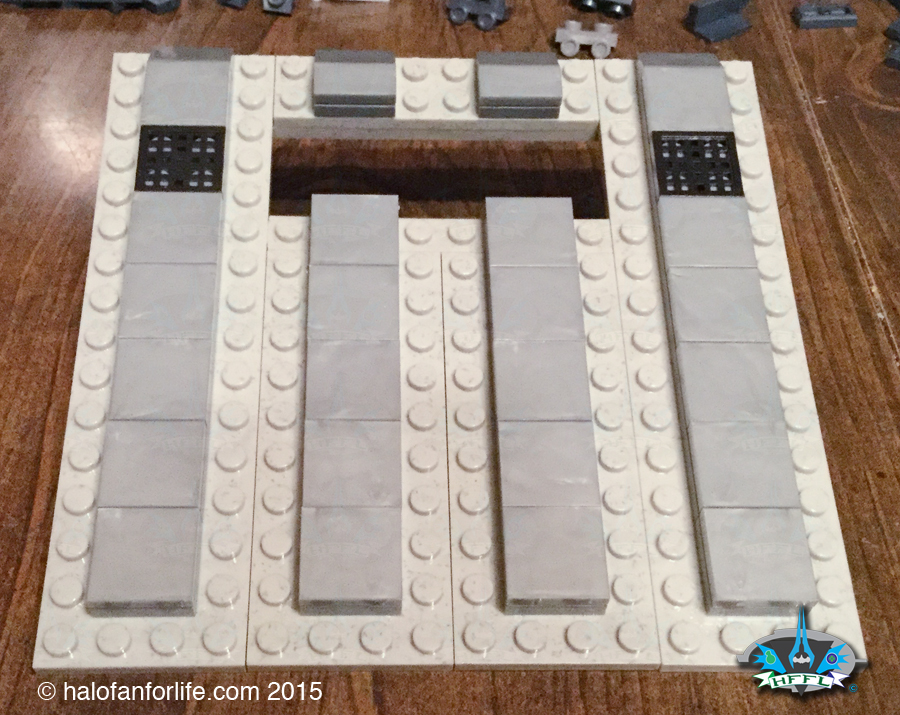
Above shows one of the walls built. Instead of traditional stacking bloks, we build this as plates. It’s actually a good solution.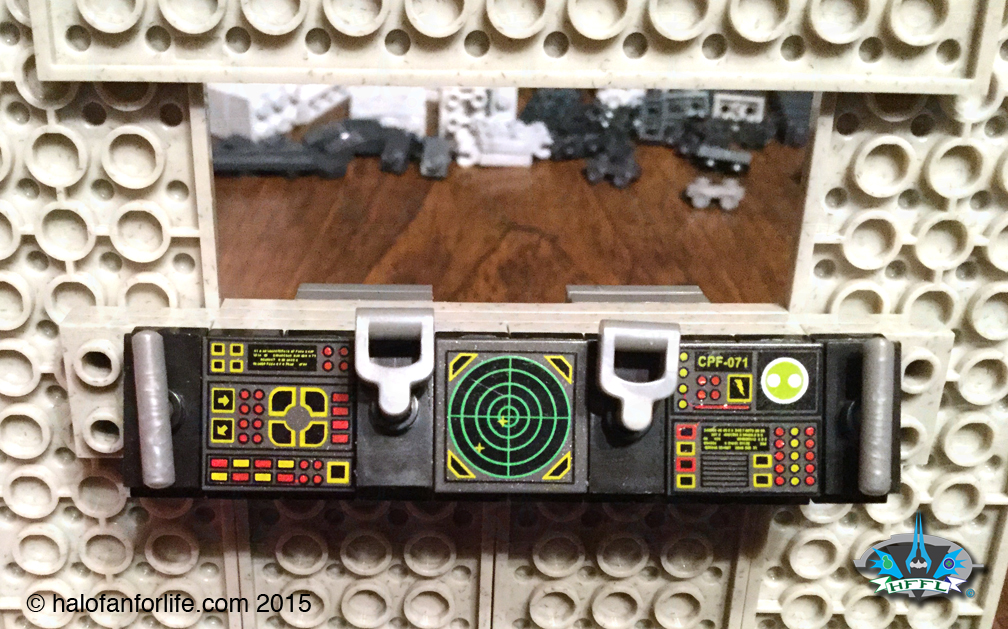
Inside one of the walls is this neat control panel. When complete, this is actually a bit hidden within the base, but it’s still cool knowing it’s there!
The front of the base, nearly complete. 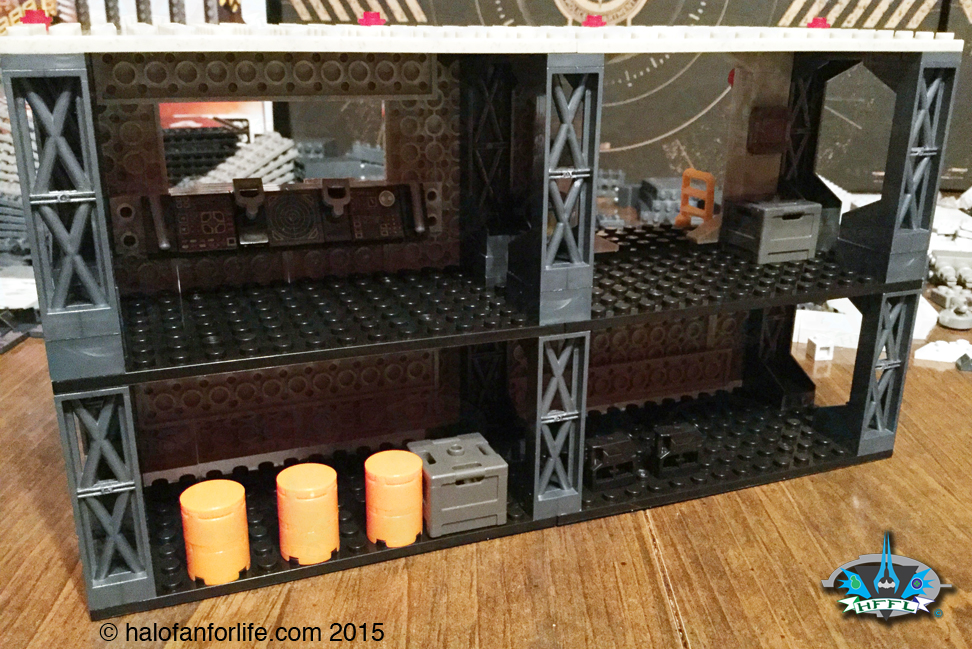
The other side of it shows what’s within. I’m happy with those added crates and orange barrels. That adds to the set ‘dressing’ nicely.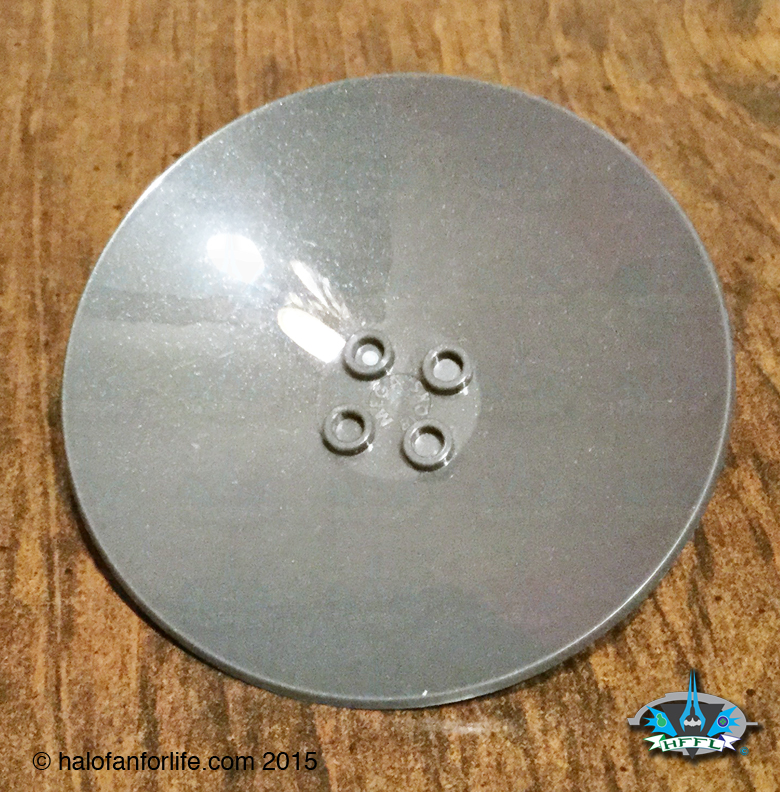
We get a big radar dish in the set!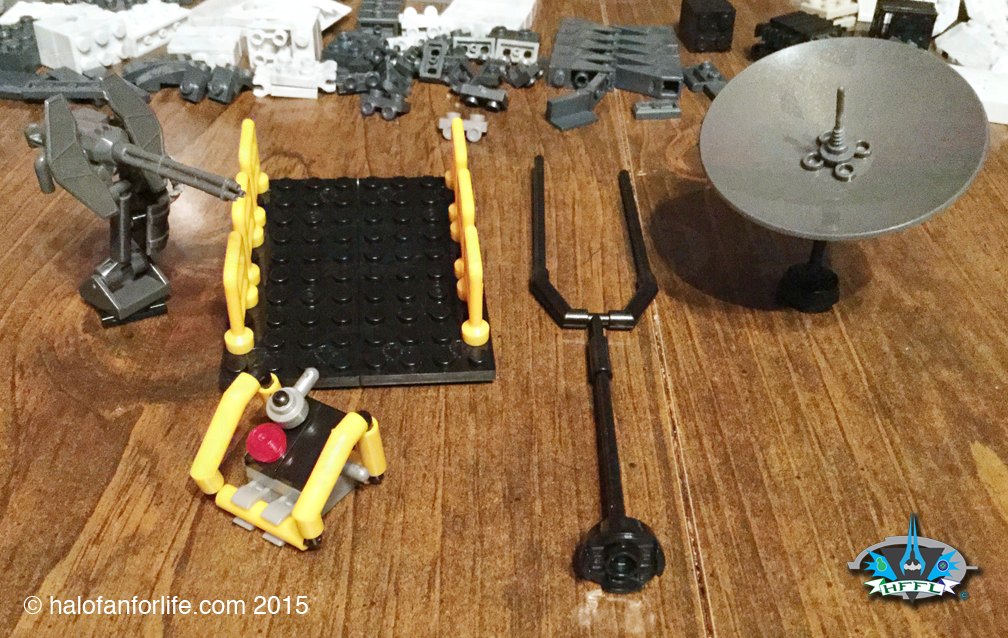
Above shows the buildable elements that will be placed on the base.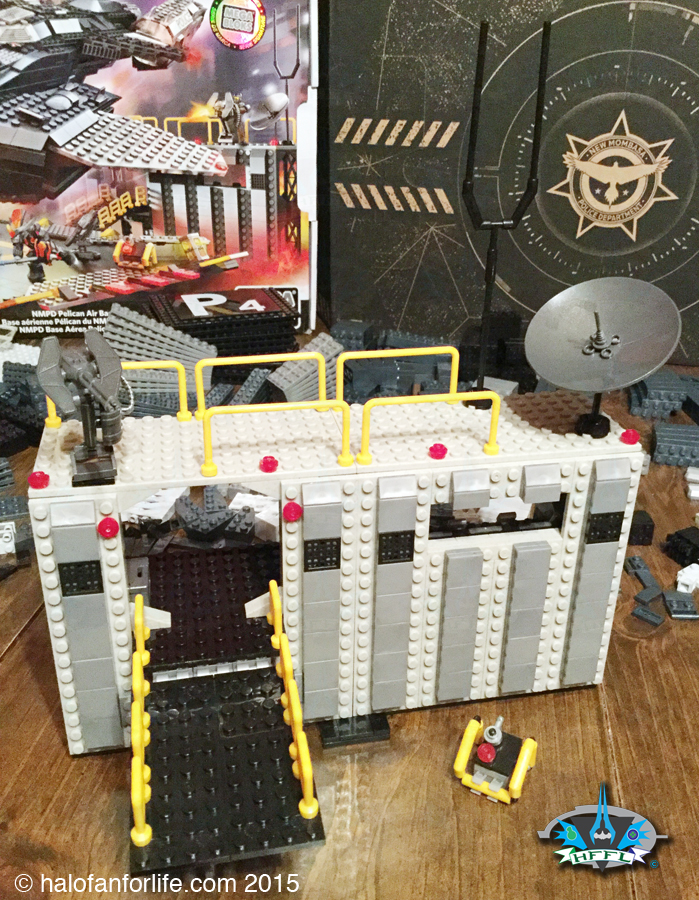
And here is the base complete!
Platform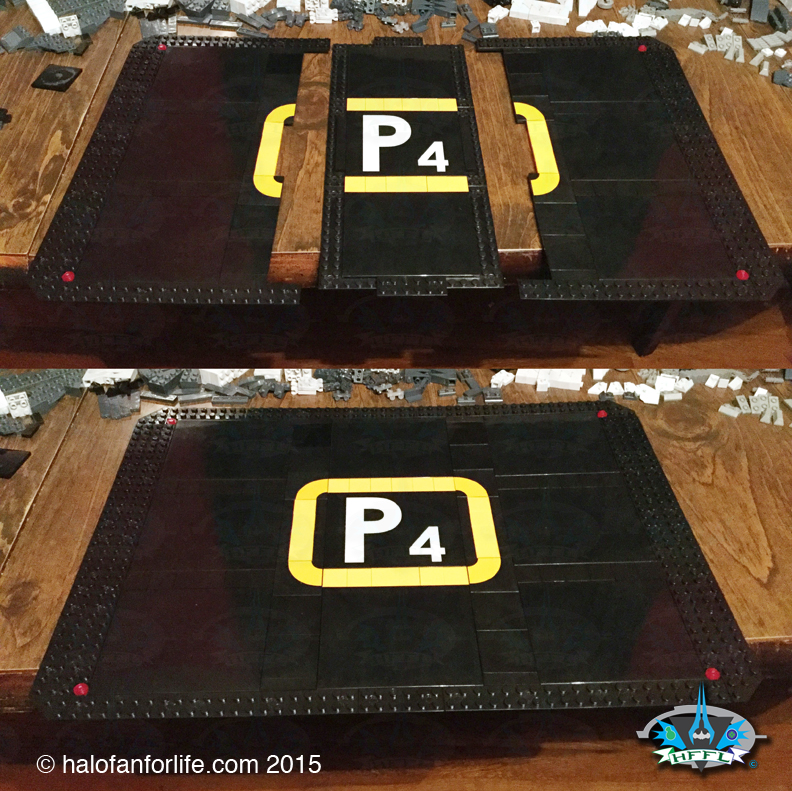
The platform comes together pretty easily. As you can see by the top half of the graphic above, you build it in thirds, then put those together. (One of my large flat panels was warped, so I had to take from another set until I got a replacement from Mega.)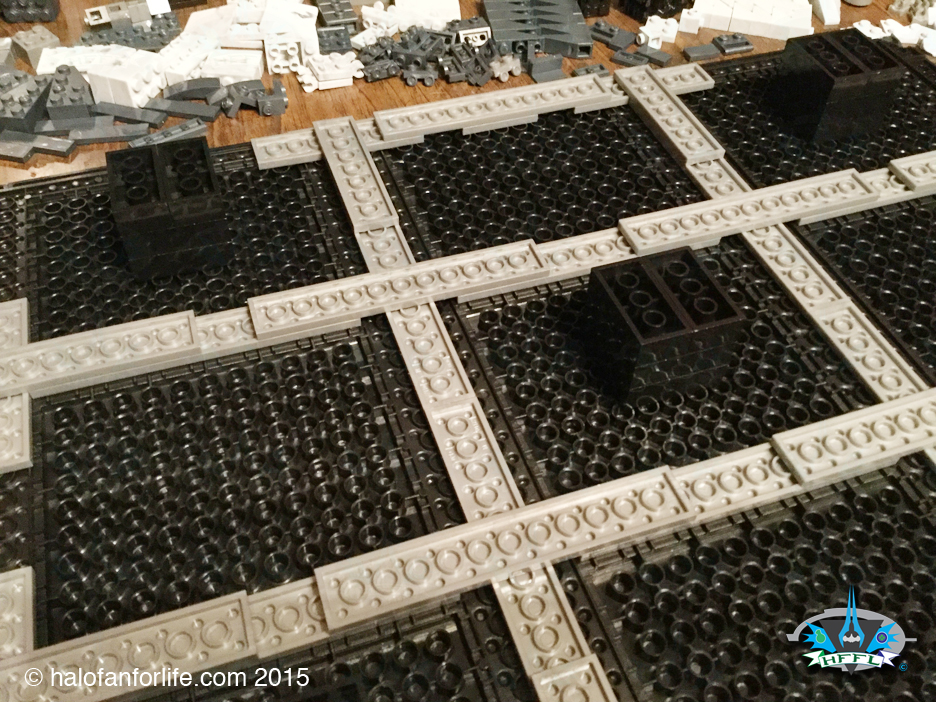
The under side of the p[latform shows an interlaced connection, with strategically positioned block column for support.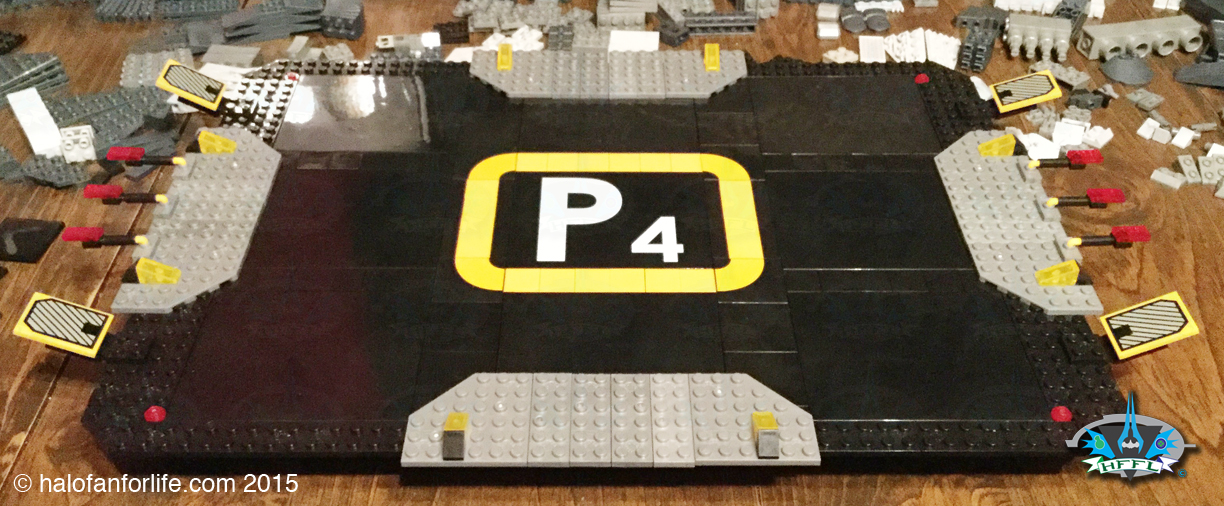
The platform is complete with all the little ‘greeblies’ on the sides. It’s a cool platform and BIG!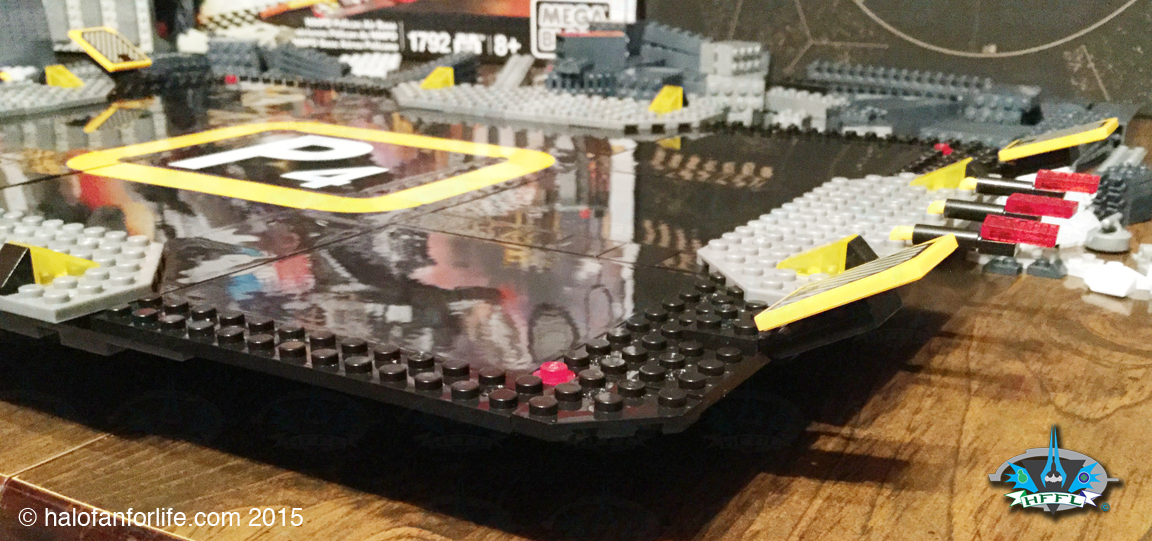
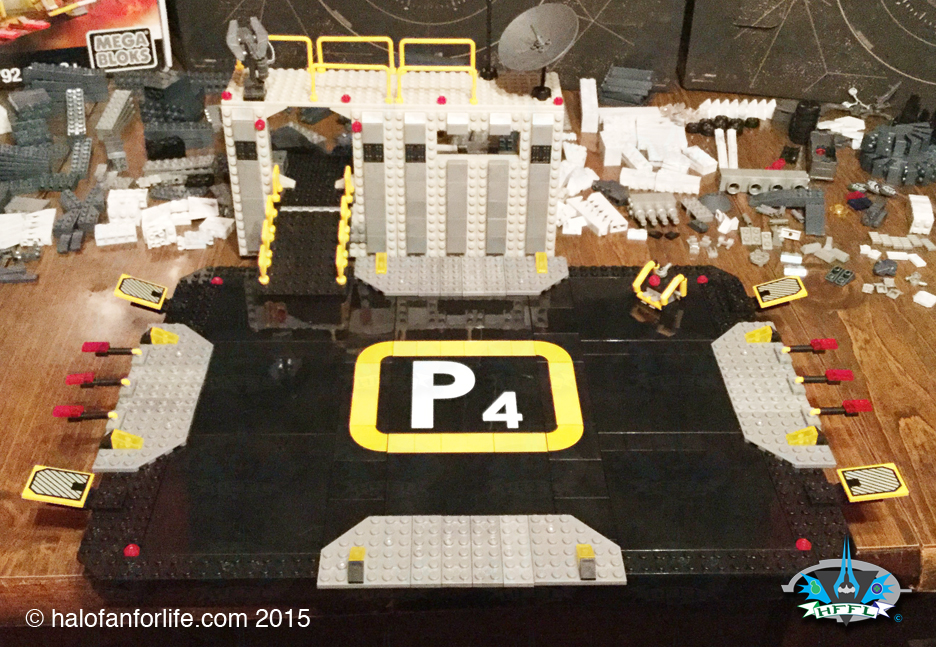 The base and platform together. The bridge from base to platform doesn’t actually connect, so you can place it further from or closer to each other as you choose.
Look out for part two shortly where I build the Pelican itself and show the figures that come with the set!
-Sal