
![]()
Mega Bloks Covenant Spirit Dropship
Set Piece Count: 2281
Cost: $200 US
And on with the pics! (Click pics to make BIGGER)
As with all the previous Signature series Halo Mega Bloks sets, this box is HUGE! You can tell just by the handle alone at the top.
The box art is very nice. The glowing blue bits are for effect only though folks, this set is not electrical in any way. Note the whopping 2291 piece count!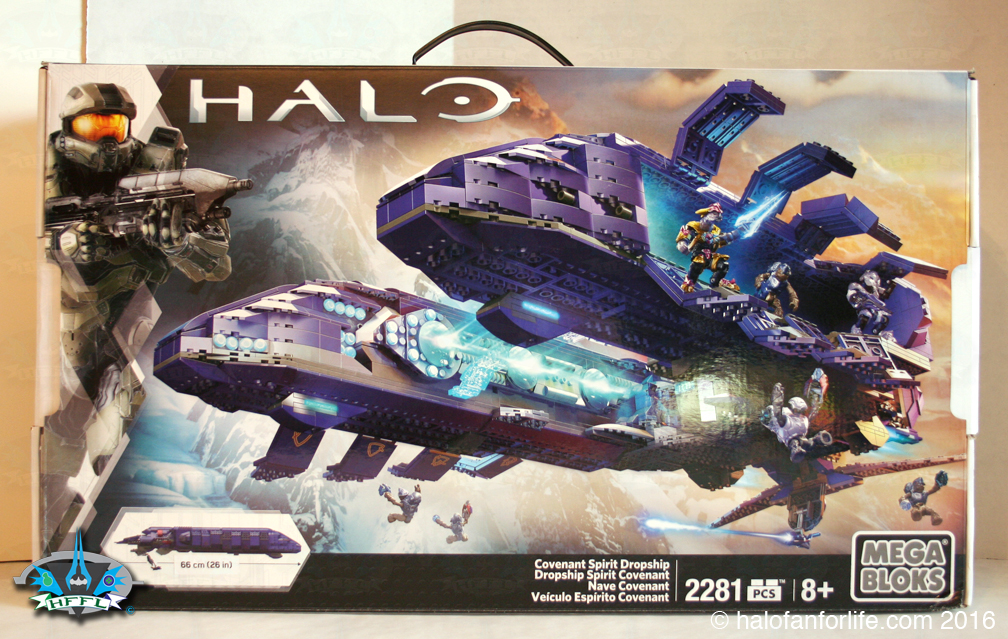
The back has a ton of info on it, some of which detailing the different hatches this Spirit has.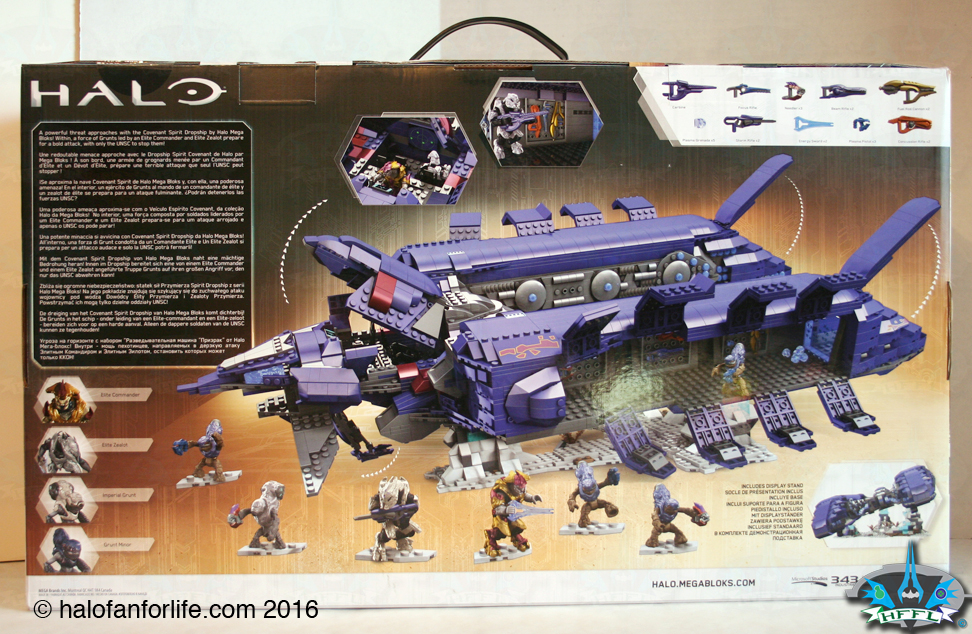
I always enjoy seeing what the inside art is for the signature series sets. This one didn’t disappoint. That Elite Commander looks awesome!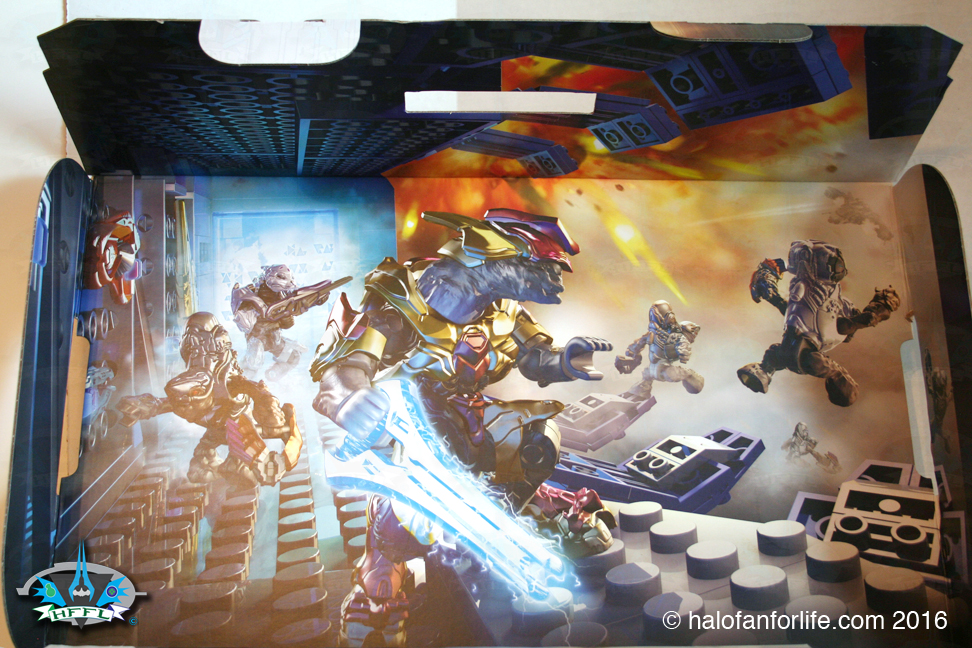
There are two of these boxes inside of the main box, that contain the baggies of pieces.
Check out the thickness of the directions manual! THICK!
As noted on the book, the length of the Spirit. This actually has a sticker over top of what was before. I wasn’t about to peel it off to see what was underneath as I didn’t want to tear the manual. At over two feet long, be sure you have the space available to play or display after building this. 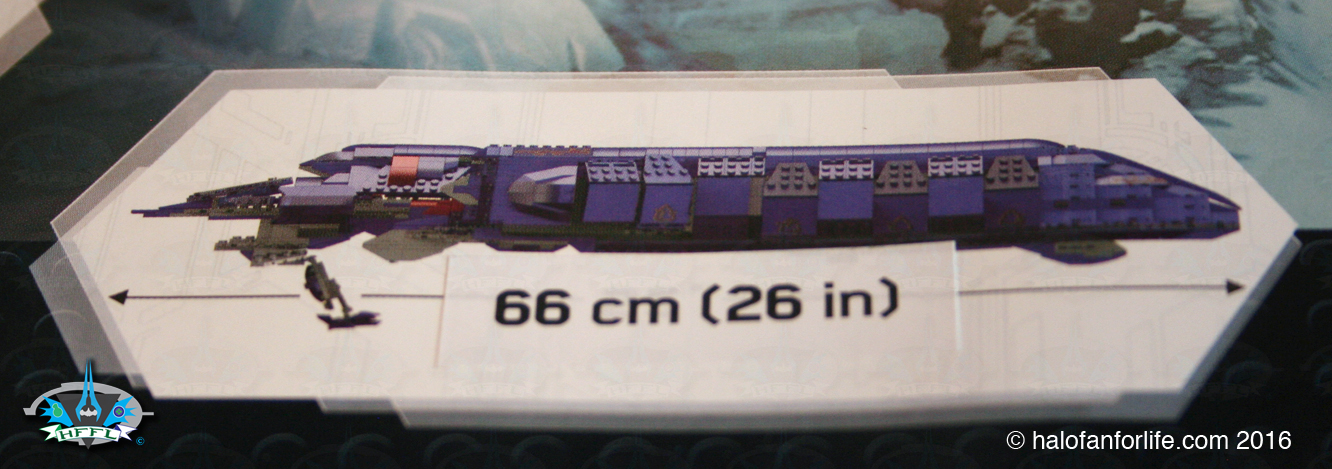
So here are the two inside boxes opened up to show what’s inside.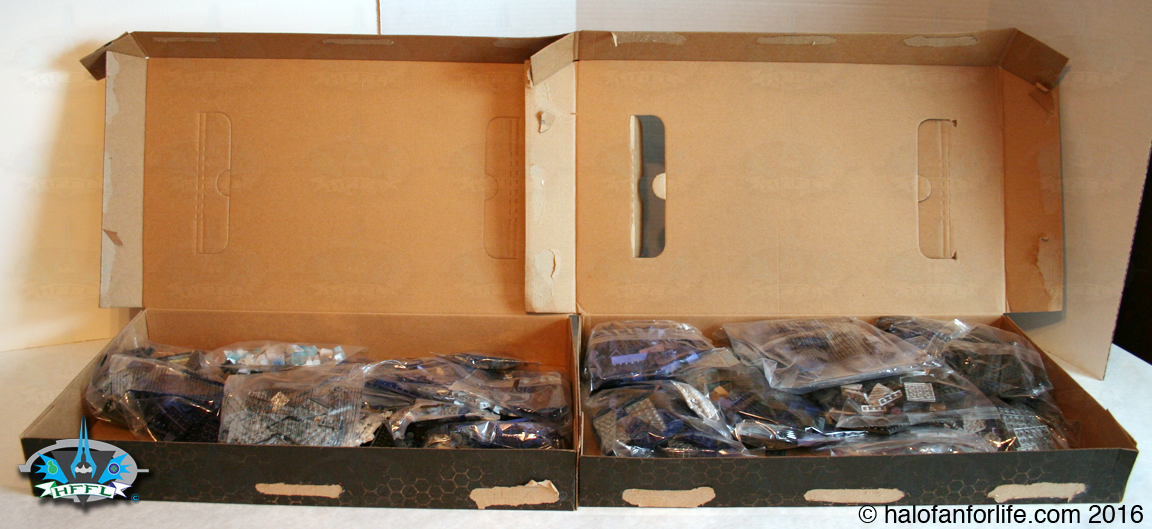
There are a few ‘floating’ pieces outside of the boxes. Pay heed to those and make sure you don’t miss any of them.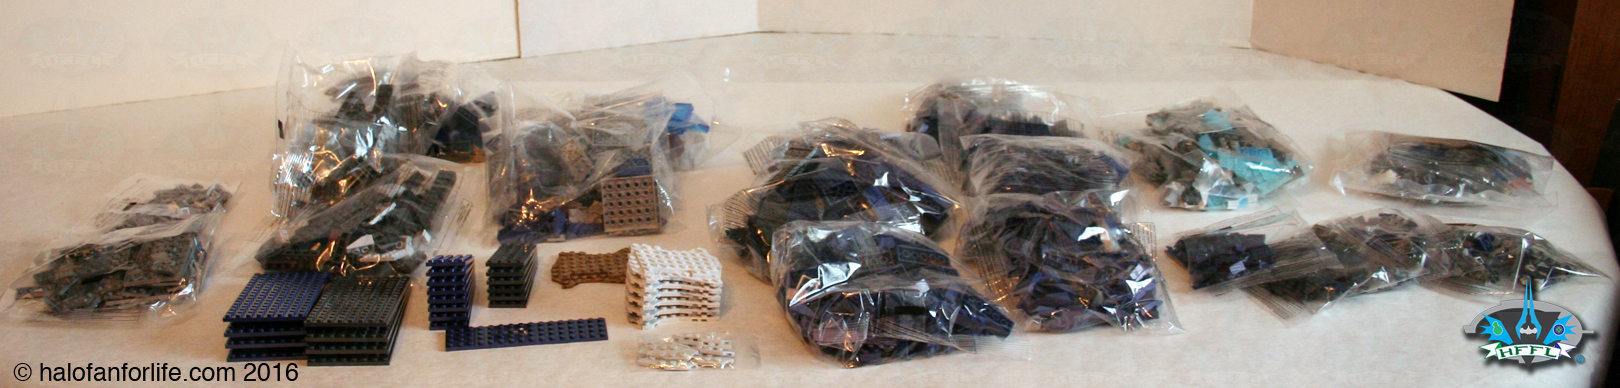
All the peices are sorted out. Mind you, this is a 5 1/2 foot long table and the pieces covered a vast majority of that. I first placed down white paper on the table so the pieces would be easier to identify, instead of against the usual woodgrain. This ended up being VERY important. I’ll explain that shortly.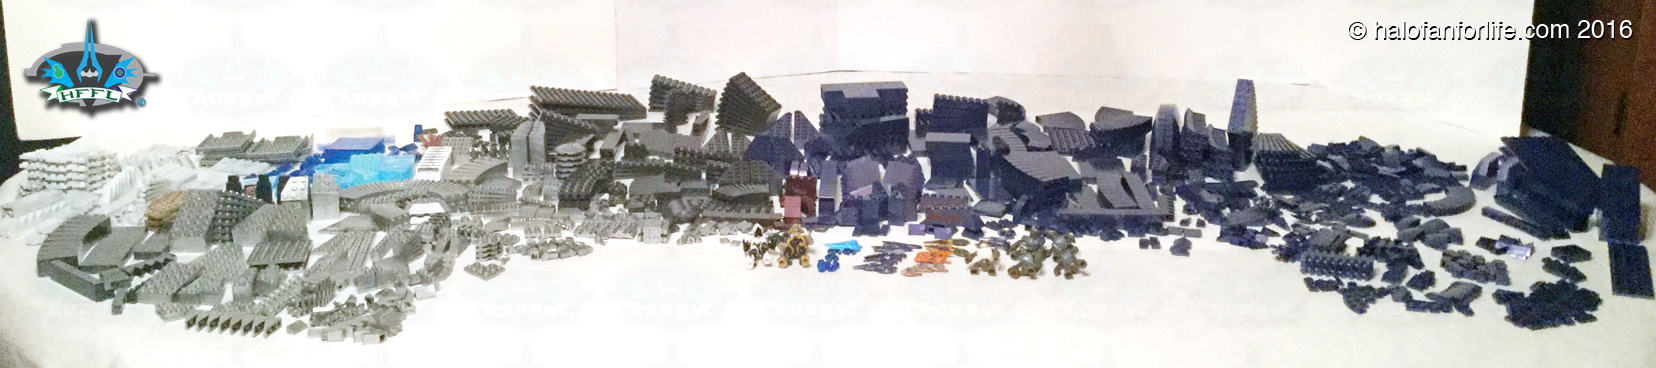
Oka, on with the build!!
The Troop Bays
Even at the beginning stages of the b uild we get a good sense of how long this set will be when complete. The upper part of the pic below is just a few steps in and already is almost the entire length of one side of the troop bay.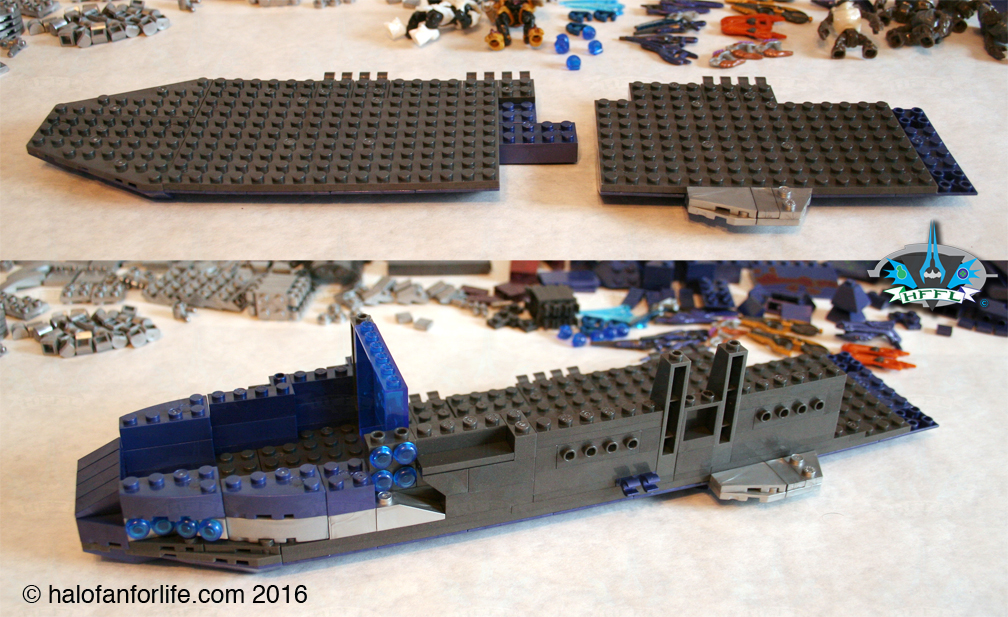
I wanted to make special note of the tranlucent blue piece here. Can anyone translate the Covenant text here? (Rhetorical question here. The placement of triangles is incorrect, so this doesn’t say anything.) If you want to say otherwise, you better have some proof via links to back it up…Anyhoo, it’s a pretty cool piece and large for being translucent.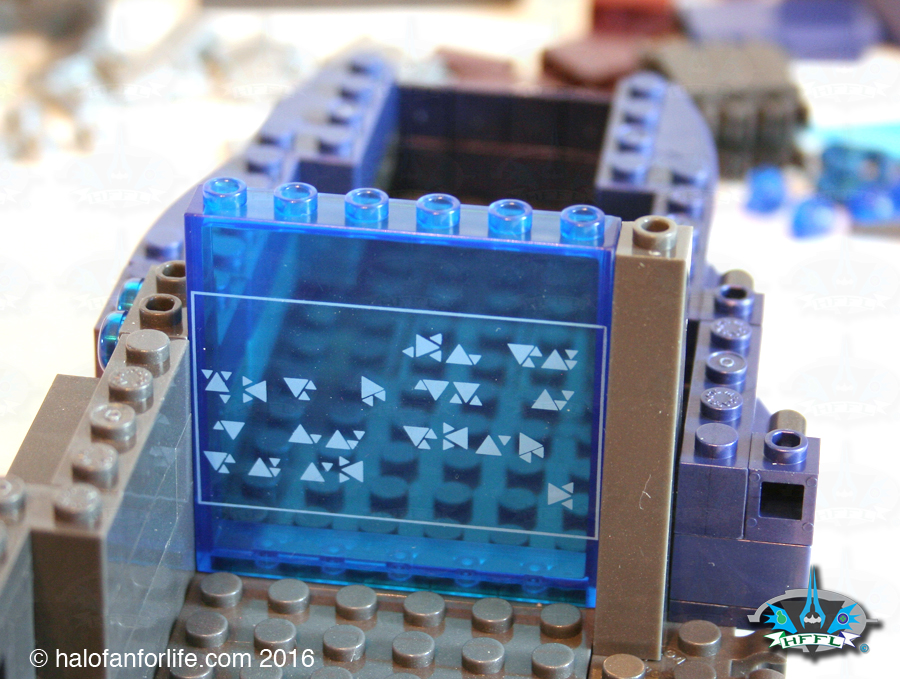
Here we can see the light coming through the front angled section passing through that blue pieces. Those large silver wall panels are meant for weapons to be placed on them. The bottom of the pic shows the reverse side of this. * I will be referencing this pic later in the review, stay tuned.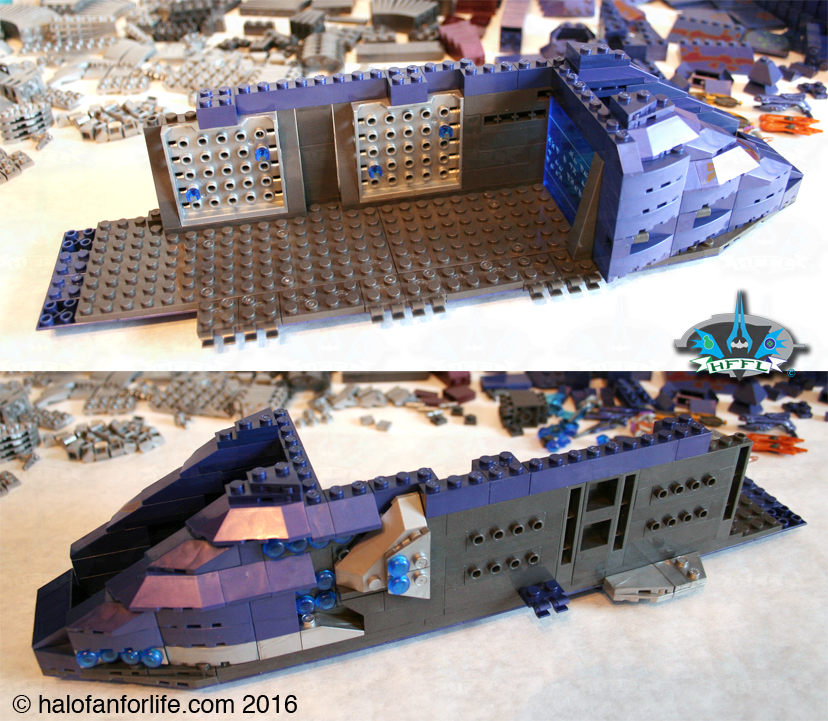 The build at this point was pretty easy. I did make a small mistake, and again, I’ll show you that in another part of this review.
At this point, we have about 75% of the length of the troop bay done. Now we need to add on the back 25%, which will also become a connecting portion to the bridge section. 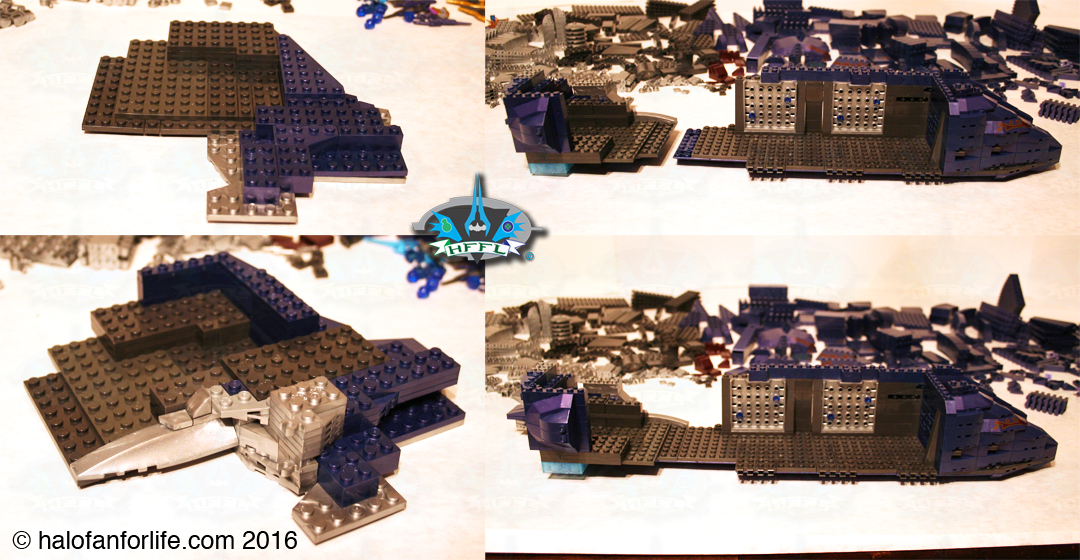
Both troop bays are mostly built. The tops and bay doors will come later.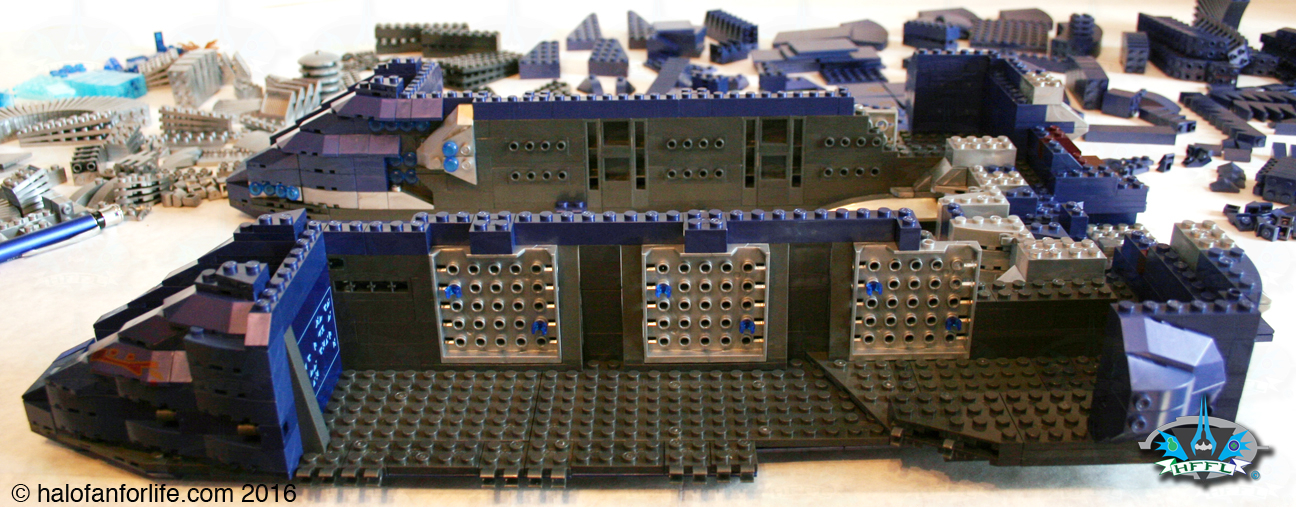 Plenty of layered plates make up the aft section of the troop bays.
For now, let’s look at how the body/bridge is coming along.
Not much to see yet, though this far along does connect the troop bays well enough.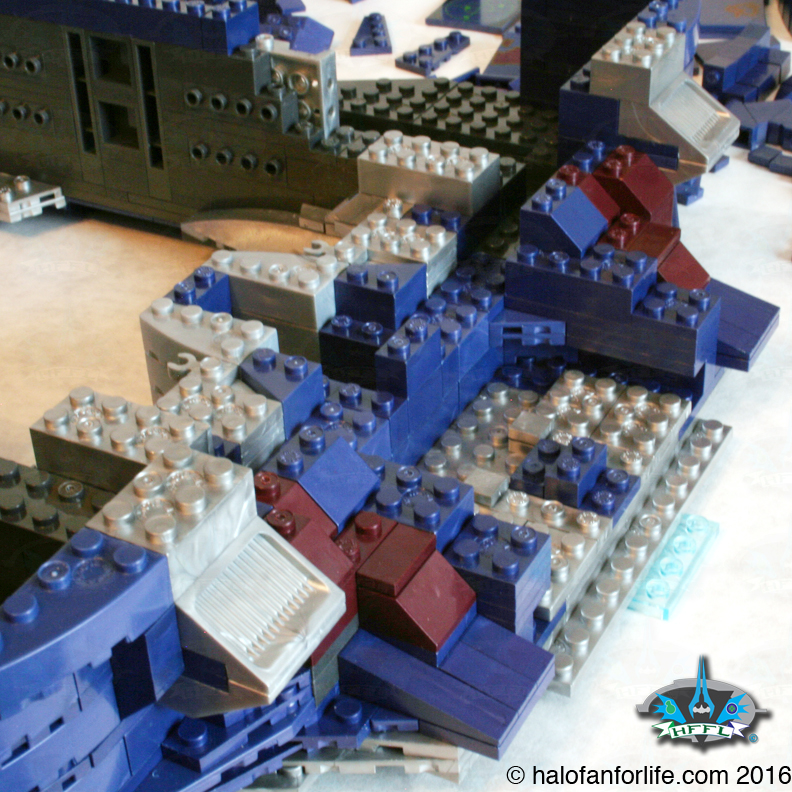
A little bit of the detail in the front part of the bridge section. This will be even more detailed later on in the build.
Here we see a bit more of the bridge complete. We now have two of the chairs in place and a readout screen. Some crimson/wine color bloks are placed in. That helps to break up the monotony of the nearly all indigo purple and silver bloks we’ve used up to this point.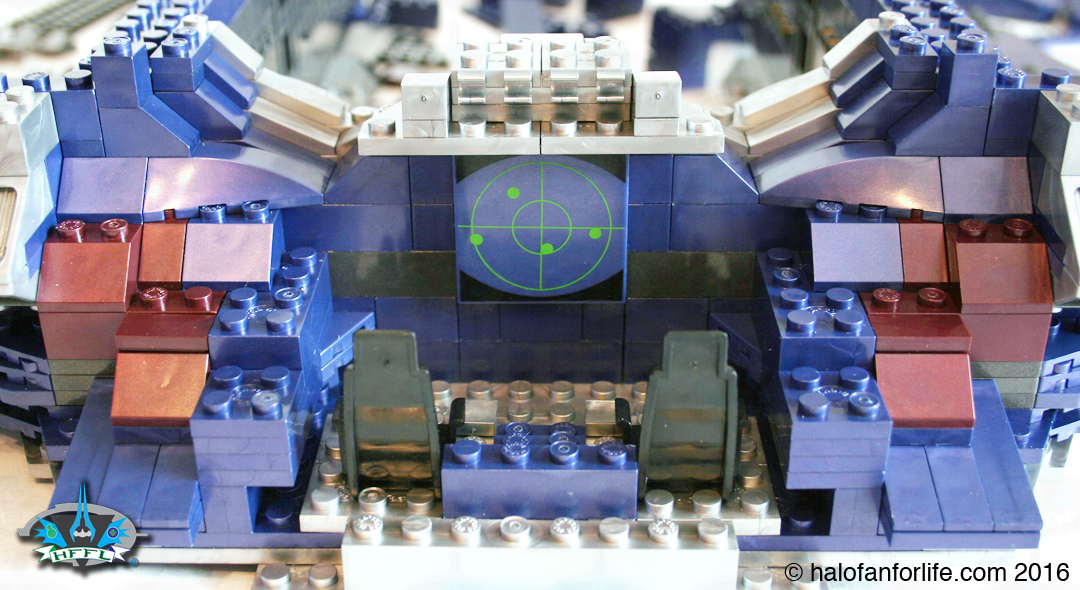
I spent 3 1/2 hours during just the sorting phase of the build. I came back the next day and put together both of the troop bays. The next day, I got the portion of the bridge section you see above done, as well as the troop bay tops and doors, which you will see in part two of this review.
For what is shown above, I have about 4 1/2 hours of build time into it.
Part 2: The Top, Doors and Aft
Part 3: The Base, Figures and Complete set
If you have any questions about this set that I didn’t cover in the review, please do not hesitate to ask me. Either reply below or e-mail me at [email protected]
Thanks for reading and let me know what you think of the review. If you get this set yourself, please let me know your thoughts on it too!
If this review gives you an informed decision on whether to purchase the set or not, please consider a small donation (50 cents) maybe. It’s much appreciated and helps ensure that HFFL stays active on the internet. Thank You.
-Sal