
![]()
Mega Bloks Covenant Spirit Dropship
Set Piece Count: 2281
Cost: $200 US
And on with the pics! (Click pics to make BIGGER)
The Bay Roofs and Doors
The troop bay roofs where VERY easy to build. Since there weren’t thick and had many duplicate peices, this section of the build came about fast.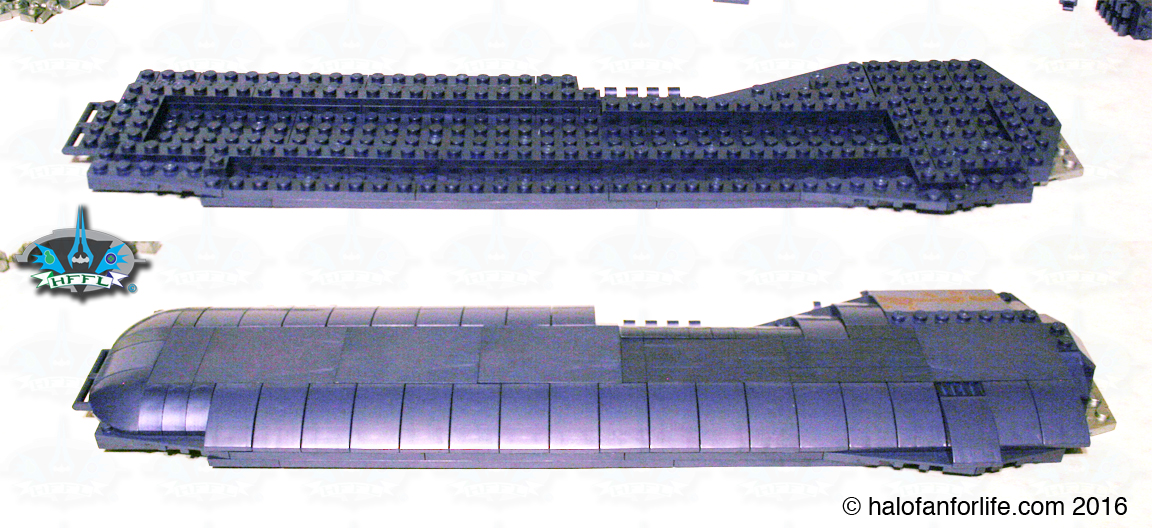
Below you see the Spirit before and after the roofs are placed on it.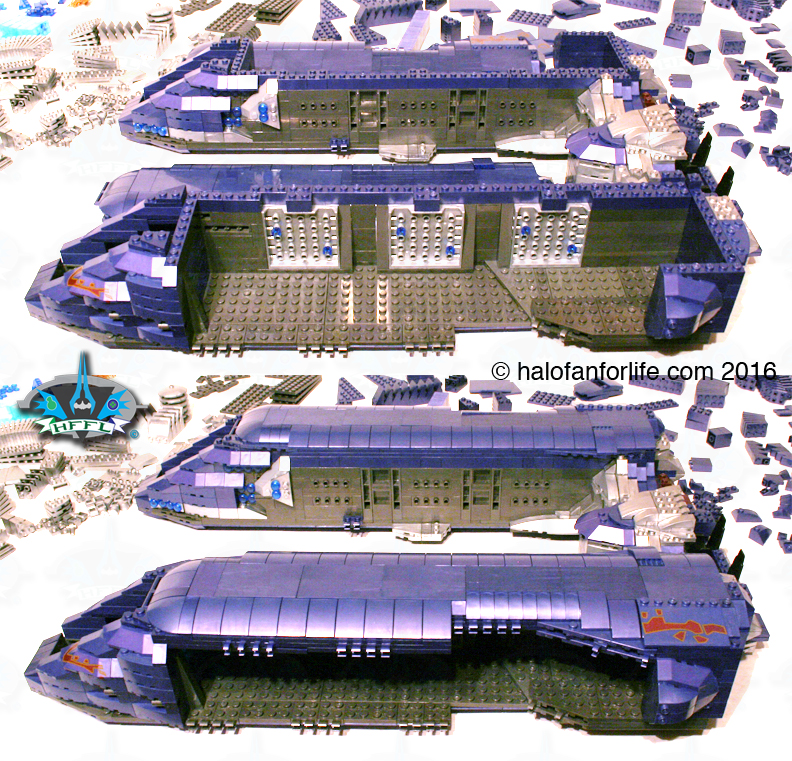 Now HERE is where I wanted to highlight a mistake and a small complaint too. As you can see, I placed a purple clip piece where it should have been translucent blue. I actually did this to both sides. The pic below shows after I found my mistake and replaced one of the clips so that you could see the difference.
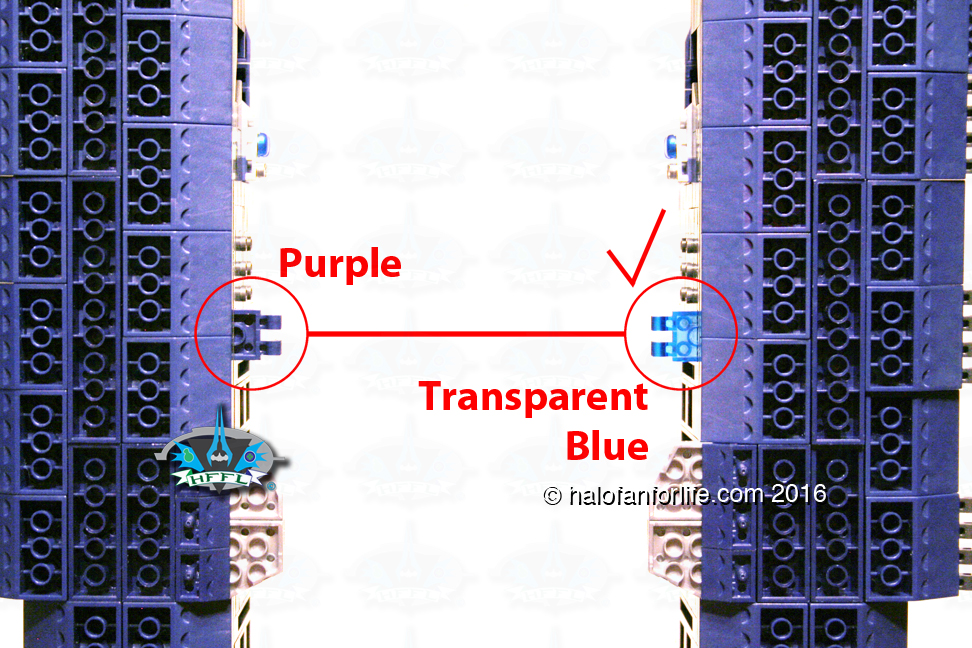
The complaint I have is that often the colors in the direction manuals are too similar. That piece did not look translucent blue whe I first looked at it. I had been working with nearly all silver and indigo piece up to that point and didn’t see the change in color. Mega could simply fix this by making the directions a little bit easier to read by having a greater differentiation of color within the manual.
I was even using the online PDF for this and STILL missed it. This was very frustrating as I didn’t realize the mistake until I was mostly complete with the build. I ended up having to take apart a bit of the ship, just to get to that one (actually two since it was on the other side too) piece.
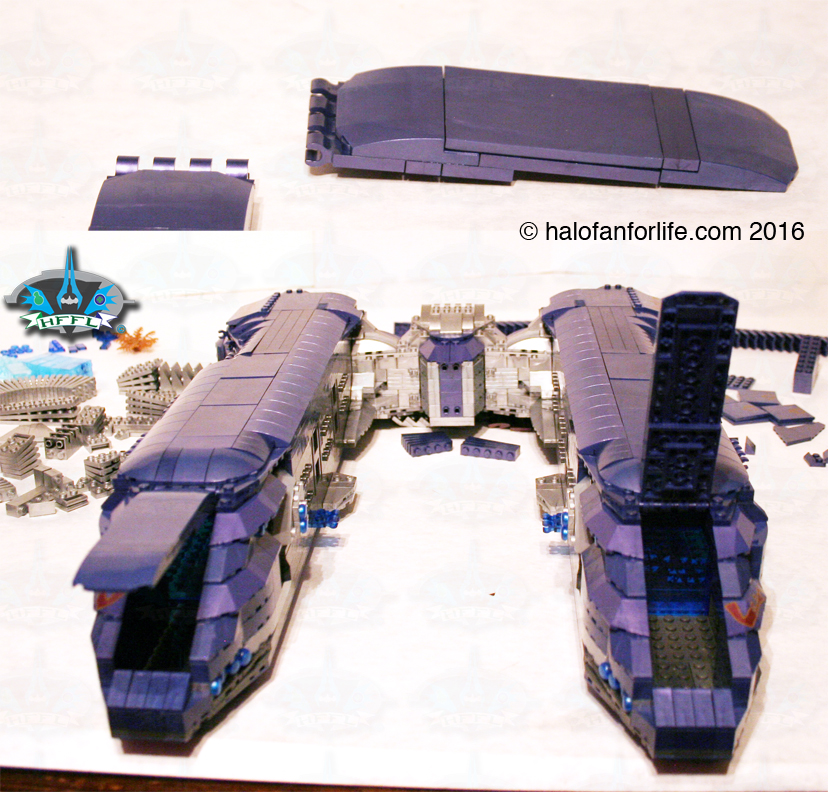
Okay, moving along. Next came the forward hatches. Simple enough.
Below is the nifty ‘greeblies’ section that is placed on the outside of the troop bay, towards the middle of the ship.You might see that the bottom of the two is missing one of the blue ‘dot’ pieces. It had strangely disappeared, even after I had accounted for all the peices. I ended up finding it later on inside of one of the other bigger pieces…rolls eyes…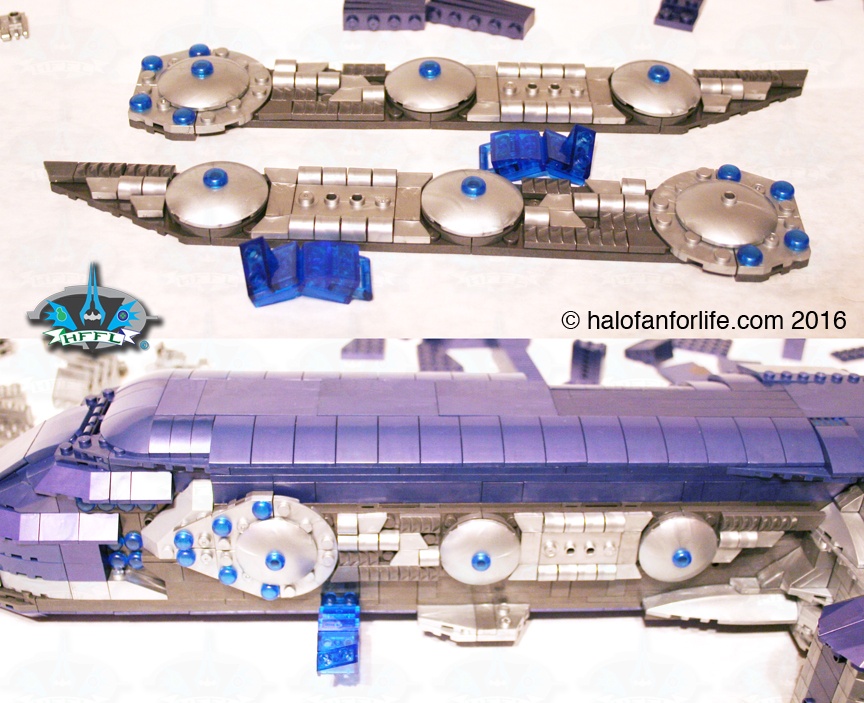
Next came the bay doors. You actualy build these in a specific order. Rather than take various pics of each one, I decided to just show you all the doors copmleted, then placed on the ship.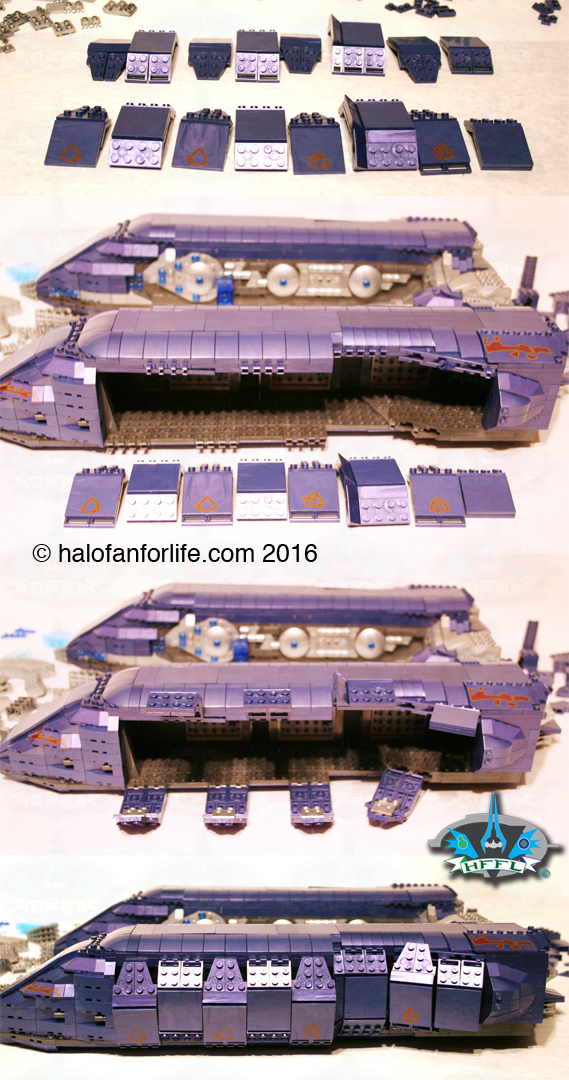
The Aft Section
There was a LOT more silver pieces in this bbuild than I thought there would be. A good portion of those went into the aft (gunner) section.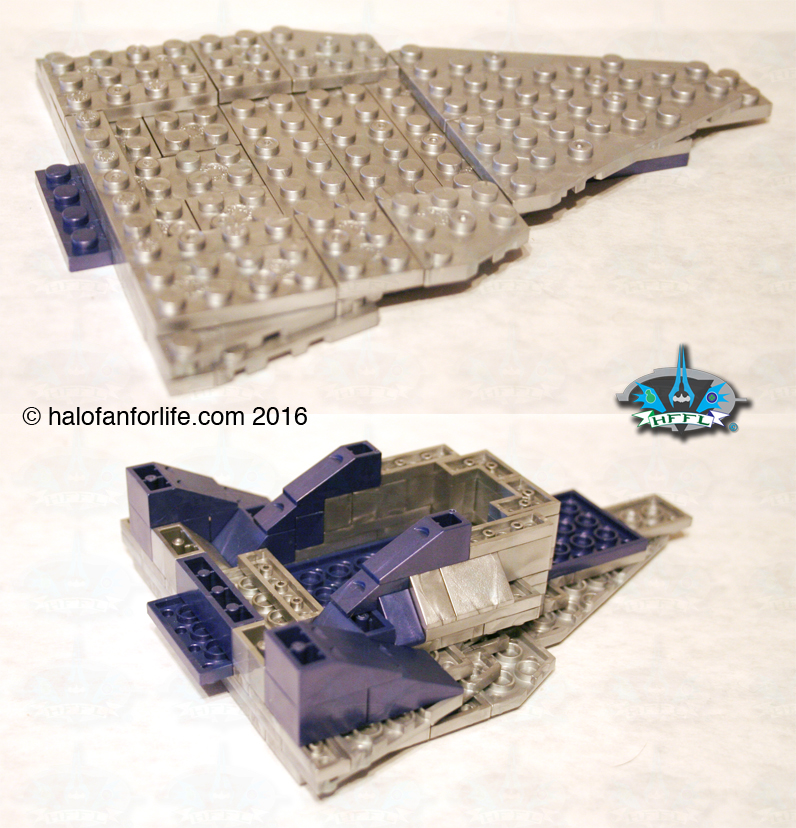
Here we see the turret ready to placed into position.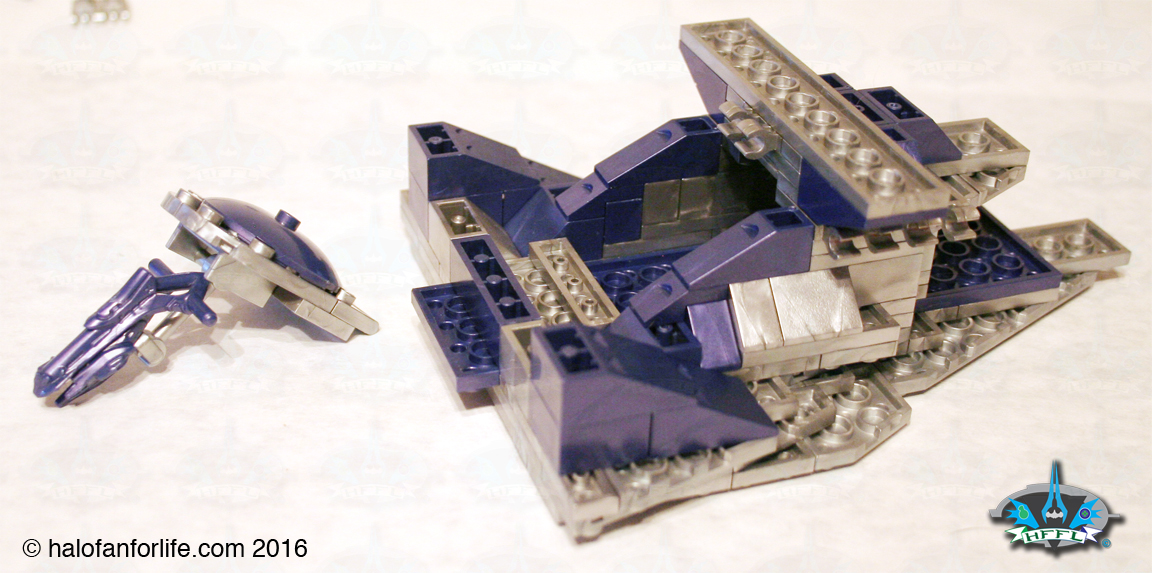
To hide the turret, you fold it into and under (actually over once you have this upright).
Now we get to the gunner’s station. Note that to fit a figure in there, Mega used hinged parts to flip outwards to make it easier for you.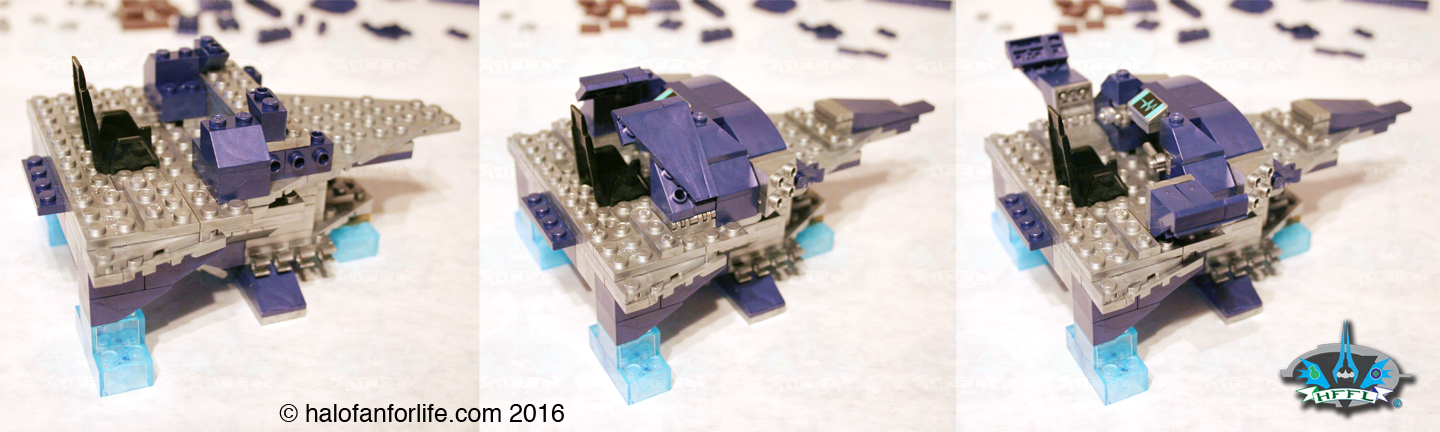
Detail of the gunner’s station. Why there is a heartbeat on the monitor, I don’t know, LOL.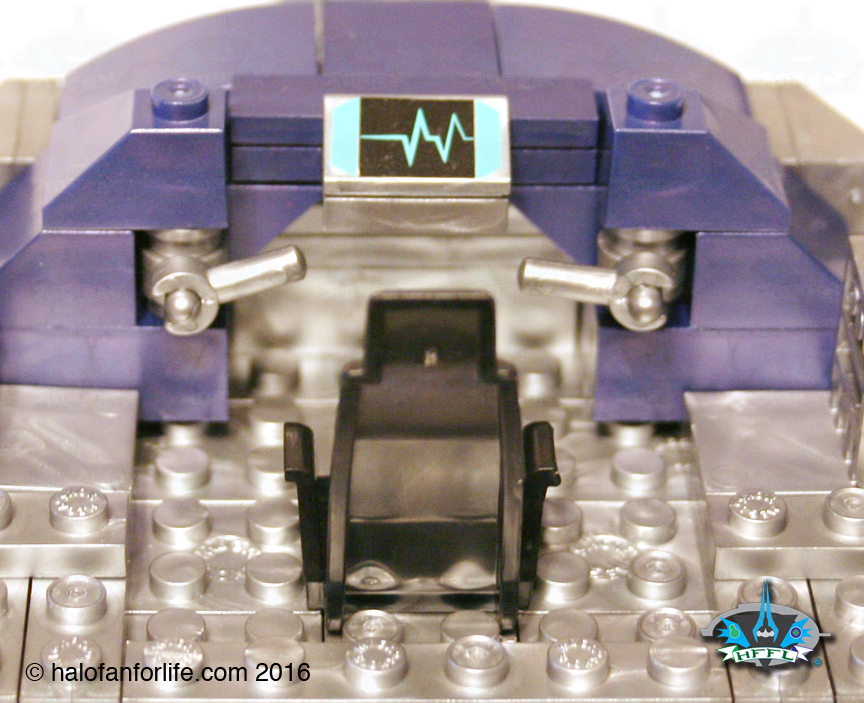
Next we ‘marry’ the aft section to the rest of the spirit.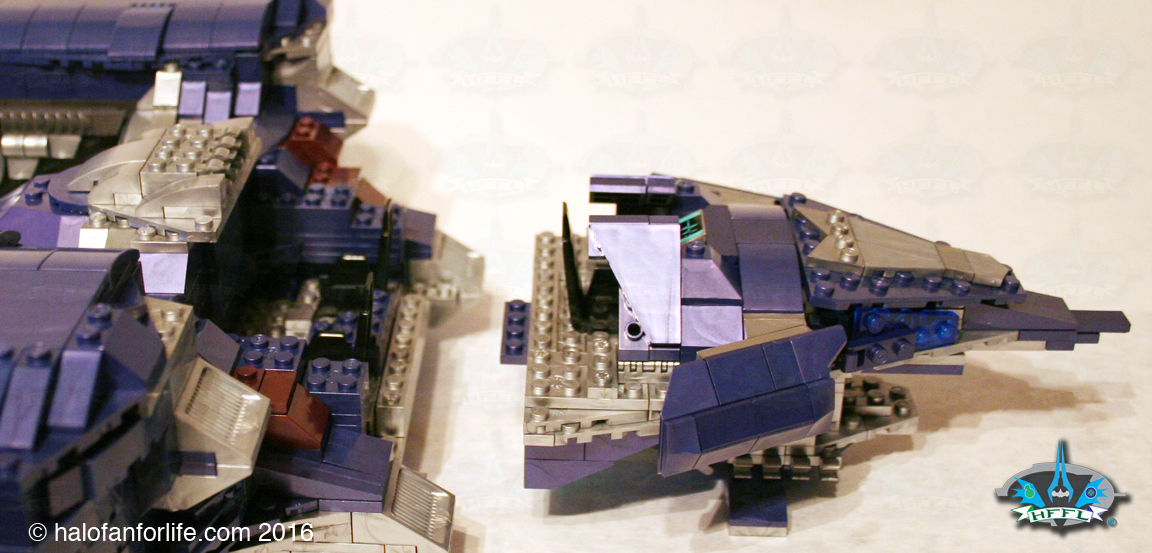
The bridge now gets it’s roofing. One slight note here. When placed down onto the ship, it’s not actually connected. It just sits there. I do wish Mega would have at least allowed for one or two studs to be in place under it so it would attach better, not leave a gap and not flip over when playing…er moving the model around…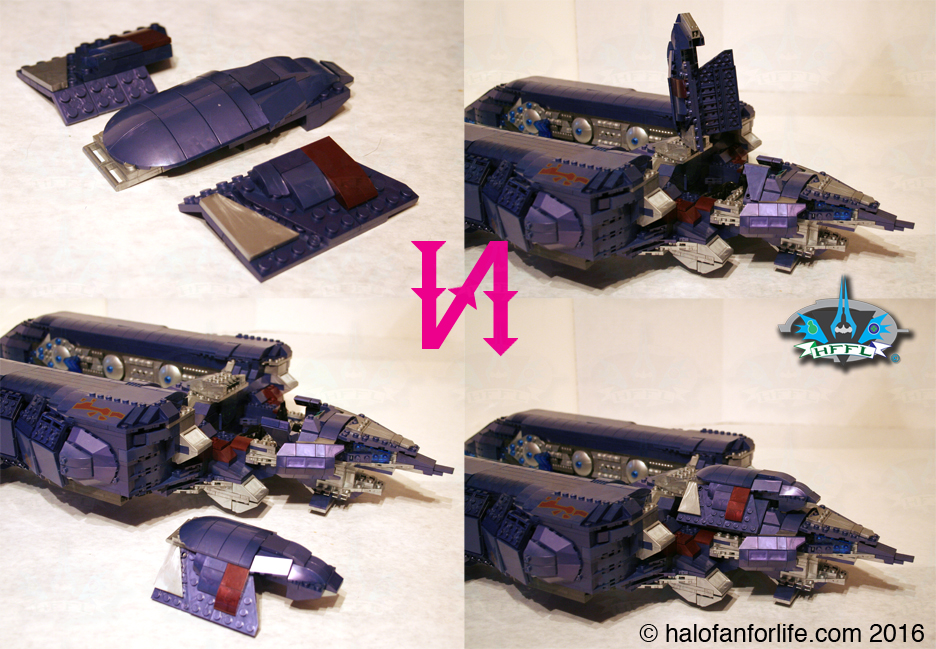
The Halo 5 Spirit gets these shiny silver wings on the aft section.The move slightly up/down.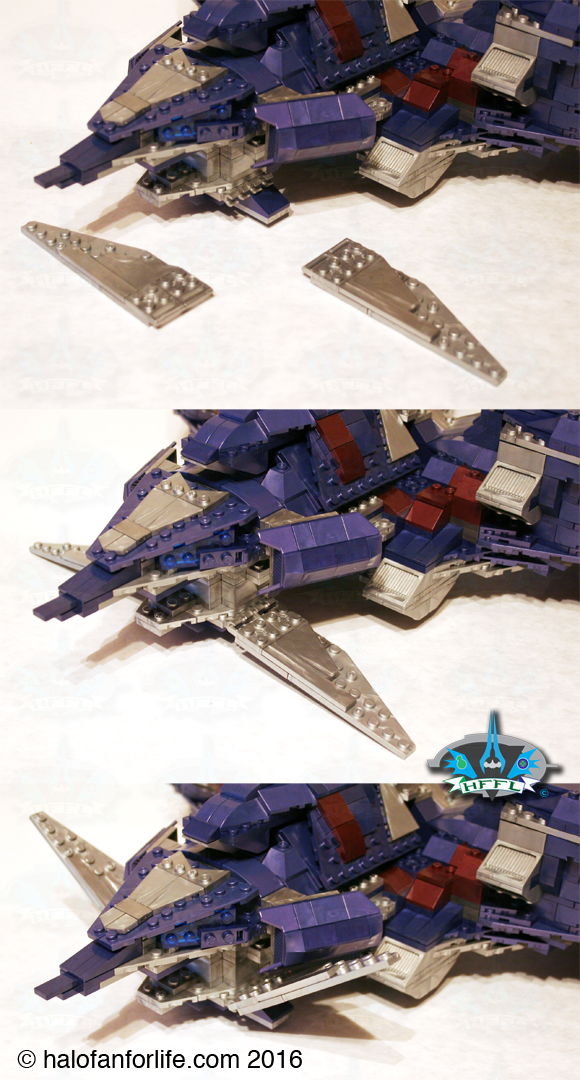
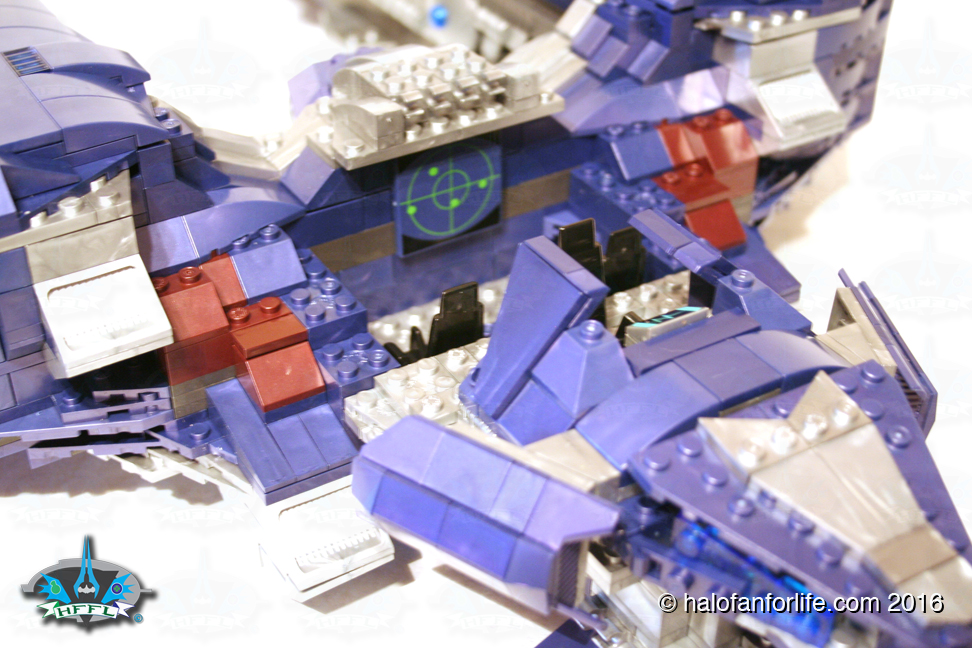
For the last little bit, we add on some greeblies to the front part of the bridge.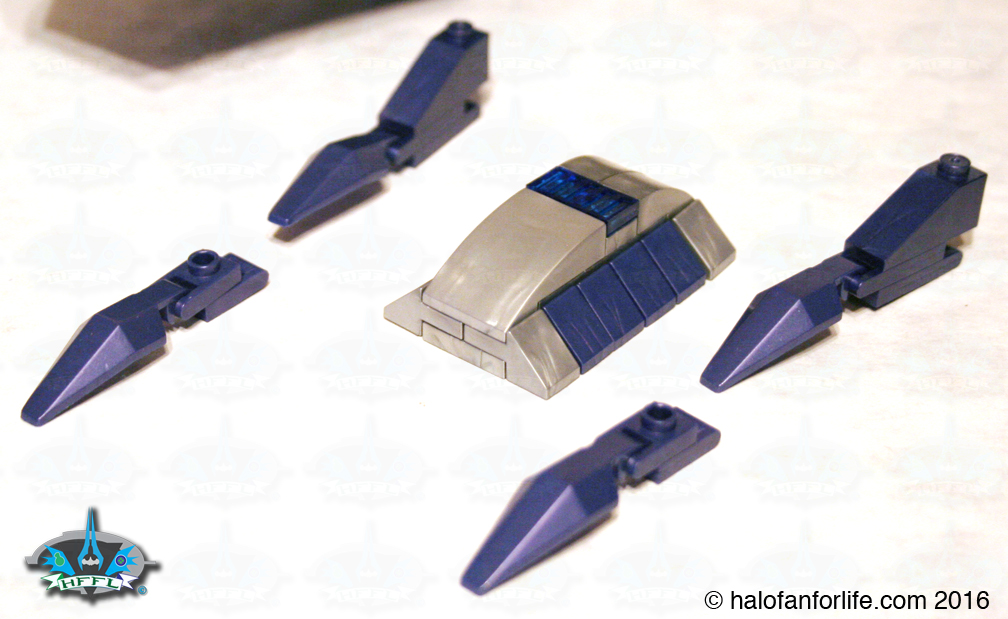
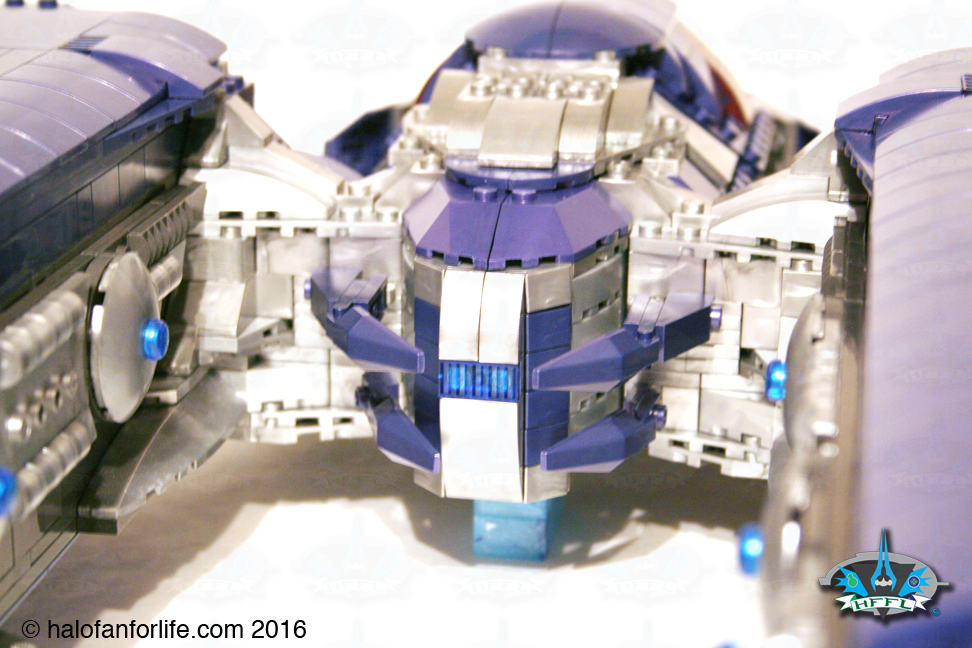 Kind of reminds me of the four elite mandibles. Does it to you too???
At this point I’m now 6 1/2 hours into the build (again, not counting the 3 1/2 hours of sorting before that).
Come back tomorrow, when I’ll have the third/final part of the review. You will see the base assmebly that the Spirit rests on, the figures, weapons and left over pieces. I’ll also break down the value of the set and give my final critque on it.
Part 1: The Body
Part 3: The Base, Figures and Complete set
If you have any questions about this set that I didn’t cover in the review, please do not hesitate to ask me. Either reply below or e-mail me at [email protected]
Thanks for reading and let me know what you think of the review. If you get this set yourself, please let me know your thoughts on it too!
If this review gives you an informed decision on whether to purchase the set or not, please consider a small donation (50 cents) maybe. It’s much appreciated and helps ensure that HFFL stays active on the internet. Thank You.
-Sal