
![]()
Mega Construx Hannibal Mantis Charge
Technical Specifications:
Build Time: 20-25 minutes to sort (this as you open just a couple of bags at a time), approximately one hour to build
Set Piece Count: 420
Minifigures: Grunt Minor, Spartan Wetwork, Elite Zealot
Weapons: Carbine (Blood of Suban deco), Needler, Plasma Pistol
Accessories: x3 Figure stands
Special Features: Cockpit opens/closes; Articulated shoulders, waist, hip joints, knees, ankles, both “hands” rotate, radar pivots
Cost: $40 US (Mass Retail) I got mine from Amazon.com
And on with the pics! (Click pics to make BIGGER)
The box art is the new white with orange Mega logo. The set photo shows the Mantis in an action pose along with the figures. It should be noted that the Mantis can indeed be posed like this.
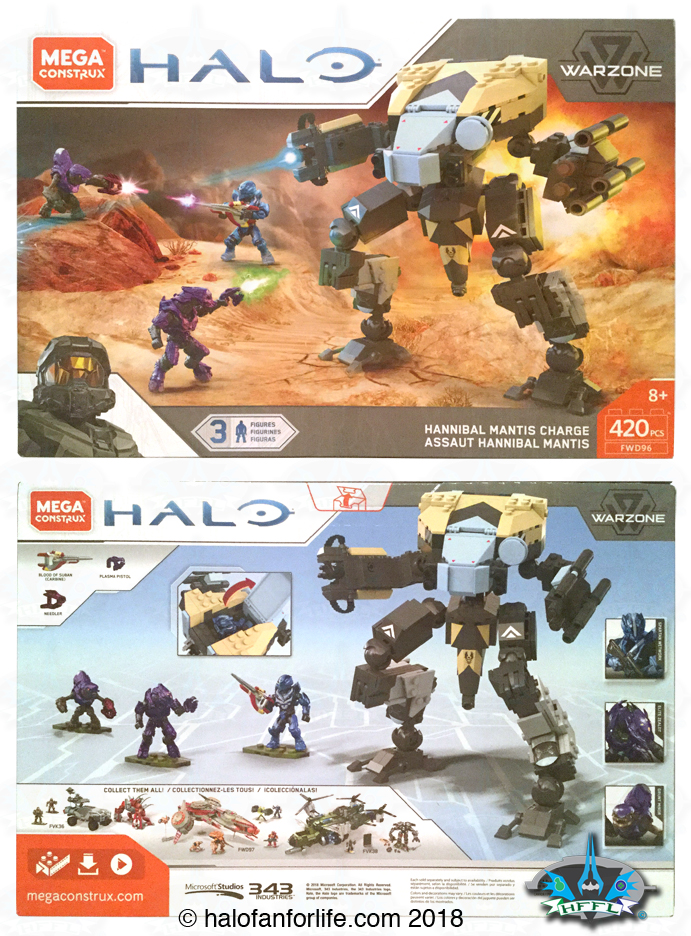
On the back of the box there are a few other sets shown. As of this writing (12/26/19), the Warthog and Phaeton sets have been released. The Frostraven set has yet to show in stores.
In the box you get two instruction manuals and nine bags of parts. Of those, eight are numbers and one isn’t, though it has a large orange Mega Construx stripe running down it.
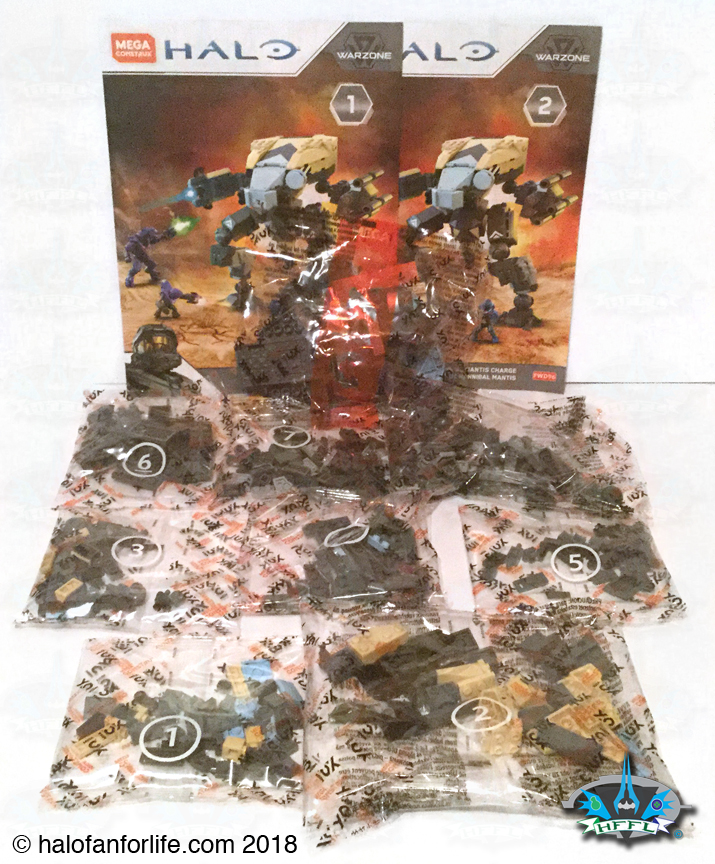
With this set comes the first ever NUMBERED bags for Mega. This is a first for Mega. They couldn’t do this previously due to a copyright that LEGO had on numbered bags. Since this copyright has finally expired, Mega is free to use numbered bags. It’s been a long time coming and I’m VERY happy they are utilizing it, especially with larger piece count sets like this one.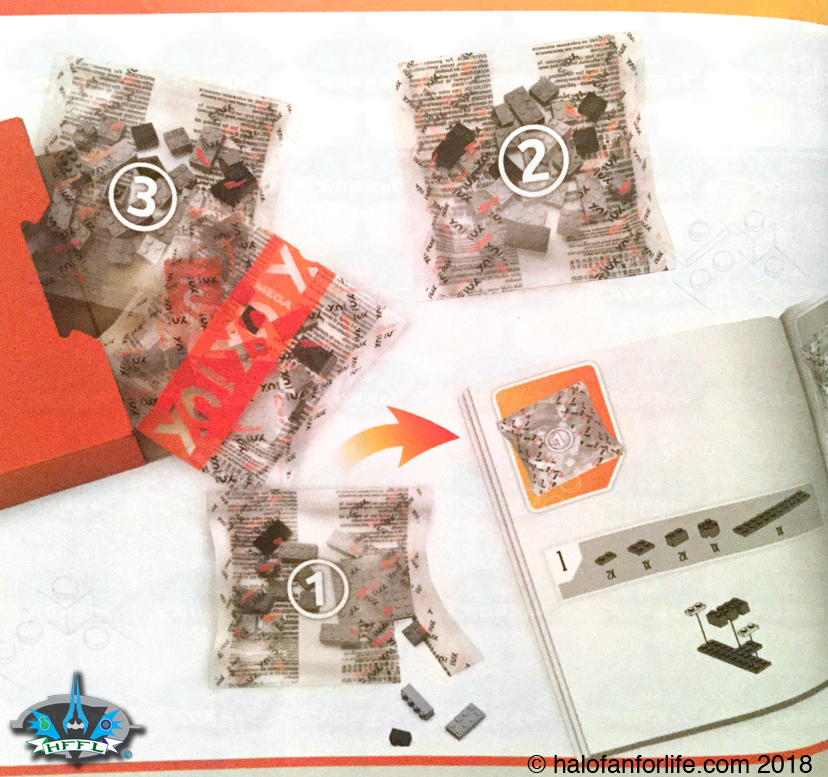
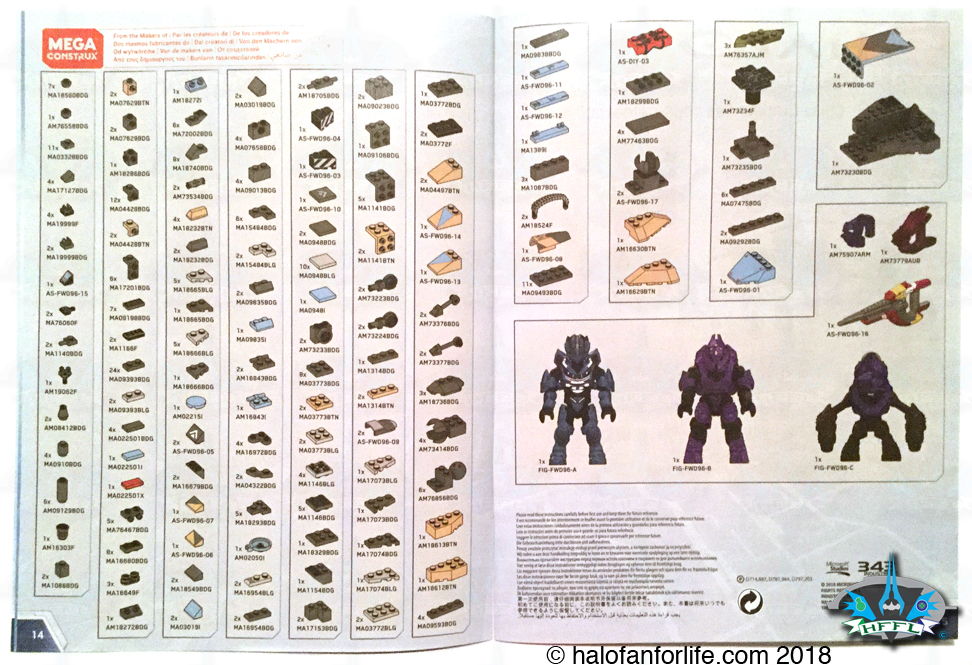
Now normally I show a shot of all the pieces sorted. However, since there are numbered bags and you only need open a couple at a time, I’m posting the parts list here and will show specific numbered bag parts throughout the review.
In the large bag with the orange Mega stripe you get all the printed pieces, the main cockpit piece and the three figures, each in their own baggies. The small orange bag holds a special piece, which I’ll show the contents of in just a moment.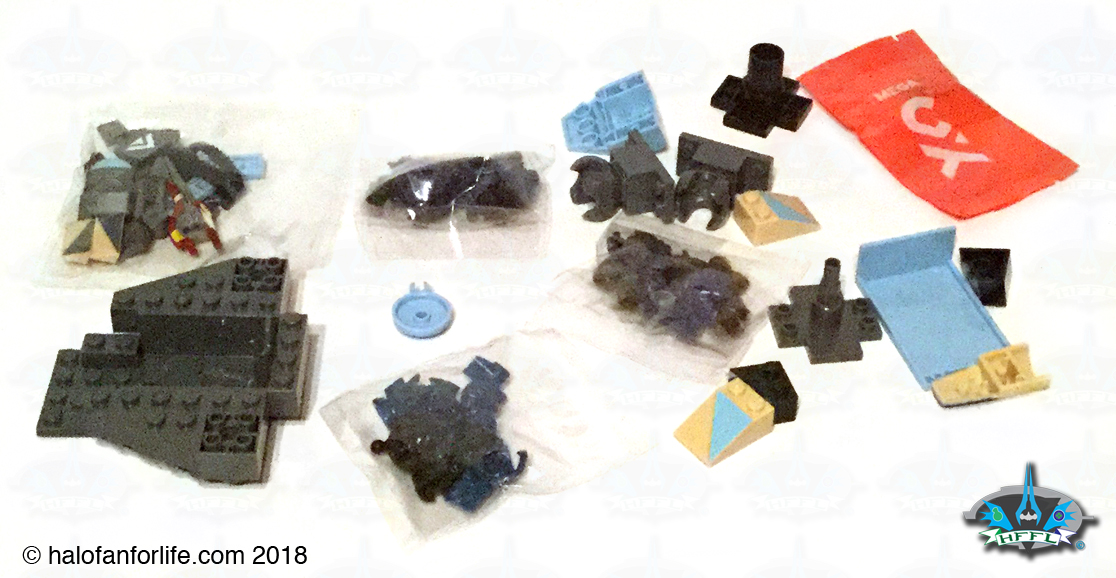
Here are the parts for the large bag (figures not shown).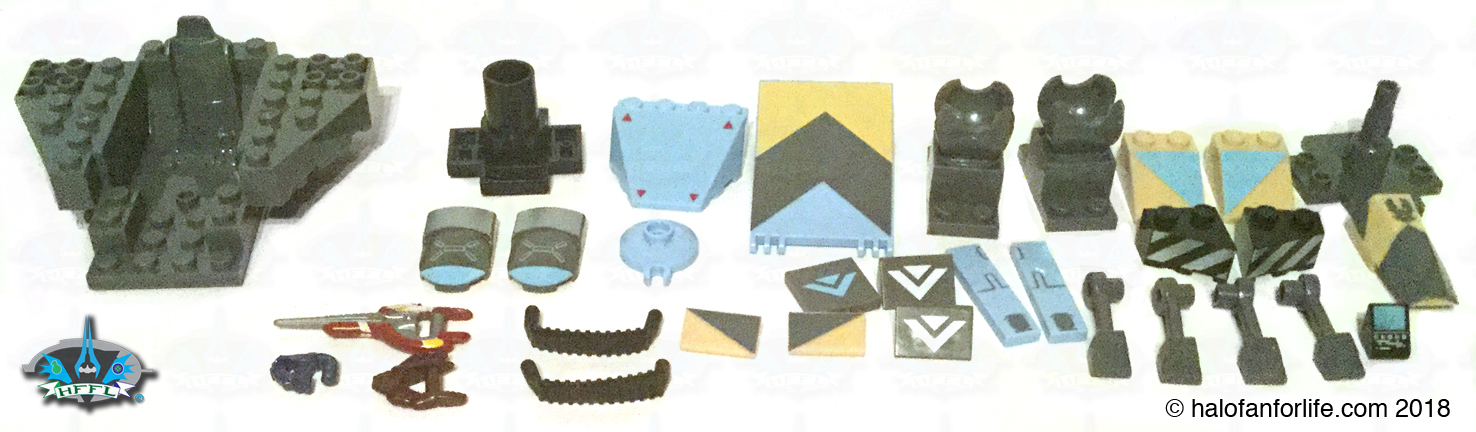
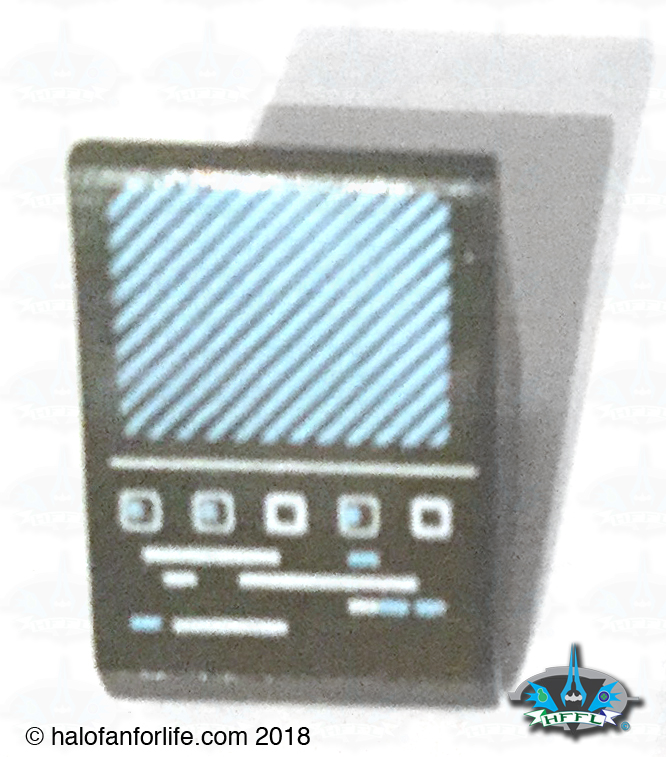
Let’s take a look at some of the pieces that have printing on them. Please excuse the graininess of a couple of these as they are rather closeup pics that my iPad couldn’t quite get perfect focusing on.
This is the cockpit control panel. It’s a 1×1 slope piece. Great detail for such a small piece!
The “codpiece” for lack of a better term has some nice dark grey striping on it. The UNSC logo is a bit “thick” here, but still look great!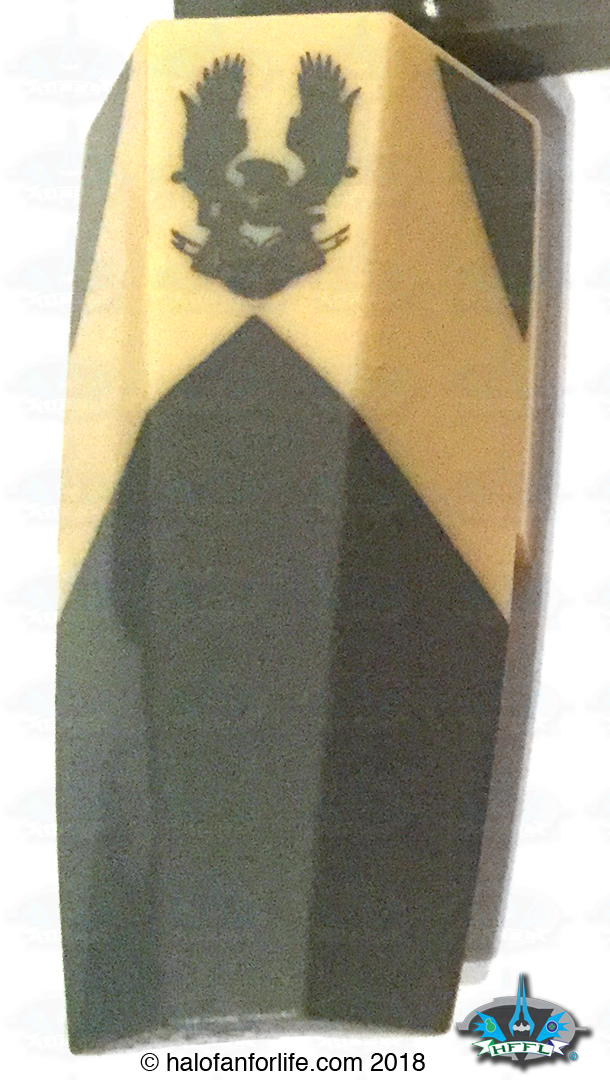
These two pieces are on the back of the cockpit hatch. I’m surprised Mega made these printed, but am definitely happy for that added detail!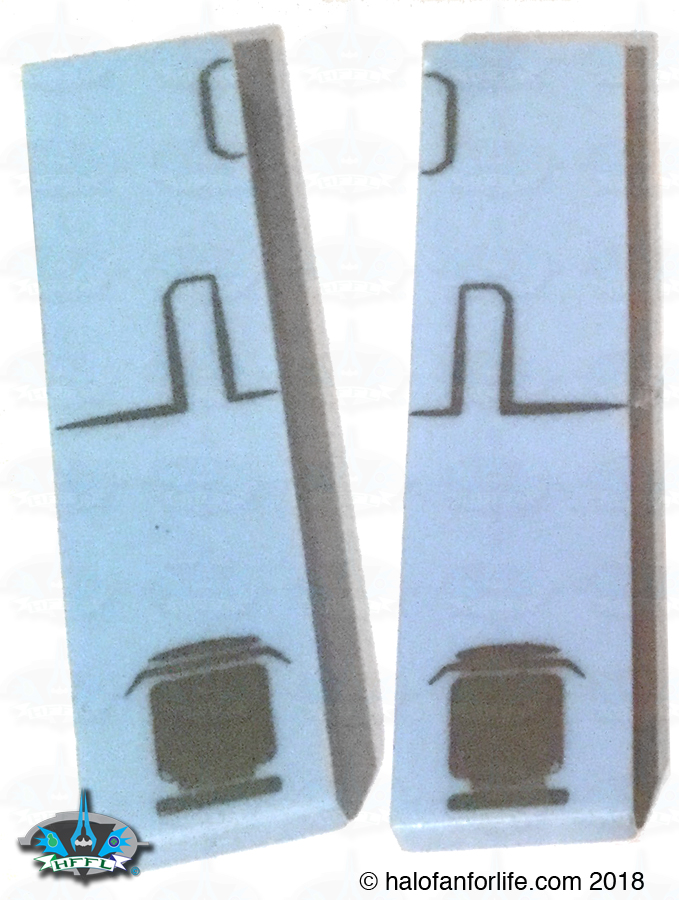
There are two of this printed piece in the set. It fits onto the shin area. Again, attention to detail here really helps the set’s aesthetic.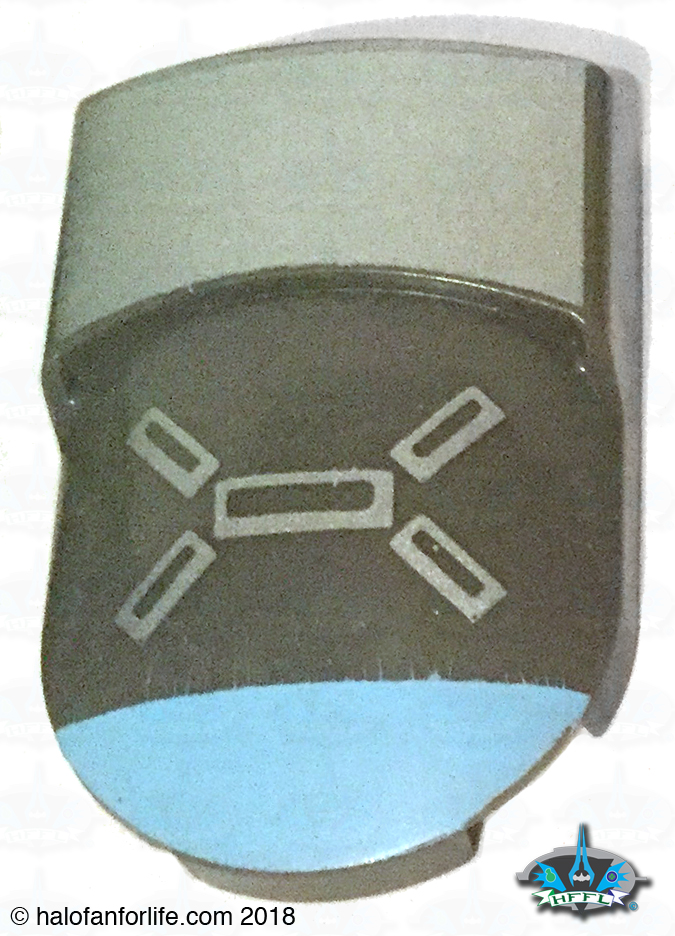
The last printed piece (not including the figures), is this Carbine. Specifically it has the “Blood of Suban” skin on it. I LOVE this! The BoS (or BOSS) is one of my favorite REQ weapons in Halo 5’s armory! It acts much like a Needle rifle from Halo Reach instead of a normal Carbine.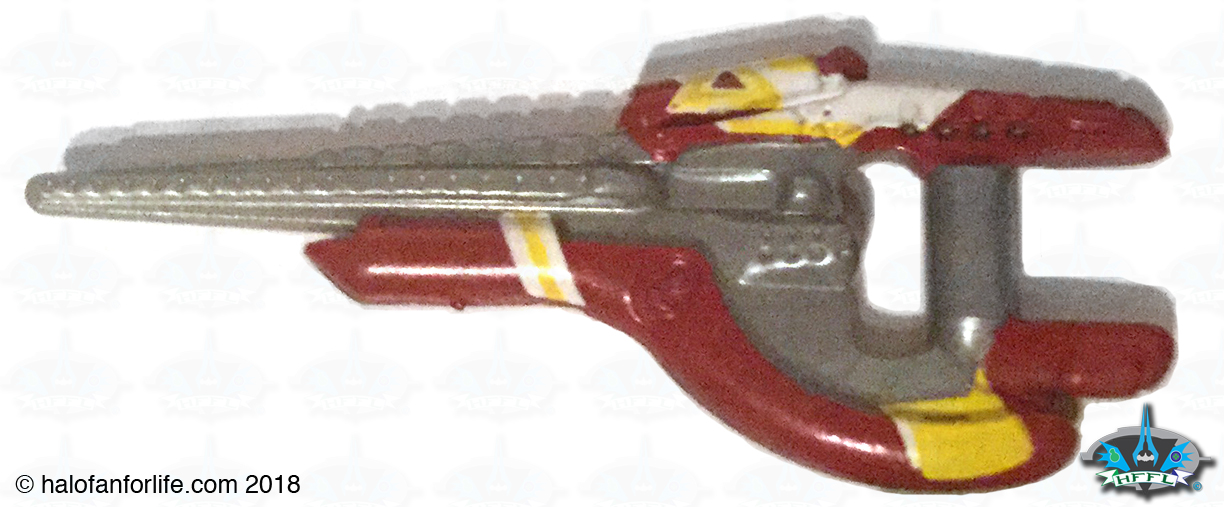
So in the orange bag you get this special pieces. As you can see by the graphic in the instruction manual, you can attach into to a pencil (or pen if you choose). Then you can build on it if you like. I put it aside for this review, though I’m certain I’ll find a good sue for it down the road.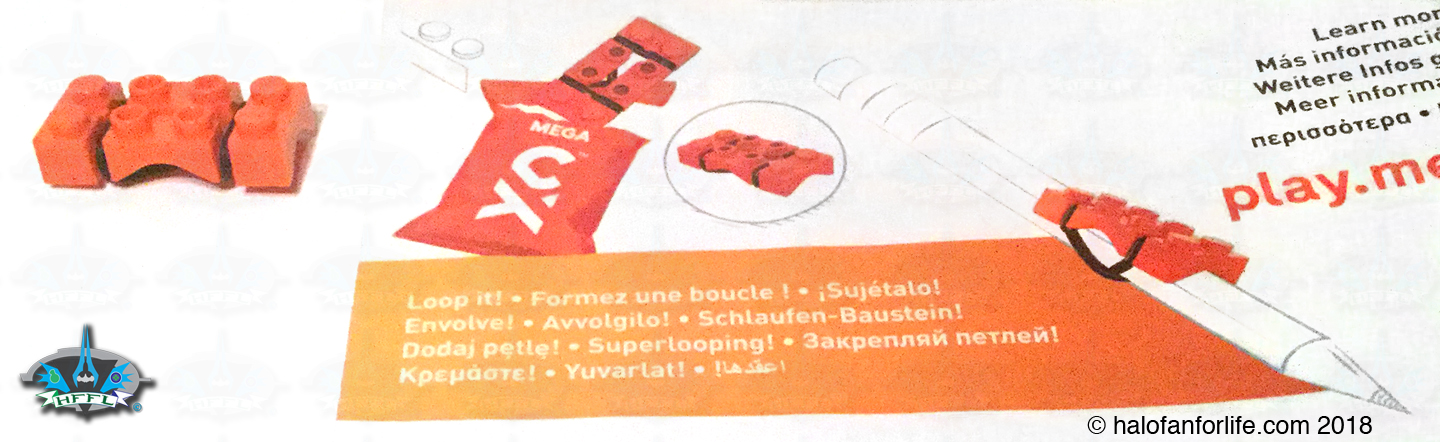
Okay, let’s finally get into the build!
The pic below shows the contents of the large bag with the orange Mega stripe and Bag’s 1 and 2. I forgot to separate these out to show specifically Bag 1 and 2’s parts. I didn’t make that mistake though with the other bags later on in the review. (heh, these numbered bags of Mega’s are a new thing for me, so I need that little “learning curve”)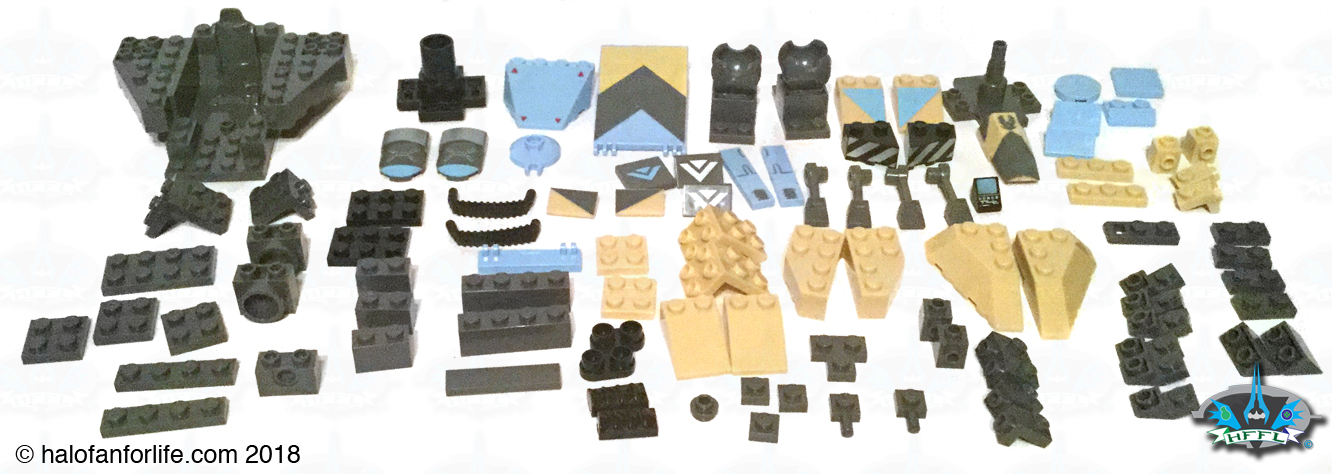
First up, we start with the cockpit. It gets some side mounted connecting pieces at the front. On the bottom, the added black 2×3 plates and the two hinge pieces (the ones attached with the circles facing forward) are for stability while you build the set. These are later removed and used elsewhere in the set.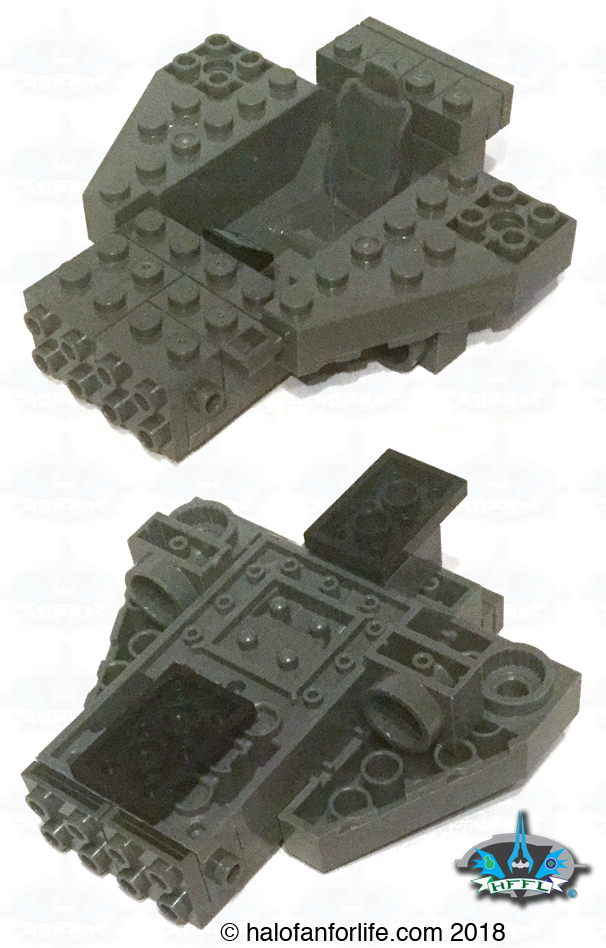
More buildup of the Cockpit ensues and you build the cockpit hatch.
I really like the amount of printed pieces here. The hatch pieces really bring this Mantis to life as a Hannibal Mantis!
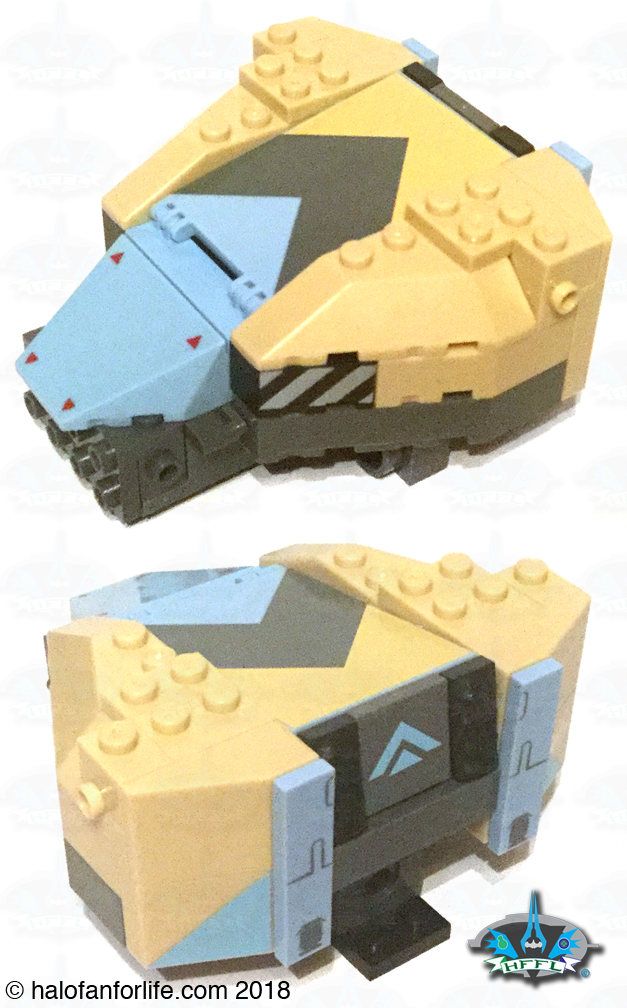
Next we add some more detail, including a swivel radar dish and the waist joint.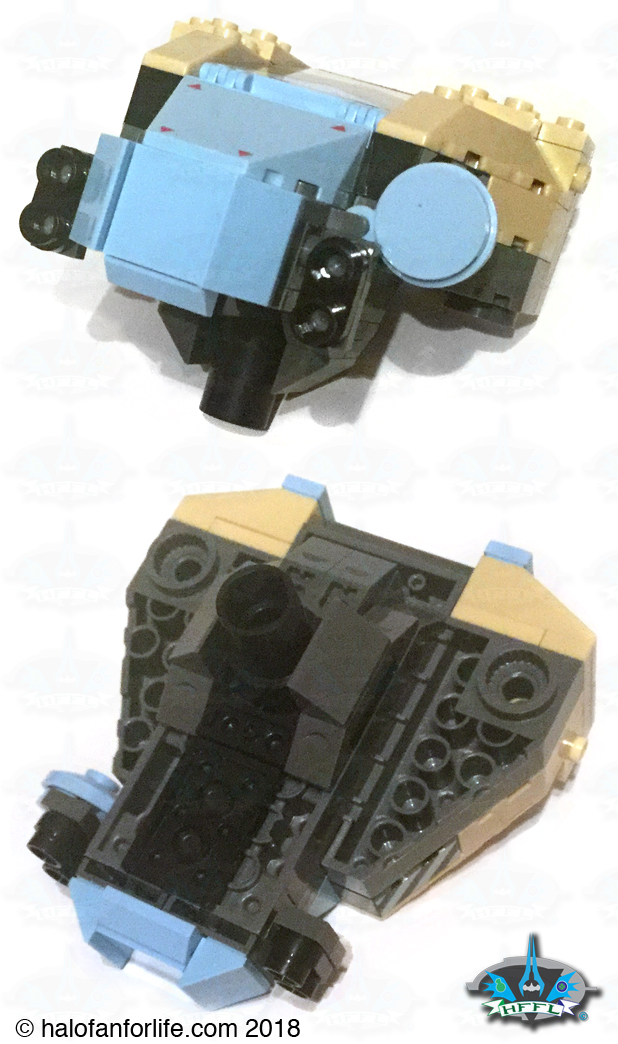
Moving on from the cockpit, we now use bags 3 and 4, plus some of the left over pieces from previously in the build. This is where Mega differs from LEGO in how they use numbered bags. LEGO makes it so that each bag builds a specific section of their set, while Mega sort of does that but has some left overs used later. I do hope Mega corrects this as it may seem like it’s an error to have leftover pieces. But hey, they are learning too. So I’ll give them a pass here. 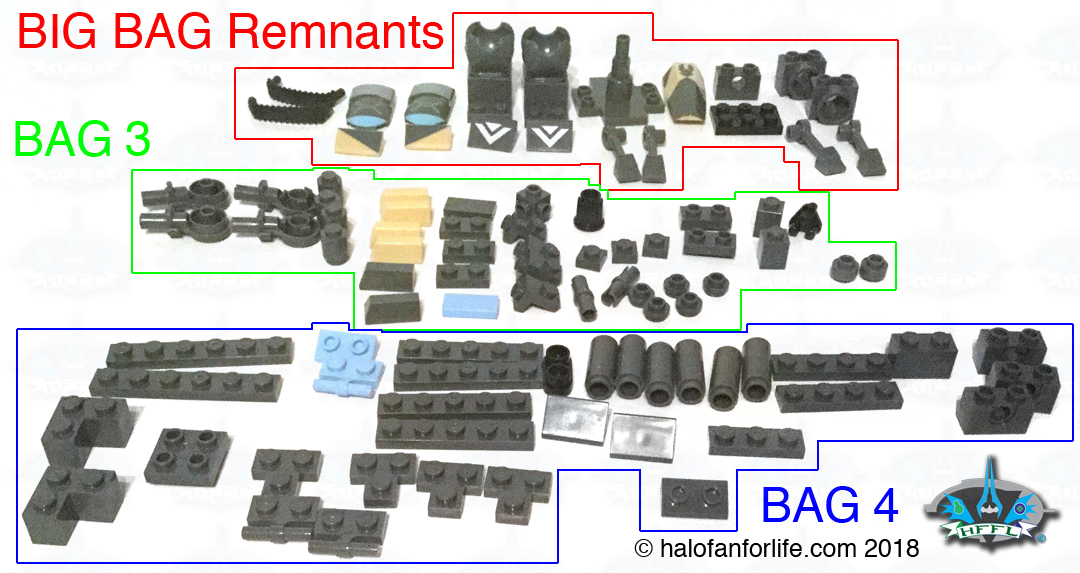
With these new bags opened, we build the arms and armament of the Mantis. First up the missile arm. It’s very similar in design, if not the same, to the previous Mantis set I’ve review here on HaloFanForLife.com.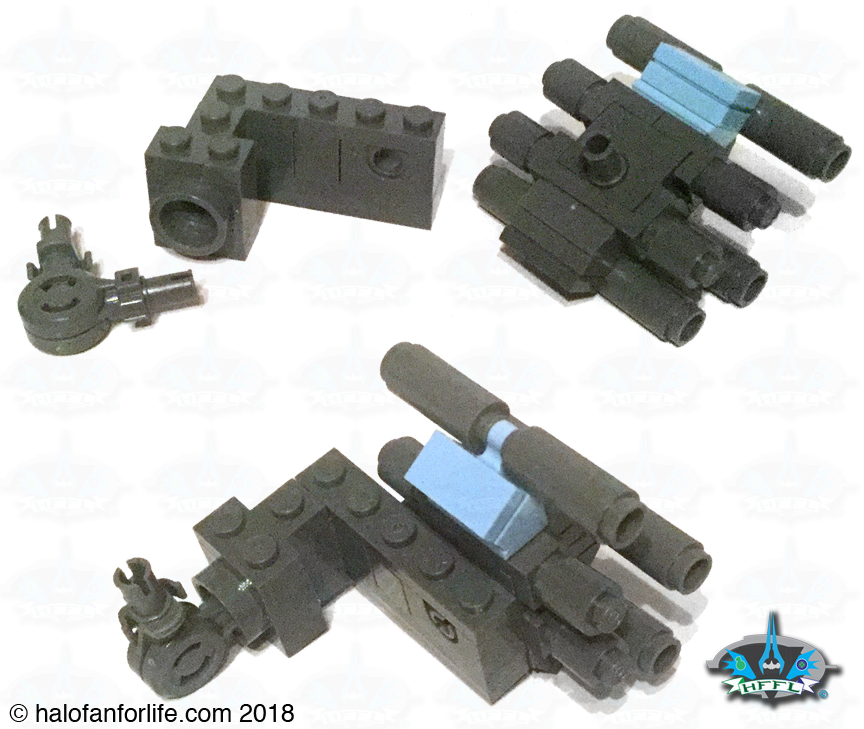
Likewise the gun hand is built. Again, very similar if not the same design as the previous Mantis build.
From here we connect the arms to the body via the two round holes on the underside of the body.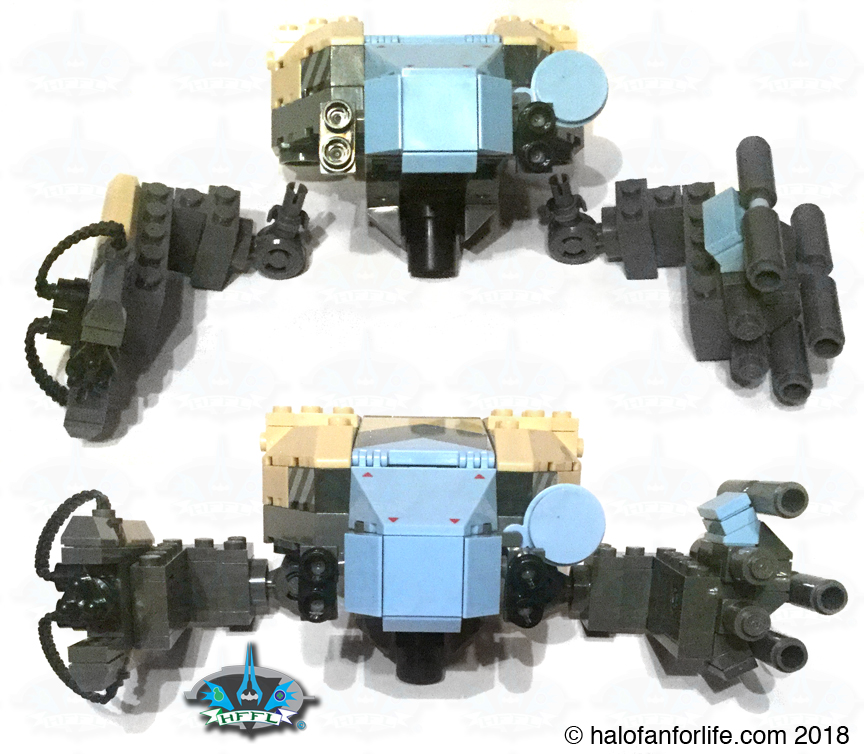 Detail shots show the body/arms from different angles.
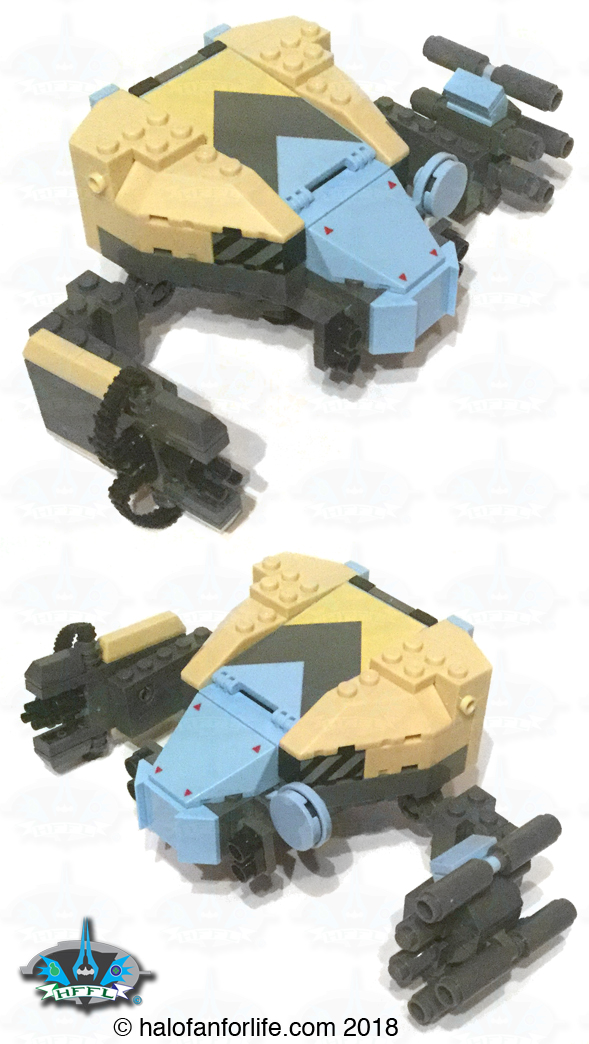
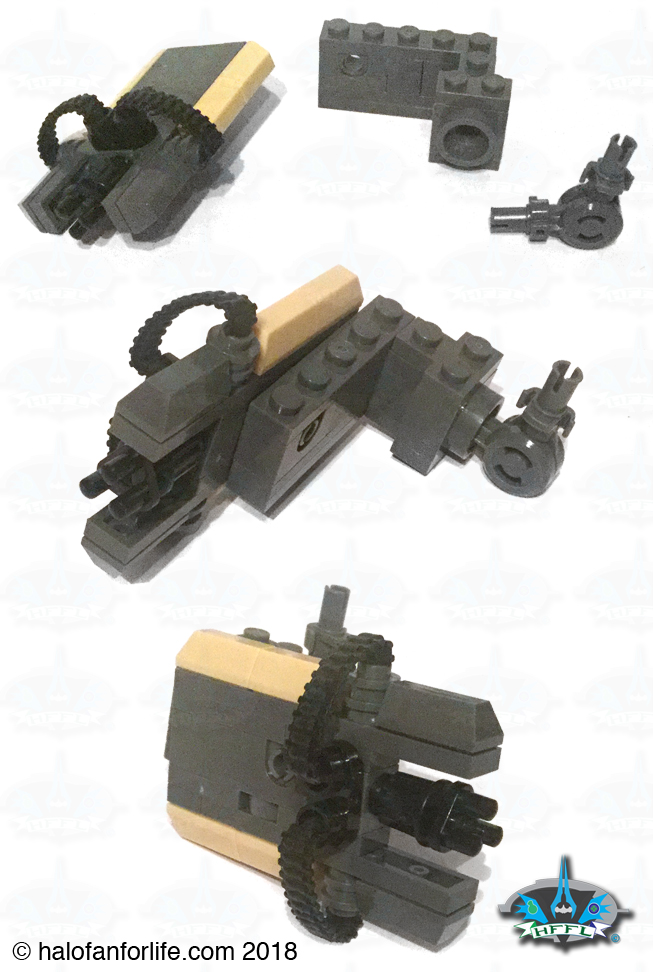
With the parts left overs from these bags, we build the hip. The left side shows it before it’s complete, while the right is the completed hip.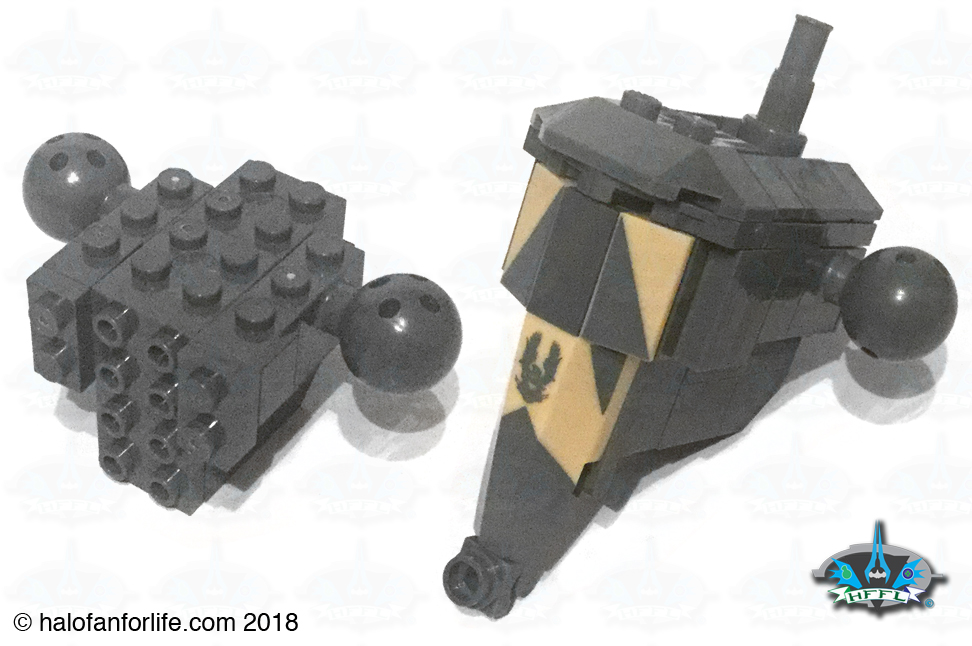
Moving on from here, we progress to bag’s 5 and 6. These are mostly used for the feet of the mantis.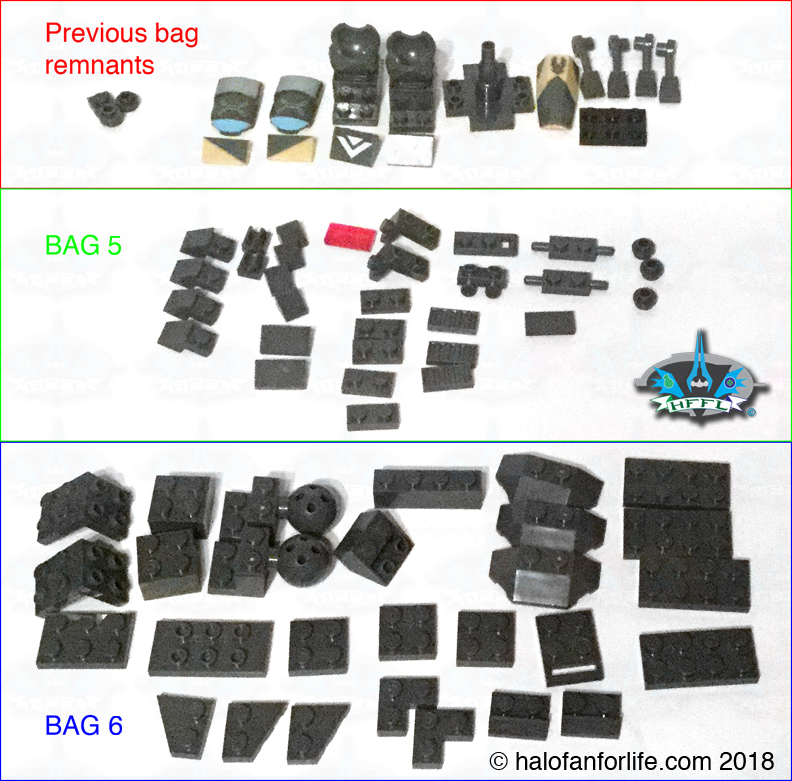
And the feet are completed.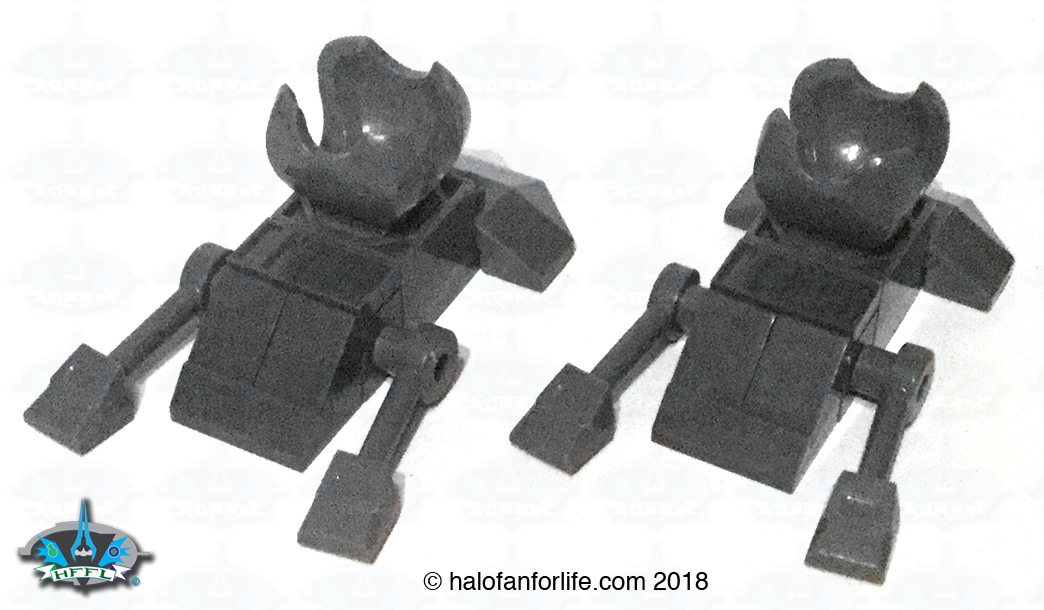
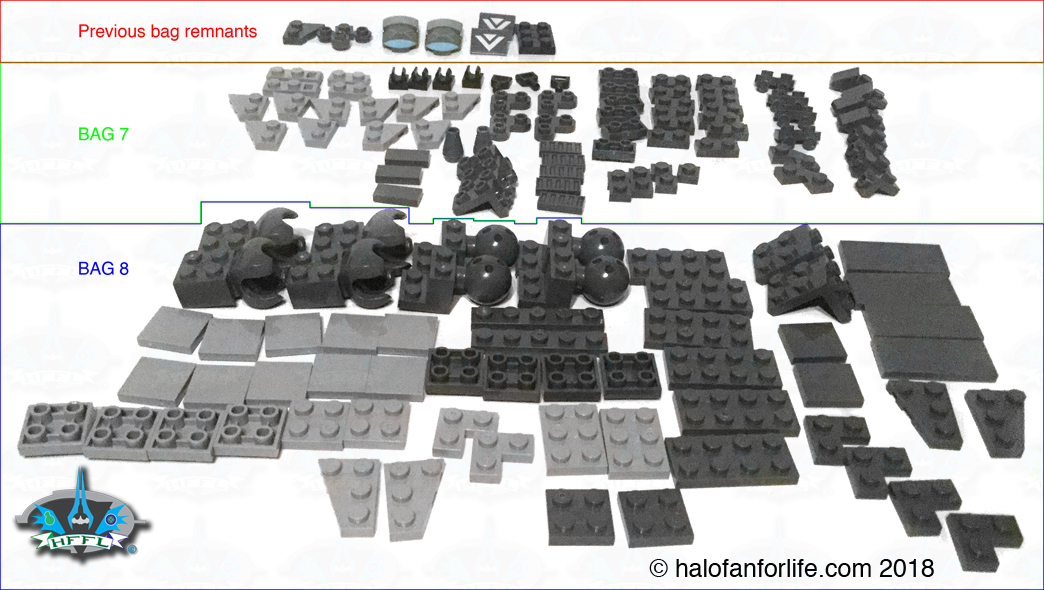
Bags 7 and 8 are the leg parts.
Below you see a progression of shots of how the legs are built and attach to the set. Each leg is the same build, just flipped. The body attaches via tube to the waist’s prong.
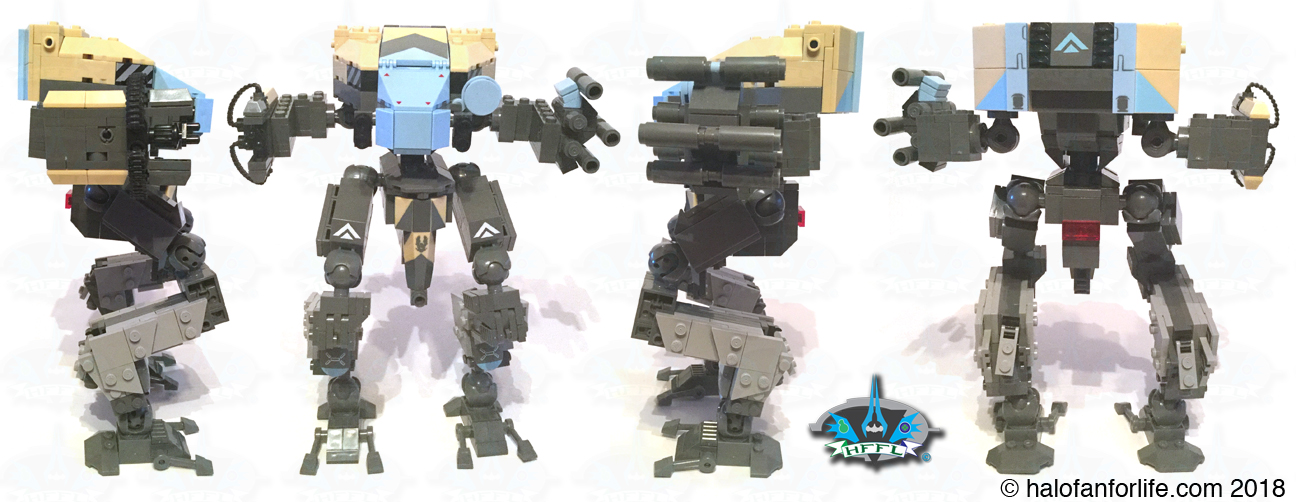
The Mantis is complete!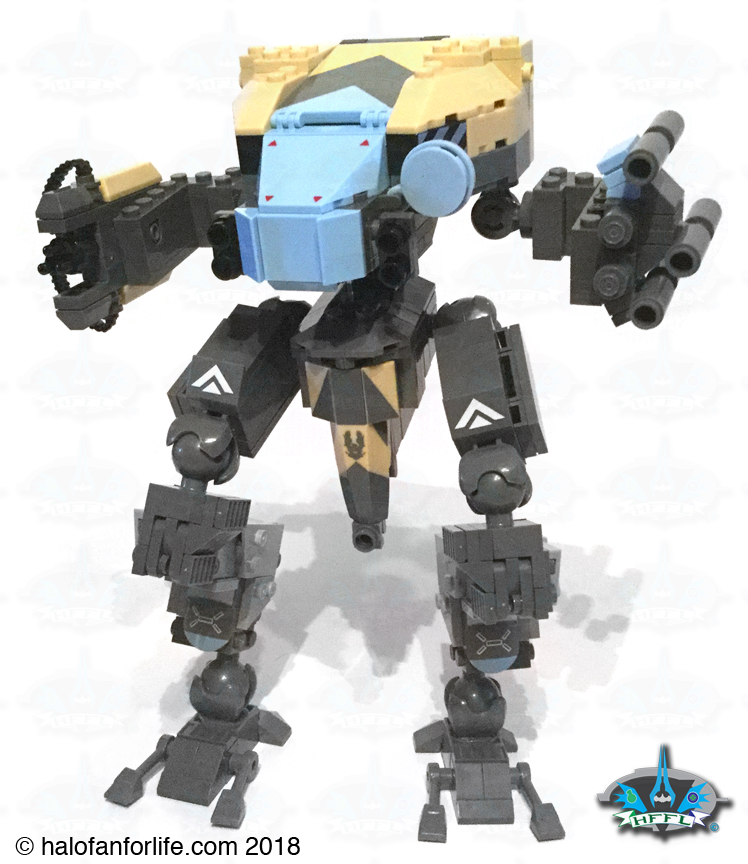
Again, a couple more “beauty” shots to show off the fantastic color and printed pieces of the set.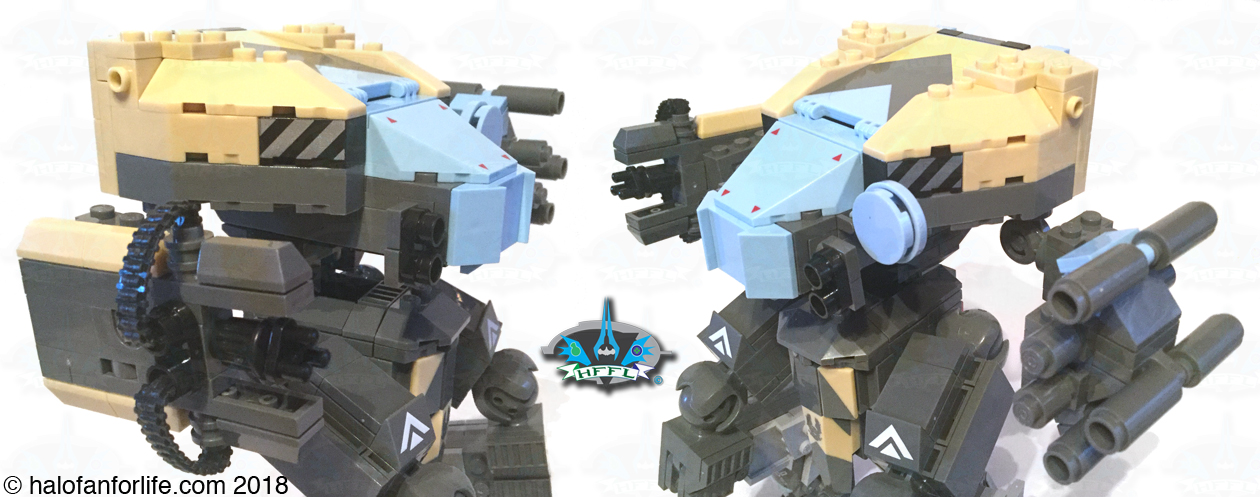
There is PLENTY of articulation with this set. In fact, more-so than the previously release set. That said however, the large ball joints do pose a slight issue. They aren’t quite as stable as the hinge joints (in this set that’s the shoulder joint). 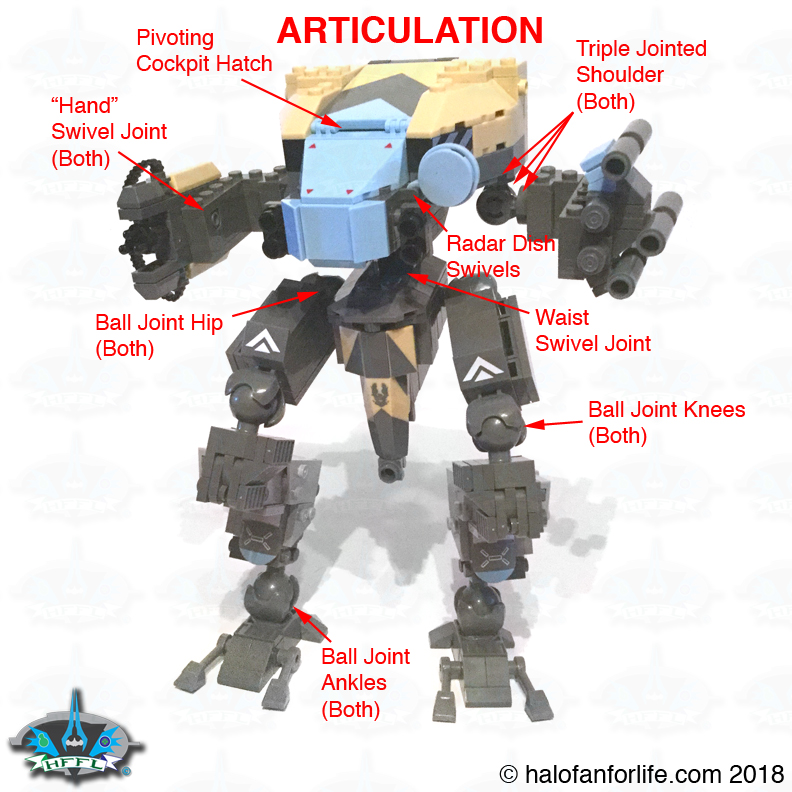
On occasion, your Hannibal Mantis may start to squat at the hip and knees. To be honest, I’d have rather had those older joints. Not just for stability, but also that they are less noticeable. I don’t mind the hip ball joints, but the knees and ankles stand out way too much for my liking. The added issue of droopiness doesn’t help their case.
Here’s a look at the Mantis in Orthogonal views.
A two-part graphic showing the cockpit hatch opened and closed. It fits the figure nicely. Be sure to scooch your figure close to the front as shown here though.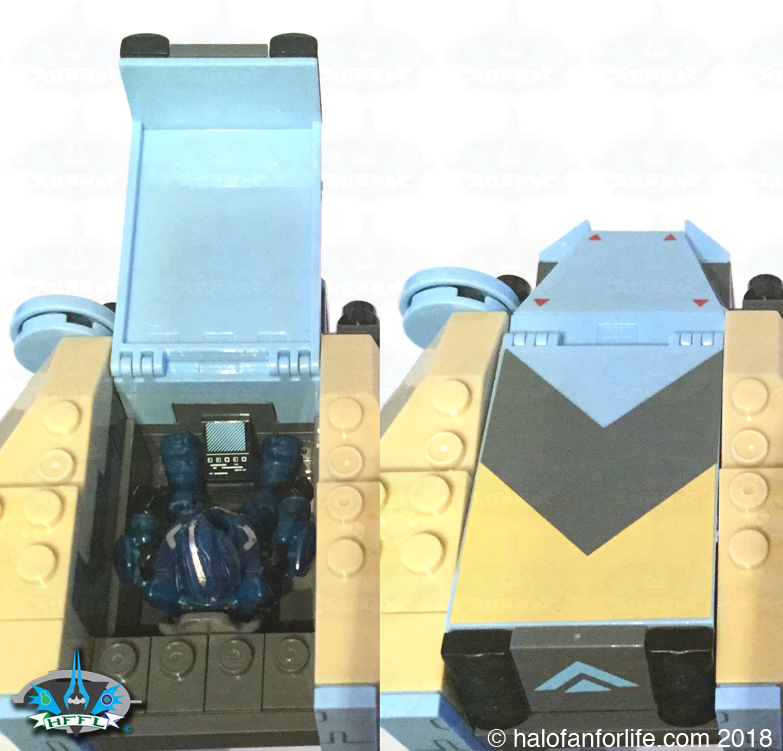
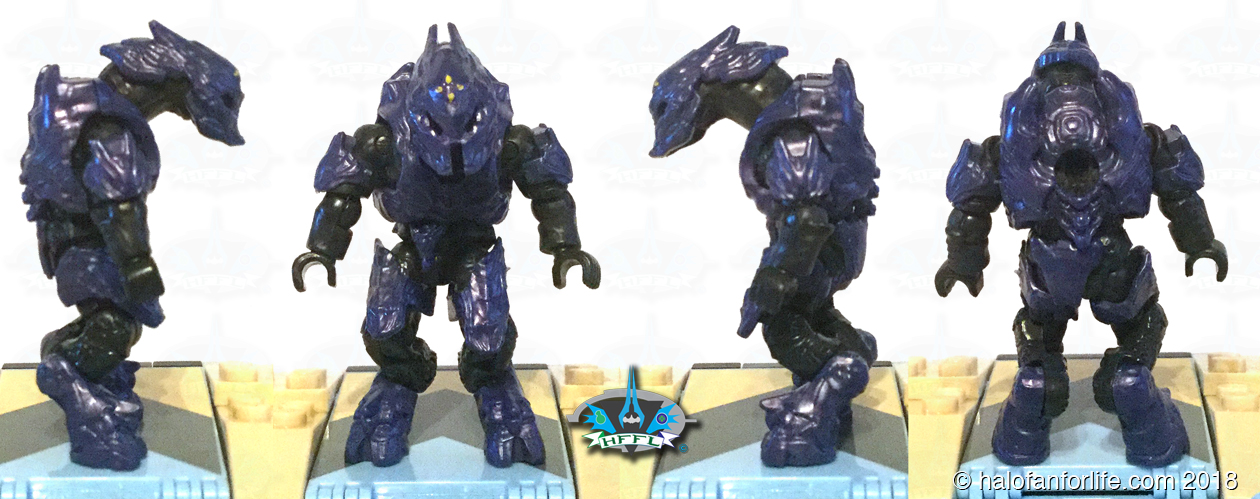
Speaking of figures, let’s take a look at the ones included in this set! We get an Elite Zealot, Wetwork Spartan and Grunt Minor.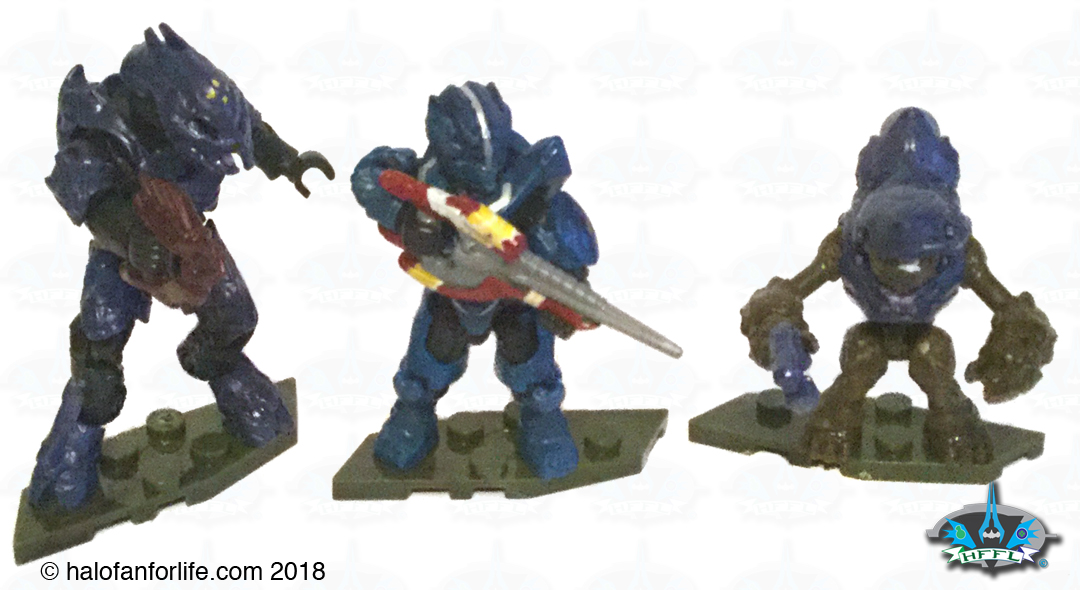
Of the figs, the Spartan is by far the jewel of them. It has some great printing on it as seen in the orthogonal sequence below.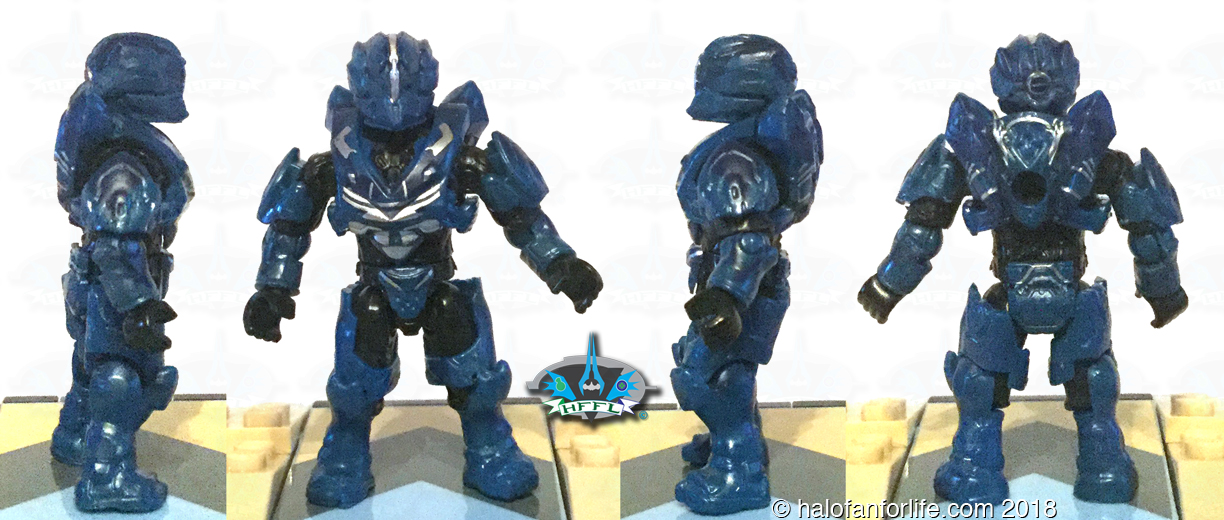
We’ve had the grunt and elite in several sets before. Even, if I recall correctly, these colors. I have my preference for certain grunts and elites. I like the grunt minor that has the triangular methane pack, rather than this bulbous pack grunt. As for the elite, I prefer minors to zealots as zealots in the games are rare and minors are plentiful. We don’t get enough elite minors in sets, IMO. This isn’t a knock to the included figures. Those are just my preferences.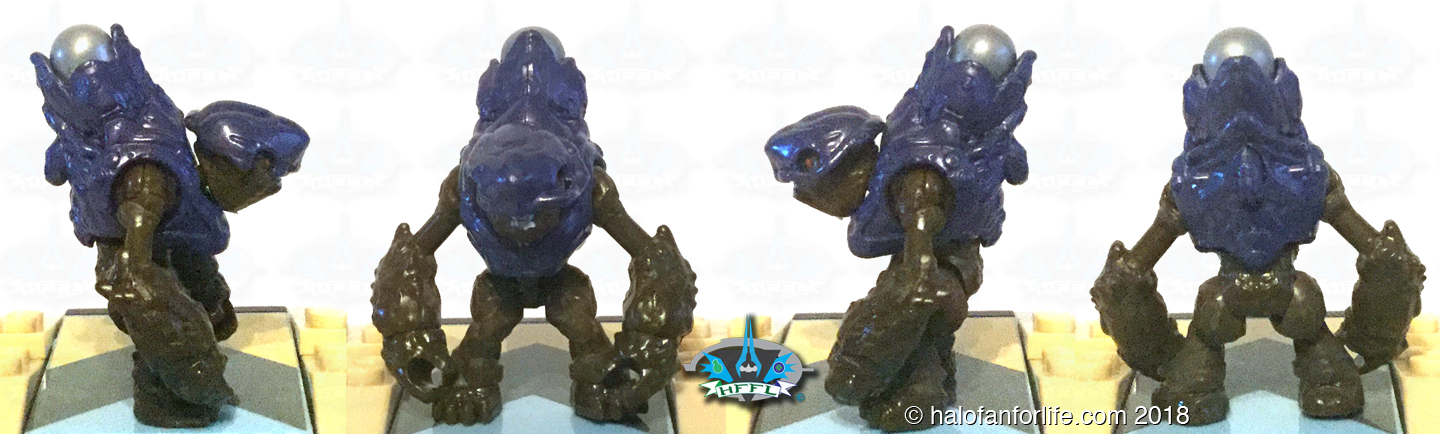
After all is said and done, these are the left over pieces I had from this set.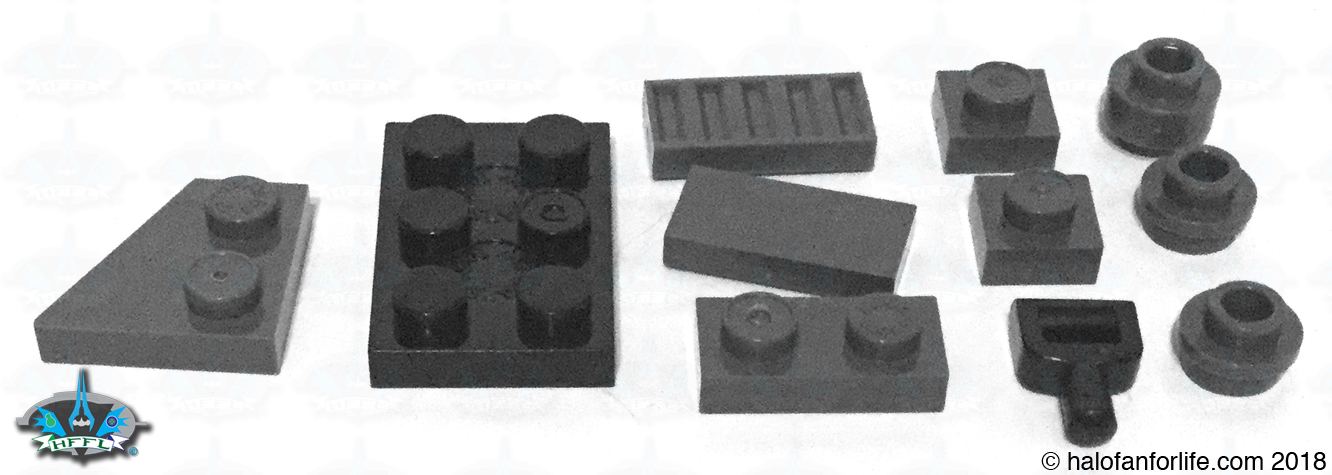
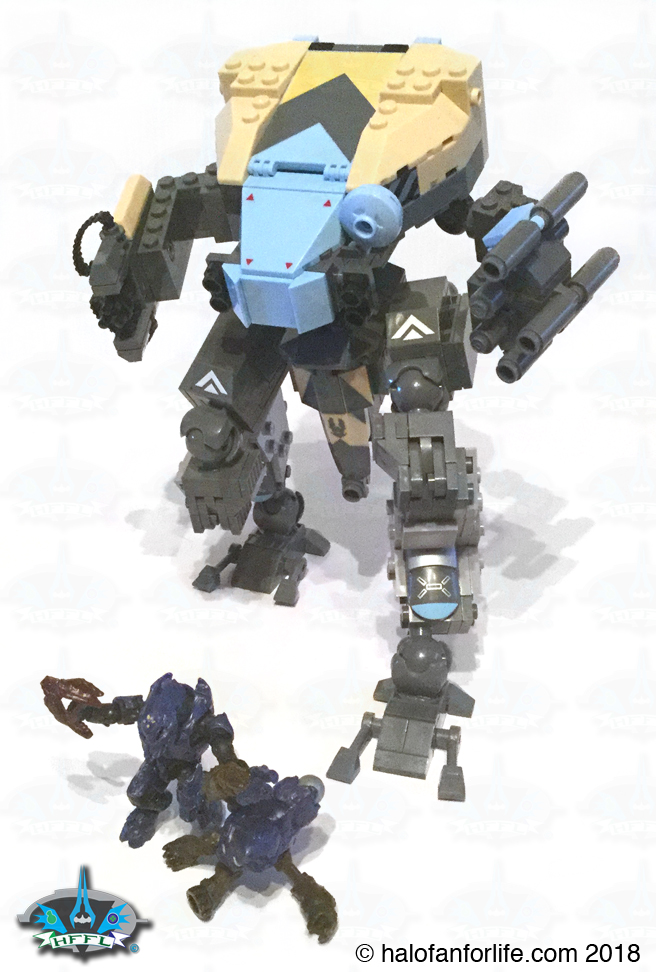
Looks like the Mantis is about to stomp on the Covies! Look at that Elite!! He pushed the grunt down to make way for himself! Jerk! LOL
And the whole set! All is well. The Wetwork Spartan just wanted to get close to say hi!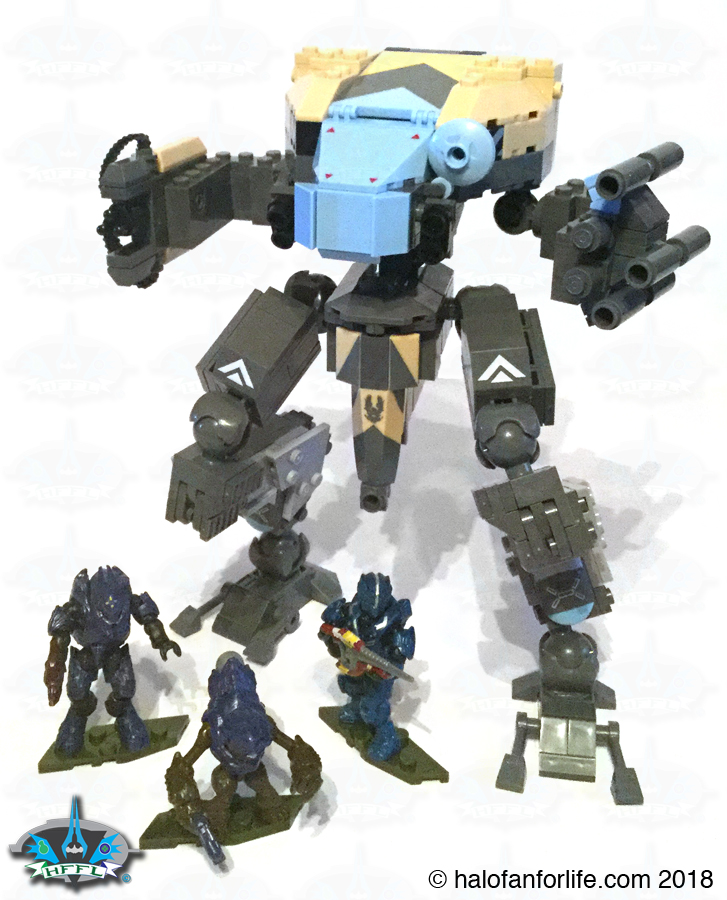
Summary: The set is a medium build with regards to length of build time. Tan, light blue and dark grey pieces abound in this set, giving it that Hannibal deco. Articulation is great though with some minor drawbacks. Figures are pretty standard, with the Wetwork Spartan being the best of the 3 included.
Overall Rating: I give this set 9 out for 10 medals.
Why did I give it a 9 out of 10?
• One of the two issues I have with the set are the large ball joints. They look out of place in the set and as stated earlier, can make the Mantis droop.
• The other issue, though definitely much more minor, is the figure selection. I’m totally fine with the Spartan. It’s the reuse of the bulbous grunt and elite zealot. We’ve had these figures in so many sets prior that different already existing versions could have been used.
That said, this is still a stellar set!
Here are some shots of the in-game model.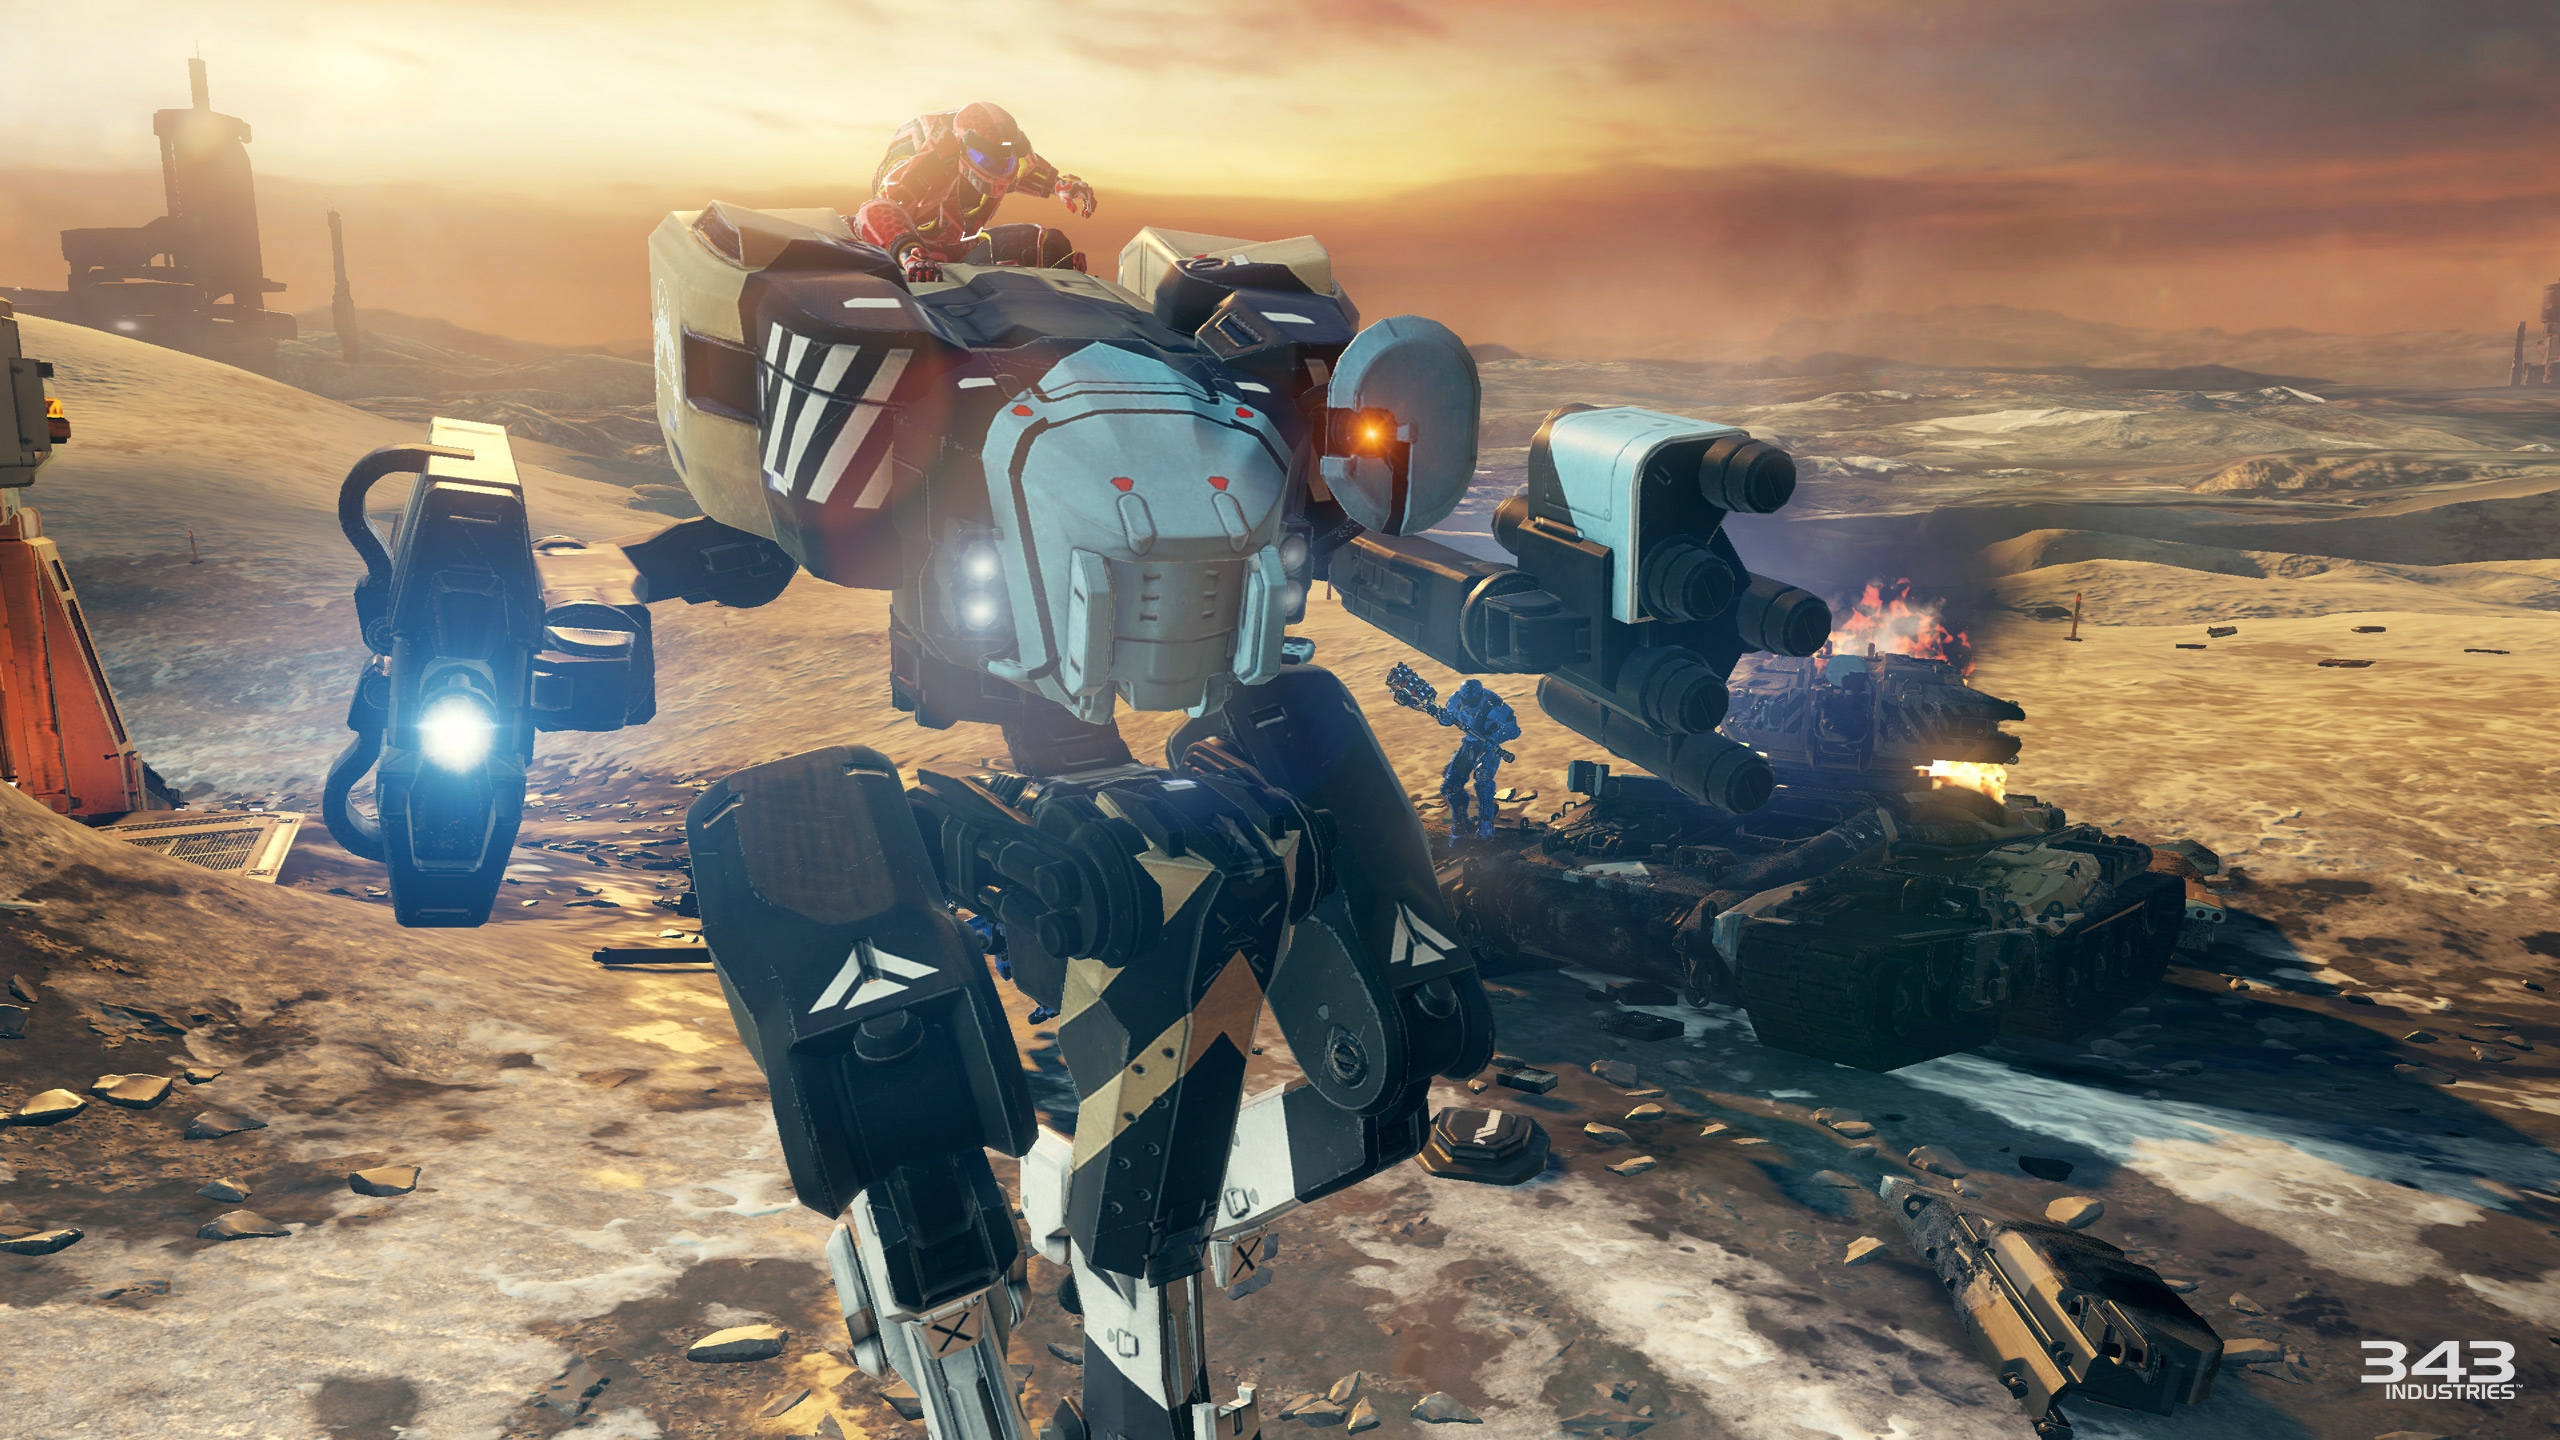
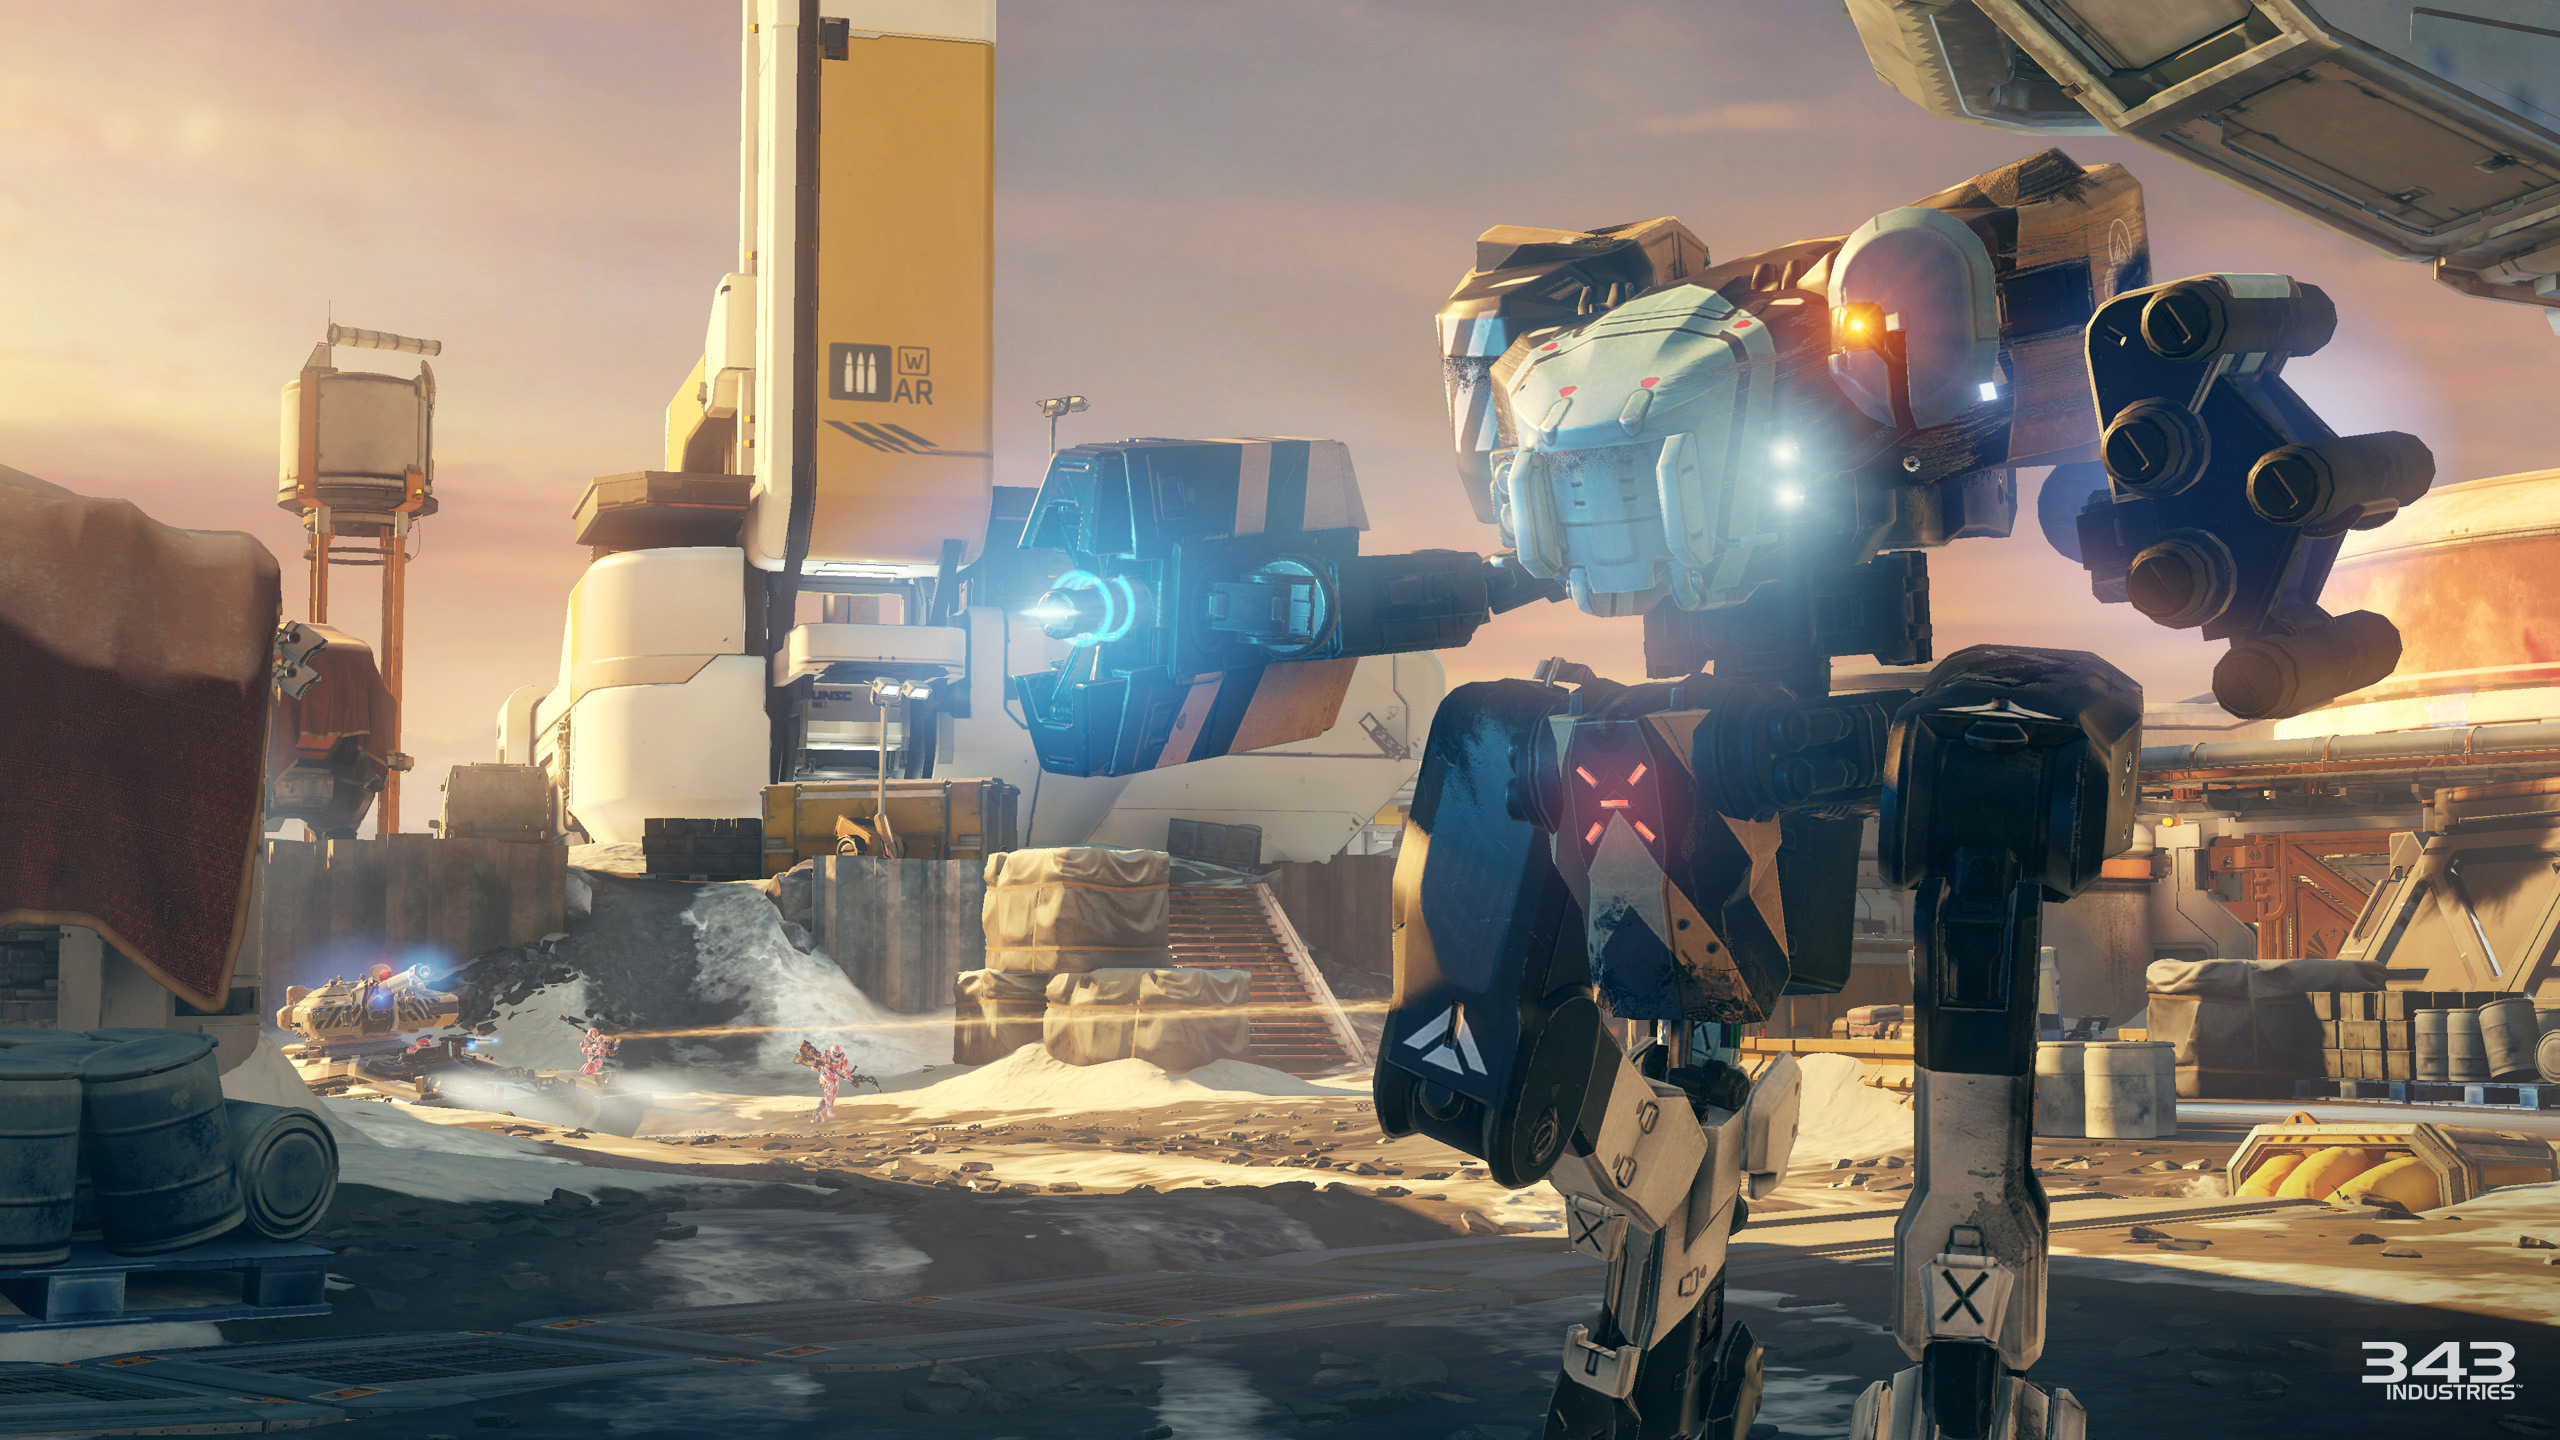

And a couple of renders of the model from 343:
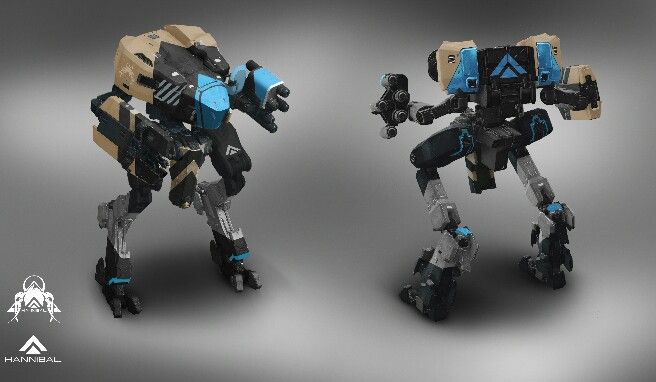
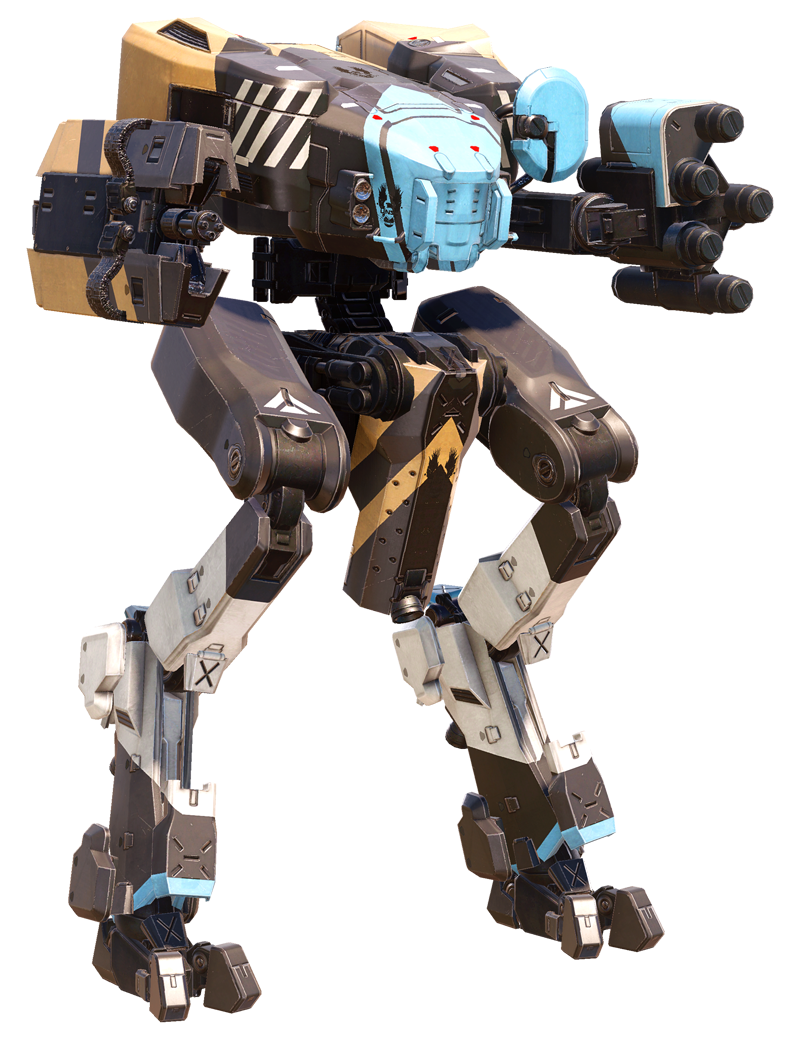
As you can see by the in-game and render shots, the Mega model is close in most respects. Definitely enough to give it an okay for the minor difference, given that this is a blok made model.
Here’s my opinion on the break down of the value of this set. (In US dollars)
• Figures with one weapon and figure stand equates to $3.50 each. Total $10.50
• The Mantis I think is worth $30 given the piece count and playability of it..
TOTAL: $40.50 (before tax and in U.S. dollars)
Given that the set costs $40 US before tax, this is a value on par with the amount of pieces. Bonus that some pieces have printing on them. The stellar printing of the Blood of Suban Carbine and Wetwork Spartan add a little more value to this set too, IMO.
Do I recommend it? Most definitely! It looks like the in game Hannibal Mantis for the most part and has some great articulation. It’s a fun addition to anyone’s Halo Mega collection!!
If you have any questions about this set that I didn’t cover in the review, please do not hesitate to ask me. Either reply below or e-mail me at [email protected].
If this review gives you an informed decision on whether to purchase the toy or not, please consider a small donation (50 cents) to the blog.You can donate via PayPal to [email protected]. Or just click the paypal link at the right on the main page of the site. It’s much appreciated and helps ensure that HFFL stays registered/active on the internet. Thank You.
-Sal