
![]()
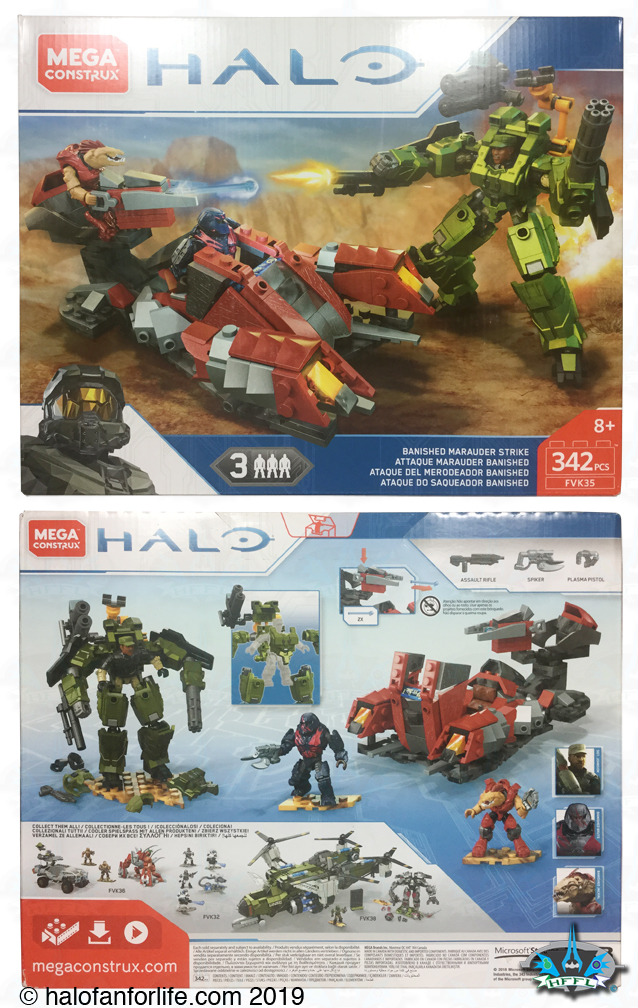
Mega Construx Banished Marauder Strike
Technical Specifications:
Build Time: 10 minutes to sort, 45-55 minutes to build (Your time will vary from mine as I took pics along the way for this review)
Set Piece Count: 342
Minifigures: Banished Brute, Banished Jackal, Sgt. Johnson
Weapons: Assault Rifle, Brute Spiker, Plasma Pistol
Accessories: X2 figure stand, one medium sized baseplate
Special Features: rotating gun turret and forward sections (Marauder), highly poseable EXO suit (Green Machine)
Cost: $35 US Mass Retail. (Though this was not heavily distributed in the States. In fact, I had to get mine from a friend in Mexico.)
And on with the pics! (Click pics to make BIGGER)
The front box art shows the Marauder and “Green Machine” EXO suit in an action sequence. The back highlights the figures as well as some of the features of the Marauder.
In the box you get six numbered bags, two MCX labels bags and an instruction manual.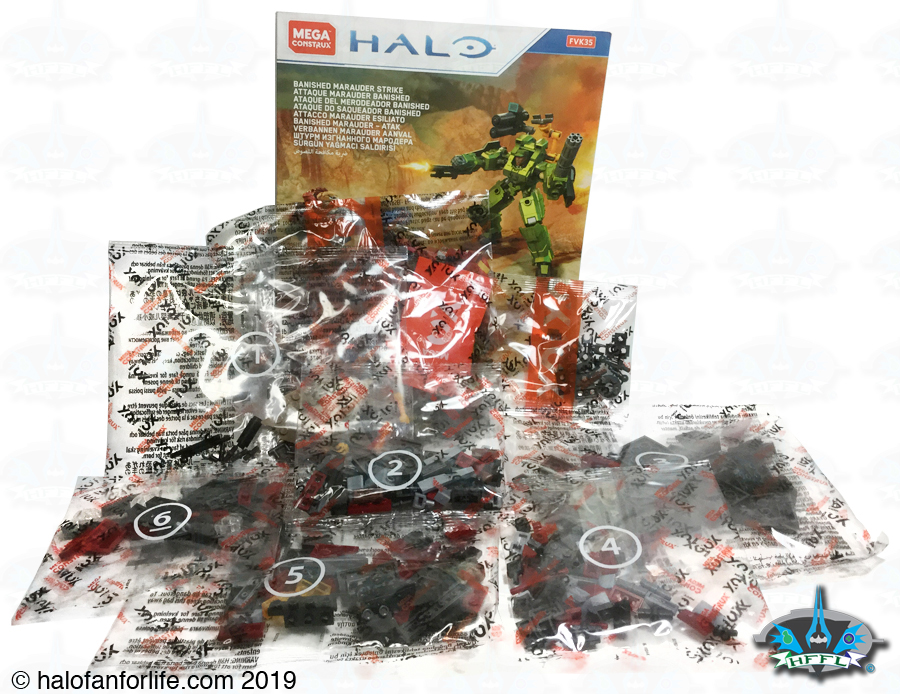
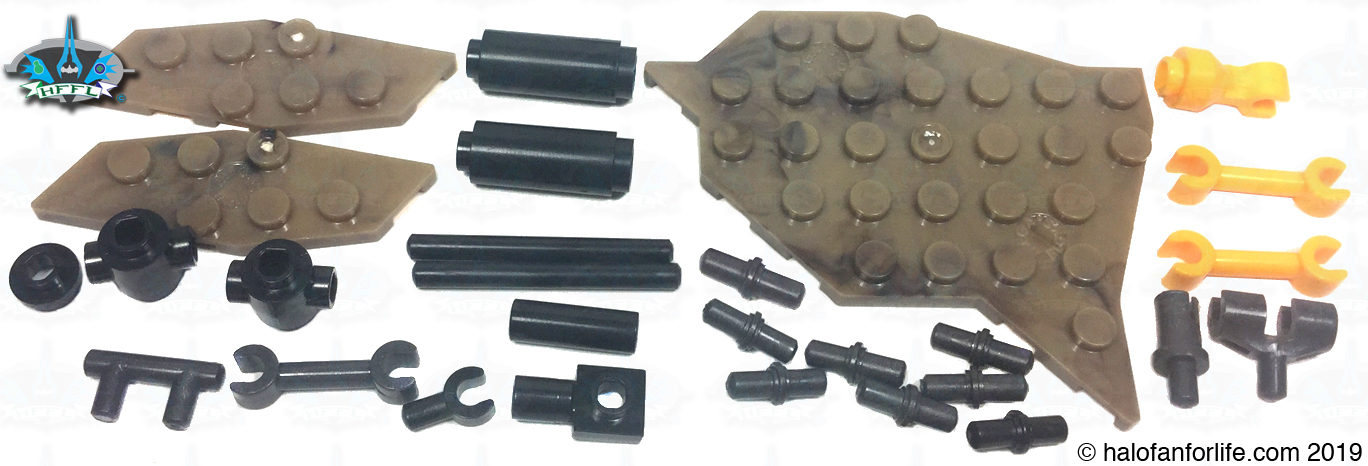
The smaller of the two MCX bags has mostly pin joint and side building pieces.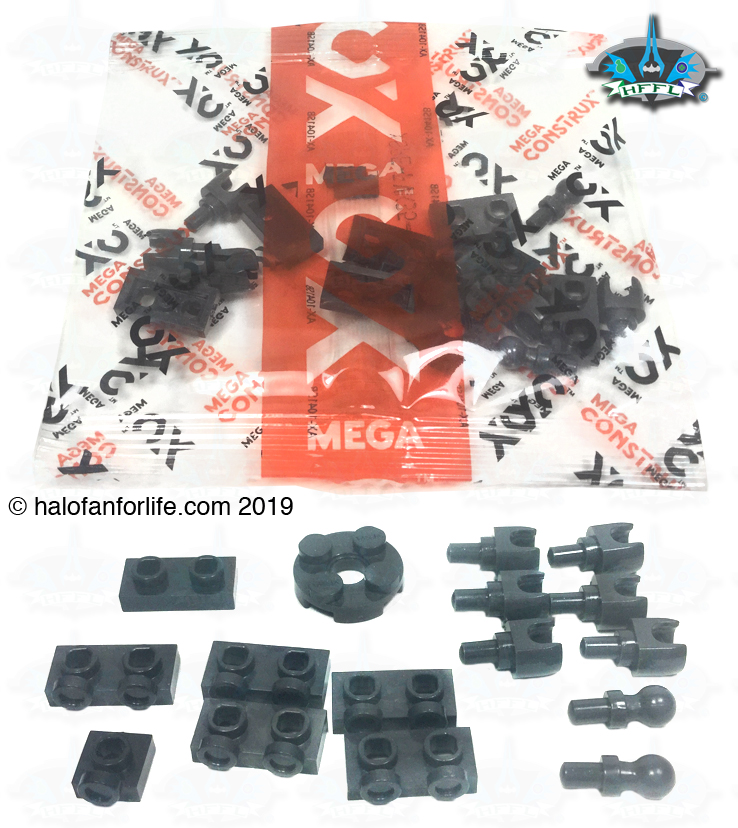
While the large of the two MCX bags has the figures, most of the Green Machine (Sgt. Johnson’s EXO suit) pieces and the printed pieces in the set.
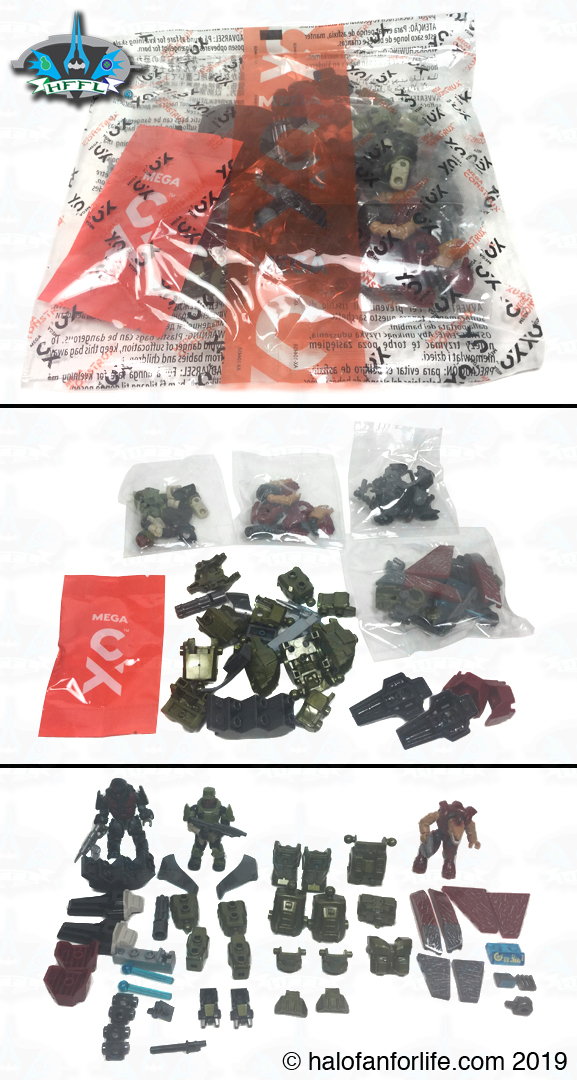
Here is a close up of the printed pieces. I’m especially fond of the translucent blue control panel.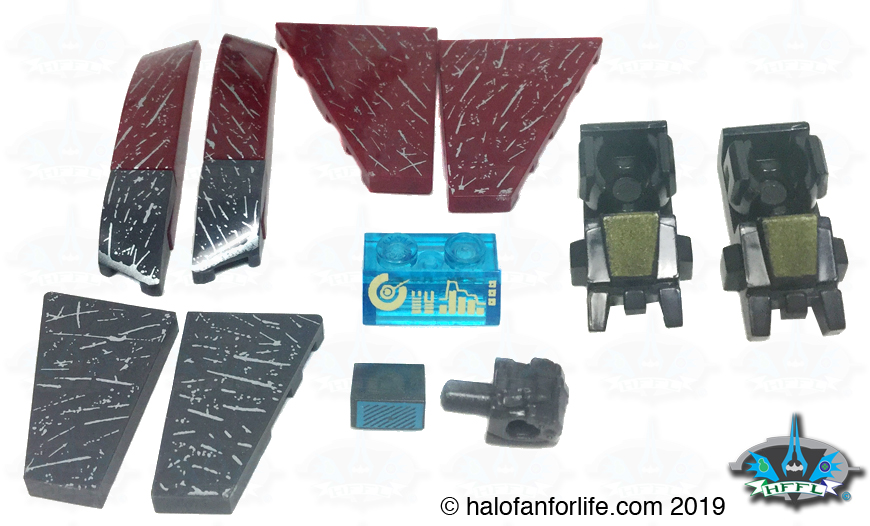
It also includes the double sided rotating stud 2-piece. It’s not used in the set. It’s just an extra cool little thing Mega added.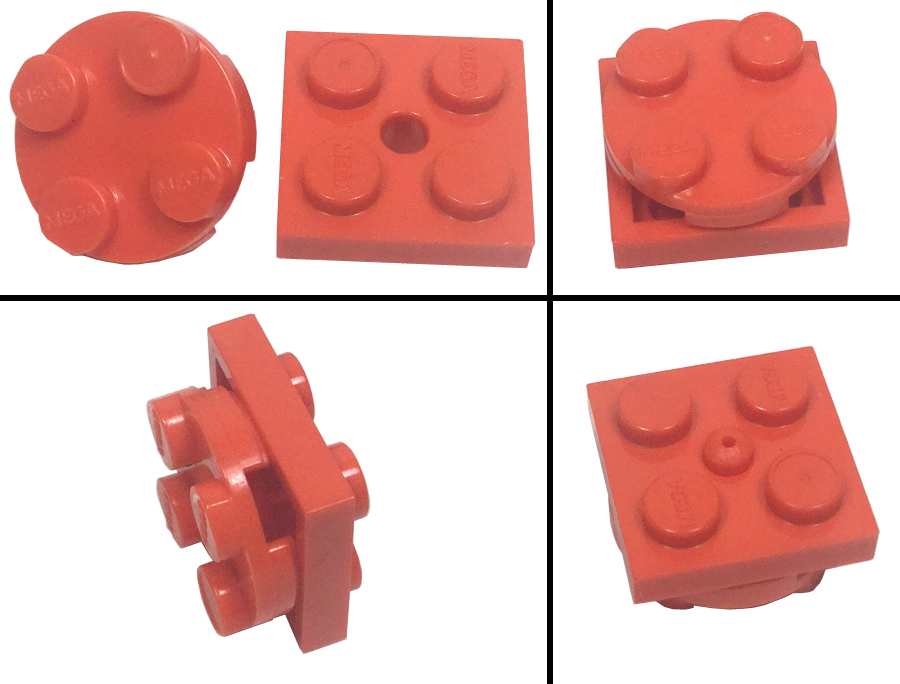
The set comes with a Brute Spiker, Assault Rifle and a Plasma Pistol.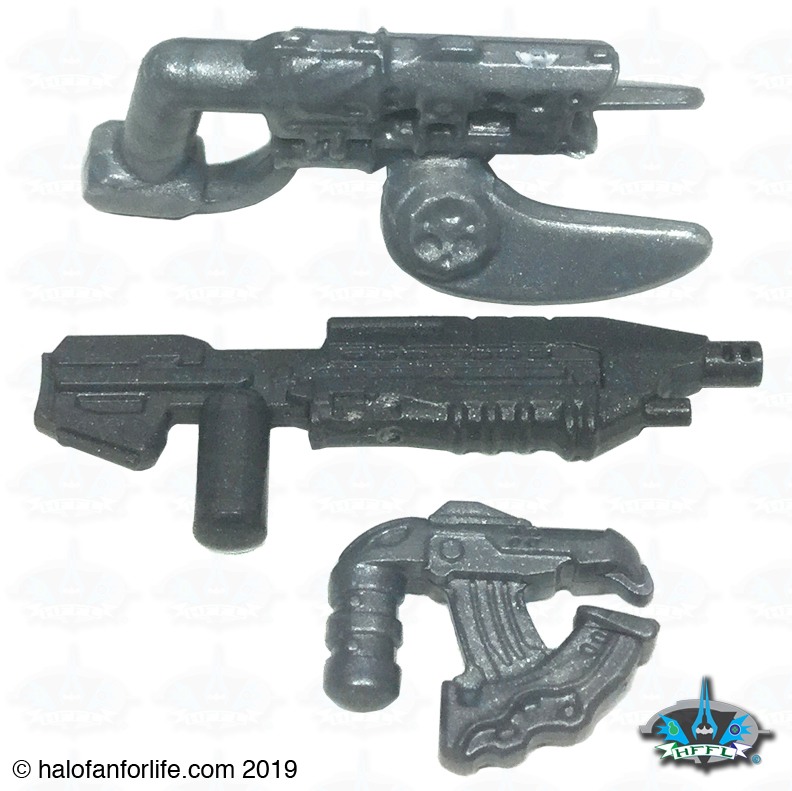
Okay, let’s get onto the build, shall we?
For the record, I’ve been using standardized “Master” images of numbered bags instead of product shots of each bag, as you will see below. I found this to make the reviews look cleaner. This is why I also include a shot of the pieces within the bag, sorted out, so you can clearly se the contents of each bag.
Bag 1 followed by it’s contents.

Along with pieces from the MCX labeled bags, we start to build Green Machine! The legs are the same build, with only the thigh armor turned 180° to accommodate the figure’s legs.
Next we build the arms. Below is the right machine gun arm.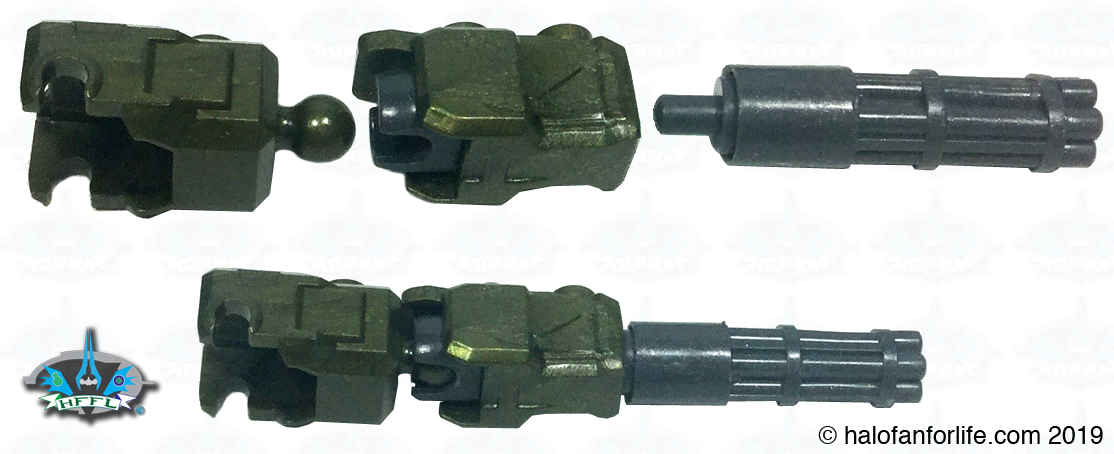
Followed by the left regular arm with small cannon attached.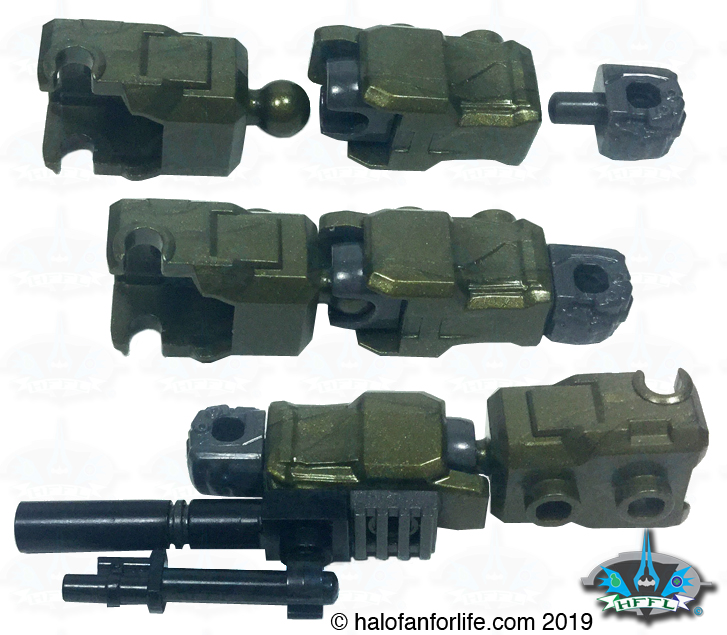
I do wish Mega would have included additional parts so that both arms could have been regular.
The legs and arms are attached to the back plate.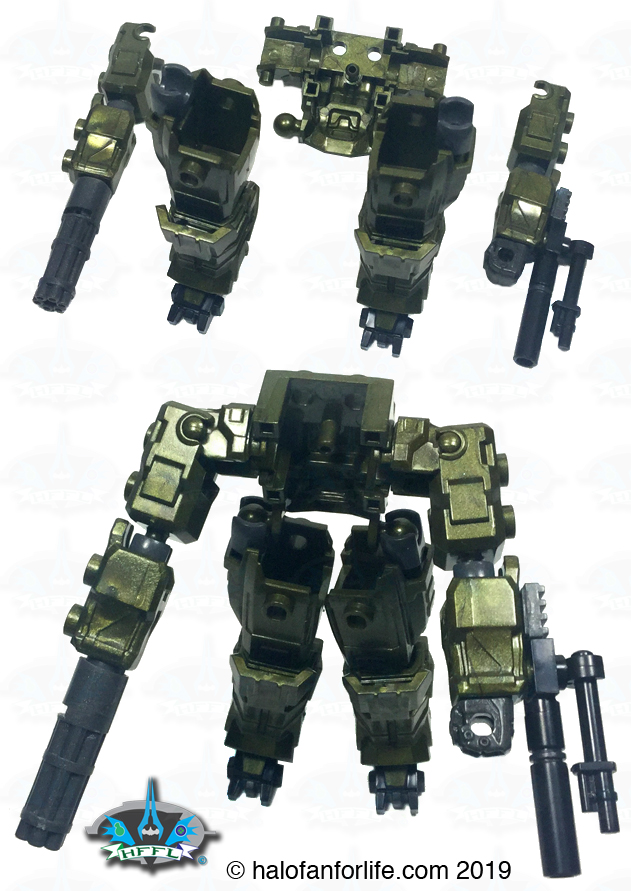
Next the chest armor is attached. Looking good so far.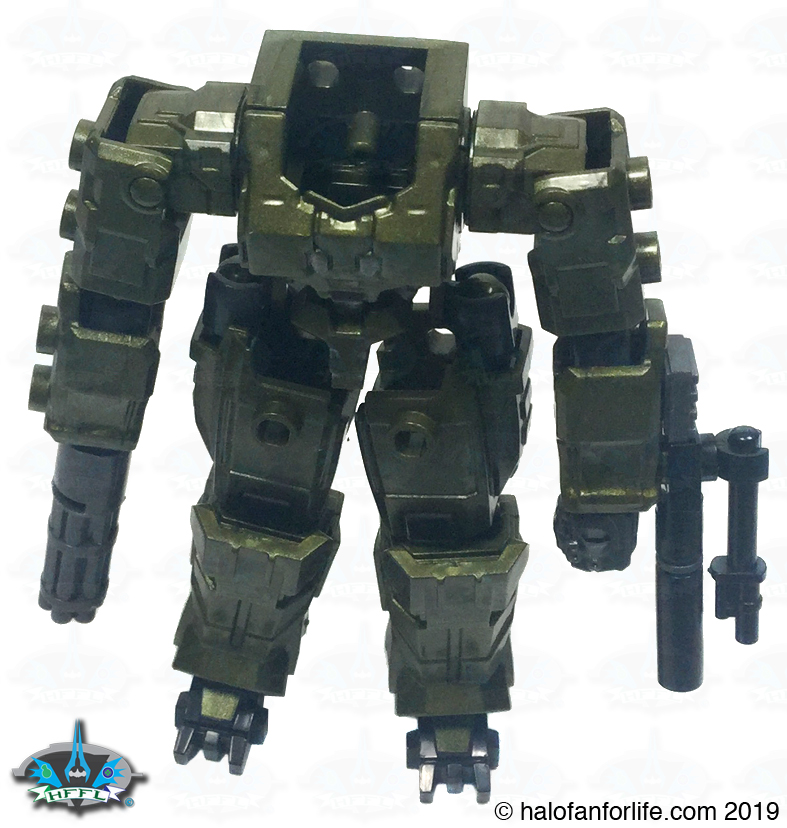
There is a multi-jointed back piece. The yellow section can unfold. Note the black clip at the end. The set doesn’t have anything specifically to put onto it. Perhaps if you make an alternate build with the set, you can put something into it. The black section is yet another gun. Double barreled this time!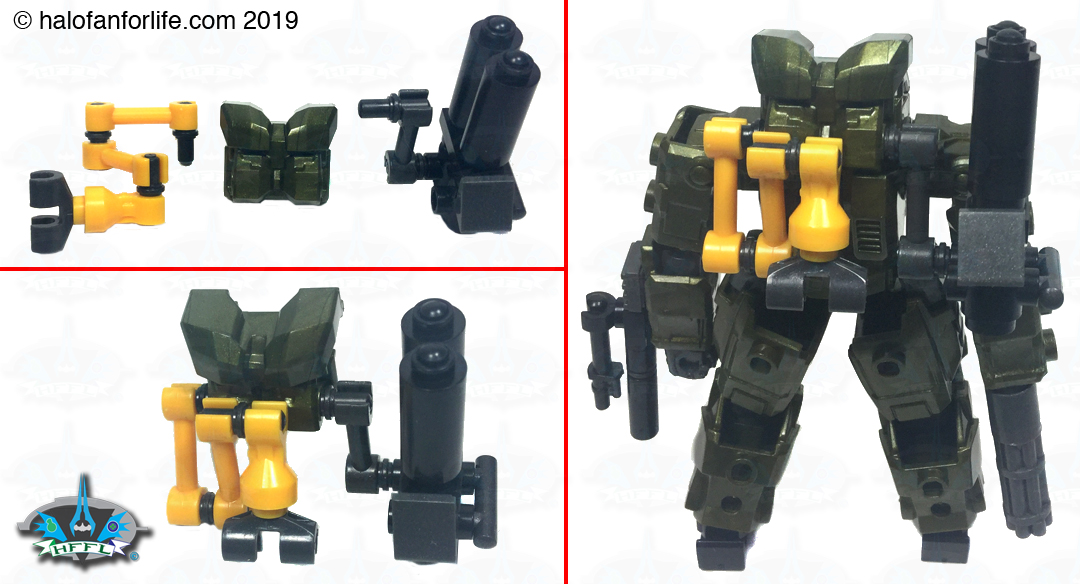
Green Machine is done! Read on and you’ll see Johnson piloting this beast!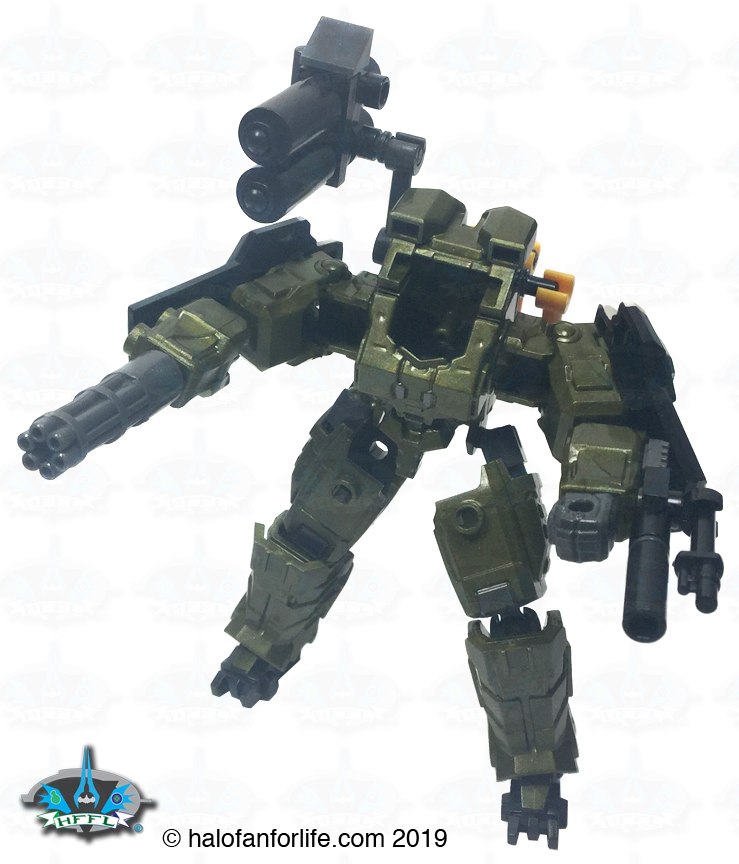
Next we start into the Marauder build. For that we go to bags 2 and 3.

Bag 2 sorted out.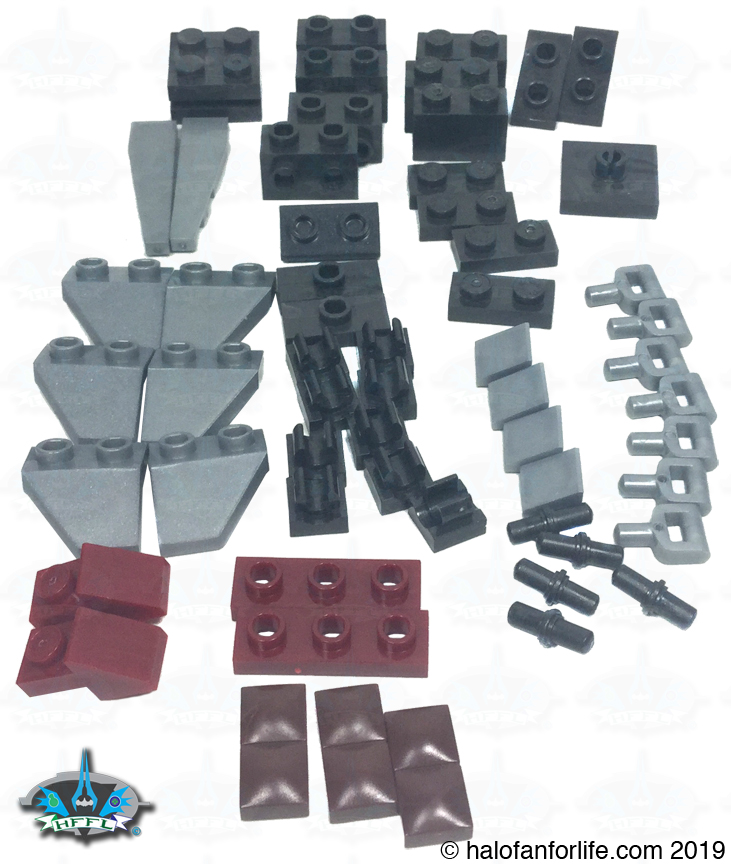
Bag 3 sorted out.
The Marauder build starts with the base of the vehicle, moved towards the back cannon set-up and then builds up the middle of the vehicle. Note at bottom right the side built grey pieces. I really like this effect. You see this effect emulated throughout the build.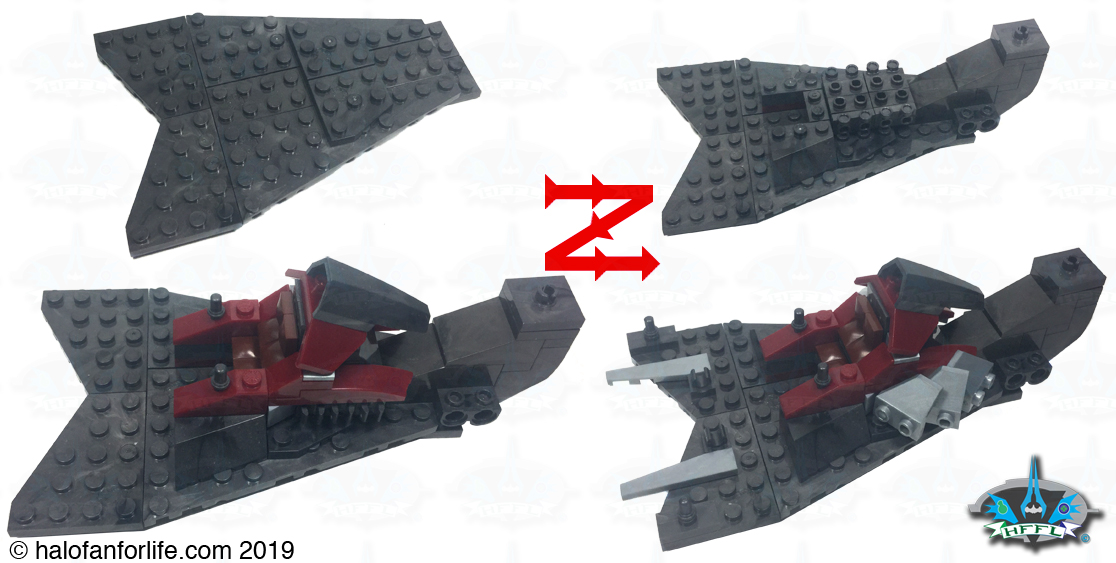
Next we use bags 4 and 5.

Bag 4 sorted out.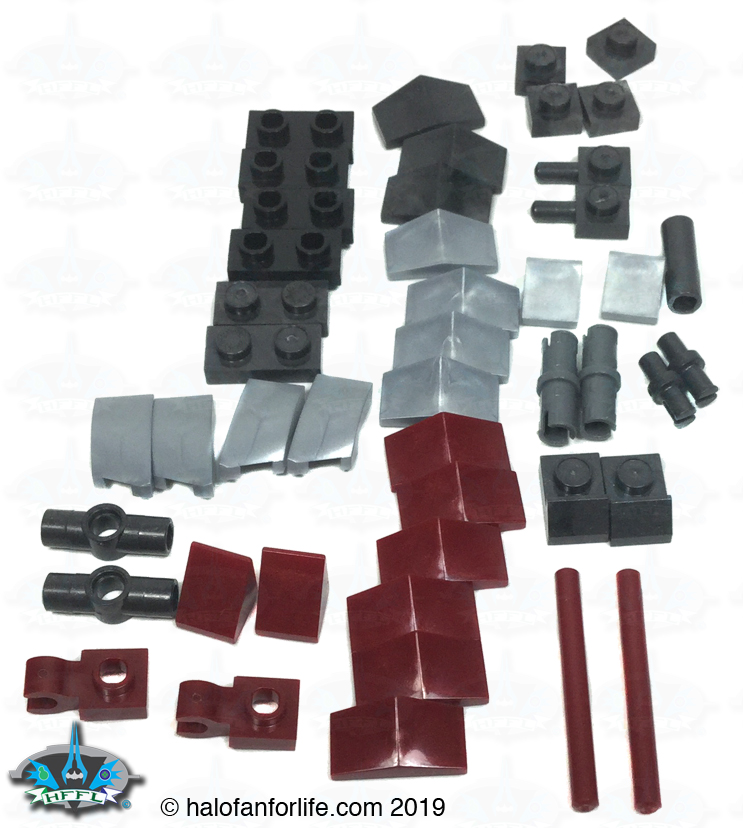
Bag 5 sorted out.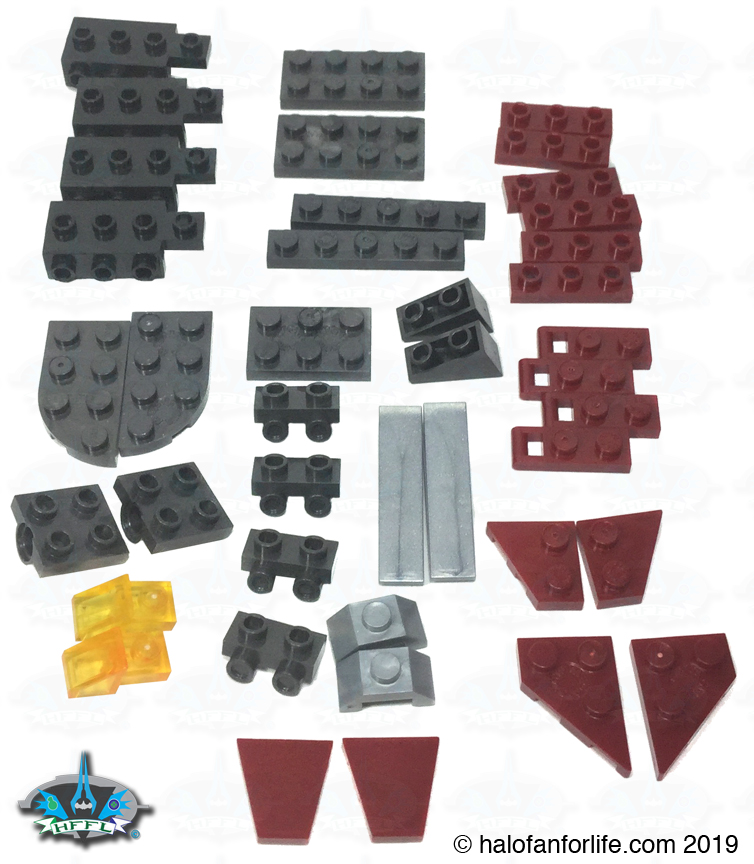
These bags make the forward mounted steering “arms”. 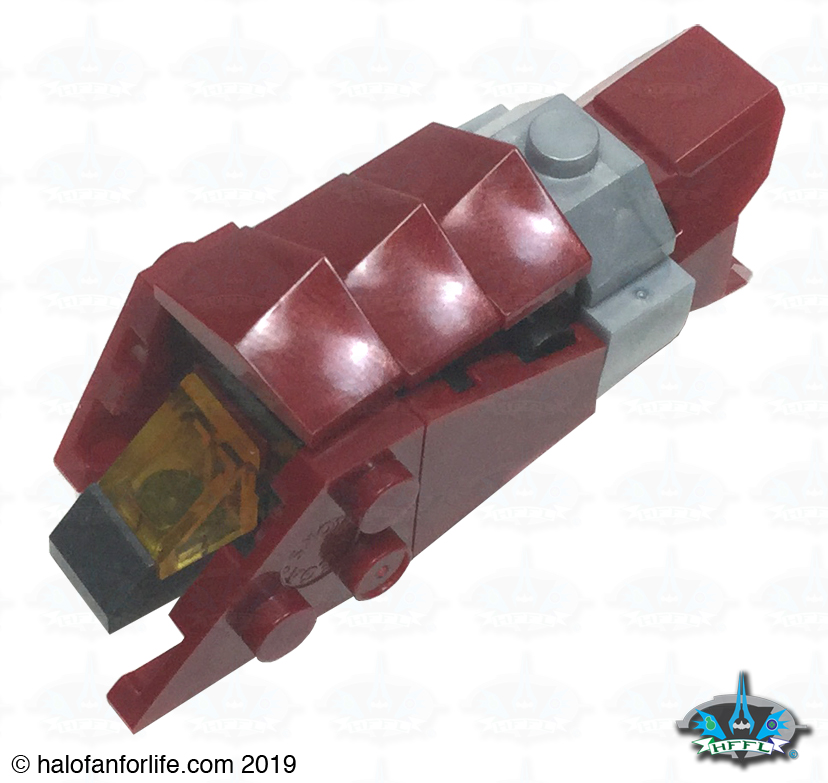
The arms are connected by this steering rod.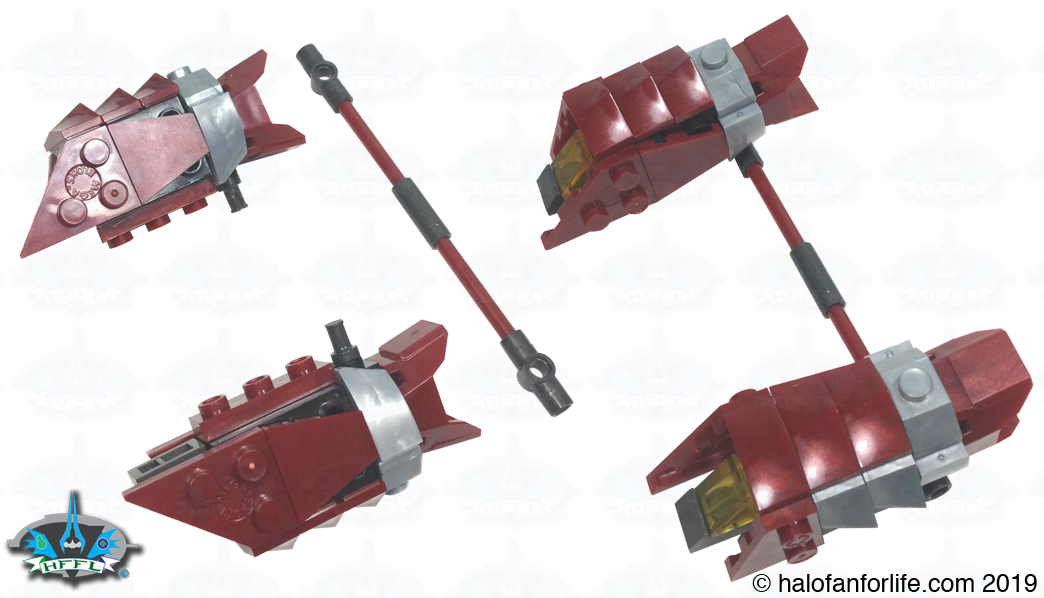
Here you can see how they attach to the rod at the bottom.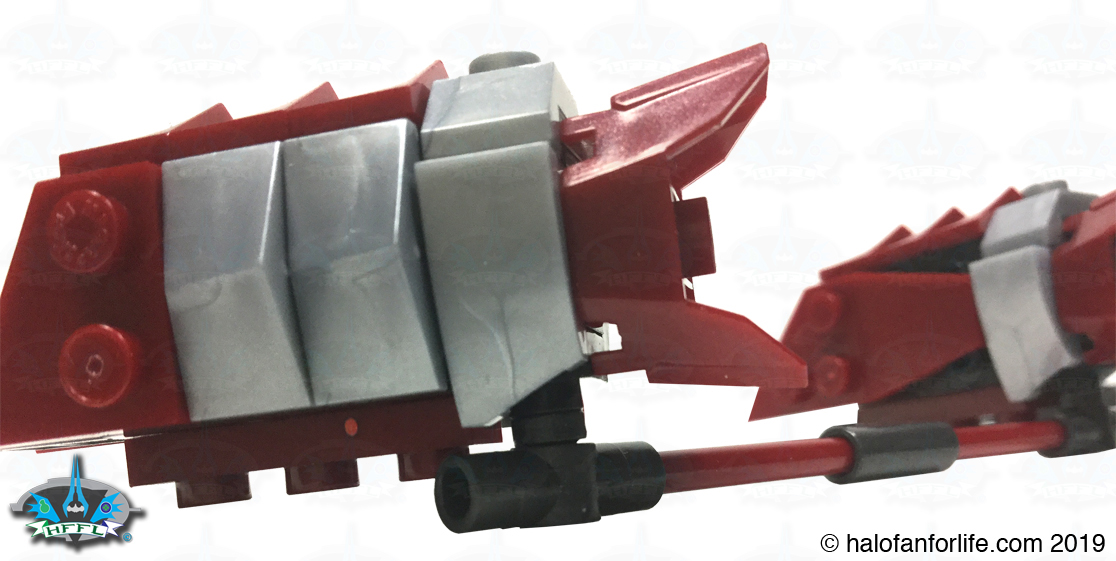
From there, the rod is attached to the body via two sets of pins. The pins allow the arms to rotate, as shown below. This is a VERY clever design by Mega. Really well done.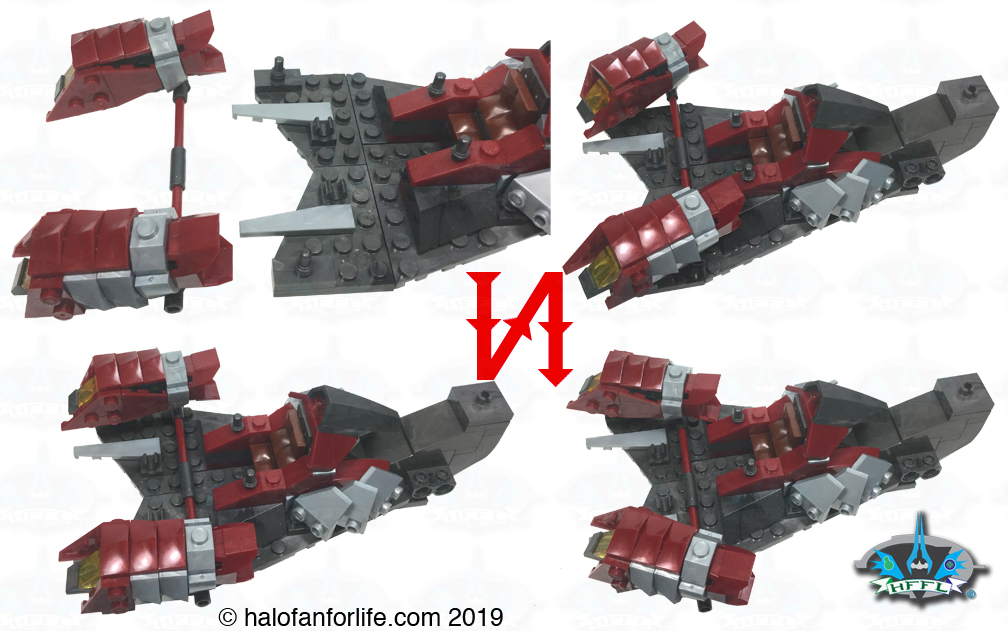
Next up with the vehicle’s front section and driver’s panel.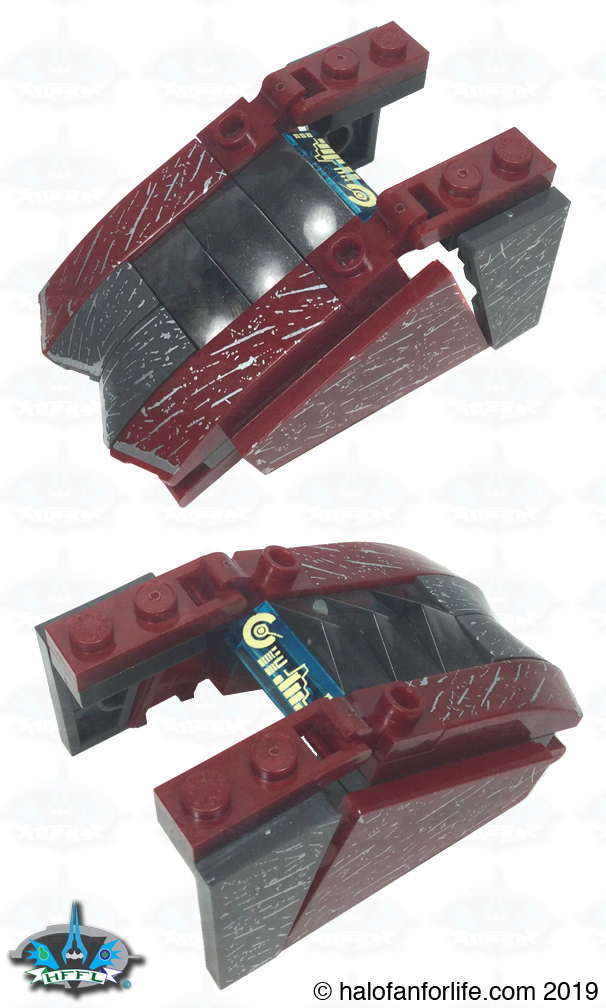
The front assembly is attached to the clips on the body.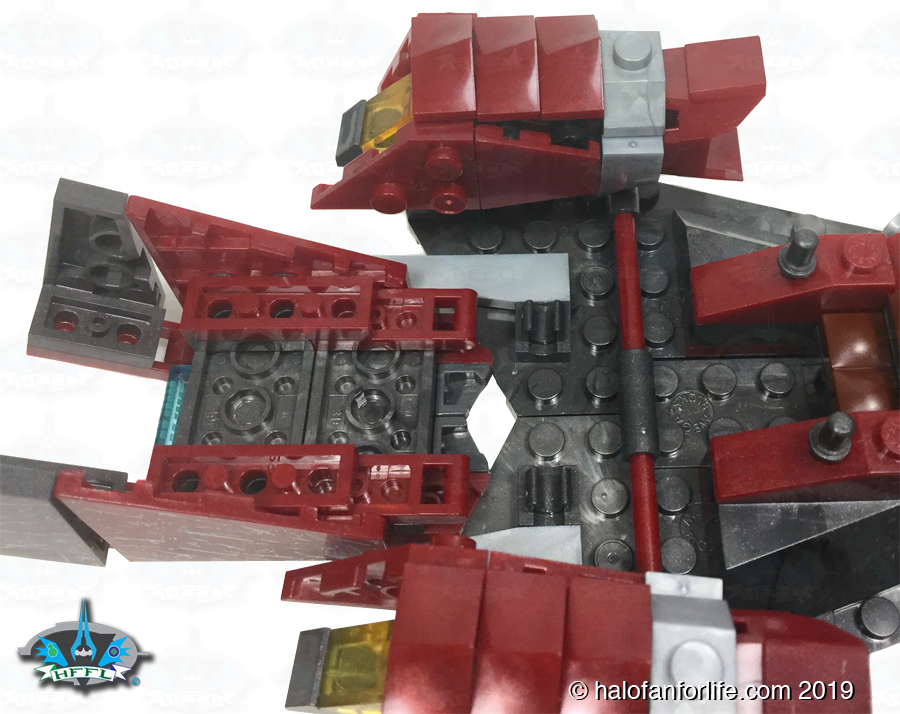
Seen here circled in red and then the front section closed. This allows for you to easily open it up and place or remove the driver.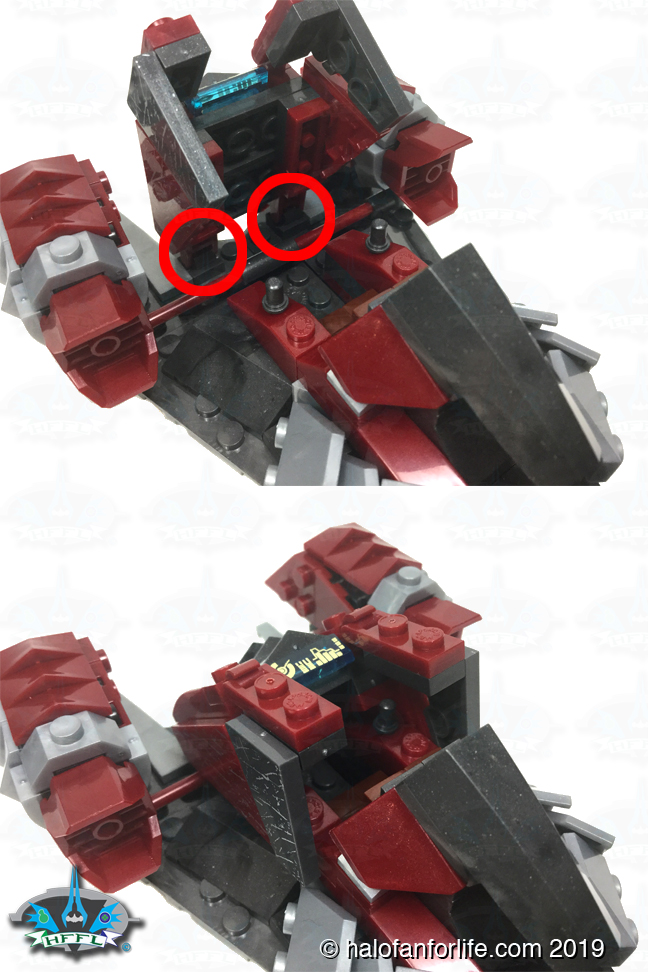
Bag 6 is the last bag.

And it’s contents.
With this last bag we build the seat and cannon for the gunner. In this case the included Jackal. The cannon utilizes a push button projectile launcher. In the diagram below, the button is the small 1×1 grey sloped pieces. The silver almost “U” shaped profusion is where the projectile is inserted and also shot from.

The Marauder is complete! I love how this looks heavily armored with jagged pieces! Reminds me of a lobster of sorts. A deadly lobster though.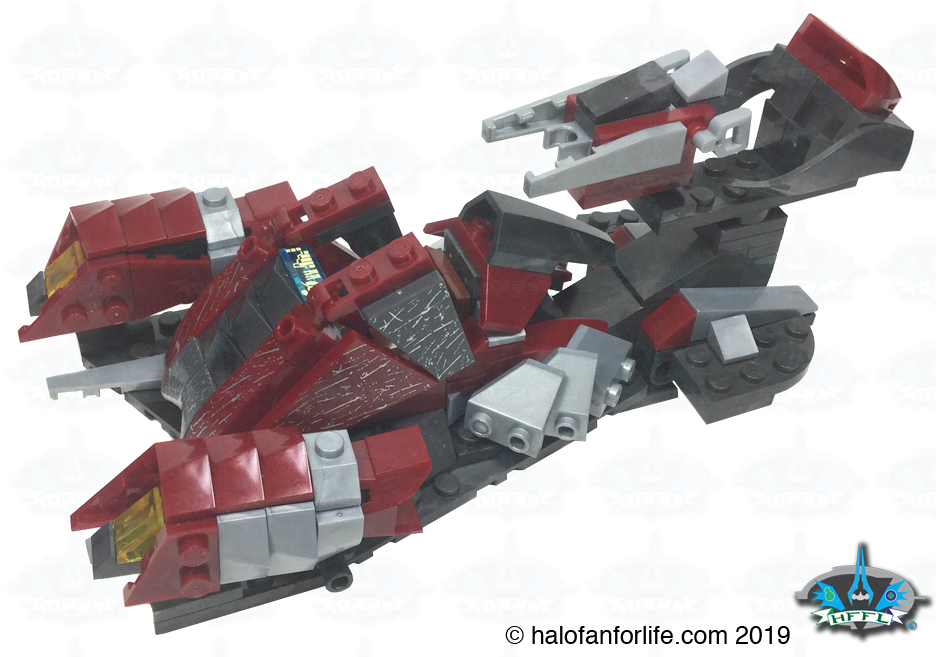
The underside of the Marauder is flat. It only has three 2×2 clear pieces added to allow for it to glide along a surface.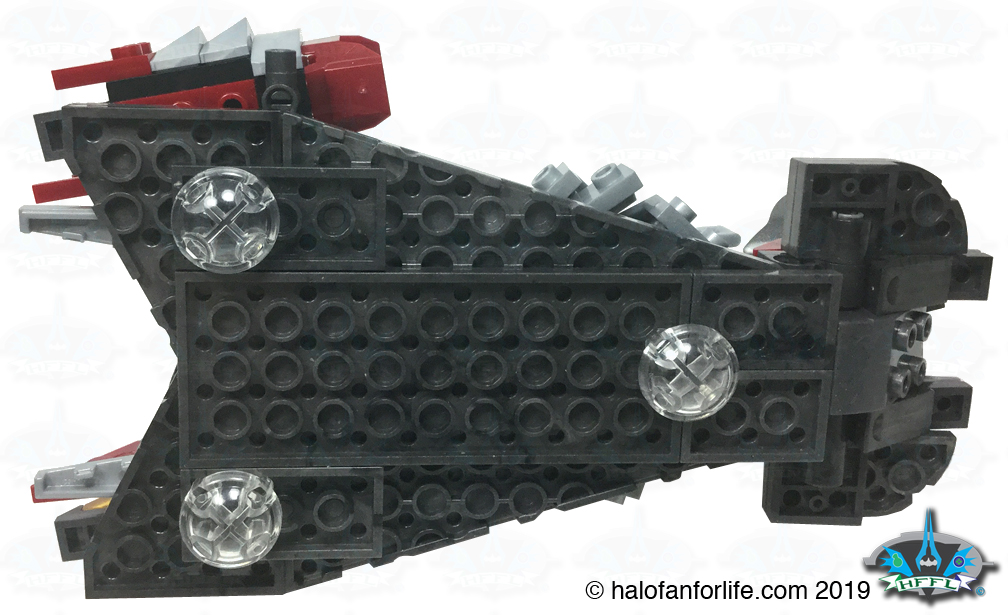
Let’s take a look at the figures!
Banished Jackal
Technically, there are no Jackals in the Banished army in Halo Wars 2. That said, this is an incredibly good looking figure in that blood red armor. I’d have really enjoyed army building this one and do hope Mega rereleases it again.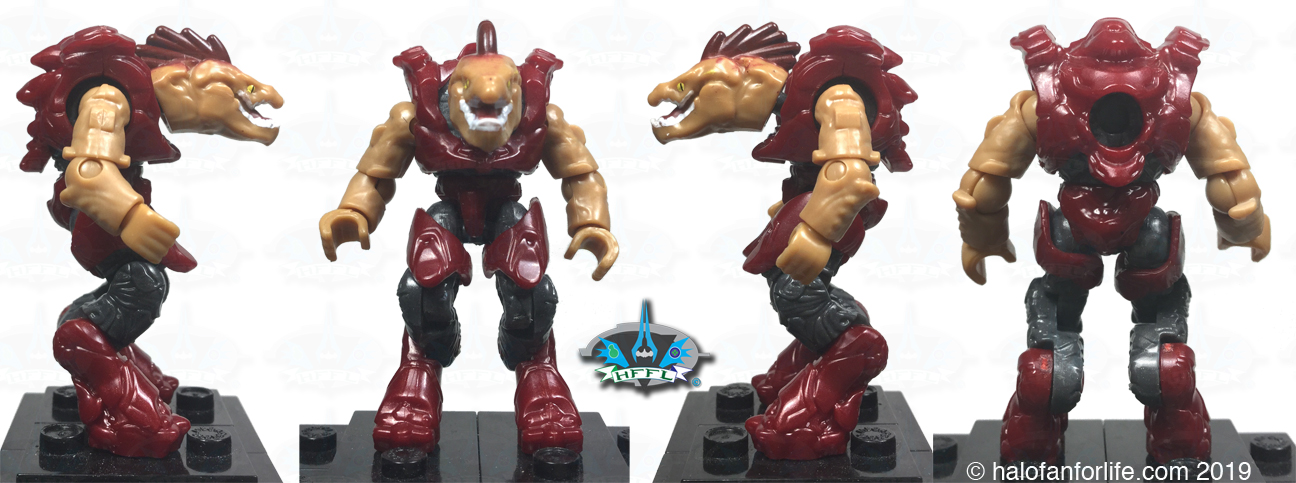
Banished Brute
The Brutes of the Banished army have varying shades of dark grey or black with red on it. This one looks like he’s been in a hand to hand battle and has blood spatter on his armor.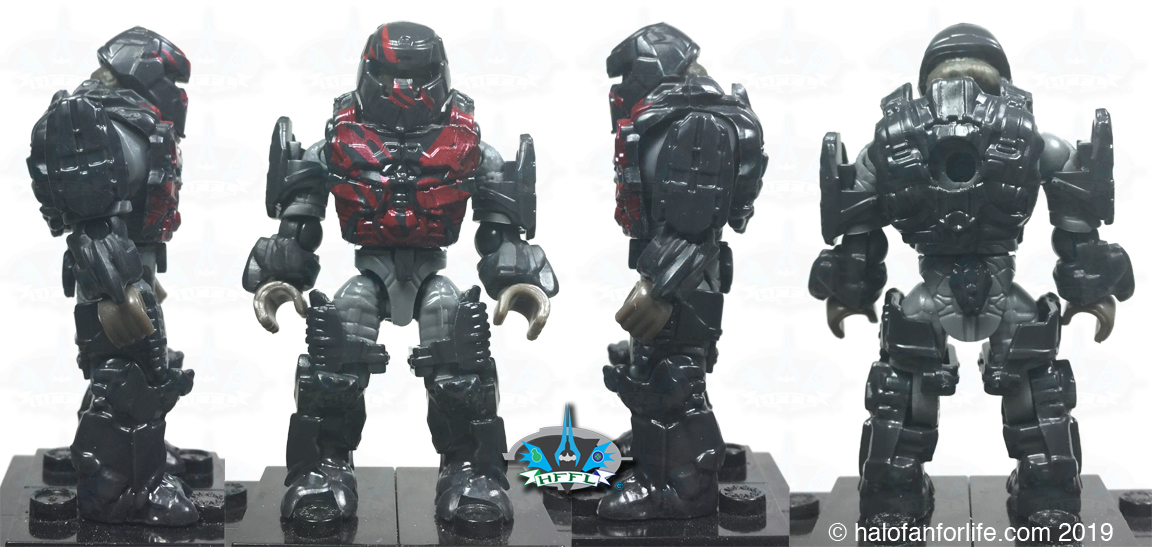
Sergeant Johnson!
YES! This is only the third time in the toy line’s 10 years that we’ve gotten Johnson as a figure. Previously he was in the Halo Heroes series 5 wave and the Hierarch’s Shadow Convoy set. This figure is the same as the one in the Heroes line. The Shadow set’s Johnson is the Halo 2 version.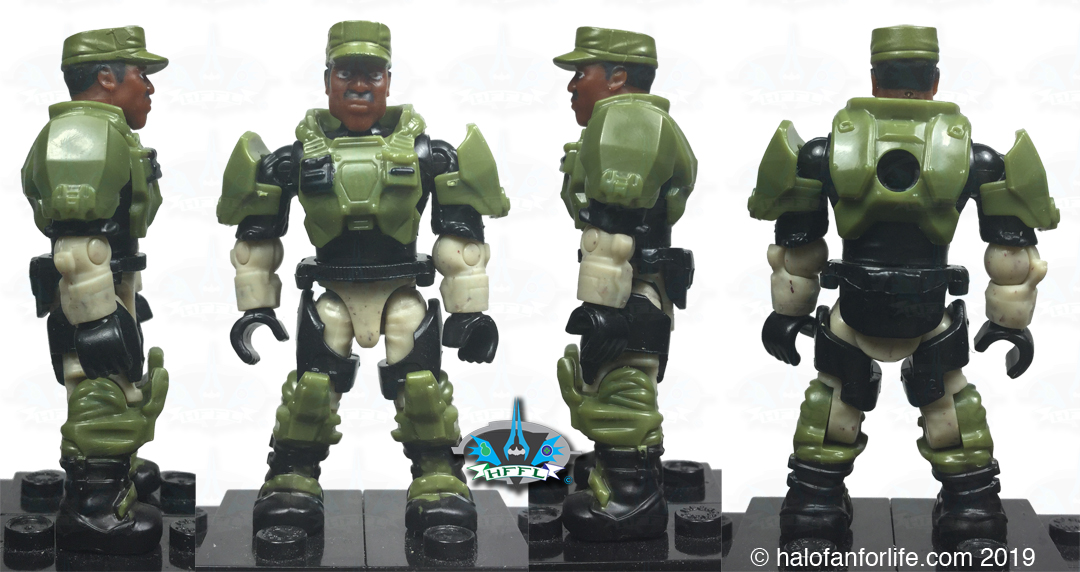
As promised, here is Johnson piloting the Green Machine EXO suit!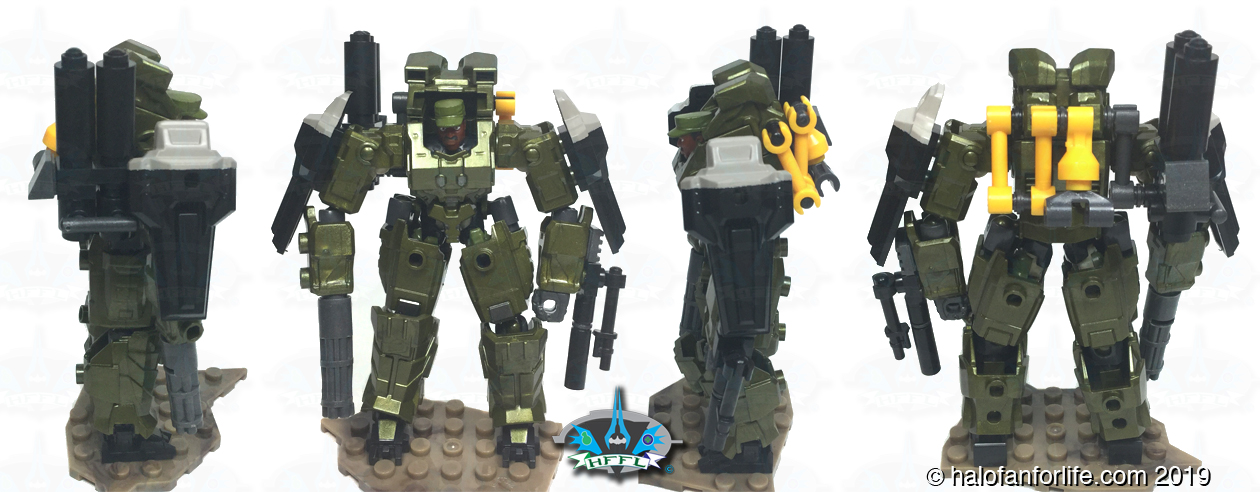
Just AWESOME!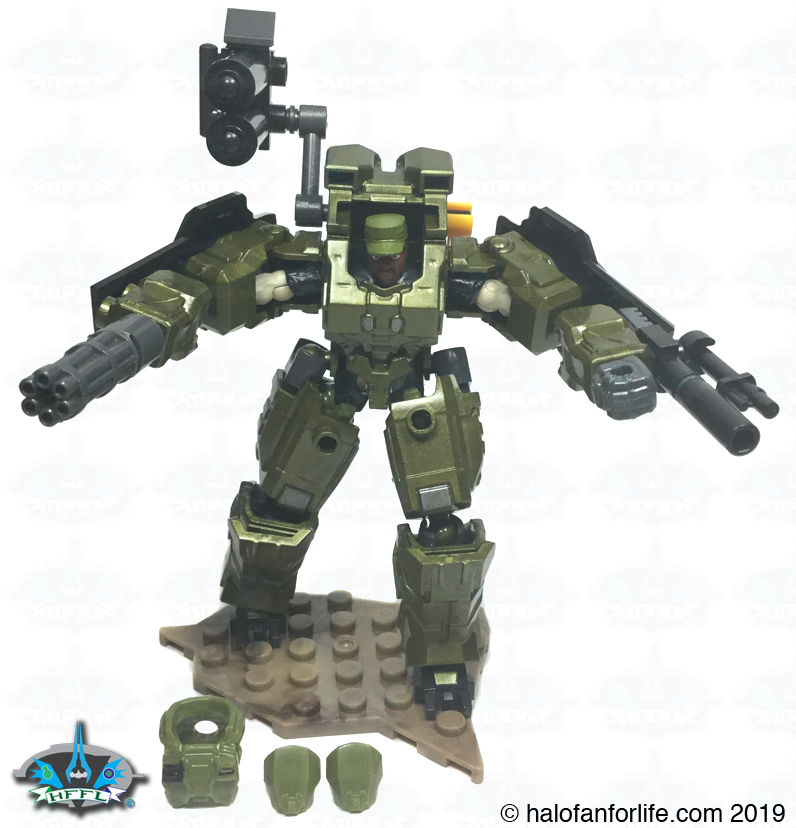
Here’s the Brute in the driving section. Note how his hands clip onto two pins. This helps to keep him stationary within the driving section, especially if you decide to push glide the set along a flat surface..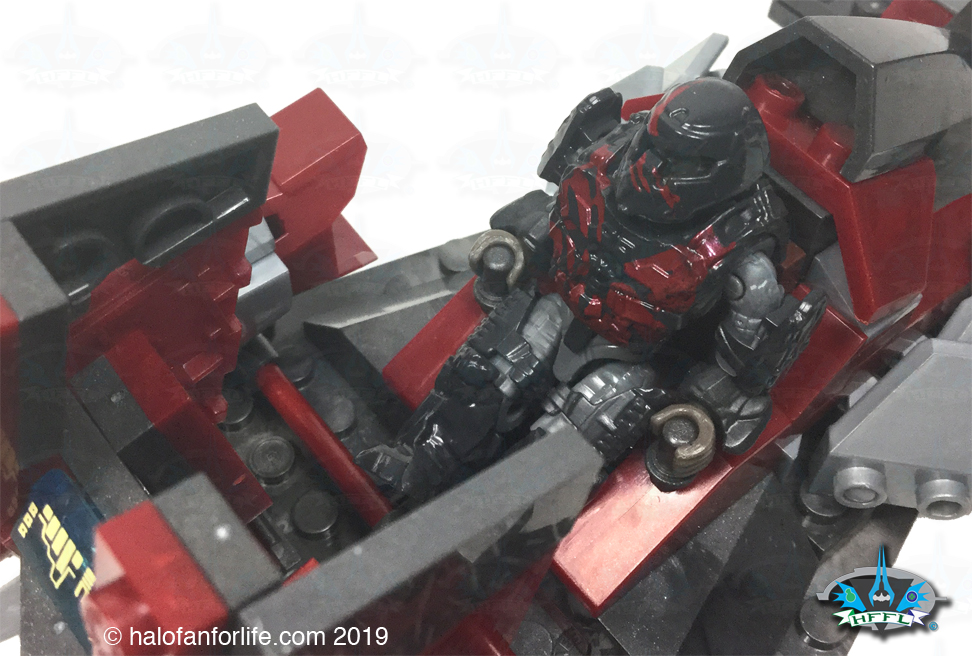
And finally the Jackal added to the cannon tail section! Note the blue “ball” in the cannon. This ball has a rod as part of the piece. This is what goes into the cannon to hold it into place.
Summary: The set’s build time is moderate. You can easily build it in an hour. Pay attention to the side building techniques. Excellent figure choices and printed pieces round out this set nicely. With several action features such as the side rotating front arms, front section hinge and rotating cannon, the Marauder has a lot of play value. Johnson’s EXO suit has a ton of articulation and guns to combat the Marauder.
Overall Rating: I give this set 10 out of 10 medals.
Why did I give it a 10 out of 10?
• The Marauder has several action features which add play value.
• The Marauder looks AWESOME as a Mega Construx build. Kudos to the designers for being able to accurately depict the vehicle in block form.
• The Green Machine EXO suit is well done and has lots of articulation and guns to play with.
The only thing I didn’t like was how flat the Marauder is on the bottom. However, that is not a fault of Mega but rather from the original design of the vehicle from the game developer.
Here’s my opinion on the break down of the value of this set. (In US dollars)
• Each figure with a weapon and figure base I put at $3.50 each for a total of $10.50 for the three of them.
• The Green Machine EXO suit I place at $8.50 with all of it’s attached guns.
• I put the Marauder at a value of $17.50 for the parts, while even more for it’s action features. So the end value I put at $20.
TOTAL: $38.50 (before tax and in U.S. dollars)
Given that the set costs $35 US before tax, I find this set’s value to be good.
Do I recommend it? Absolutely! This set was extremely hard to find. As of this writing, I’ve only heard it still being found in Mexico and nowhere else.
I do hope Mega will re-release this one as many fans wanted it but never found it. Shipping it from another country can be expensive. So I hope Mega makes it easy and distributes it worldwide if they do re-release it.
If you have any questions about this set that I didn’t cover in the review, please do not hesitate to ask me. Either reply below or e-mail me at [email protected].
If this review gives you an informed decision on whether to purchase the toy or not, please consider a small donation (50 cents) to the blog.You can donate via PayPal to [email protected]. Or just click the paypal link at the right on the main page of the site. It’s much appreciated and helps ensure that HFFL stays registered/active on the internet. Thank You.
-Sal