
This set is not just large, but has many variant builds you can create with it. As such, I’m splitting it into 3 parts. The Body, The Treads and the Turrets. After I publish all three articles, there will be links to each of the articles for the other two parts.
![]()
Mega Construx Designer Series UNSC Scorpion Tank Part 2: The treads
Technical Specifications:
Build Time: 45 minutes to sort, roughly 1 1/2 to 2 hours to build. Your time will vary greatly as I took pics along the way for this review. Not to mention, each variant tread and turret has different building times.
Set Piece Count: 1014
Minifigures: Red Spartan Mark IV
Weapons: 5 different variant turrets for Scorpion, Gold 10th Anniversary Rocket Launcher for figure
Accessories: figure baseplate
Special Features: 4 different variant builds of treads
Cost: Between $70-100 US. Depending on where you purchase it from. I got mine from Target for $70.
And on with the pics! (Click pics to make BIGGER)
The front box art shows the Scorpion in an action move. As well, on the right it shows the other turret variants.
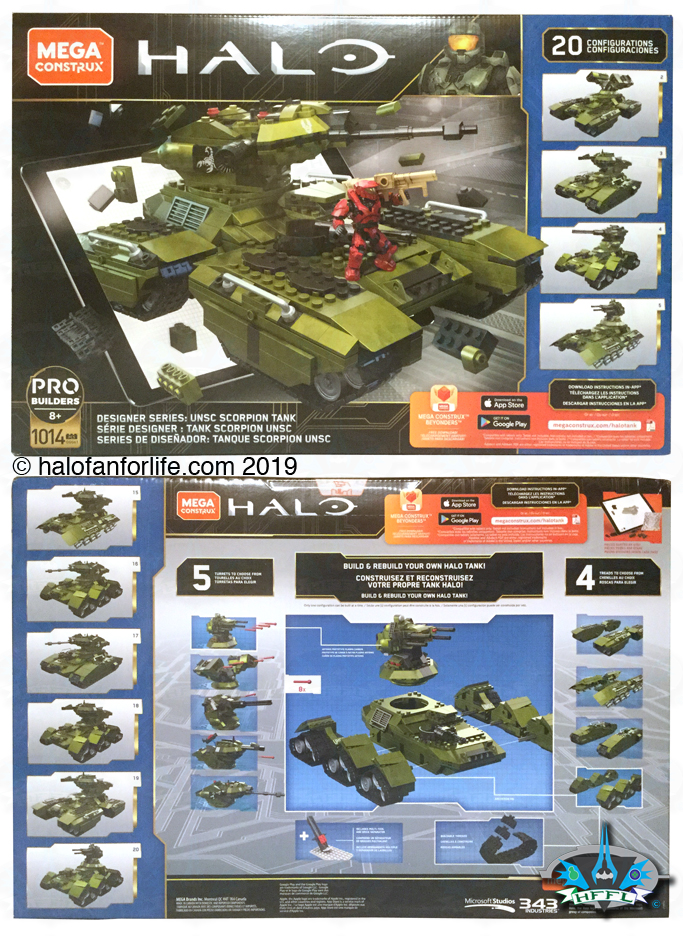
The back of the box shows the turrets and treads, along with some of the action features for the turrets.
In the box you get an sheet showing the variations of the treads and turrets, a large and small MCX Bags, and 15 bags of parts. 6 for the body, 4 for treads, and 5 for the turrets.
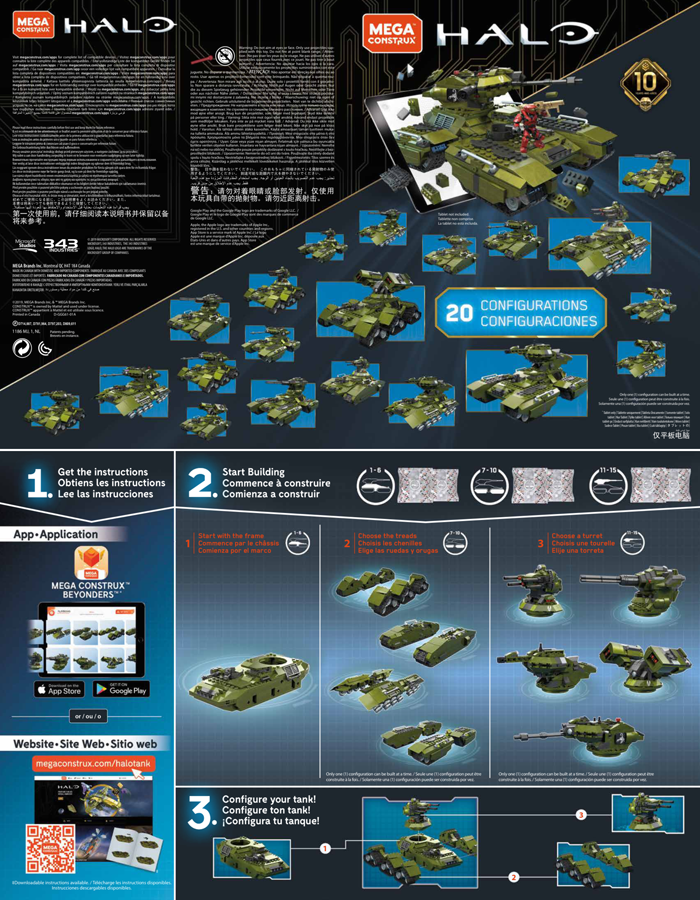
To start, you work with the remaining arts from the MCX bags (the ones with the orange stripe on them) as well as bags 7-10.
The remaining MCX bag pieces.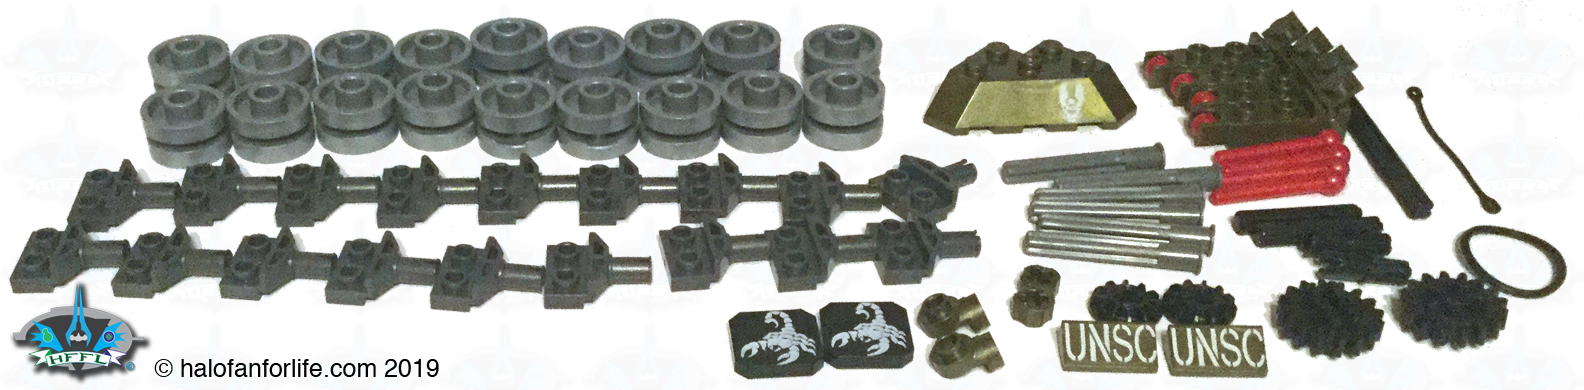
Bag 7’s pieces.
Bag 8’s pieces.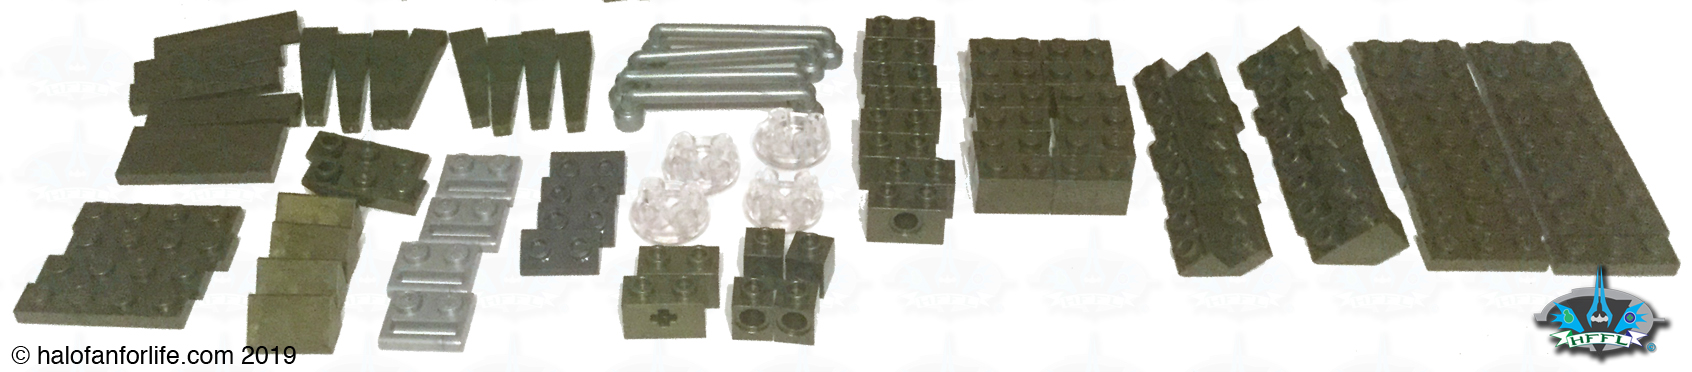
Bag 9’s pieces.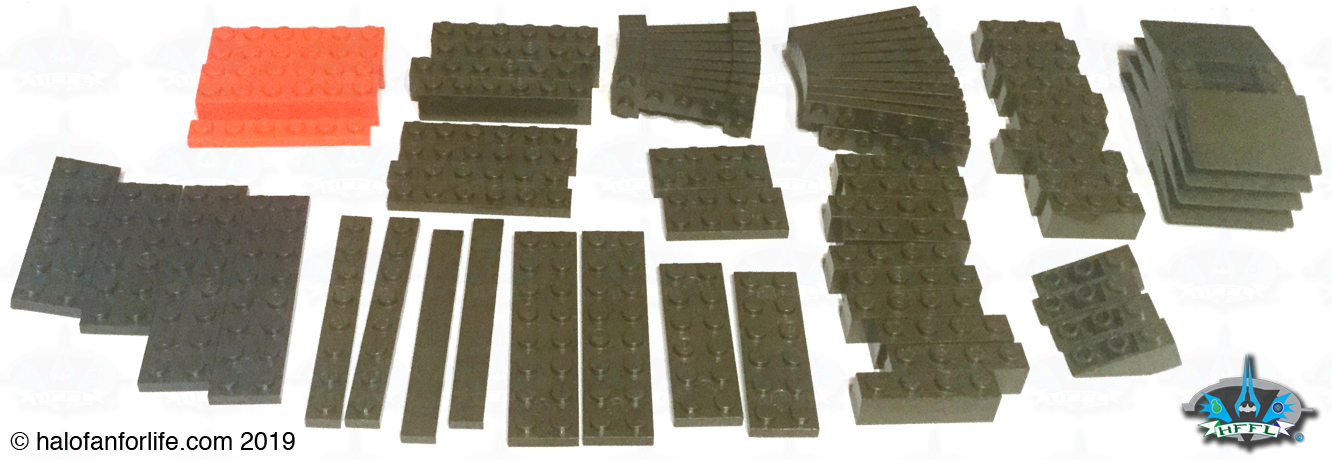
Bag 10’s pieces, which are all the tread pieces themselves. You’ll have plenty of extras, regardless of which set of treads you build. Inset is showing just one of the tread pieces.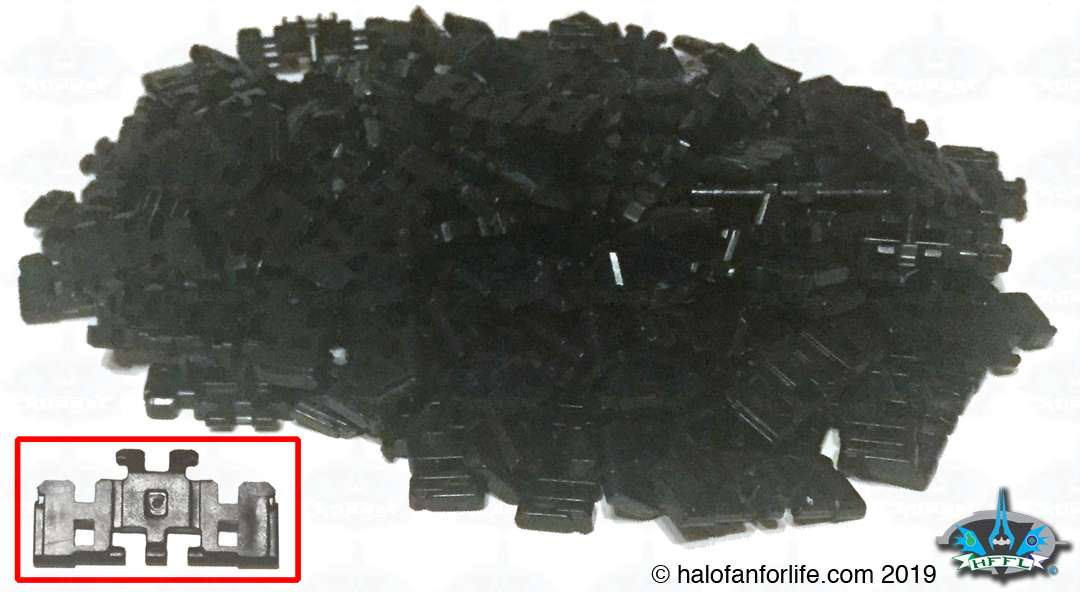
So here are all the tread pieces sorted out.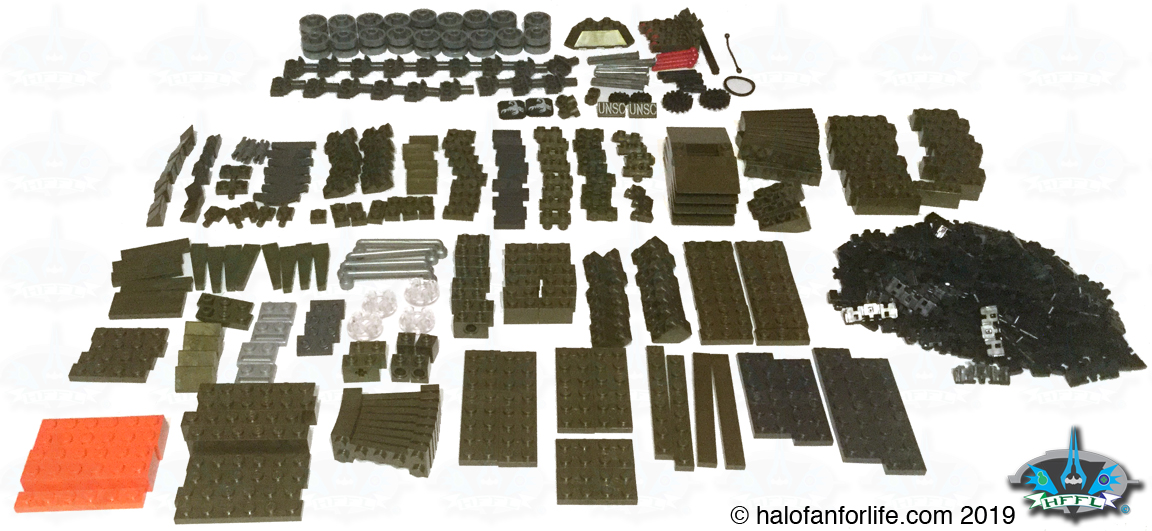
Now, before I go into the build itself. I want to make note here that I only built one side of each variant tread at a time. Since the other side is a mirror version, there wasn’t a need to show both sides. That and it cut down the length of my rebuilds for this article.
Okay, first, we start with what I’m calling the tri-treads, for obvious reasons.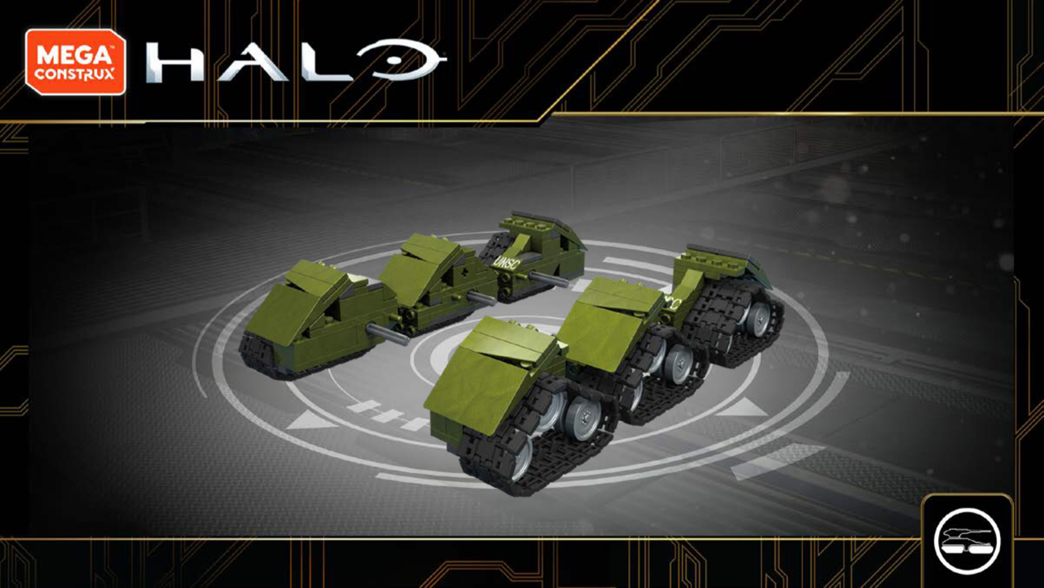
You assemble this section twice on each side as it’s the front and middle treads for each side.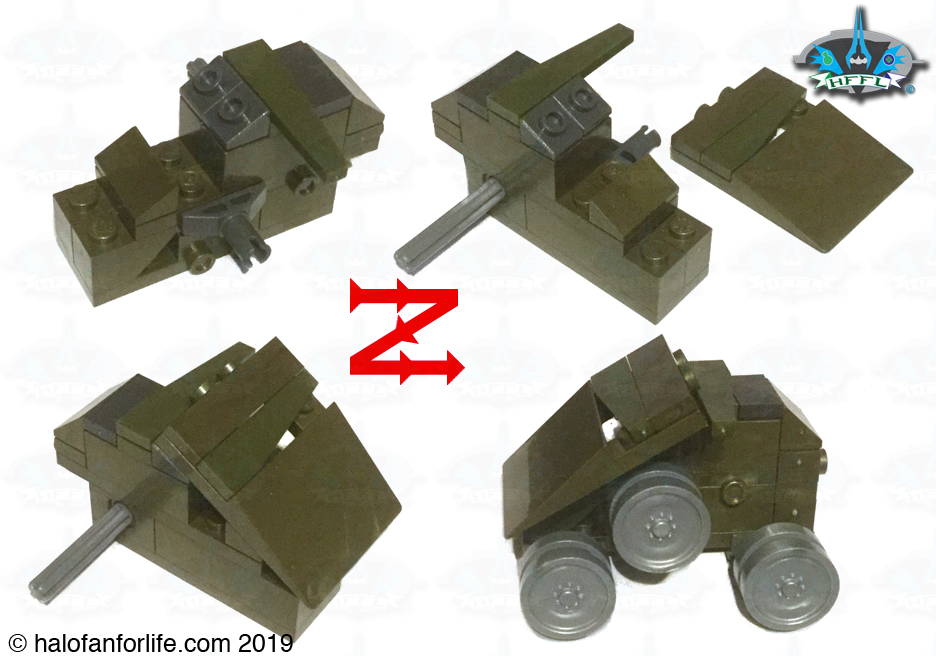
Mega came up with this neat way of snapping the treads together. Using just three long pieces (seen in bright orange below), they form the perfect trough for the small angular protrusion on one side of the treads. This allows the treads to glide along the trough and to make sure you’ve not only orientated the individual tread correctly, but to make sure you snap them on right. Each version of treads uses this orange trough. The only difference being the length of the treads overall. Since we are on the tri-treads, the length was quite short for each.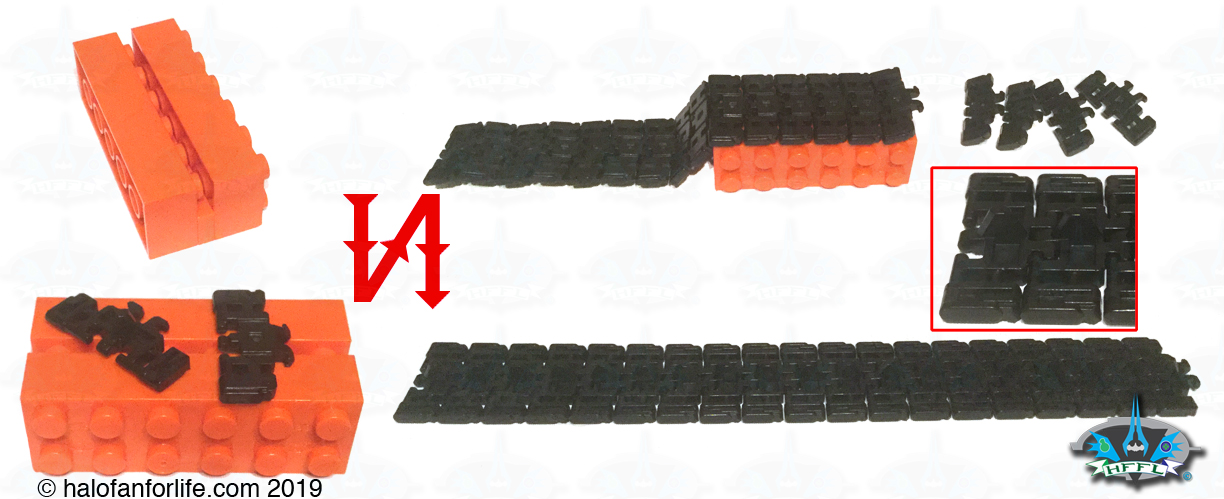
The small angular protrusion on the treads fits into the groove in the silver wheels. Once you slip the treads on and around them, you clasp the ends together to make a snug fit.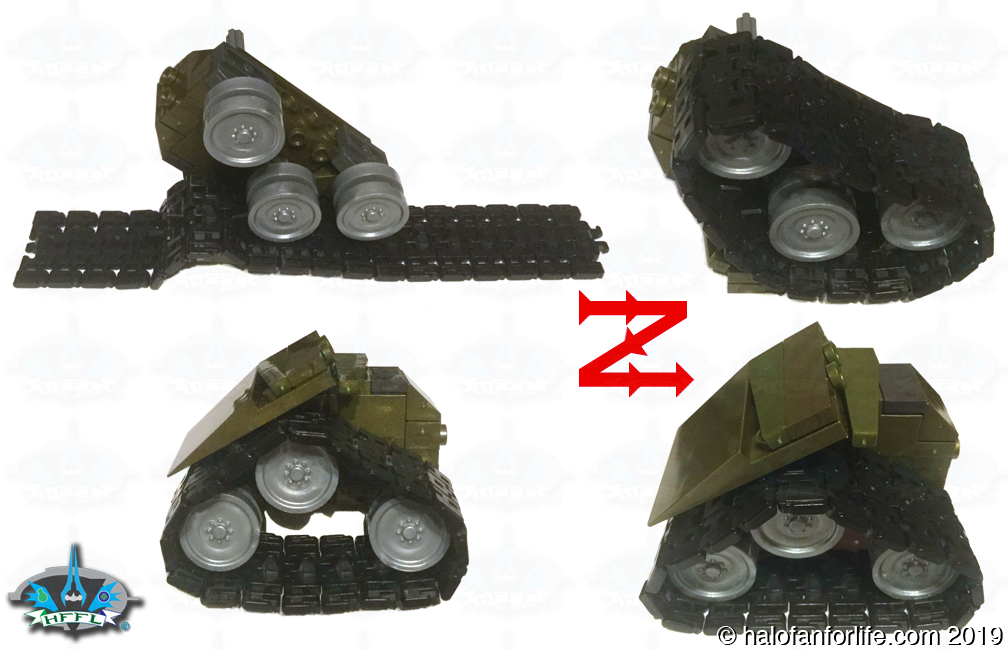
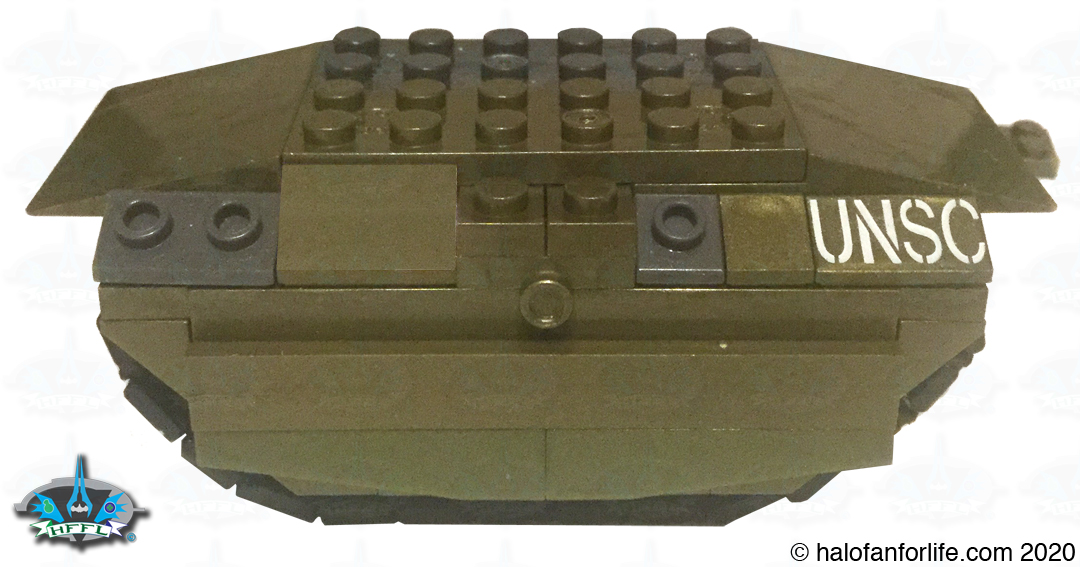
The back tread is similarly built, but bigger and includes one of the printed pieces.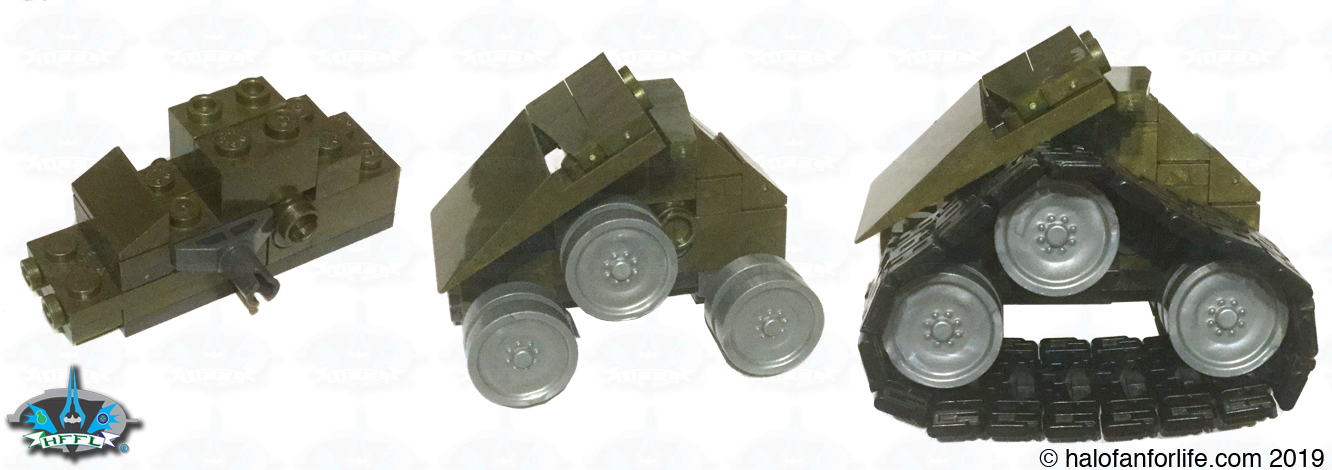
Here, all three treads are built for one side, attached, and shown how they are able to pivot, using the orange parts to demonstrate that.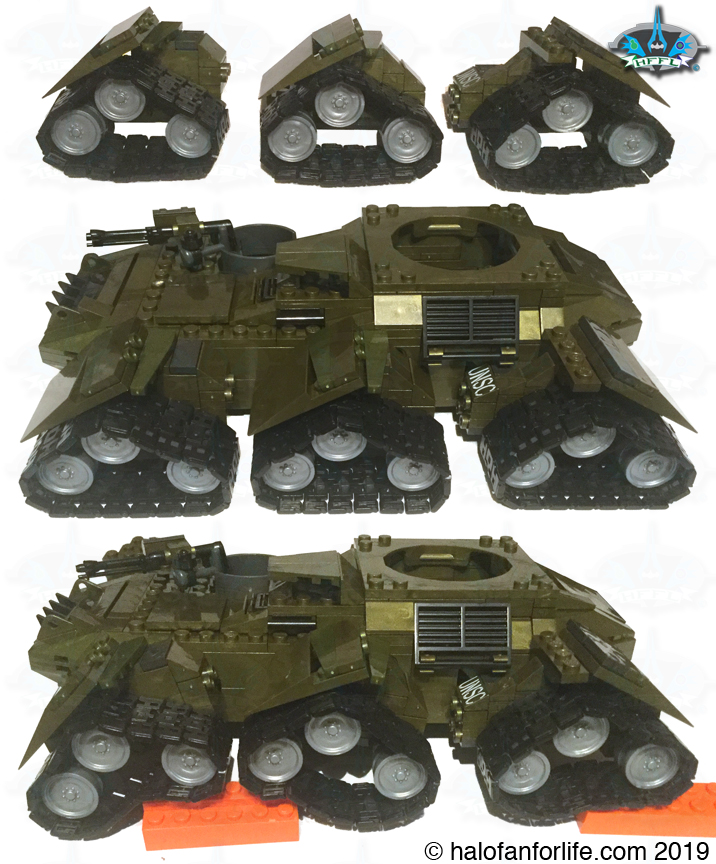
This is what your Scorpion will look like so far. Again, I only showed one side of the treads.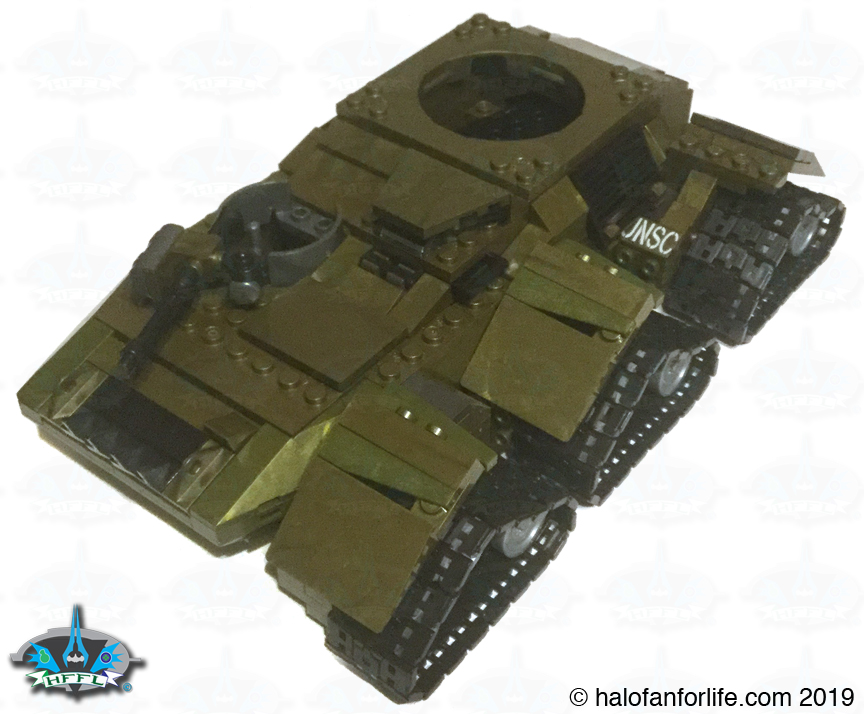
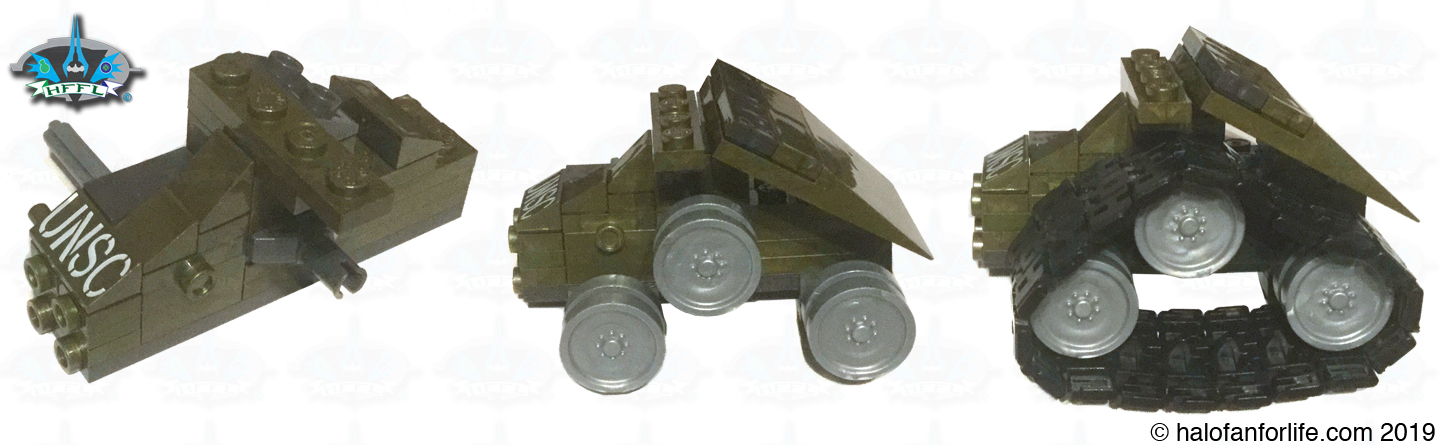
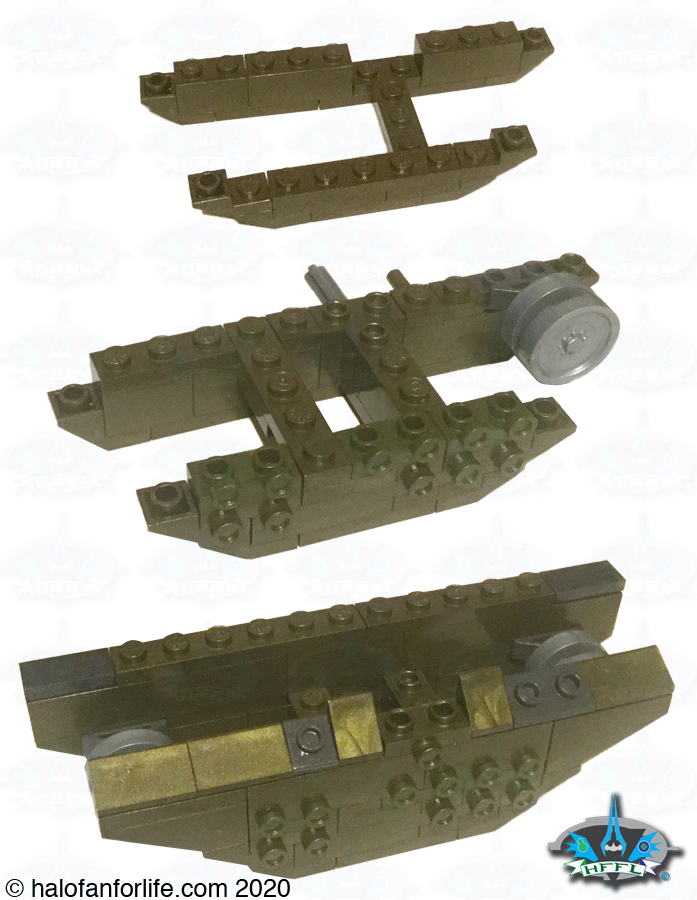
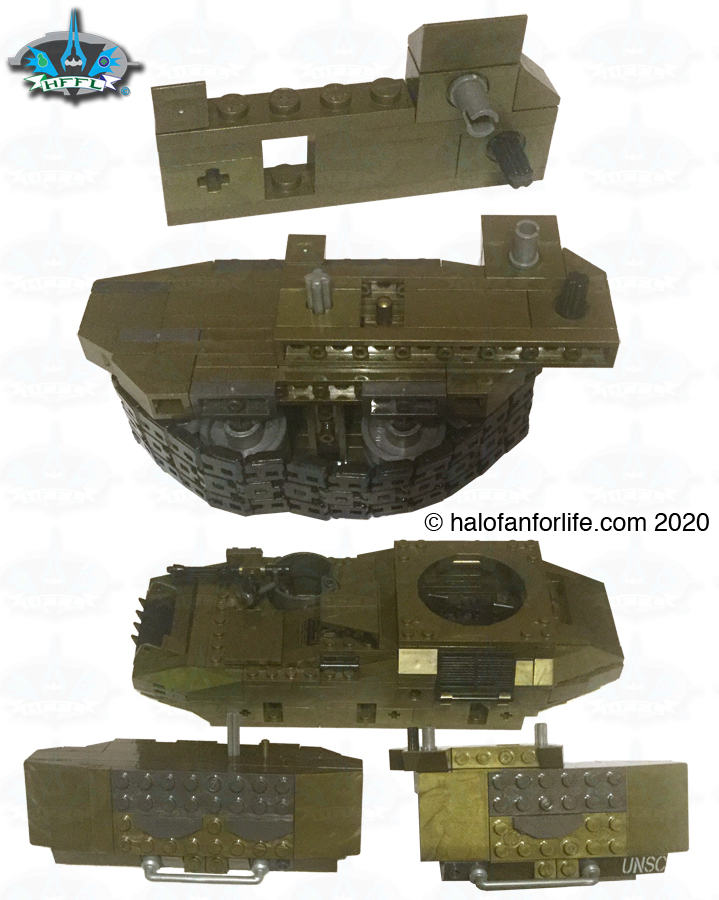
Next up the angled ‘no-treads’ section or what I should probably call it the “long tracks”. I will say, of the four variants, this was my least favorite. I think it’s directly due to not having any treads on it at all.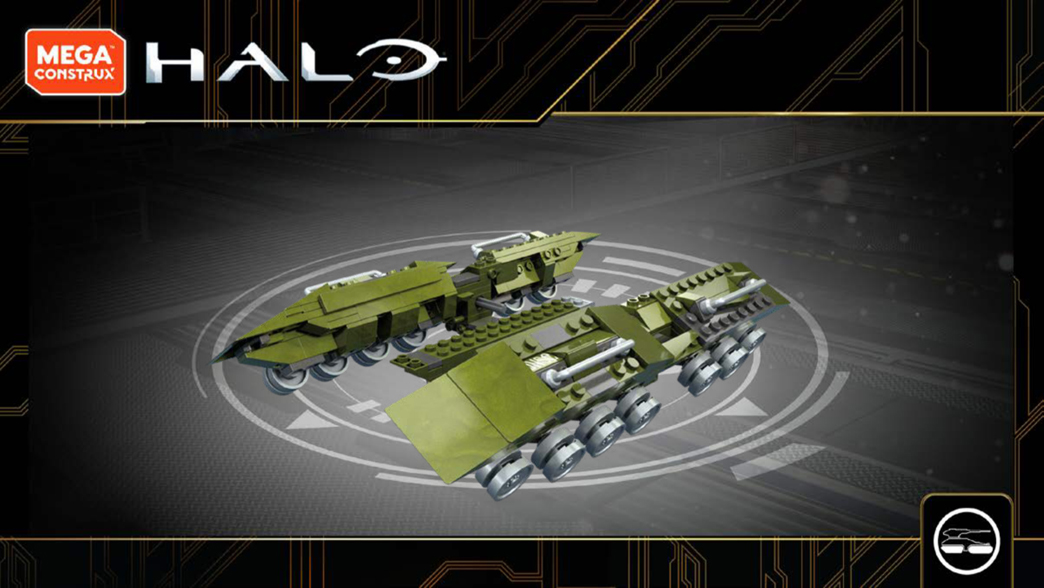
For this tread variant, you have to build a small section on the bottom of the body that includes four curved pieces. This allows the Scorpion to glide across flat surfaces. Otherwise, it might not move, with there not being treads.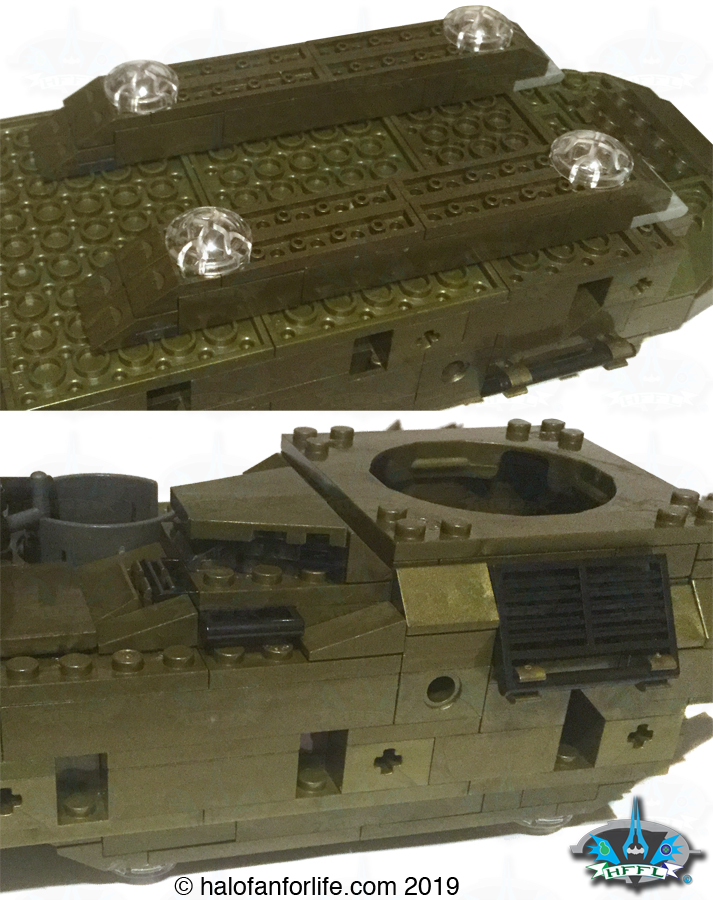
The rear section of the tracks are comprised of a couple of sections joining, then being further built up. Bottom right shows, in grey, where the wheels will go off to the side.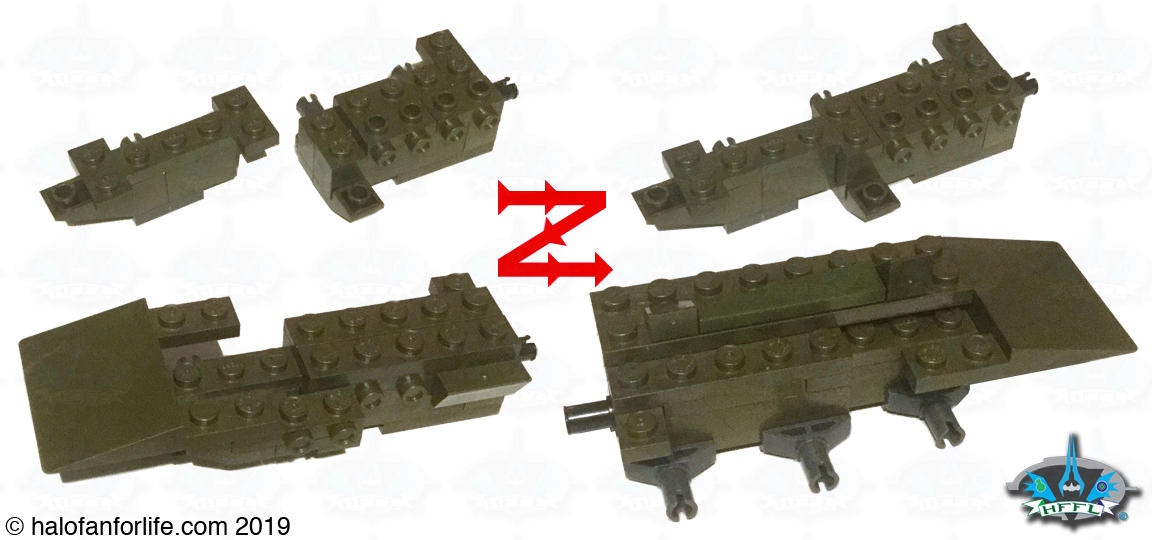
Next we build this bridging section. This section also serves as the part where the whole track section when completed will connect to the body.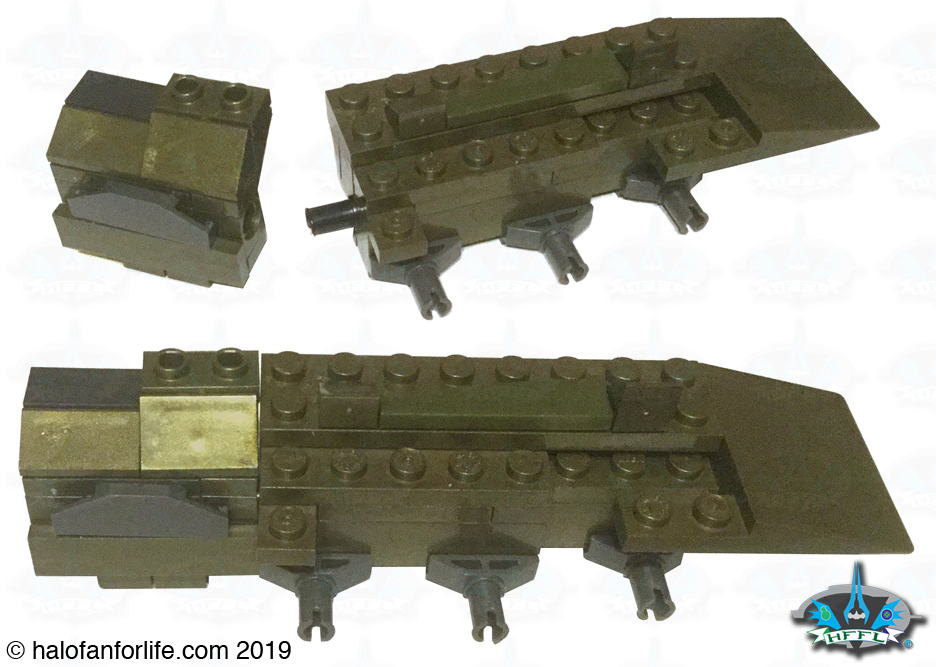
Now we move on to the front section of the treadless tracks.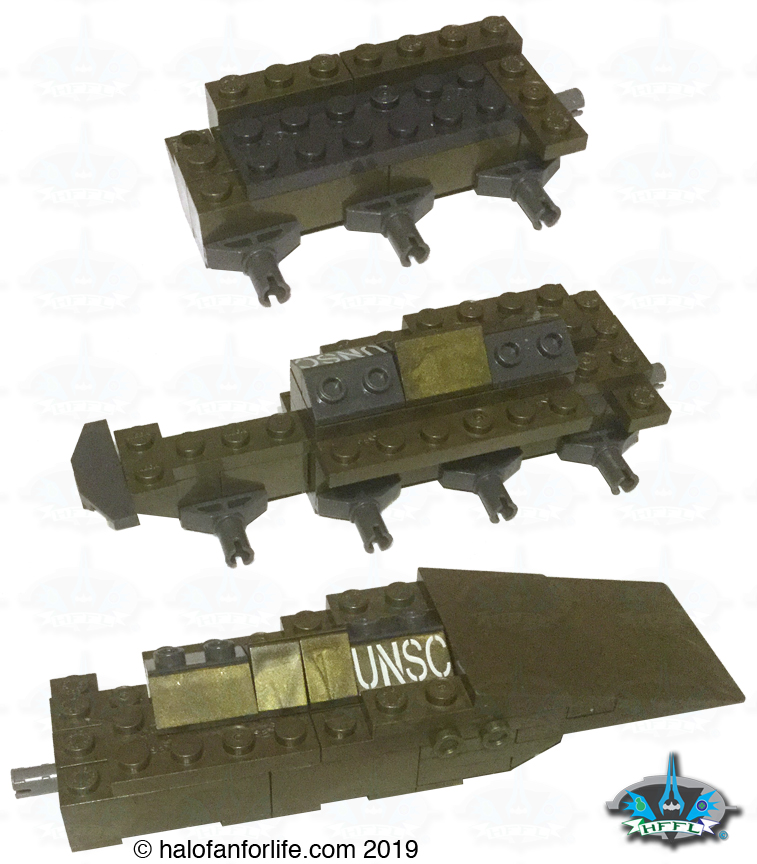
The front and rear sections are put together via a hole and pin method. This allows for some slight rotation on the sides. As seen, the wheels are also added.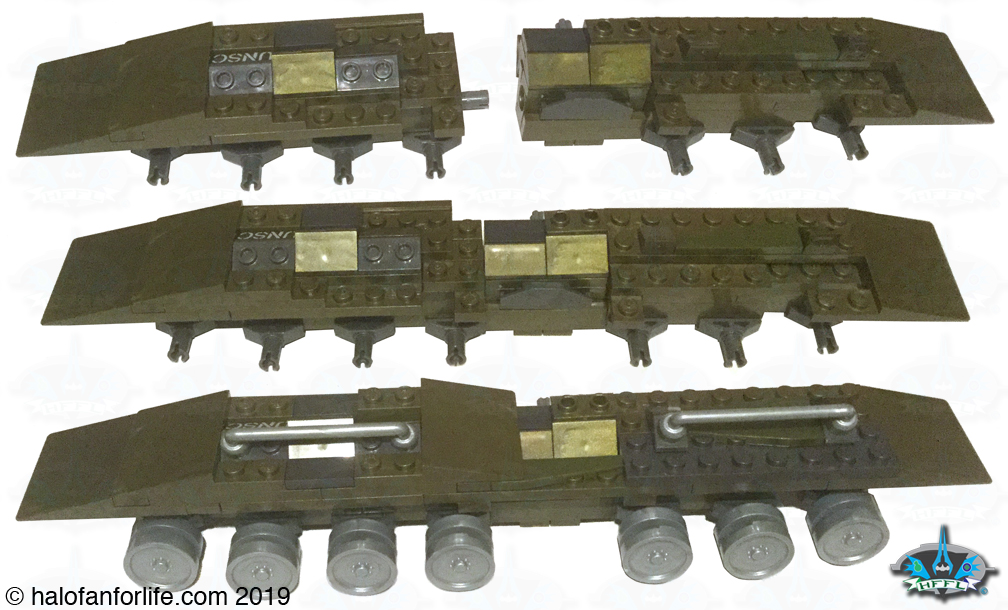
In the shot below, you can better see where the mid-section of the track is inserted into the body. There is a cross or rather a “+” shaped pin that attaches to a whole of the same shape. 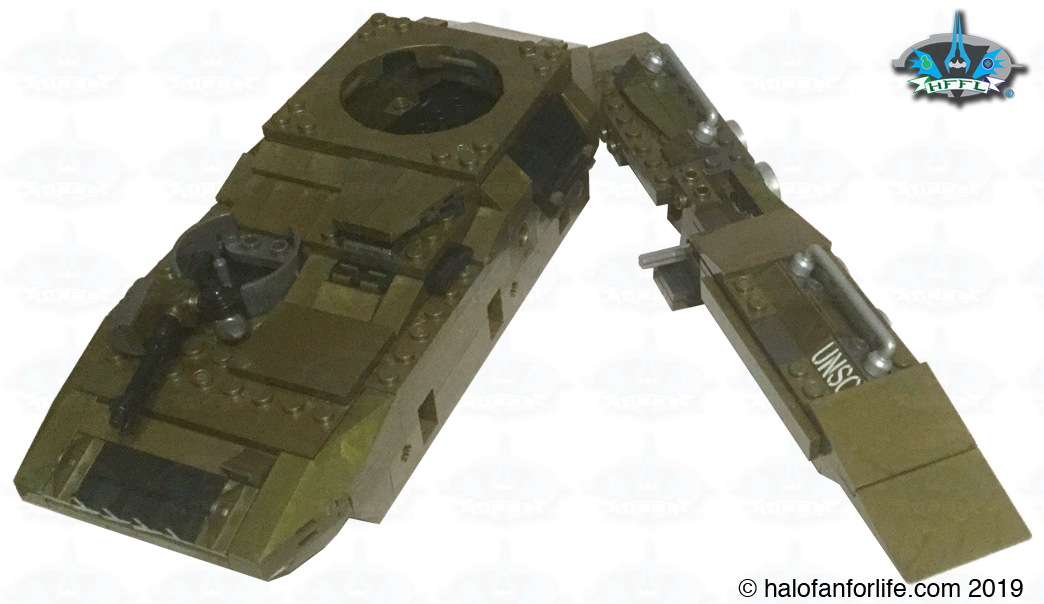
Here it is attached. yes, it is angled like that, per the build. I think this is another reason why I’m not fond of this particular variation. It just seems odd to me.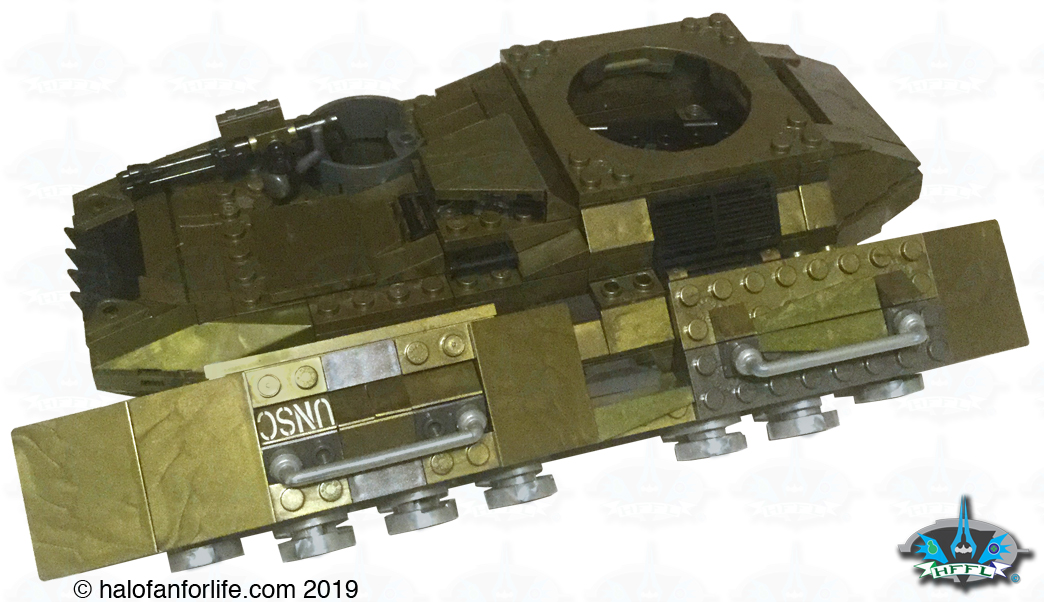
Moving on, we come to the normal Scorpion treads. What build of a Scorpion wouldn’t be normal if it didn’t have the four sections of treads!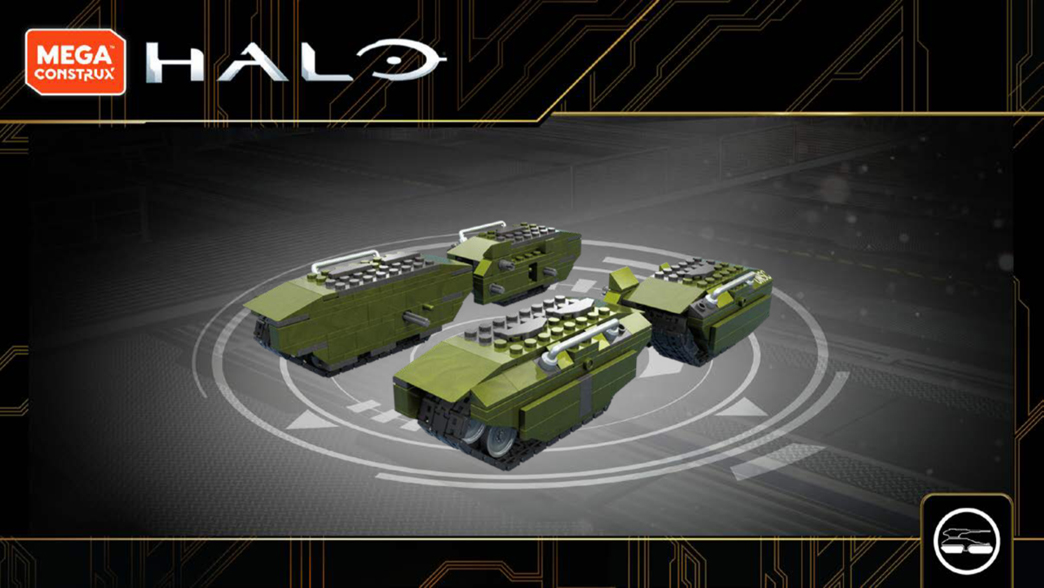
First we start with the front section. aThis build is definitely different from any previous Scorpion tread build before. This is mainly due to the new tread piece system. Again, I have to give Mega proper KUDOS for doing this! Really makes the set seem more authentic.
As with the triple treads from the first variation, we thread the treads through the build.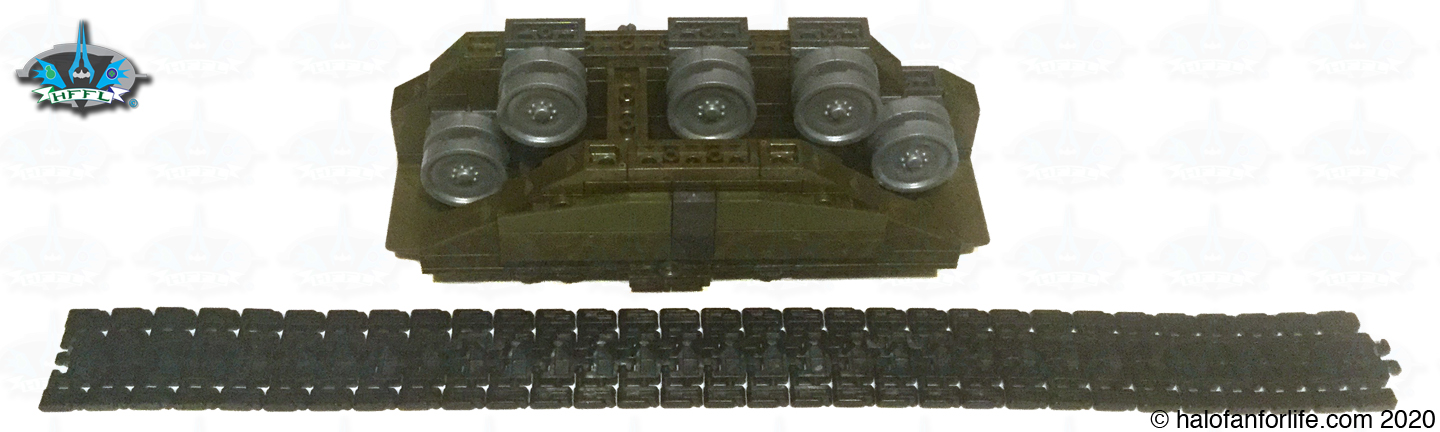
The now clasped shut tread forms a good fit around the wheels. Just a slight give so that it’s not too tight that it might snap apart.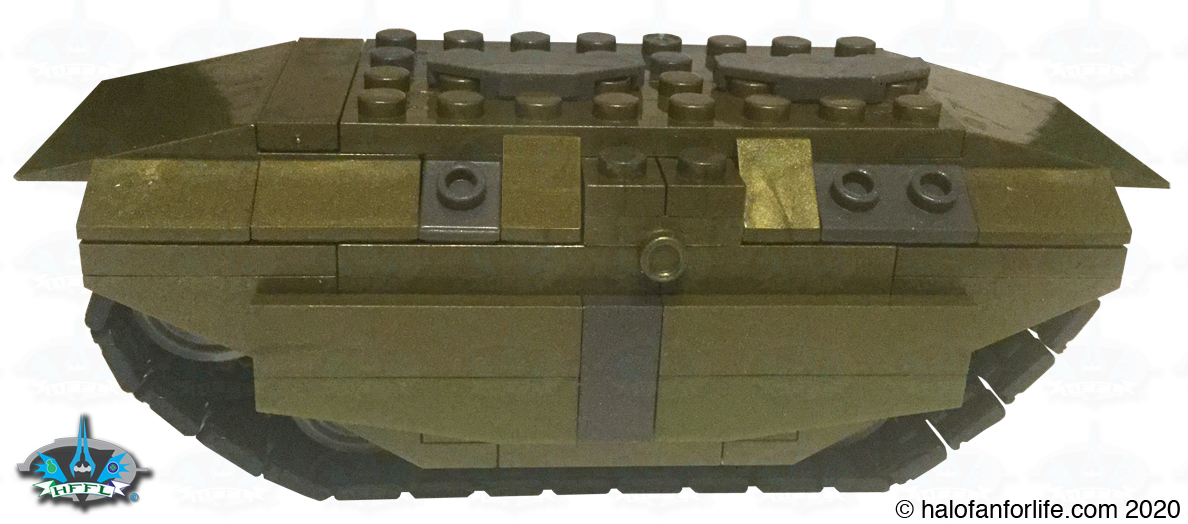
On to the back tread section. This is similarly built to the front, however, is smaller. Also note it has one of the printed pieces on it.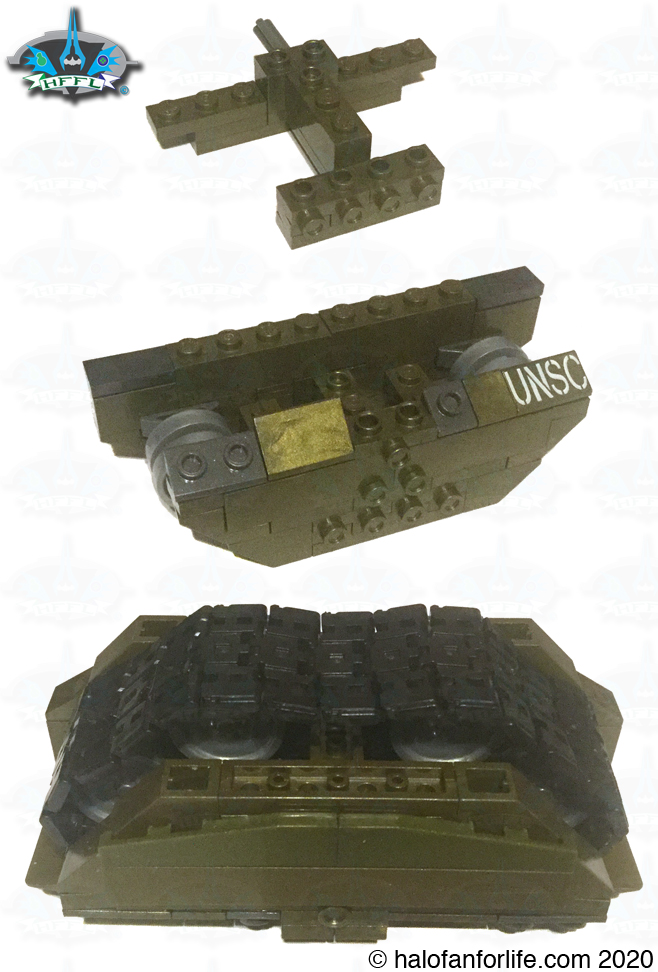
The back treads also have this small section that fits between it and the body of the Scorpion.
That added section gives it that offset look. As seen, the treads can rotate over objects quite well.
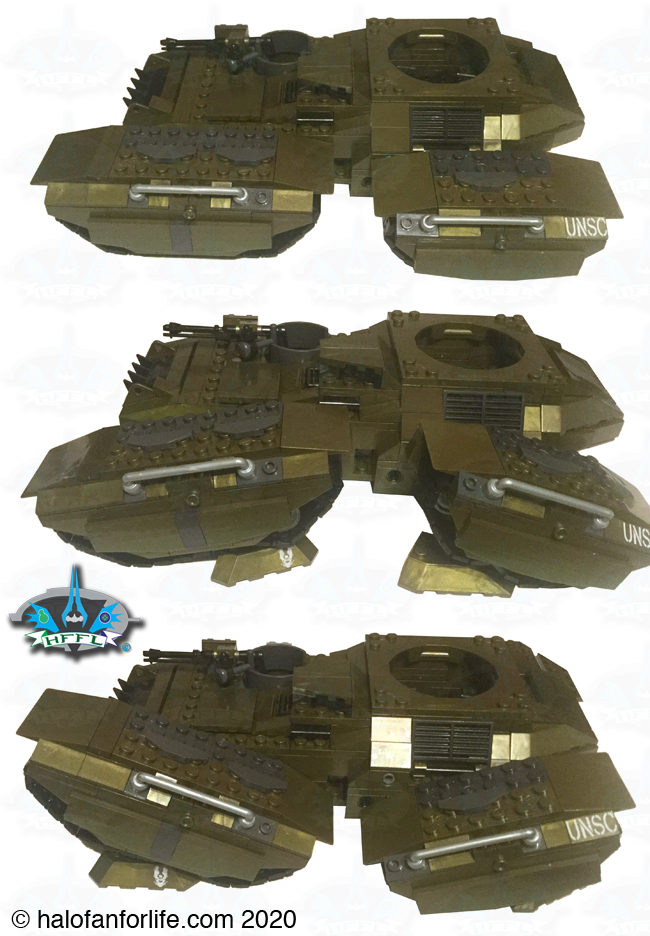
Last of the four variant treads is the one that I ultimately went with for this build. This version is akin to the tank treads that we see on current tanks of our timeline.
As you can see, it too is a long tread. Though again, mostly hollow to allow for the addition of the wheels and tread pieces.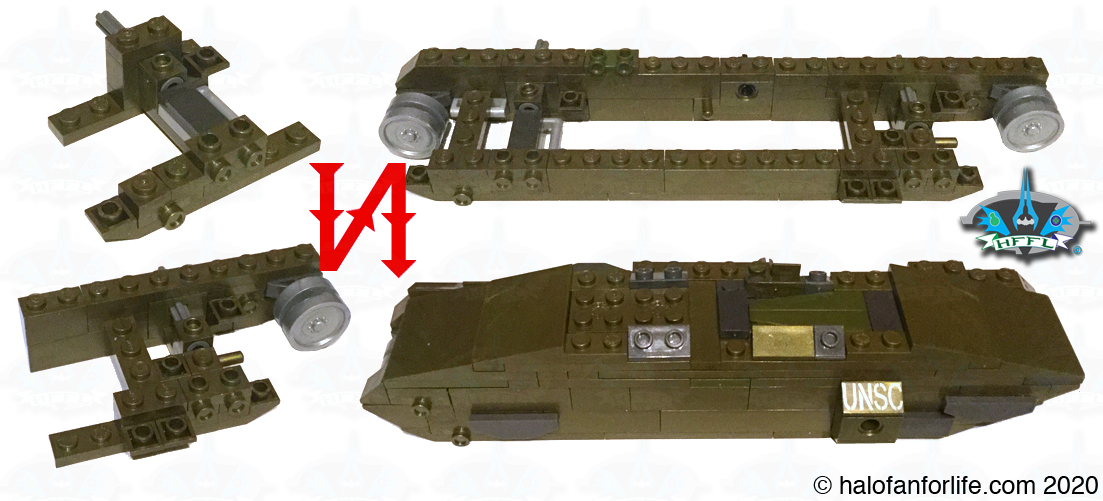
Thread the tread through.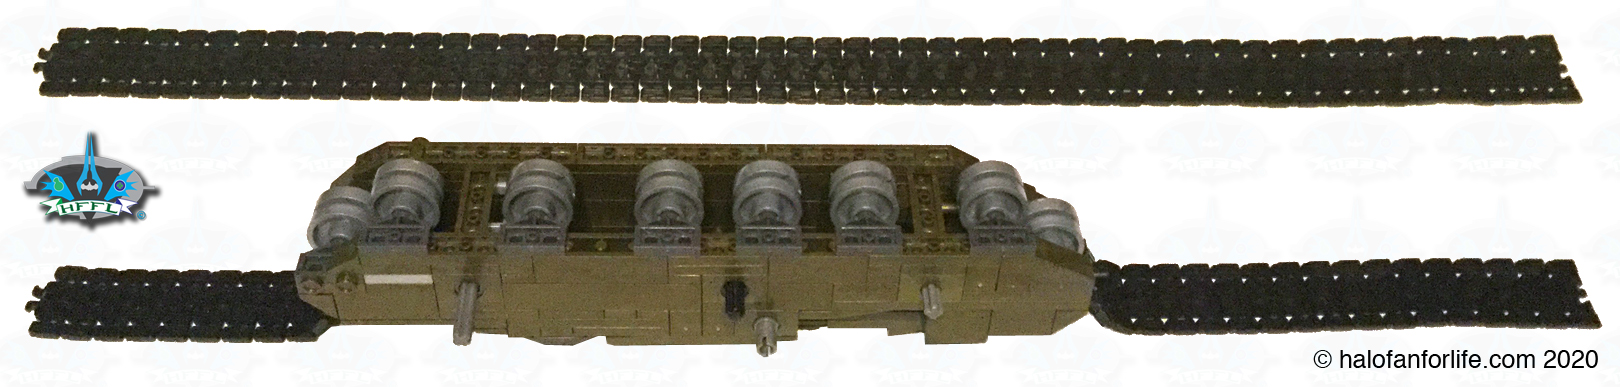
Note the four pins sticking out of the side of this version. These are used to securely hold the tread section in place.
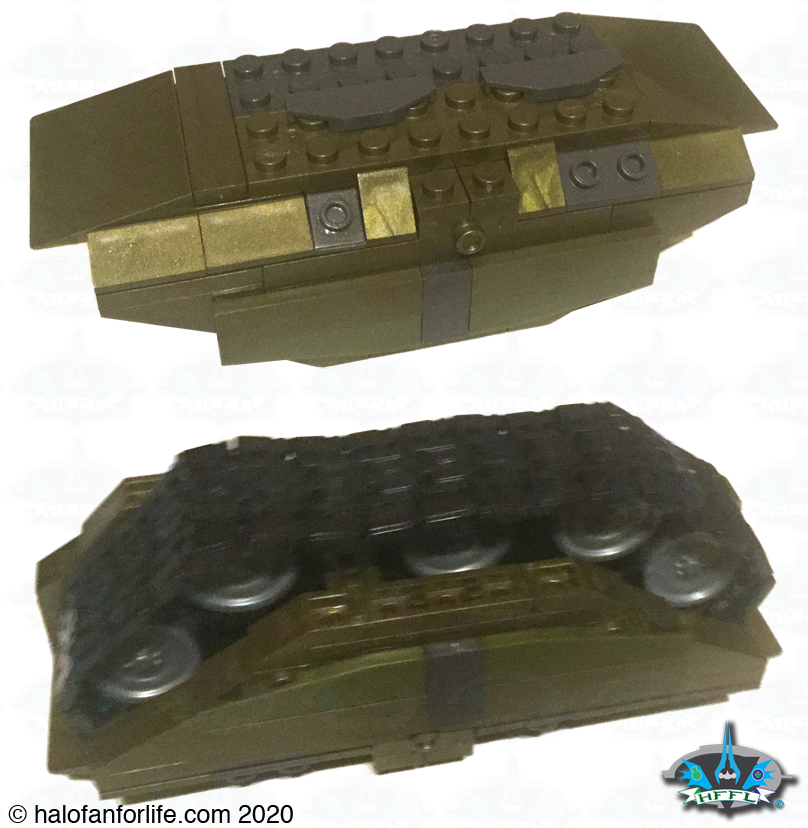
I’m showing both tread sections here. Again, because this is the version I decided to go with for the final build.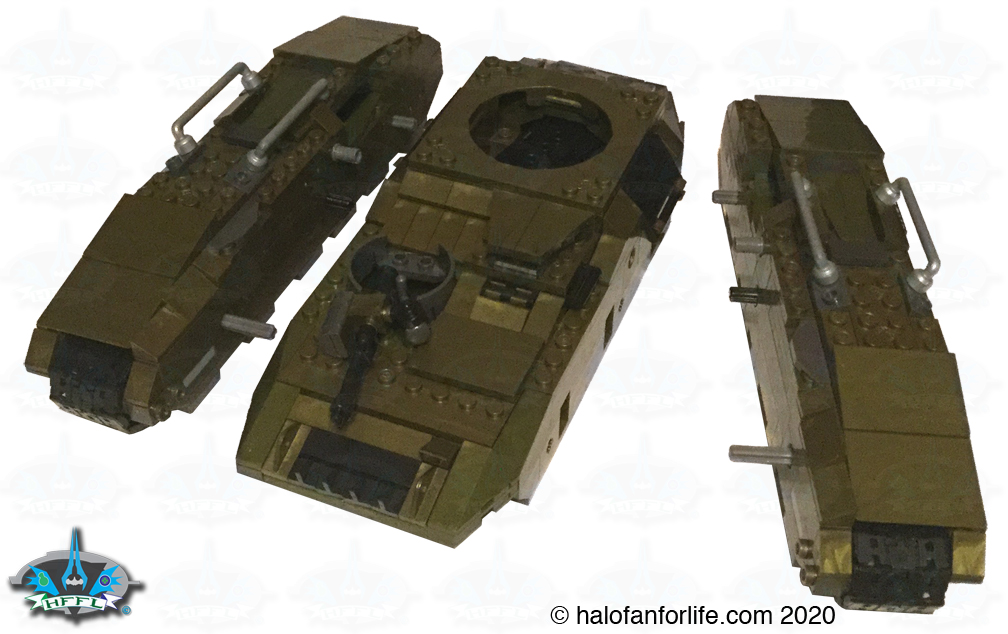
I think this looks fantastic! 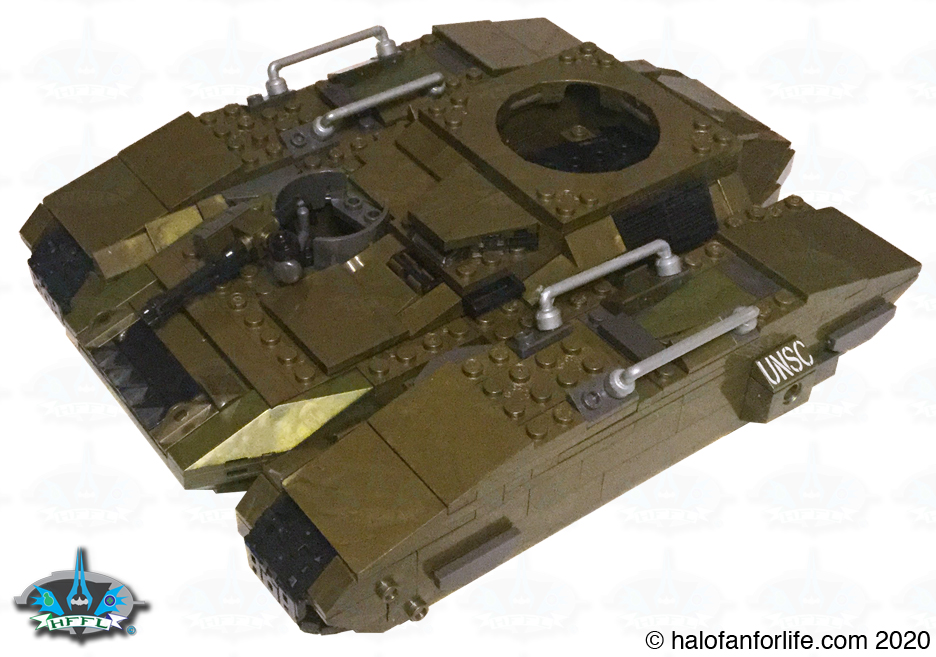
Summary: The set’s build time is moderate and will vary greatly depending on which set of treads and which turret you choose to build. The whole set can be assembled in a few hours though, regardless of which versions you choose.
Overall Rating: I give this tread portion of this set a 8.625 out of 10 medals.
Why did I give it a 8.625 out of 10?
Since there are four variant treads, I rated each version below and came up with the overall average between all four.
• The “triple” treads: Of the four variants, this is my third choice. It’s a little strange, but definitely rolls over small obstacles. The design is pretty decent. 8.5 of 10 medals. (just for it’s strangeness)
• The treadless track: The design is ok, IF it had tracks. That it angles off the body is another weird choice. I’m not so fond of this design overall because of those two previously stated things. 6 of 10 medals.
• The regular treads: As the standard model for the Scorpion, these are great. The look good, roll well and have a sturdy design. 10 or 10 medals.
• The long treads: Only the regular treads are better than this version, IMO. I went with this one though so that I could have something slightly different than the normal Scorpion. It’s definitely a well executed design. 10 of 10 medals.
Now, I want to be a little more fair here. If we take out the treadless track and just account for the other three, the average medals would be 9.3 medals. So don’t let my one evaluation stop you form this set. There are good to great other options here!
Normally this is where I give my opinion on the value of the set and if I recommend it. I’m saving that until the end of part three, so you won’t have to read the same text again and again.
Here are the links to the other parts of this review:
Halo Toy Review: Mega Construx Designer Series UNSC Scorpion Tank Part 1 The Body
Halo Toy Review: Mega Construx Designer Series UNSC Scorpion Tank Part 3 The Turrets
If you have any questions about this set that I didn’t cover in the review, please do not hesitate to ask me. Either reply below or e-mail me at [email protected].
If this review gives you an informed decision on whether to purchase the toy or not, please consider a small donation (50 cents) to the blog.You can donate via PayPal to [email protected]. Or just click the paypal link at the right on the main page of the site. It’s much appreciated and helps ensure that HFFL stays registered/active on the internet. Thank You.
-Sal
Pingback: Halo Toy Review: Mega Construx Designer Series UNSC Scorpion Tank Part 1 The Body | HaloFanForLife