
Mega Construx Energy Sword
Technical Specifications:
Build Time: roughly one hour to build (Your time will vary from mine as I took pics along the way for this review)
Set Piece Count: 567
Accessories: Buildable display stand
Cost: $50 US Target
I got mine from Mega Construx directly, for the purpose of creating this review.
And on with the pics! (Click pics to make BIGGER)
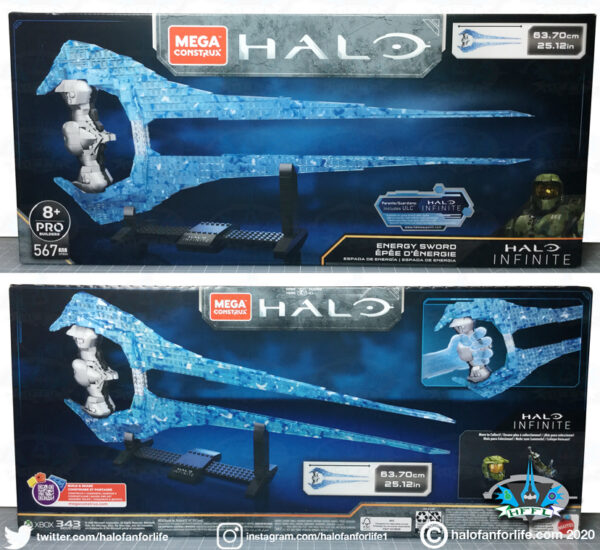
The front of the package shows the set displayed nicely on its buildable stand. While the back of the box shows the length of the sword, (25.12 inches/63.7cm). It also shows the Ring set and the (as yet not released as of this writing) Helmet set.
In the box you get an instruction manual, 9 numbered bags and a Orange bar labeled Mega Construx bag, as well as a few loose baseplates.
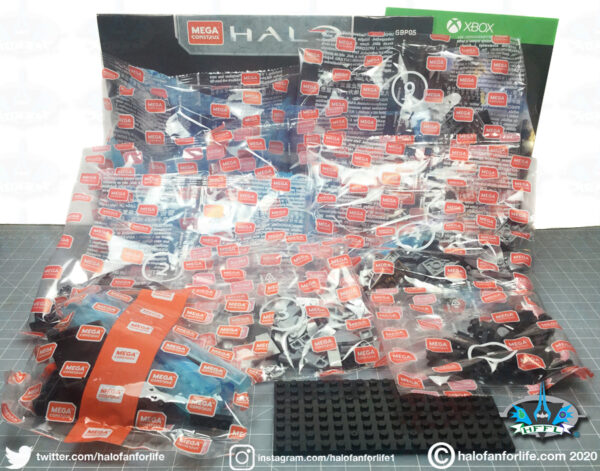
As well, you also get a card with a code on it (see back top right in the pic above). The code, when redeemed gives you a Mega Construx charm within Halo Infinite!
Be sure to add in the hyphens when redeeming your code, or it won’t work.
I do not yet have a pic of what the charm looks like. Otherwise, I would have posted that here too.

Okay, let’s get on with the build, shall we?
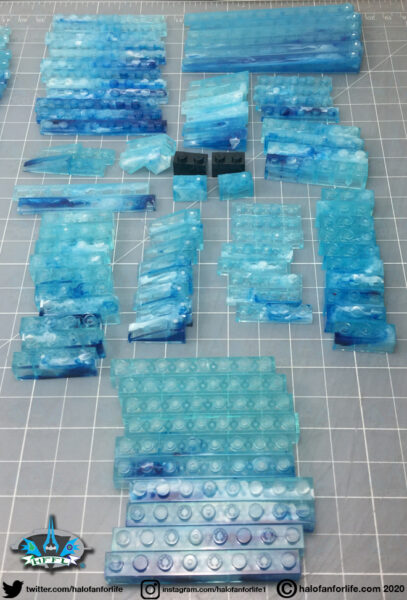
You will notice throughout the build that I have the blue pieces arranged by their translucency. Most translucent to darkest (or dark blue). The reason for this was to try to get pieces to match up. Meaning, most translucent with most translucent, and darkest with darkest. I’m not fond of this camo or mottled color effect for this set and would have preferred they all have been one translucent blue color. Perhaps this was done by Mega to give off an energy coursing through the sword? Or maybe they thought it would look too boring in just one color. I dunno. The whole sword is supposed to be energy that emits from the hilt. So, I do not see the need for this look. At any rate, that’s why you see the pieces arranged as such.
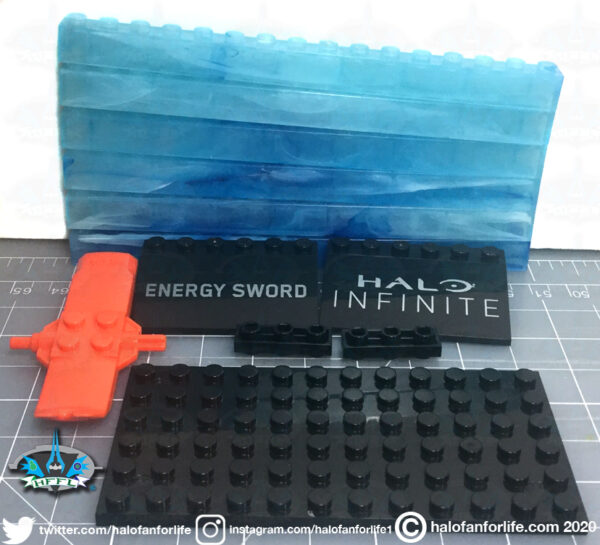
Here are the contents of the MCX Orange bar labeled bag.
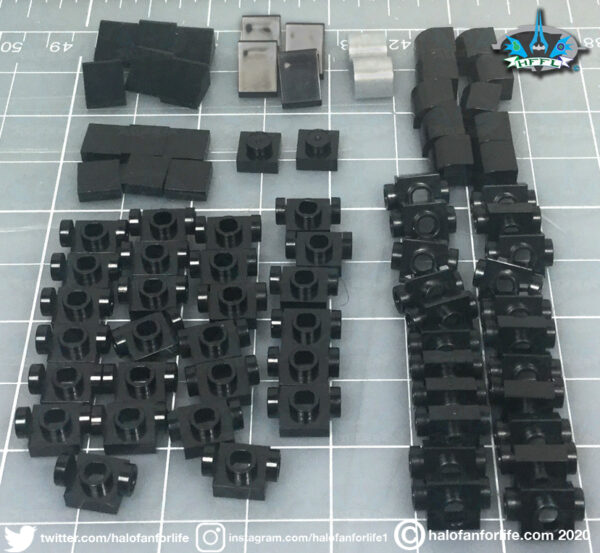
Bag 1
Bag 2
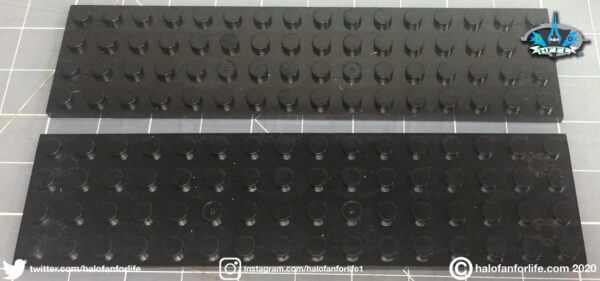
These two baseplates are loose in the box, not in a bag.
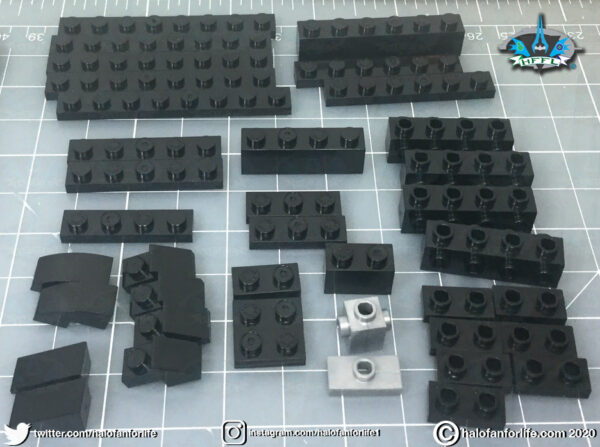
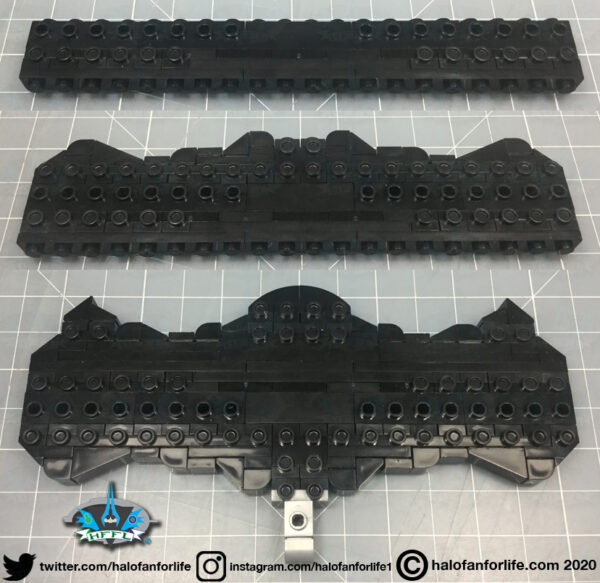
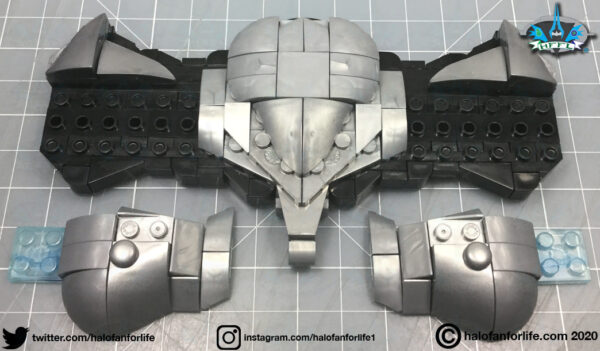
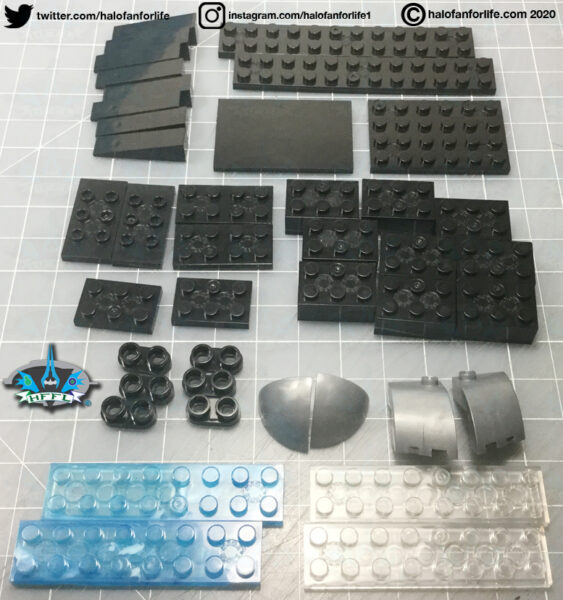
We start by building the hilt. The innards of which are all in black, as you see below.
Bag 3

Bag 4
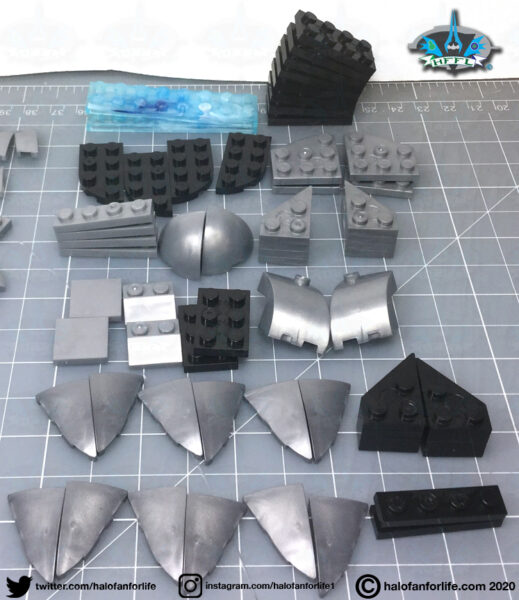
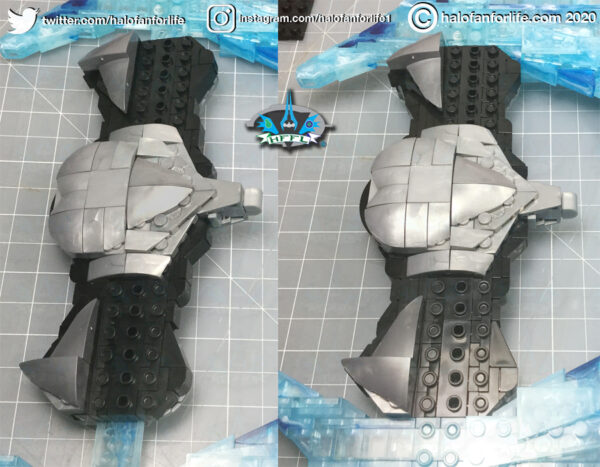
Silver sections are built and snapped onto the hilt. With the two sections seen below, I had to carefully press a little hard to get them to snap on. I chalk that up to them being put onto “side builds”. At any rate, take care when you come to this step. They fit, just a bit snug.
Those clear blue pieces on those sections will be where the blade attaches to, later in the build.
I made a mistake in the above pic. The directions didn’t quite show how the two circled pieces (below) fit on. When I got to the other side, I realized my error and went back and fixed the pieces by swapping their positions.

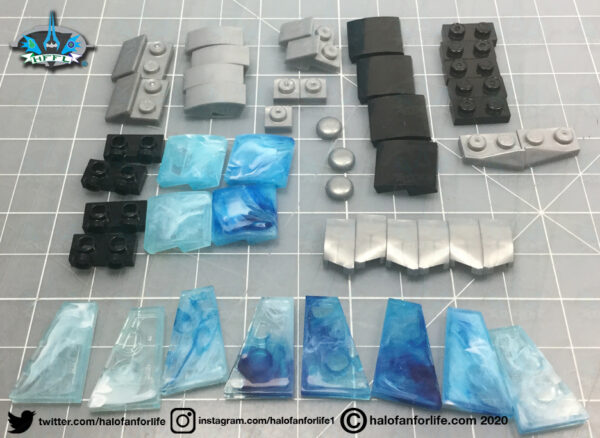
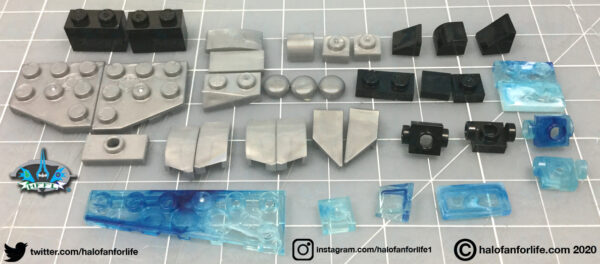
Bag 5 Again, you can see here, where I sorted the pieces by translucency and color.

Bag 6
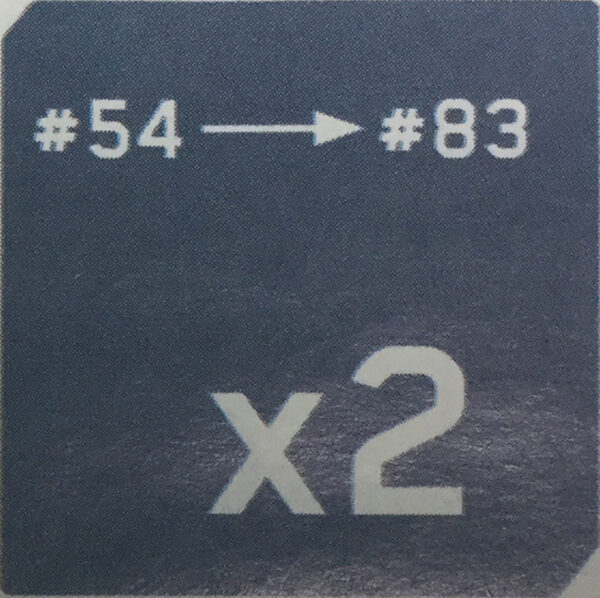
Steps 54 through 83 are duplicated, which makes building the sword much quicker!
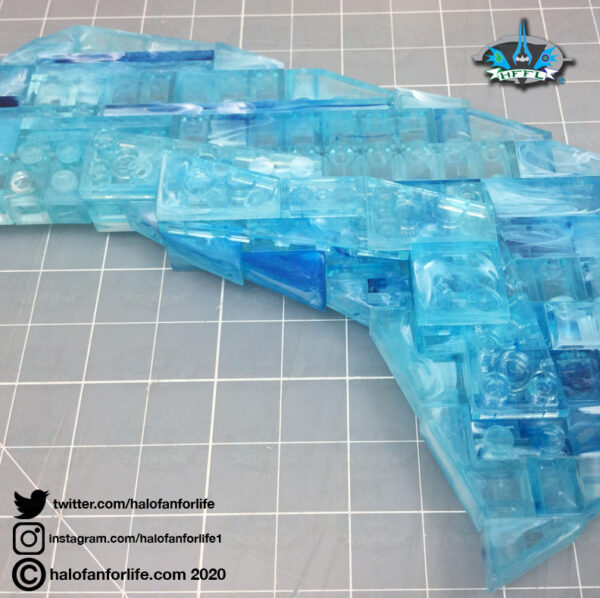
This is what I mean by the mottled look. Some pieces are clear blue, while others have a cloudy white to them, some have a dark blue running through them and others a mix of all that. Now, if the pieces truly lined up and the mottling was smooth, I’d have been fine with that. Again, thats why I arranged the parts as such, to try to get that look. Sadly, as you can see by the build below, that didn’t work.
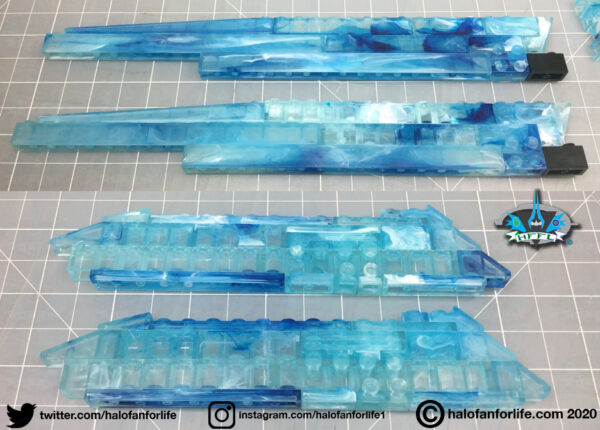
The “fin” of the blade.
Here the fin and a section of the blade are put together.
Next, the above connected sections are attached to the long thin part of the blade.
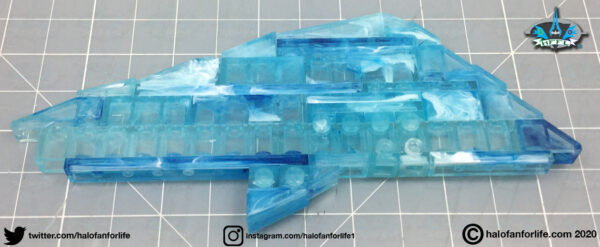
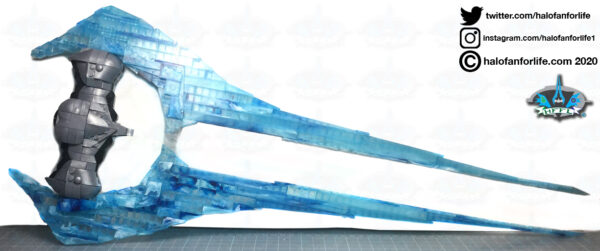
Here is what one side of the energy sword (sans hilt) looks like. It’s QUITE long!

There are some additional pieces that are built onto the fin and lower end of the blade. This is presume to bulk up the look. I think I’d have preferred some rounded plates instead of the angled ones here.I believe this is where Bag 7’s parts came into play. I forgot to take a pic of that. Apologies.
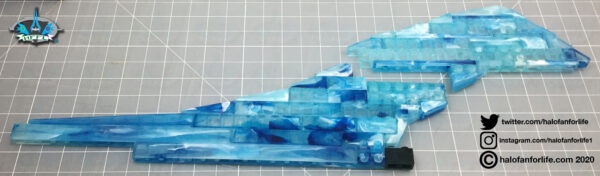
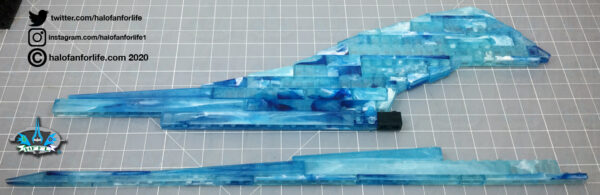
The pic below (at bottom) shows how each blade is snapped onto the hilt, vie those blue pieces mentioned earlier in the review.
As you can see, this side of the hilt does not yet have those silver sections shown earlier. This is because they are built AFTER the hilt and two blade sections are married together.
Bag 8
Bag 9
Adding the silver sections as well as the two clear plates (seen above), help to secure the blades into place with the hilt. At this point the energy sword itself is complete.
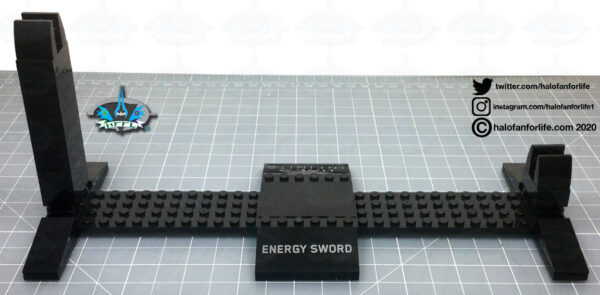
The buildable stand is made. One side has a plate that says Energy Sword, while the other “Halo Infinite” you can display as you choose, even switching the positions of those two nameplates as well.
Here are the leftover pieces I had.
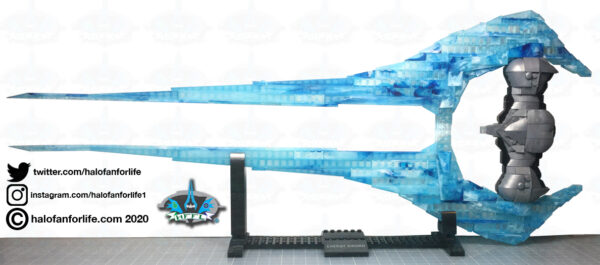
And here is the set fully built. It really displays nicely.
Summary: The set’s build time is short and can be done in one sitting.
Overall Rating: I give this set 9 out of 10 medals.
Why did I give it a 9 out of 10?
• As mentioned a couple of times, I’m not overly fond of the mottled look of the blade pieces and would have preferred all clear blue pieces instead.
• The blades near the end seem too thin to me. A little more bulk there would have been preferred.
• I would have liked to have seen a minifigure elite or Arbiter included here to be displayed with this set. Good thing is, that can easily be rectified, if you have extra figures. I definitely have extra Elites and an Arbiter I’m going to display with this, with swords in hand!
Still, the overall the shape of the sword is nice. The hilt is EXCELLENT! And the display stand works quite well for its purpose.
Here’s my opinion of the value of this set. (In US dollars)
• The piece count is higher than normal for it’s price point, which is a good thing.
TOTAL: $55 (before tax and in U.S. dollars)
As the set includes 567 pieces, at the normal guideline of 10 cents per pieces, I might have expected to pay between $55-60 for this set. Since it retails for $50 (US), I find the value of the pieces above average.
Do I recommend it? Yes. This is a departure for Mega. They normally stick to sets that go with their figures in-scale. This may be a one-off. We might not see near-full sized replicas of other weapons from Halo made. So get this when you can. Color effect aside, it’s a nice set to display.
If you have any questions about this set that I didn’t cover in the review, please do not hesitate to ask me. Either reply below or e-mail me at [email protected].
If this review gives you an informed decision on whether to purchase the toy or not, please consider a small donation (50 cents) to the blog.You can donate via PayPal to [email protected]. Or just click the paypal link at the right on the main page of the site. It’s much appreciated and helps ensure that HFFL stays registered/active on the internet. Thank You.
-Sal