
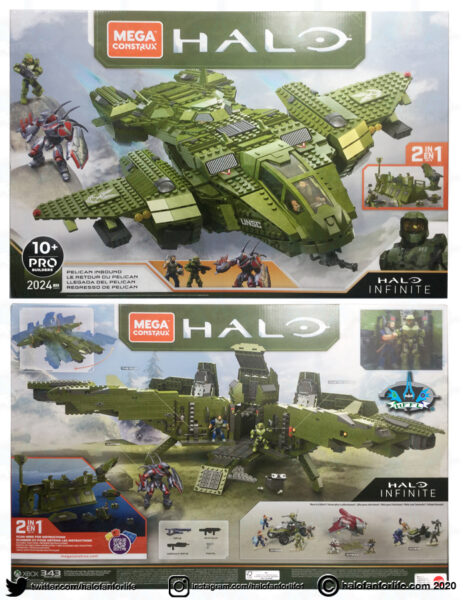
Mega Construx Pelican Inbound
Technical Specifications:
Build Time:
Set Piece Count: 2024
Minifigures: Master Chief, the Pilot, Banished Hunter
Weapons: Ravager, Assault Rifle, Commando, pistol, x2 Frag grenades
Accessories: X3 figure stand, buildable fire extinguisher, medium sized crate
Special Features: Cockpit opens/closes, roof opens/closes, troop bay splits opens/closes, bay door opens/closes, retractable wheeled landing gear (front), retractable landing struts (rear), wings and nacelles pivot 360°, nose gun rotates 360° and pivots
Cost: $150 US. Mine was sent to me by Mega Brands for the purpose of this review.
And on with the pics! (Click pics to make BIGGER)
The front of the package shows the set in a awesome action shot. The back shows some of the action features, the alternate build and a few of the other new sets out (as of this writing).
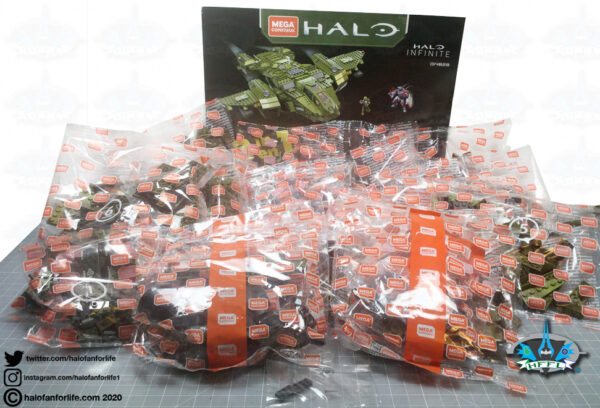
In the box you get an instruction manual, 24 numbered bags and 2 MCX Orange bar bags and one tiny bag containing two printed pieces.
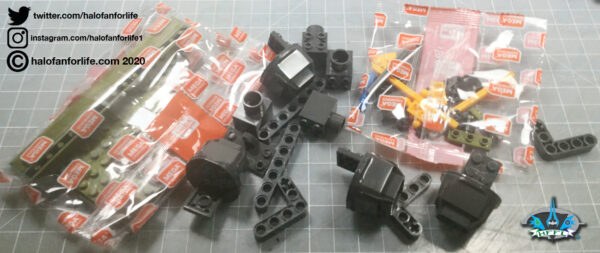
We start by sorting out the first six numbered bags as well as the two orange bar MCX bags.
Bag 1
Bag 2
Bag 3

Bag 4
Bag 5
Bag 6
MCX Bags I sort these out in just a bit.
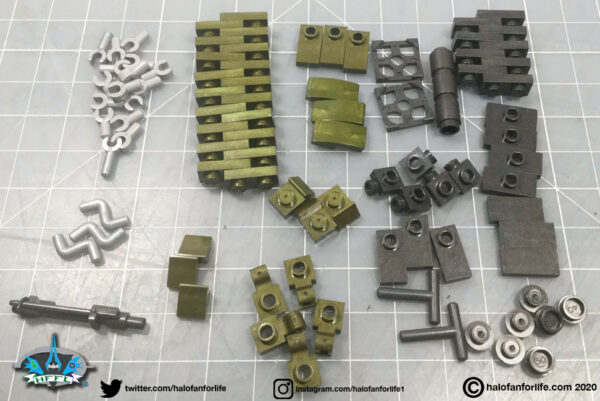
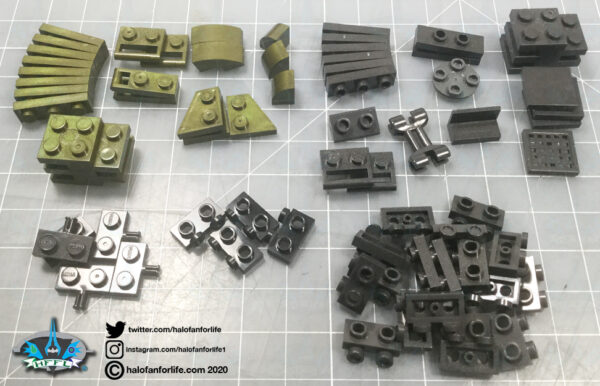
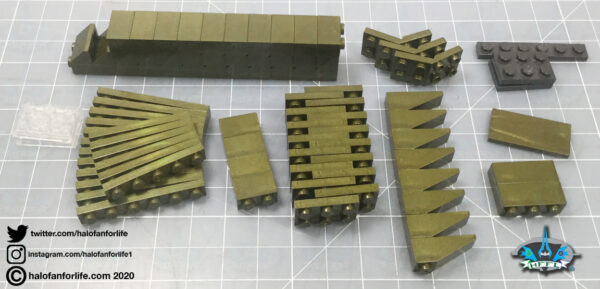
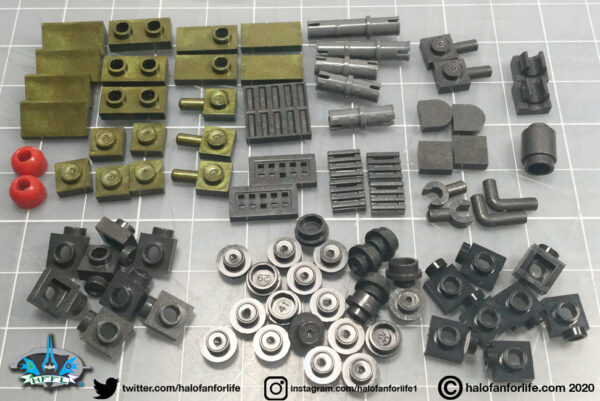
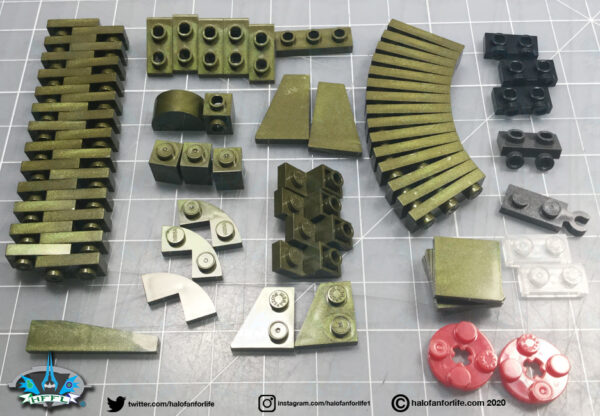
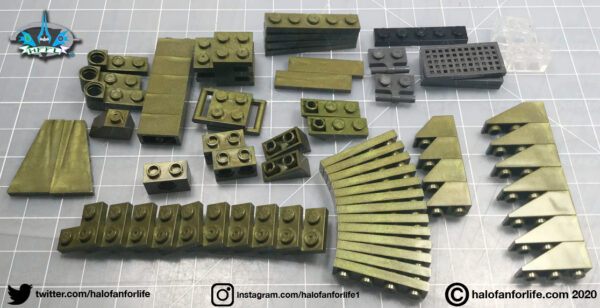
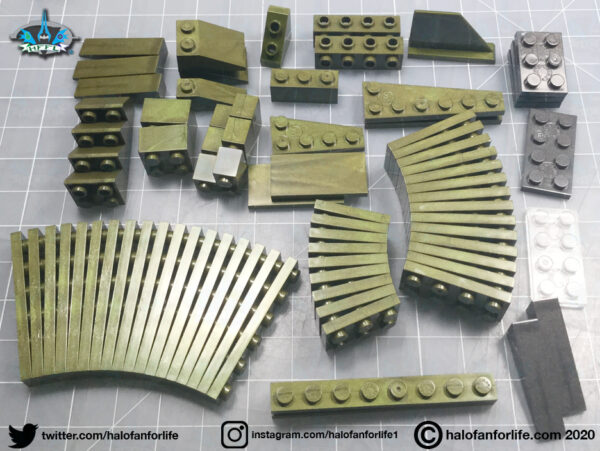
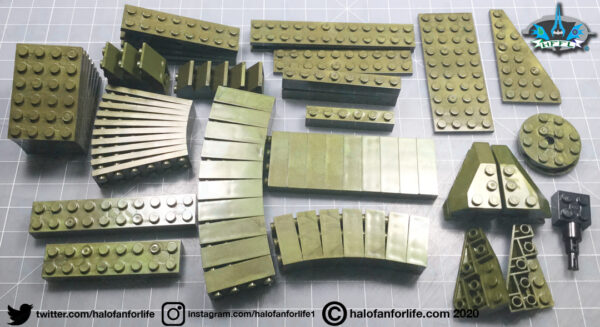
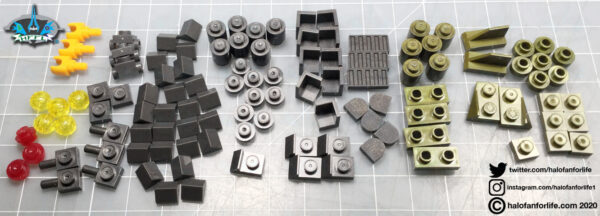
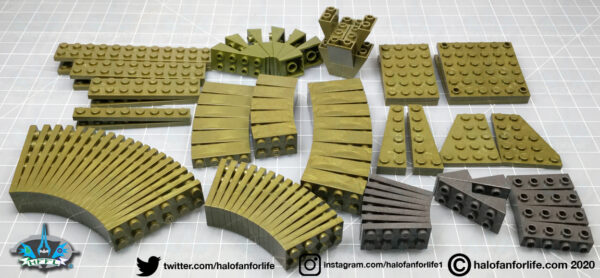
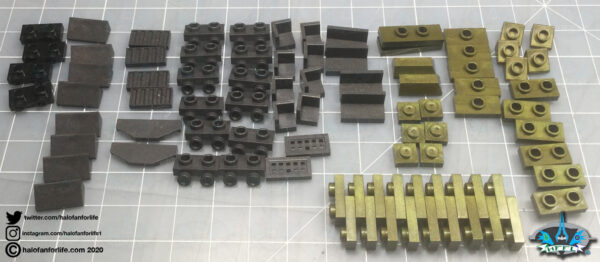
This first one has some of the bigger pieces in it. Those dark grey ones are part of the engine and wing connector assemblies. The long pieces with hole in them will serve as part of the landing strut mechanism.
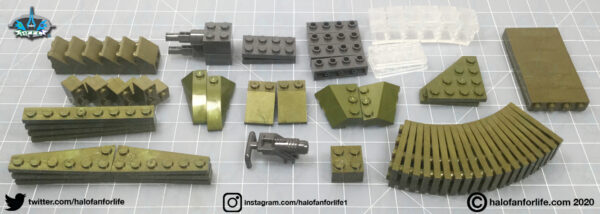
In this MCX bag you get the figures, cockpit canopy and several other small pieces.

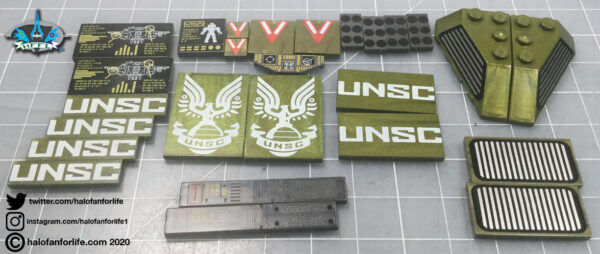
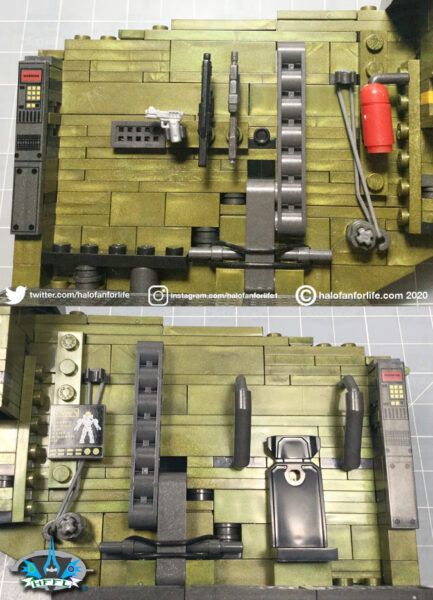
Here are the printed pieces in the set. Quite a nice array. I really like the pelican, spartan, control panel and dark grey long piece.
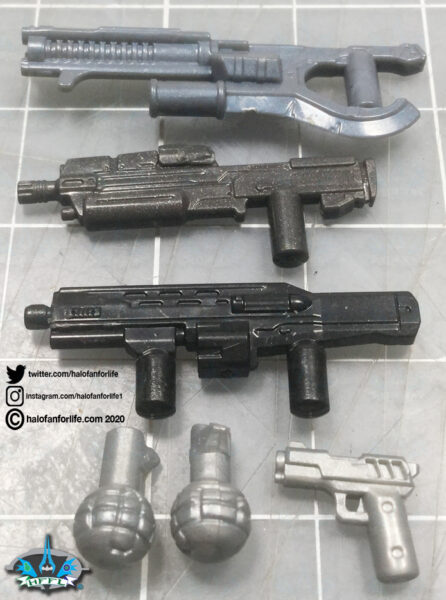
As for weapons we get the new Ravager, an Assault Rifle, the Commando (shotgun), 2 frag grenades and the new pistol.
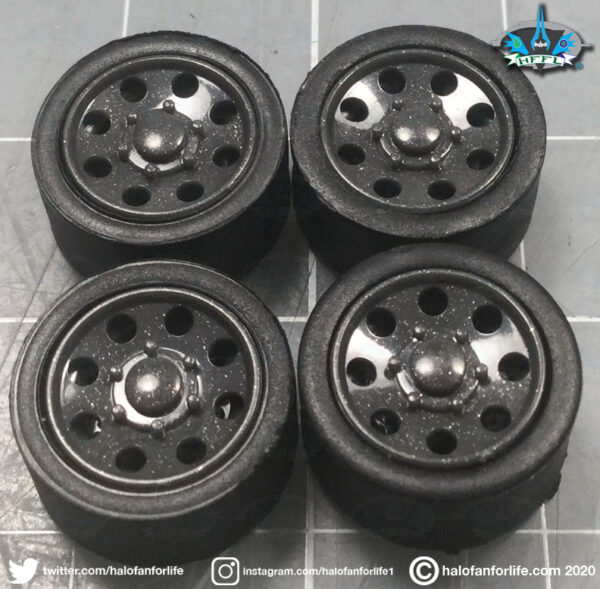
These 4 wheels will be attached to the forward landing gear.
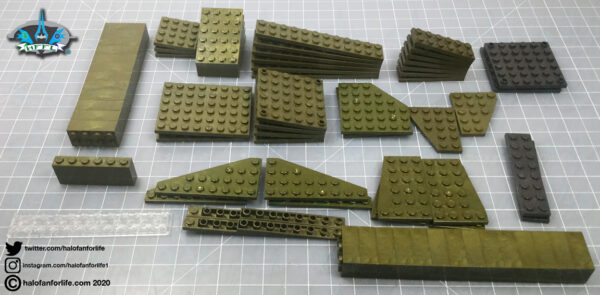
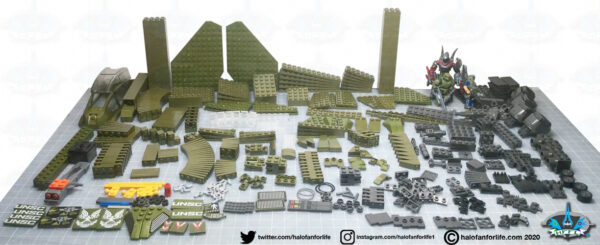
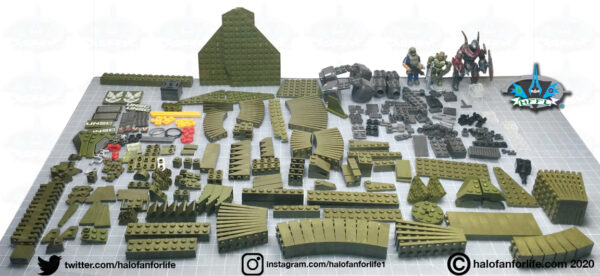
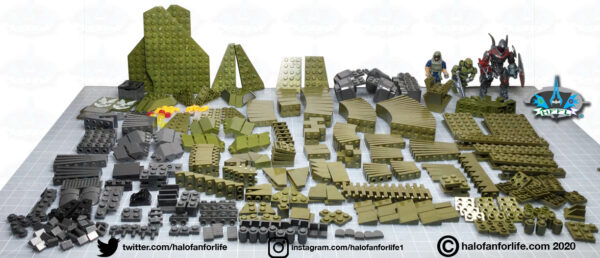
This is just the first 6 numbered bags and 2 MCX bags sorted out. LOTS of pieces. Imagine though if I sorted out all 18 OTHER bags on top of this??? I’m VERY glad Mega has gone this route of using a few bags at a time. Makes large builds like this MUCH easier and quicker to build. Not to mention, less space is need to actually build the set.
Okay, with all that sorted, let’s finally get into the build shall we?
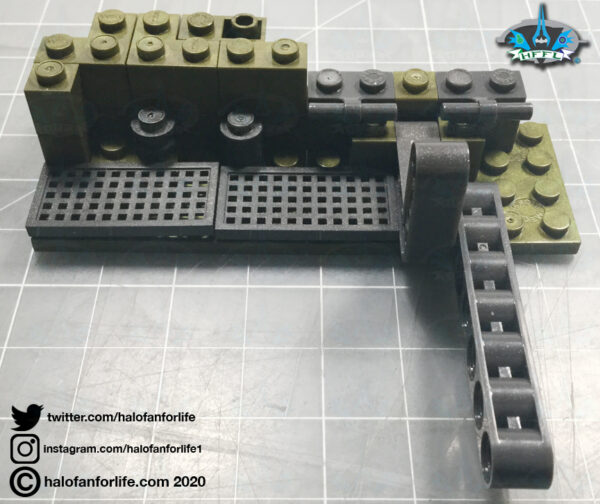
Our start begins with a portion of the floor/belly of the troop bay. Clear “stabilizing” pieces are added on the bottom so you can build on a flat surface.
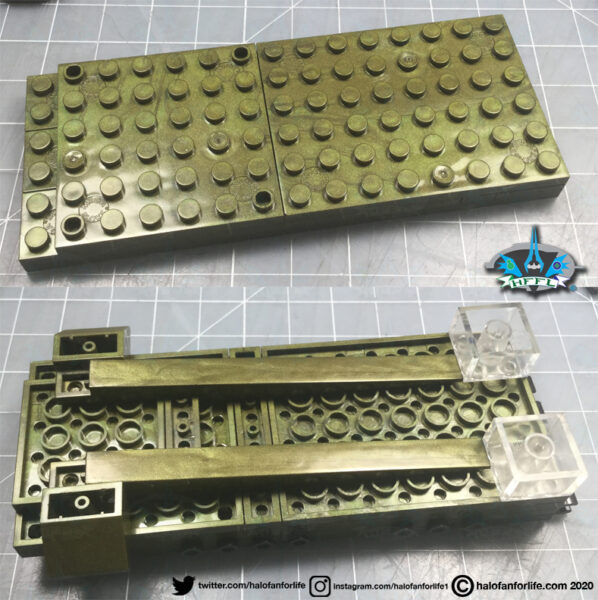
This next series shows the wheel well (at left) and more of the troop bay floor (at right) being built, combined and further built upon. I like the use of a lot of those grate tiles.
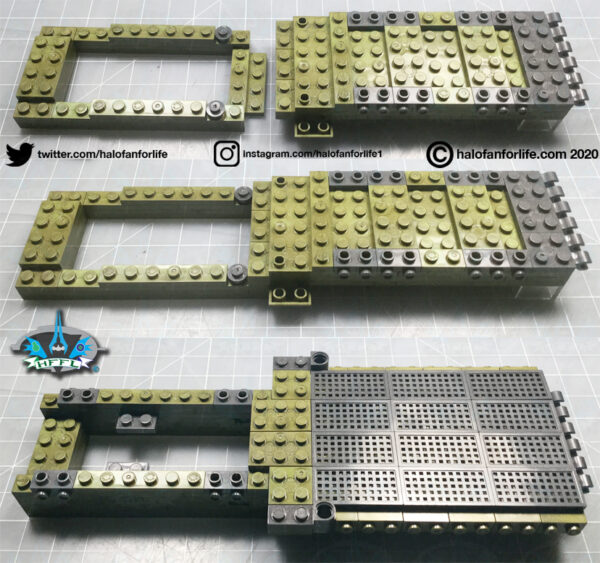
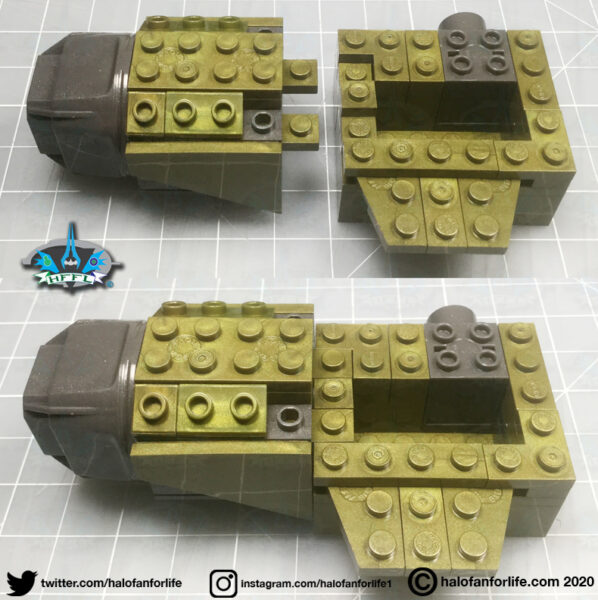
This little section will become the floor for the Pelican’s cockpit. Lots of side building here, which I appreciate.
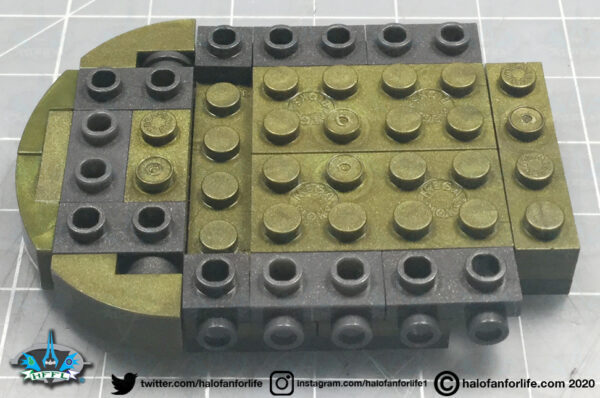
More of the cockpit floor is built up and joined with the rest of the floor of the body of the Pelican.

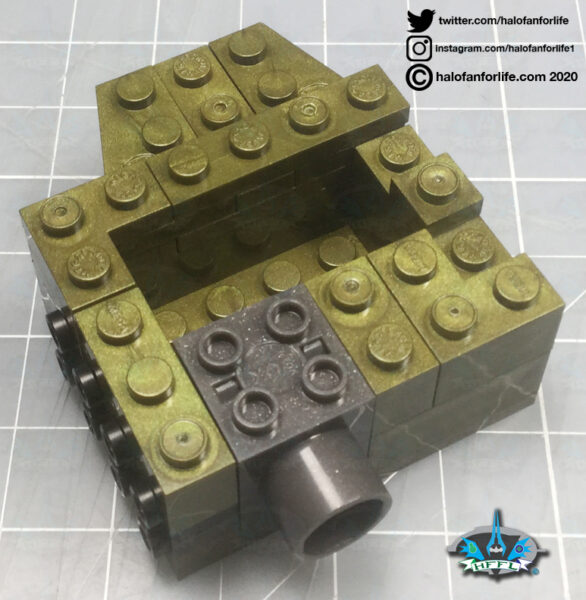
Here we have the wheel mechanism. Simple, yet works quite well as you will see.
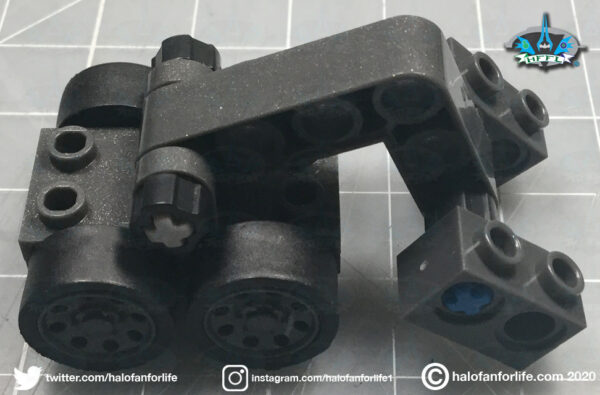
The wheel mechanism is put into place. Later in the review, you will see how the wheels are simply rotated out (underneath) and lock into place, to keep the Pelican above whatever surface you have it on.
The wheel well is built over and more of the Pelican floor is built.
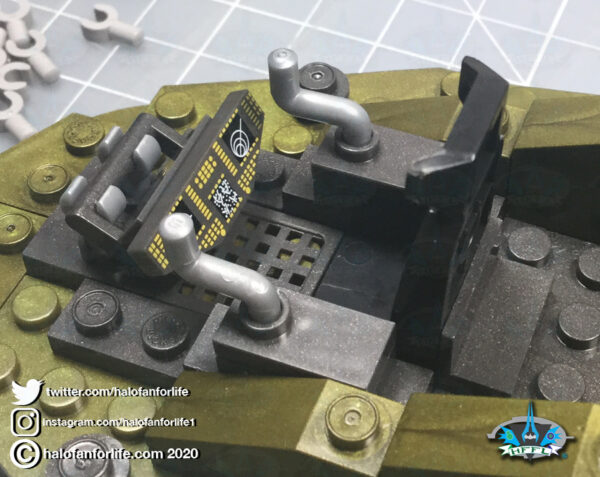
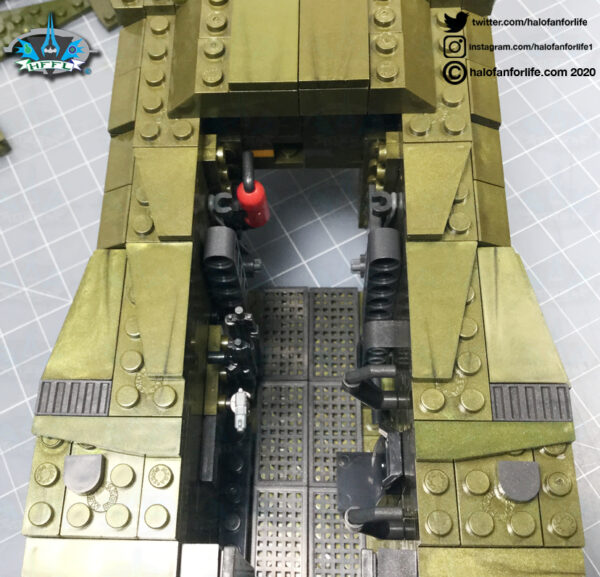
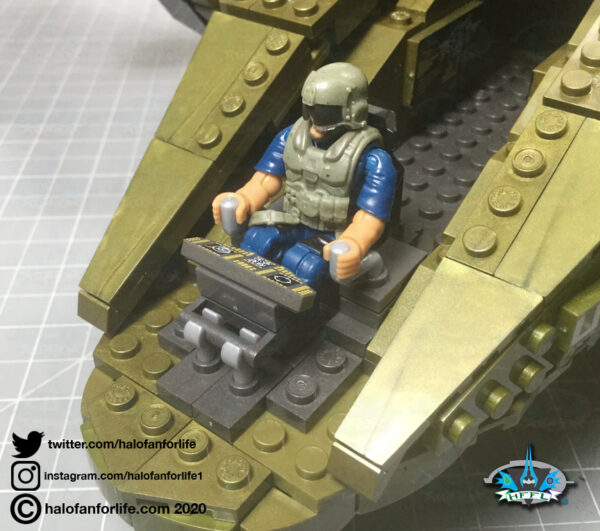
This control panel is rotated into position, once you have the pilot in place. What a cool little printed piece. While the handles can rotate, there really isn’t a need for it.
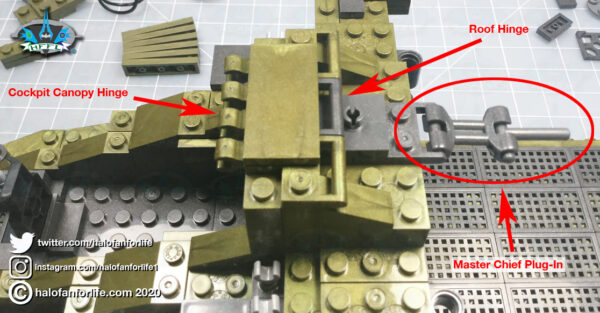
Lots of hinges are added.
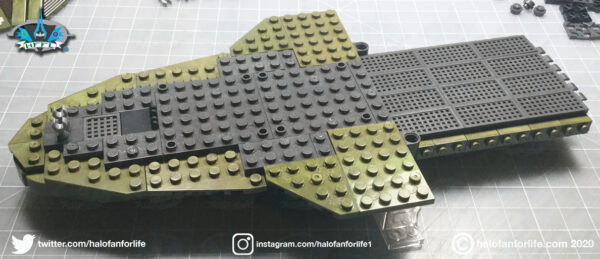
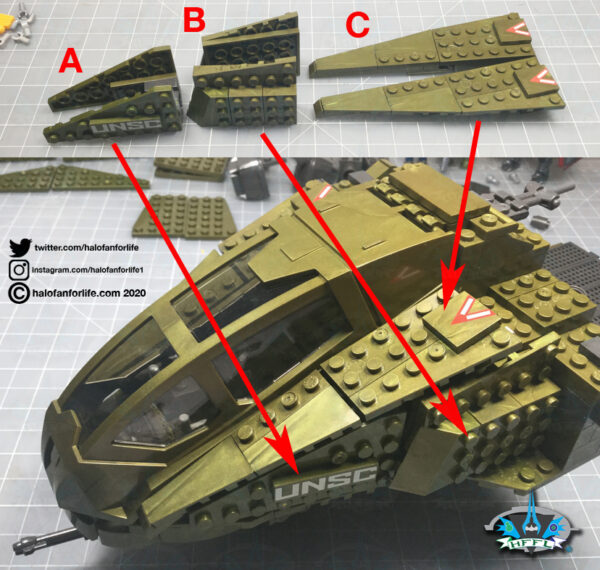
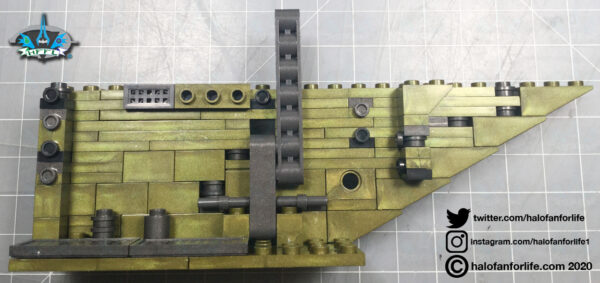
Here’s where we are so far. As you can see from the side, there will be a bit of side building and hinges added to the build.
These panel sections are added. “A” and “C” are hinges, while “B” is a side build.
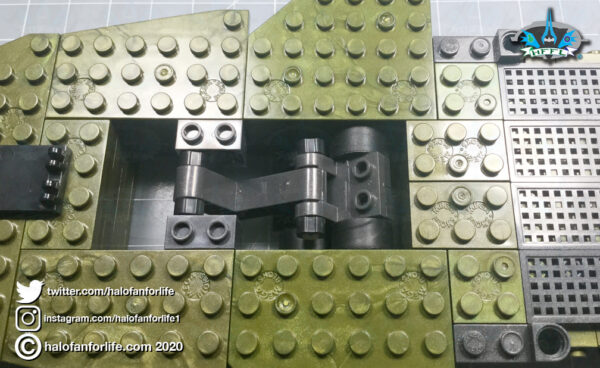
The rear troop hatch door is added. As you can see, it’s on a hinge as well. More clear pieces have been added at this point, to aid in stability while building on top of the model.

Now we move on to the next series of bag parts. Bags 7-11, plus any leftover pieces from the MCX Orange labeled bags.
Bag 7
Bag 8
Bag 9
Bag 10
Bag 11
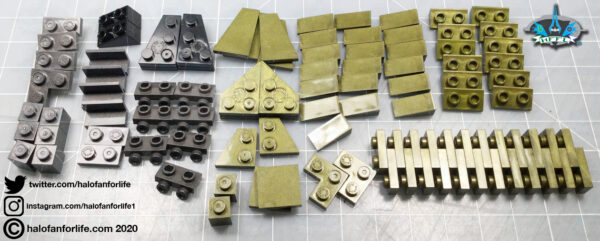
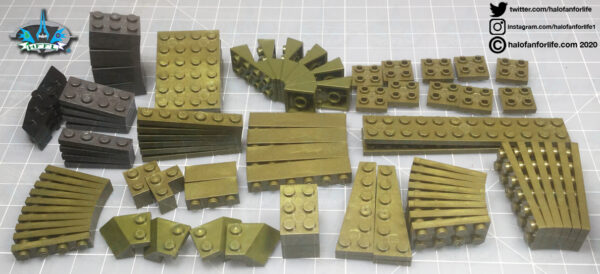
And those bags sorted out as well.
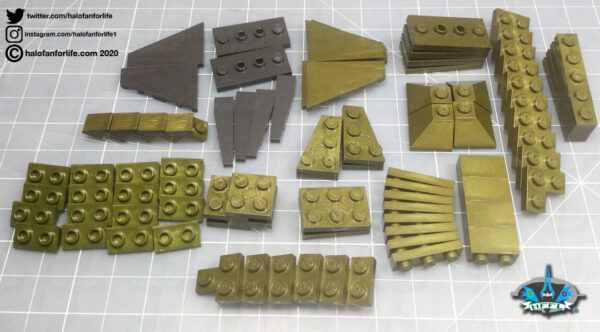
This section becomes very important in the build. Specifically, those long grey and “L” shaped parts as they will become part of the landing strut mechanism.
Here is the inner right side of the troop bay so far. Lots of little greeblies to still add!
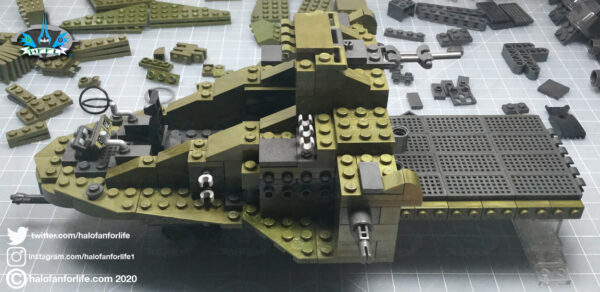
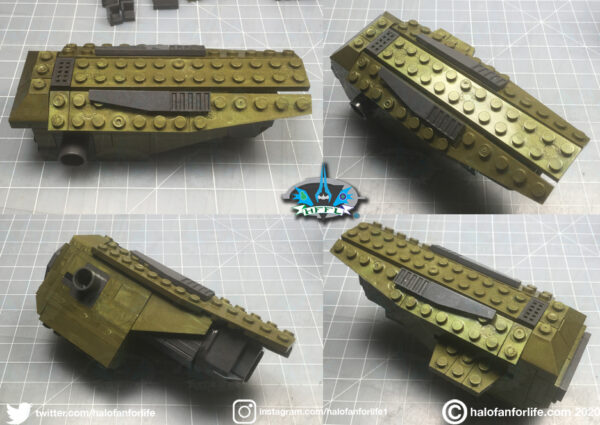
From there, we move on to the roof of the Pelican. A sturdy center allows for a lot of nice angular builds on top of it.
The roof and troop bay wall are joined together.
This is one of the landing struts. Why it wasn’t a wheel, instead of the rounded piece? It works, though you won’t be able to easily roll the Pelican around. Note the “+” piece in the middle of the rounded section. This goes through a hole in the Pelican wall and attaches within.
Here the other strut is added to the outside of the roof/side assembly.
Here both the inner right (top) and inner left (bottom) walls are complete. The strut mechanism has been built. That tall grey piece acts as the lever to pull to release the struts from their positions.
Here’s a video showing how the strut mechanism works.
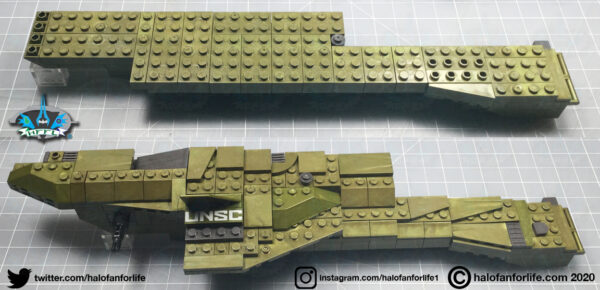
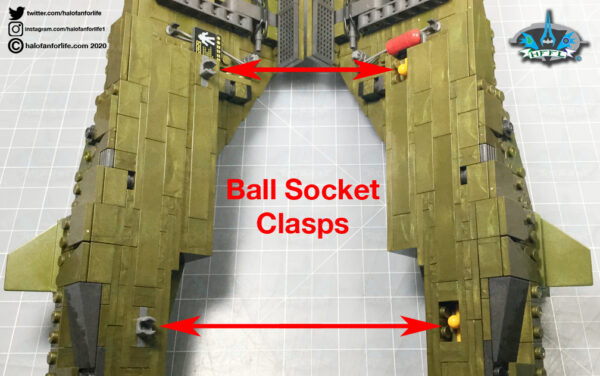
Now that both halves of the rear of the Pelican have been built, we put them together, via two ball socket clasps. These hold the walls together well, yet allow for ease of splitting apart.
This shot shows the interior of the troop bay so far and it’s seamless joining.
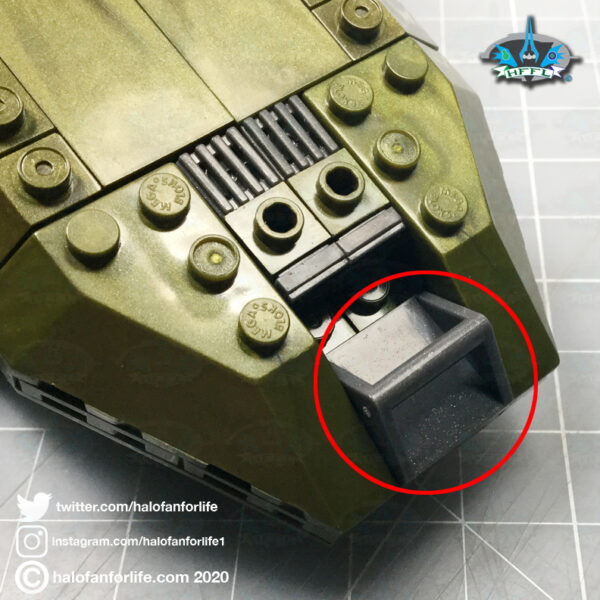
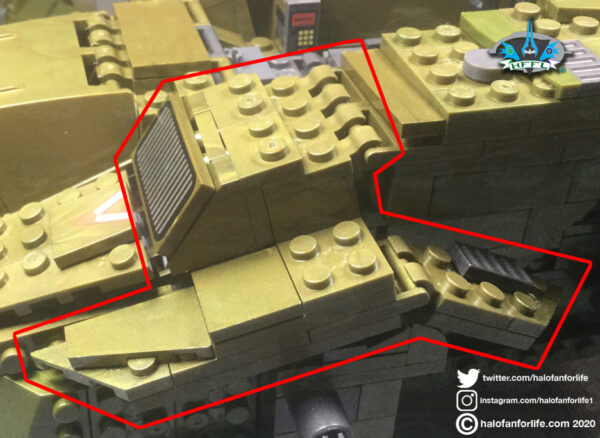
The circled piece here acts as one additional locking piece for the two halves. I’m glad that Mega used the raised bar piece here as it makes it easier to remove.
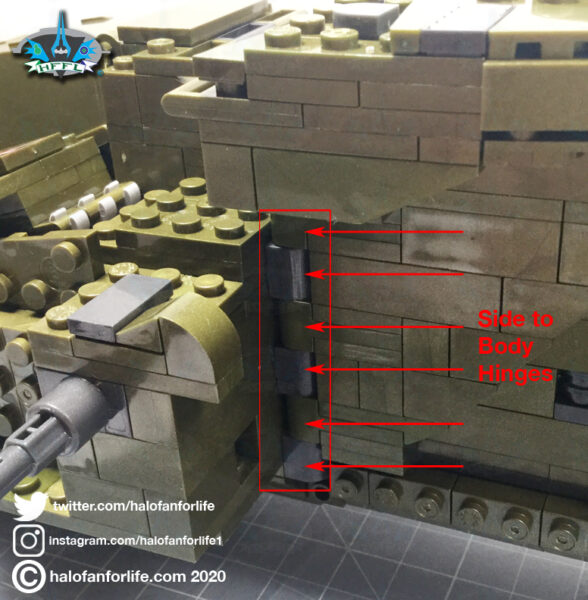
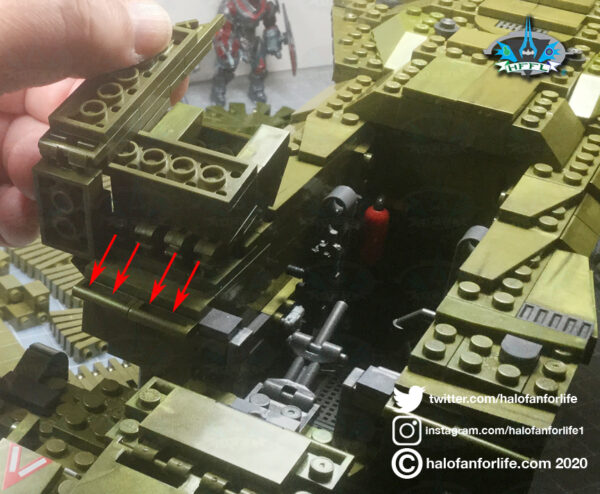
The sides are slid into place, to join with the hinges that were built into the mid-body section earlier.
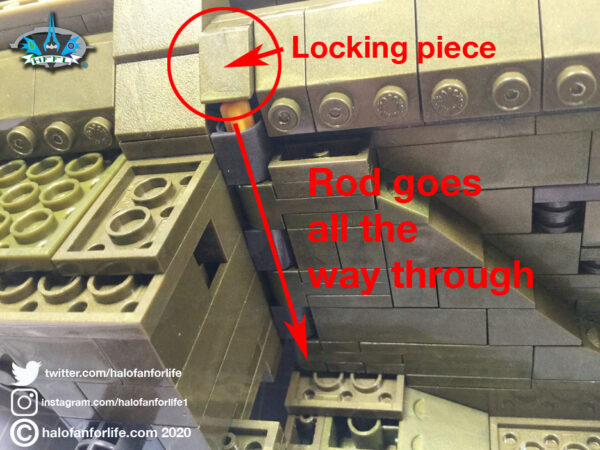
A long “+” bar is inserted into the holes of the hinges and is kept in place by a small 1×1 sloped piece. It works surprisingly well.
So you may have noticed I skipped over some bags. That is because they were for the other half of the roof/wall assembly and virtually the same as the other side, so I didn’t feel the need to repeat those pics.
Now we move on to the wing sections.
Bag 17
Bag 18
Bag 19
Bag 20
Bag 21
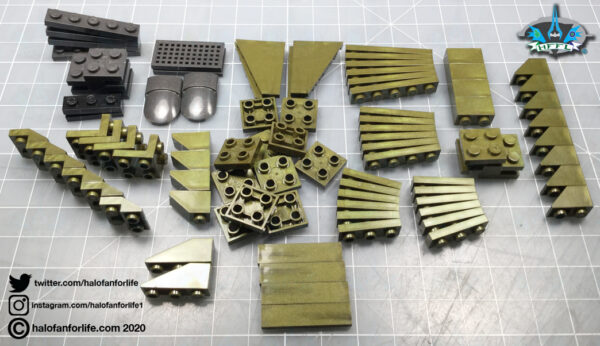
Sorted out and ready to go again!
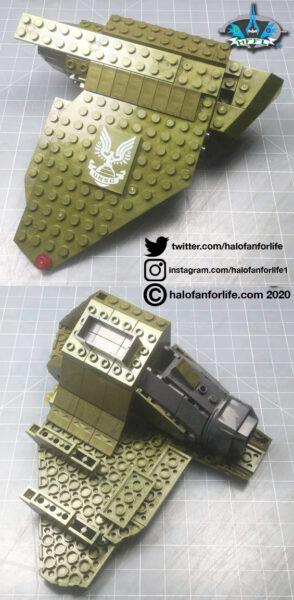
We build what seems like a convoluted hinge section. Of any part of the build, this is the only section I think could have been reworked. It’s fine, but it did pop off on me once, later in the build. I’ll explain that later.
So here is where that section rests. That rear flap with the grey tile seems out of place to me. Again though, this really is the only section that I thin could have been done better.
The rest of the roof is built in two sections that form a slight hinge.

And that section is added to the top of the Pelican.

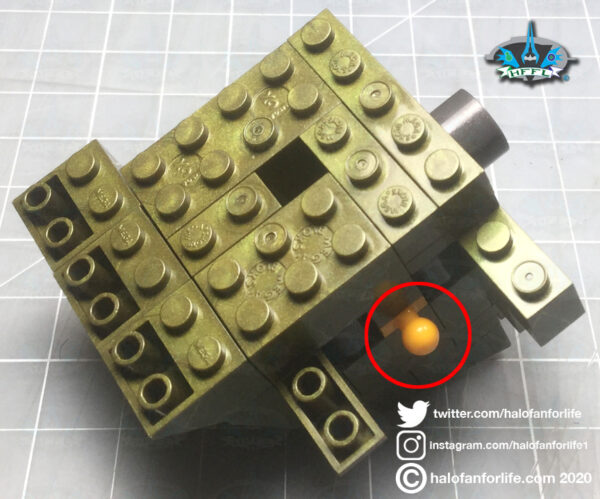
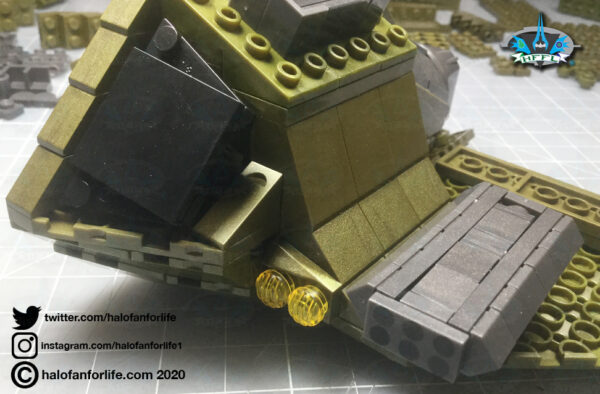
Now this next section has an interesting part. That yellow ball piece will hold a black section later that acts as the “air intake” for the wing engine. A good bit of engineering went on here. You’ll see that later.
We build up the engine part of the wing first.
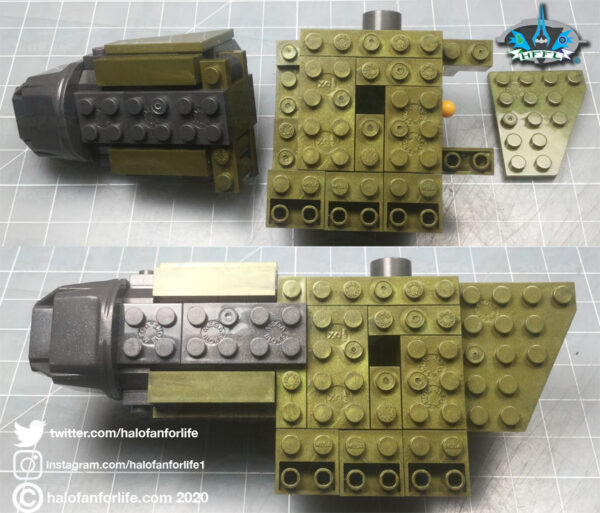
Here the wing is nearly complete. Shown are the top and flipped bottom. I really like the beefy engines on this Pelican!
So this is that black section that is snapped into place with that yellow ball from earlier. On the underside of the black section (not shown) is the ball socket that fits into place. I wasn’t sure if that would work, yet there it is and it looks good. Also note the buildable rocket launcher that fits on the underside of the wing.
Both wings have been built and get attached to the body via a locking pin. This pin/socket assembly makes a satisfying clicking sound as you rotate the wings up or down.

And now we move on to the final sections of the Pelican, the rear “nacelles” or engines, if you will.
Bag 22
Bag 23
Bag 24
I forgot to take a pic of the sorted out pieces here. I was excited to finish the build…
The nacelles also use a pin/socket assembly to attach to the body of the Pelican. Here is the socket up close.
More of the nacelle is built. At first I though something would fill that hole. Nope. It’s just a hole that is covered over.
Here one of the nacelles is complete. I’m showing it here in different views so you can see it all around.
The nacelles are attached. As you can see they too pivot around.
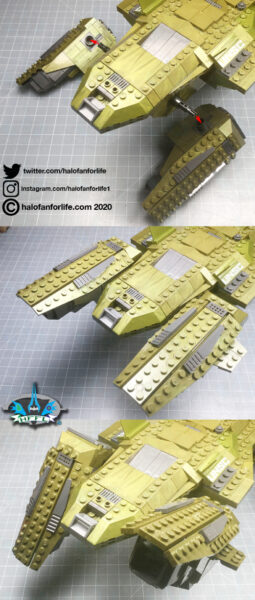
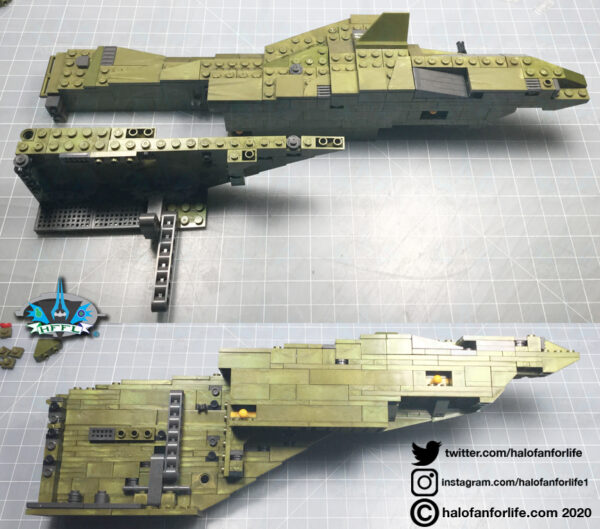
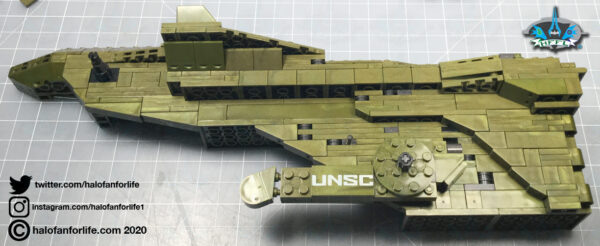
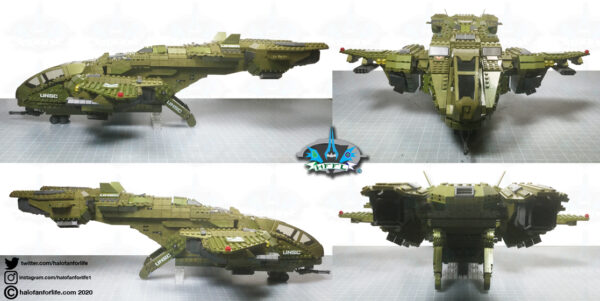
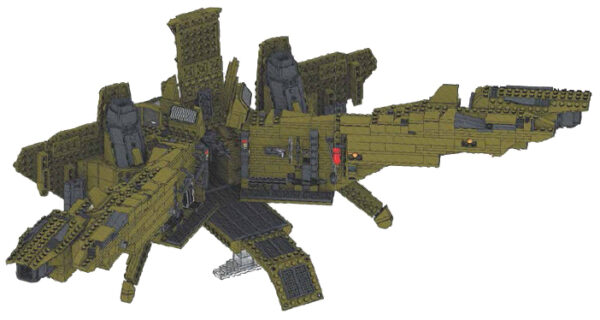
The Pelican is finished! Here it is in orthogonal views. Impressive, huh??
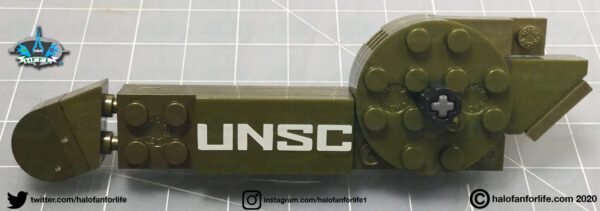
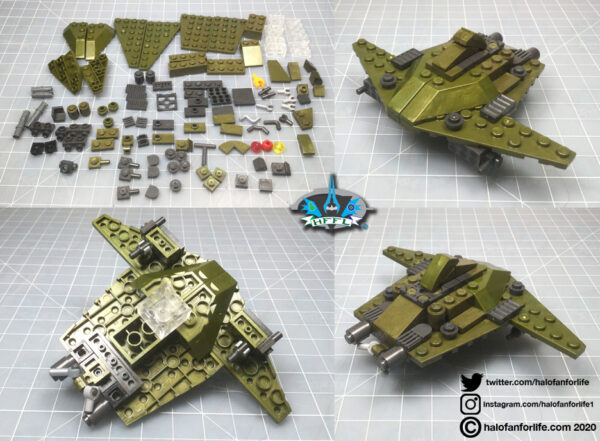
There were a LOT of left over pieces in this build. I had to make sure I didn’t miss steps. After having check that I was correct, I then decided to build something with those leftover parts. Behold a UNSC drone.
Now let’s take a look at the figures!
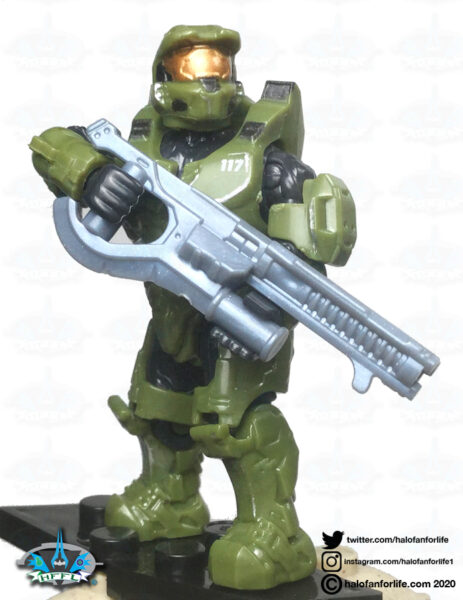
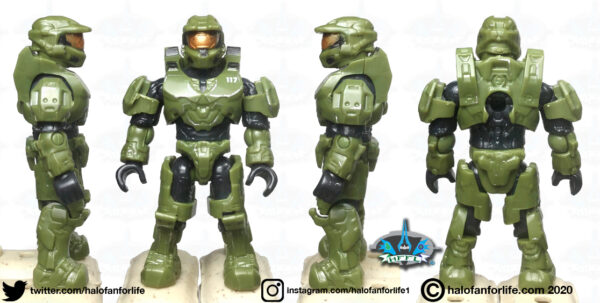
Master Chief This Chief figure is no different than the one that came in the VS 2-pack.
Orthogonal views
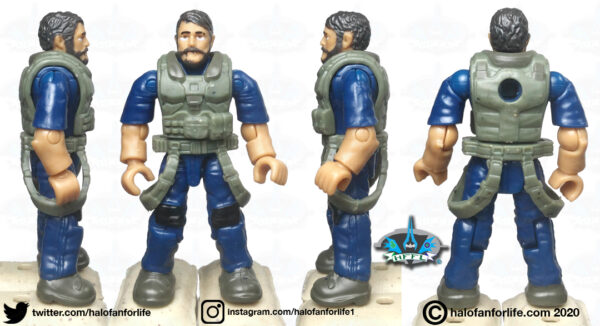
The Pilot YES! We finally have a figure for the new Pilot character. And it’s a beaut! Seen below, he has his helmet on. It is thankfully removable.
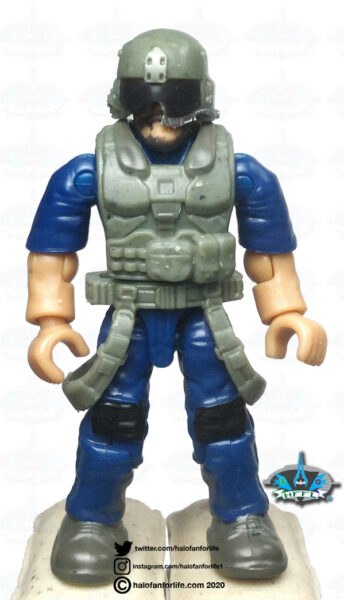
The pilot in orthogonal views. Quite a lot of detail on the head here, especially the hair. Of note, the draping straps are in the right position. You can tell by the little sculpted buckle on the belt.
Next…oh my….
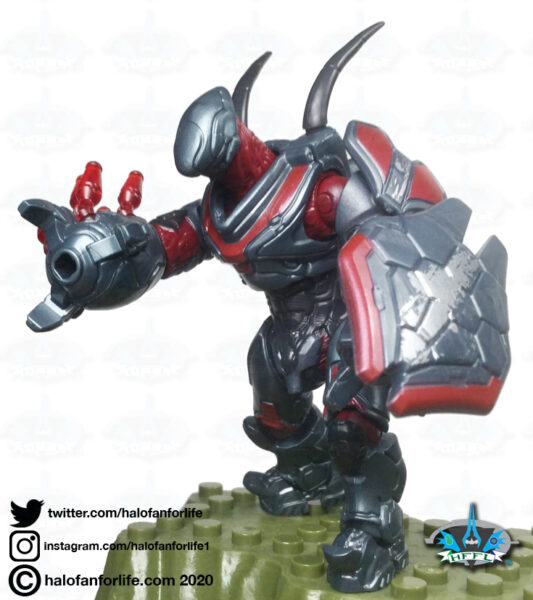
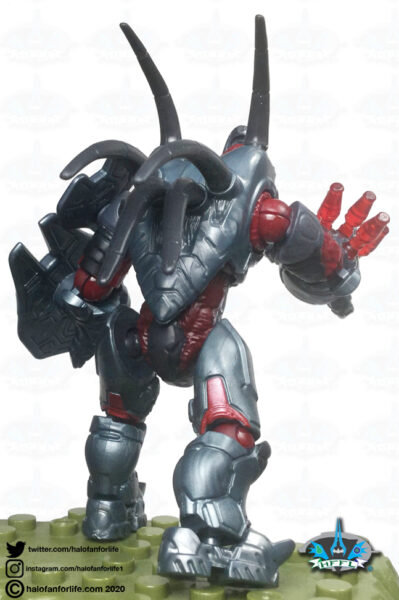
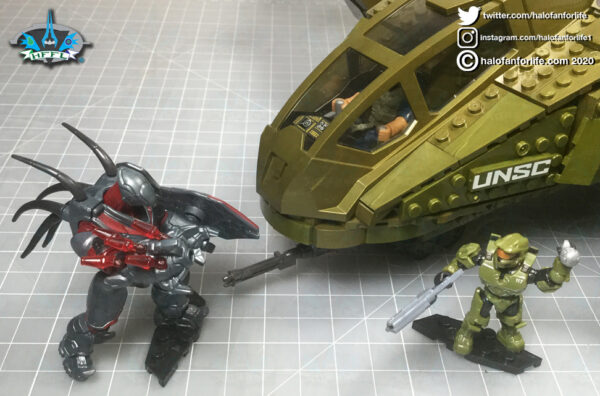
Banished Hunter Although this is just a recolor, it is an AMAZING recolor! WOW, the hunter has never looked better, IMO! It looks SO much more menacing in the deco!
Hunter Orthogonal views
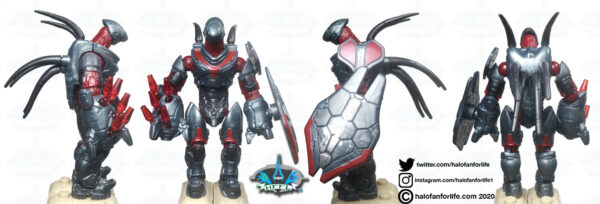
Here’s the back of the Hunter. What an imposing figure! I do wish we’d have gotten two of it though as they always come in pairs.
The pilot is seated. What isn’t shown in the directions is that he can’t quite fit properly with straighten legs. However, if you do as I did here and bend them at the knees, he fits perfectly. In fact, it just looks a lot better that way.
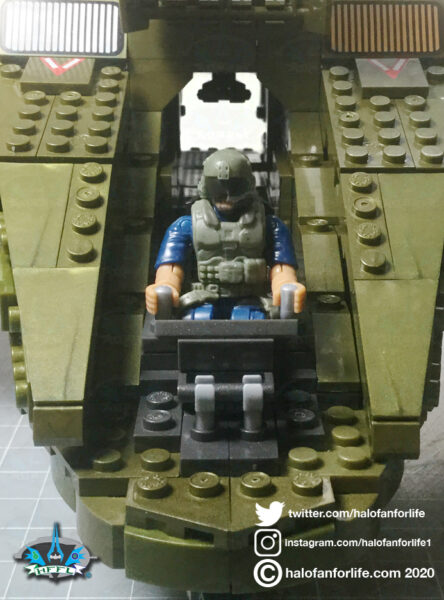
Another shot of the pilot seated. This also shows that you can see straight through from the cockpit to the rear hatch.
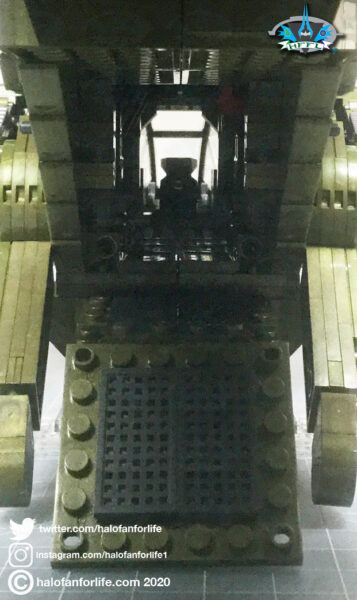
And from the other direction, rear to front, with the cockpit canopy closed.
Okay, this next part I made a small flub. I reverse rotated the wings and then splayed open the troop bay. This is where I popped off those top hinges I mentioned earlier. While it can indeed open like this… see next graphic.
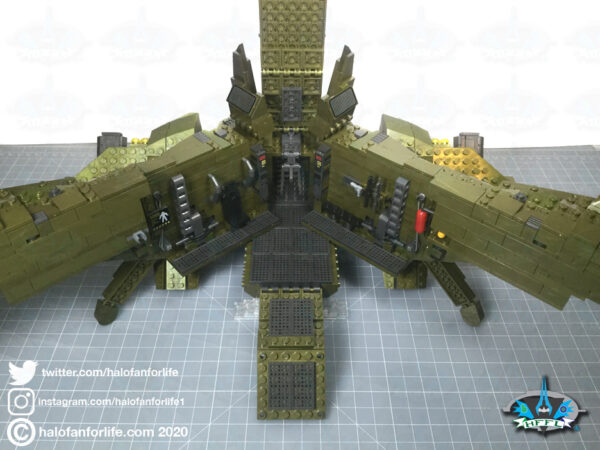
THIS is how you’re supposed to do it, with the wings flipped forward and angling down. Eh, my excitement got the better of me there. But I fixed it.
Hmm, can Chief take down the hunter by himself, or will he ned his new sidekick, the pilot to help him with the Pelican’s gun?
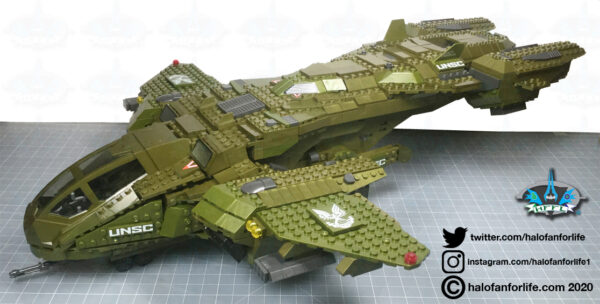
One final 3/4 shot of the Pelican. Such and AWESOME ship and a fun build!
Summary: The set’s build time is long. I recommend building this is a few shorter build times. Since the instructions use roughly 6 bags at a time, I would use that as your guideline. Build the first set of bags. If you want to build more, do the next set and so on. I built half in one day, then the other half the next day.
The engineering for the build in the way they made hinges, the landing struts, etc., was very well done. This Pelican is bigger than it’s predecessors.
I DO NOT suggest this for young children as there are MANY small pieces and the build is NOT for beginners. This is eluded on the box by the “PRO BUILDERS” logo and the 10+ age suggestions.
Overall Rating: I give this set 9.5 out of 10 medals.
Why did I give it a 9.5 out of 10?
Just a couple of small things.
• I mentioned that one section of hinges just above and behind the cockpit canopy. That’s the only build part I think could have been done better.
• The only other thing I would have wanted was another of the Banished Hunter as they come in pairs. However, since you are getting a REALLY great deal at $150US for a set of more than 2,000 pieces, it’s a small issue.
Here’s my opinion on the break down of the value of this set. (In US dollars)
• Master Chief and Pilot figures I value at $4 each with one stand and a weapon. Total $8
• The Banished Hunter I put at $10. Though, due to it’s rather exclusivity in being in a large more expensive set, I can see this going on the aftermarket for upwards of $30. For this purpose of this review though, I’m sticking to the initial $10.
• The Pelican, with all it’s bells and whistles, piece count, and size, really measures up. With $132 of the $150 price point left, I’d say it EASILY hits that mark. In fact, I’d go so far as to say it’s worth the full $150 and then some. So I’m putting the value of the Pelican a $175.
TOTAL: $193 (before tax and in U.S. dollars)
Given that the set costs $150 US before tax, I find this set to be an AWESOME value!
Do I recommend it? ABSOLUTELY! In fact, I’d go so far as to say, this is a must have! Not just for the introduction of a new character, in the Pilot, but also the fantastic Banished Hunter. But beyond that, the epicness of the Pelican itself, is what sells here. What a fun toy! So much to play with. But can also be a fantastic display center piece for your collection!!
If you have any questions about this set that I didn’t cover in the review, please do not hesitate to ask me. Either reply below or e-mail me at [email protected].
If this review gives you an informed decision on whether to purchase the toy or not, please consider a small donation (50 cents) to the blog.You can donate via PayPal to [email protected]. Or just click the paypal link at the right on the main page of the site. It’s much appreciated and helps ensure that HFFL stays registered/active on the internet. Thank You.
-Sal