
![]()
This review is the second of the four currently at retail as of this posting. It’s Spartan Commander Sarah Palmer.
Okay, without further ado, let’s get to the review.
Technical Specifications:
Build Time: 45 minutes building, Your time will vary as I was taking pictures along the way for this review.
Set Piece Count: 113
Weapons: Two Magnums
Accessories: Figure Stand
Special Features: Fully articulated at the following:
• Ball Joint Head,
• Ball Joint Shoulders
• Double hinge jointed Elbows
• Ball Jointed Wrists
• Ball Jointed Waist
• Ball Jointed Hips
• Double Hinge Jointed Knees
• Ball Jointed Ankles
As well, the model includes a set of fisted hands, a set of ‘trigger’ hands, plus a third left hand that is open. This can be used to help hold and assault rifle (not included with this set).
Cost: $20 at retail
And on with the pics! (Click pics to make BIGGER)
Since this is the second set I’ve reviewed for Halo Sprukits, please refer to my first review for comments on the box art. (Link at bottom)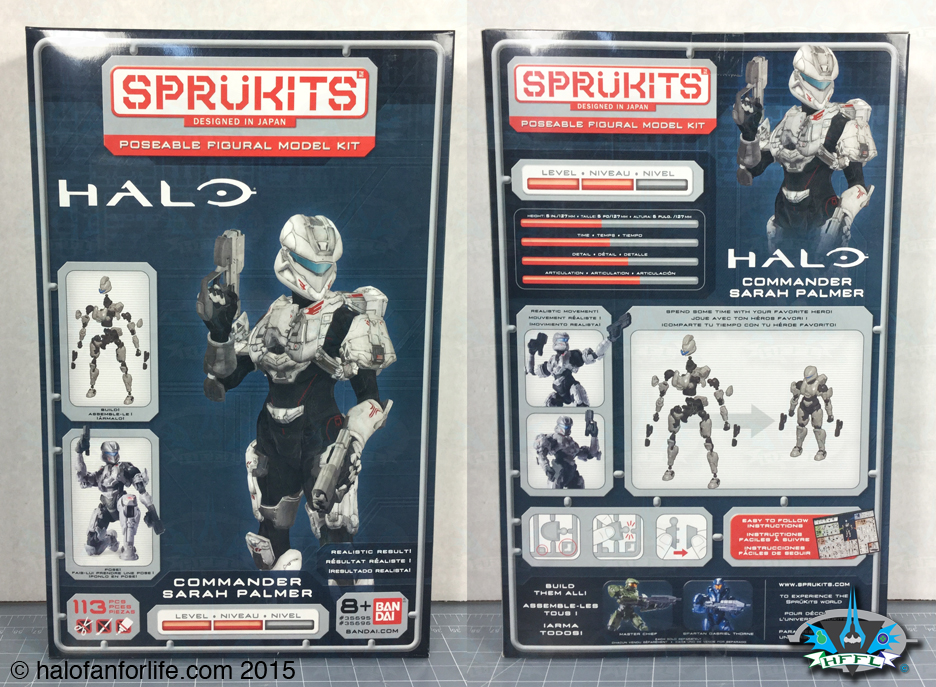
You get two packets of parts on spurs. The larger packet has the instructions as well.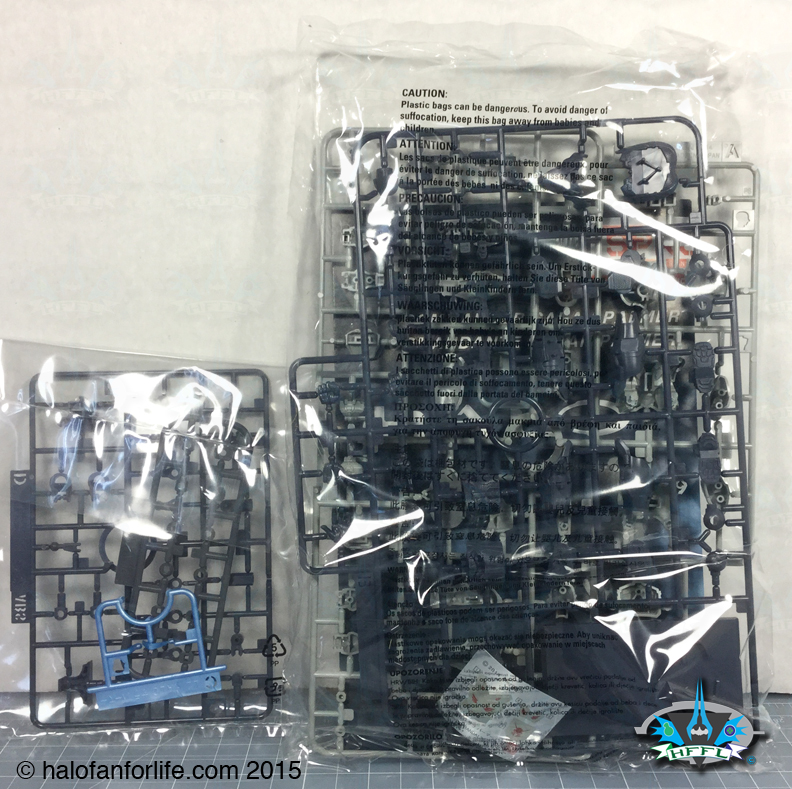
Here are the different sprue sections. As well there is a small sticker sheet included.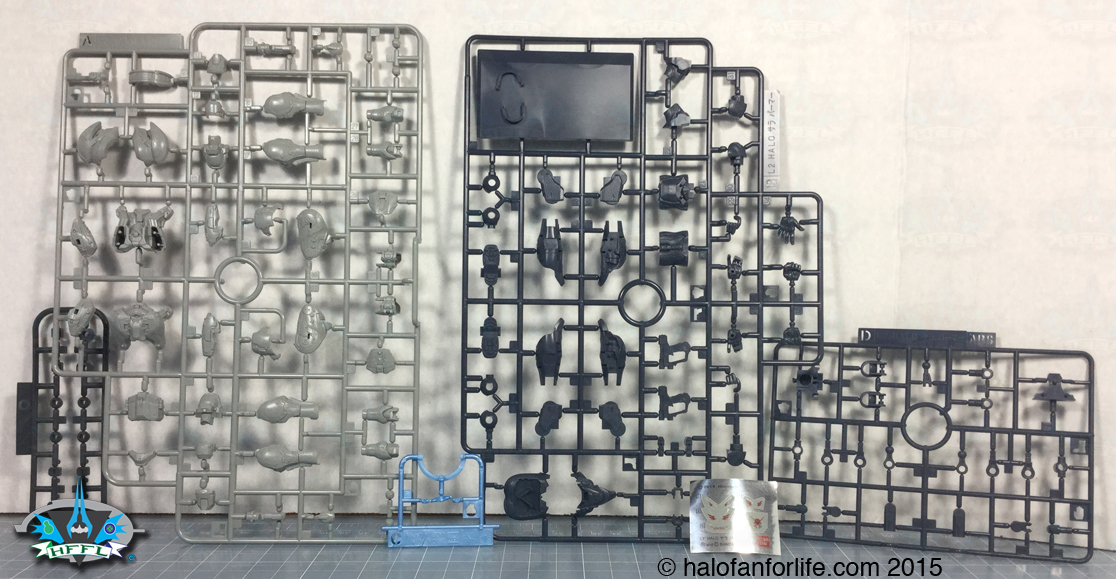
Here’s a better pic of the sticker sheet. These stickers are tiny, so I’d suggest using magnifying glasses to see these when attaching them, for better placement.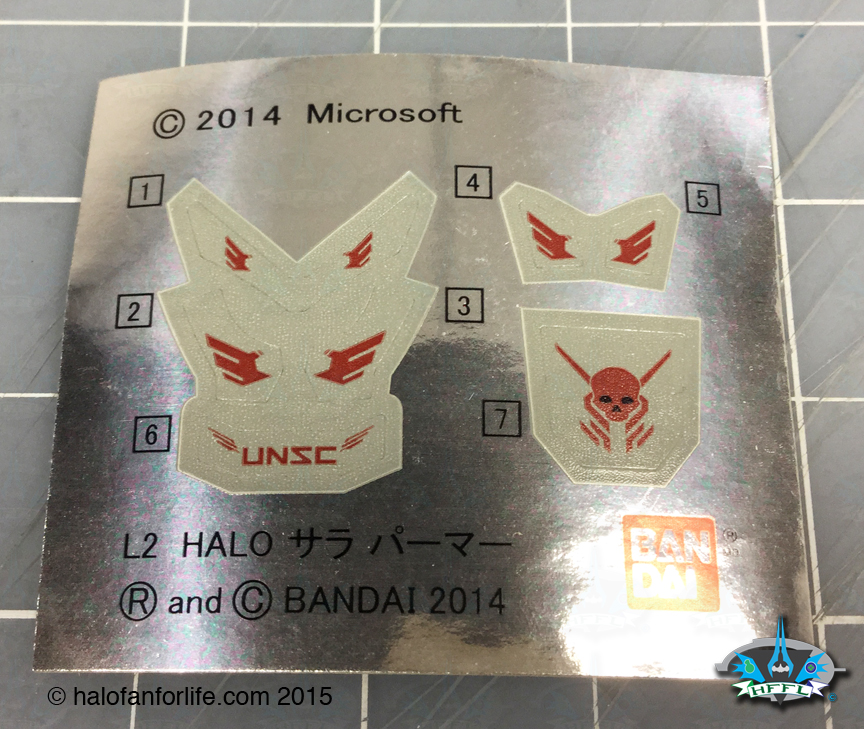
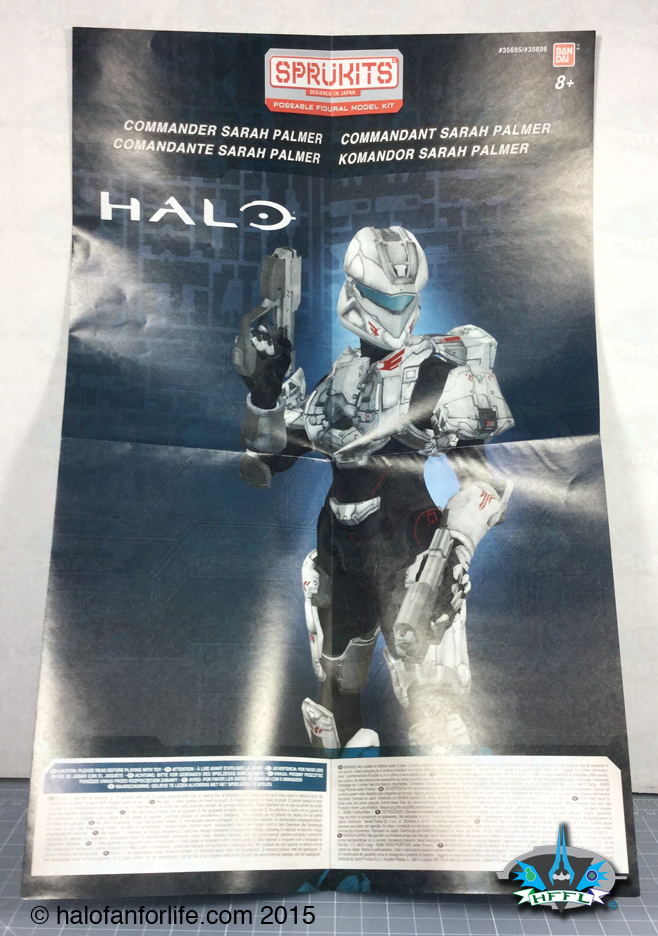
The instruction manual is one large sheet that is folded over a few times.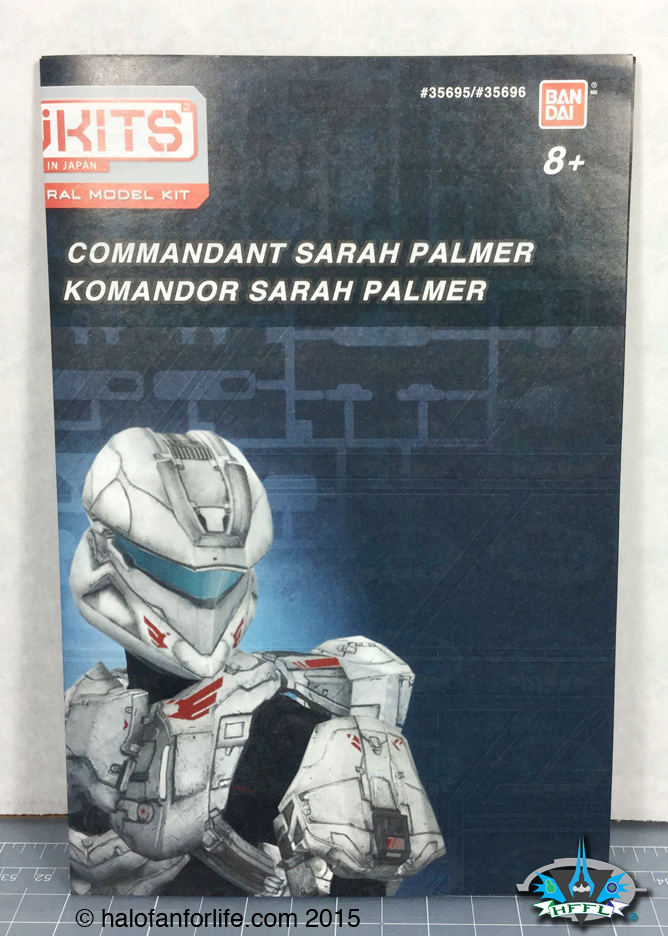
This portion is sort of like a poster of Palmer. I don’t know about you folks, but I’m keeping my instruction sheets!
Here you can see the color coded sprue instructions. Each color represents a portion of the body. Blue-Helmet; Red-Hip and Legs; Orange-Arms; Green-Torso; and Yellow-Weapons and trigger set of hands.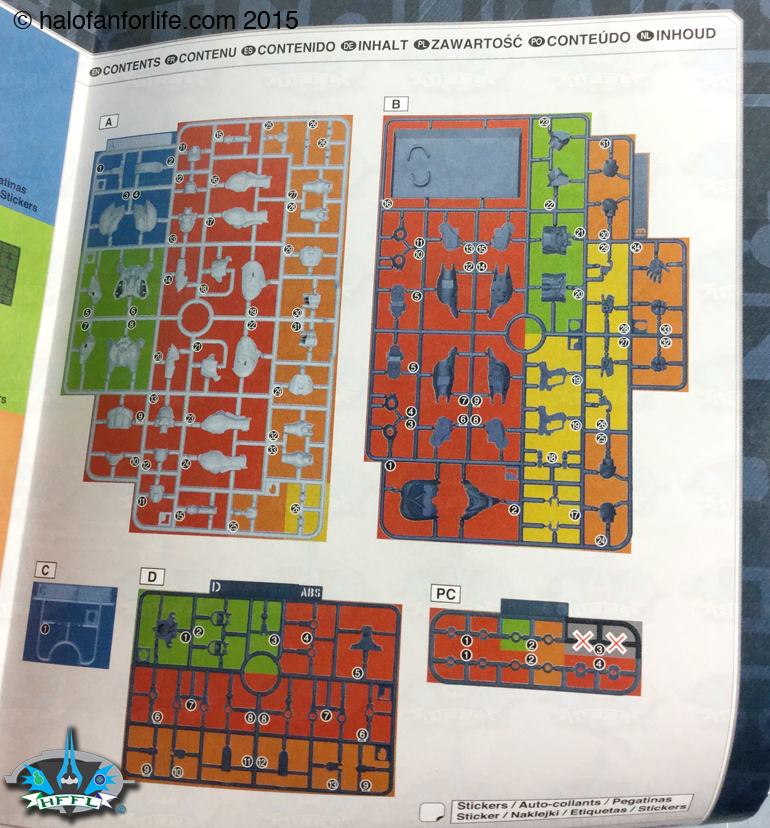
This is the instruction sheet completely unfolded on one side. Don’t worry, the directions are NOT daunting. They are actually quite easy to read. With them being color coded, it makes the build so much more easy.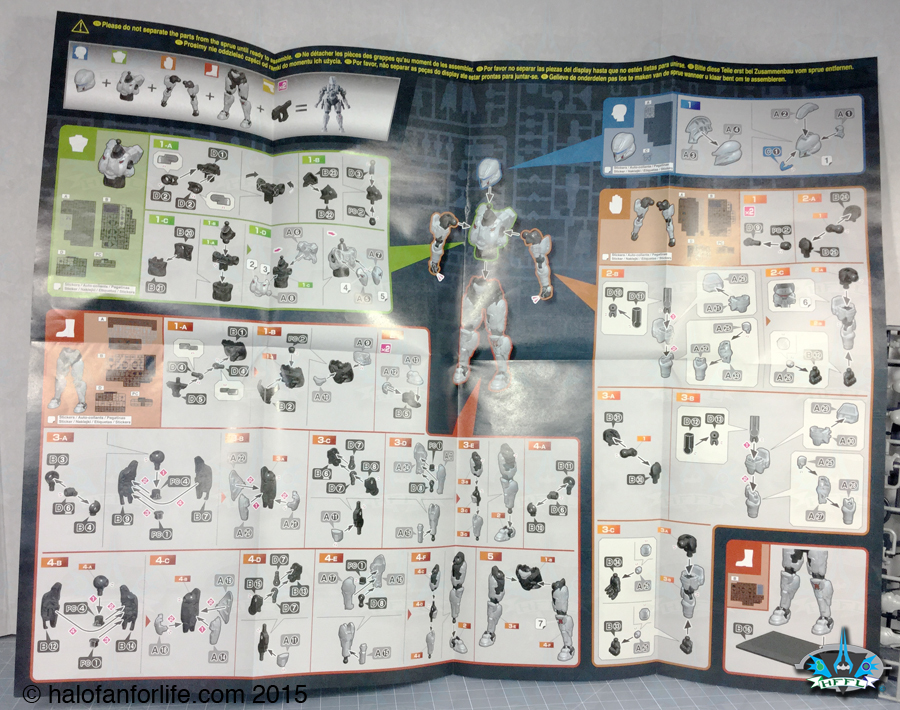
Alright, let’s get on with the building of the model itself.
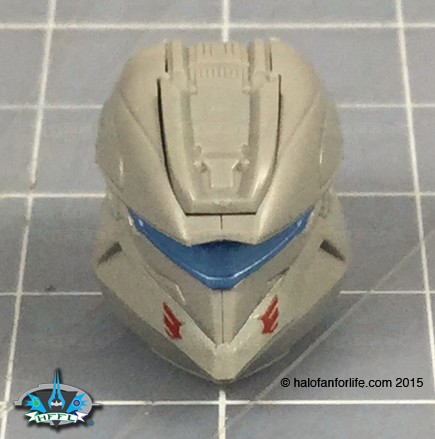
Below are the 5 pieces you need for the helmet. All pieces snap together nicely.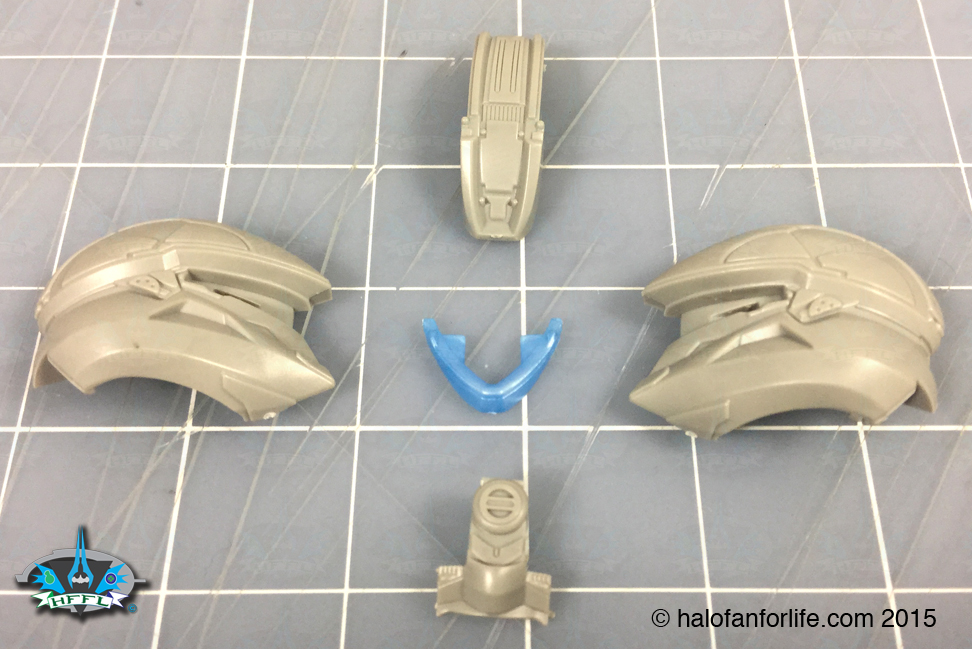
Once assembled, you add one wrap-around sticker across the ‘jaw’ line.
Here are the torso parts. the dark grey ‘skeletal’ structure is similar in design to the one the parts that came with the Master Chief model. So, once you get one of these level 2 models, the subsequent builds should go even faster.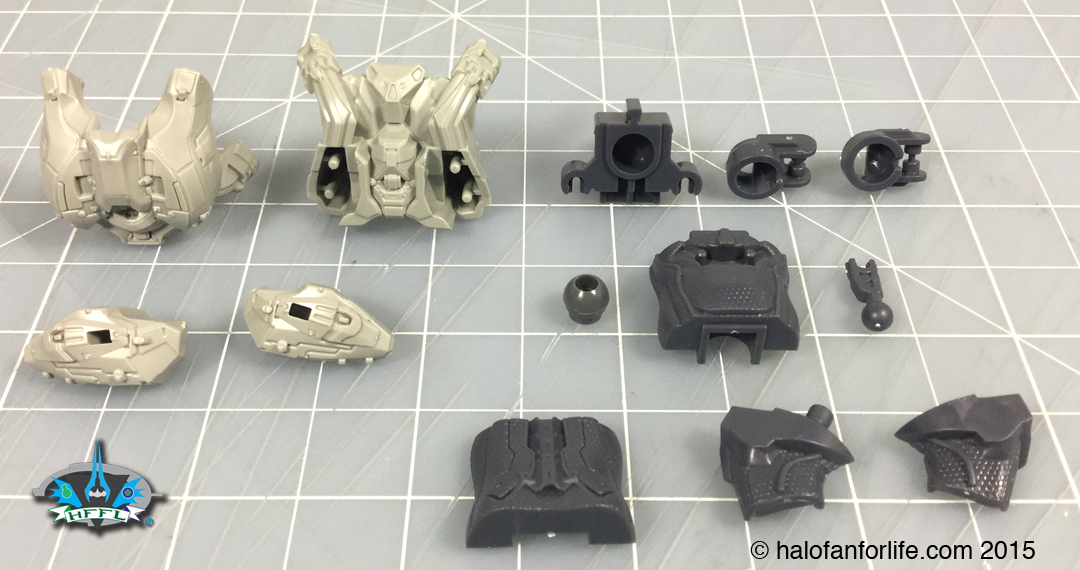
The ‘skeleton’ or undercarriage if you prefer shown as sections, then snapped together.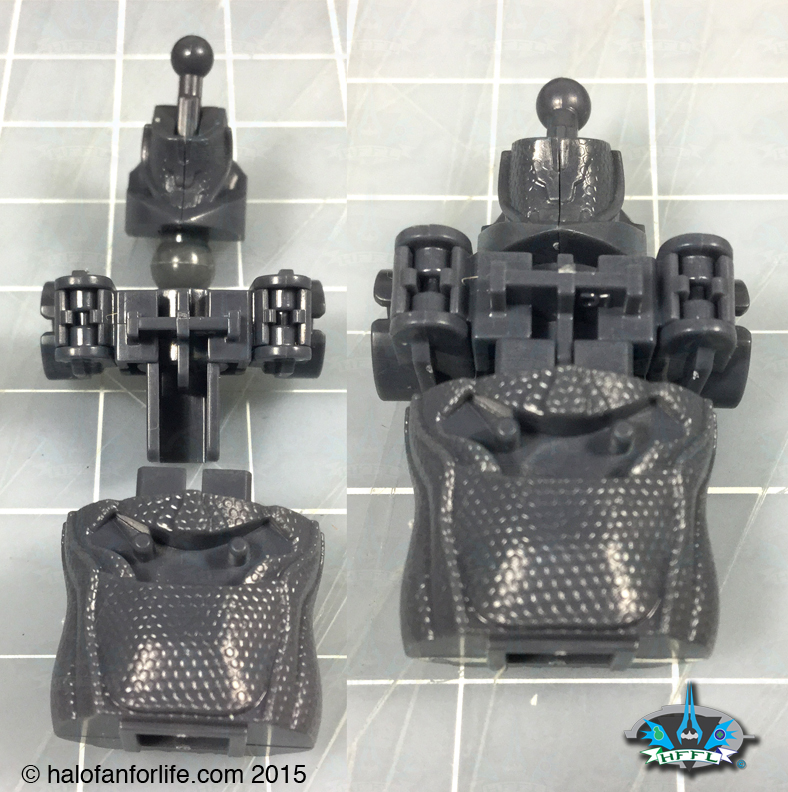
Finally for this portion, the armor is snapped on the front and back. There are 4 small stickers here as well. Again, take you time with placing stickers as they should be a one-time only kind of thing. I’m personally not a fan of stickers. This goes all the way back to my childhood though, so it’s nothing new for me. You long time readers already know this though.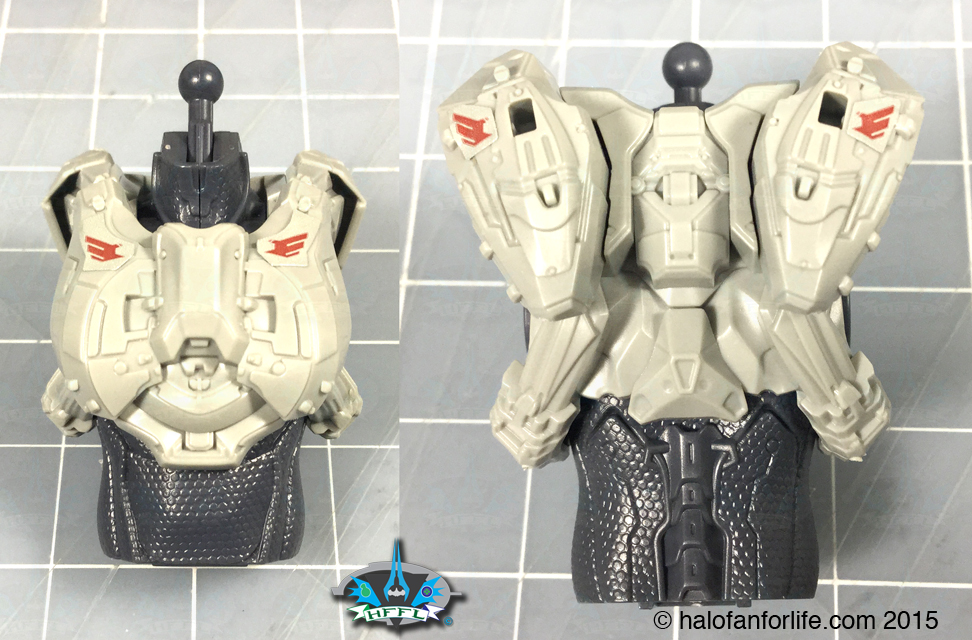
These parts are for the arms, one set of hands and the extra left open hand.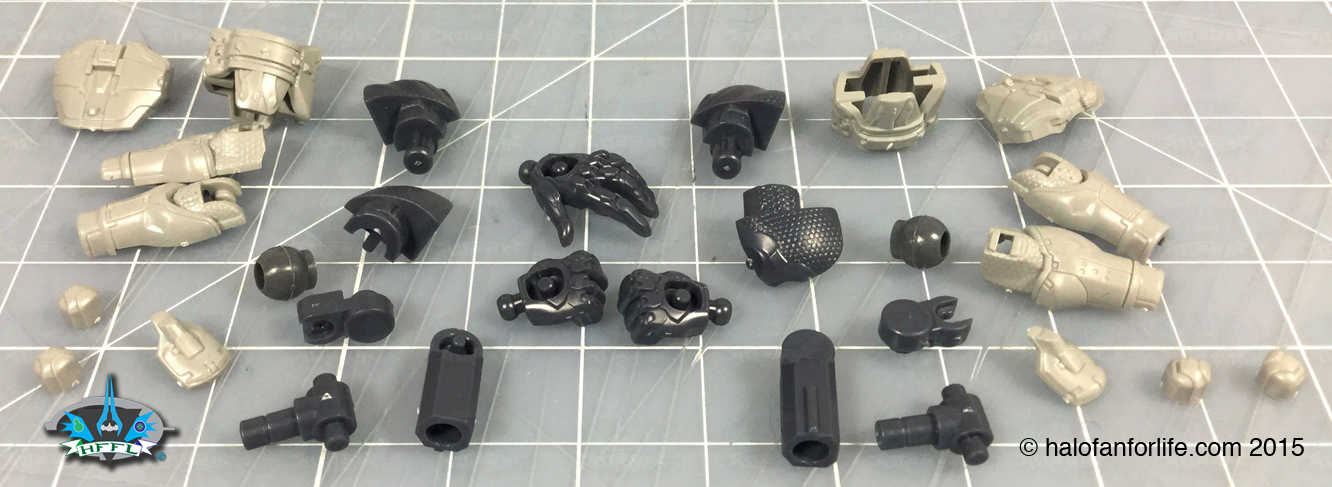
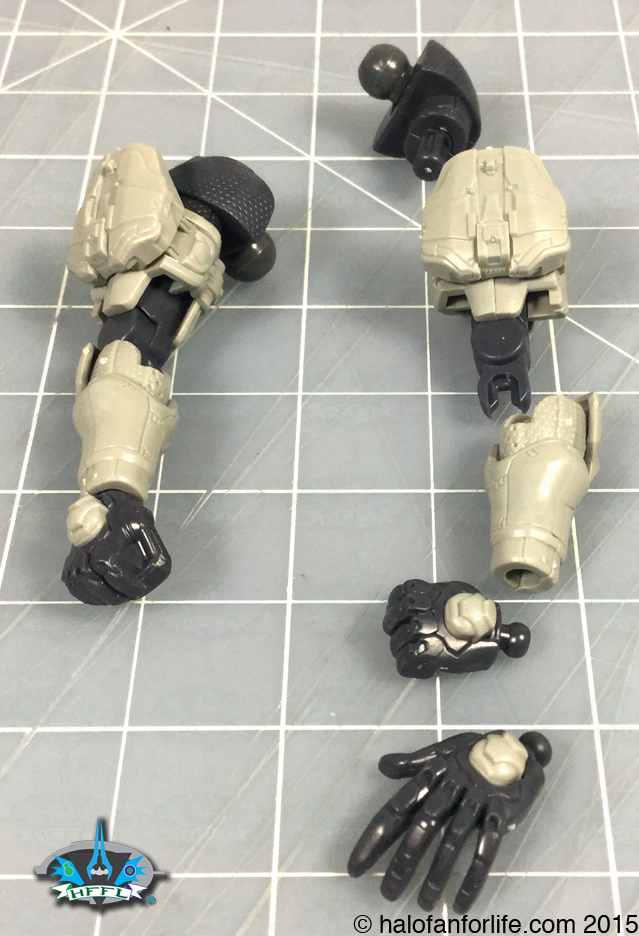
The two arms. One assembled, the other in ‘exploded view’ to show the separate sections of the arm.
The right arm has an additional sticker on it. BTW, I should note that I go back over the stickers on the model when I’m done, to make sure they are better stuck on the model. I had toyed (no pun intended) with painting the markings on. I’ll likely do that later, but for the review, I always show you what the product looks like as it comes from the manufacturer, not as I might accent it.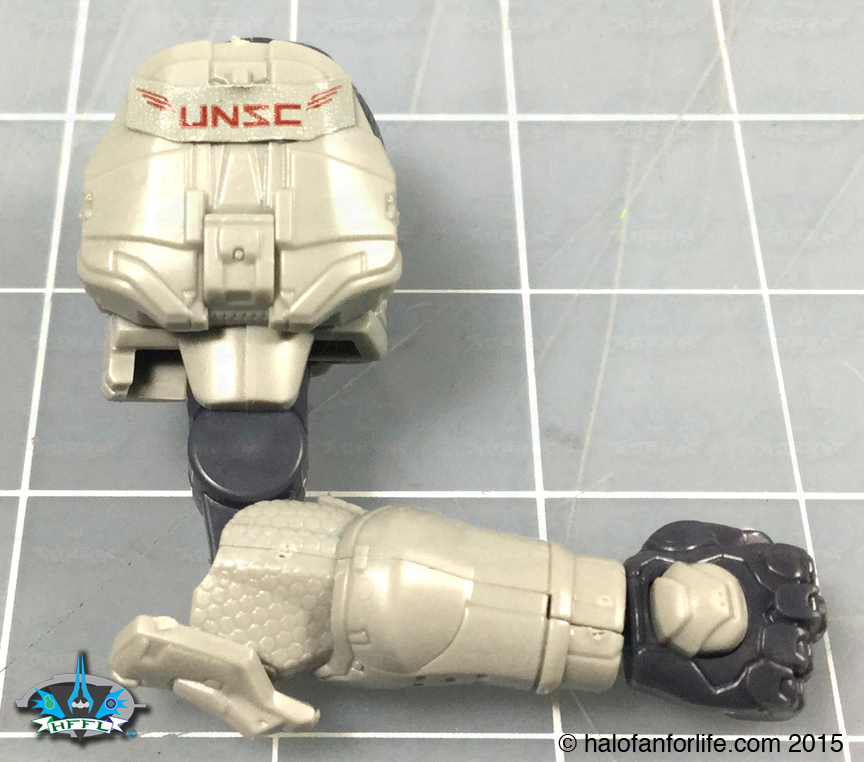
Here are the parts for the hips and legs. Once again, most of the grey parts are the same as with Master Chief. Not all, but most. This makes it so much easier to build, if you’ve built another one of the models. You’ll already be familiar with how the joint sections are built. I was and this section was built very quickly.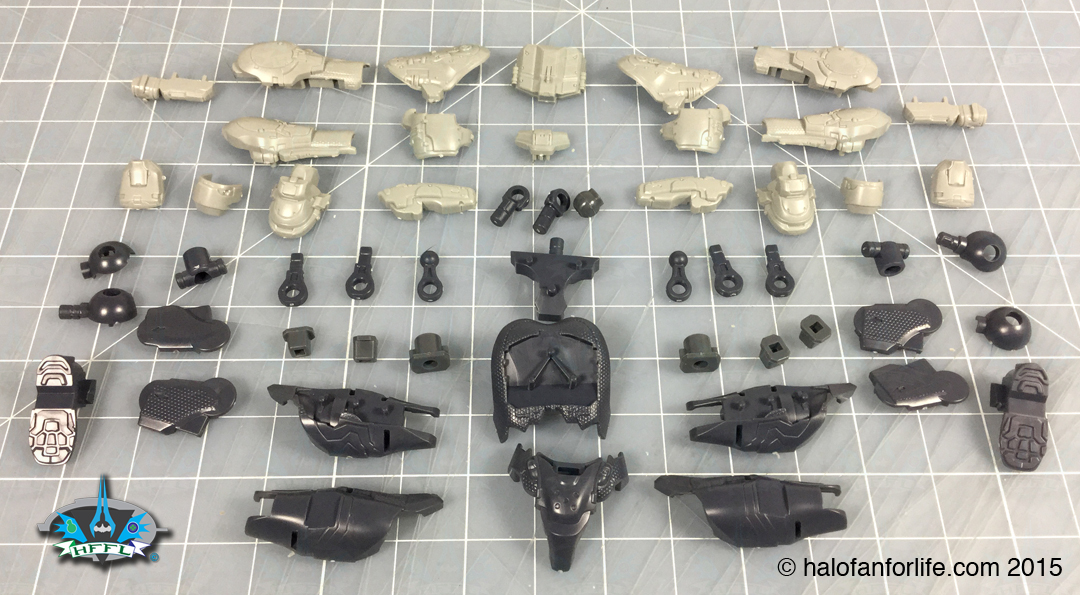
As with the arms, here is a pic of the legs, one built, one in sections. In the pic, you can see the one leg has a sticker on it.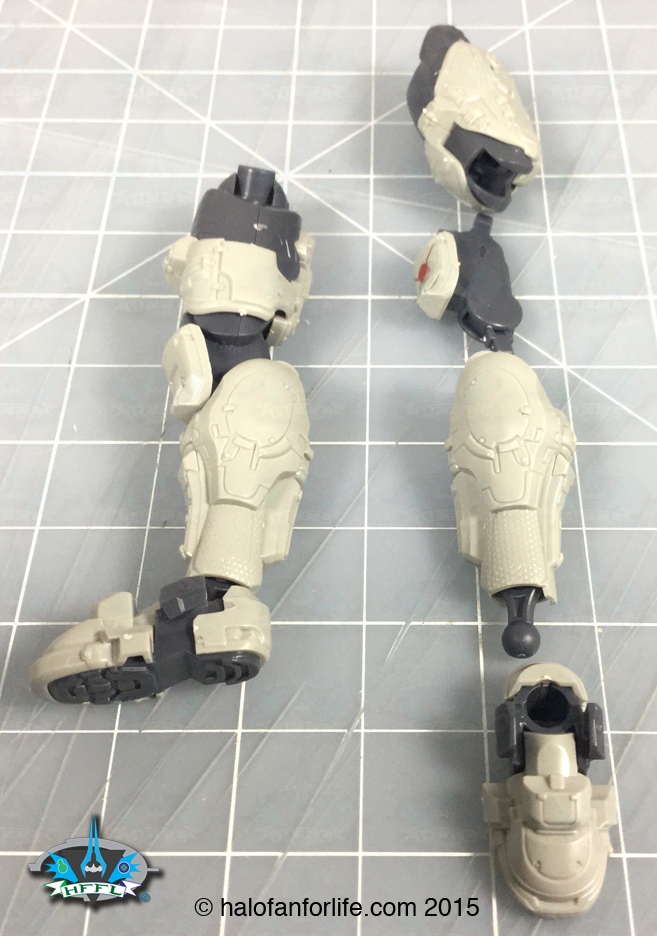
Both legs built and ready to be put on the body.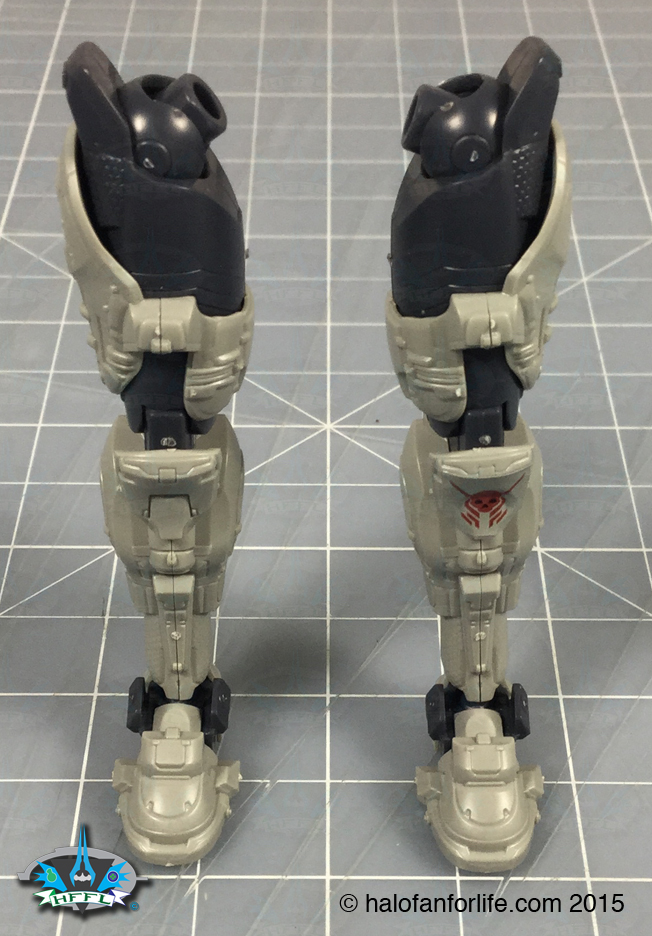
Speaking of which, here are the different sections of the body.
The model is now assembled. Forgive the slight color change. It was early in the day when I took the photos up to this point. Starting from here, I took the photos at night. SO the natural sunlight that came through the windows into the early pics isn’t here for the latter pics.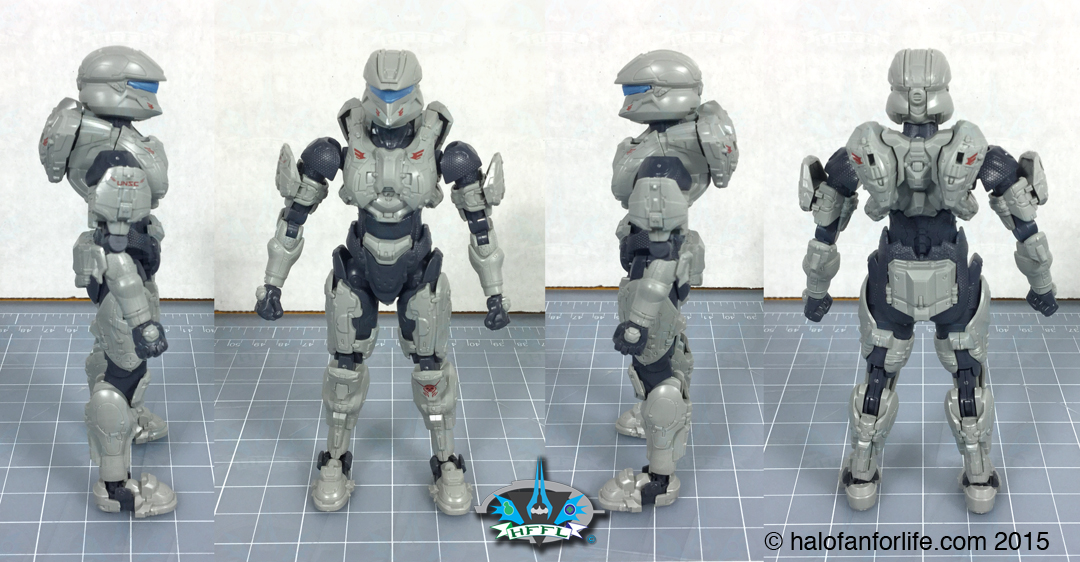
Okay, wait, these two were taken earlier…LOL. In this graphic, on the left you see the gun ‘holsters’, on the right, the magnums clipped on to them.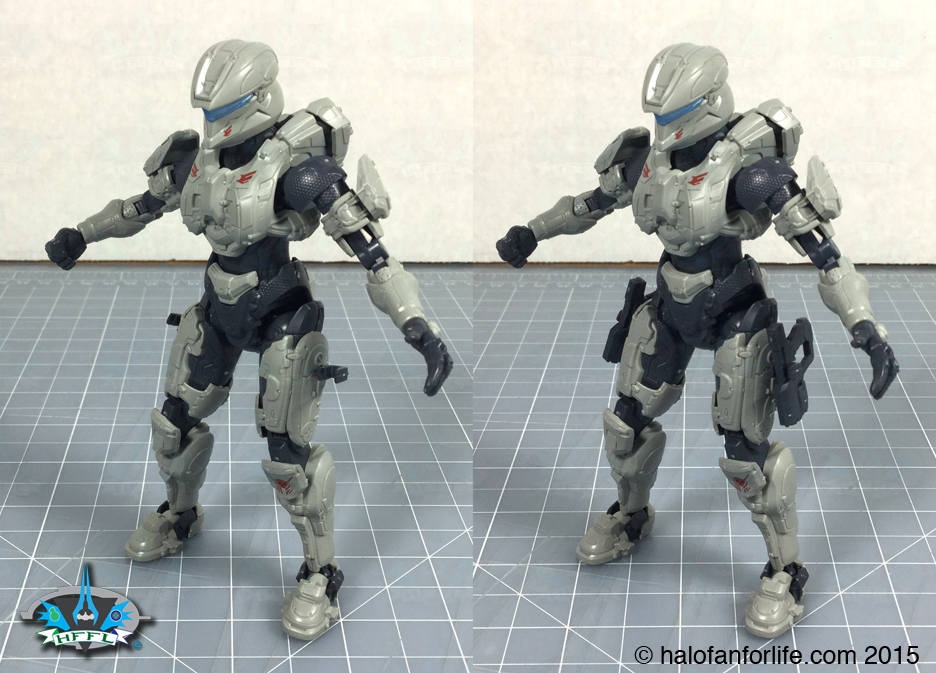
This graphic is the same pose from two slightly different angles. I wanted to show more of the versatility of the articulation of the model. As well, you can see it can hold up it’s entire weight on just one leg!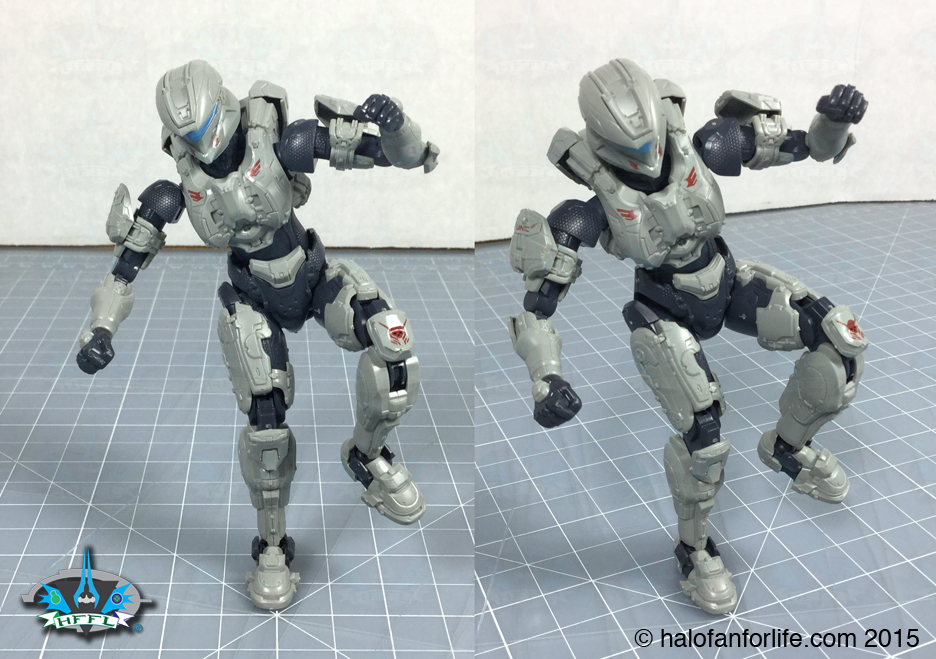
Two cool poses. Is Palmer shooting herself? What? LOL. The stand that comes with the set can be used however you want. I thought it would be great to show that the stand can really help with when you’re trying to get the figure into very dynamic action poses.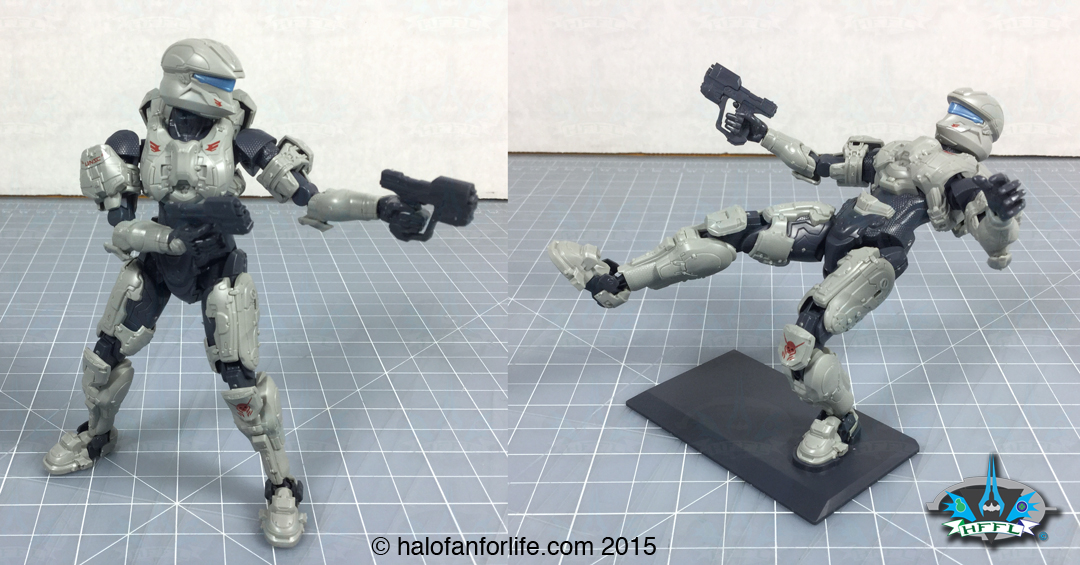
Finally, Commander Palmer says thanks for checking out the review. Continue reading for my summary, rating, and recommendation.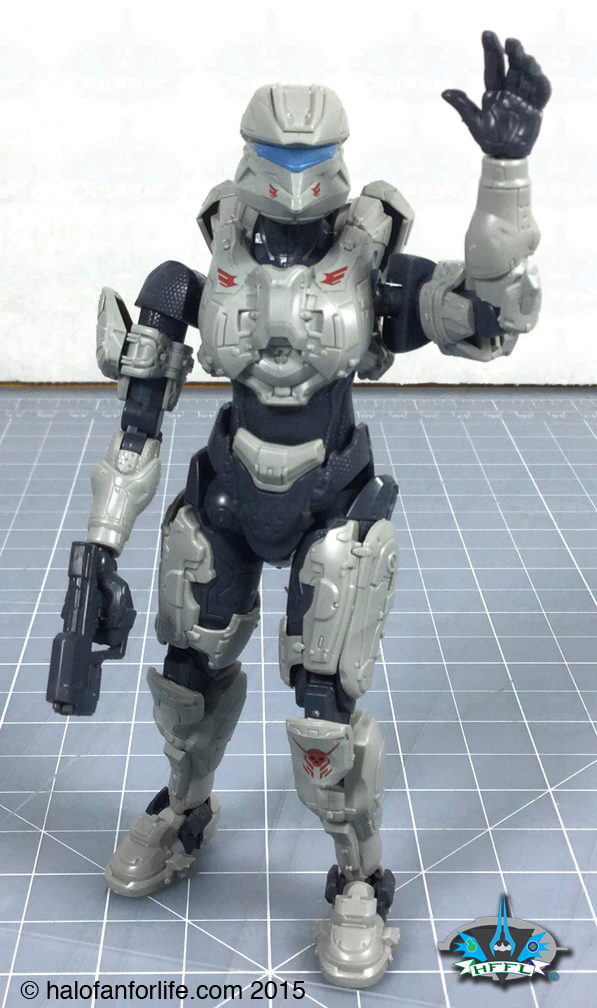
Summary: The set is a quick build.Roughly 30 minutes to 45 for this as well (compared to the Master Chief model).
The model is for ages 8 and up. I agree with that, so long as the young ones are patient. I do suggest adult supervision. Besides, it’s fun to build with your kids. A great bonding experience!
With a fantastic amount of articulation, the model can be posed in many positions, as evidence by the pics above.
Overall Rating: I give this set 9.0 out for 10 medals. This set has great value for the price.
So why did I give this a 9.0 instead of a 10?
• Take one guess… yep, the stickers. The big reason I’m not fond of them is that inevitably over time, they always peel off. I’d rather pieces be printed with the markings. I know that makes the models more expensive though. If the markings were perhaps bigger, they could have been done as pieces. This ones were definitely way to small for that though.
• The other point is that the torso armor seems a bit small. Yes, I know this is a female character. However, if you have seen her in the campaign, her armor torso arms is bulky. It seems nearly every licensee does this though with Palmer, so I’m not entirely faulting anyone on this. Just a little nagging point for me. Also, I think the shoulder armor should have been bigger and higher placed on the model. That’s less of a concern that the torso armor to me though.
Do I recommend it? Absolutely! Since I had already built the Master Chief model, building Palmer was quicker. It’s a good representation of Palmer in plastic model form. If you’re buying this for a child, I again recommend you build it with them.
Other Halo Sprukit reviews:
Halo Toy Review: Bandai Sprukits Master Chief – https://halofanforlife.com/?p=20399
If you have any questions about this set that I didn’t cover in the review, please do not hesitate to ask me. Either reply below or e-mail me at [email protected]
Thanks for reading and let me know what you think of the review. If you get this set yourself, please let me know your thoughts on it too!
If this review gives you an informed decision on whether to purchase the set or not, please consider a small donation (50 cents) maybe. It’s much appreciated and helps ensure that HFFL stays active on the internet. Thank You.
-Sal
Once again Sal, bravo on the review.
It looks pretty good! Its a very nice representation of palmer.
But stickers can definitely be annoying. O.O