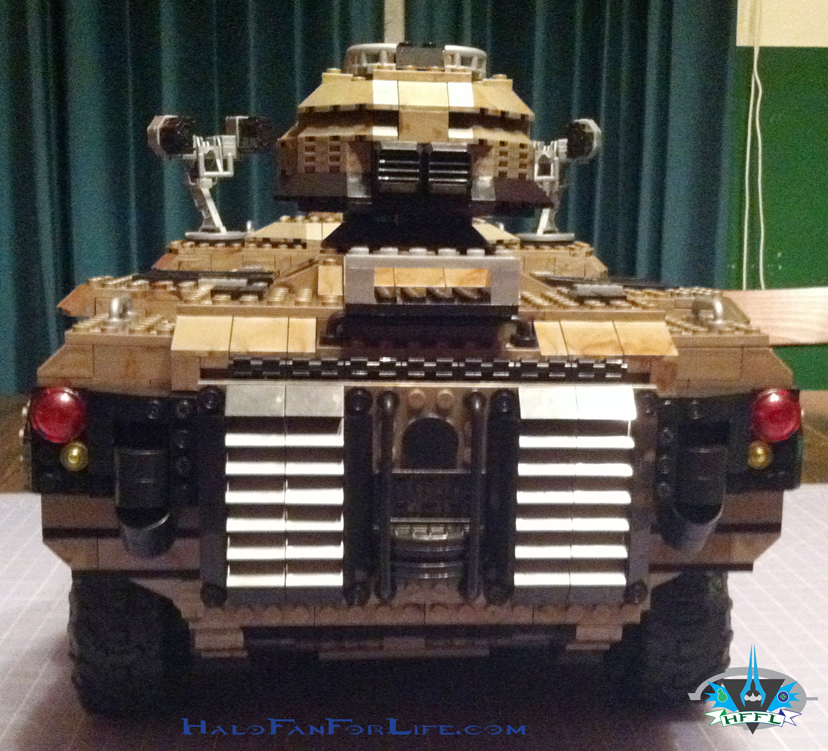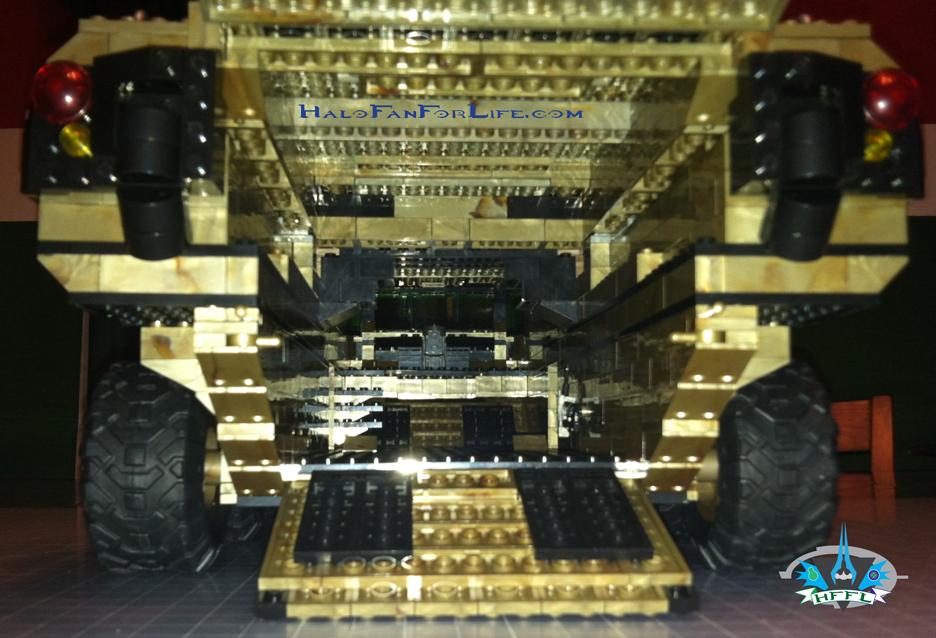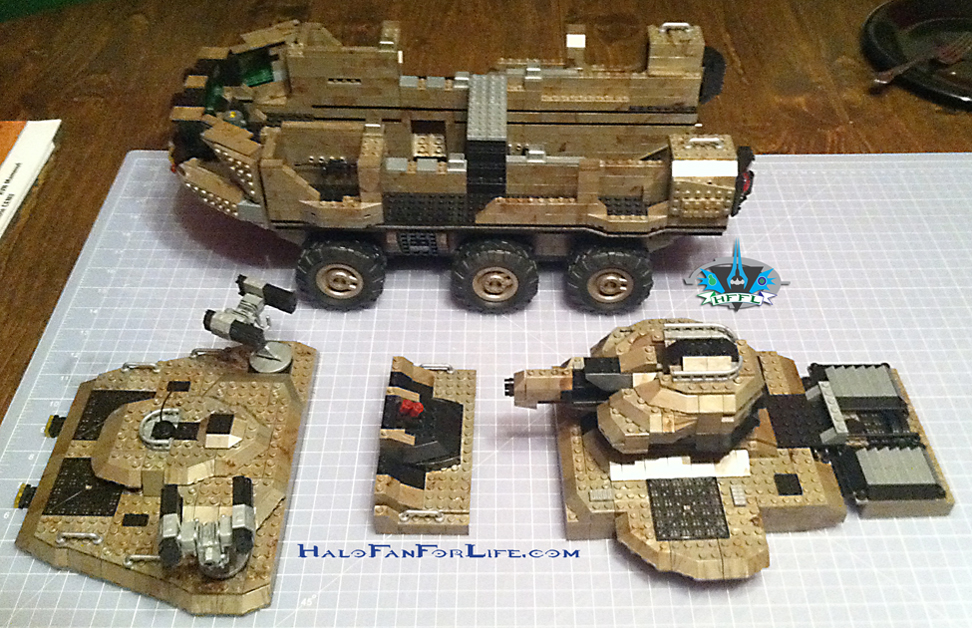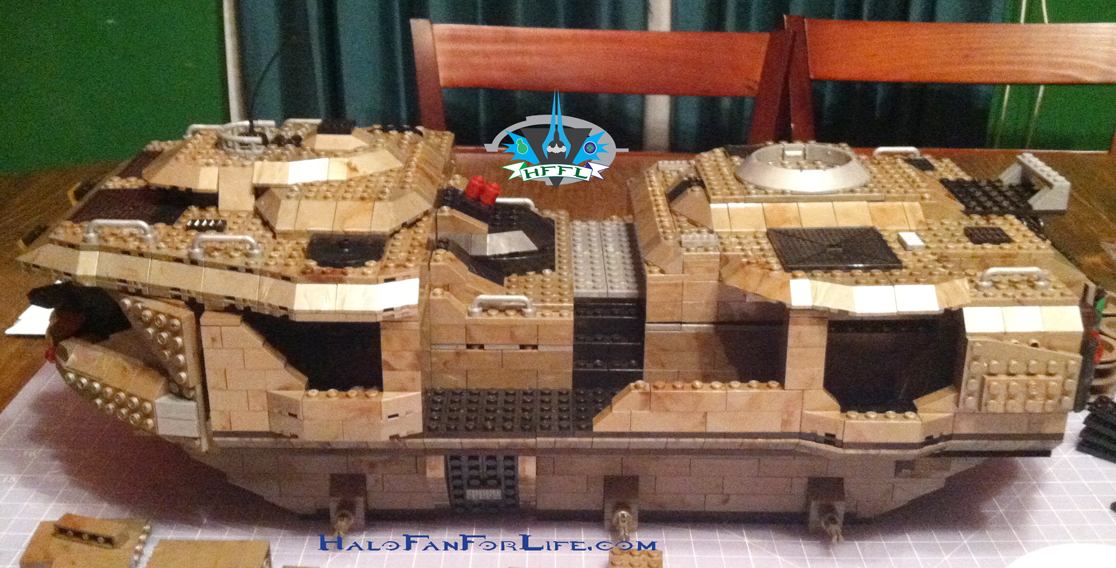
Custom Mega Bloks mini Halo Wars Vulture

GoodwillHunter (GWH) is back again with another awesome mini custom Halo Mega Bloks build. This time it’s the UNSC Vulture from Halo Wars.

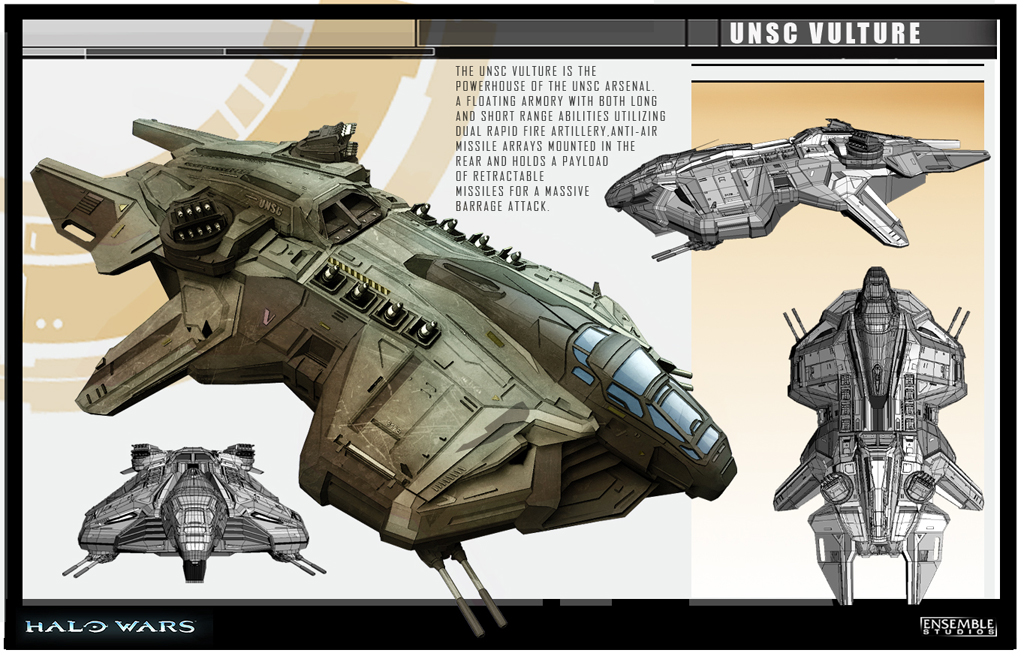
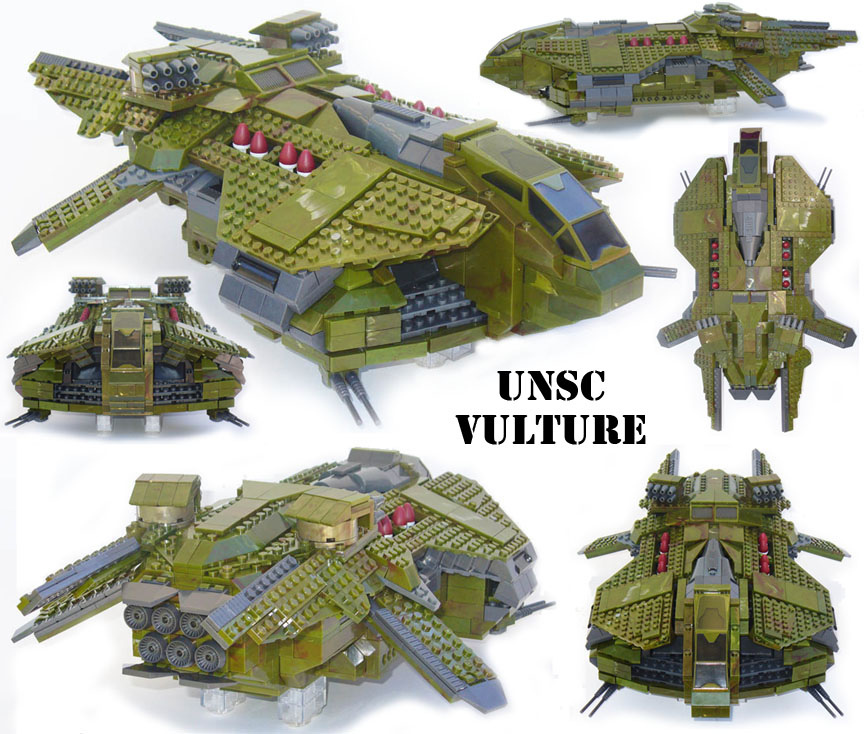
For those who don’t know what this ship looks like, see the graphic below:
PORTFOLIO_VULTURE_LAYOUT_01

Think of it as the Mammoth of the skies and space. It’s bigger than a Pelican and packs much more of a punch.

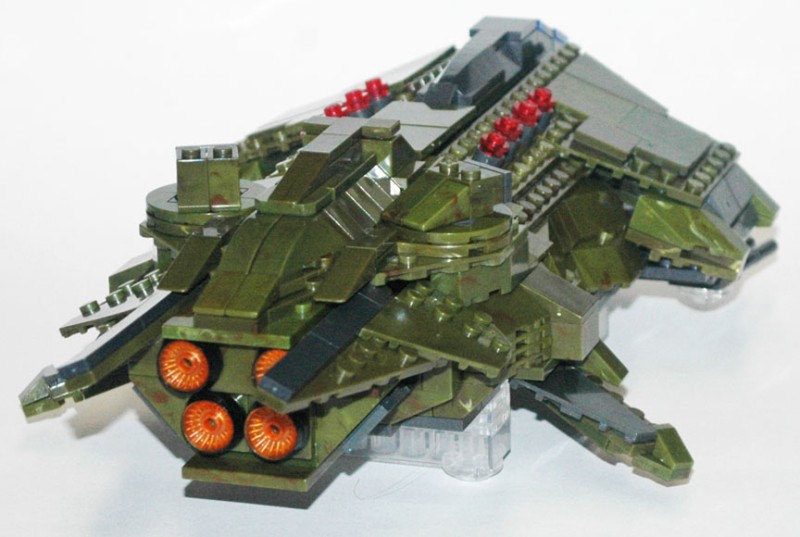
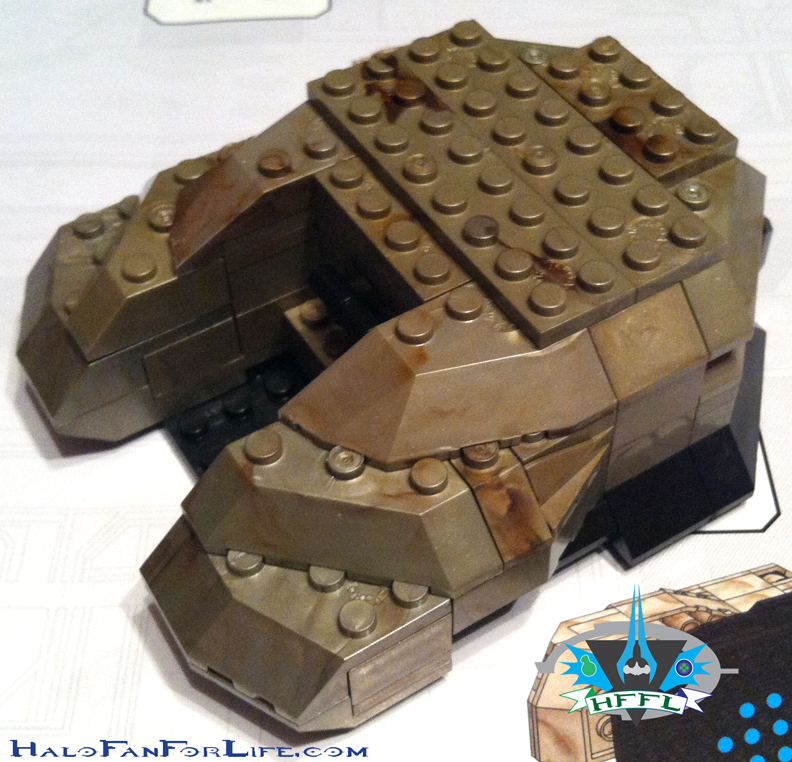
So, GWH took it upon himself to build a mini version of this spectacular starship. Here is his custom and his words on it:
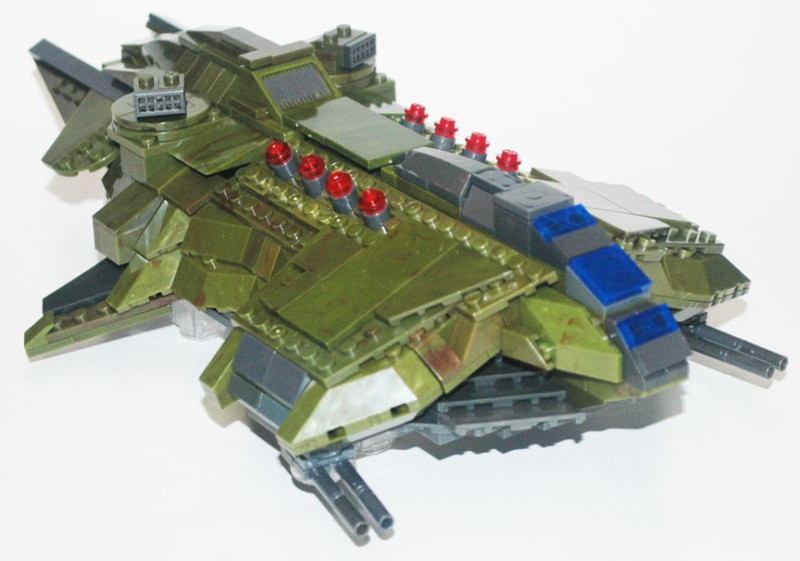
mini MB vulture 3-4 front

GWH: I really enjoyed building the mini Scarab, so I decided to try another reduced scale build. Looking at the bloks I had available, the Vulture seemed like it might work best, so that’s what I did.

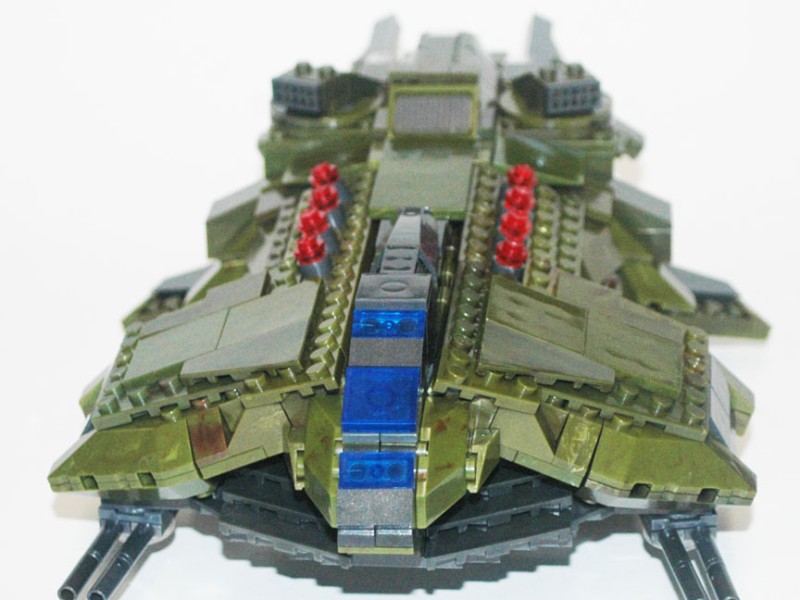
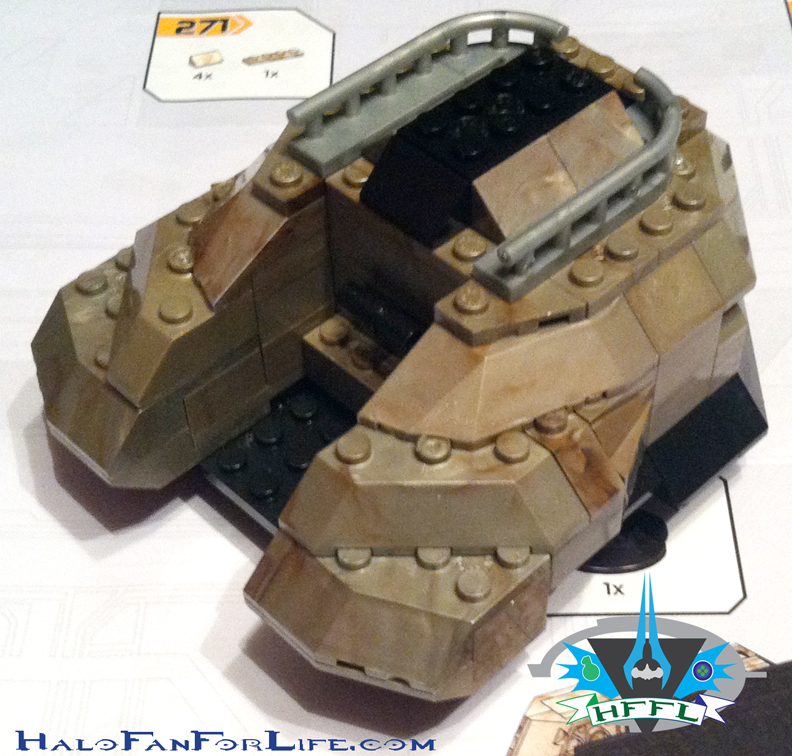
mini MB vulture front

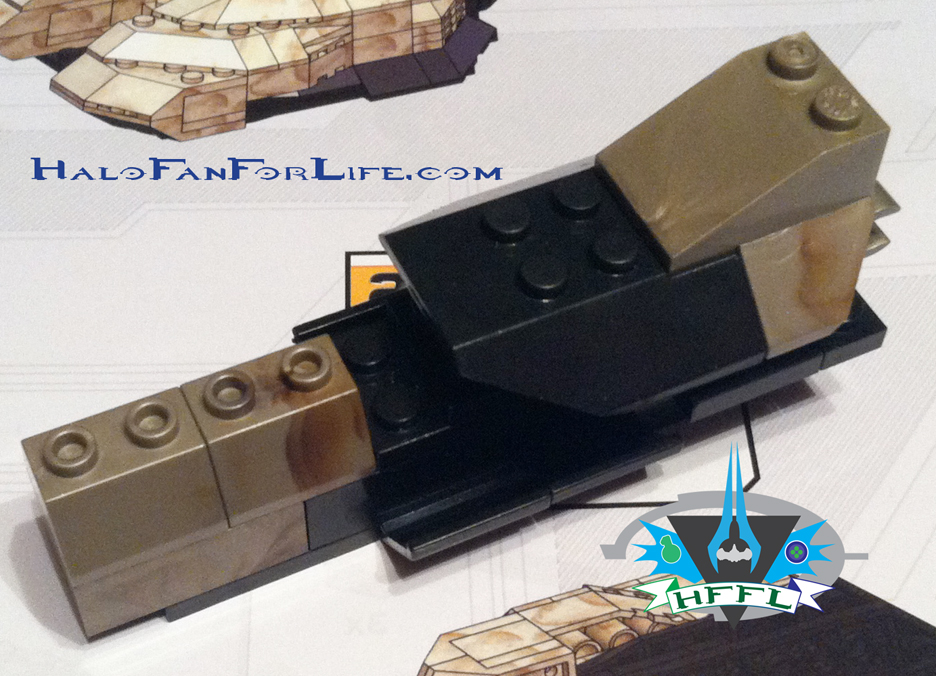
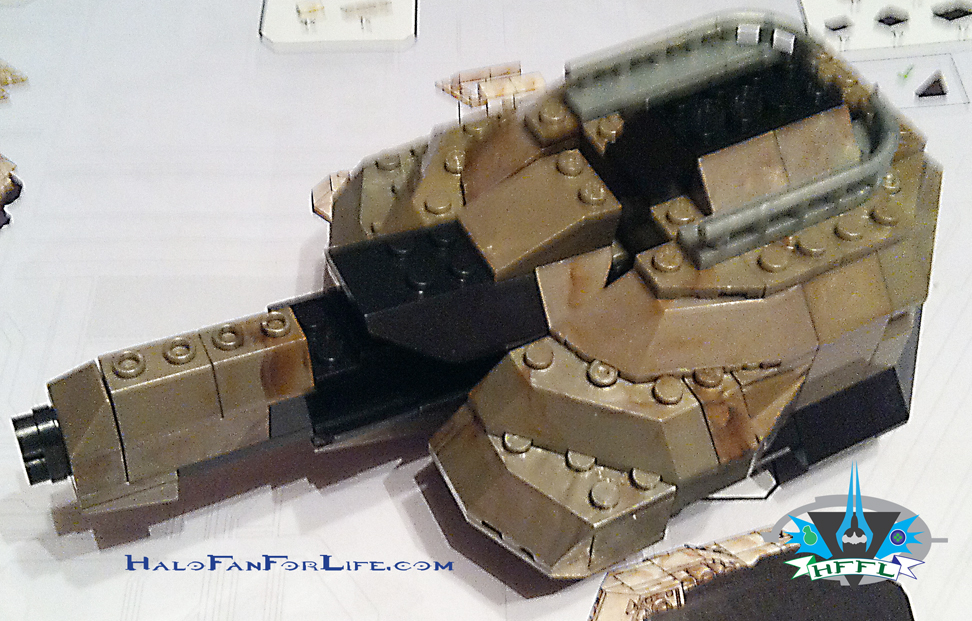
GWH: The cockpit and missiles determined the scale of this build. I started with a cockpit that was only 1 peg wide, but it became clear pretty quickly that it wouldn’t be in scale with the other elements of the ship.

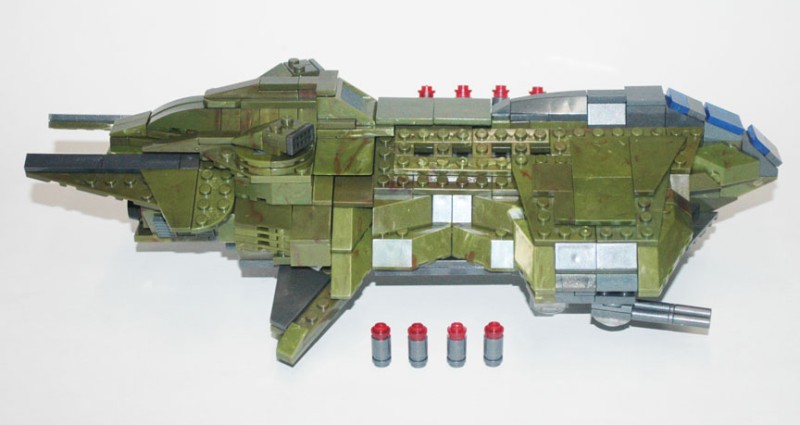
mini MB vulture side

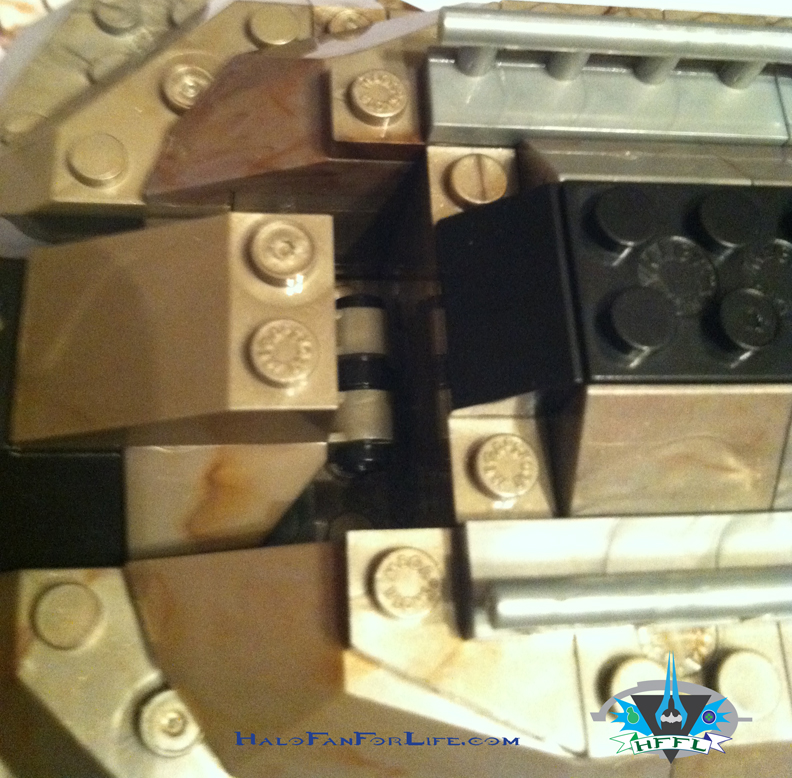
GWH: I wanted to keep as many features as possible, including removable missiles and the rotating front guns and rear launchers. At this size, however, a small grid plate had to stand in for the launcher’s projectiles.

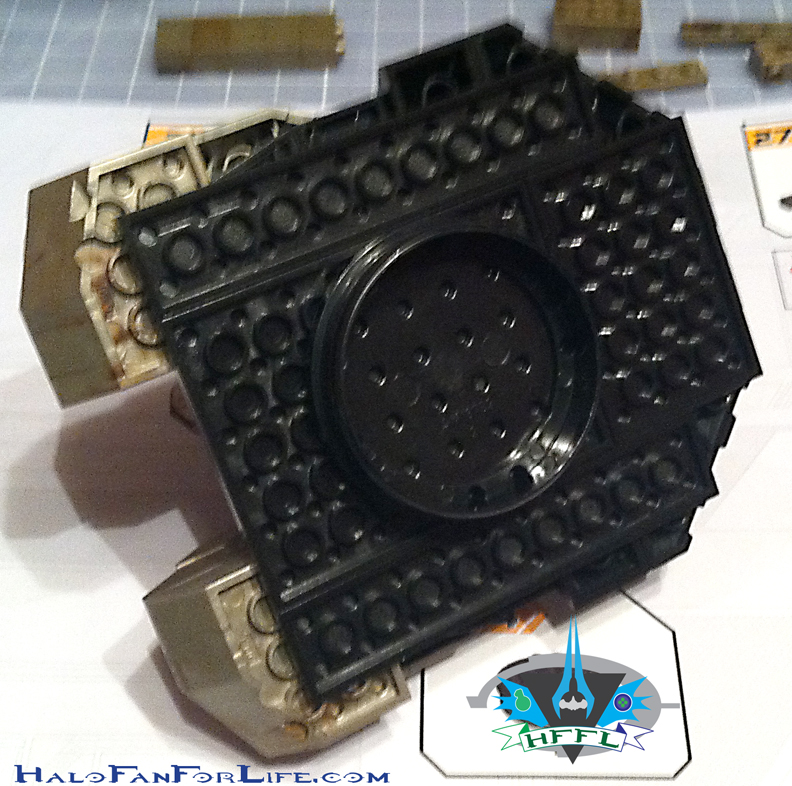
mini MB vulture 3-4 back

GWH: I went back to the original 4-engine design at the back of the Vulture, which actually turned out pretty well at this scale.

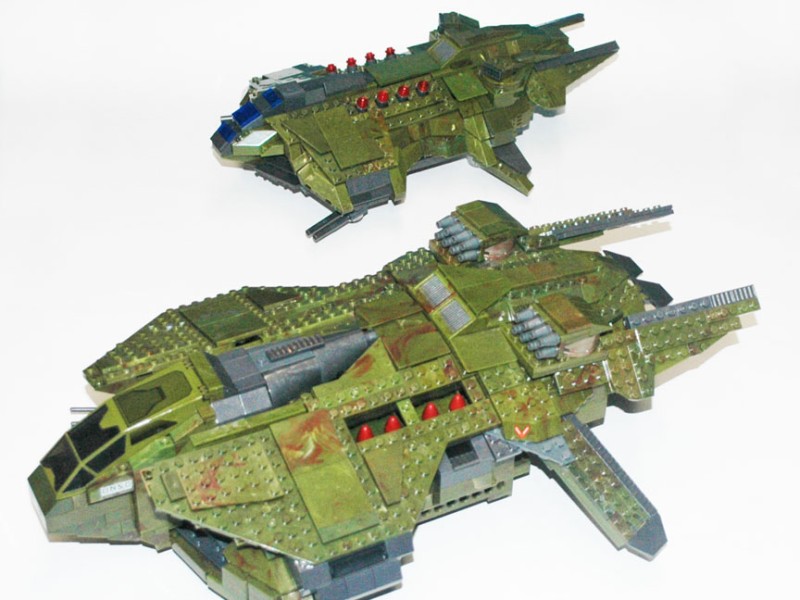
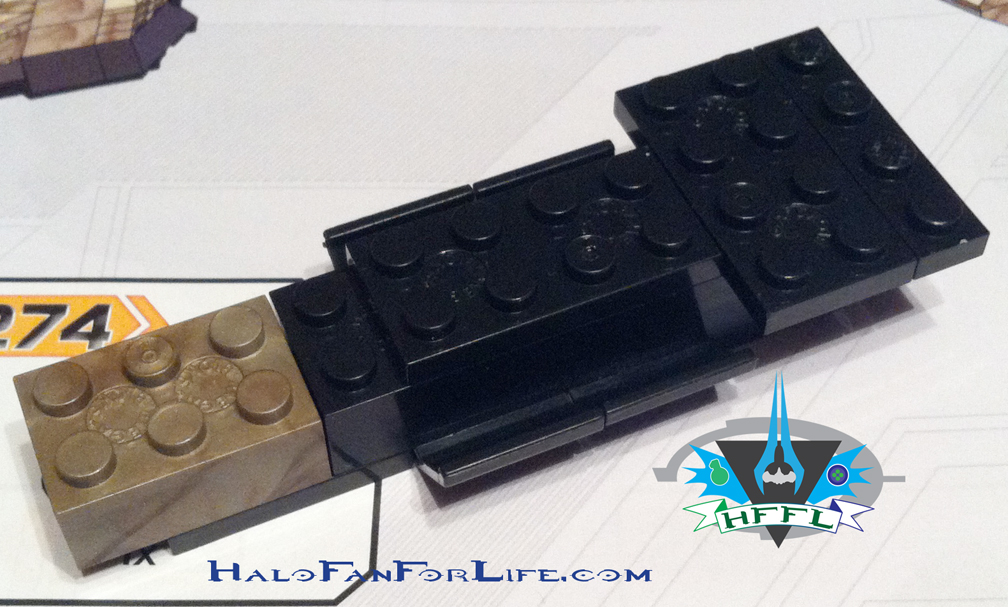
mini MB vulture comparison

GWH: It came out to about half the length of my figure-scale Vulture, so it probably wouldn’t qualify for the Micro-Fleet, but was a fun build nonetheless. I think this Mini/Micro stuff may be addicting!

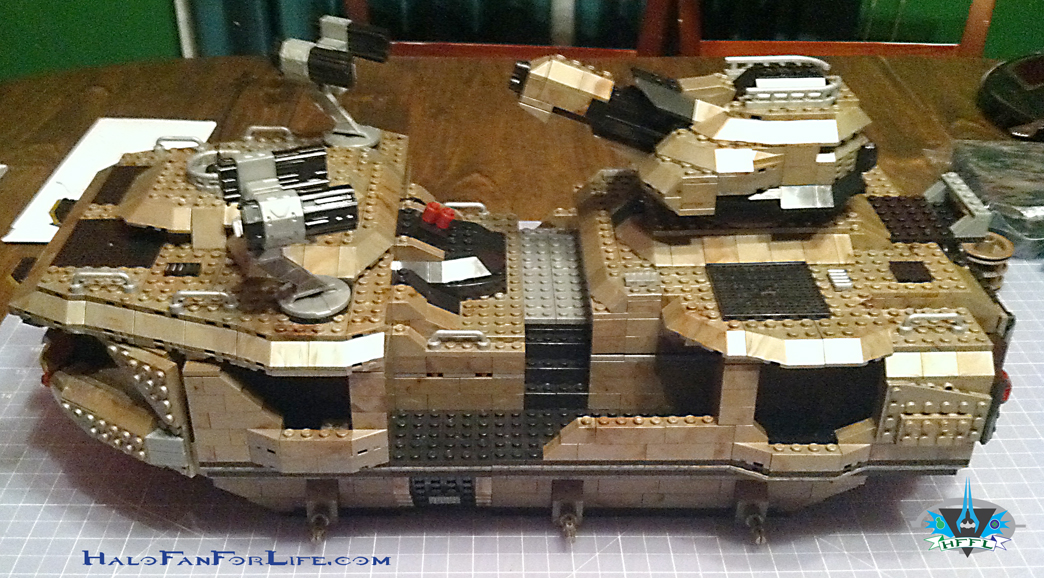
Here’s another look at his full sized (mini-figure scale) Vulture:
Vulture

You can see this and more of his custom Halo creations in an interview I did with him previously. Check those out HERE!

Now what I don’t understand is why Mega Brands (parent company of Mega Bloks) hasn’t hired him yet??? He’s got some MEGA talent, fer sure! (Canadian pun there fully intended)

-Sal

Halo Toy PRE-view: Mega Bloks UNSC ONI REAP-X Quad Walker

MB grey logo
Another set from MEGA Bloks upcoming 2014 Halo line has surfaced. I got wind of this from a Facebook post, thought I’m not sure who uncovered it first, so apologies to that person for not being able to give proper credit.

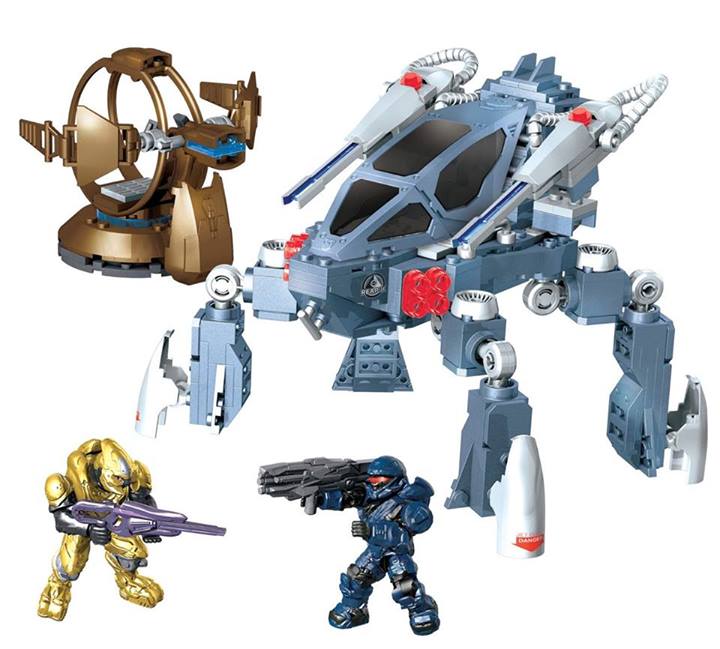
The set is an ONI REAP-X Quad Walker.

UNSC ONI REAP-X Quad WalkerFor those of you who collect Halo MEGA Bloks (as I do), you may recall last year being the introductory year for the REAP-X sub-line of Halo building sets. I reviewed the previous two sets here and here.

The Quad Walker marks the third set in the sub-line. So let’s talk about the image above.
Let’s start with the obvious, the walker. Since this isn’t a vehicle/mech seen in the games or as yet talked about in comics or novels, it may be a little hard for people to accept this. As a toy, however, it is fun. It’s certainly reminiscent of the Covenant Locust set from a couple of years ago.

The big difference is the front loading cockpit. The Locust set has the canopy opening from the rear. The toy uses that cool shark skin blue-ish grey that I like. As for the parts used to make this, there seems to be nothing new, just new in colors used. Now if this can transform into a hovercraft of sorts, that would be awesome. By the looks of the legs, that may be possible. Then it would deploy the legs to stabilize itself to use it’s cannons. Well, that’s the kid in me thinking out loud, LOL.

Next up, we have the gold Shade Turret. I’m glad to see another shade turret come out. The color looks nice. I hope they get to a green one eventually, as well, since that’s a game accurate color.

Now we take a look at the minifigs.

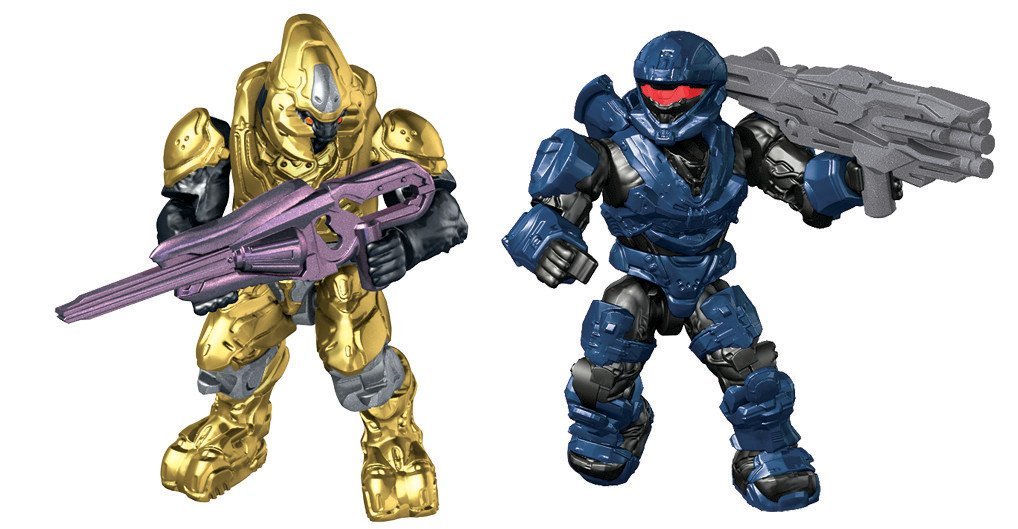
UNSC ONI REAP-X Quad Walker minifigsAgain, another gold figure, this time a Storm Elite. Even though not game accurate, I do like the gold minifigs. It’s nice to see it comes with a storm rifle. The BIG draw in this set for me is the Blue Recon minifig. This is the “Not-Madsen” figure from Fireteam Majestic, of Spartan Ops in Halo 4. Well, at least, that’s what I’m going to call it. The Incineration cannon it’s holding is also a draw for the set as it’s currently not available (though will be in one of the upcoming micro fleet sets (see here – the set at the top of the pic in the link).

No word on price, but given the size and approximate piece count, I’d guess this to be in the $20-$25 range.

As I’ve mentioned before, sub-line not based on anything known previously can be risky. I’ve seen it in Star Wars, G.I. Joe, Transformers, and several other toy lines. However, the great thing about this sub-line and it being a buildable set is that YOU can rebuild it into something else entirely!

No word on release date for this set. Usually though when leaked images appear, sets are just a few weeks or sooner away from showing up on store shelves.

So what do you think of this set? Looking forward to it? Will you buy it?

-Sal


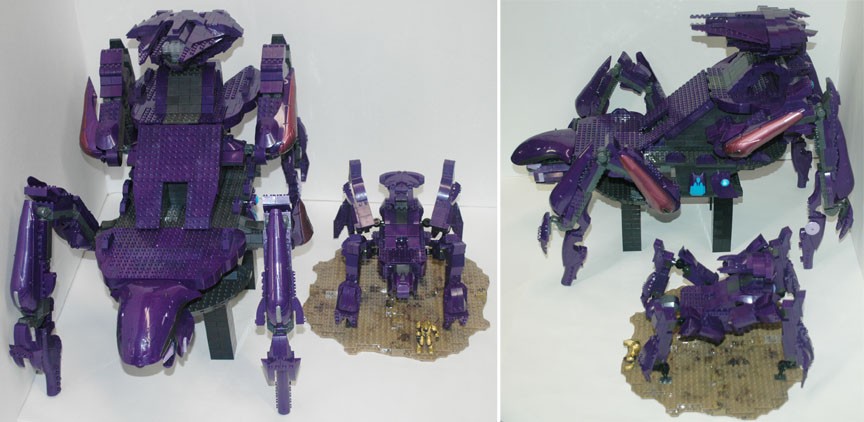
Halo Mega Bloks Mini Scarab custom!

Hello folks. I came across this custom on one of the Mega Bloks fan forums (apologies I can’t remember which one, ATM). It’s done by GoodWillHunter, of whom I interviewed here on the blog previously.

This is his take on a scarab in miniature form, ala the new line of Halo mini Mega Bloks coming to stores soon.

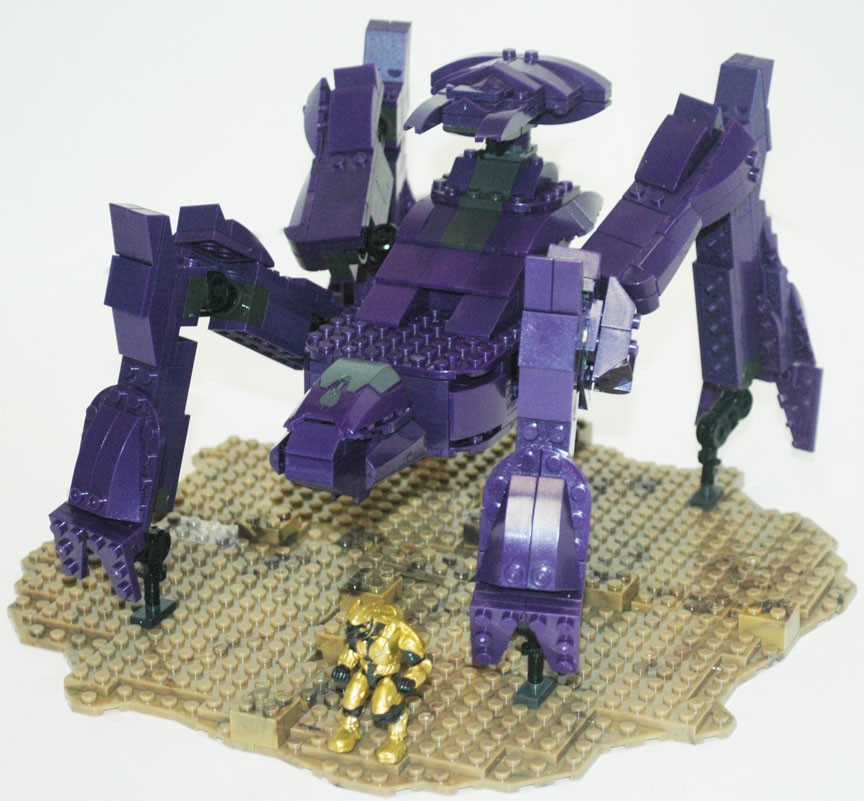
Mini Scarab front 3-4Here he uses a Halo mini fig for scale. So as you can see, it is indeed an even smaller version of a scarab and not to scale with the minifigs themselves.

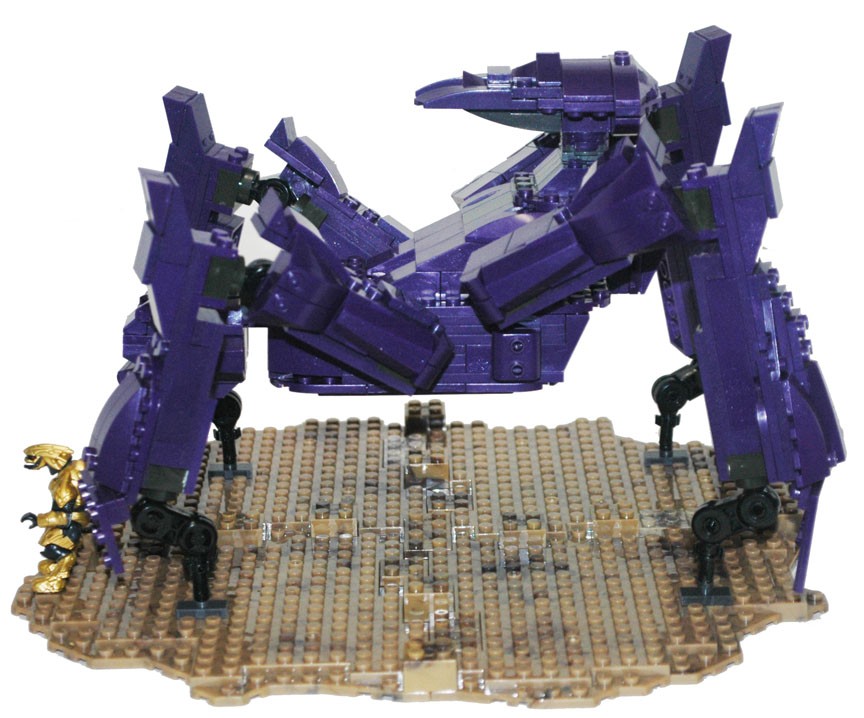
Mini Scarab sideHere’s the side view. I love that he made use of the new style joint system. That was first introduce with the Mantis set (which I reviewed here).

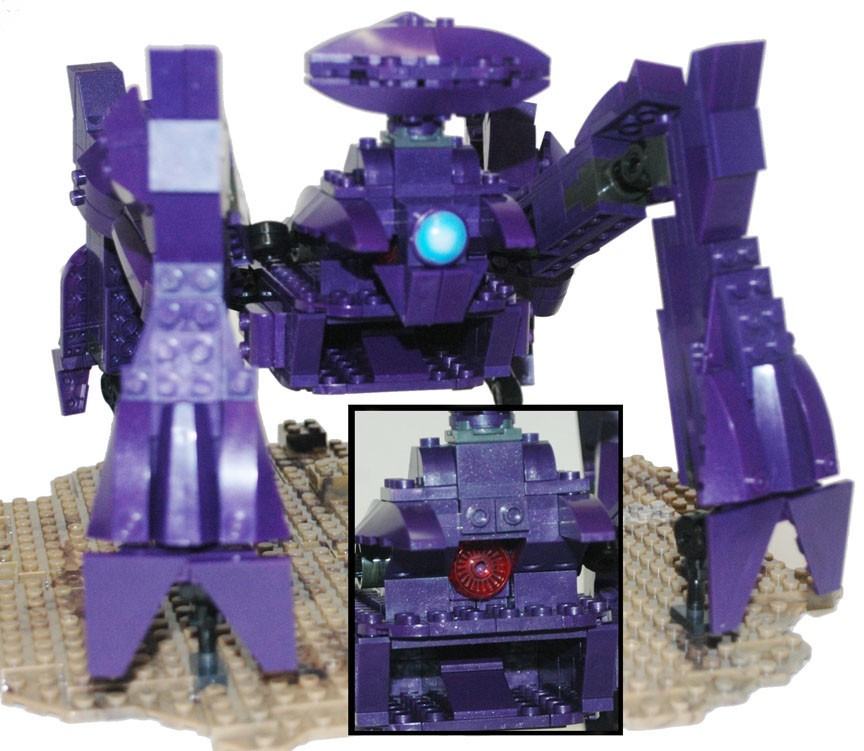
Mini Scarab BackGWH (as we sometimes call him), even incorporated a detachable back piece to show the Scarab’s vulnerable core. That’s EXCELLENT detail!

And lastly, the pic below shows the mini Scarab with GWH’s other custom Scarab, that one to scale with the minifigs.

Mini Scarab comparisonI tell you, Mega Bloks really needs to hire this guy. His designs are awesome and inspiring!

Oh and just incase you want to see yet more of his mini Scarab, here’s his video of it!

Great stuff!
-Sal


An incredible UNSC Base made of Mega Bloks!

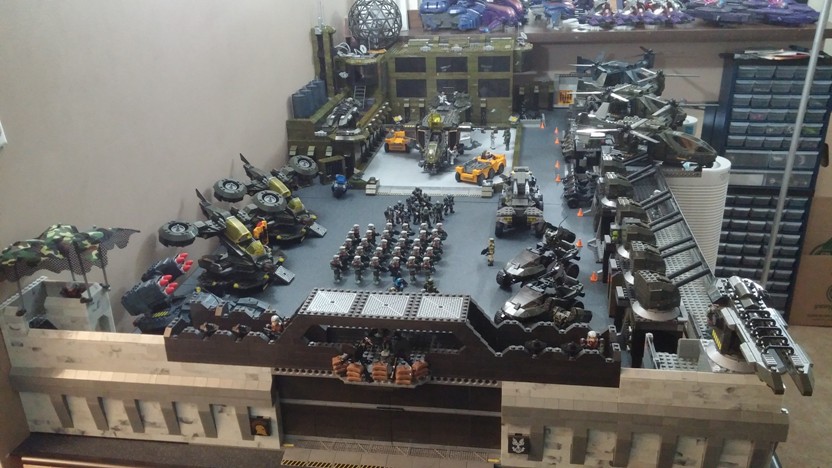
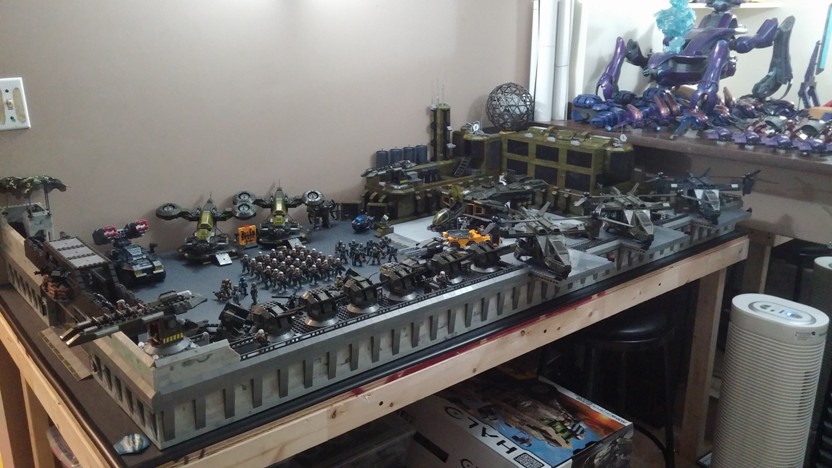
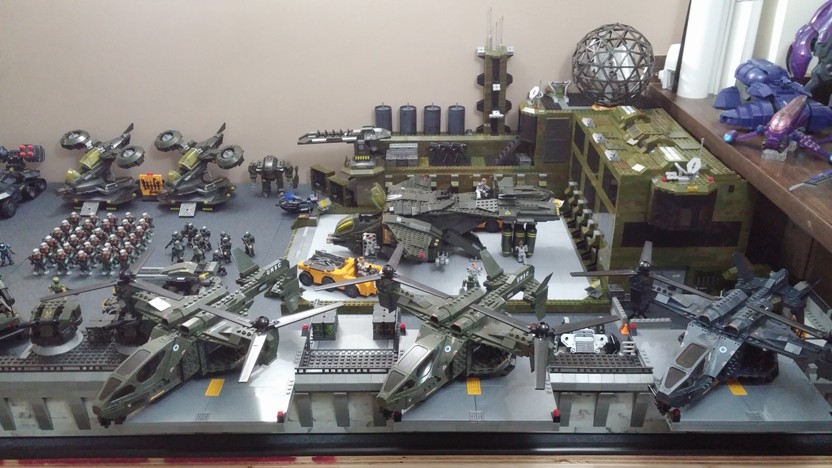
Here is another custom made by fellow Halo Mega Bloks fan, Dielectric. It’s a massive UNSC Base! Take the time to look at all the detail, the kinds of figures (and how many of them there are), and so on.

Here’s Dielectric’s words on his project (His words in light blue text):

I haven’t had a base take took up a whole table since I had a massive castle as a child. Since Halo Mega Bloks came out, I’ve amassed a lot of sets. The UNSC lucked out, and go a base first, although the Covenant will end up having  their own soon enough.

The base I have built is based partly around the concept art for the Highground map of Halo 3, Halo Wars base design, and Halo: Reach concept art.

041-small

The base fills a table that is three feet by five feet. It is covered by laminate that looks like granite that I got from work after they no longer needed it. I think it worked well as asphalt.

043-small

At a rough guess, the base ate 6 sets of Highgrounds, 2 Pelicans, 2 ‘Hawks, 2 Flood Sieges, 6 Banshee Blitz and 4 Countdowns. It is still a work in progress.

HFFL: That’s a ton of sets used for this. ANd it’s a GREAT repurposing of them, IMO!

044-small

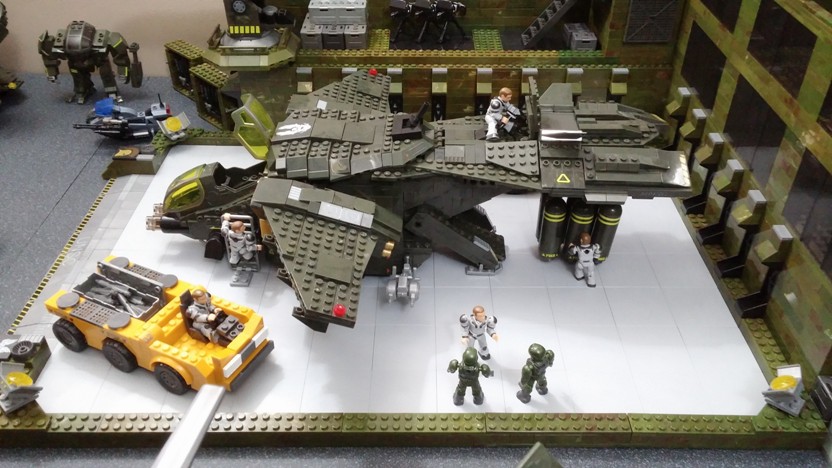
The pad that the Pelican is being serviced on is not actually a landing pad, but a heavy freight elevator. The elevator will lead to the underground portion of the base, which still requires a structure, which I hope to have in place by the end of the year.

046-small

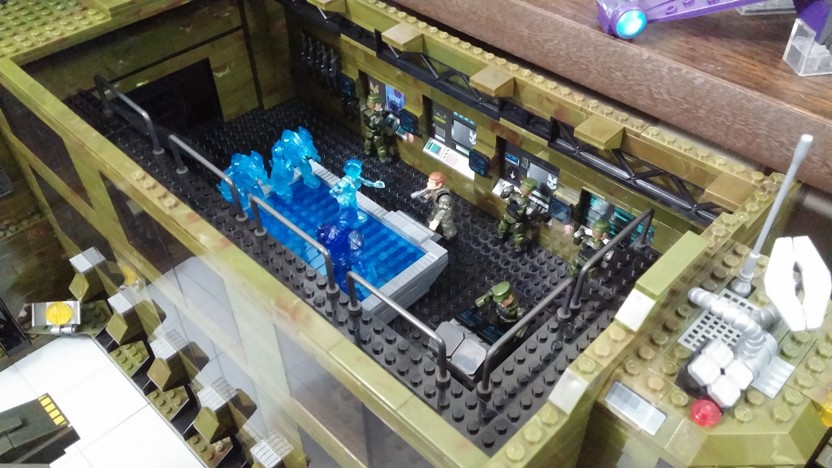
The roof of the command centre lifts off to expose the inside containing a large holo table, and nerve centre.

HFFL: This is TOO COOL! I love that Dielectric took the time to make a removable roof AND used blue translucent figures as holo table images. PURE Awesomeness!

047-small

Finally, a ground of technicians scramble around a Pelican Gunship to make sure it is ready for its next mission. Weapon drop pods are attached to the tail for rapid re-armourment.

HFFL: I have to admit, I’m jealous of the amount of UNSC Technicians (the guys in light grey in the above pic) he has… I hope Mega Bloks uses that figure more often. I’d love to build up a couple of squads of them.

You can view these in even HIGHER detail/resolution by dropping by Dielectric’s Photobucket page here.

While I do have many of the sets he has, I wasn’t fortunately enough to get more than one High Ground set or Countdown. Mega Bloks had toyed (pun intended) with the idea of making a UNSC Firebase a couple of years back. I hope the pics of this inspire them to bring their idea back to the drawing board and hopefully release a set like this. Maybe not so big (too keep it affordable).

-Sal

Halo 4 Cover Art done in Mega Bloks style!

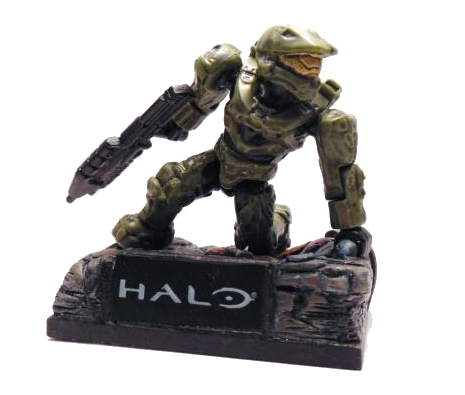
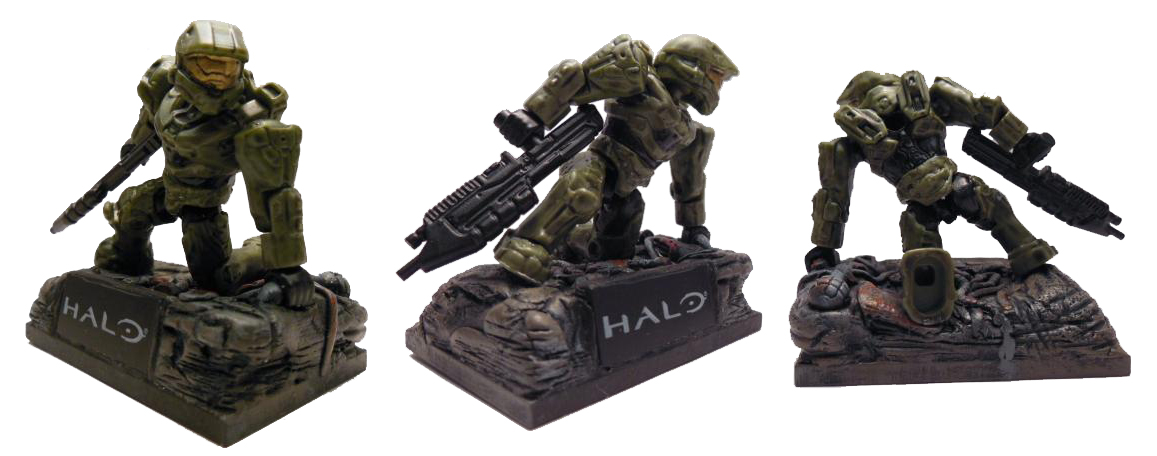
Halo 4 Cover Art Statue.

Geek Marky Halo 4 front
This is an unofficial custom for sale. It’s very well done and resembles the larger statue made by McFarlane Toys. Though this one won’t set you back $300+ dollars. In fact the creator of this custom is selling it and donating most of the proceeds to charity. Read on from the artist, “Geek Marky”.

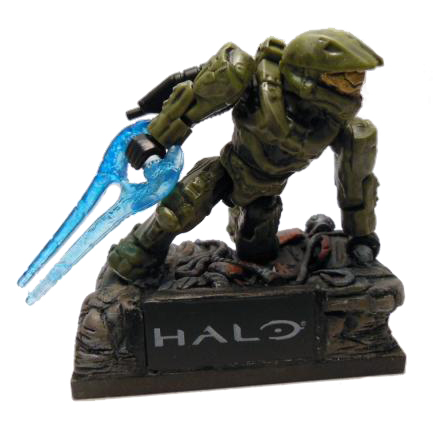
I tried to somewhat recreate this wonderful work of art. I sculpted the base and glues Master Chief down, his head still moves as well as his right arm for additional poses. I’ve got a AR and sword pose as well.

Geek Marky Halo 4 alt views

This is by far my favorite project to date. So Im gonna list it on ebay and donate a large portion to charity. So don’t miss out on an opportunity to own this one of a kind scaled piece.

Geek Marky Halo 4 w-sword

On ebay!! Here is the LINK

Thanks and enjoy!

HFFL: I’d LOVE to own this little version. Gawd knows I can’t afford the McFarlane one. Wouldn’t it be cool of Mega Bloks made an official version of this? Now THAT would be a very cool exclusive!

Halo Toy Review: Mega Bloks Ultimate Combat Pack

MB grey logo
Mega Bloks Ultimate Combat Pack: Set #97233

Technical Specifications:
Build Time: N/A
Set Piece Count: 167
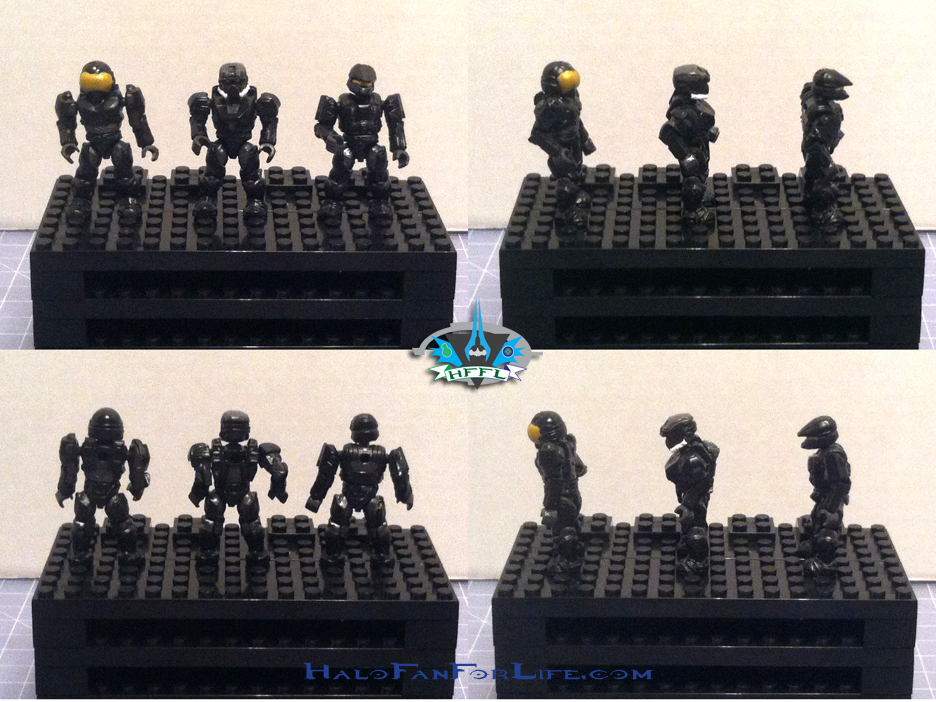
Minifigs: Jump Pack Brute (Cyan Active Camo), Cyan Grunt, Cyan Spec Ops Grunt, Cyan Brute, Cyan Jump Pack Brute, Spartan CQB (Green Active Camo), Green Spartan CQB, Green Flame Marine. Green Spartan Recon, Green Spartan EVA, Orange Elite Pilot, Orange Elite Commando, Orange Elite Combat, Orange Grunt, Orange Spec Ops Grunt, Black Spartan Security, Black Spartan EOD, Black Spartan Scout, ODST (Bronze highlights), ODST (Silver Highlights)
Weapons: Crimson Needler X2, Crimson Plasma Rifle, Cyan Active Camo Plasma Rifle, Grey Brute Mauler, Purple Plasma Pistol, Purple Plasma Repeater, Purple Plasma Launcher, Black Spike Grenade, Translucent Purple Plasma Grenades (X4), Green Active Camo Grenade Launcher, Silver Assault Rifle, Silver Assault Rifle (Reach style), Silver DMR, Silver Grenade Launcher, Silver Spartan Laser, Silver SMG, Silver Magnum X3, Frag Grenade X2, Flame Thrower (Silver Flamethrower, Black Hose, Green gas tank)
Accessories: 2X3 figure stands (20 pieces), Cyan Active Camo Jump Pack, Black Backpack X2
Price: $49.99 Toys R Us Exclusive (My wife got this for the discount price of $29.99 on Black Friday)
Special Features: N/A
This pack is a TOYS R US Exclusive!

And on with the pics! (Click pics to make BIGGER)
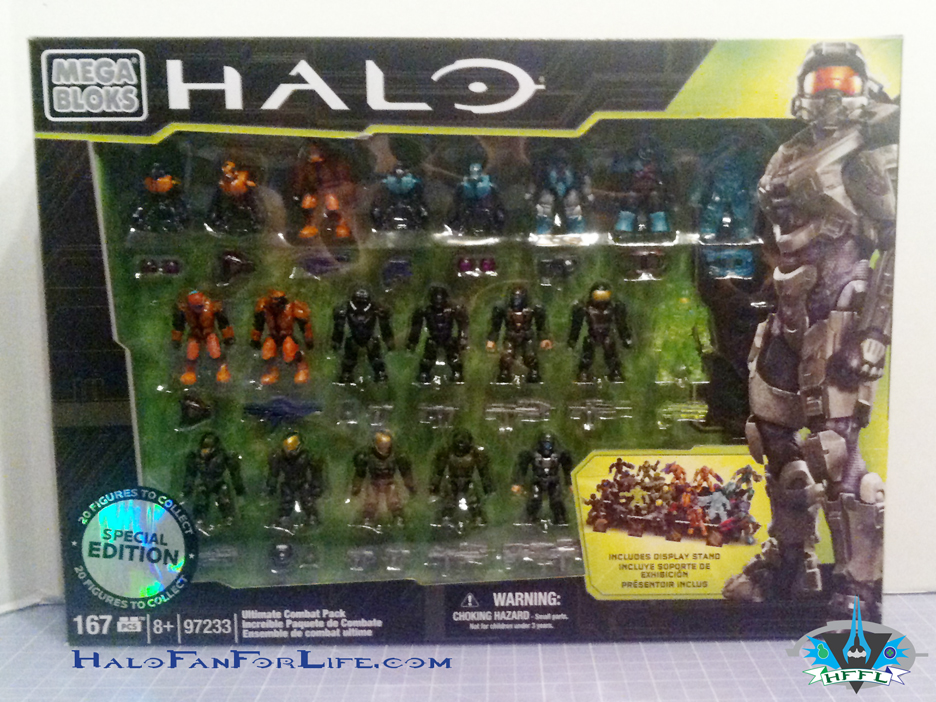
MB Ultimate Combat Pack BOX FrontThe box is very nicely done showing the figures off quite nicely. This box art has a slightly different color scheme than we’ve seen in the past. It has green for the detail. Zoom in on the pic, especially the lower left side and you can see it. I really like this color scheme and hope we see it again.
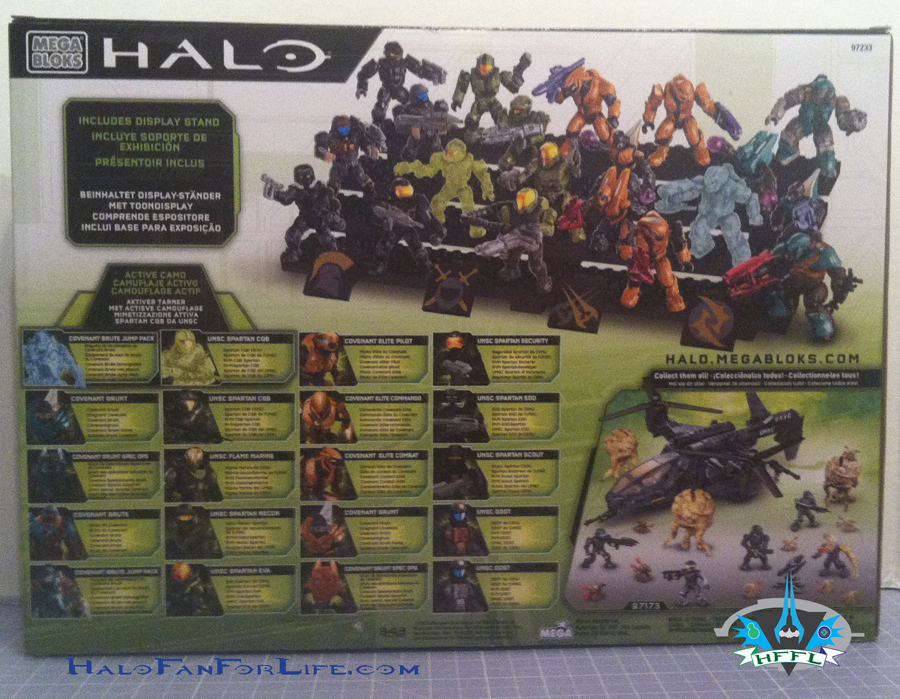
MB Ultimate Combat Pack BOX BackThe back of the bos shows the set of minifigs on the provided pieces that make up the display stand. I really like that Mega gives that extra effort to include those parts so people that want to display them outside the package have the parts necessary instead of having to buy expensive display stands. THANKS Mega! 

MB Ultimate Combat Pack BOX Back detailA closer up pic of the figures included with their designations.
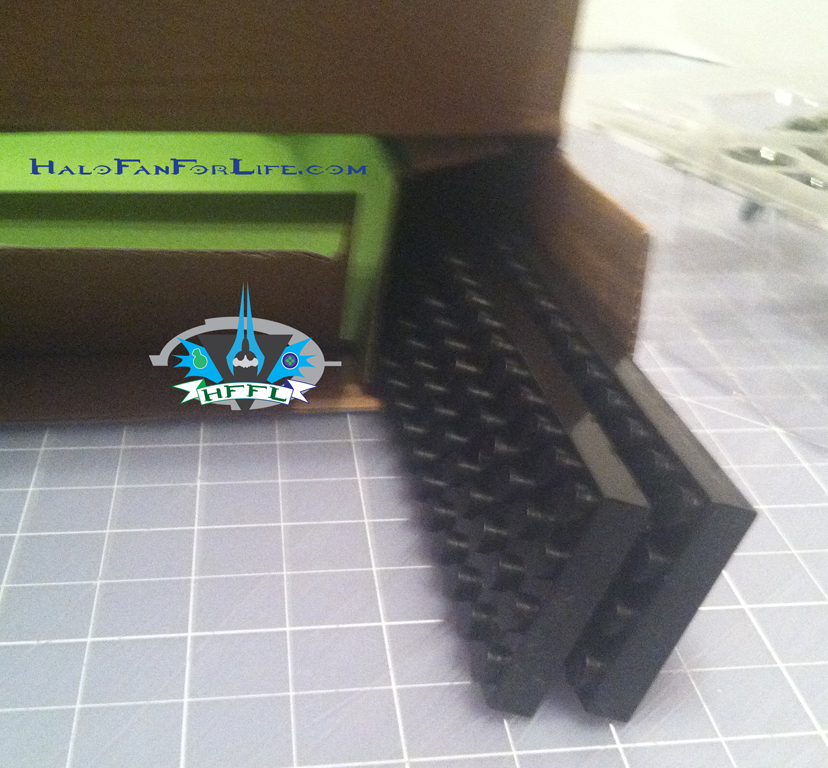
MB Ultimate Combat Pack BOX insideWhen you open up the box, there are slots on both sides that contain the long pieces for the display stand.
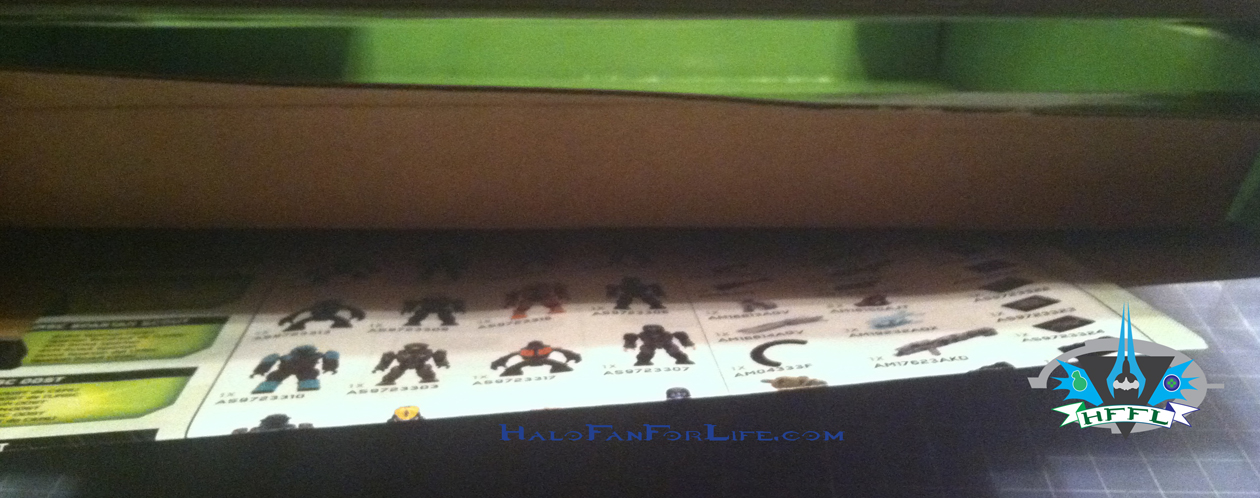
MB Ultimate Combat Pack BOX inside 2Likewise, the direction sheet is between the back of the box and the green cardboard insert.
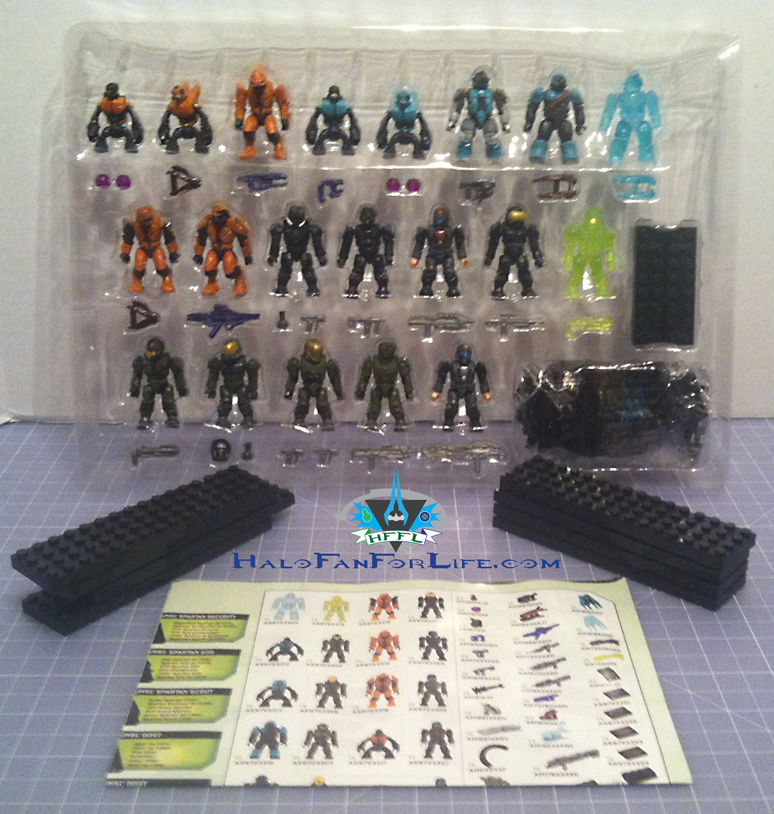
MB Ultimate Combat Pack contentsThis is what you initially get when you take the contents out. Some might say it looks cool like that. But I have to take take those figs out of the plastic tray. 
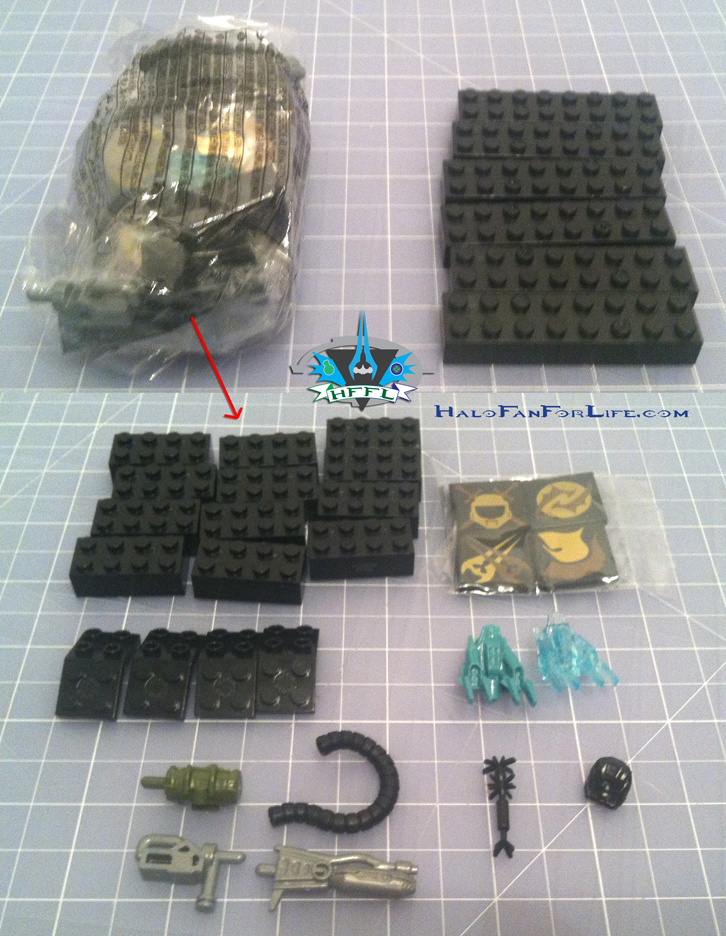
MB Ultimate Combat Pack contents 2You get a plastic bag and some more parts for the display stand. Within the plastic bag are the pieces shown above. It’s neat that Mega even included 4 tiles that show various emblems on them.
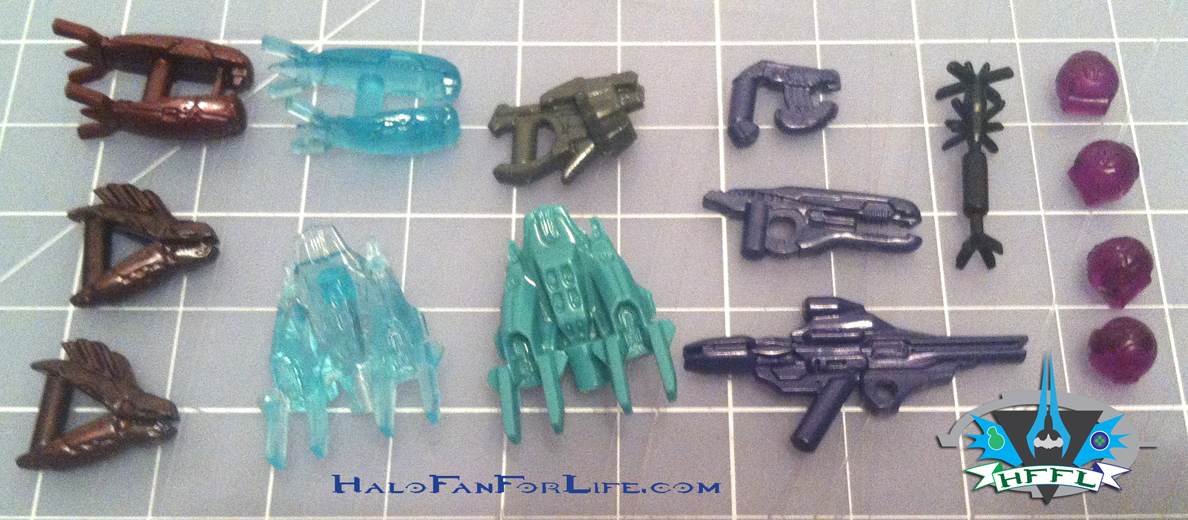
MB Ultimate Combat Pack weapons CovenantHere are all of the Covenant Weapons and Accessories in the pack. I do like that Mega made the one Plasma Rifle in Crimson, as that is the Brute’s color for the weapon. Of course, I’m very happy with the translucent weapons and nades. 
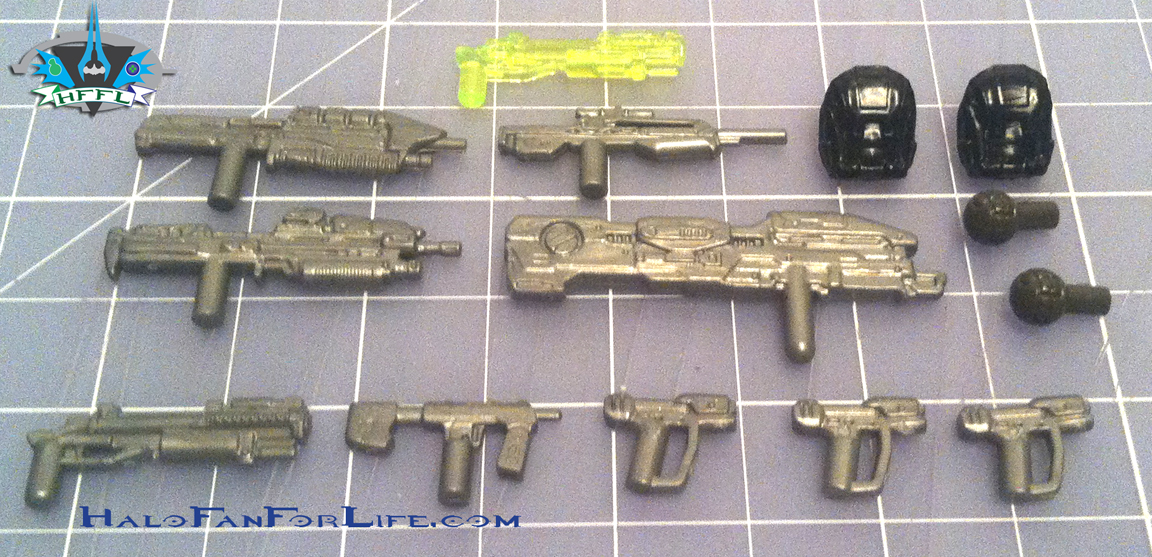
MB Ultimate Combat Pack weapons UNSCHere are all the UNSC weapons (sans Flamethrower). That A/C Green Nade Launcher is AWESOME!!! I do wish the silver weapons were painted, even if two-toned. However, given the excellent price of the pack, this is minor.
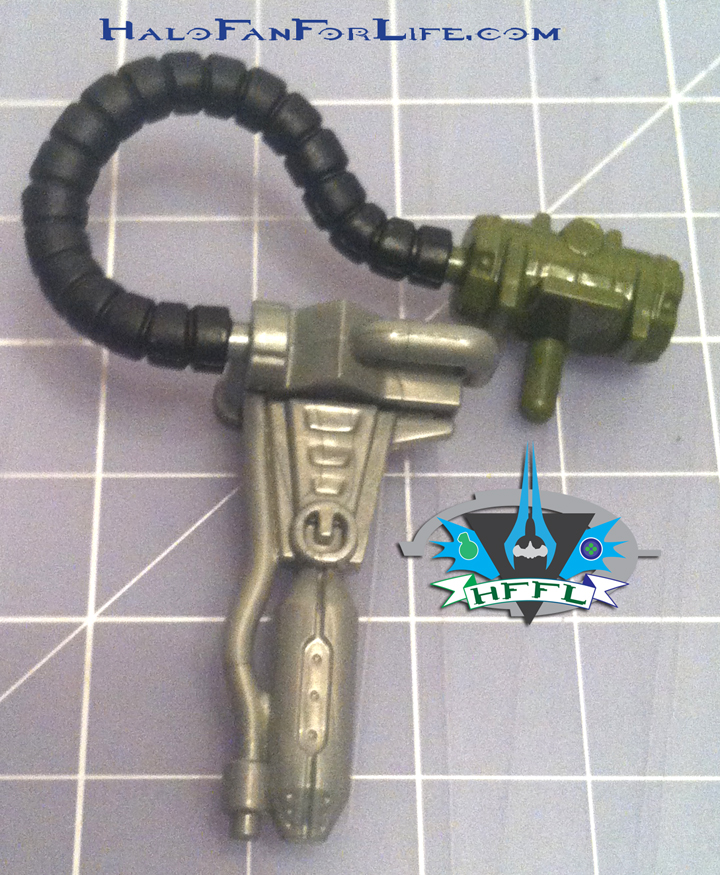
MB Ultimate Combat Pack weapons UNSC 2The flamethrower assembled.

Now we get to the minifigs. First up, the Elites.MB Ultimate Combat Pack minifigs ElitesWhat’s cool about this is now we have Orange Elites to match the Flood infected Orange Elites that came in the Flood Siege set last year. (Which I reviewed right here: https://halofanforlife.com/?p=2531)
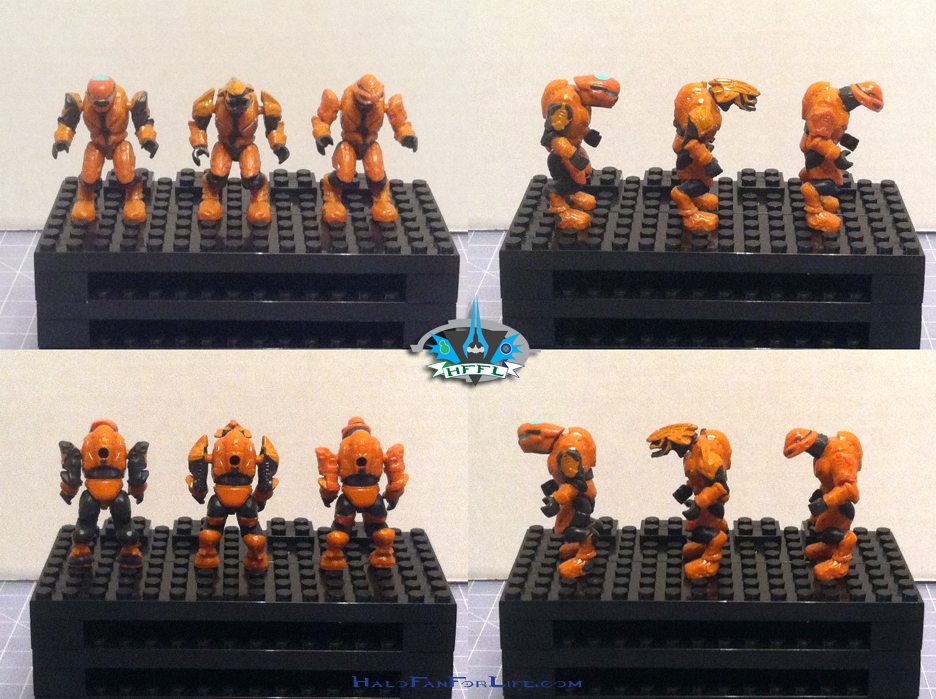
Next we have the grunts.
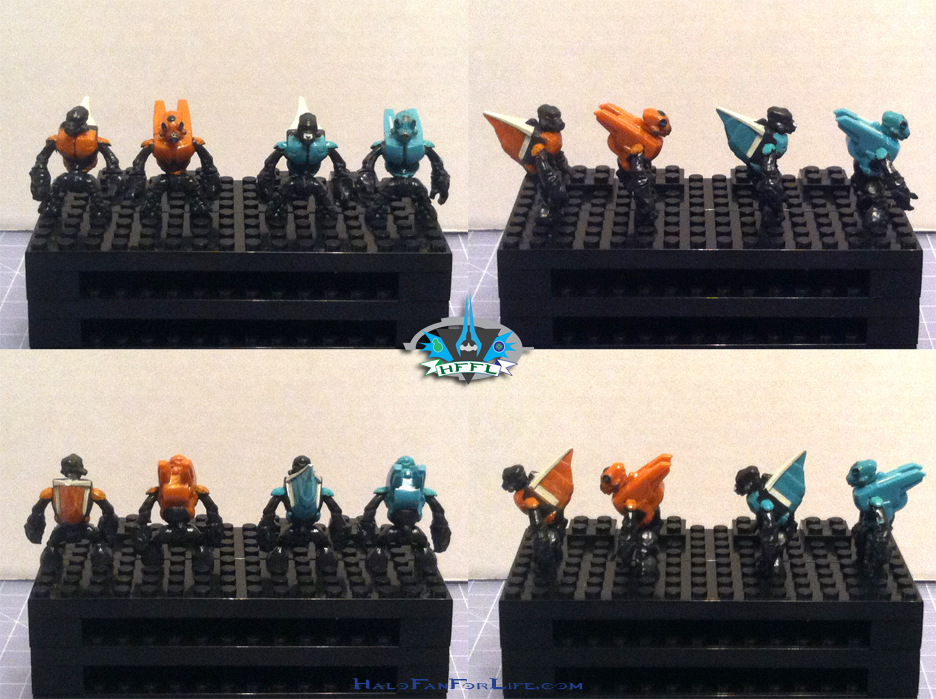
MB Ultimate Combat Pack minifigs Grunts
I love my Grunties! Can’t have enough of those little guys!
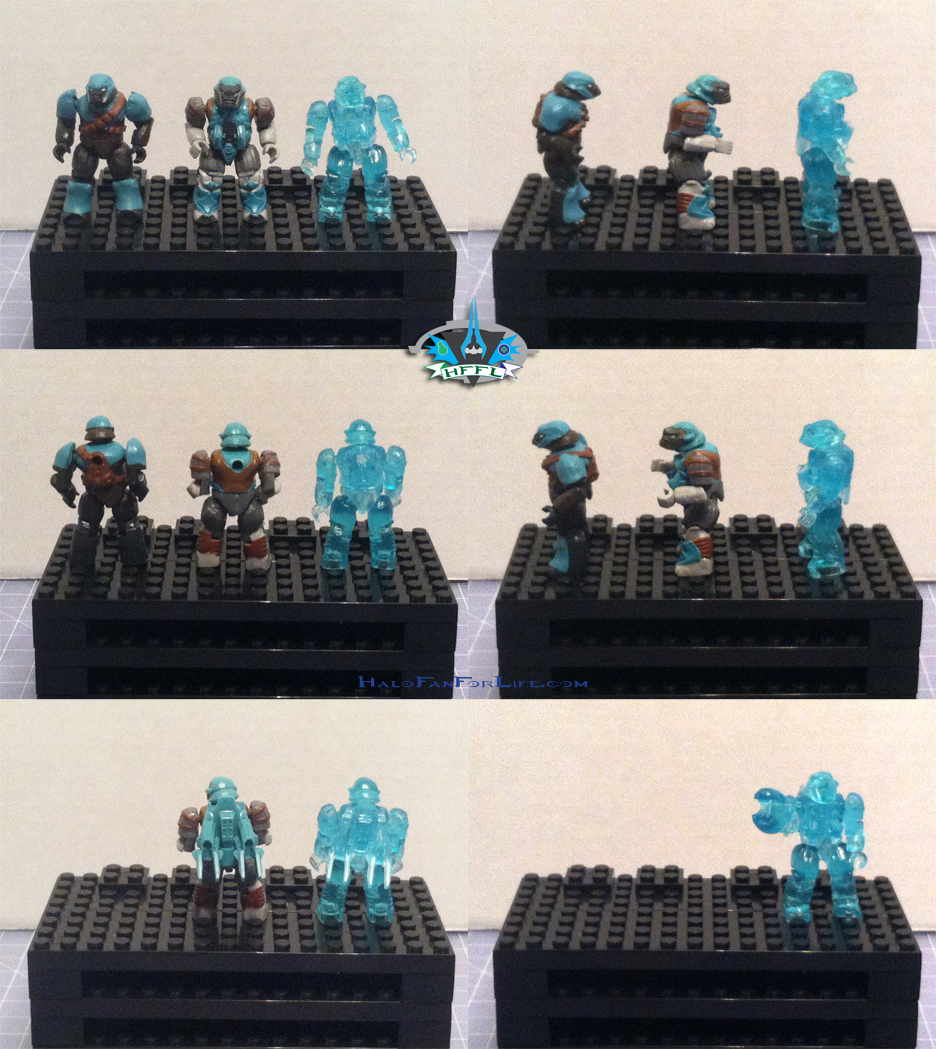
MB Ultimate Combat Pack minifigs BrutesThe Brutes are next. I’m actually digging this cyan color. I didn’t think I would, but out of the box, they look GREAT! And of course, you KNOW I was going to love the translucent Brute regardless!

We move on to the UNSC figs.MB Ultimate Combat Pack minifigs Spartans BlackI think Black is one of the best choices for color. They feel so Spec Ops/Special Forces/Seal Team, etc. While I am not a huge fan of the Security helmet, I know there are a lot of Halo Mega Bloks collectors that are. I AM a big EOD fan, so I’m happy to have that one.
Next up are the ODSTs and Flame Marine.MB Ultimate Combat Pack minifigs ODSTs MarineAs with Grunts, I don’t think you could ever have enough ODSTs. The color highlights for these two are fantastic. Not over the top team colors. Just nice metallic colors that fit well with the uniform. I’m happy that the Flame Marine comes in the green color. My favorite color for these Spartans is the default green. To me, it harkens back to the little green army men of old!
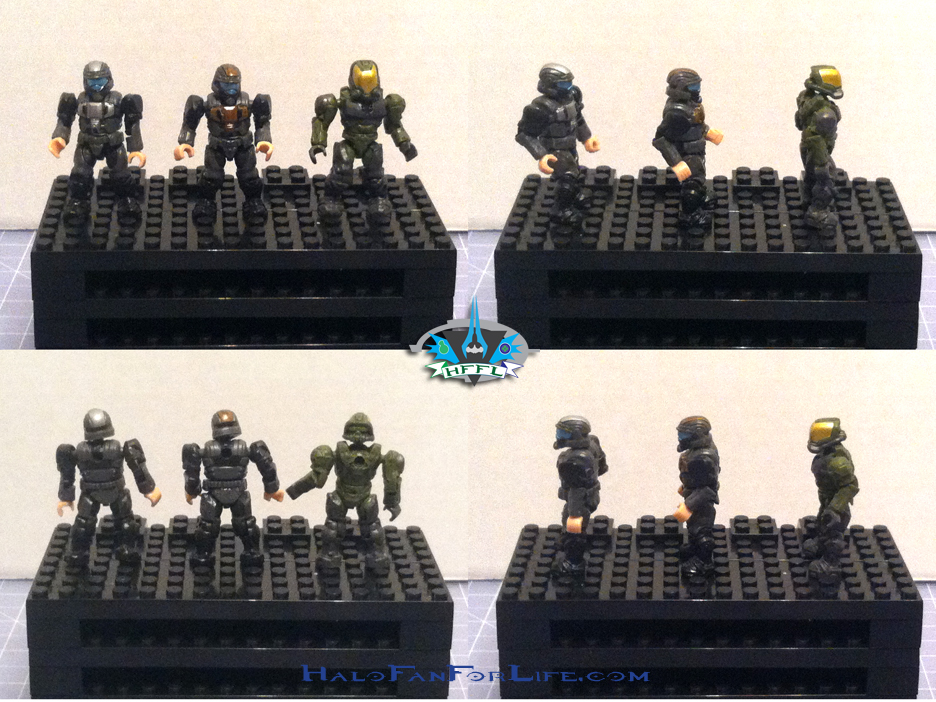
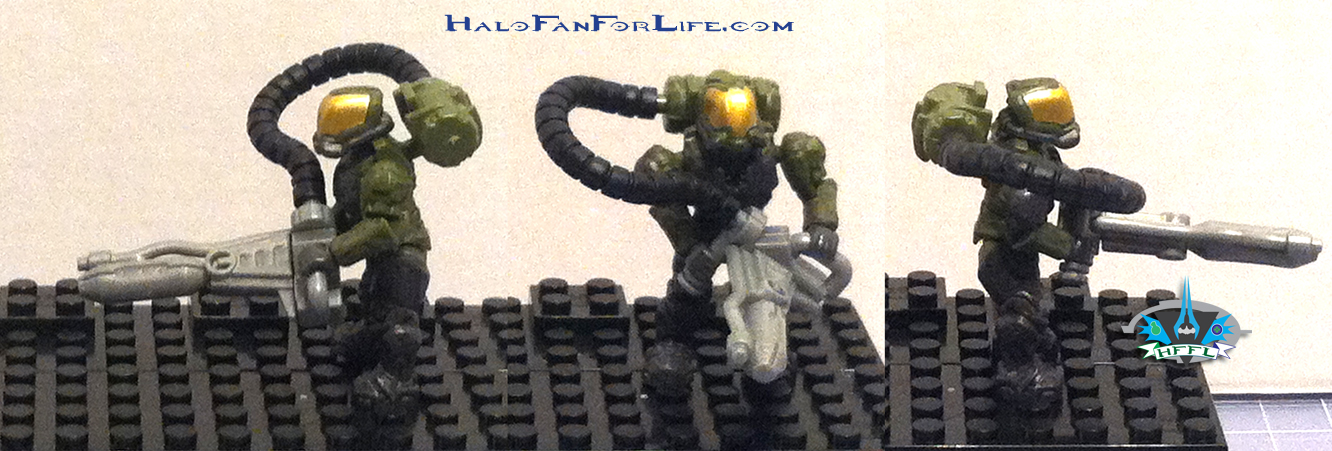
MB Ultimate Combat Pack minifigs Marine 2Some additional views of the Flame Marine, with the backpack on.

Finally we come to the Green Spartans.MB Ultimate Combat Pack minifigs Spartans GreenOkay, ONE guess which one is my favorite….LOL. First, I’m extremely happy to have CQBs. They were my favorite helmet back in Halo 3. I WISH they’d come back to Halo. Hopefully the next game! Recon is always good to have. Like the Security helmet, I’m not a huge fan of the EVA’s helmet. I think it has to do with having such a large visor. It makes me feel like they are less protected, even though they have greater visibility. Note the A/C Green CQB’s visor is painted!
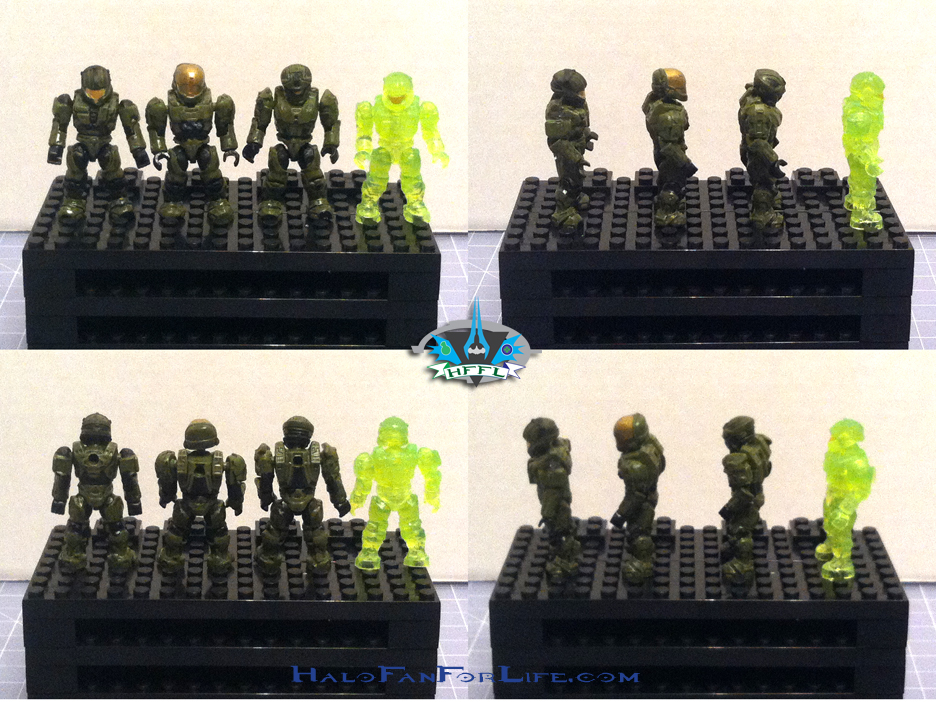
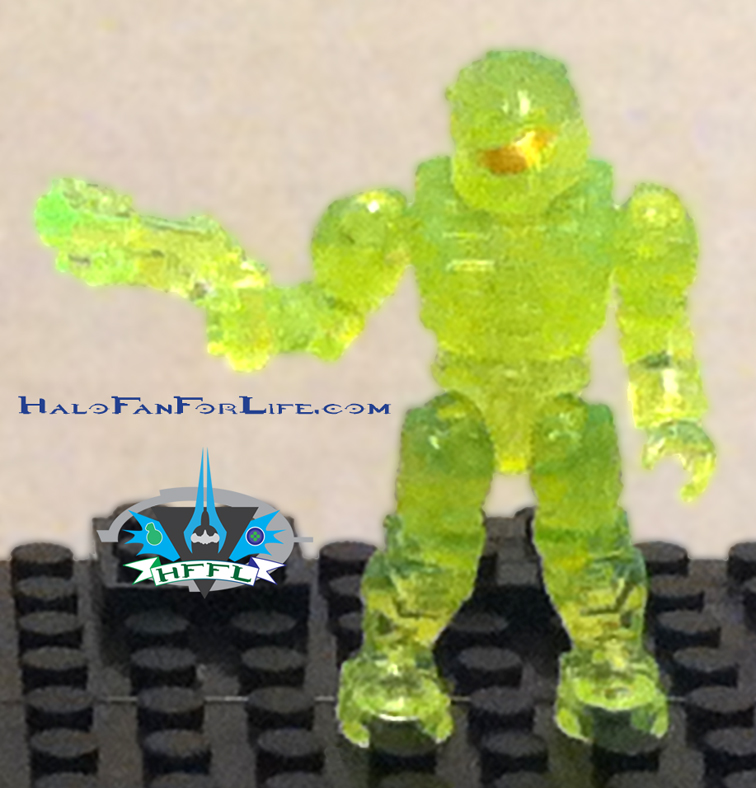
MB Ultimate Combat Pack minifigs Spartans Green 2One more shot of my favorite fig in the set!

And lastly, a battle has indeed sprung up!!!!
MB Ultimate Combat Pack Battle FIN


Summary: No time needed to build this as it’s just the figures, weapons and their stands. The figs came pre-assembled. This is an excellent set. The mix of Covenant and UNSC is good. The further mix of Brutes, Grunts, Elites, ODST, Spartan and the Flame Marine makes this a well diversified set and an instant army!

Now you might be wondering why didn’t I make the display stand? I usually don’t. I instead use these black parts for an ongoing project….

Even if you didn’t get it for the sale price, at $50 for 20 minifigs, that still comes to only $2.50 per figure. That’s 50 cents to $1 cheaper than the single packed mystery figures and you know exactly what you’re getting in this set! If you lucked out and did get this for the Black Friday sale, KUDOS to you. I was surprised by my wife with this. She was a bit of a sneak and ordered this online. Ha, if I’d have known that, i wouldn’t have gone shopping for it. Then again, I wouldn’t have been able to help that nice family and save the mom $40 on the two packs she got for her two sons. So I guess it worked out for all anyway.

Overall Rating: I give this set 9.5 out for 10 medals. The only very minor thing was the bland silver weapons. Had they been two-toned, this would have got a perfect 10 from me. Still, it’s TOTALLY worth getting, even at the full price! I’d highly suggest getting this soon if you haven’t already and are on the fence about it. It’s sure to sell out during the holidays and I don’t expect Toys R Us to get a replenishment of them any time soon.

Thanks for reading and let me know what you think of the review. If you have this set yourself, please give me your thoughts on it too!

-Sal
Halo Mega Bloks custom Cryo chamber!

Over the next few days, I’ll be posting some Halo Mega Bloks customs. Since it’s the Holiday season, a time known for toys, I figure why not show off some impressive customs.

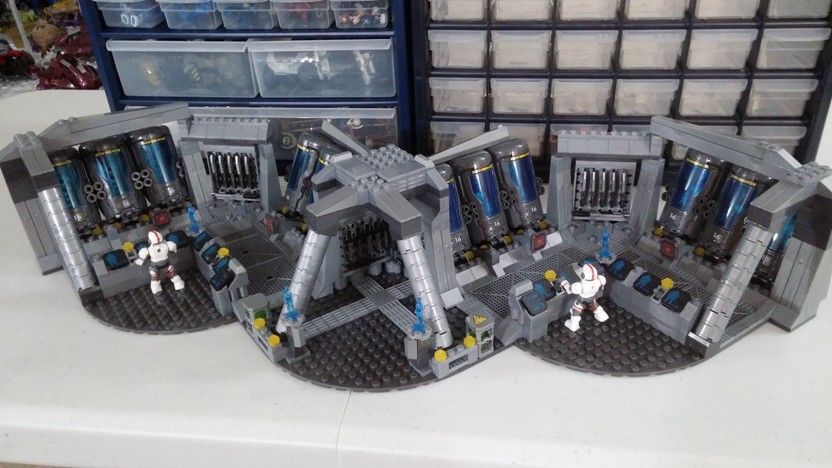
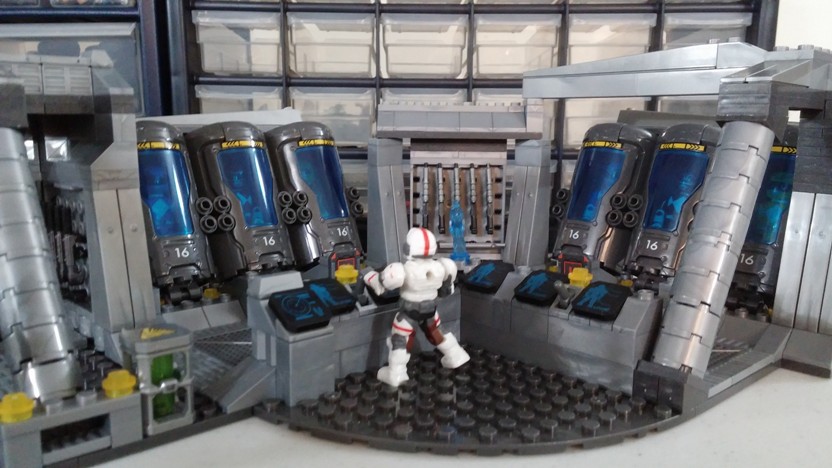
This one actually came to light to me just a couple of days ago. It’s made by a fellow Halo Mega Bloks fan, Dielectric. This is his custom build of a full  bay cryo chambers.

Dielectric: I broke my phone last month, and was holding off until I could get a new Blackberry. I eventually decided to get a smartphone, and give up my qwerty. What does this have to do with anything? An 8MP camera, that’s what. I can now take pictures of my customs that have been collecting dust. 😛

First up: a Cryo Bay. I had several concepts before I went ahead and built it. First, it was an exposed two storey affair, but I lacked the bloks to do a decent job filling in the gaps. Next was a boring straight depth design. I went with a diagonal spread in the end, although I still lacked the bloks to fill in all the gaps in the back.

Di Cryo Top view

Built mainly using 12 Cryo Bay sets, along with pieces from Highgrounds, Cauldron Clashes, and an AA Turret.

Di Cryo Horiz view

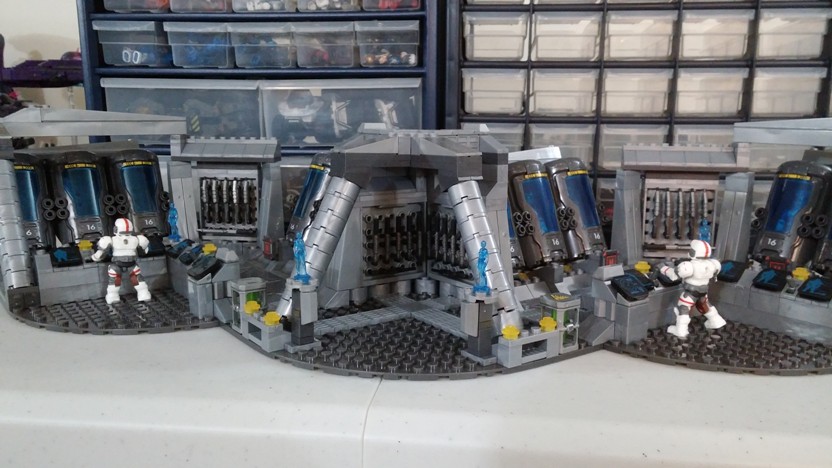
The concept was to have the bay adjust curves of the ship. The support struts make it feel more like its somewhere in the bowels of the ship, rather than a spacious area.

Di Cryo Close-up

The precious cargo sleeps until they are needed…

HFFL: I have to say this is an AWESOME custom build. It’s amazing what some people can come up with, especially given having enough extra pieces to work with. Look close at the people in the cryo chambers. They are not Spartans…LOL

Halo Toy Review: Mega Bloks UNSC Mammoth; Part 4 Weapons, Wheels, Minifigs and more!

Ah, here we are at the final part of the four part review of the Mega Bloks UNSC Mammoth. It’s be so much fun so far. This last part brings it all together!

The next stage in the build is the Mini-Mac turret on the top rear of the Mammoth.
MB Mammoth Mini Mac
MB Mammoth Mini Mac 2
MB Mammoth Mini Mac 3
MB Mammoth Mini Mac 4
MB Mammoth Mini Mac 5
MB Mammoth Mini Mac 6 underside
The above pic shows where the turret will attach to the Mammoth.

Next up is the cannon portion of the turret.
MB Mammoth Mini Mac 7 cannon
MB Mammoth Mini Mac 8 cannon
MB Mammoth Mini Mac 9 cannon attachment
MB Mammoth Mini Mac 10 cannon attachment
MB Mammoth Mini Mac 11 cannon attachment

Next are the two Rocket Launchers. I’ve shown one in parts and one completed. This is the same Rocket Launcher design that comes with the Rocket Launcher Warthog, other than the color.
MB Mammoth Rocket Launchers

MB Mammoth Rockets and Mini-Mac
MB Mammoth Rockets and Mini-Mac PROGRESSThat turret really added some bulk to the top of the Mammoth! It’s almost done now. It just needs some mobility…. 

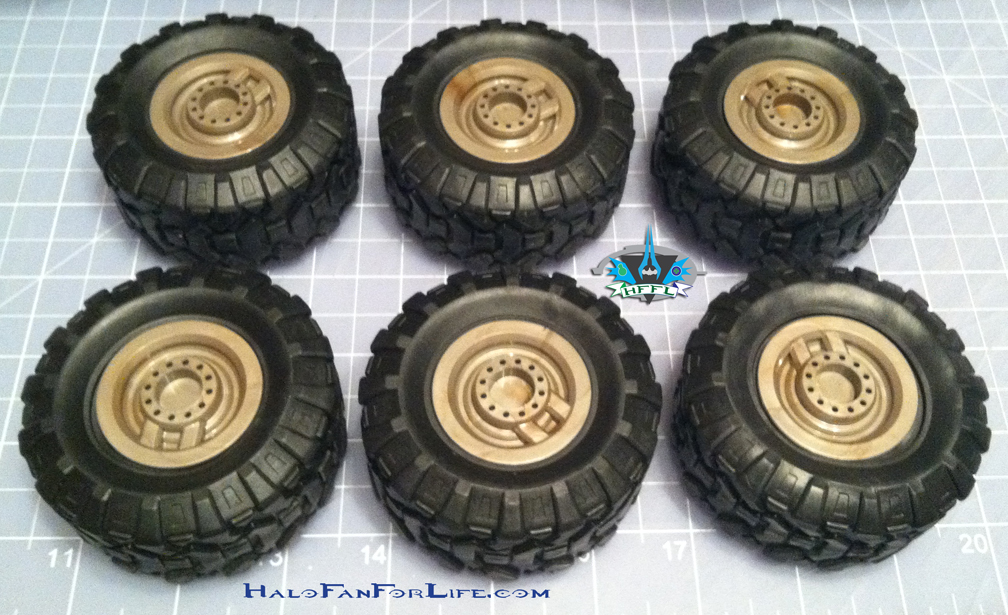
MB Mammoth WheelsThe wheels are the same as the ones with the Anniversary Warthog, except the hubcaps are of the Mammoth design.
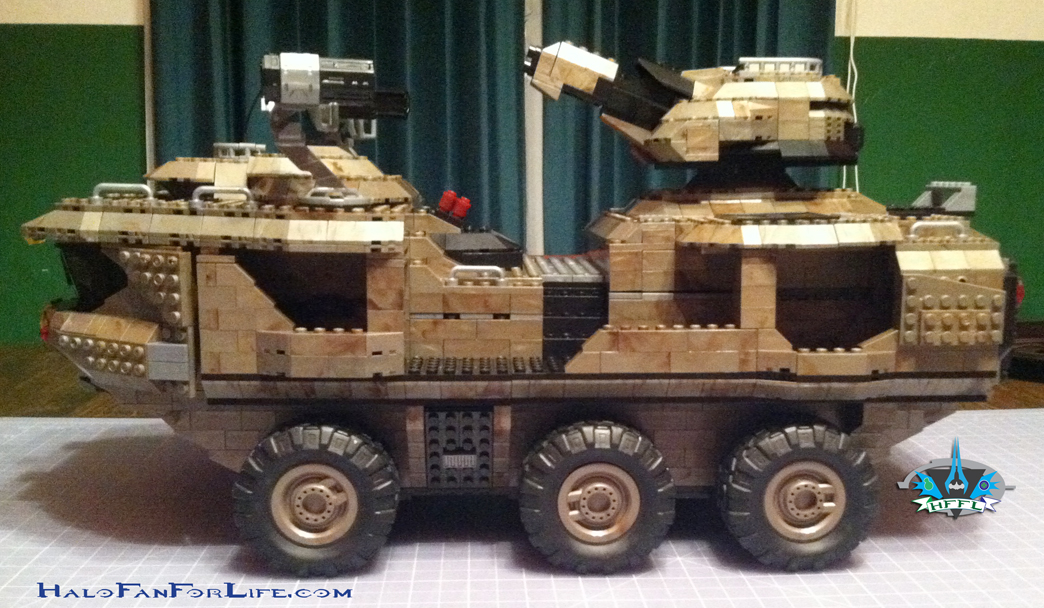
MB Mammoth Ortho Side
Here it is!!! A BEAUTY!!! It’s MASSIVE. Mammoth you might say…
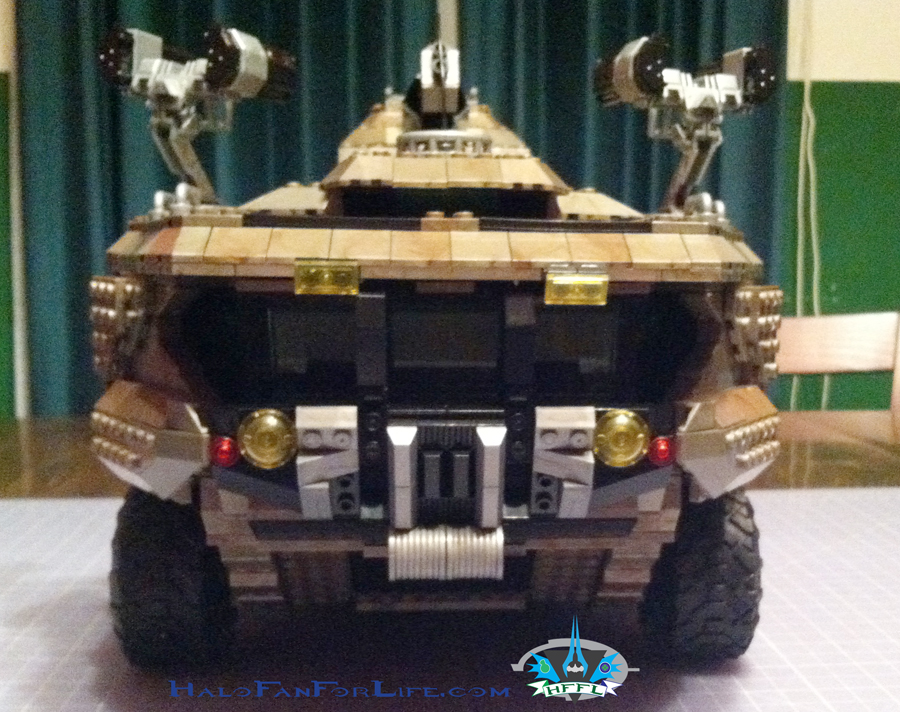
MB Mammoth Ortho Front
The front view finished. Wow, that command deck looks sweet. The tires add just a little bit of height, but they really do help to complete the model.
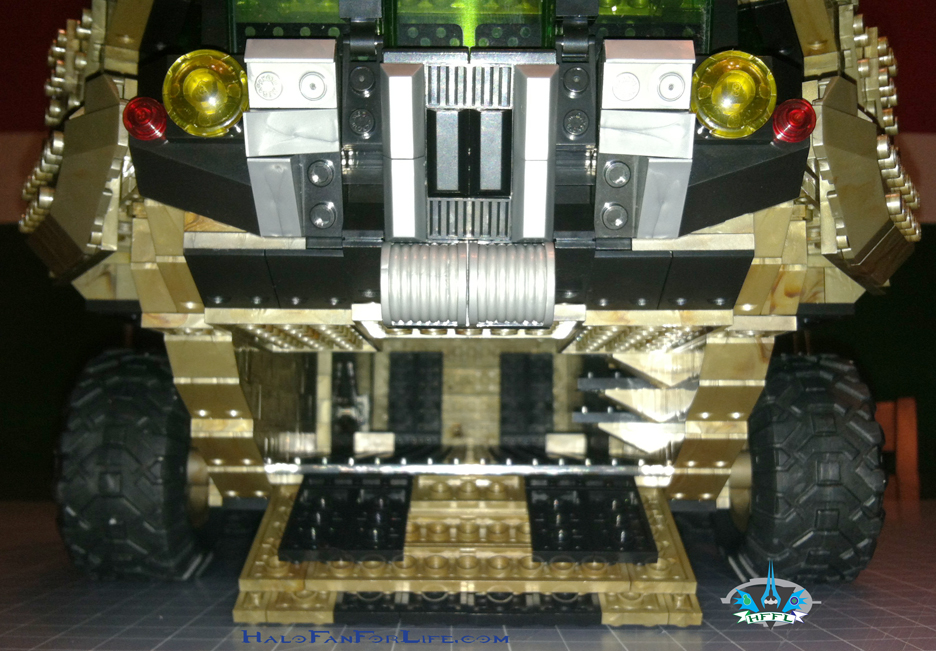
MB Mammoth Front ramp
This would be the grounds eye view of the Mammoth if you were a minifig. You can see from this perspective how long the inside is. Also note the steps to the right of the pic inside the Mammoth.
MB Mammoth Ortho Back
The back view. With everything complete the rear of the Mammoth looks powerful! I believe those are heat vents from the Mini-Mac.
MB Mammoth Back ramp
The is the shot from the back with both the ramp and the upper flap opened. Just look at how cavernous the inside looks from this perspective! Again you can see the steps, now on the left. And the Command Deck farrrr away.

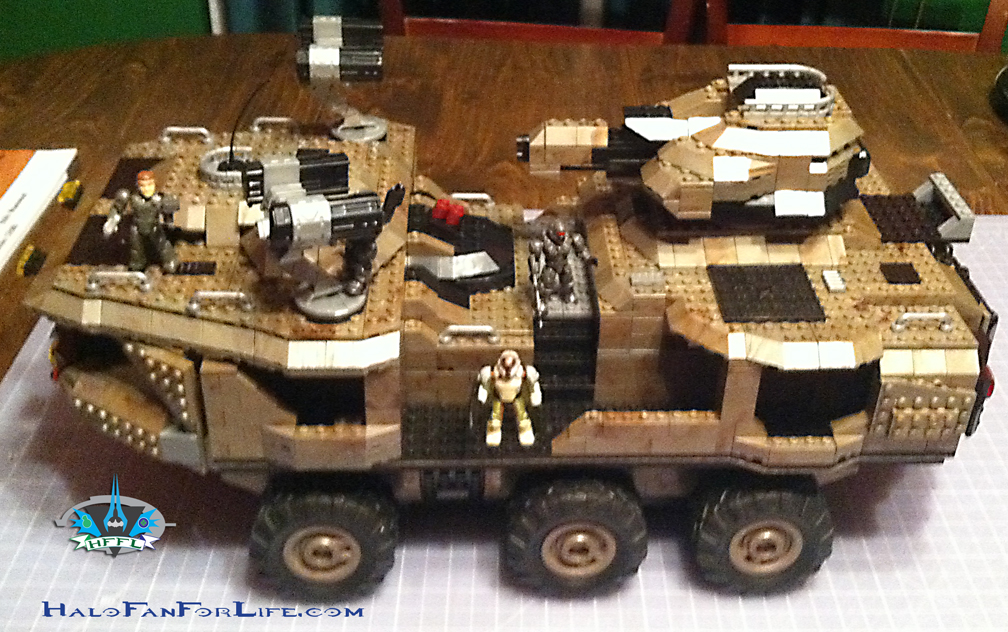
MB Mammoth Roof panels offThe pic shows the Mammoth with all three of the roof panels set aside. As I mentioned in one of the previous parts of this review, this set is MUCH more than a vehicle. It’s a WHOLE playset!

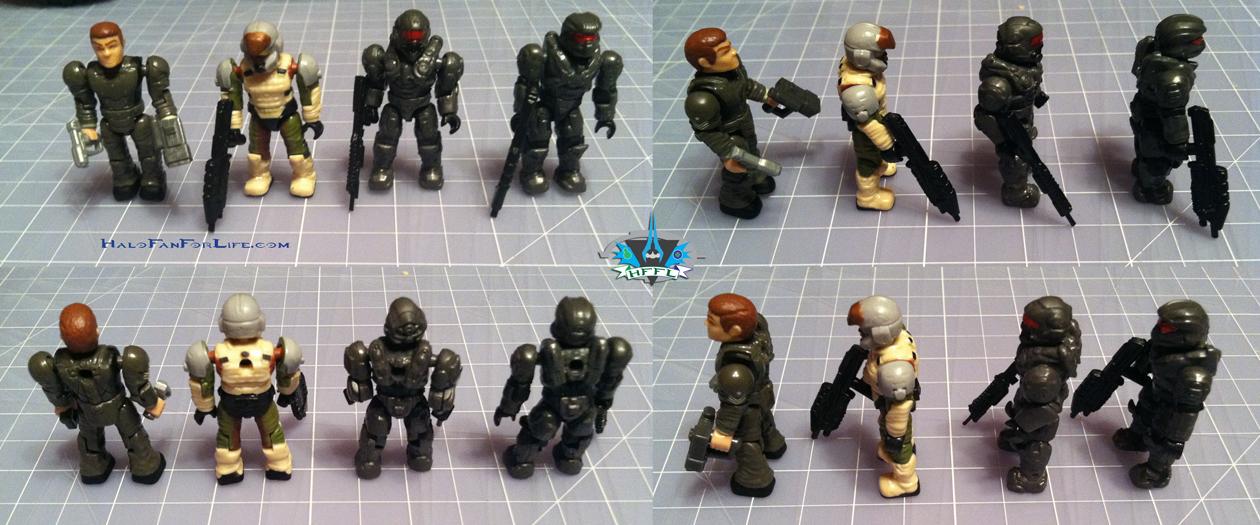
MB Mammoth MinifigsHere are the minifigs. From left to right: Commander Lasky, UNSC Marine (w/brown skin), Spartan Operator, Spartan Recruit. I had thought the two Spartans were going to be part of Fireteam Majestic. Unfortunately the armor color is dark grey and the visors are red. So clearly these are not Majestic. Sadface…. Then again, I can understand why MEGA wouldn’t want to do that. Imagine if you HAD to purchase this just to complete Majestic. That might irk some consumers. So I’m cool with it. Though, that Lasky figure is a huge draw too. Hopefully, he’ll be released in a future set.

Here’s the finished set with minifigs in place.
MB Mammoth FIN

And finally for pics we come to the leftover parts.
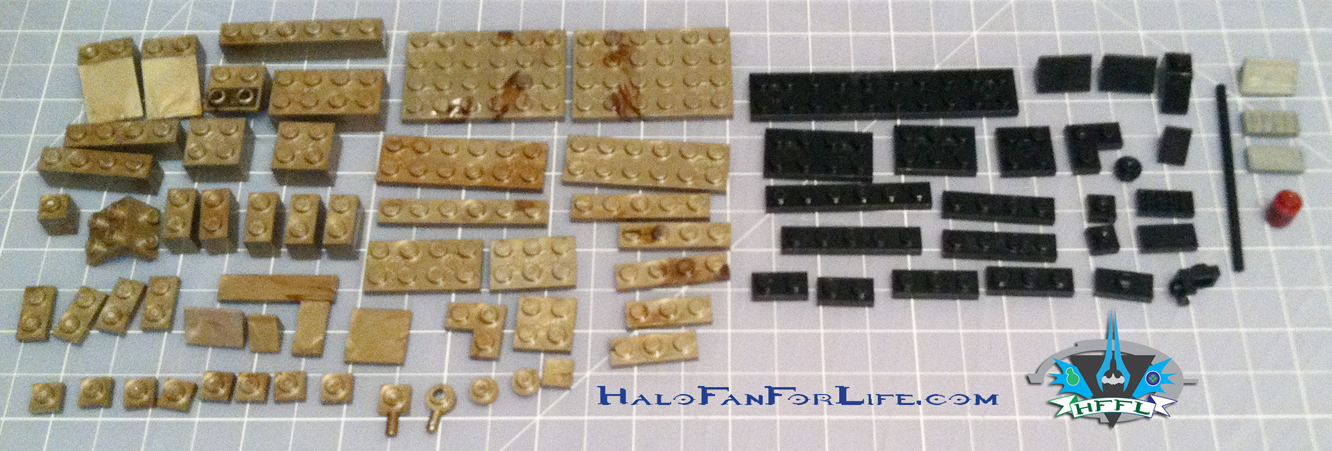
MB Mammoth Leftovers
As you can see there are PLENTY of part left over. Hmm, so what can I make with those???

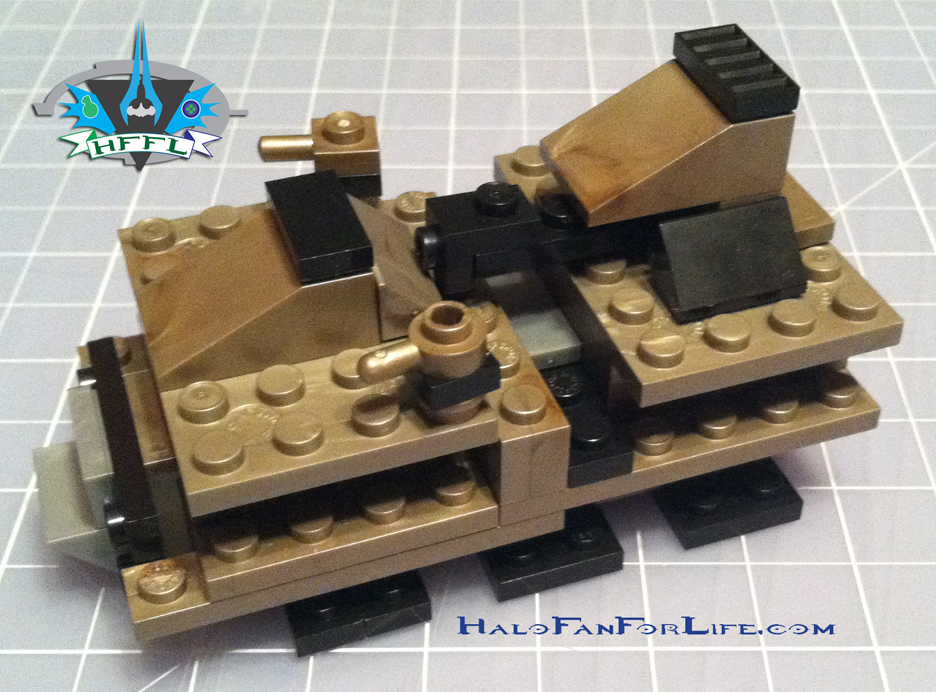
MB Mammoth Mini-MammothWhy a Mini-Mammoth of course! (Well, as close as I could get to one with the parts left over.)
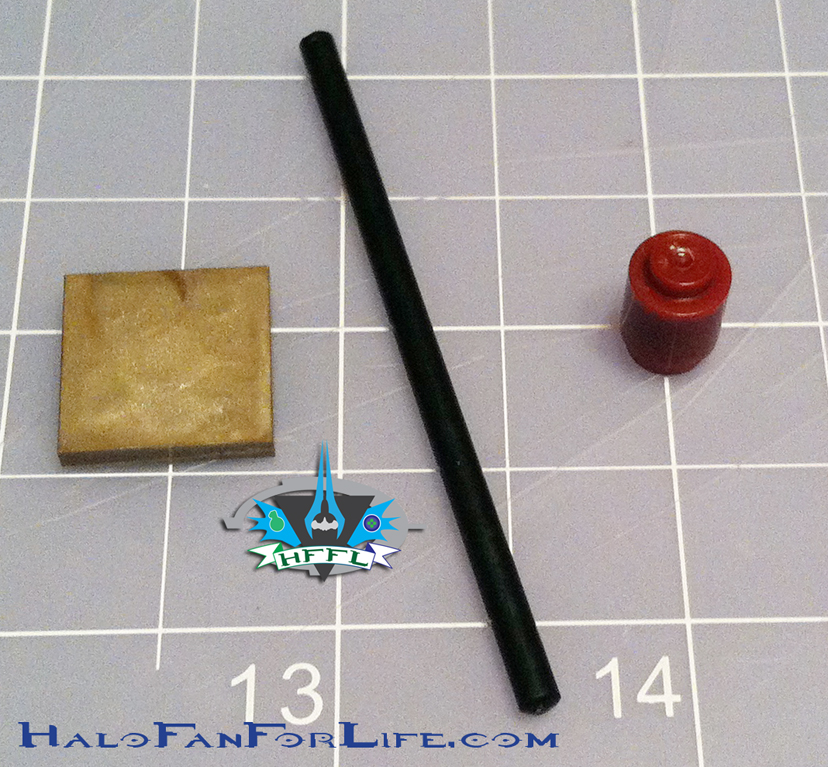
MB Mammoth Leftovers UNUSED
Only these three parts remained unused from the leftovers. I’ll probably put them inside the  Mammoth attached for safe keeping.

Whew, so that’s the whole build of the Mega Bloks Mammoth. Okay, so let’s get to some specifics here.

First, I know this isn’t to scale. However, does that bother me? NO WAY! This really is big enough. WHile it would have been awesome to have one to scale, it would have been MUCH bigger and much more costly because of it. To scale with the mini-figs, we would probably have had a $400+ model, rather than the $180 that it is now.
Speaking of price…I think it’s TOTALLY worth it! You get more than 2,000 pieces with this set (not to mention those extras). Factoring in my usual 10 cents per piece, the set should have been over $200. Instead we get a break of about $20. (Yes, this is all in U.S. dollars, sorry overseas folks). When you consider the Forward Unto Dawn (FUD) set from last year, that set had almost 2900 pieces and cost $70 more than this, I think we get the Mammoth for a great price. It’s worth it’s weight in value, in my opinion.
Now as to the inside not being accurate to the game, while I would have loved that, again, it would have meant the model would have to be bigger and again more expensive. I think MEGA found a GREAT way to bring this vehicle to market, even making those scale and accuracy compromises. I really will not fault them at all. This is an AMAZING set.
As to the figs, while I wanted more of them with this set and originally it was shown that way in a prototype shot, I’m fine with what is included.

The set is VERY sturdy. The only very slight issue for me was the back ramp. When I close it, I have popped off two thin plates. They are easy to put back on, so no worry. Just be aware of that, should you get this. Again, not a big deal. The model does have some weight to it, so I wouldn’t recommend it for small children. Use your own judgement there though.
I did have a couple of defective parts. As mentioned in other parts of the review, the Roland Dias wasn’t working, and there was that one defective part on the front roof panel. AS well, you may have noticed that my Mammoth doesn’t have any of the stickers attached. That’s due to the sticker sheet being damaged. I think some moisture must have got onto it somehow as my stickers were curling up off the backing. When I tried to place a couple of the stickers, they wouldn’t stay in place for more than a few seconds before peeling off. The remedy was to call MEGA’s customer service number and ask for replacements. I was greeted by a very nice lady by the name of Pat. She took my order for replacement parts with no issue. I should receive those in a couple of weeks. When I do, I’ll post a short follow up to this review to show the new pieces in place and working, as well as the model itself with all of the stickers in place.

So you’ve likely been asking, “How long did this take to build?” Well, I can say it’s NOT likely a one-sitting affair. Hmm, though if you start early enough in the day, maybe… I took my time with it and marked clear goals for each day I worked on it. Mind you, my sorting process is likely longer than most due to my stacking pieces. However, I believe that actually helps me in the long run of the build as I can count pieces out faster on the fly. So the sorting time is negligible in comparison to the rest of the build. All told, sorting time was 3 hours. Lots of big parts and bags that were filled with only one kind of part made this a VERY easy sorting process and relatively quick, considering the piece count. The building time was just slightly over 6 1/2 hours for me. The building time was split over three different days about 2 hours each, with the last day being the longest of the three at 2 1/2 hours. Again, comparing that to the FUD, that’s pretty quick as it took me 5 hours to sort those pieces and 10 hours to build the FUD.

The dimensions for the set are as follows:
Height: 9.5in / 24.13cm
Length: 19in / 48.26cm
Width: 9in / 22.86cm

I have to say that the Mammoth is absolutely my favorite MEGA BLOKS set to date and will likely hold that title for awhile. Only a very few other ideas for sets might top that. Those being a Scarab or the UNSC Infinity. We’ll just have to wait and see.

So how do I rate this? Well of course this gets a 10 out of 10 medals. Again, for the scaled down version and some structural changes from the in-game model, this is still an absolutely FANTASTIC set! I’m just glad (a family member that I’m not allowed to disclose-not my wife) got it for me for Christmas. I know I wouldn’t have been able to afford this otherwise. If you’re lucky enough to afford one, GET IT! If you need to think about it some more, pour over the 140 or so pics from the 4-part review I’ve done for this and think about it some more. This is SURE to become a valued set of Halo collecting in the future.

If you have ANY questions regarding the set, please feel free to ask. I think I’ve covered just about everything in the review, but I might have missed something.
Also, please let me know what you’ve thought of the 4-part review as a whole. Click reply below. If you haven’t yet registered, please do. Click the link in the menu bar above for directions on how to register.

Thanks for taking the time to read my review of the Mega Bloks UNSC Mammoth.
-Sal
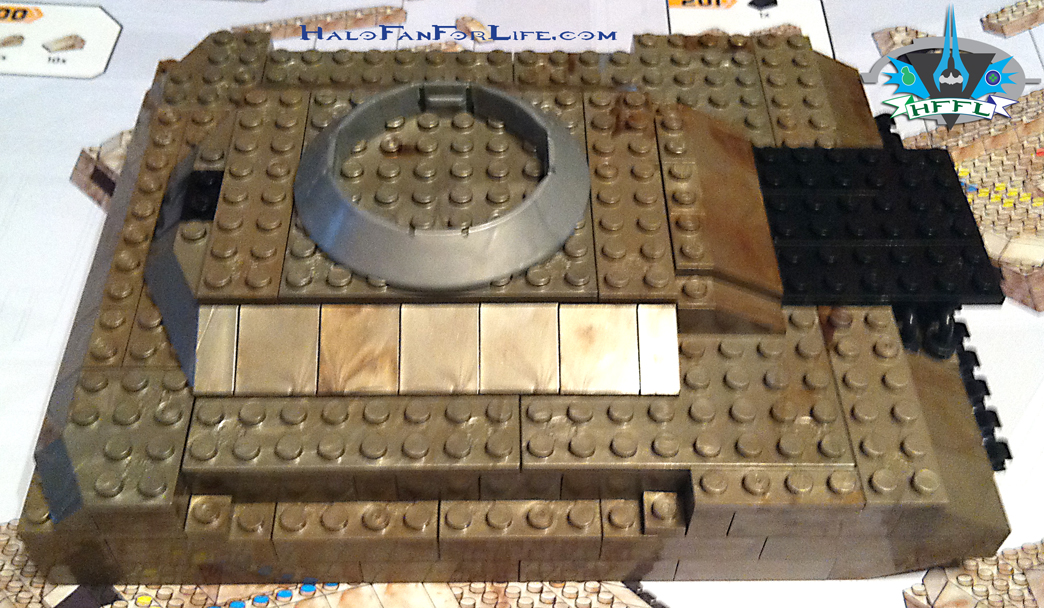
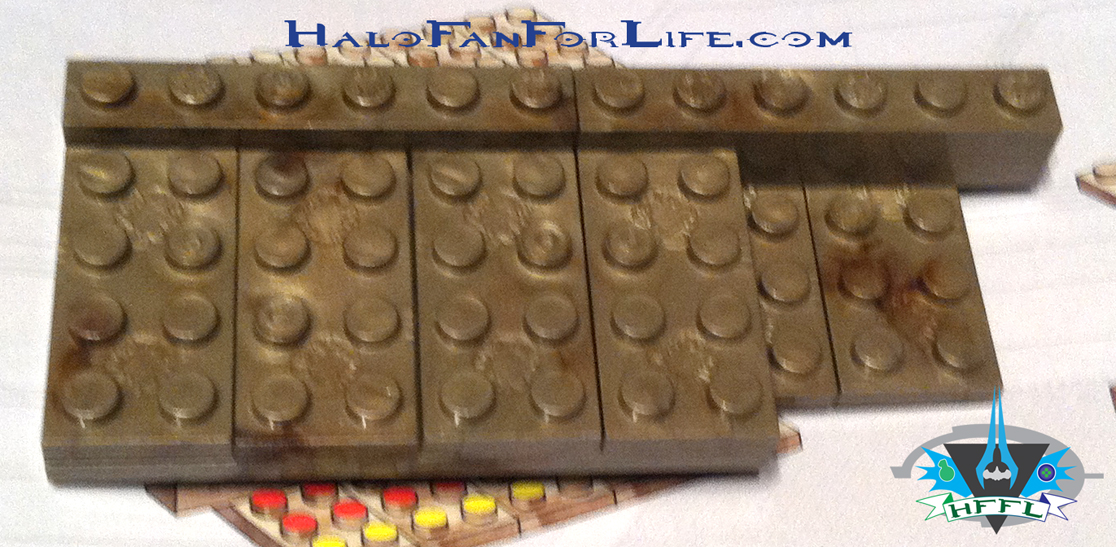
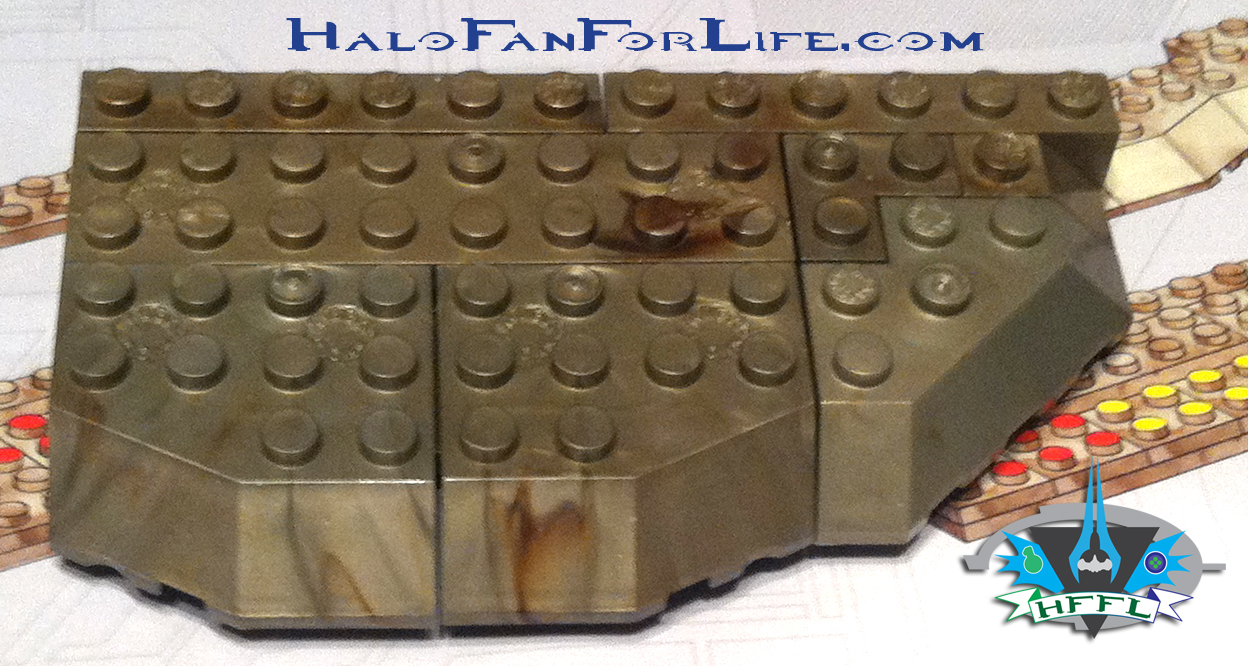
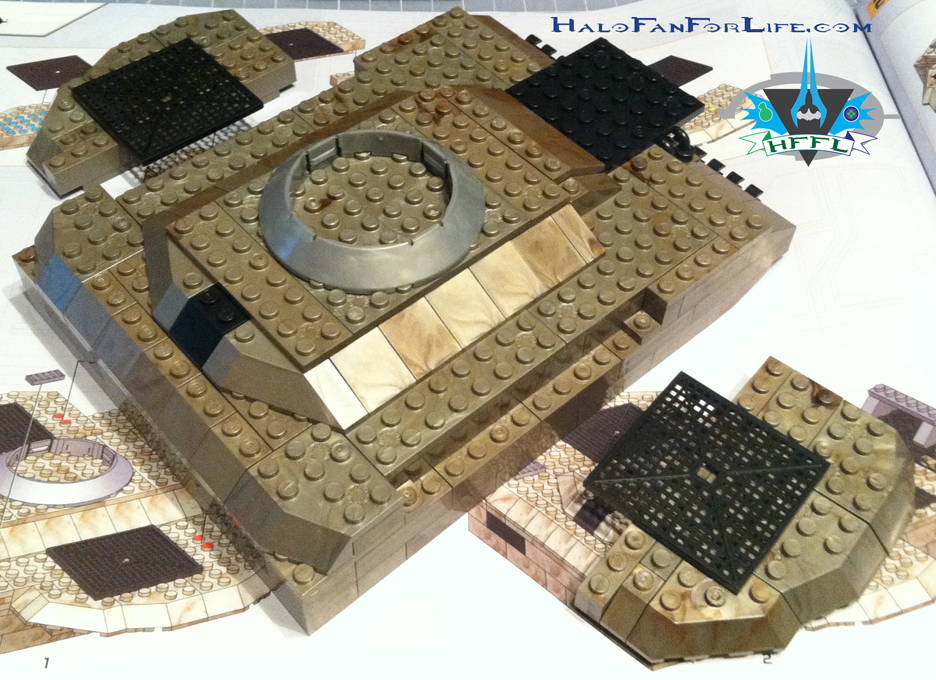
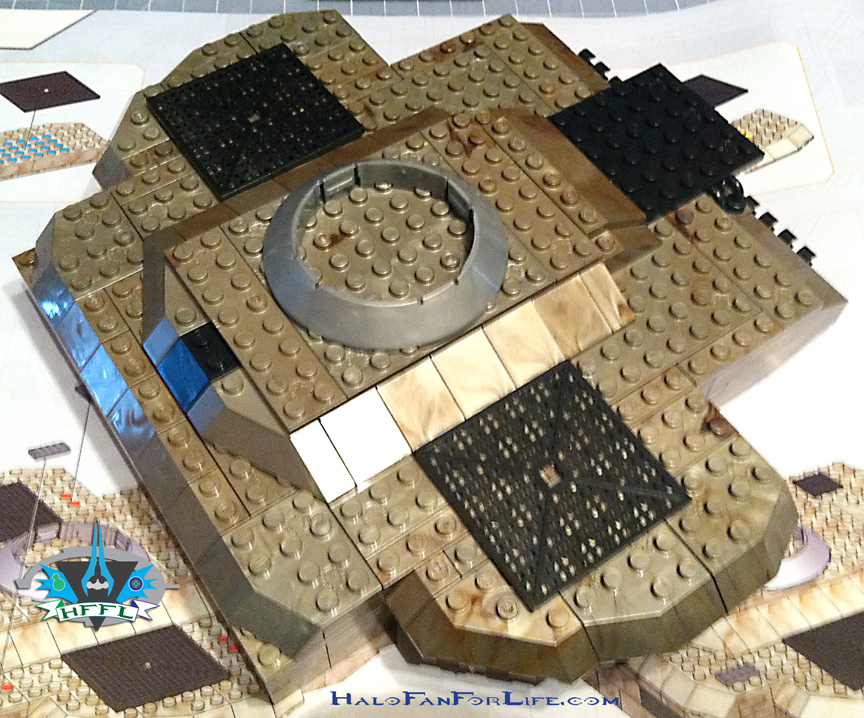
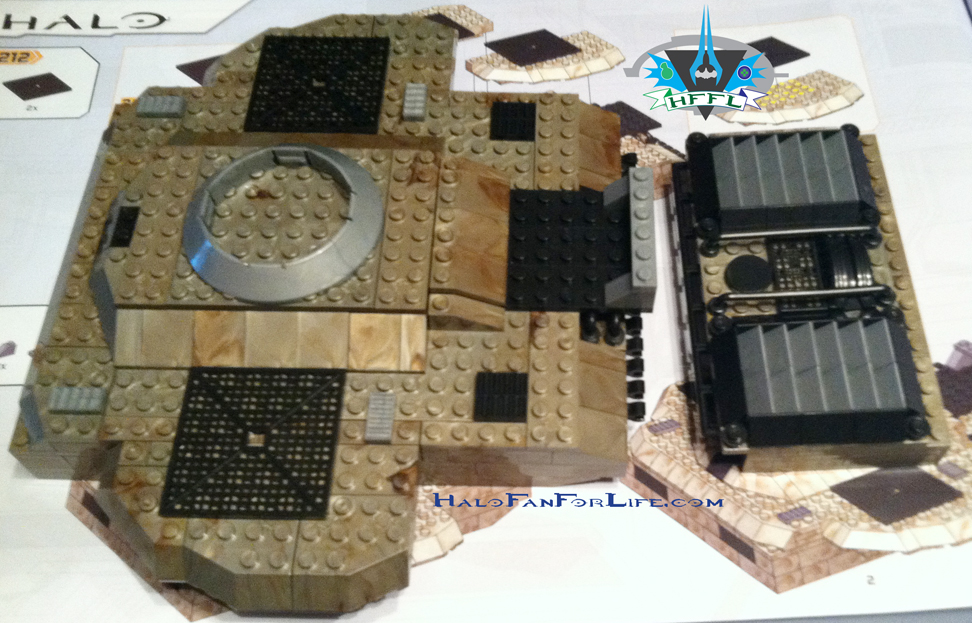
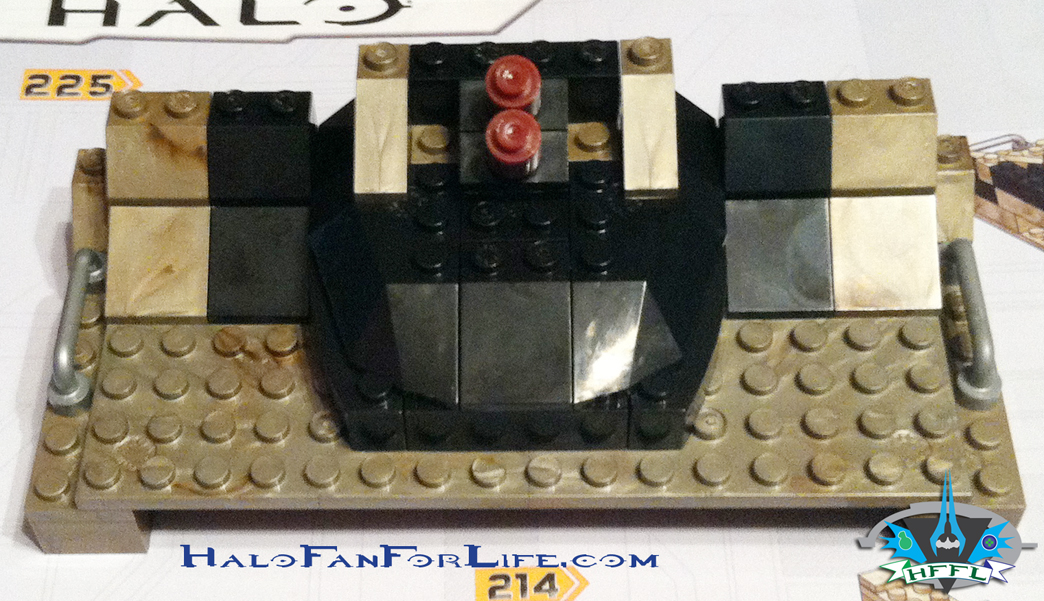
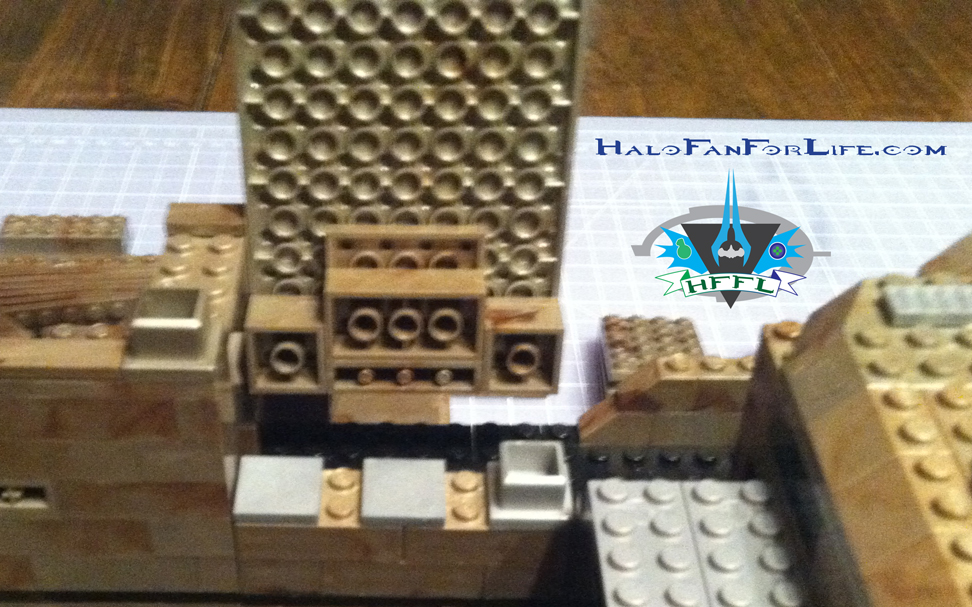
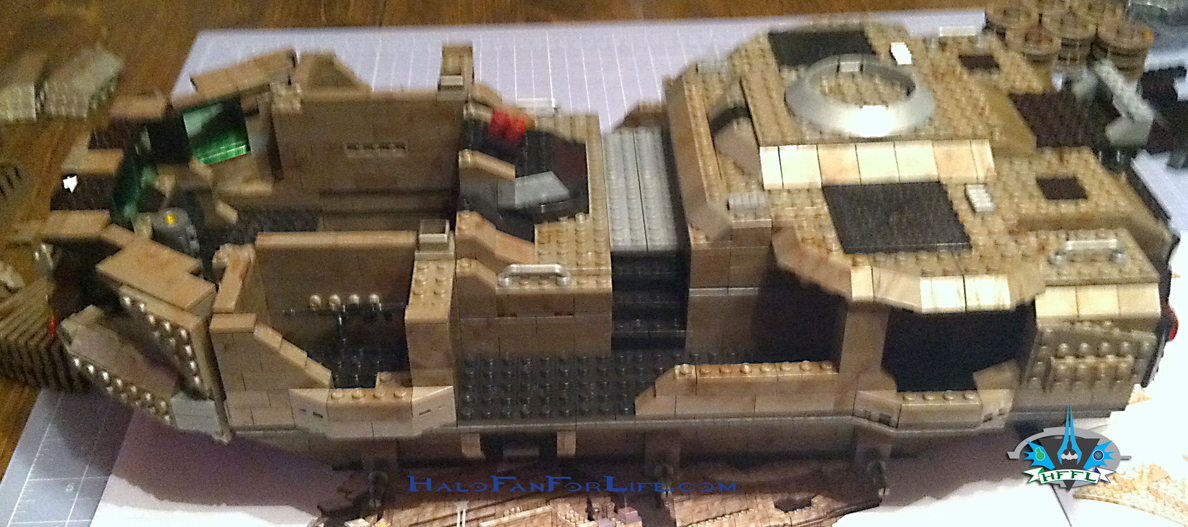
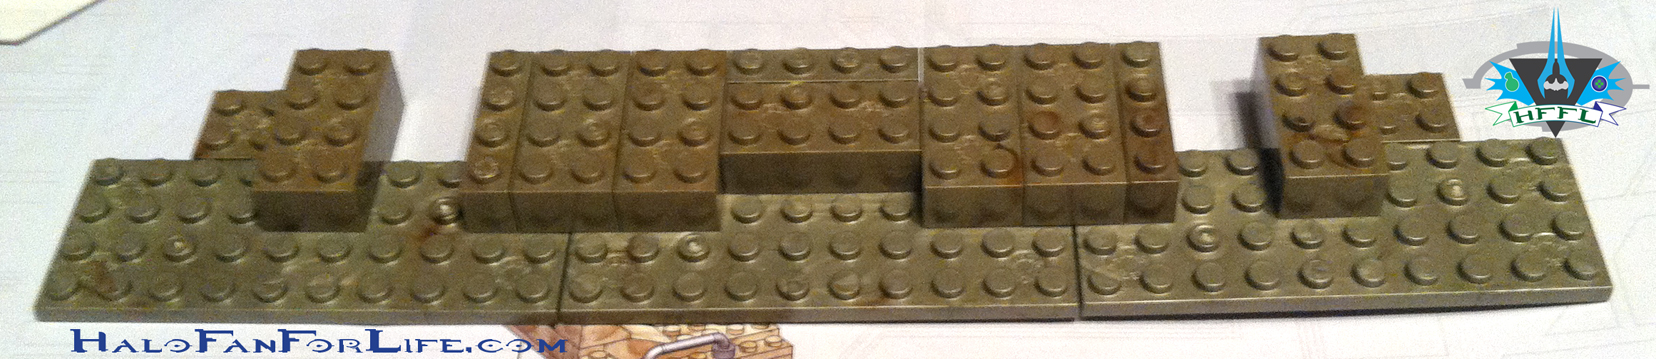
Halo Toy Review: Mega Bloks UNSC Mammoth; Part 3 Removable Roof Panels

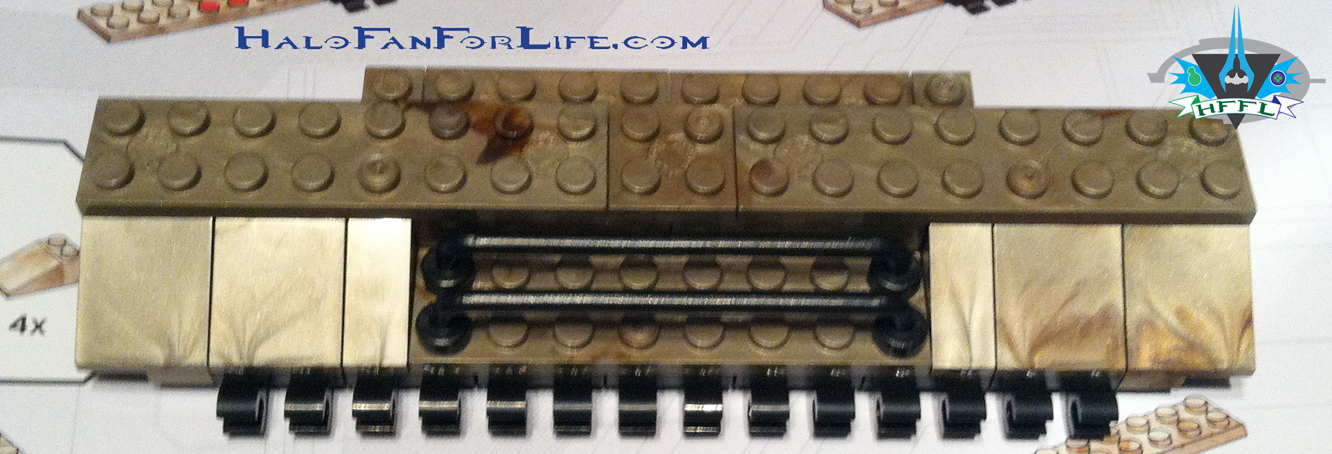
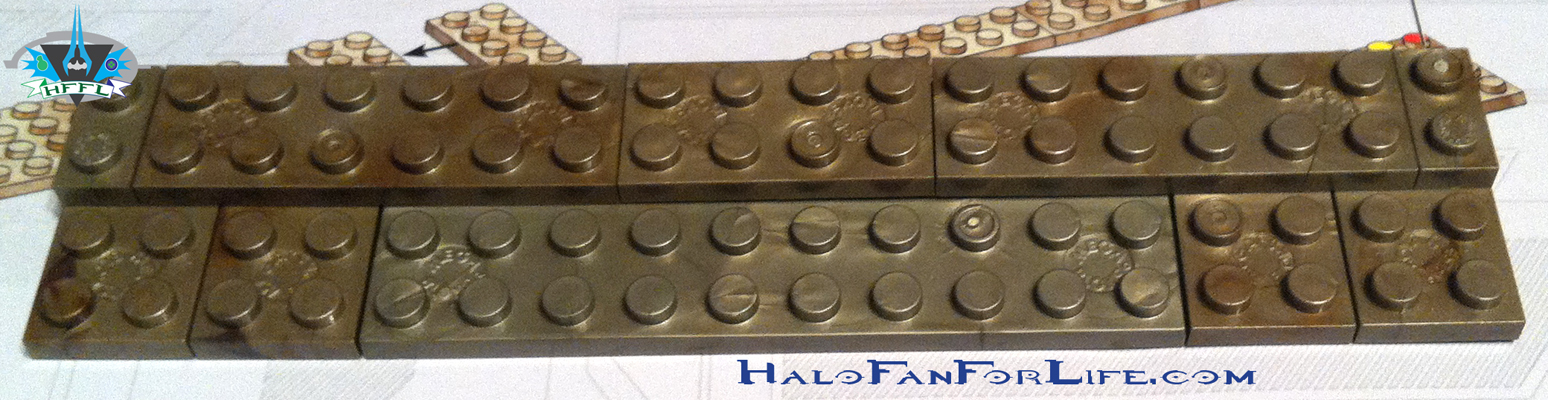
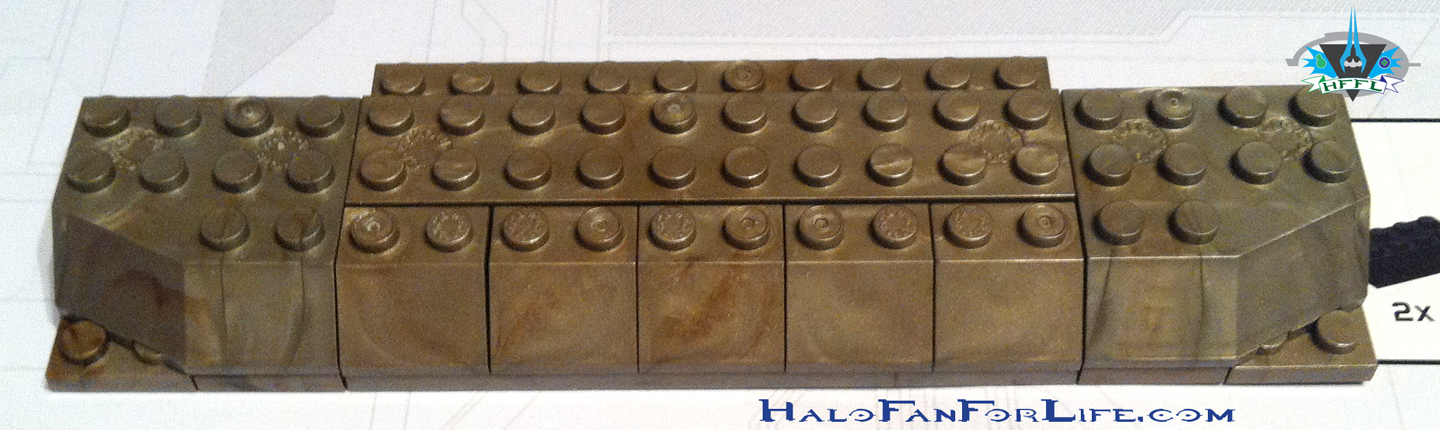
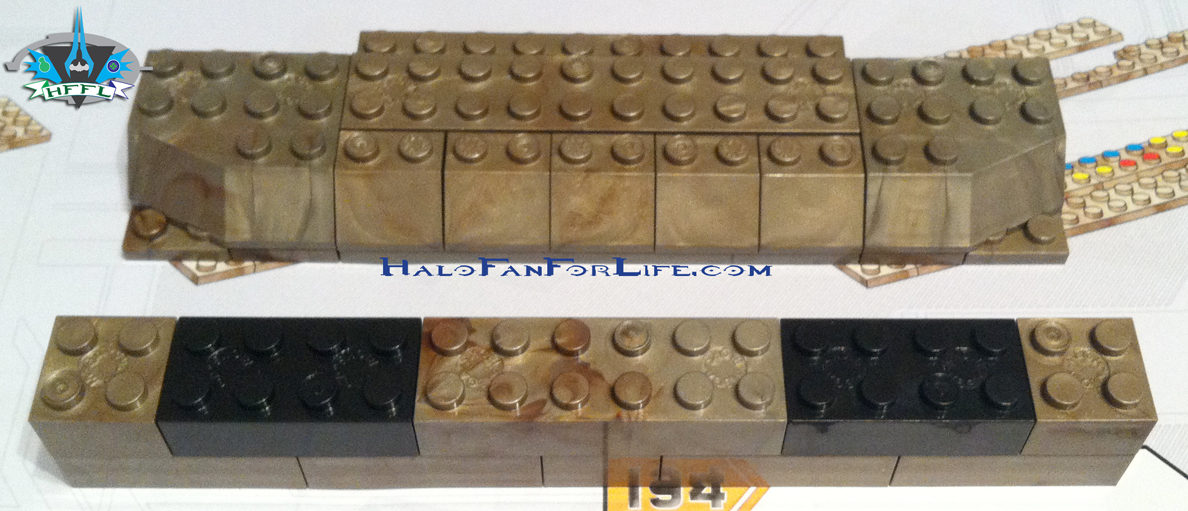
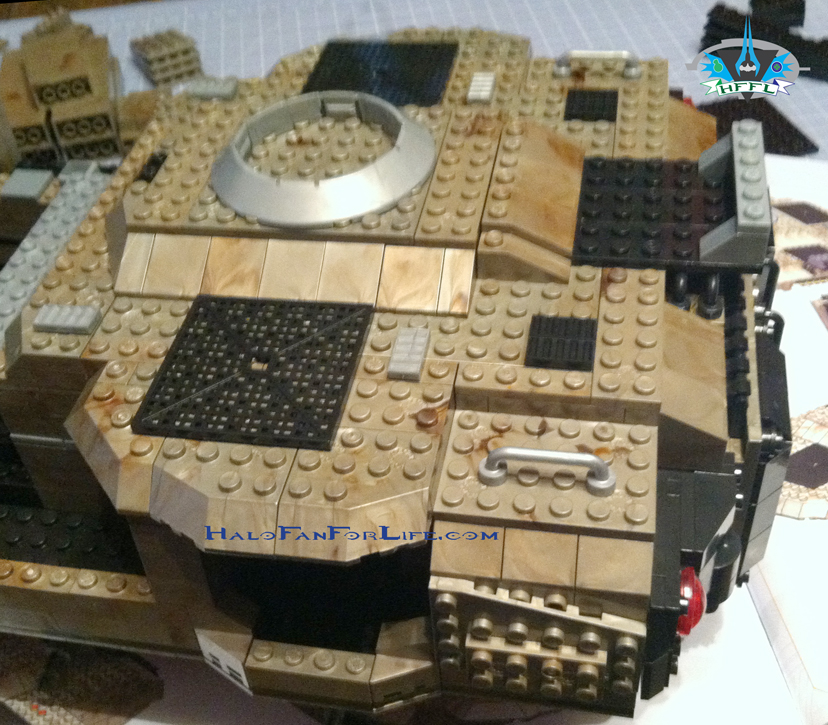
Well here we are at the third of a four part review for the Mega Bloks UNSC Mammoth. It came together nicely in part two with the body being built. Now we move on to the removable roof panels.

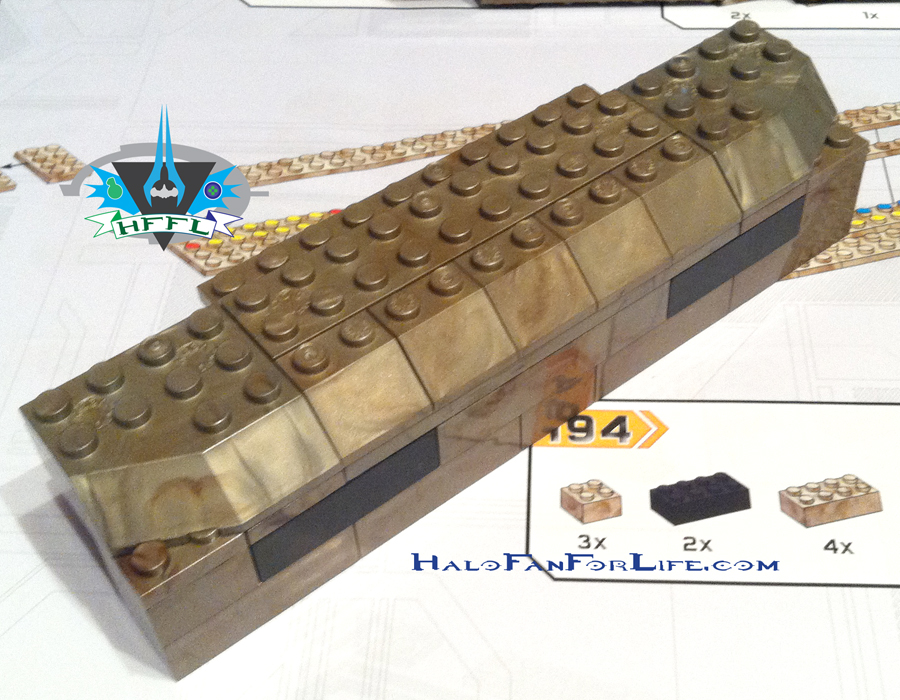
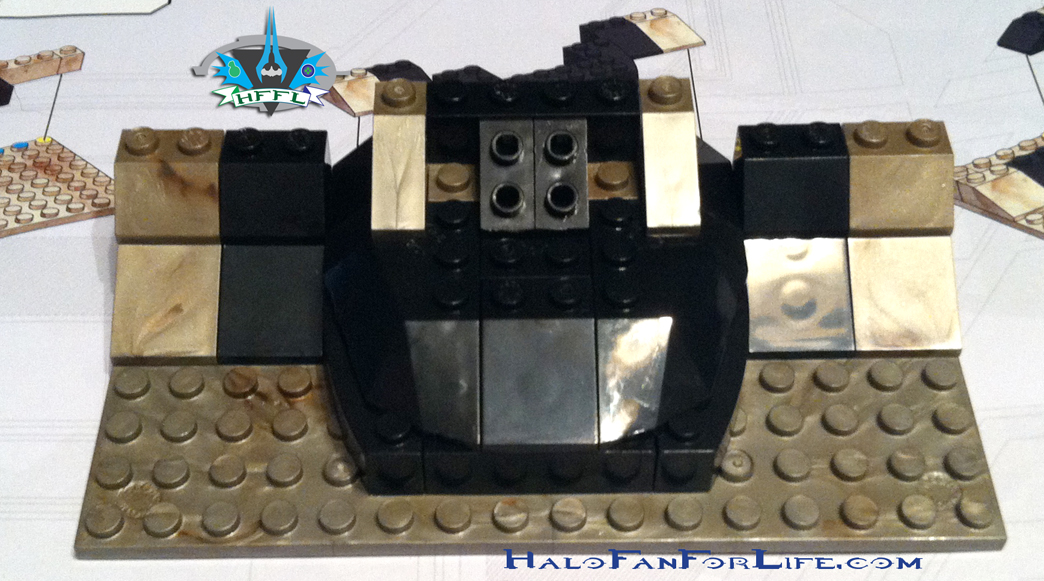
First up are a couple of pics showing the build for what will become the back flap of the rear roof. This enables a minifig sized warthog to fit into the rear of the model.MB Mammoth back flap
MB Mammoth back flap FINI love all of those little greeblies on the back. BTW, if you didn’t already know, “greeblies” are a term meant for those little extra bits and parts that add depth and character to a piece.

MB Mammoth Rear Roof sideThe above pic is of one of the side walls of the rear roof. The other side is the exact same but flipped. So as before, no need to show it as well until later, when it gets attached.

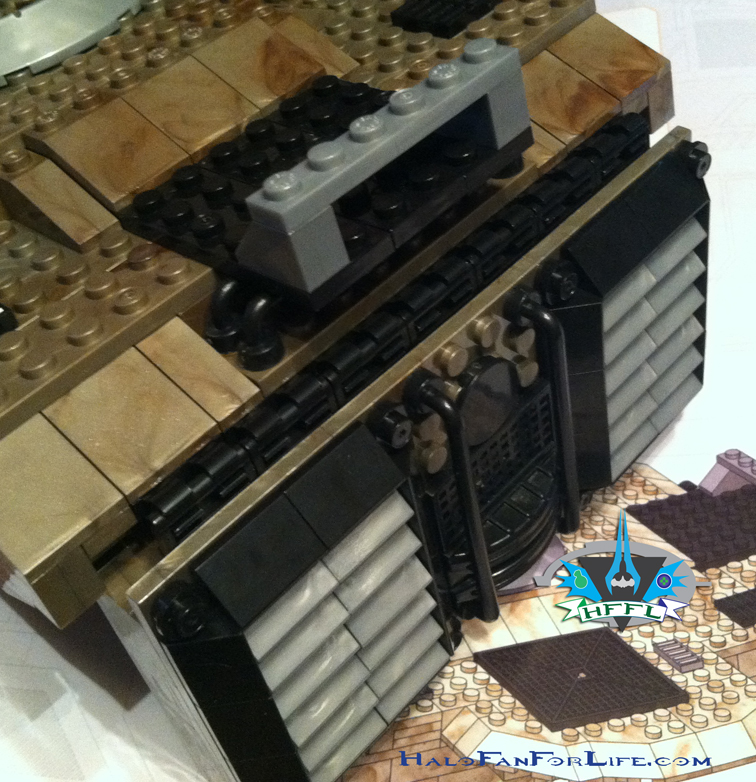
MB Mammoth Rear Roof back hingeHere is the start of the back hinge that will be attached to the rear roof panel.
MB Mammoth Rear Roof back hinge FIN
Here it is finished.

The next few pics are of the construction of the front wall of the rear roof panel.MB Mammoth Rear Roof front
MB Mammoth Rear Roof front 2
MB Mammoth Rear Roof front 3
MB Mammoth Rear Roof front 4

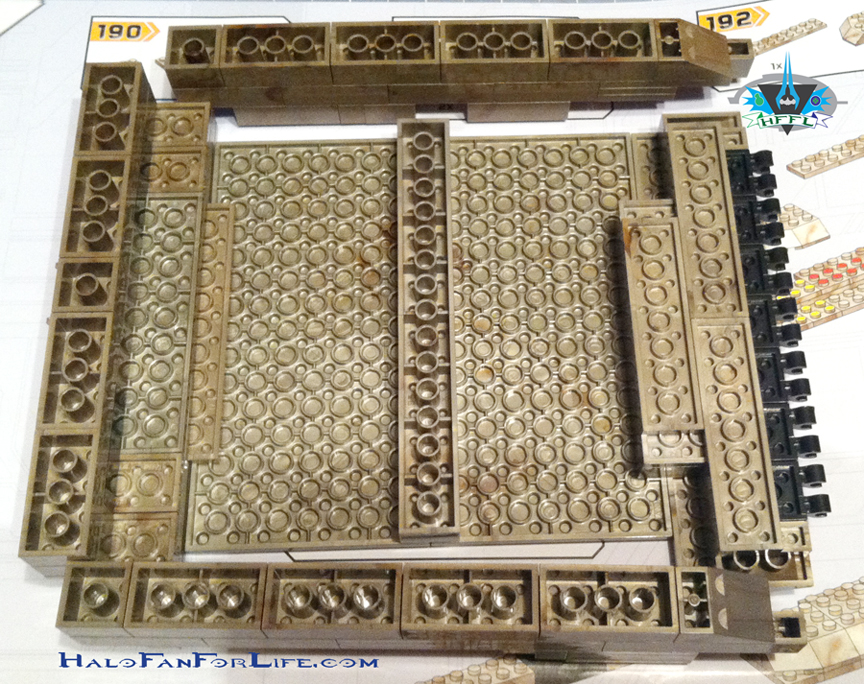
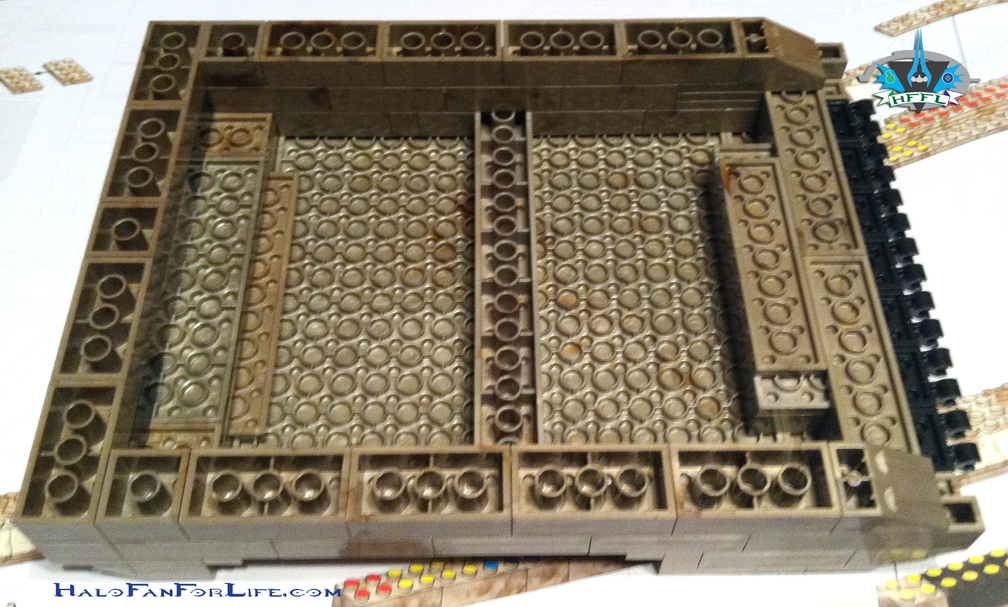
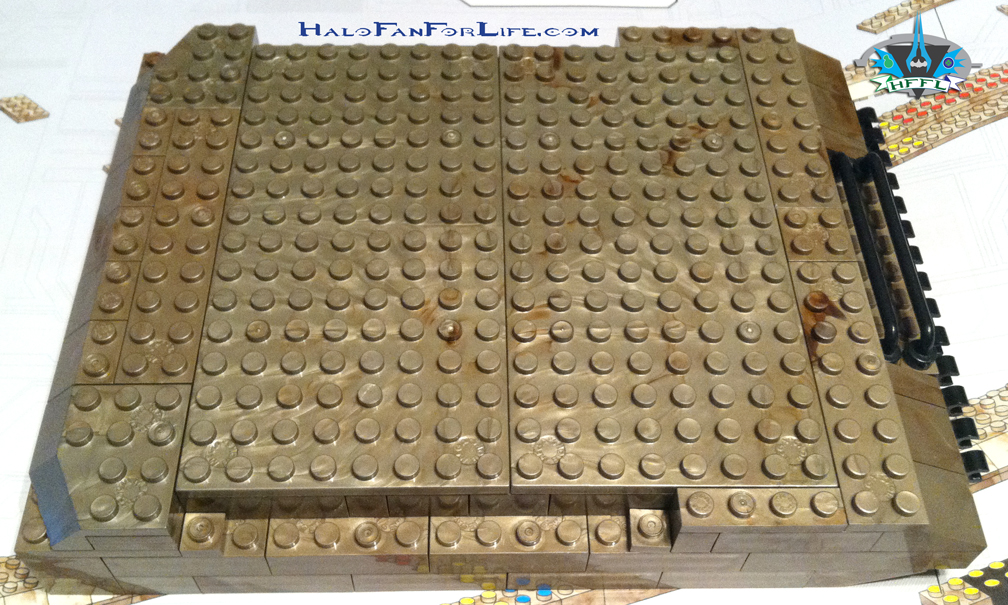
Next are all of the walls of the rear roof panel along with the base part of that roof itself.
MB Mammoth Rear Roof attachments
MB Mammoth Rear Roof attachments 2
MB Mammoth Rear Roof assembly
MB Mammoth Rear Roof assembly 2
As you can see by the above pic, we now have the spot where the Mini-Mac is going to be placed.

MB Mammoth Rear Roof assembly 3 sidesOne of the sides of the rear roof starting construction.
MB Mammoth Rear Roof assembly 4 sides 2
MB Mammoth Rear Roof assembly 5 sides 3
Here are both sides ready to be attached.

MB Mammoth Rear Roof assembly 6

Now we’re ready for the rear flap to be attached!MB Mammoth Rear Roof assembly 7

MB Mammoth Rear Roof assembly 8Above shows a close-up of the hinges clamped together. With exception to the very edges, they hide the gap nicely from the roof to the flap.

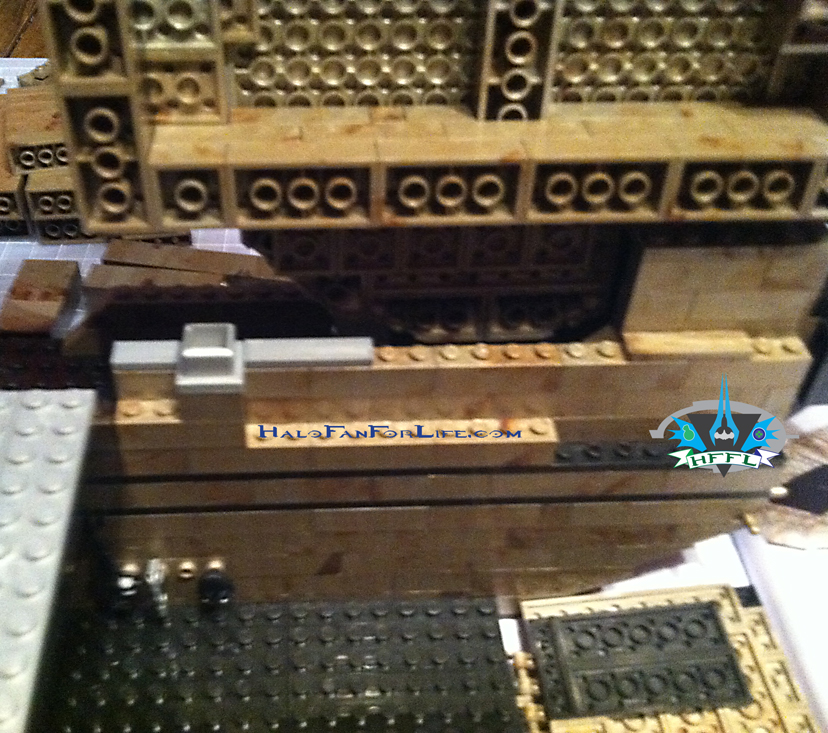
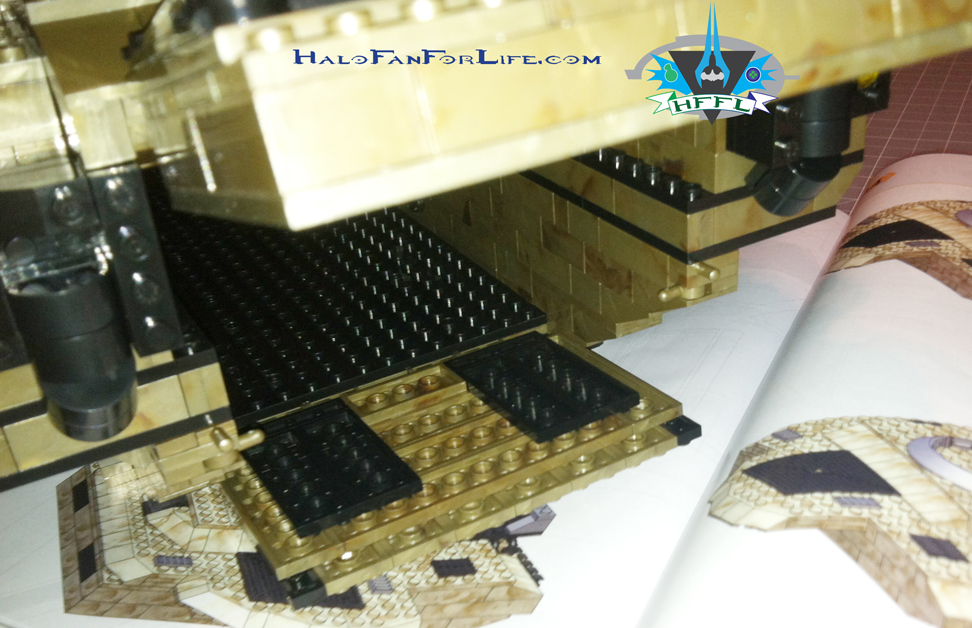
MB Mammoth Rear Roof assembly 9 attachmentThe above pic shows where the rear roof panel is connected to. It rests nicely upon two hollow square grey pieces that keep it in place. As well the sides of the body keep it snugly fit. This is similar to how the Forward Unto Dawn set was done, with regards to it’s removable panels as well.

MB Mammoth Rear Roof assembly 10 attachment 2Shown in position. There should be NO gaps underneath. If there are, you haven’t quite fit it in properly. Believe me, it fits tight and right.

MB Mammoth Rear Roof assembly 11 rear hatchA look at the rear flap and rear ramp opening into the body of the Mammoth itself.

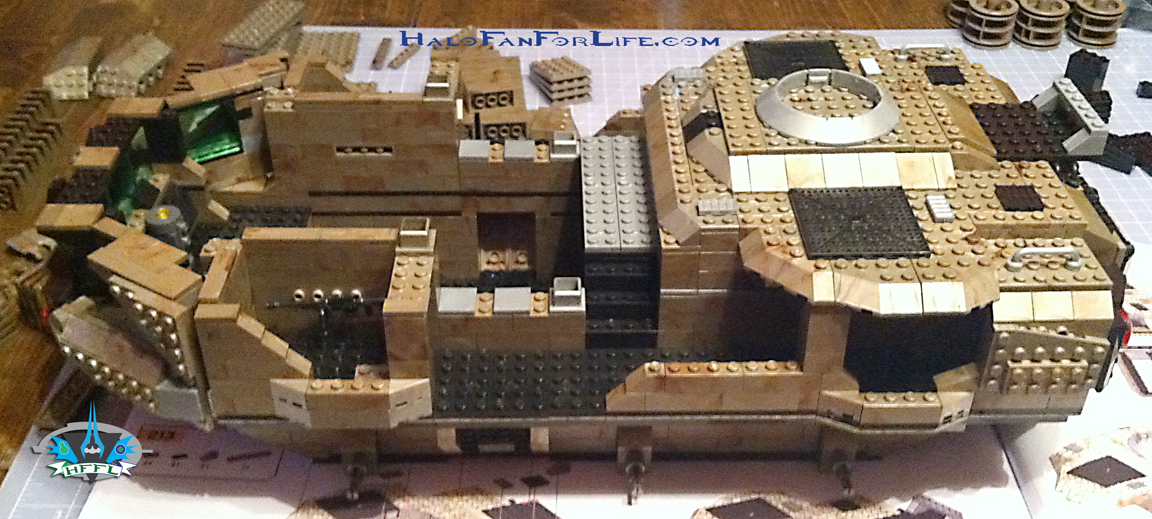
MB Mammoth Rear Roof assembly 12 PROGRESSHere’s a full side view with the rear roof panel in place. Wow, is the Mammoth looking great or what?

The next eight pics show the construction of the mid roof removable panel.MB Mammoth Mid Roof
MB Mammoth Mid Roof 2
MB Mammoth Mid Roof 3
MB Mammoth Mid Roof 4
MB Mammoth Mid Roof 5
MB Mammoth Mid Roof 6 FIN
MB Mammoth Mid Roof 7 attachmentHere is the attachment point for the mid roof panel. Just as with the back, it too fits snugly onto a hollow grey square piece.
MB Mammoth Mid Roof 8 PROGRESS
And here it is attached. Apologies for the blurriness of the shot. At this point I was excited to get the front roof panel done that I didn’t go back and retake this shot as I should have.

The final roof panel now starts being built!
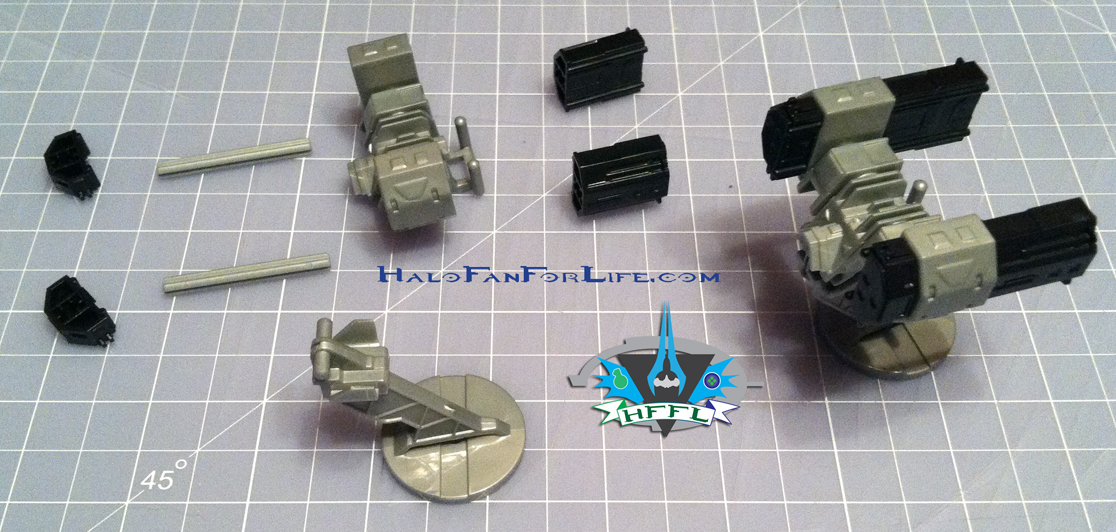
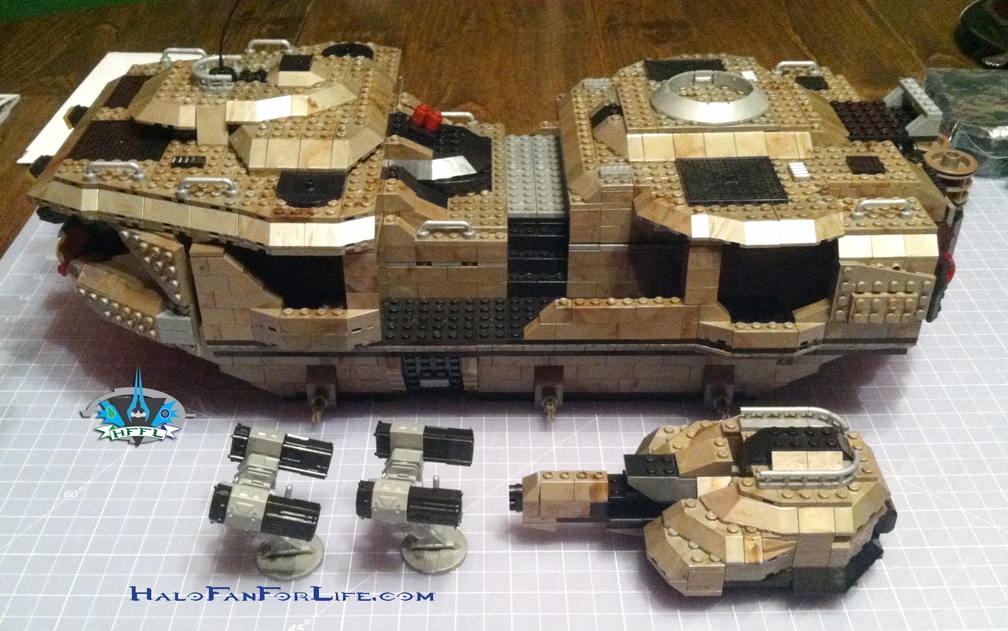
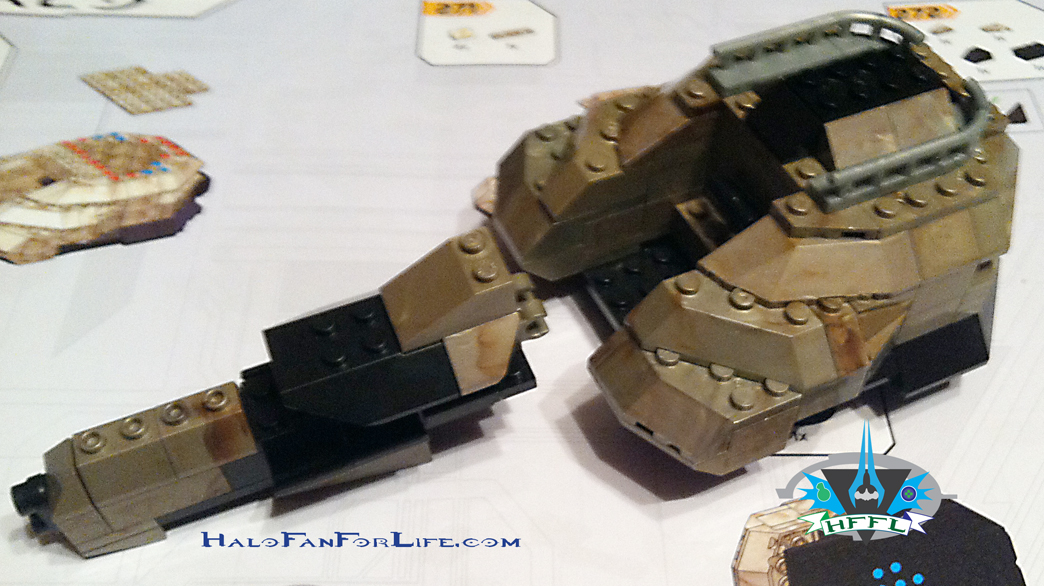
MB Mammoth Front Roof
Not much to start, but it QUICKLY comes together.
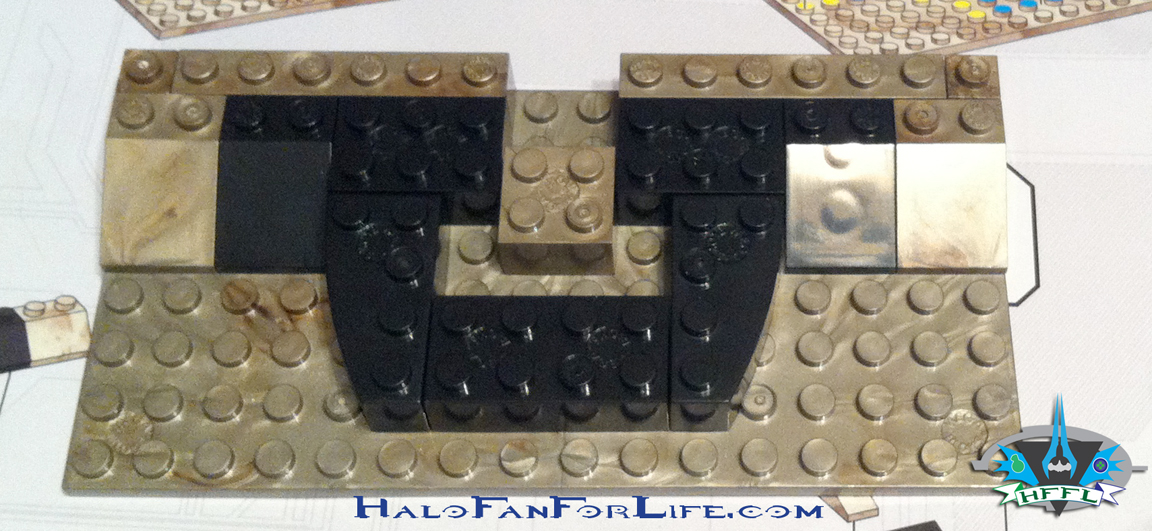
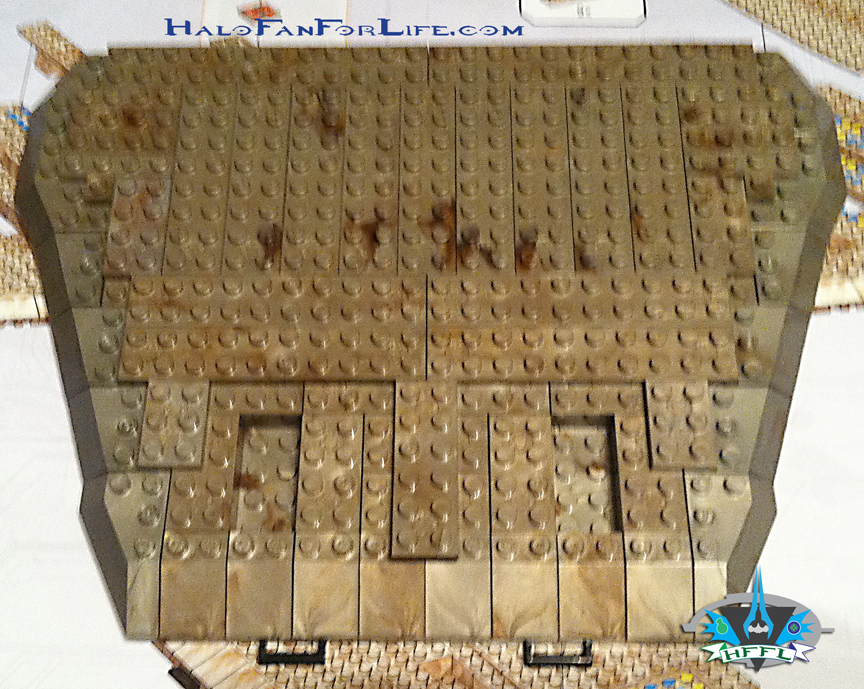
MB Mammoth Front Roof 2 Space Invaders
Heh, don’t you think this section looks like some kind of “Space Invader”? Oh, I should mention that in my excitement to get this done, I accidentally skipped a couple of steps and had to go back and rebuild things correctly.

Here is a helpful tip when building large models like these: Have a coin or some other small object to place over the numbered step on the directions to remind you of where you are in the build process. ONLY move it to the next step when you are ready to continue to build.

MB Mammoth Front Roof 3 CopperheadNow at this point in the build of the front roof panel, I think it looks like a snake head. Copperhead??? LOL
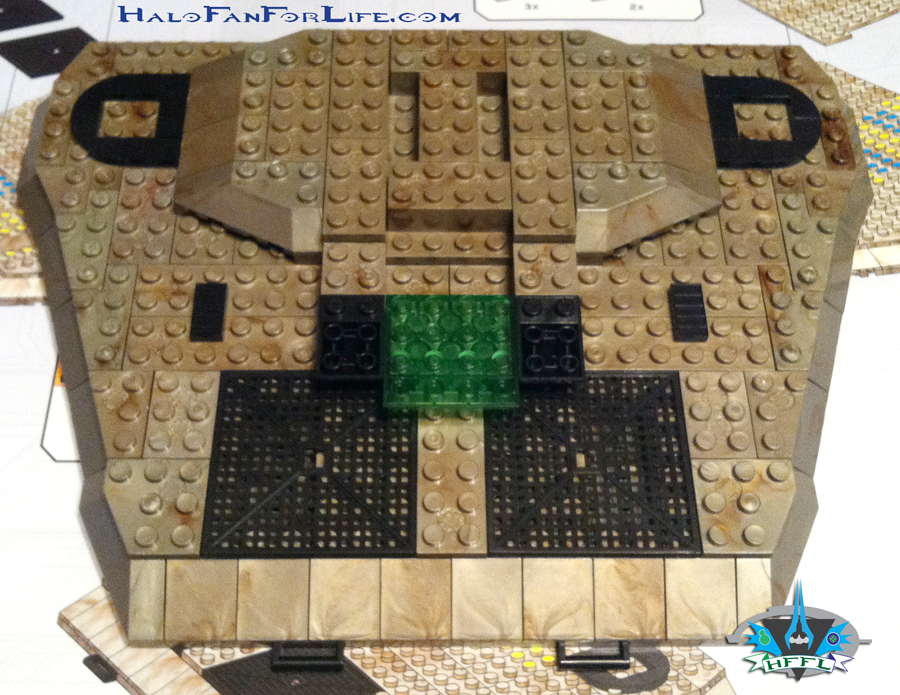
MB Mammoth Front Roof 4
Oh yeah! We’re getting to the “meat” of the roof panel’s build by adding in the green translucent part! (You all know I love transparent toys. That goes for parts too!)

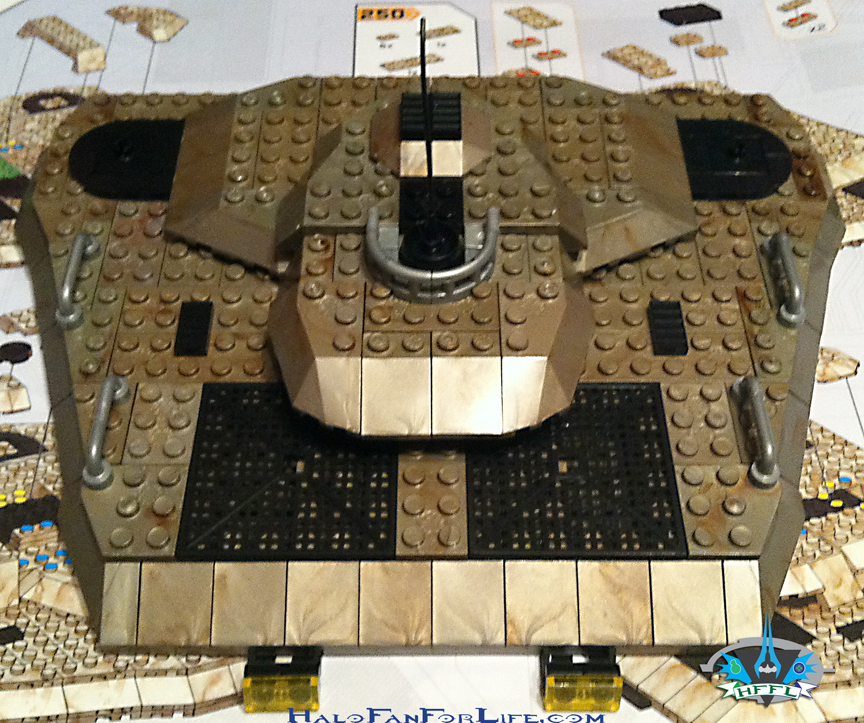
MB Mammoth Front Roof 5Dang…it’s mostly hidden now. LOL. Ah well, the in-game vehicle calls for this as well.

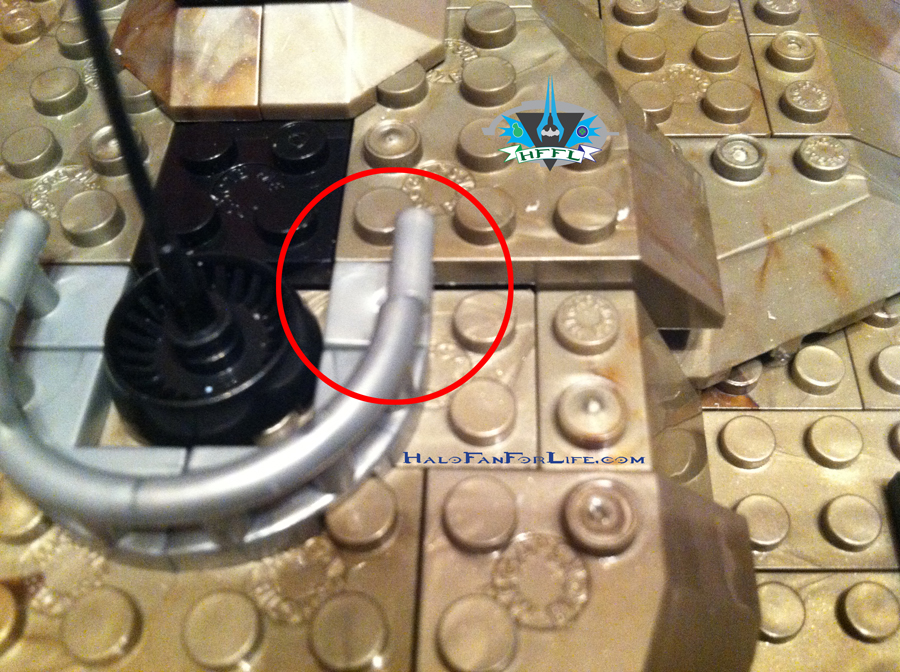
MB Mammoth Front Roof 6 malformed partAt this point, I did come across a deformed part. The one circled did not fit properly. I did try to gently carve out some of the underside plastic to make it fit. After a bit I stopped. I figured it better to just call MEGA for a replacement part. (More on that in the fourth part of the review.)

MB Mammoth Front Roof 7 PROGRESSAnd here we are at the last pic for this part of the review.  The Mammoth is almost done! It’s looking VERY buff and built to last! 

I was so excited at being so close to being done with the build that I did complete it then. However, you’ll have to come back tomorrow to see the Mammoth finished. Along with that, I’ll show the minifigs that come with the vehicle.

I hope you are finding this multi-part review helpful and/or entertaining. Please let me know by commenting below. If you haven’t yet registered for HaloFanForLife.com, it’s FREE and easy to do so. Just send me an e-mail at: sal@halofanforlife.com asking to be registered. As well, include what you want your screen name and password to be. I’ll get you set up shortly there after.

-Sal