
Well, it’s been a long time since I’ve posted a toy review. So, I figured I’d start back up.
Obviously with Mega/Mattel not coming out with new sets for about the past two years, any new reviews I post will be of sets that old or older. SO I guess you could call these retro reviews???
At any rate, I’ve been wanting to build this set for a long time. I’ve had it in the shipping box, direct from Mega, since I received it in the mail, however long ago that was.
Speaking of, here’ that box. Oh, and before I go further, I need to make this crystal clear (unfortunately), no images are to be used in any form, nor edited and reposted in any way. All images are watermark, have my website mark as well as text stating not to use.
There is a certain someone in the community that wants to “scrub” (his word not mine) my site of Halo Mega data, to use in HIS repository. I’ve had no less than two arguments with him about this, stating these are MY images alone. He does not have any permission to use them. Because of his actions, I’ve had to make this for everyone. Yes, one person spoiled it for everyone else.
Now again, here is the shipping box that I got. It’s the same on the other side.
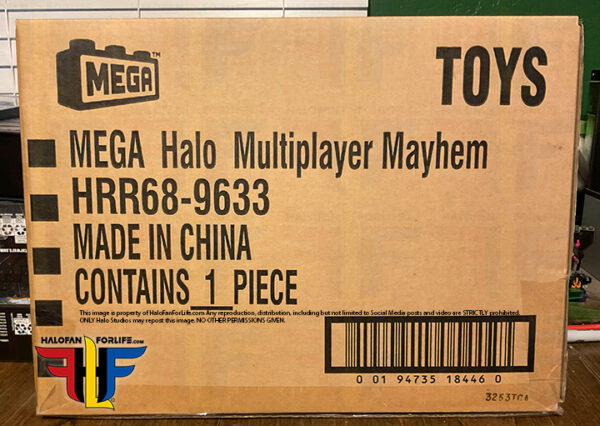
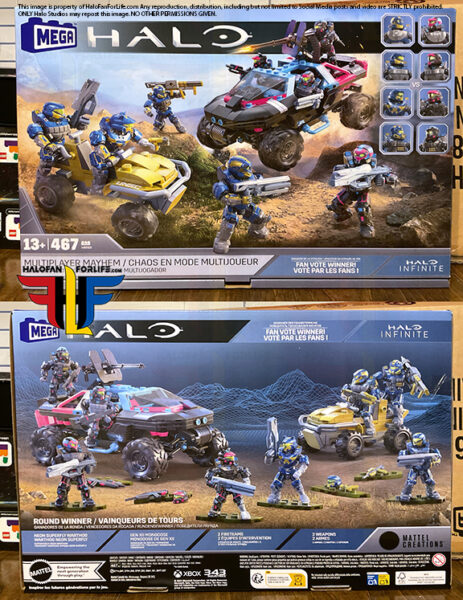
The actual product box is quite nice. I like that it shows each of the EIGHT Spartans included in individual boxes on the front. Each side shows the whole set in an action scene.
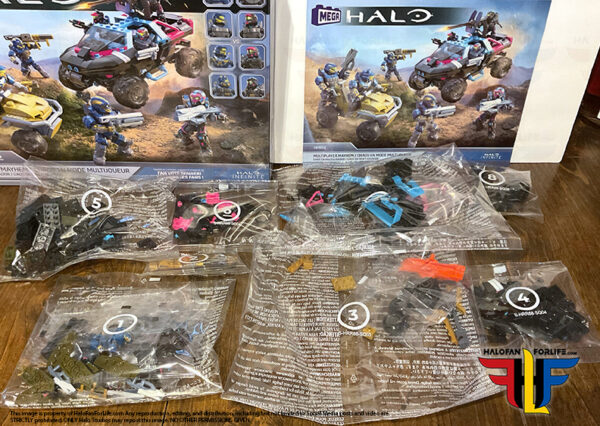
When you open the box, you are greeted by several numbered bags. There are eight total as well as an instruction manual..
Here are those bags and manual laid out, as well as the box to the upper left side. thankfully, the days of having to open all the bags are long gone. So you just open the ones the instructions call for.
Bag 1!
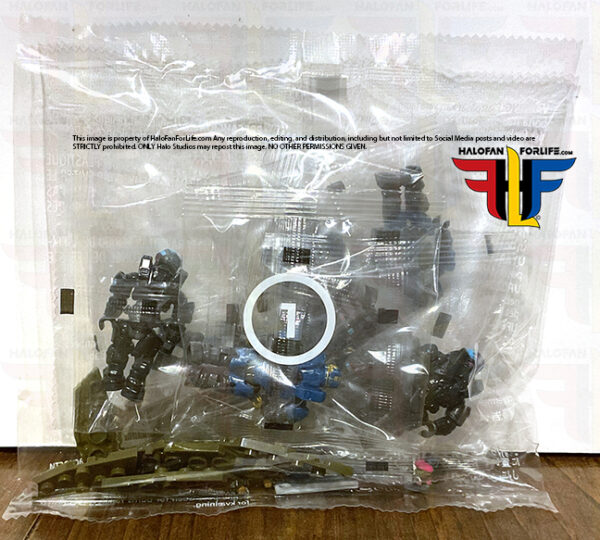
Inside this bag are eight bags consisting of one Spartan each, preassembled. Loose are all the weapons, two extra helmets, and eight figure stands,
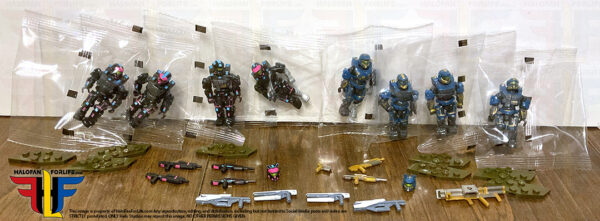
After opening the bag, we find that each Spartan has its own color themed weapon as well as 2 each of the campaign style Heatwave and Cindershot. (Seen in middle of pic below)
Bags 2 and 3!
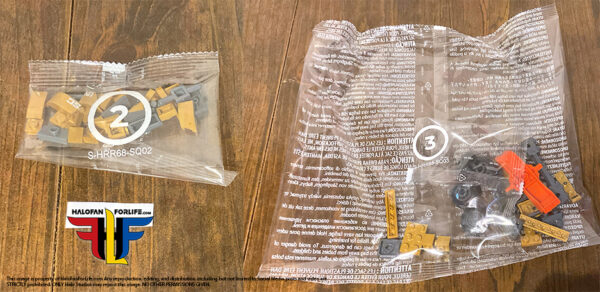
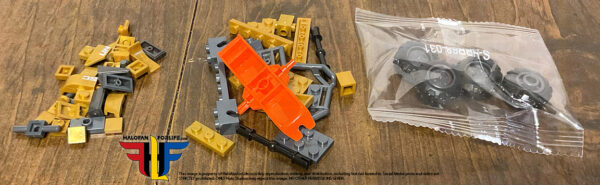
Bags 2 and 3 contain the pieces for the Estate Gold Mongoose. To the left, that small pile is bag 2. To the right, the large pile and bag pf parts are what comes in bag 3.
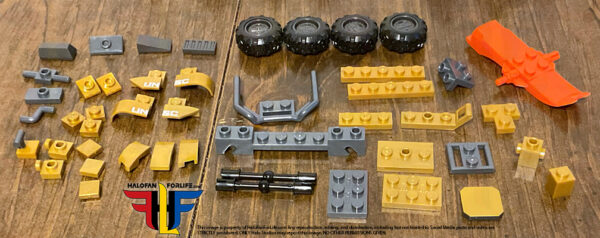
Here are all those parts sorted out. The gold color is nice. Though, as with most metallic bricks, a few have that slight swirling pattern on them. Nearly all brick brands have this issue, so it doesn’t bother me that much.
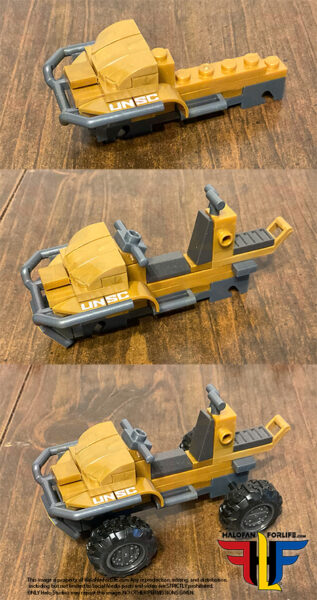
Now we begin with the build! This is now a standard build for the mongoose. Though it wasn’t always that way. I do wish this were a Gungoose, instead of a Mongoose though. At least give the Gold guys some firepower! LOL
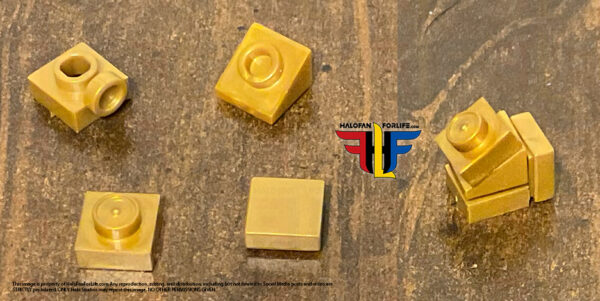
Here are the parts left over from those two bags and what little I could make of them. Hmm, maybe that’s a mini gas can for the Mongoose???
Bags 4 and 5!
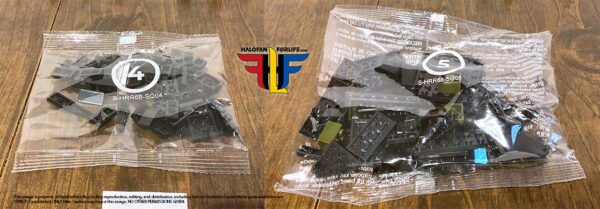
And their contents… Again, bag 4 on the left and bag 5 on the right.
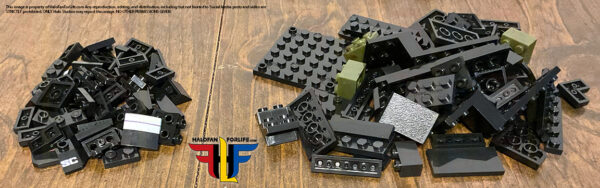
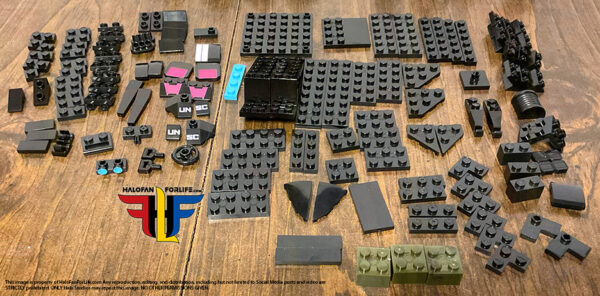
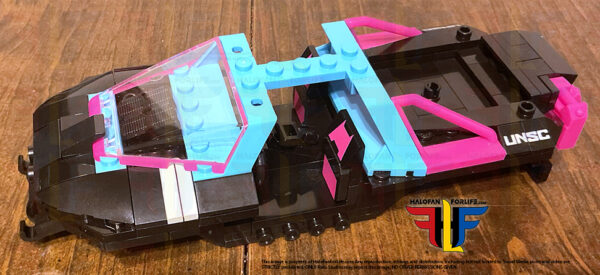
Here are all of those parts sorted. As you can see they are mostly black. IN fact, the Warthog itself is nearly all black, but for some bigger colorful pieces later on. In this pic, you can see one cyan piece, as well as a few with magenta on them. The magenta is printed on. NO stickers! YEAH! There are also a few with UNSC lettering and one that has two cyan studs. You’ll see momentarily what that one is used for, if you haven’t already guessed.
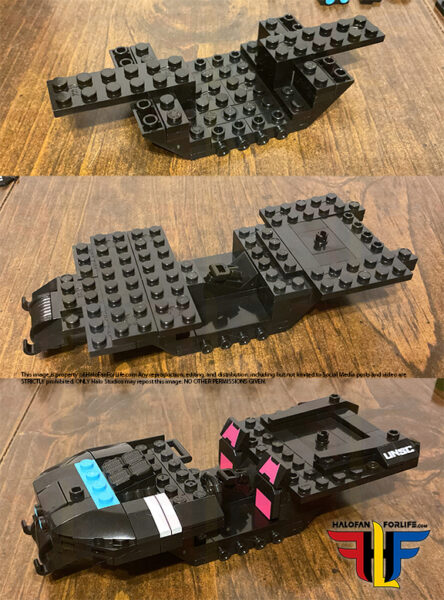
This is where the real fun begins with the build. The chassis is fairly standard. Though it feels like to me that the hood is thinner than in previous warthog builds. Is that just me??
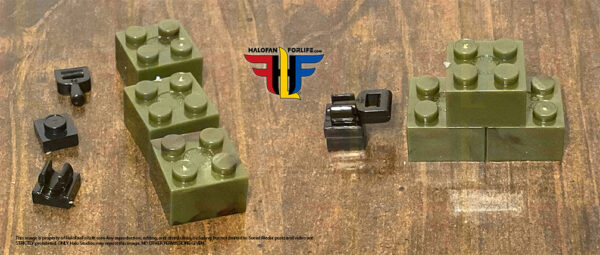
Here are the leftovers from those two bags and again, what little I could make of them. I should point out that the green bloks are meant to be used to stabilize the build as you add pieces to it. I didn’t use them. What can I say, I’m a maverick! LOL
Bags 6, 7, and 8. Wow, already?!
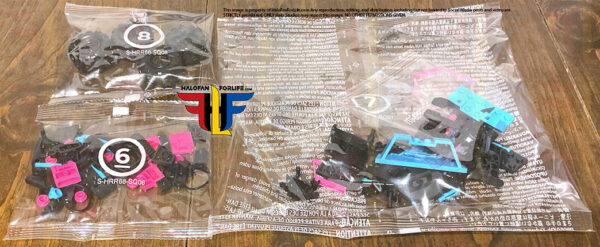
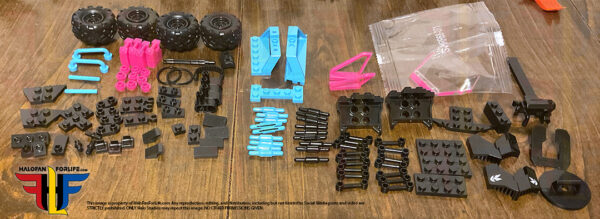
And those pieces sorted out. Upper left is bag 8 pieces. Just the tires, preassembled. To the left of the crack in the table are bag 6’s pieces and to the right, bag 8. The windshield comes in a protective bag. As you can see, this is where the color finally comes into the build!
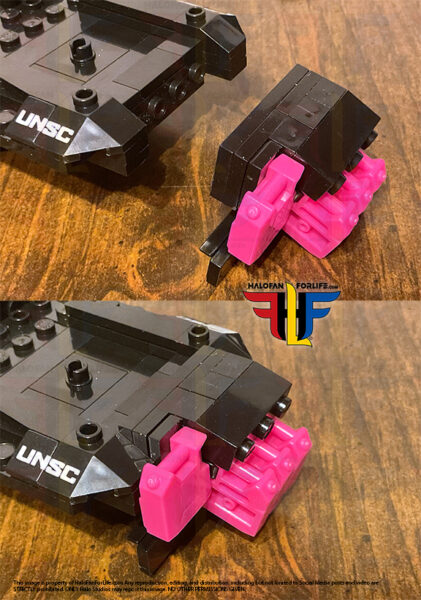
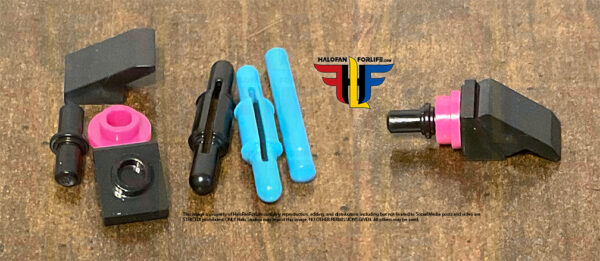
We start of this portion of the build with the gas cans and attachment. That’s a really bright magenta.

And that assembly added to the warthog’s rear.
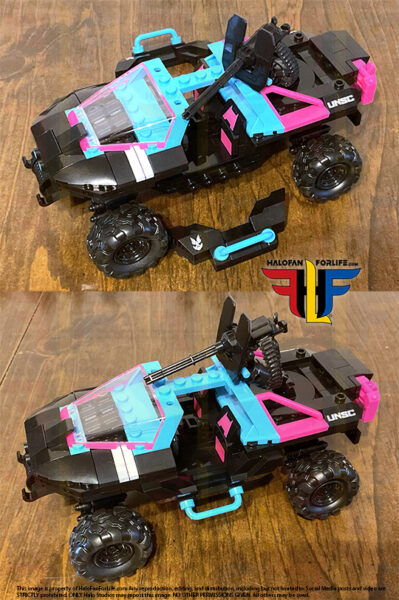
In the next steps, we added the majority of the bright color pieces. These really make it look like the Neon Superfly coating! For those of us old enough, these colors are what we grew up with in the 1980s. Yeah, I’m an old fart….LOL
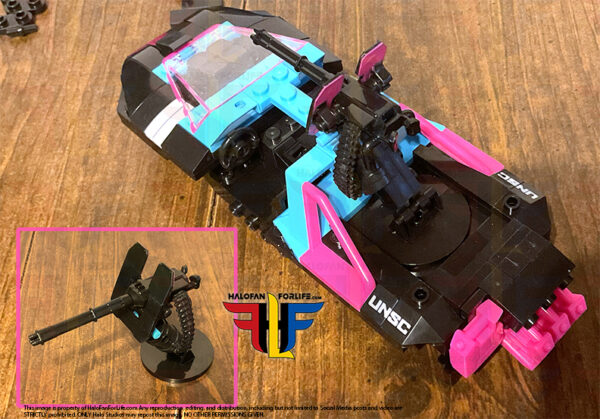
Next we build the turret and add it to the back top rear of the warthog. Take note that the protective guard is black outward facing and magenta on the inside. I dig it!
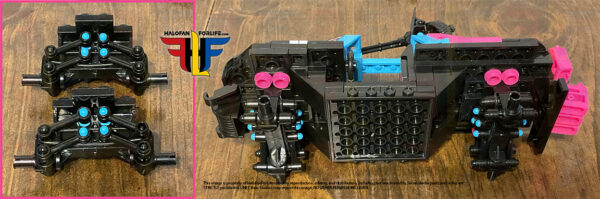
The next steps are my least favorite of the build. These shocks are not so easy to put together, even for a seasoned pro, like me. Since they include a small rubber band, you have to stretch over pins, you have to be careful or either the band will slip out of place or the outer parts will go flying out of your hands. While they are amazing once built and work quite well, this is the most and only frustrating step of the build….Yikes.
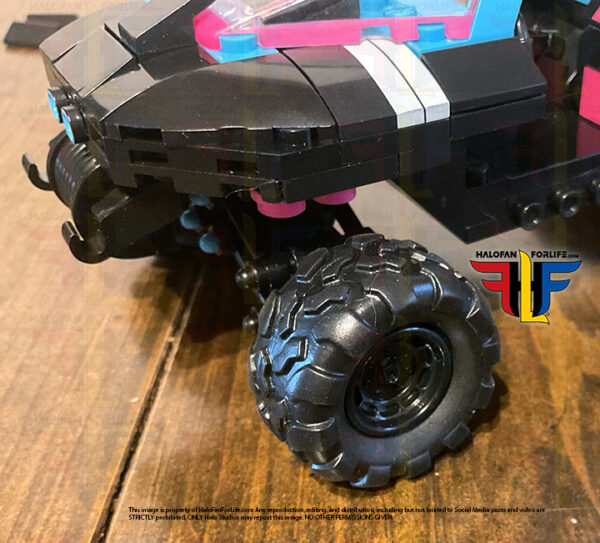
With regards to the tire treads, they are preassembled facing certain ways. Take note of which way they are facing, so that when all four tires are on, they all face the same direction.
For me, this is an important step.
The last few steps are building the side panels. I do very much like how this part of the build is constructed and attached. You can see in the bottom pic, the completed hog. Isn’t she a beaut!
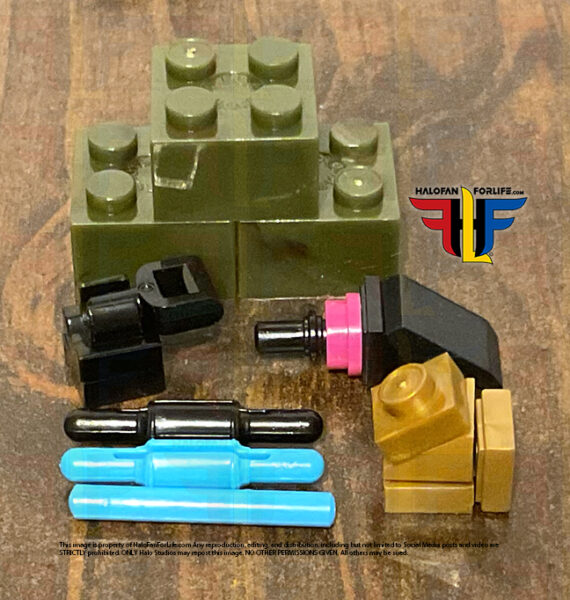
The leftovers from 6,7, and 8. On the right, not much could be built from those.
Here are ALL of the leftover pieces I had from the set. These will get put into parts bins. Who knows when they be called upon for a build? I know for sure the green 2×2 books will be used VERY soon…Stay Tuned.
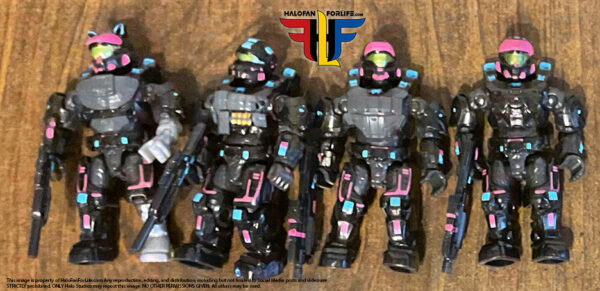
Now, with regards to the figures, I am slightly disappointed that we didn’t get extra standard parts for the left arms and legs, to replace the robotic parts. So, I decided to pop and swap those.
I”m not a big fan of that one helmet. So, I swapped it out for the Cat Ears one. As well, I gave the robotic limbs to that spartan as well, since all of the limbs are the same for each respective squad. Again, I’d have preferred to have all regular Spartans AND the option to add robotic limbs, if we wanted to.
Below, you can see the before and after pop and swaps.
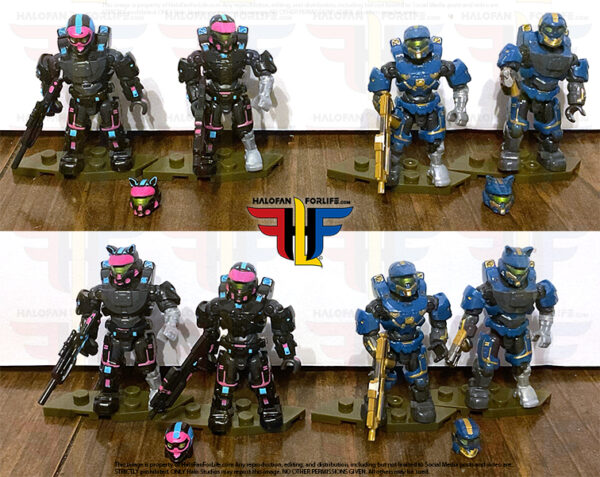
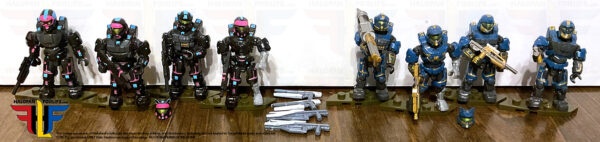
Neon Superfly Squad! This coating is STILL my favorite in all of Halo! And wow, does it look great on these mini figures.
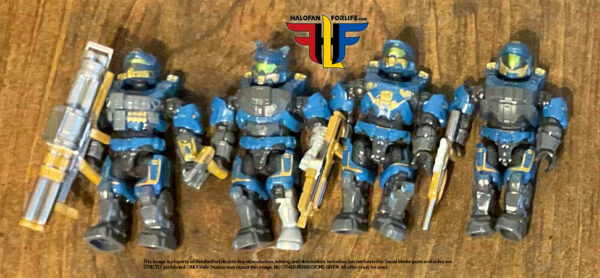
And the Estate Gold Squad. I’m happy that the community picked these two coatings as the make for a good contrast. These also happened to be the same ones I picked in the vote, all that time ago!
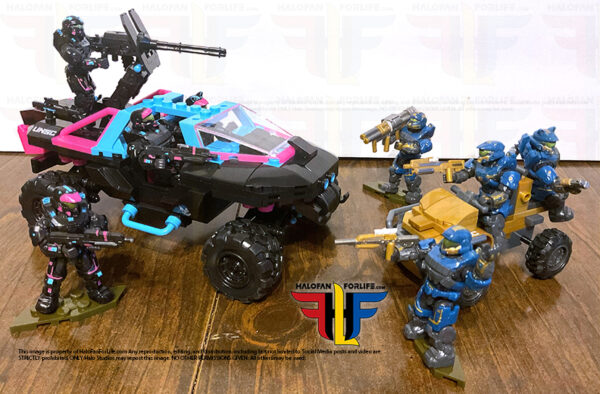
And lastly, the whole set party shot! This set was a pleasure to build (other than the shocks). I”m glad I finally got around to building it. The Neon Superfly Warthog is simply stunning!
Summary: This set was an exclusive to Mattel’s website. It was on there a long time before selling out. Great colors for each team, excellent weapon selections and two cool vehicles make this a set to own!
Overall Rating: I give this set 9 out of 10 medals.
Why did I give it a 9 out of 10?
• One issue is the lack of the fourth left arm and leg for each team in the regular molds. Again, I would rather have Spartans without robotic parts. (Anyone want to trade my robotic parts for you regular parts…LOL) half point off.
• The only other thing was that darn shock assembly. I used some not so family friendly words when putting that together. half point off.
Here’s my opinion on the break down of the value of this set. (In US dollars)
• Each figure with a weapon and a stand is worth $5, given their extra detailed paint application. Total $40
• Each extra helmet (4) I value at 50 cents for a total of $1
• Extra Campaign Weapons I put at 50 cents each for a total of $2
• The warthog is the real gem here. I put that value at $25
• The Mongoose I’d say is $3
TOTAL: $71 (before tax and in U.S. dollars)
Given that the set costs $65 US before tax, I find this set slightly above value.
Do I recommend it? HECK YES! The sheer amount of figures, weapons and a great color Warthog just make this set absolutely worth it!
If you have any questions about this set that I didn’t cover in the review, please do not hesitate to ask me. E-mail me at sal@halofanforlife.com.
If this review gives you an informed decision on whether to purchase the toy or not, please consider a small donation (50 cents) to the blog.You can donate via PayPal to jedisalpitt2002@yahoo.com. Or just click the paypal link at the right on the main page of the site. It’s much appreciated and helps ensure that HFFL stays registered/active on the internet. Thank You.
-Sal