As promised here is the next section in the Mega Bloks Forward Unto Dawn signature series model. This section took about 2 and a half hours to complete. I was missing just one piece, though thankfully not integral to the build. Technically it’s three pieces those as the two others I had were 2X1 slopes of the higher angle rather than the smaller angle as shown in the directions (these two will be pointed out in the next article). Aside from this, the build has gone on flawlessly and thankfully for the rest of the build there were not other issues as well.
Now, on to the pics!
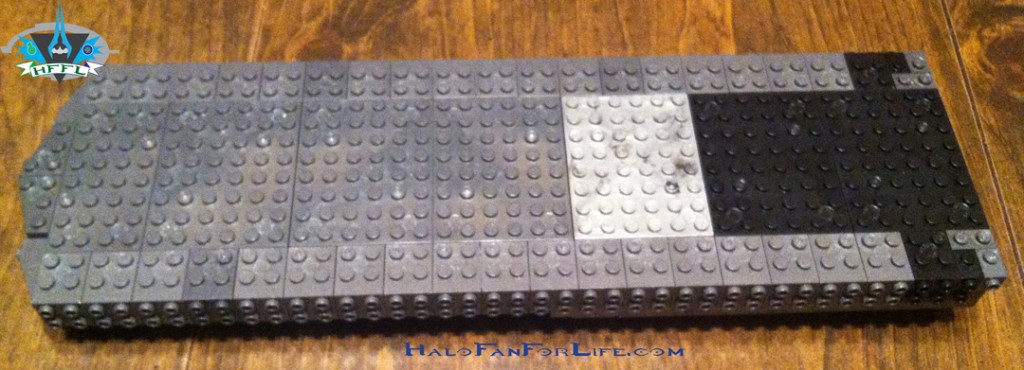
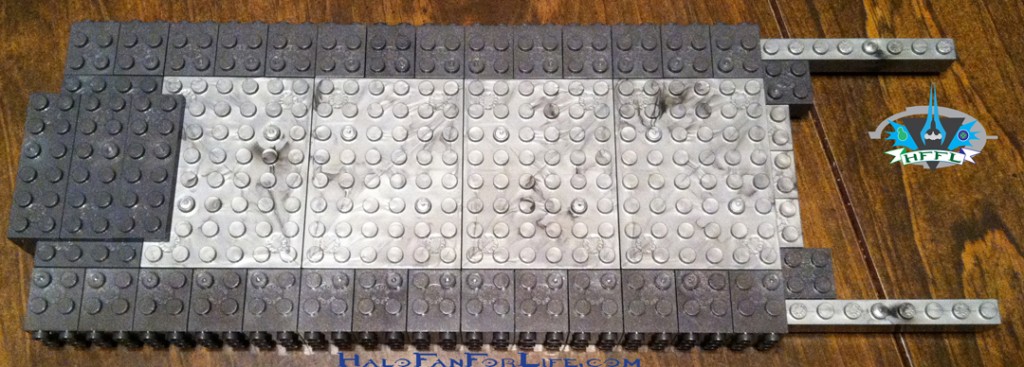
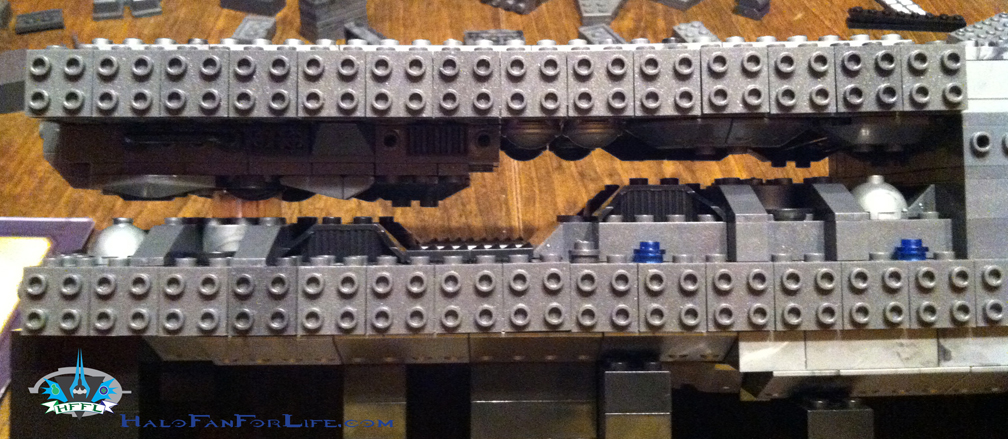
The lower prong of the front section is started. Note the repetition here as in previous sections. It really helps in the strength/stability of the model.
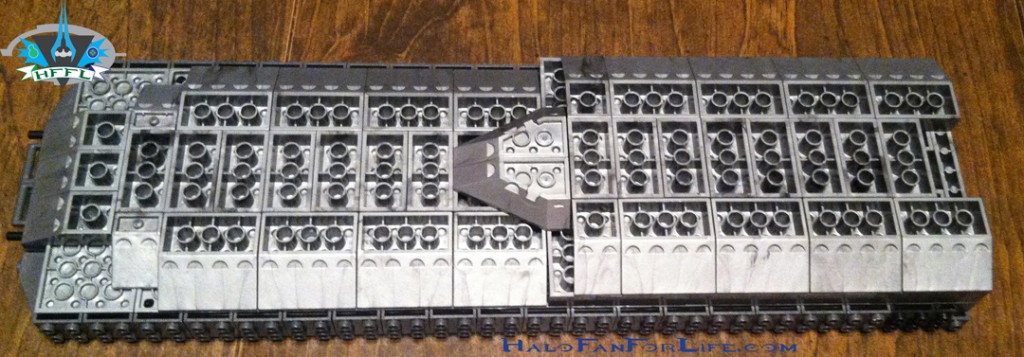
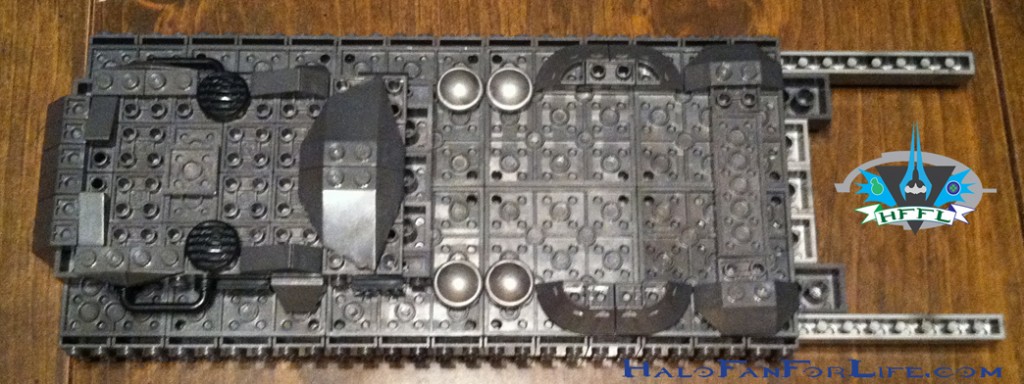
The lower prong’s base shape is essentially complete. Now for underside.
I really like how Mega used reverse slope pieces here. And nice BIG ones too. Again stability.
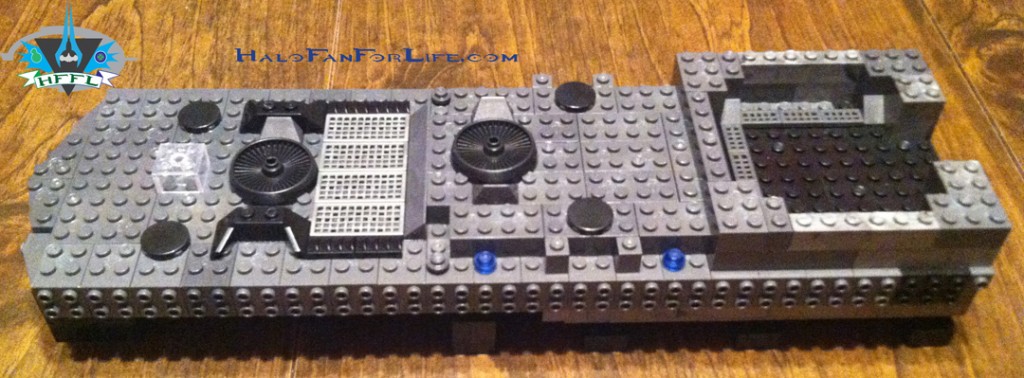
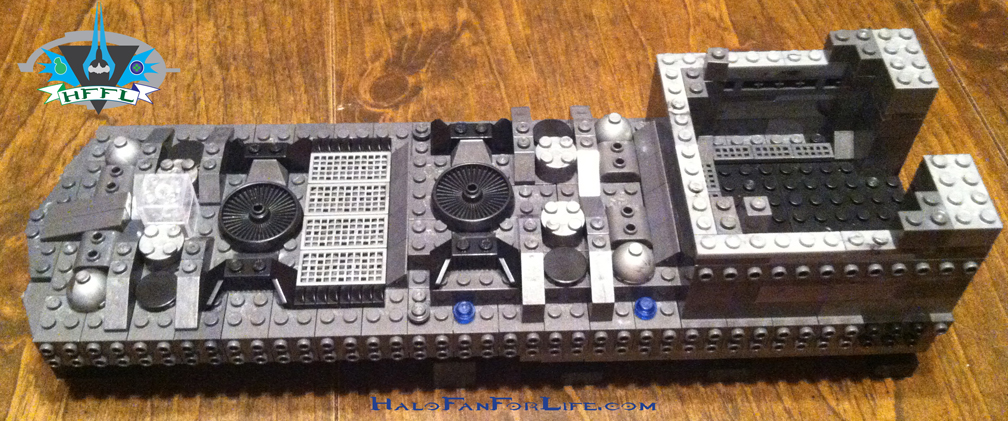
And now for some greeblies and walls topside!
Yet more greeblies and the walls of the armory start to really take shape.
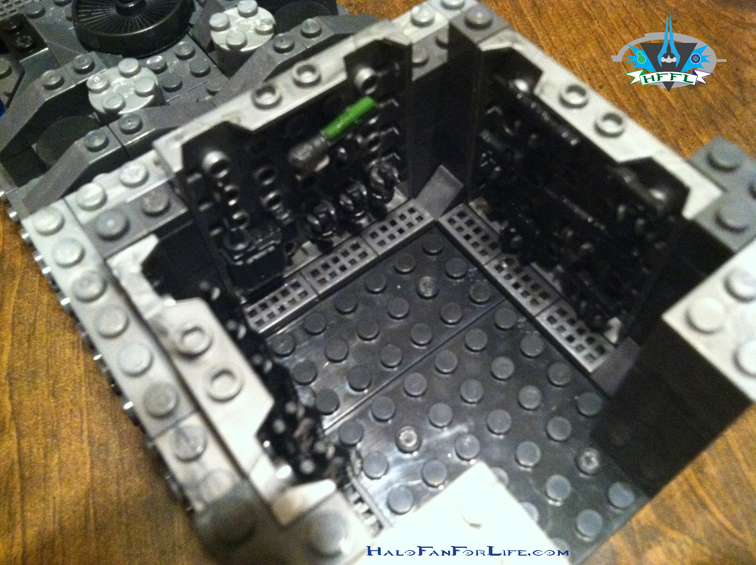
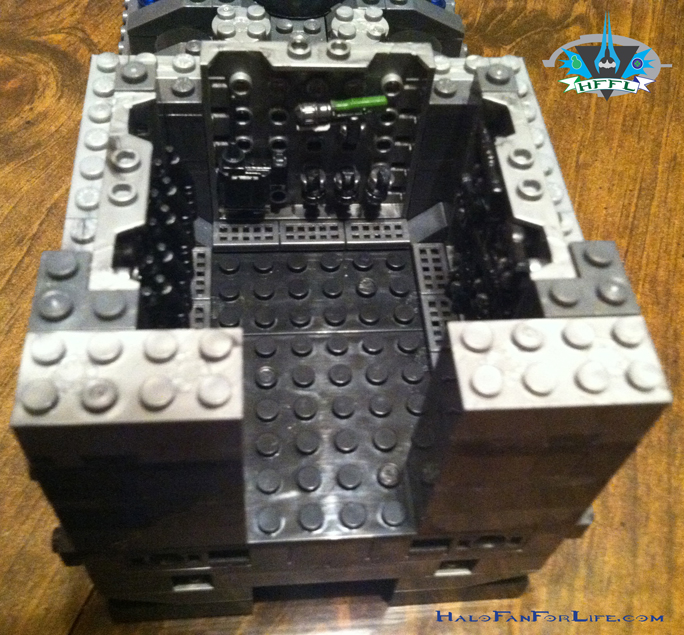
The armory panels to be inserted. 3 SMGs, 3 Magnums, 5 Assault rifles, 3 Frag Grenades, a Radio backpack, and finally the sticky detonator round out what you see here. Also included are a Covenant Plasma Rifle for the Elite and a grey BR for Master Chief.
A couple of views of the armory. Really nice job here on Mega’s part. Good bit of weapons. I do wish the had more detail, like the Sticky Detonator. But really, these guns will just stay in their lockers anyway, so I’m fine with them being black. It likely helped to keep costs down too.
The top prong is built similarly to the bottom one. Note the long bloks extending form the right. These will be placed on the walls of the armory to position the prong and add stability.
Okay, now here is where Mega could have chosen to cheap out, but they DIDN’T! Kudos to them for adding greeblies to the bottom side of the top prong. As seen in the next pic, it really adds character to the empty space between the prongs. Here is where I was missing one part. Look to the top middle just right. There is a 2X1 plate in the two semi curved sections. Now look at the bottom. It’s not there. That was one of the parts missing. Again, not essential, though I’ll be asking Mega for that part.
If you can see it, there is a clear 2×2 blok near the front of the prongs that ties them together. It adds stability, while not interfering with the look.
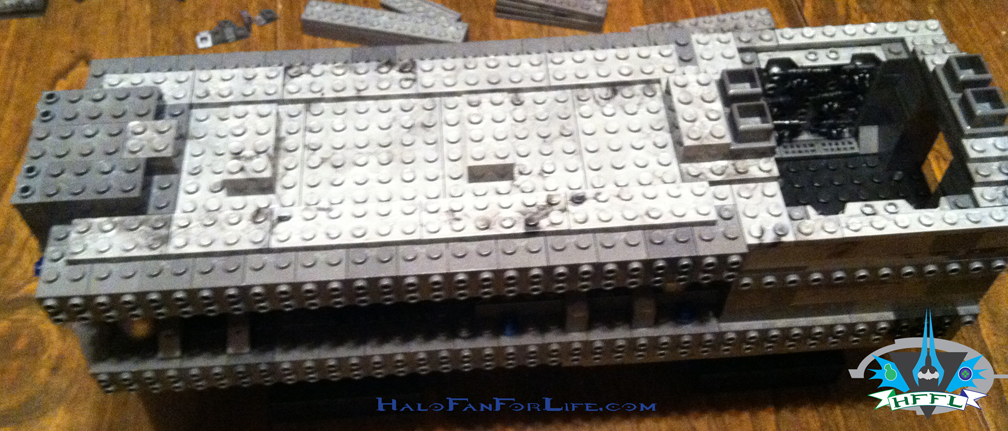
Here’s the top side assembly of the top prong. Note on the right side of the pic is where a soon to be built removable section of the roof will be housed.
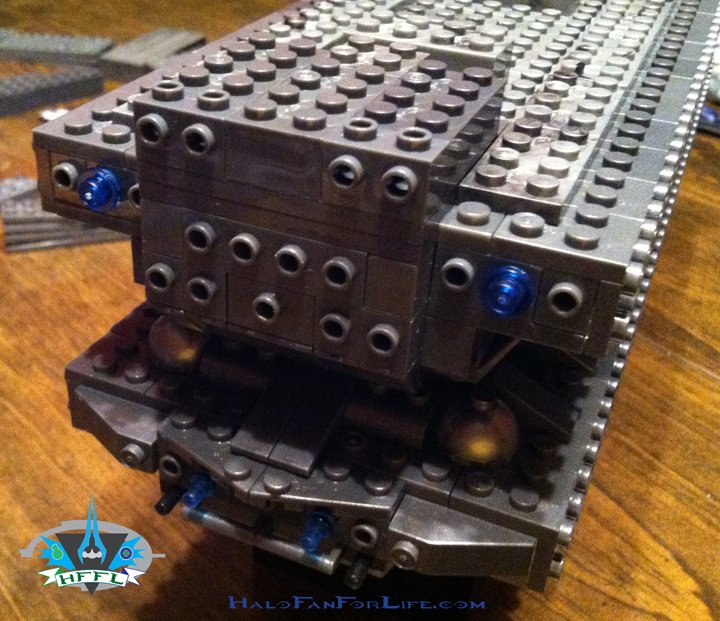
The front shot shows were some neat attachments will be placed….in the NEXT part of the build!
Now, does this look a bit boxy at this point? Sure, but that does NOT tell the full tale. Come back and see the next part where I build the roof and side panels. Those really flesh out this portion of the ship and make it go from being boxy to being smexy!
-Sal



It’s starting to look pretty sweet! Man, I wish I lived around where you are – I’d love to get some sick shots of that with my HD Camera! Can’t wait to see the finished product.
Yeah, I want better shots too. My camera lens became busted, so I’m having to use my cell phone camera for this one. Not as good. As soon as my replacement lens comes, I plan on shooting a few new shots for the model. And the finished product is freakin’ amazing! Mega Bloks did a fantastic job on this.
Pingback: Toy Preview: Halo Mega Bloks Mammoth! | HaloFanForLife