Alrighty then, here is the next part in this series of articles detailing the Mega Bloks Forward Unto Dawn signature series model.
This section sees about an hour and a half of build time. Nothing complicated at all. There were two slope pieces that were supposed to be of the smaller angle, not to taller, but those didn’t really make a big difference as they are just part of the side panel greeblies. I likely won’t ask Mega for new parts. It looks fine enough.
So on to the pics!
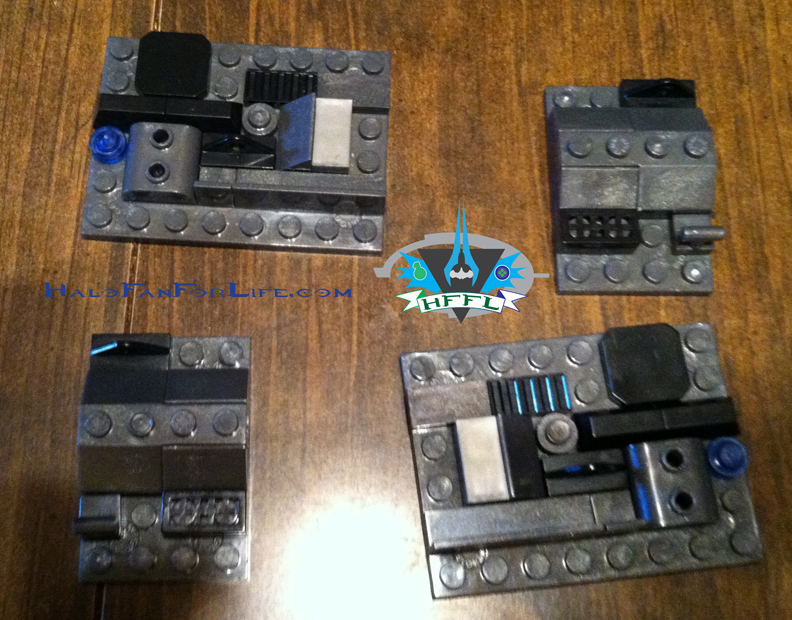
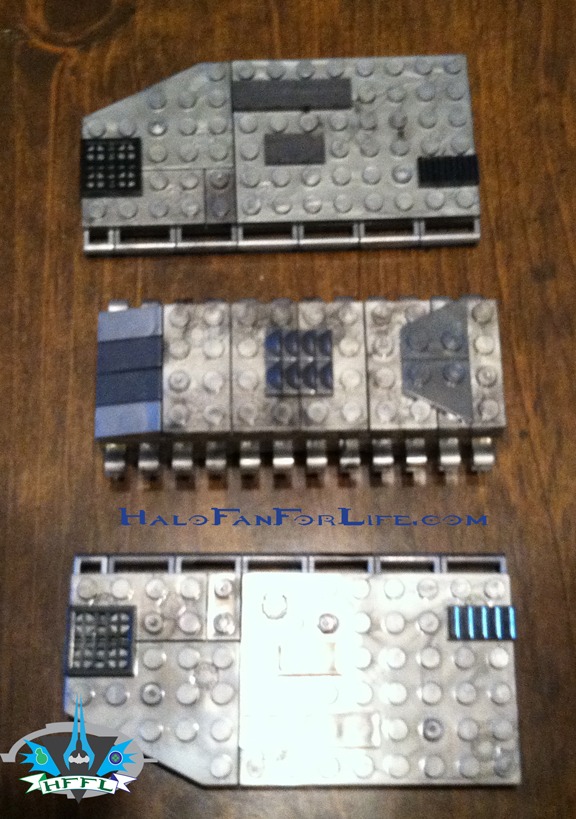
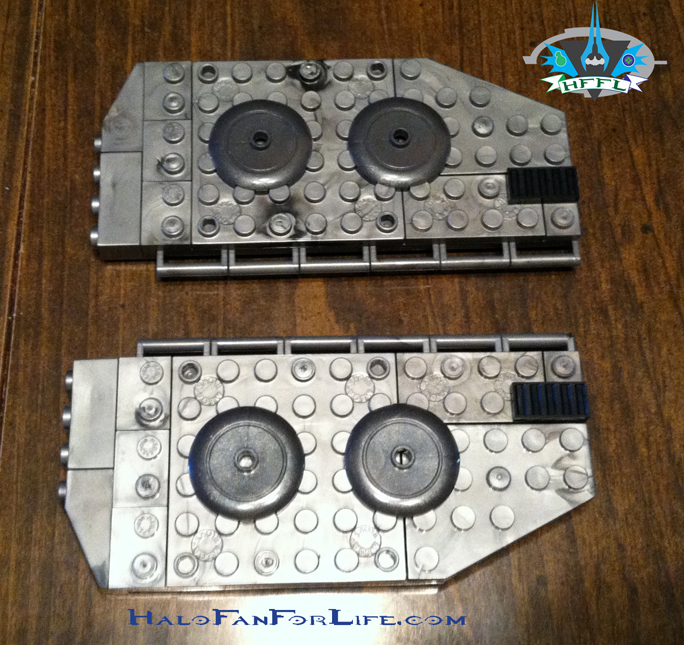
Here are the set of side panels at the rear of the front section. This is where those slope pieces are. Look at the bigger panels. See the 1×1 round pieces? The sloped parts next to them are supposed to be shorter so that they match up with the flat tile next to it. Now I checked the whole model through and through and know I didn’t screw up earlier. So it turns out then that I got two less of the smaller slopes and two more of the larger slopes instead. Again, no biggie. It doesn’t detract from the piece at all.
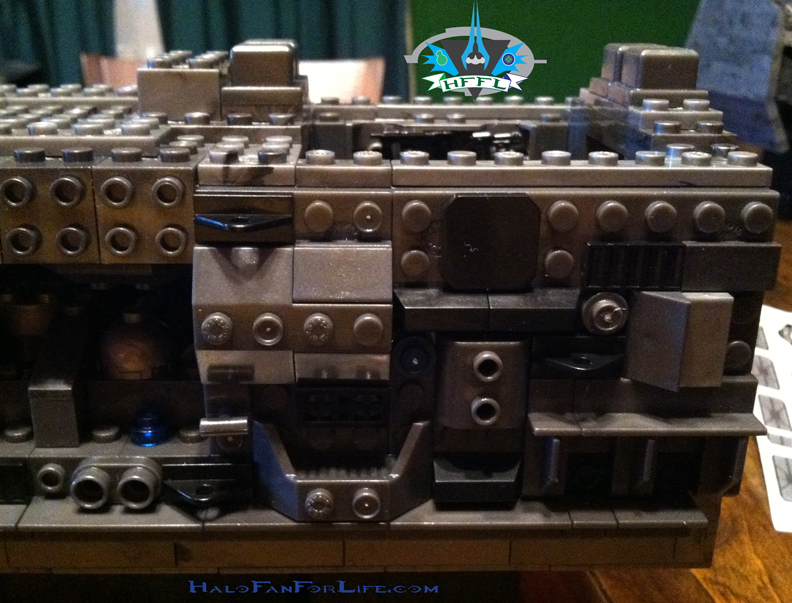
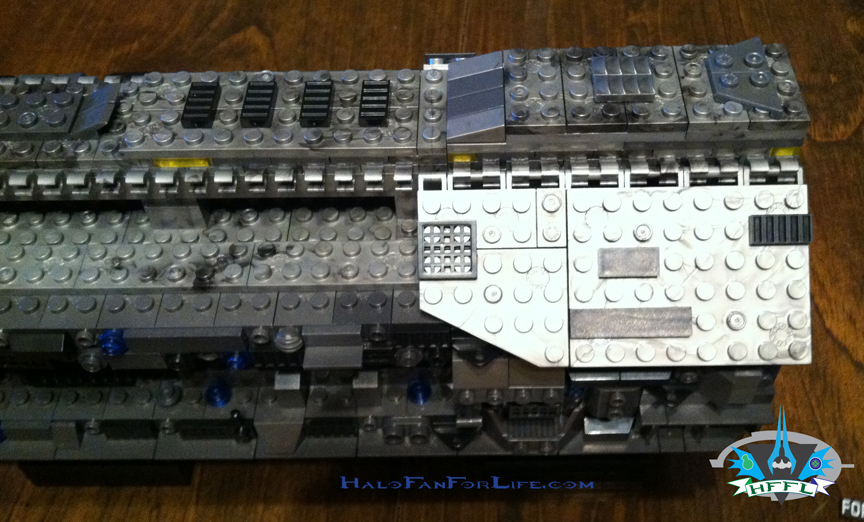
Here are those panels put on to the main frame of the model. The slope piece to the right of the second pic is more noticeable.
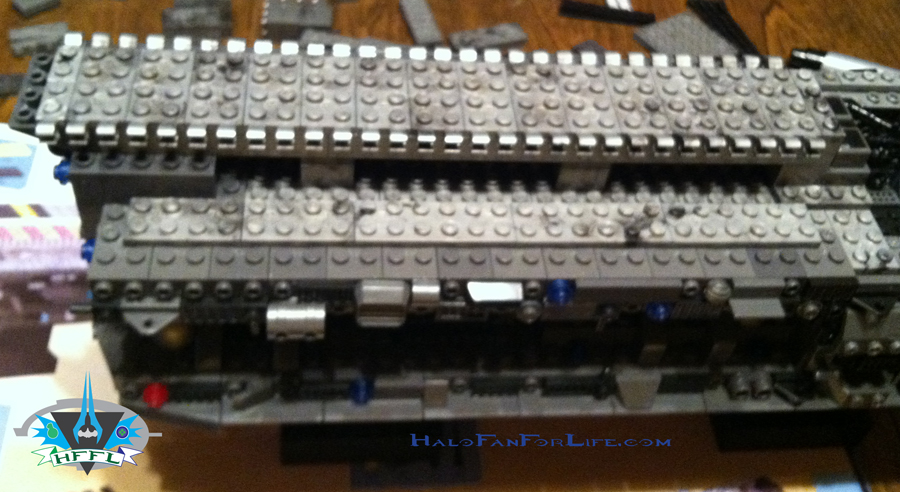
Above is the spine of the roof panels waiting to have those panels attached.
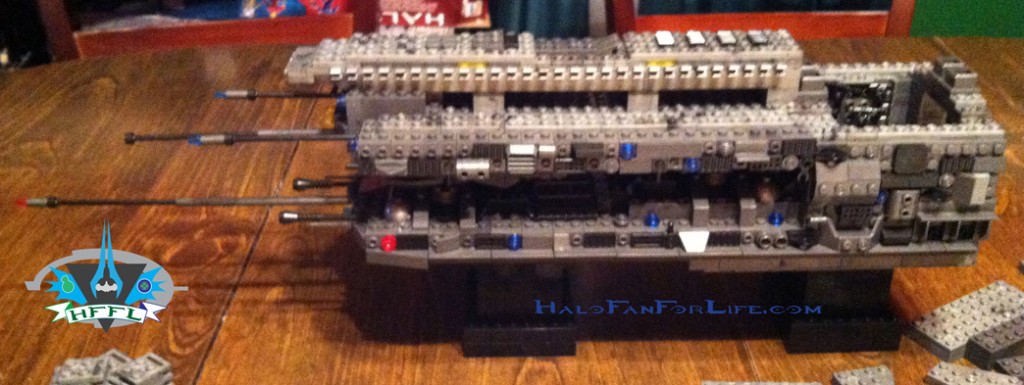
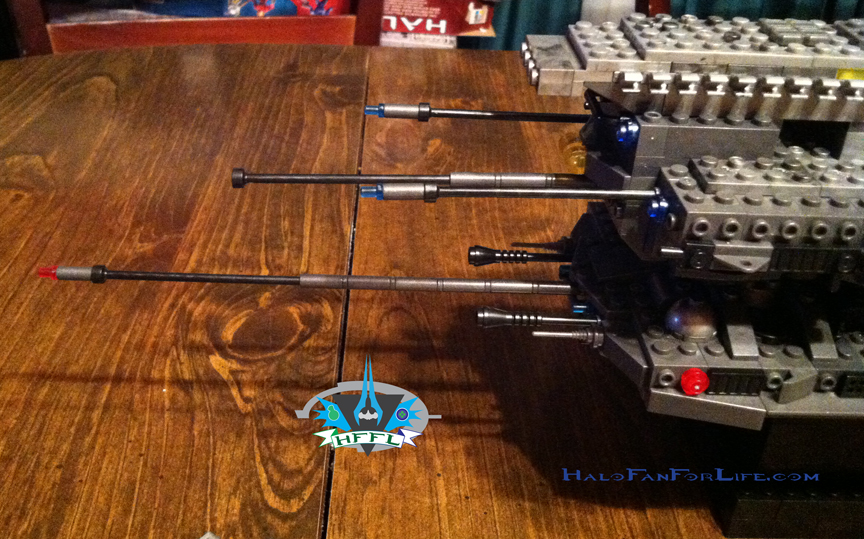
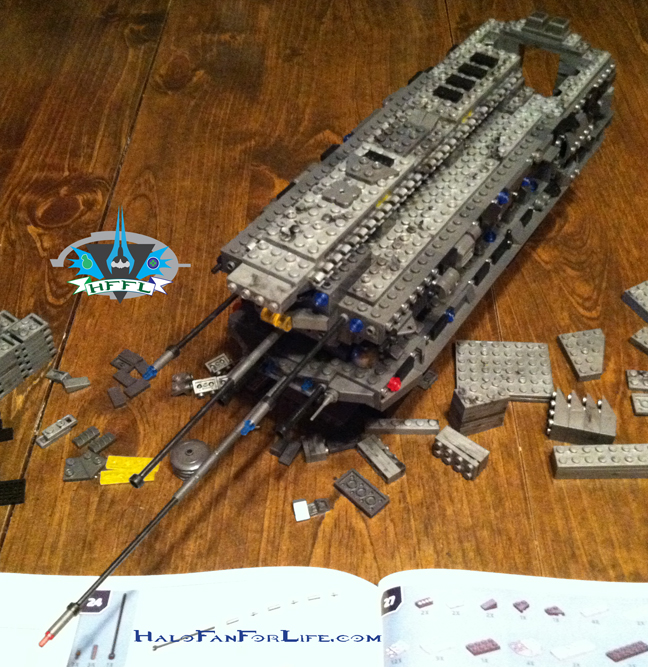
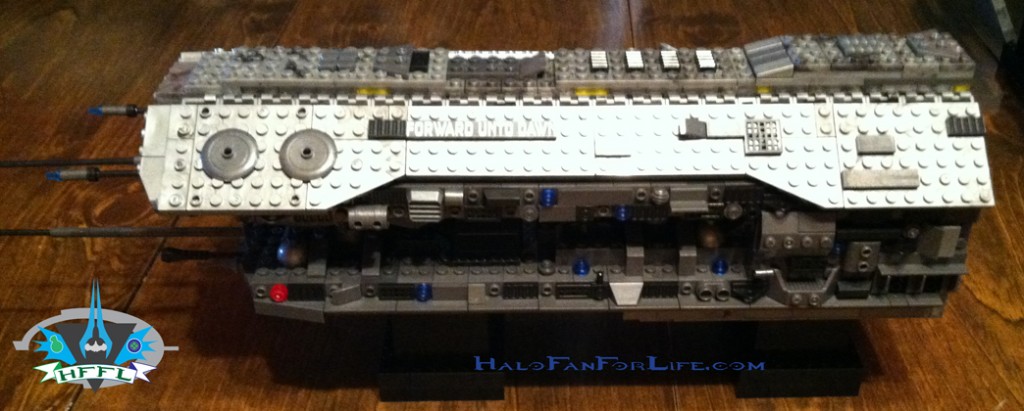
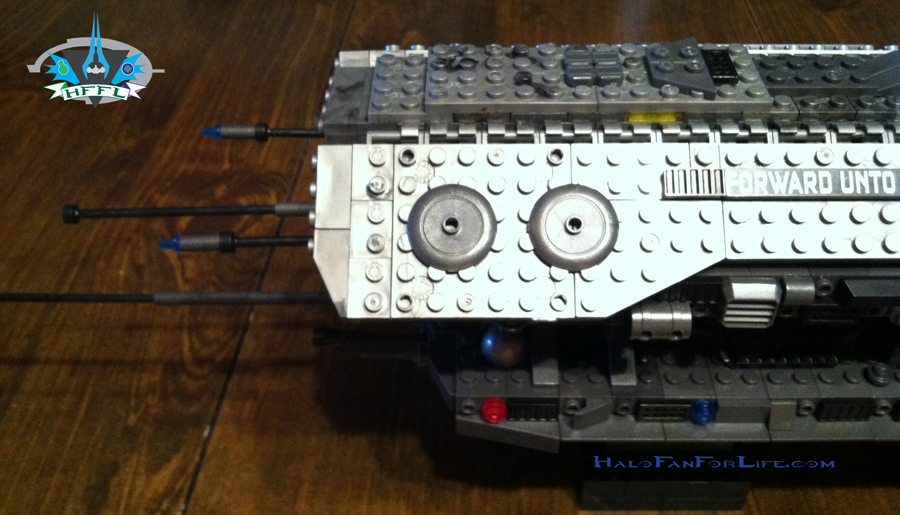
The above three pics show the antennae coming from the front of the ship. They are built in sections. I think they look quite cool. Do be careful though once you put these on. It’s easy to forget they are there and you could bump into them. I did. Thankfully there was enough give/bend to the front one that I didn’t snap it. So again, BE CAREFUL.
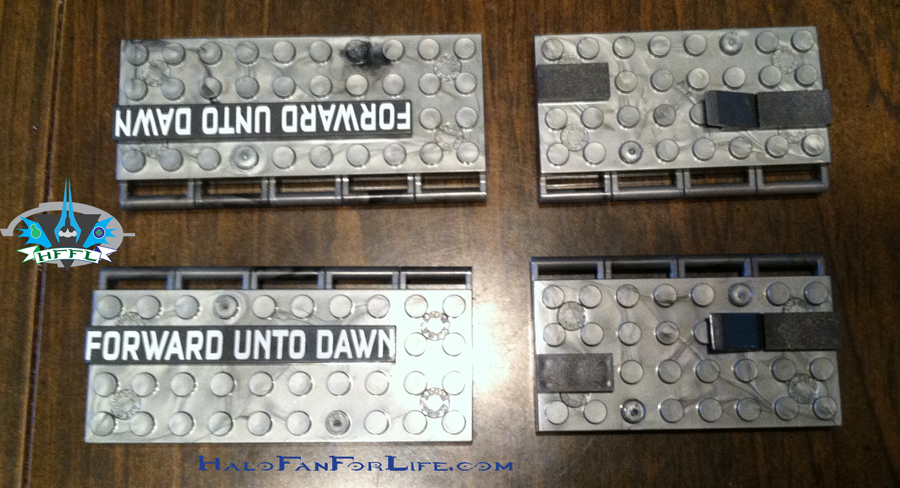
The next several pics above show the rear spine with it’s panels attached. This part is removable to show the interior of the armory, as well as to be able to access the middle of the ship for those times when you want to put them together or split them apart.
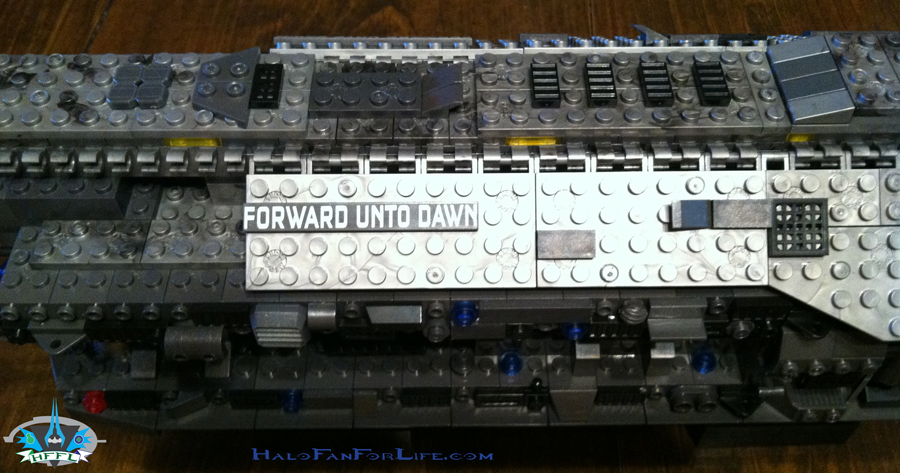
The middle panels added with the “Forward Unto Dawn” tile. Pretty cool.
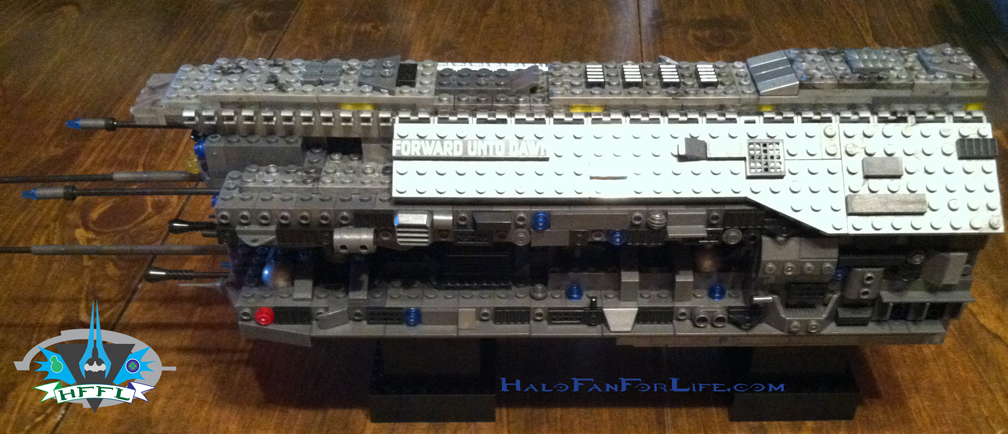
Finally the front roof panels are added.
Now this doesn’t look boxy. With all the greeblies added and the antennae plus the roof panels, this looks like a ship in and of itself, albeit without engines.
Stay tuned for the last part of this series of articles on the Mega Bloks Forward Unto Dawn model. The last part will show how the two halves come together, how it’s held in place; as well all of the stickers applied, and finally the extra pieces left over (as Mega always allows for), plus what I made with those pieces.
-Sal




Pingback: 2012 Halo/HFFL a year in Review. | HaloFanForLife
Pingback: Toy Preview: Halo Mega Bloks Mammoth! | HaloFanForLife