
Here we are at the FOURTH of the SIX part Halo Mega Bloks Scarab toy review. This is Mega Bloks third Halo Signature series set and it’s largest to date.
Due to it’s very large piece count (3,340), and it’s size, I’ve broken down the review into 6 parts so that you can easily see/read/download the review
When this series of articles is complete, I will edit in the links at the end of each article for easy reference later on.
Mega Bloks Covenant Scarab: Set # 97964
Technical Specifications:
Build Time: 5 hours Sorting, 8 hours Building TOTAL 13 hours.
Set Piece Count: 3,340
Minifigs: 2x Jackal Snipers, Dark Blue Ascetic Elite, Dark Blue Commando Elite, Translucent-Blue Prophet of Regret
Weapons: Fuel Rod Gun, 2x Carbine, 2x Plasma Pistol, Energy Sword (My set had 4 Carbines in it.)
Accessories: Buildable translucent blue Prophet Chair
Special Features: Legs pivot front to back at the hip, cannon turns 360°, hatch lifts up (on upper body), removable roof for cockpit, 2 side compartment area hatches open/close, some articulation at front plasma cannon (mandibles)
Cost: $250 Toys R Us Exclusive
And on with the pics! (Click pics to make BIGGER)
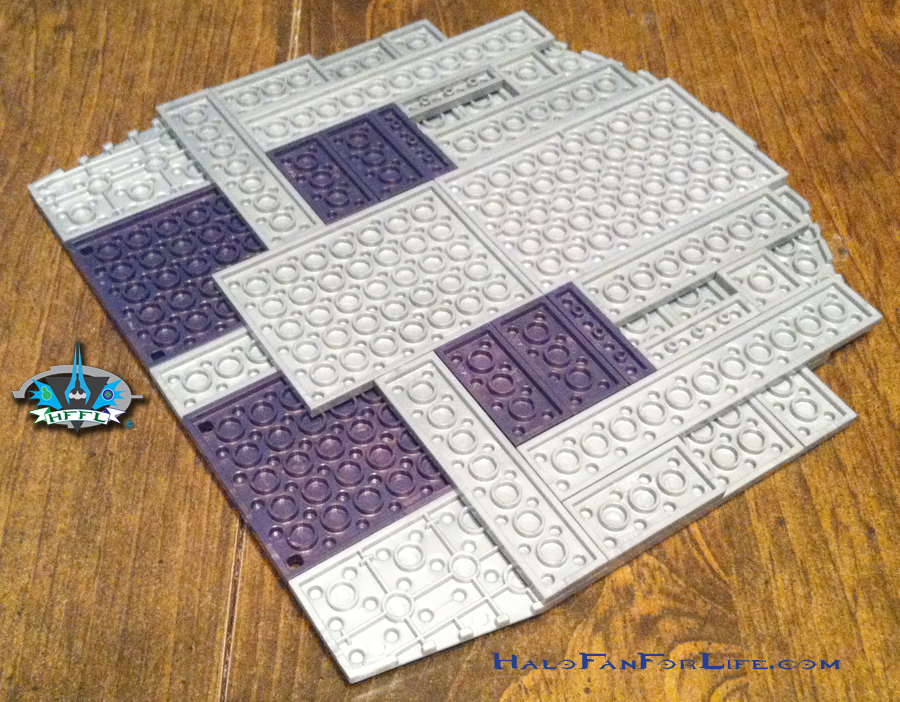
Wd begin with the base part of the lower body. Several plates make up the lowest portion, with books stacked on top. At this early stage it looks like it could be a boat of some sort.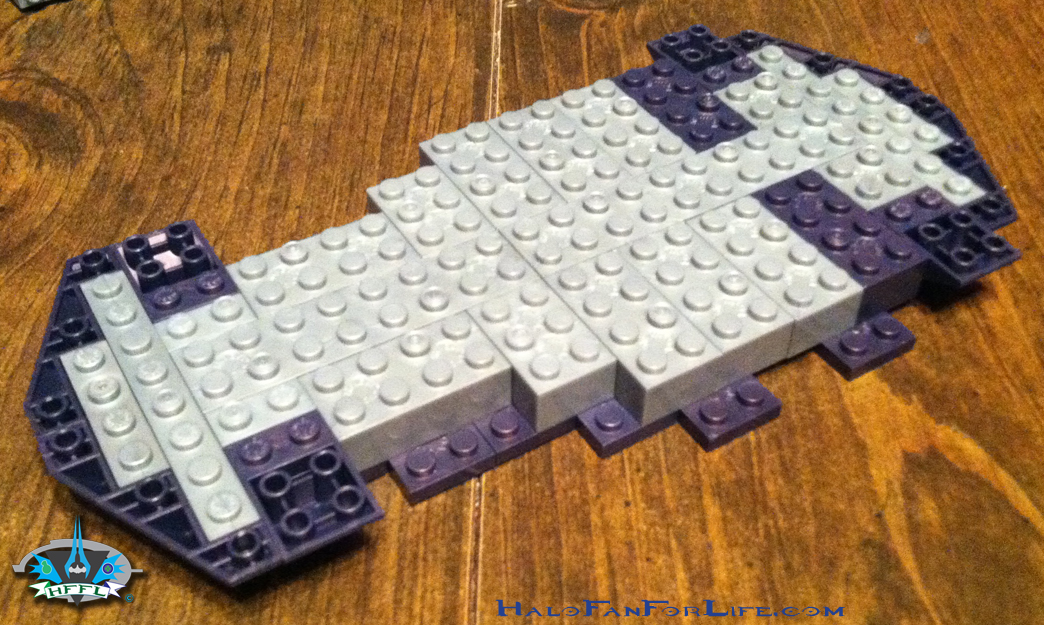
A little further along reversed slope books are added with more plate pieces on top.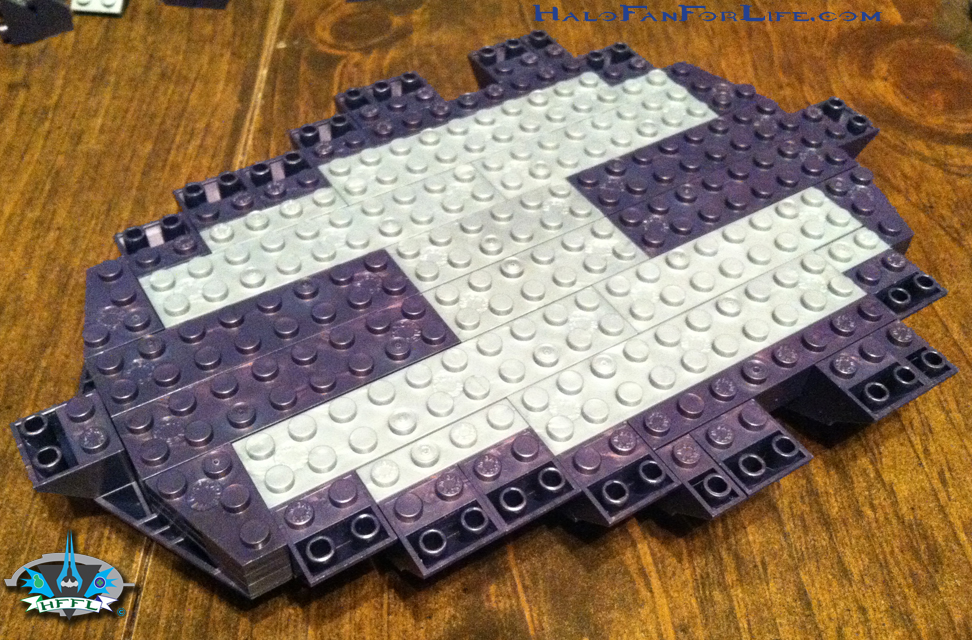
At this point, we add on several more plate pieces as well as tiles. The difference between plate and tile are this: Plate pieces have the ‘studs’ on top of them, while tiles are flat. Curiously, all of the tile pieces are covered over later on. SO I’m left to wonder why Mega didn’t just use plate pieces instead for better connectivity?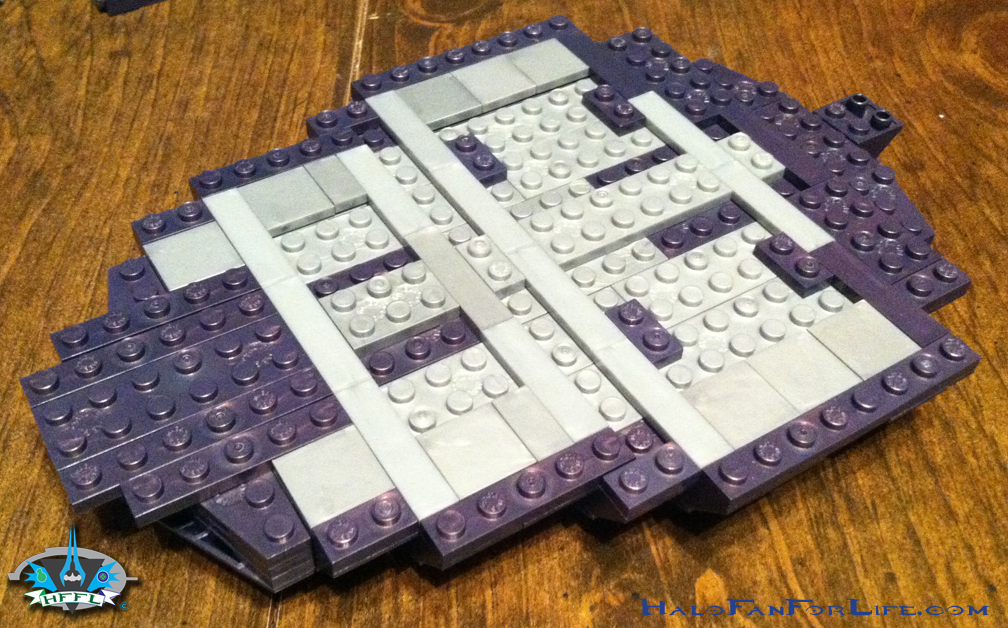
We put that section aside as that’s only part of the front portion of the lower body. Now we start building the back portion of the lower body. This is done in reverse to help build up the slight curving structure of the Scarab. Here it’s not curved, but gives the illusion of such with stacked plates.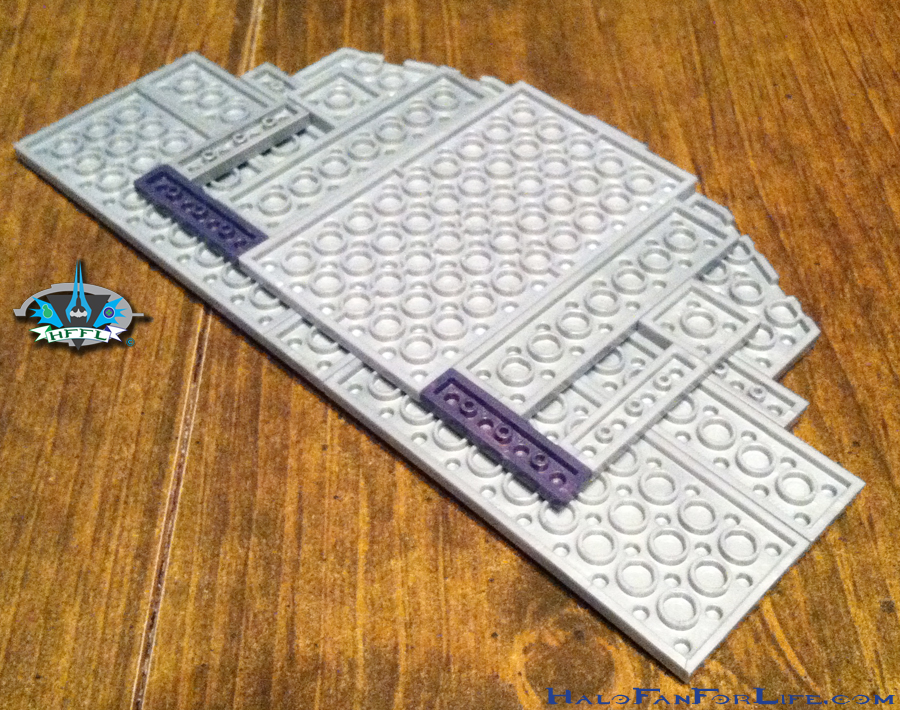
The base part of the back portion of the lower body has clear books mounted to it. These will be removed much later on. For now, they are there to help stabilize this section as you attach it to the front lower body section and continue to build on top of it.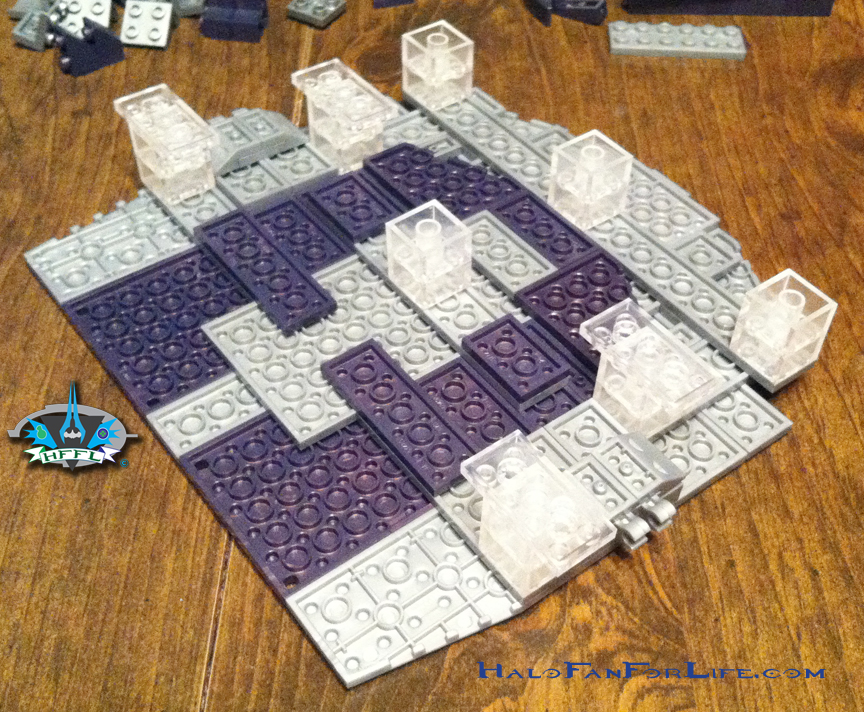
Here we see both the front and back sections connected with plenty more plates attached. This forms the whole bade of the body with which we build everything else on top of it.
Just a little into this you start to see how the inner walls are placed. Note that two of the receiving front leg hip joints have been added on.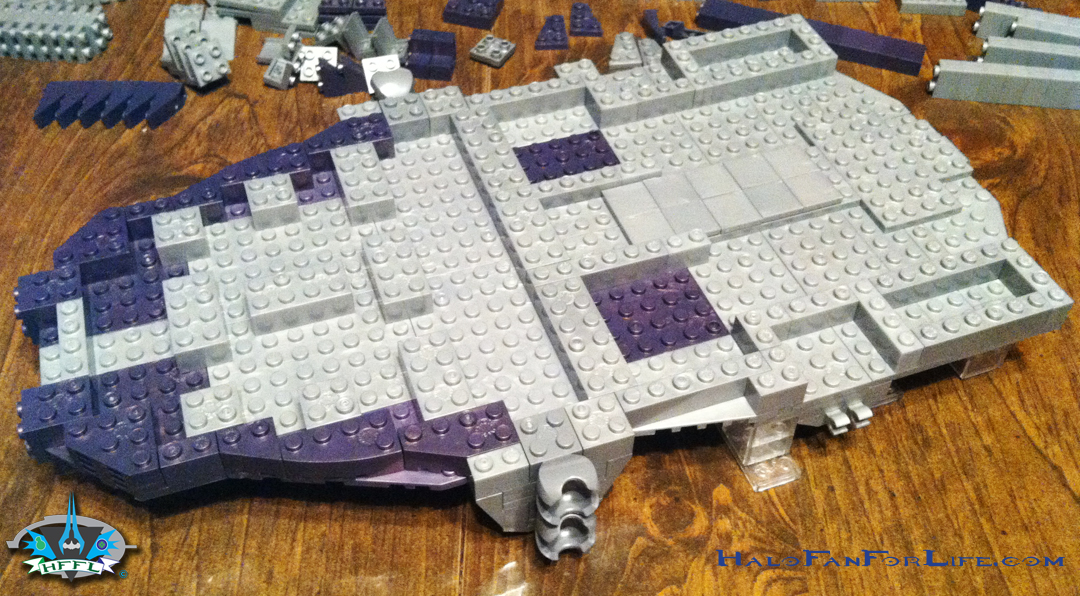
The their hip joint is added on and more of the walls are taking shape.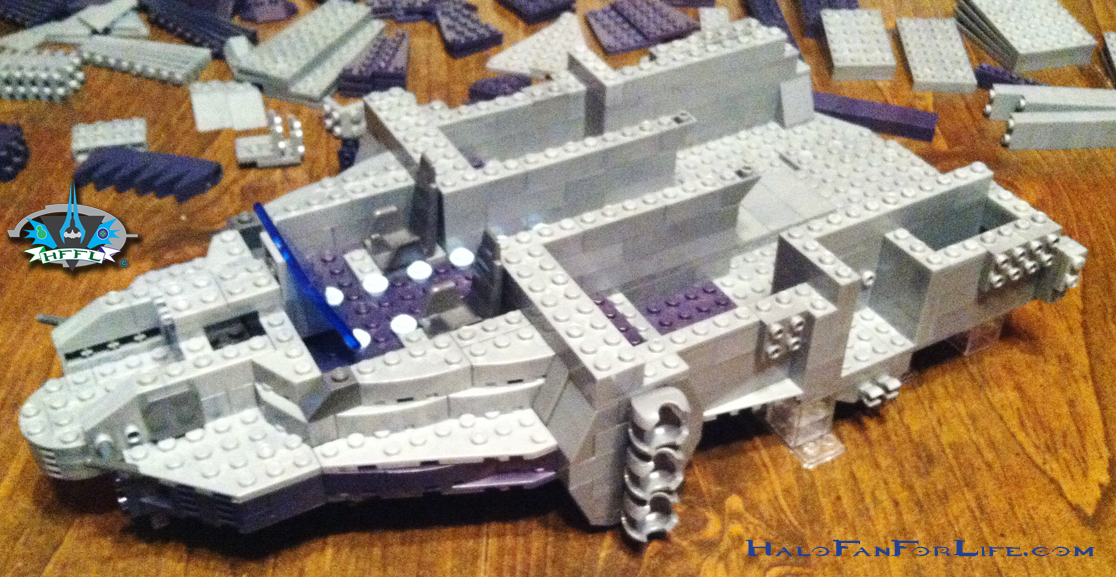
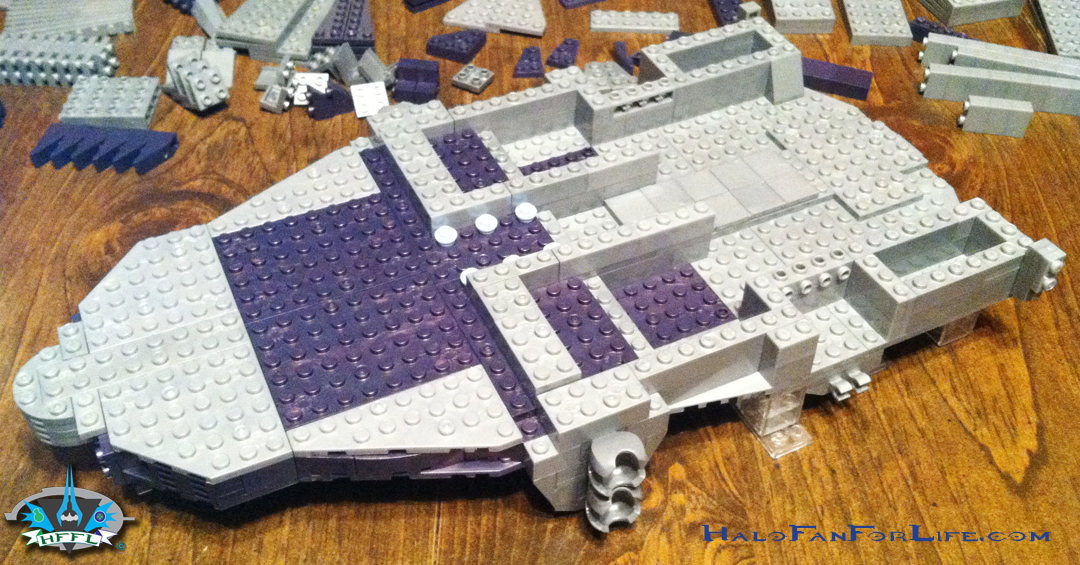
Now the lower body is nearly complete. All of the walls have been defined, the cockpit is done and we’ve even begun building the forward plasma cannon.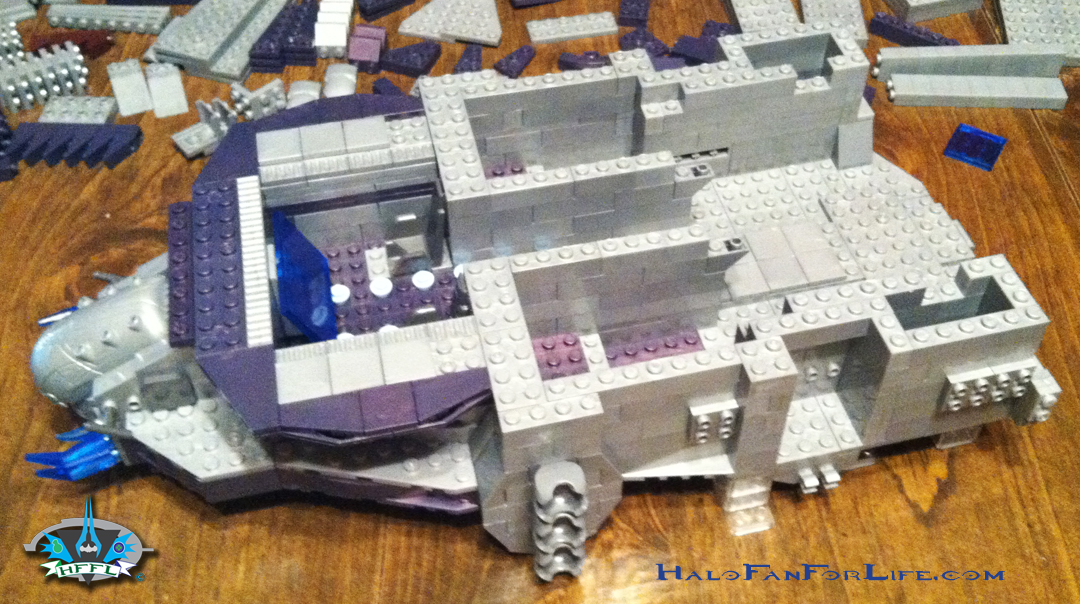
Before I go forward, yes, I’ll make note that the actual Scarab does not have a cockpit. This was added by Mega for added play value. I am perfectly okay with this. If they didn’t include it, it would likely have just been covered over by more books and plates, so why not include are area with more play value to it?
Alright so let’s move on to the front plasma cannon section.You can see here that large curved piece with the six holes on top of it. That has previously been used in the Covenant Vampire, though in a different color. I’m glad to see Mega made use of the very neat piece again.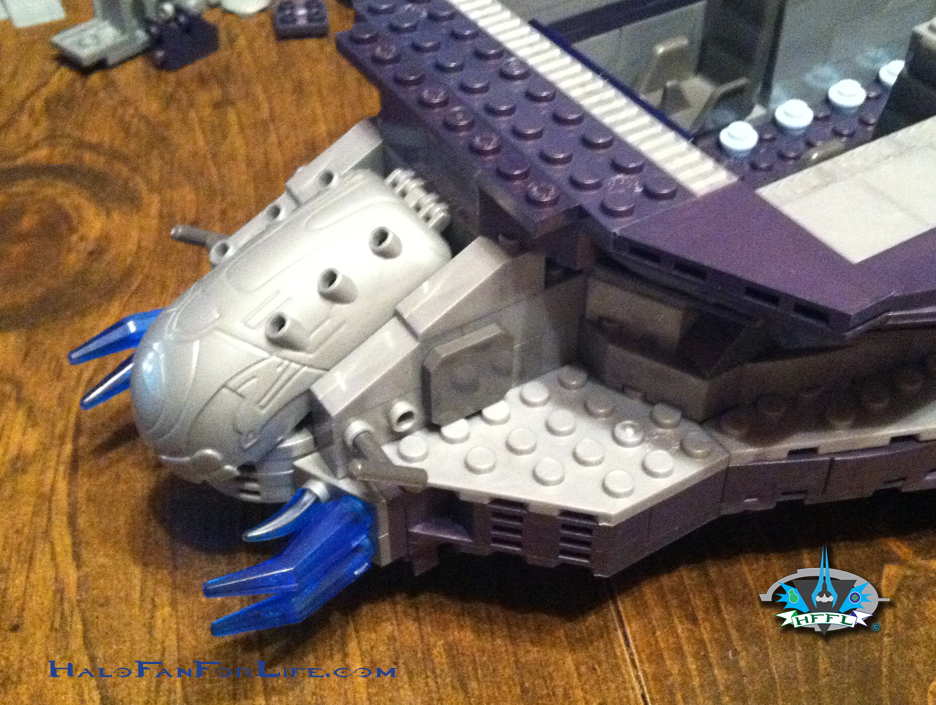
Now, I want to point out something else. Those blue mandibles. Ohhh did they give me troubles. What I mean is that while moving the body around to build elsewhere, I would inadvertently bump them and knock them off. This happened several times. So I HIGHLY suggest that when you’ve built them, set them aside to be placed on at the end of the whole Scarab build. Trust me on this one, if you want to save yourself a little frustration.
I think the only thing Mega could have done here would have been to add those little pin pieces to the mandibles. having those inserted into the large blue parts, then into the sloped books would have made them more secure.
Thankfully, this was only one of two points in the build that caused any difficulty. So again, save this for the end.
Now we add the cover pieces to the front cannon. There is a three part folding top section, two side mounted ‘cheek’ sections and two lower mandible armor sections. 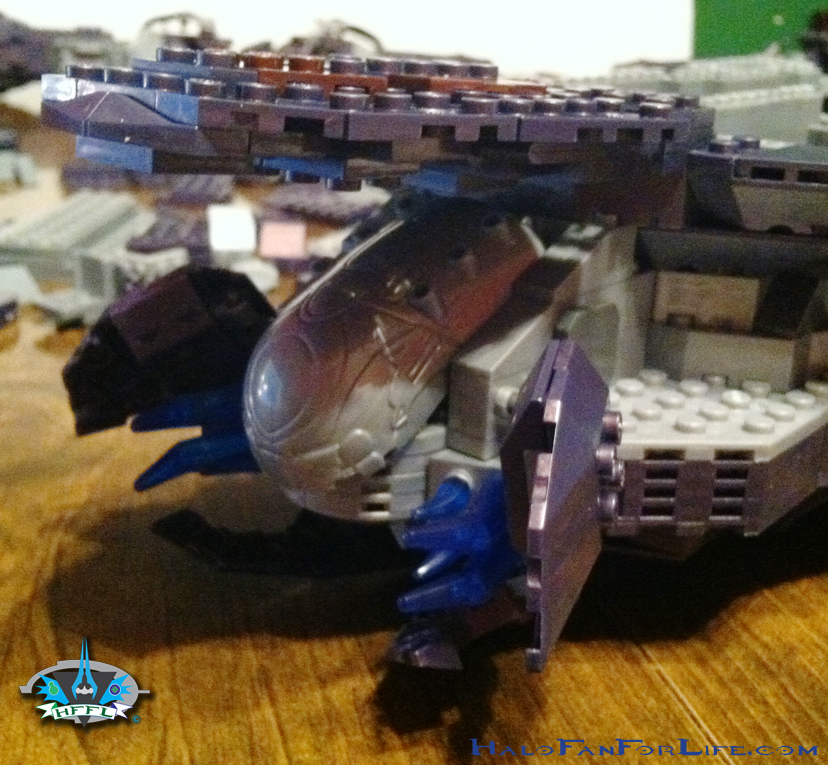
Here’s how the top section folds down over the cannon. Quite nice. You’ll see something very similar to this in the top body review as well. I like that Mega was very consistent with this design.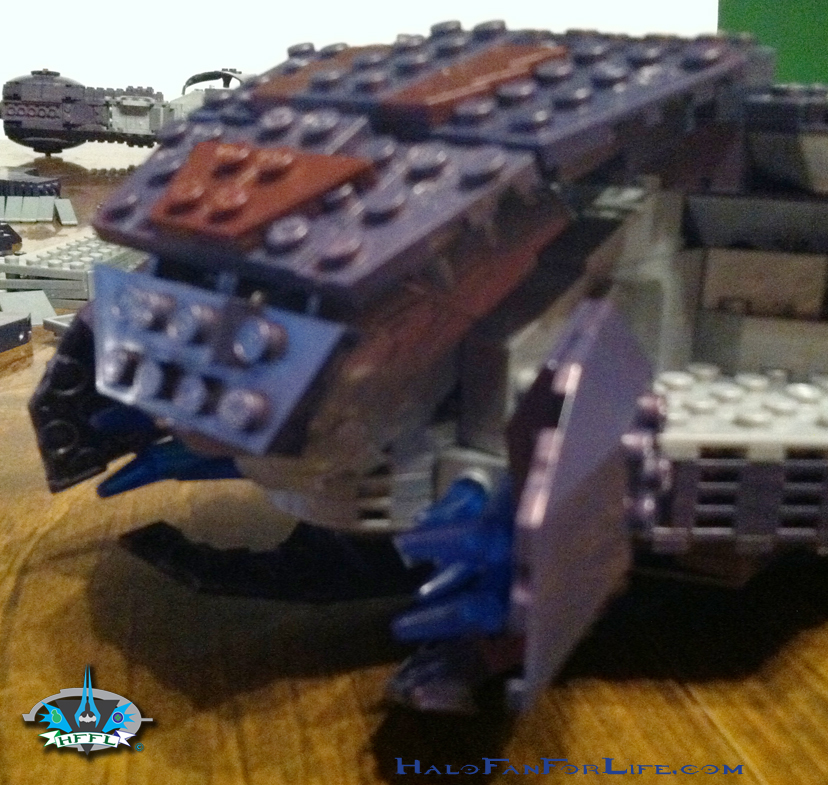
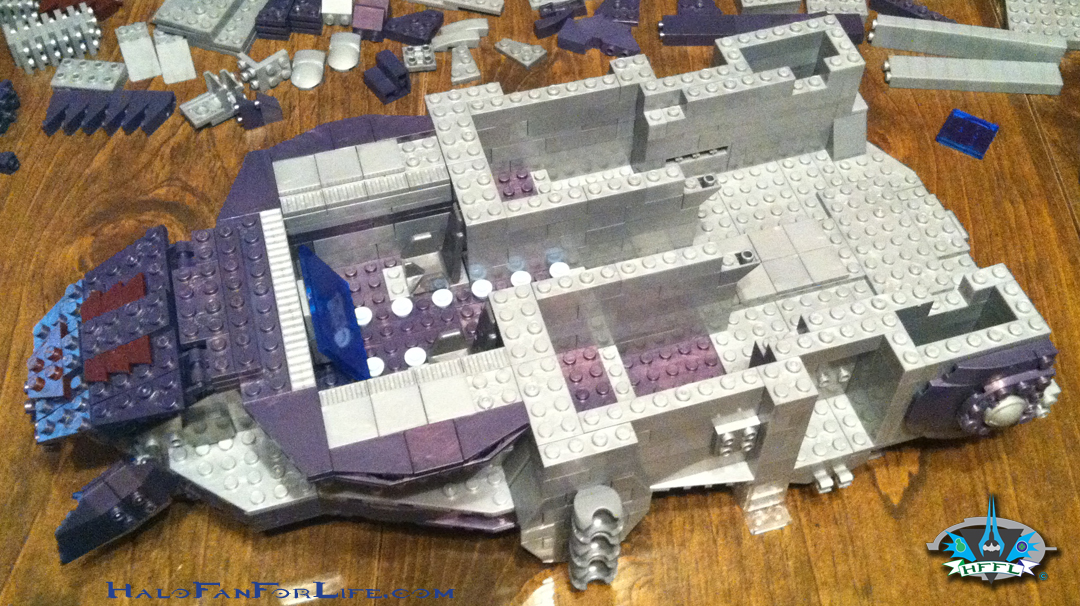 And finally above, you see the whole of the lower body section built and ready for the top part.
This section of the Scarab build took the longest of all of the section. It took about 2 hours to build it. Again, I need to stress that sorting out pieces REALLY HELPS. Otherwise, this would have taken a LOT longer to build.
Tomorrow in part 5, I complete the top body section. You’ll definitely have to check that out as there are some neat features with it and when combined with the lower body, really help to show the massive scale of this set.
Here are the links to the rest of the parts of the review:
Halo Mega Bloks Toy Review, Covenant Scarab: Part 1 (of 6) The Unboxing
Halo Mega Bloks Toy Review, Covenant Scarab: Part 2 (of 6) Front Legs
Halo Mega Bloks Toy Review, Covenant Scarab: Part 3 (of 6) Back Legs
Halo Mega Bloks Toy Review, Covenant Scarab: Part 4 (of 6) Lower Body
Halo Mega Bloks Toy Review, Covenant Scarab: Part 5 (of 6) Upper Body
Halo Mega Bloks Toy Review, Covenant Scarab: Part 6 (of 6) Turret, figures, weapons and the rest
-Sal
This is going to be massive!
Great review Sal.
This is coming along nicely Sal. The in progress build review is a cool way to show off all of the details, and Mega went all out with this. It is too bad I don’t have space for it in my house or I would be running out and getting it today!.
Nice review as always Sal,
Just a note though, there is actually some what of a cockpit on the scarqb…that blue console/ screen that is in the set is actually in the game and it has been theorized that it could be manually operated just like the halo 2 scarab
Never seen that in the game. And fan theories of that have not been proven. The Scarab is run by a HUGE colony of Hunter worms (Lekgolo). If you’ve got a link showing in-game the screen, which game and at what level, I’d be interested in taking a look at it. The room where the cockpit is does NOT exist in the game.
Actually it some what does…just not really its own room. The screen is in the halo 3 scarab….when u board the scarab from the bottom in the back( wear the rear plasma turret is facing) instead of taking the ramp up to the main outside deck, there is a huge blue screen that takes up the whole wall..that screen is the same as the screen in the mega bloks pilot room…
No cockpit though, as I said.
http://i661.photobucket.com/albums/uu331/DarkLord0912/inner_scarab_new.jpg
Here is the control screen that mega printed on that clear brick in the cockpit