
This article marks the first of a series of 6 parts for the Halo Mega Bloks Scarab. It’s a massive set and the third in Mega Bloks Halo Signature series. Due to it’s very large piece count (3,340), and it’s size, I’ve broken down the review into 6 parts so that you can easily see/read/download the review. I took several hundred photos of this whole set. Having those all in one article would be just a bit much. Not all of those photos made it to the review, though roughly 150 of them did. When this series of articles is complete, I will go back into them and edit in the links to each part for easy reference later on. For now, enjoy each part as I release them one a day for the next six days!
Oh, one quick note before I get started. In a roundabout way (too long to explain) and quite unexpected way, I got this as a gift from a family member (not my wife this time). A huge thank you to them.
![]()
Mega Bloks Covenant Scarab: Set # 97964
Technical Specifications:
Build Time: 5 hours Sorting, 8 hours Building TOTAL 13 hours.
Set Piece Count: 3,340
Minifigs: 2x Jackal Snipers, Dark Blue Ascetic Elite, Dark Blue Commando Elite, Translucent-Blue Prophet of Regret
Weapons: Fuel Rod Gun, 2x Carbine, 2x Plasma Pistol, Energy Sword (My set had 4 Carbines in it.)
Accessories: Buildable translucent blue Prophet Chair
Special Features: Legs pivot front to back at the hip, cannon turns 360°, hatch lifts up (on upper body), removable roof for cockpit, 2 side compartment area hatches open/close, some articulation at front plasma cannon (mandibles)
Cost: $250 Toys R Us Exclusive
And on with the pics! (Click pics to make BIGGER)
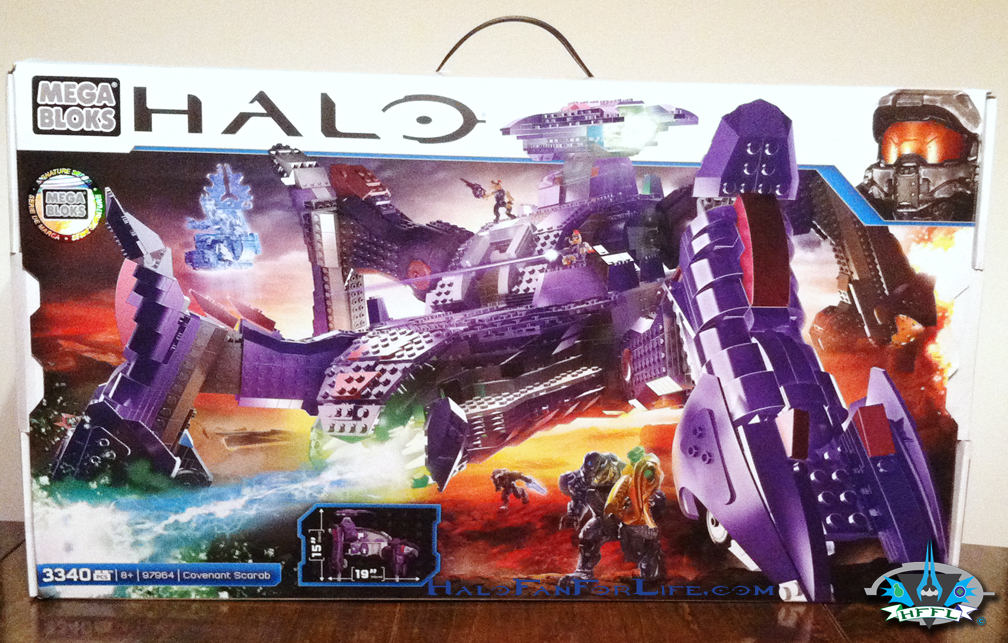
This box is massive folks! As you can see it’s so large that it requires a handle to help hold it, just as the previous two signature series sets have. Those being the Forward Unto Dawn and Mammoth sets. (BTW, you can find the several part reviews for each of those via the Mega Bloks category.) The box art is impressive for the Scarab. Forced perspective is applied here making the Scarab look as if it’s coming out of the picture. Great action shot!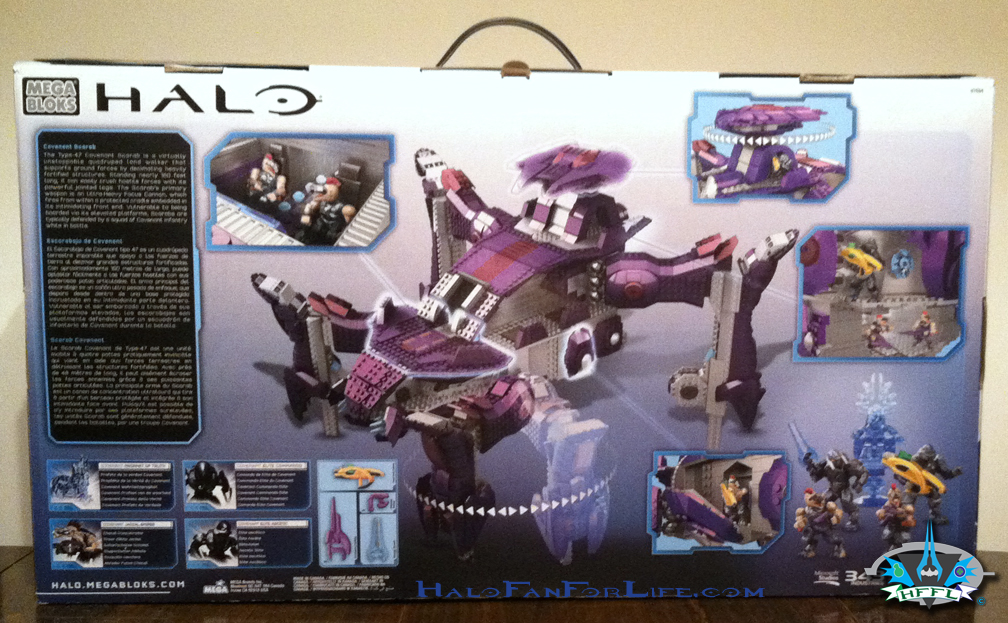
The back of the box is chock full of details. Some of which I show below.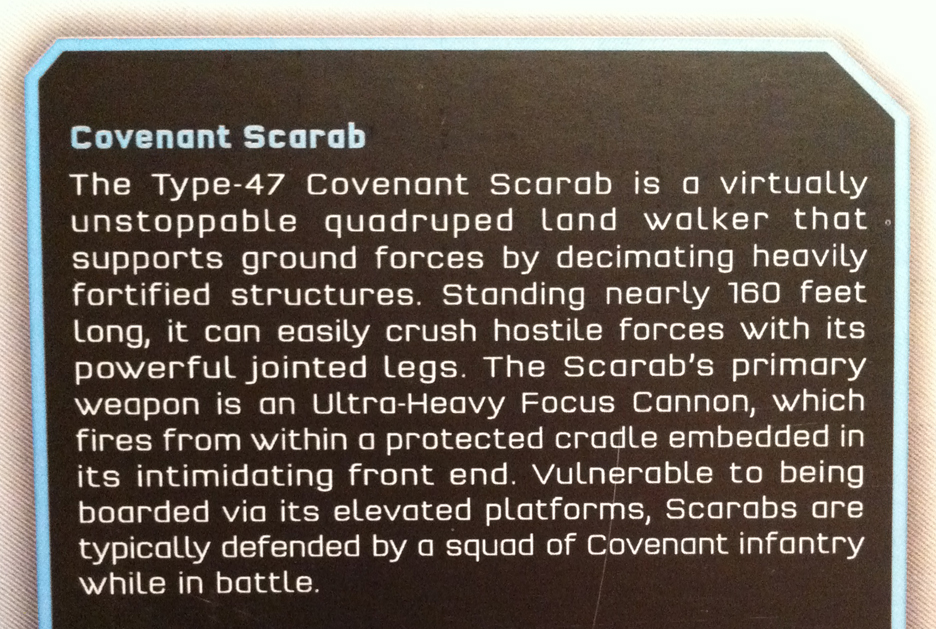
A menacing description of the Scarab!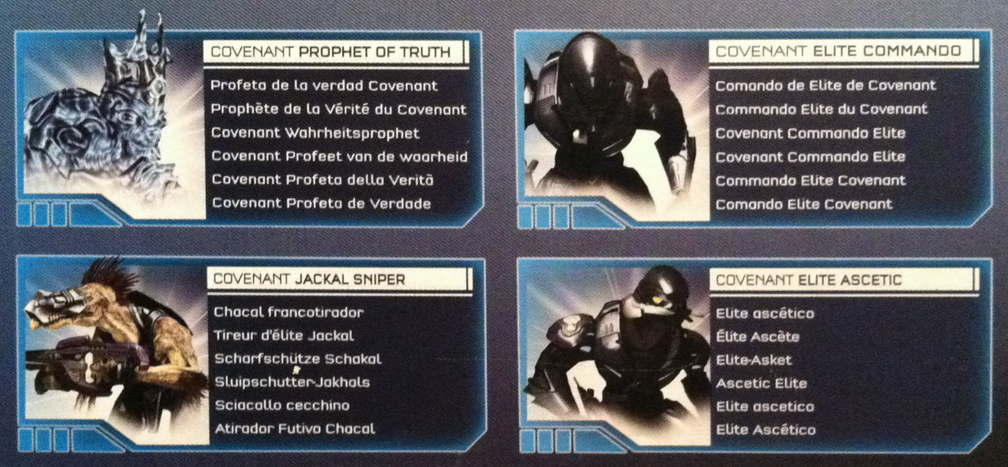
Above a quick look at the 4 types of figures included with the set.
Before I move on, I should make note that not all of these were shown when we got a first look at the Scarab at New York Toy Fair 2014. In fact only the Jackal Sniper was carried over to the final release. The Prophet was a different one and fully painted, not holographic. The Elites replaces the Brute Honor Guards that were shown and Master Chief didn’t make the cut.
While many were/are disappoint that the Brutes were not included as they are a completely new character we haven’t yet got in the Halo Mega Bloks line, I have it on good report that we will indeed see these in the future, just not with this set.
Personally, I’m happy with the Holographic Prophet. But then again, many of you know I love translucent toys, so this should come as no surprise. The color of the Elites is cool.
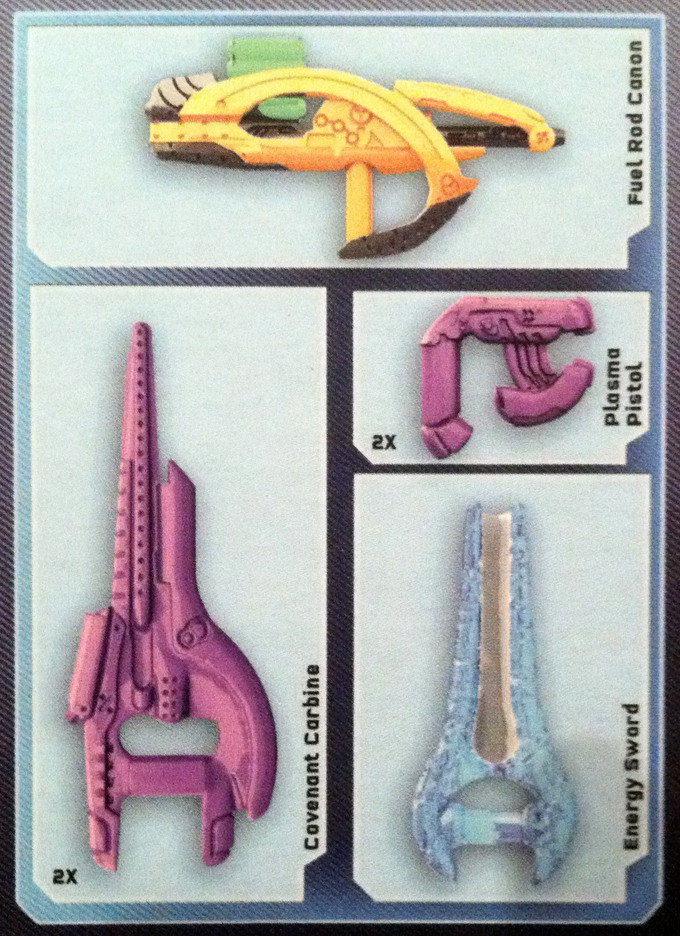
The above detail pic shows the weapons included. Note the Carbine is listed as only having 2. I got 4 in my set. I wonder if 4 was the correct amount and the printing was wrong or if I just got lucky and got 2 extra???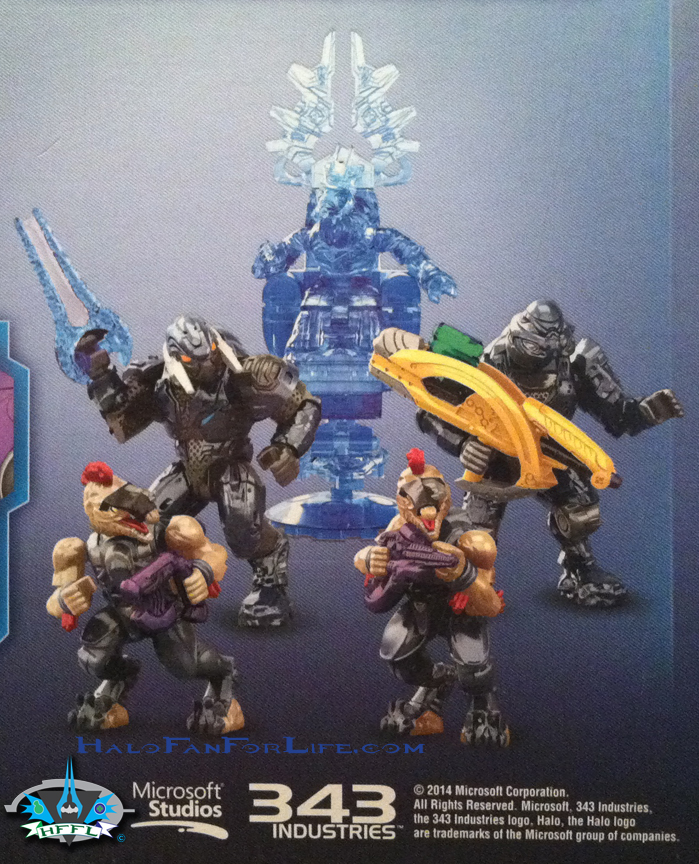
As well, a quick detail shot of the figures included. I’ll get to those in much more detail during a latter part of this series of review articles.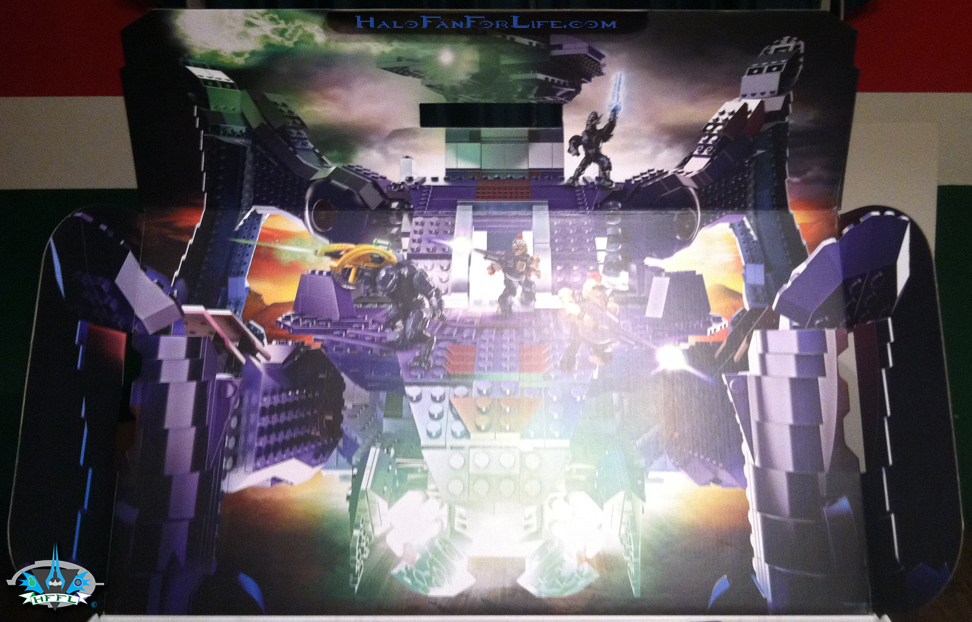
When you open the box, you’re greeted to an OUTSTANDING bit of interior box art! The Scarab looks like it’s coming out at you! I love the way the legs were incorporated into the design of the folds of the box. It really adds some depth to the art. Fantastic job there Mega!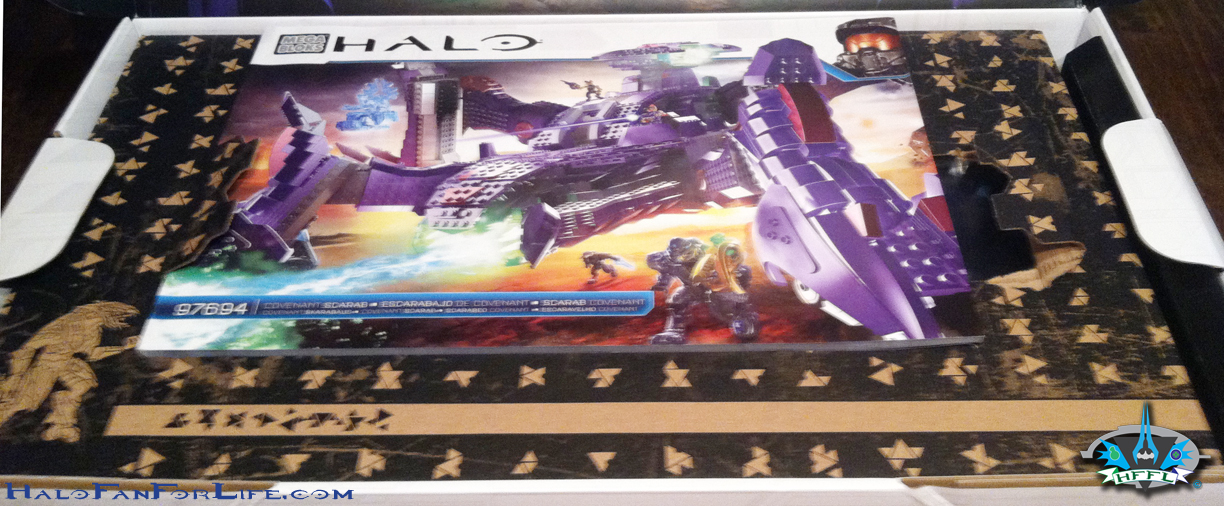
In the main section of the box we have the instruction manual on top of two large interior parts boxes.
The top one of my interior boxes was a little torn. This did have me a little worried that something might be missing.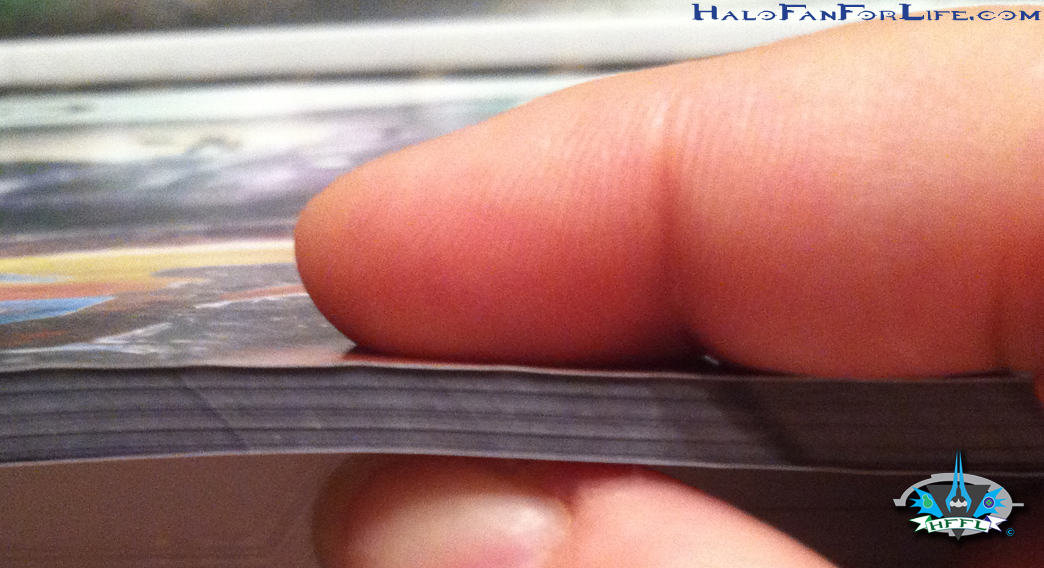
Above you see how thick the manual is. There are several hundred steps to completing the Scarab. Though, if you take it in sections, as they’ve laid out for you, the build becomes rather easy.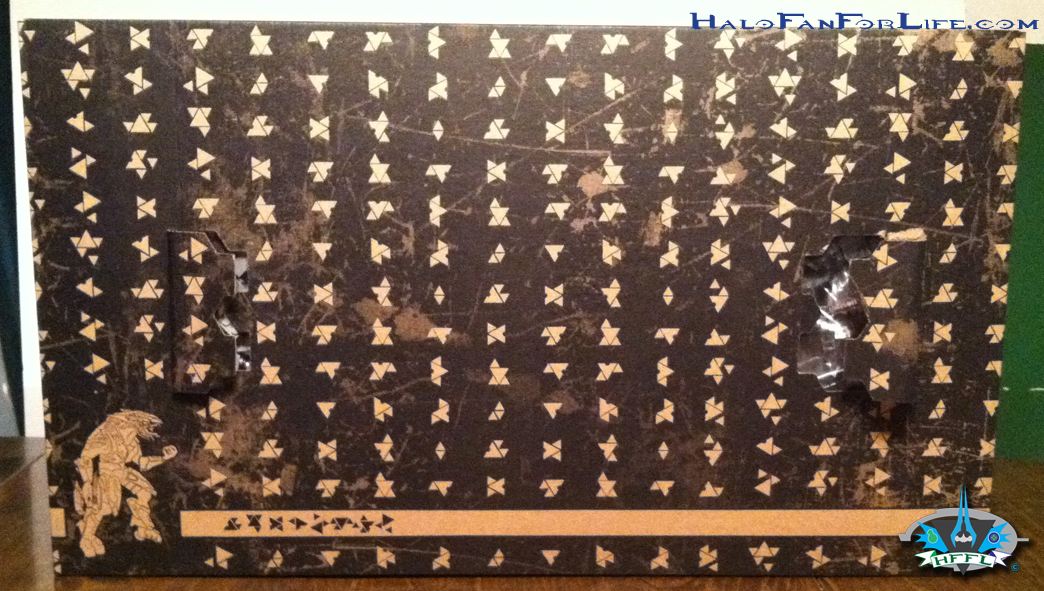
This shows one of the boxes standing on a side. Note the Elite artwork in the bottom left corner. Each box is the same outside, while within they hold different pieces.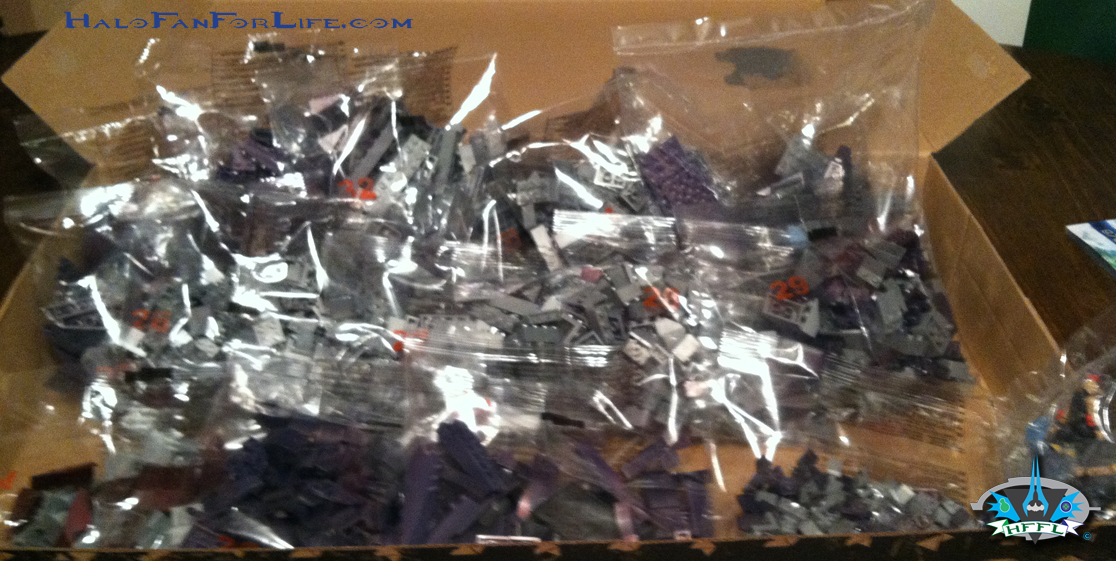
In the above shot you see the content of one of the boxes. This one contains bags numbered in higher sequence than the other box. BTW, the numbers on the bags do NOT indicate the steps at which you use them. They are number strictly for packing purposes. 
Curiously, I got this little addendum bag that included four forearm parts for the Jackals. I ended up not needing them as the Jackals included with my set were perfectly fine. I’ll keep them though and possible use them in some gory battle scene…LOL.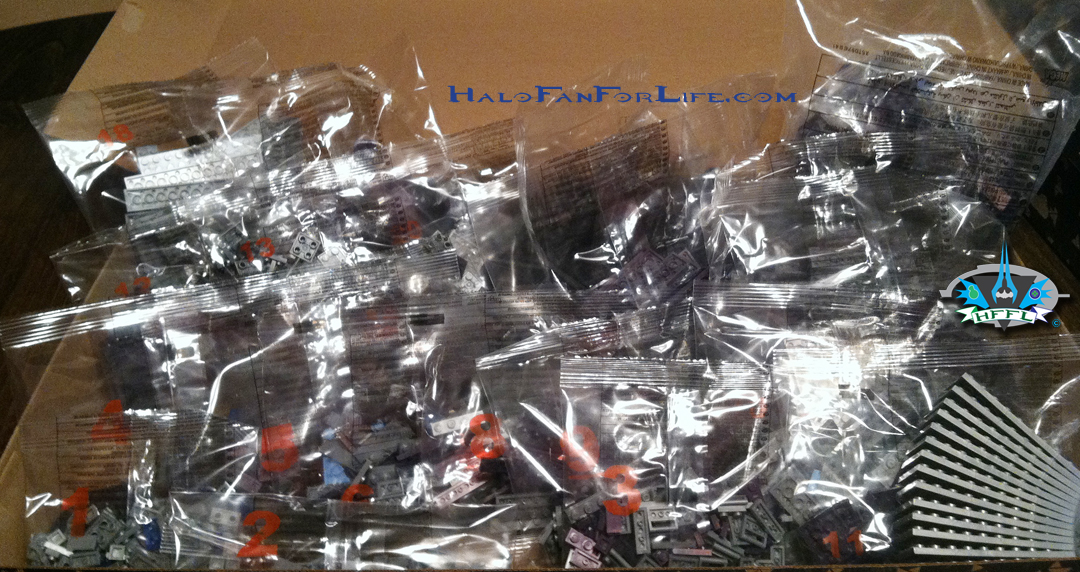
The other box’s contents has the bags with lower numbers. Note there were loose plates (lower right corner) in the bag. This again had me worried that a bag might have somehow opened and I was missing parts.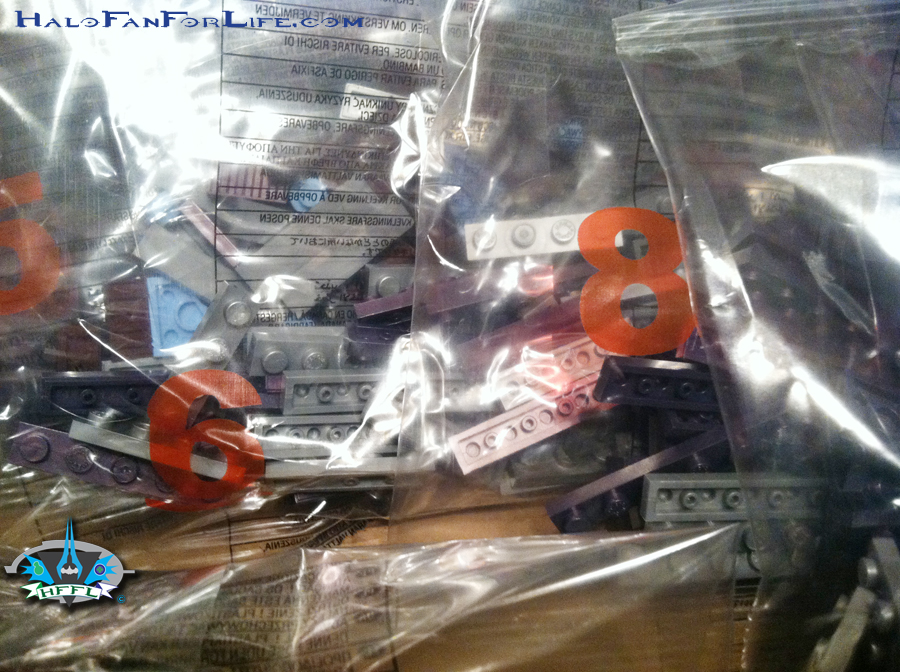
Take note above that I did not have a bag numbered ‘7’. After seeing this, I called Mega to ask if there should have been a number ‘7’ bag included. The very polite person let me know that this was just for packing purposes. I understood that of course. However did say that it might mislead consumers into thinking they are missing something. She said she’d check into it and get back to me, having taken my phone number down.
Good news came the next day that there wasn’t a number ‘7’ bag. Though she did agree with my concerns and made sure the quality control manager was made aware of it for future reference/sets. BTW, after sorting, all parts were accounted for.
Once again the loose parts. As it turned out, these were meant to be loose.
So don’t worry folks if/when you get this set you have loose plates as I did and/or you don’t have a number ‘7’ bag.
Now before I continue, I should make note that with such a large set, I really would have appreciated the bags to have been sorted per section as outlined in the instruction manual. Mega did this with the Mammoth and it was quite helpful. The Scarab has many more pieces than the Mammoth. Only having two large boxes of parts and them not sorted to sections makes us have to sort all 3,340 pieces. That was a little cumbersome as I had to take up nearly the whole dining room table for the parts and area to build.
Hopefully in the future with these massive builds, Mega will again section off the parts to make it easier for us to build and in smaller spaces.
I decided before sorting to alter my method for doing so slightly. While I normally start with bags that have large parts, I usually didn’t care so much how close in size each bag of parts was. This time, I made sure to sort by piece size going right to left on the table.
Below you see how the bulk of the parts took up the table. Left and right halves.
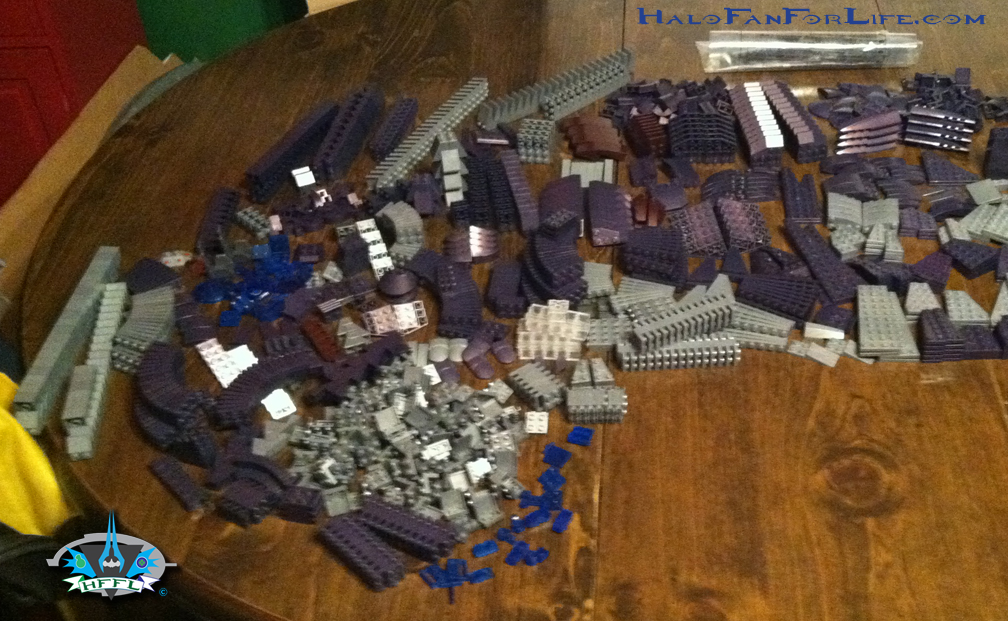
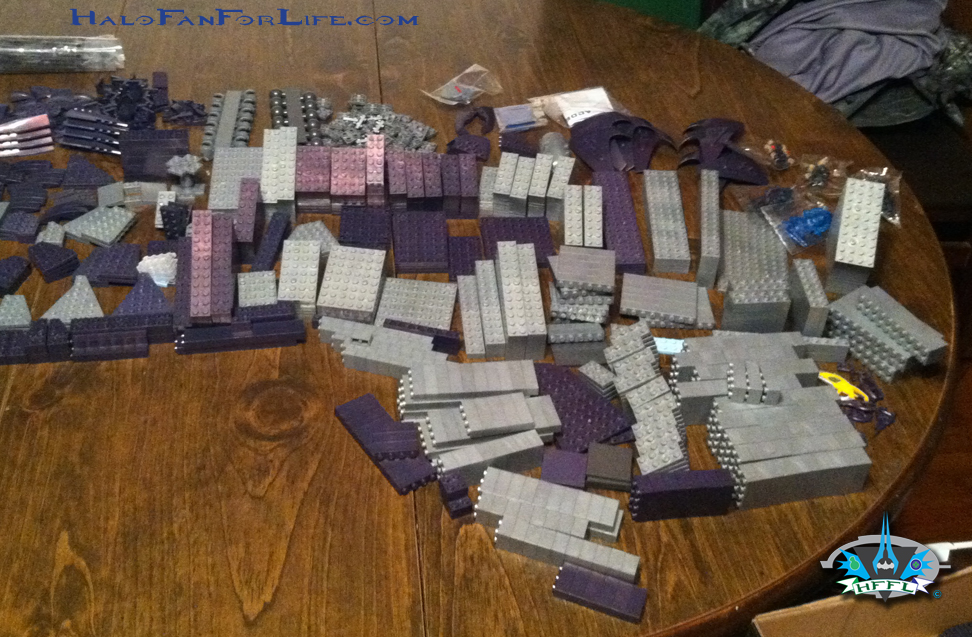
You may note that I stack my parts. Plates I connect at only one end so that I may separate them easily when I need them. In doing so, I save lots of room instead of having all loose parts.
Most of the small parts went into one of the interior boxes. This I had place to the side on a chair. Again, this made it easier to build as I had more room on the table. Small parts on a table can be ‘hazardous’ as you may inadvertently knock them off and have to go finding them. Keeping them within a box as I did meant even if I bumped the box, the pieces didn’t go flying about. So I didn’t lose any.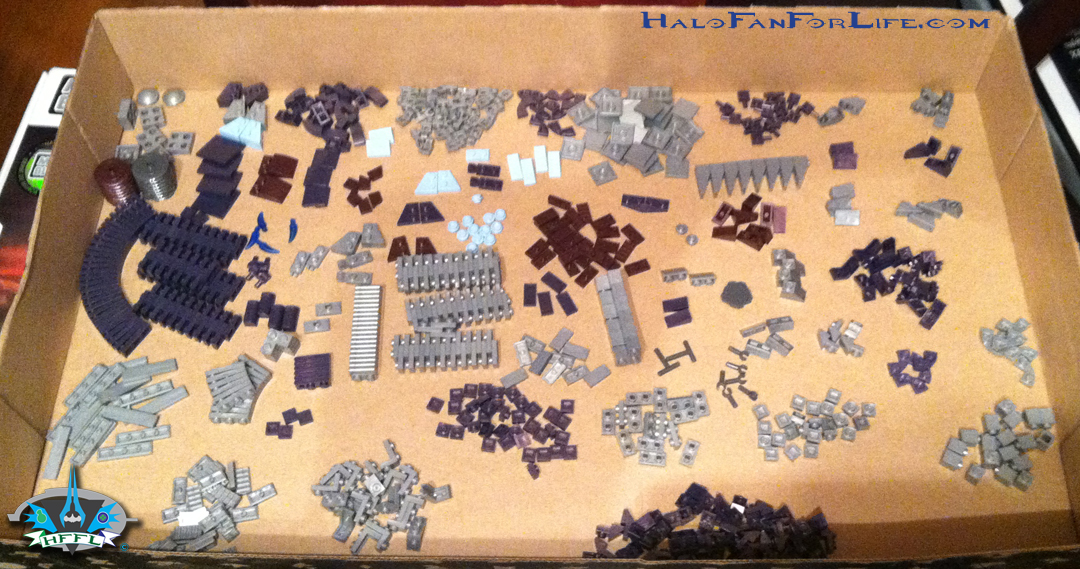
Okay, that’s part 1 folks. The unboxing is done. Tomorrow, the build process starts with the front legs!
Here are the links to the rest of the parts of the review:
Halo Mega Bloks Toy Review, Covenant Scarab: Part 1 (of 6) The Unboxing
Halo Mega Bloks Toy Review, Covenant Scarab: Part 2 (of 6) Front Legs
Halo Mega Bloks Toy Review, Covenant Scarab: Part 3 (of 6) Back Legs
Halo Mega Bloks Toy Review, Covenant Scarab: Part 4 (of 6) Lower Body
Halo Mega Bloks Toy Review, Covenant Scarab: Part 5 (of 6) Upper Body
Halo Mega Bloks Toy Review, Covenant Scarab: Part 6 (of 6) Turret, figures, weapons and the rest
-Sal
Great start Sal, but unless you got a heckuva deal, I think that price needs a zero tacked on…looking forward to part 2!
Ah, good catch! Fixed and thanks.
Ah, so this is your project. And I have to say, I’m not dissatisfied! I couldn’t wait to see a (Picture) review of the scarab, and the fact that you’re doing it gets me extremely excited for part two! Keep up the good work!
Thank you Jared. There are MANY more pics to come. I shot about 300 pics for this. About half of those made the cut for the 6-part review.
Woah, that is crazy big
Ha, these are only the front legs. The back legs are BIGGER!