McFarlane Halo 4 Toy Review: Watcher

The Watcher is another new enemy from Halo 4. In the game it’s small and annoying like flying bugs, which is much what it is like. The little face on the character is eerie. The sculpt of the toy matches that quite well, in a good way of course. Read on fellow Halo fans to see what I think about the Watcher figure from McFarlane Toys.

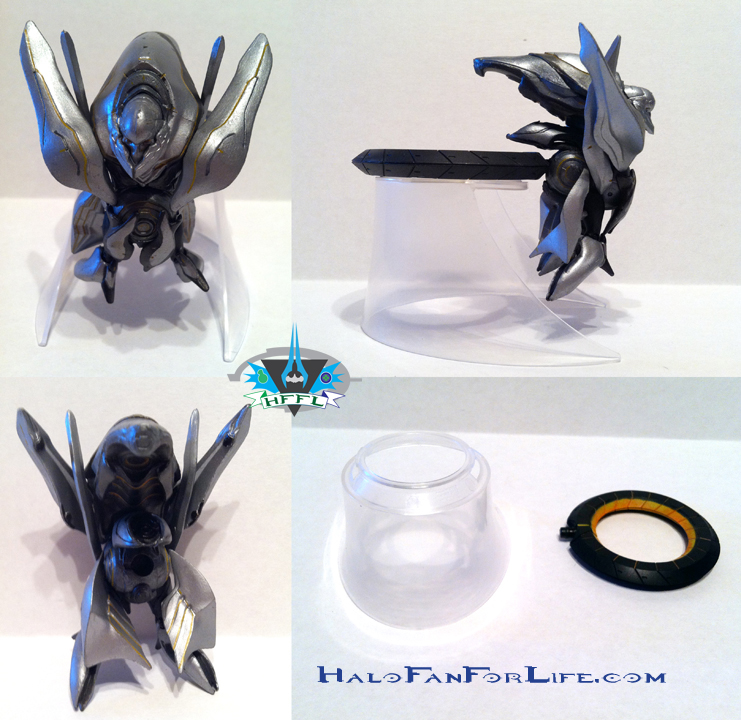
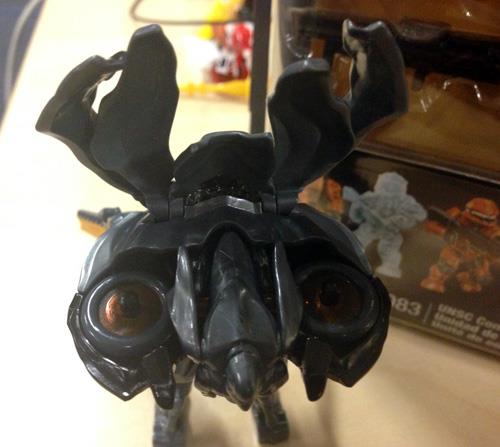
The sculpt is amazing as always. Would you expect less from McFarlane? The figure is a bit small and there isn’t much articulation to speak of, but that’s not really something important with this figure…except for it’s ring wings. This version of the Watcher has just one solid ring that sticks out from the back. In the game they are deployed to the sides almost all of the time. I researched this a bit and found that the way the toy looks is much as it was in the concept stages of the game. So it’s likely given that toys take 9 months or more to make from concept to shipping that this is what McFarlane had to work with.I can’t knock them for this version of the Watcher.

I DO hope though that they come out with a version that has deployed wings. Fully poseable so that you can have them out to the side or position so they are swept back behind the figure. If you look at the pic above in the top right section, you’ll see where there is already a “ball” near the middle back of the figure. This could easily house the two wings. So here’s hoping we get another more game accurate version of the Watcher down the road.

The plastic stand that this figure comes with is a little disappointing as you can’t really hide it. But then if you look at the figure itself, it would be kind of hard to make a stand like this and be able to hide it. That’s why I hope when/if the figure is revisited, McFarlane will have a simple metal rod/stand like the ones that came with the Guilty Spark figure from an earlier release. That would be sturdy enough and able to give the Watcher more a look of being in flight.

So final thoughts.

This is a one-purchase for me until/if it gets redone with poseable wings. It IS a great sculpt so I do recommend getting the figure. It’s not high on the action part of action figure, but given what this figure does, I’m fine with it.

I give this 7.5 out of 10 medals.

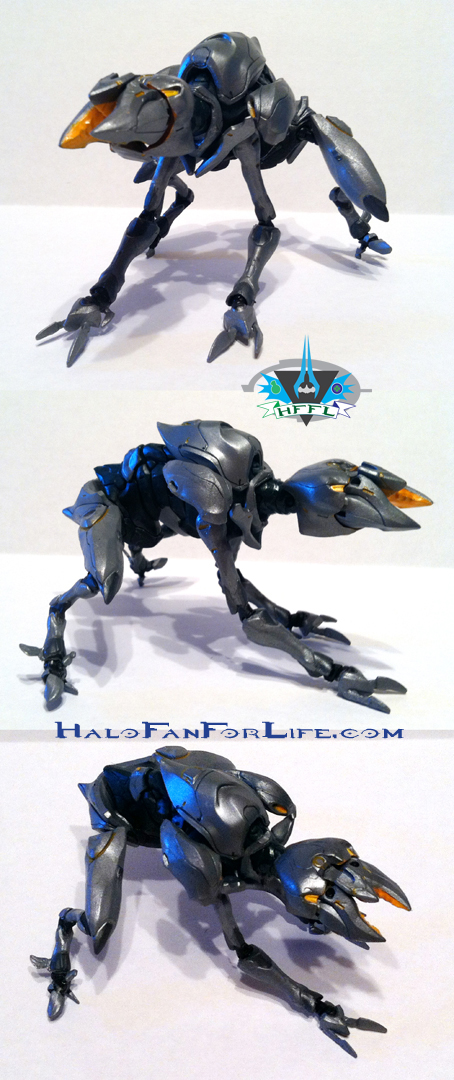
McFarlane Halo 4 Toy Review: Crawler

The Crawler is one of the new enemy types found in Halo 4. I’ve given it the nickname of “Didact Dog.” I love the design of this character from the game. So I was excited to see it in toy form. Read on to see if that excitement continued!

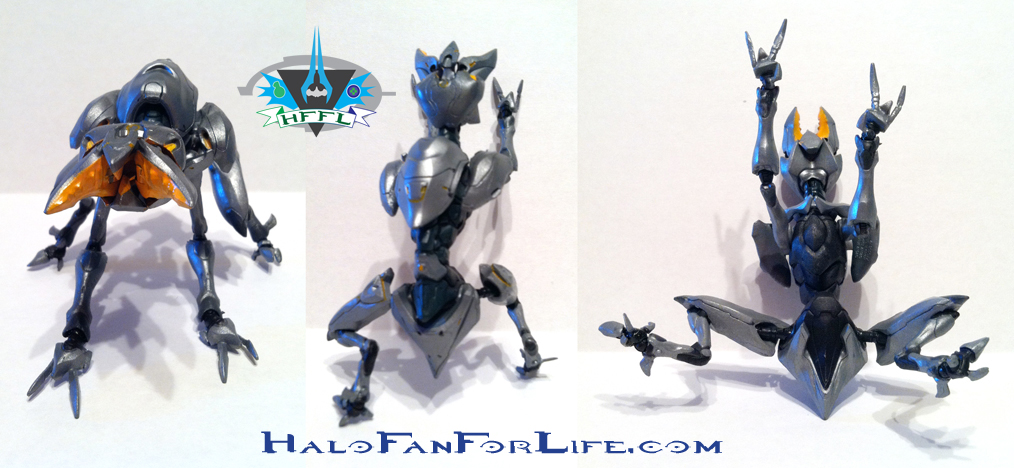
This figure is fantastic. The sculpt is ridiculously good. The articulation is hidden well, except possibly for the mouth, though that is to be understood if you want that kind of articulation. (And I certainly do!)

The Crawler has the following points of articulation:

Head-Ball Joint
Jaws-Swivel
Shoulders- front are swivel, back are DOUBLE-ball joints!
Knees-No front knee articulation, back have limited swivel joints
Ankles-swivel

As you can see from the pics above the figure has a fair good amount of articulation. I’m VERY happy with the outcome of the toy and can’t wait for the other two versions of the Crawler, especially the “Prime” or Alpha Crawler. The hardlight spikes coming out of this figure will look SICK! (And I mean that in a good way)

So should you get this? I say hell yeah! Even without accessories, the sculpt and poseability totally make up for that. Knowing that we’re likely to see the other two variations makes me happy and wanting more!

This figure can be found in the slender Gamestop packaging, the normal large card at big retailers as well as in both the Target and Toys R Us 4-pack boxed set.

If I could get more of this figure I would….darn being strapped for cash.  🙁  It’s an army builder for sure.

I give it 9.5 out of 10 medals.

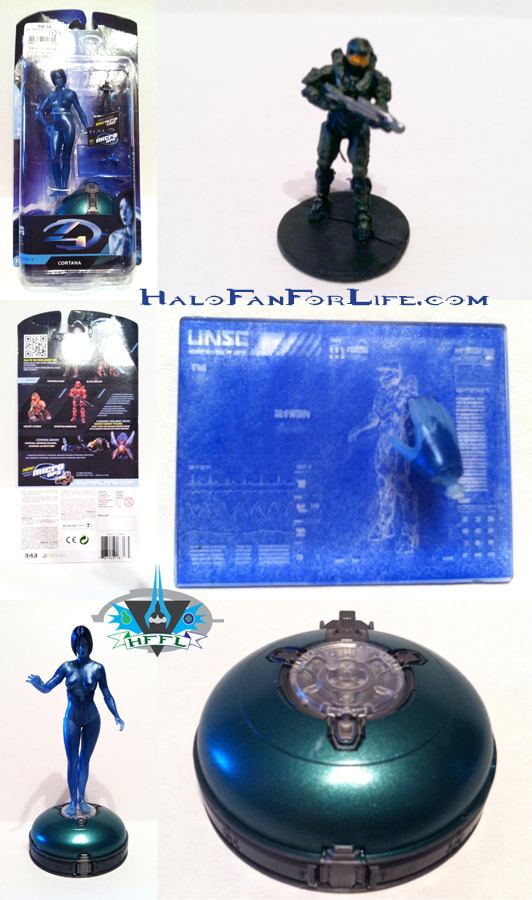
McFarlane Halo 4 Toy Review: Cortana

Ah the wonderous AI of Halo. Cortana is a great character. McFarlane Toys has again brought her to life, so to speak, with another action figure. Here is a compilation pic and a review of the toy.

Okay, first I’ll state that I got mine from Gamestop, that’s why it’s in the slender packaging. I’m not sure about the included Master Chief micro ops figure being included with the larger card, so check that.

I think it is very cool that we get that micro Chief. It’s a little funny too as normally Chief is the big fig while Cortana is mini (well in the games anyway).

Now to the accessories given. The screen with hand (permanently attached) is a very nice add-on. The issue I had though was that when I tried to take Cortana’s hand off from the figure to replace it with the screen/hand, it wouldn’t come off easily. So, rather than break the figure, I opted to leave it as is. That’s a bit disappointing though as I REALLY wanted to display her with the screen.

As well you get this large almost half spherical base, which is the top of the plinth she stands above in the game. Looks like it could have been ready for electronics like the Halo 3 version. I guess McFarlane took that out. Shame too as it would have helped.

However, given that this version of Cortana is solid instead of translucent like the Halo 3 version. So having lighting wouldn’t have mattered so much. The figure comes with limited articulation. Normally I would say the more articulation the better. In this case though, I would actually have preferred less. Since she can’t really sit or be posed any other way that makes sense or looks good, there really wasn’t much reason to have hip joints. Her head is in a downward looking pose and can’t be positioned upward. Darn…

With such a classic and iconic character of Halo, I was hoping for a little better here. While the paint apps are good, the fact that I can’t switch out hands for fear of breaking the fig, as well as not being able to pose her more dynamically, especially with her head being able to look up (as if to look at Master Chief) this figure is lacking.

I do appreciate the micro Chief and it will look great in my growing collection of McFarlane Micro Ops, which I hope continues to be produced. I wants my Scorpion and Pelican! LOL (and Mantis too please)

Overall this figure looks fine if you keep her in the static pose it’s meant for. That means though that there isn’t much action, in this action figure.

Thankfully though, she doesn’t require much “action” posing.

So, final thoughts…

Sculpt is great as always.
Accessories make sense and look great (though I wish I could switch out the for the screen hand)
Worth the purchase? Depends. I’d love to say yes without question, but I’m just hesitant to do that here. If you love the character then absolutely yes. If you’re looking for something very poseable, then no. Where am I specifically? I’m on the yes side with some slight reservations.

Since I know that I’ll likely jut be displaying her as a statue, she’ll do just fine. Just bummed about that screen hand…

I give it 7 out of 10 medals.

-Sal

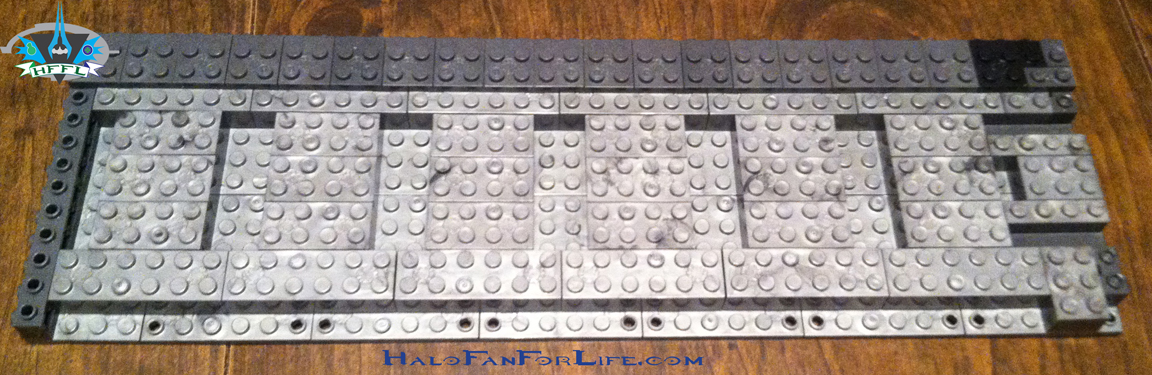
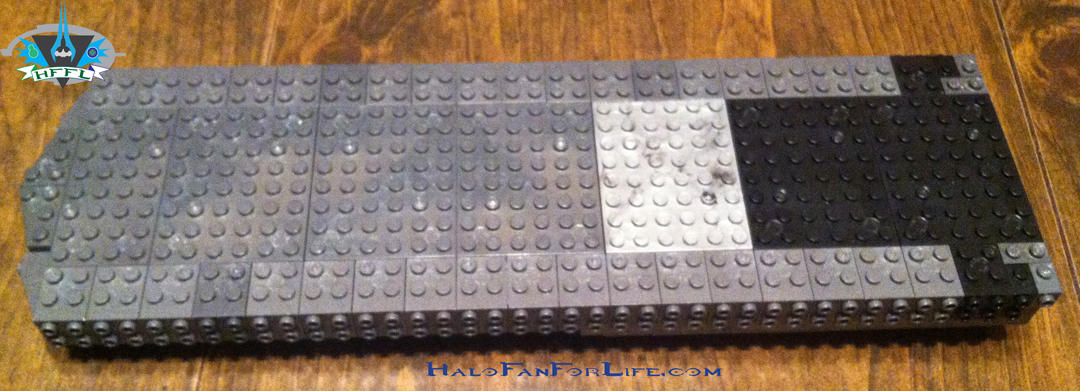
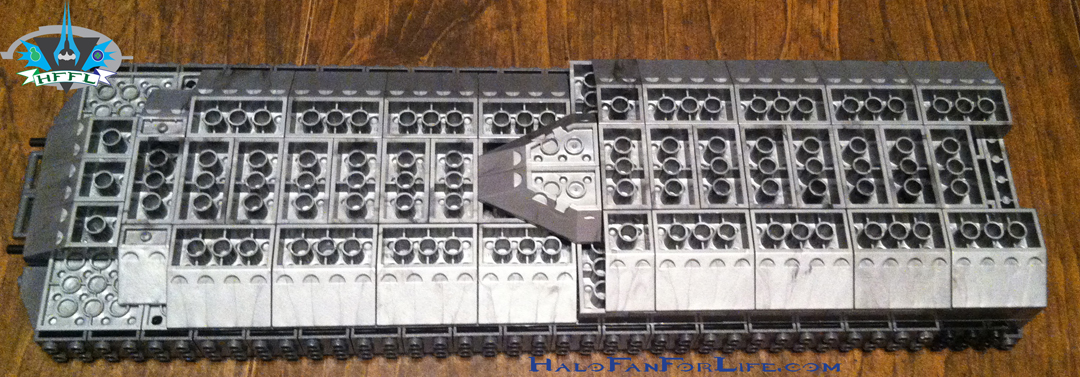
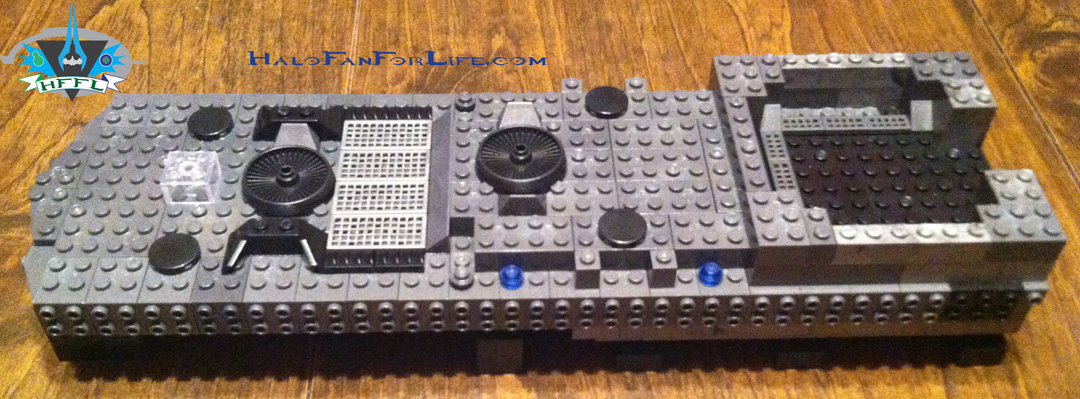
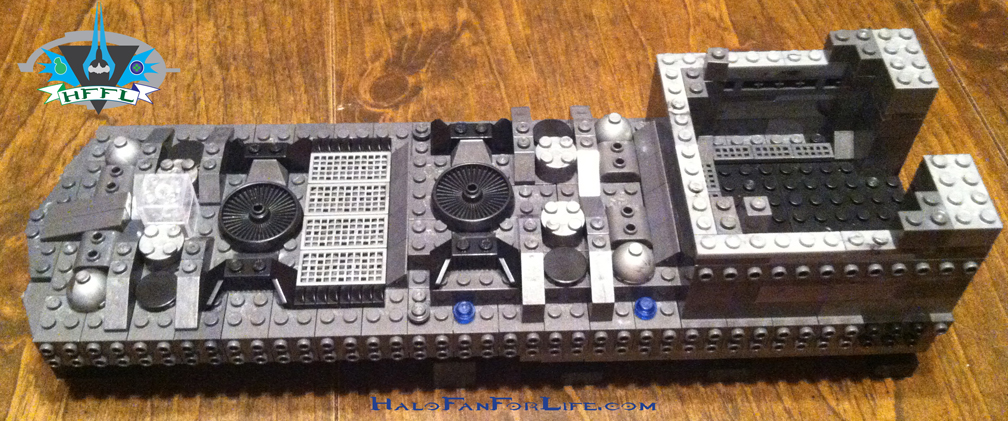
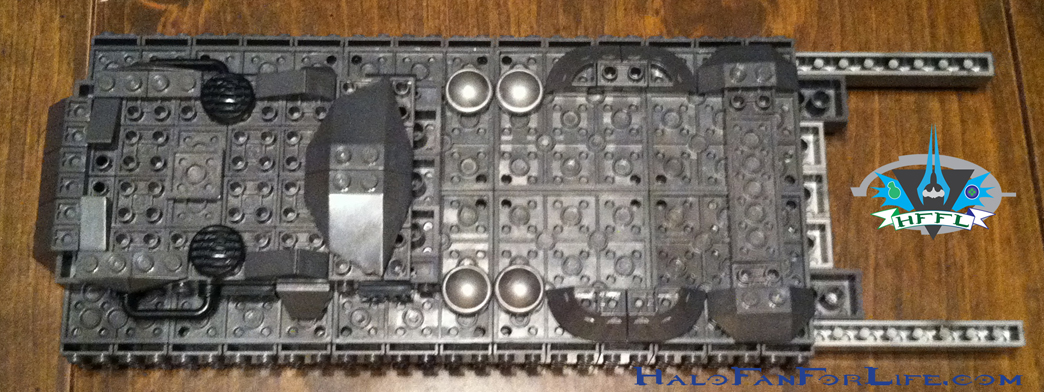
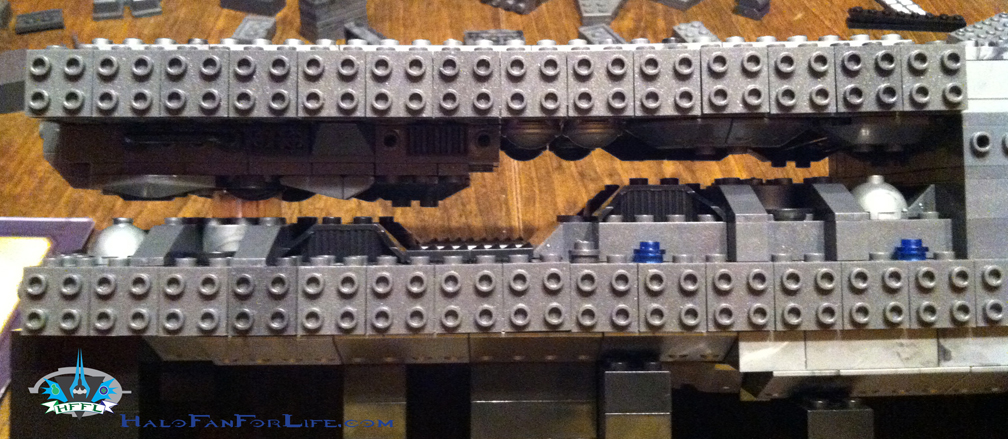
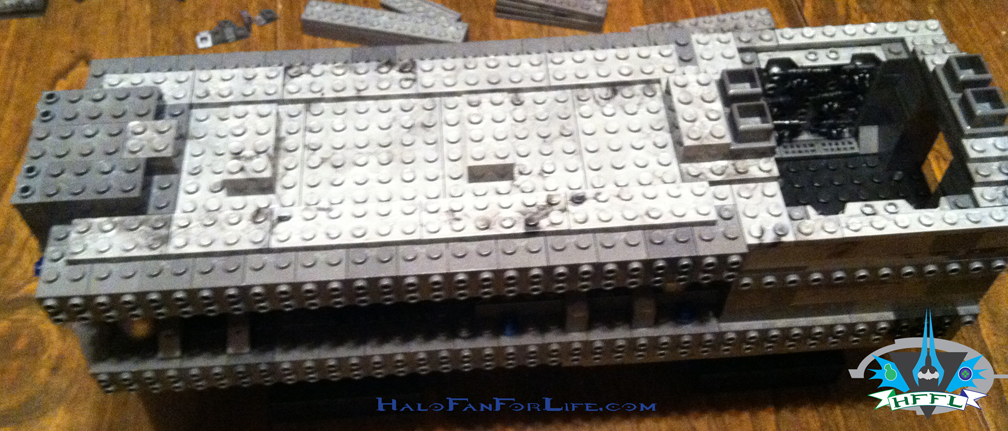
Mega Bloks Forward Unto Dawn set: Part 6 Stickers, Final Assembly and extra parts, OH MY.

SO now we come to the end of my now 6-part review of this awesome set. I really encourage everyone out there who wants a piece of Halo history to get this set. Yes, it’s $250 and YES, it’s SO worth it.

So here we go with the final round of pics:
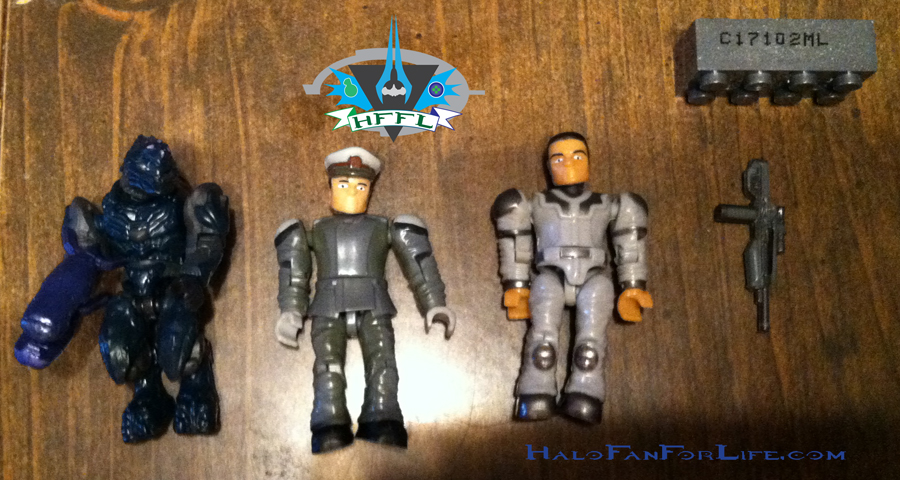
Besides the Master Chief minifig, we also get a Blue Storm Elite (only previously available as red in the Halo 4 Warthog set), a UNSC officer – FIRST time available (the arms and legs are the same as the technician), and of course the technician which was only available previously in the Countdown (or Sabre) set. The BR shown is included as well and is meant for Master Chief. The blok with the number on it is there for the batch/lot number in case of a recall.

I really like these extra minifigs. I would love to have a few extras of the elite. It goes without saying that having a small army of technicians would be awesome and a few extra officers would be great too. Unless they are released in future sets though, I’ll have to be satisfied with the ones I do have.
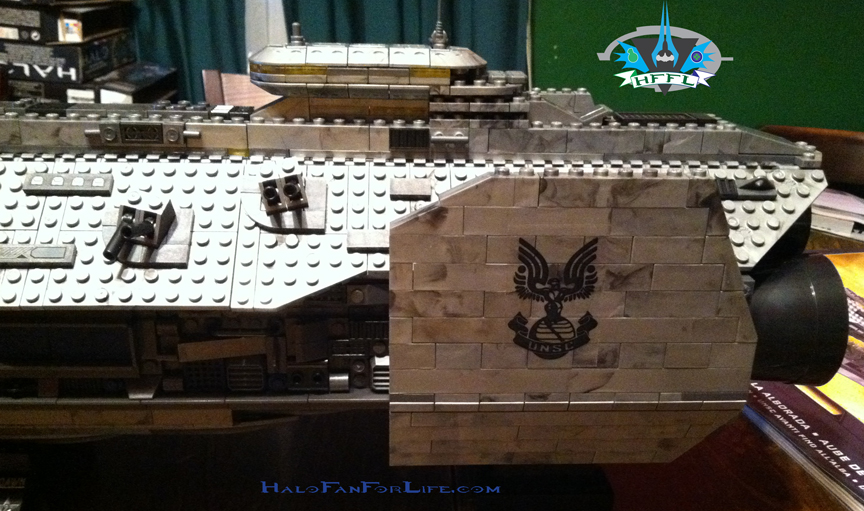
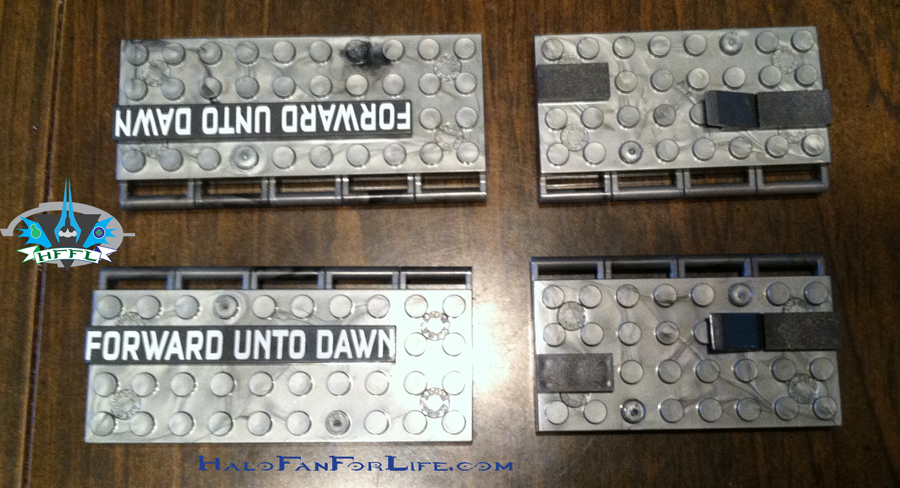
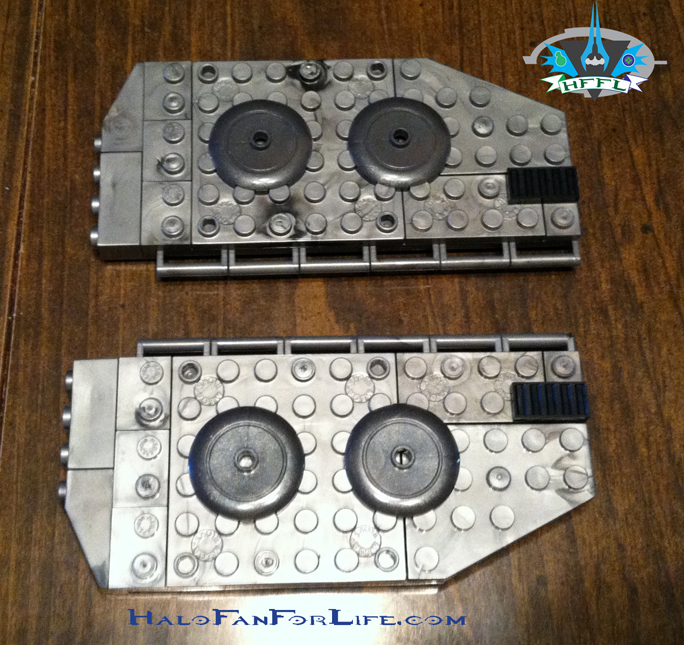
Here is the wing UNSC sticker. Now on the box it’s shown close to this position, while in the directions is very close to the front of the wings (in the pic that would be to the left of the wing). I happen to like it near middle as that’s closer to what it was on the original ship from Halo 3. However you choose to place this is your decision, so don’t let anyone detract you form your desired placement.
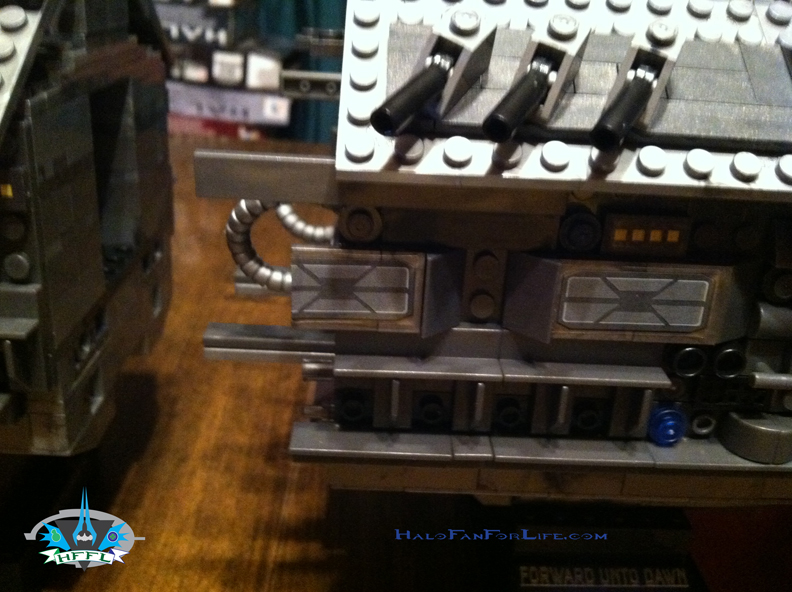
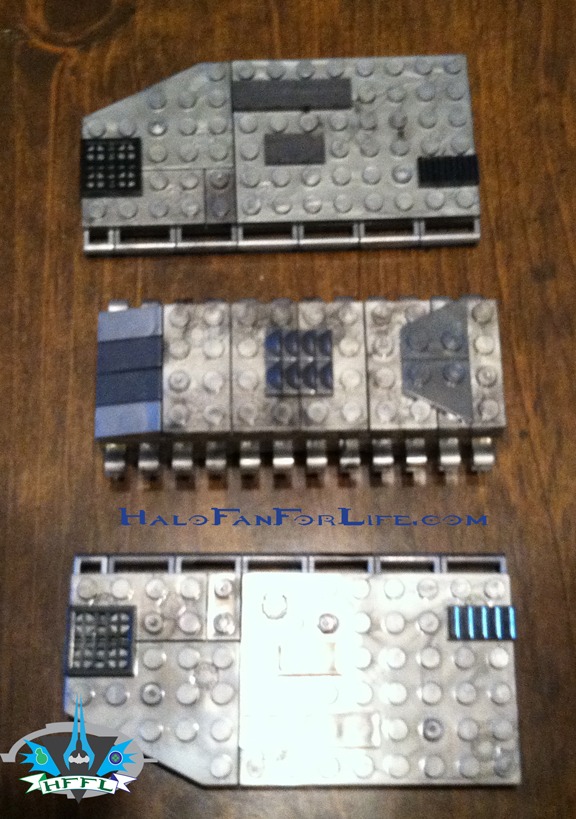
Here we see some stickers near the mid section of the ship.  MEGA was kind enough to cut the sticker on the left so that when the ship is put together it fits with the other portion of the sticker from the front half.
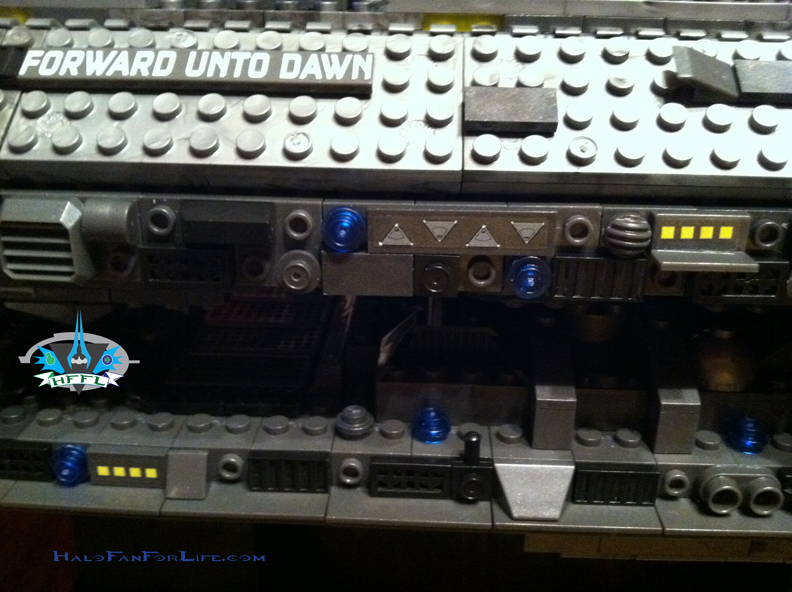
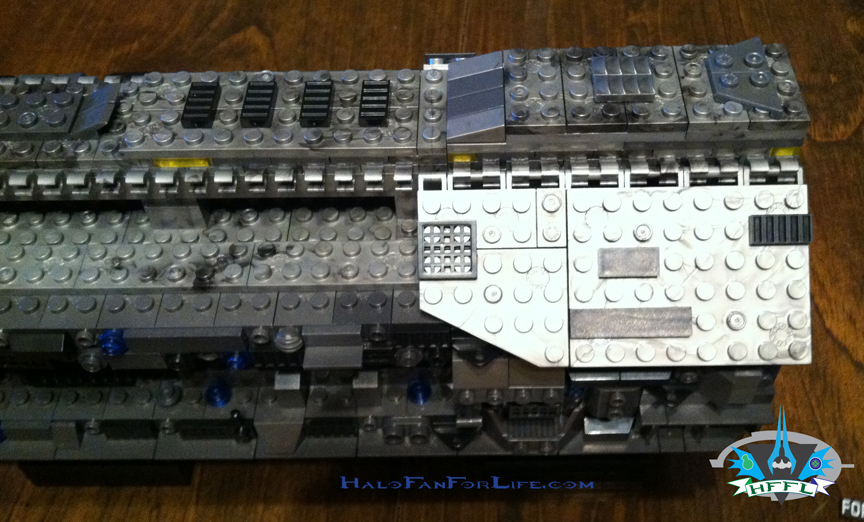
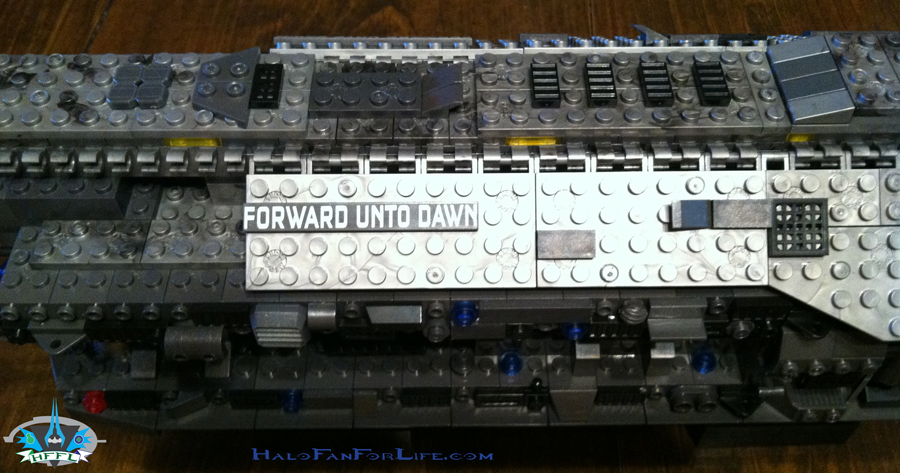
Some of the stickers at the front section of the ship. They add a nice touch to the ship without being obtrusive or overpowering to the rest of the model.

So now we come to the part where we see how the ship is fit together from it’s two main halves.
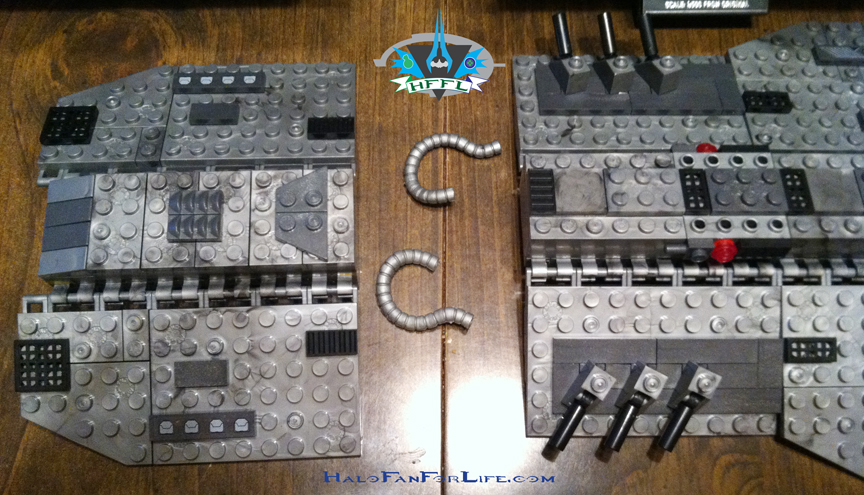
First you lift off the two roof panels by the midsection from both halves. As well, you’ll need to remove the hoses or they’ll get in the way of the ship being assembled.
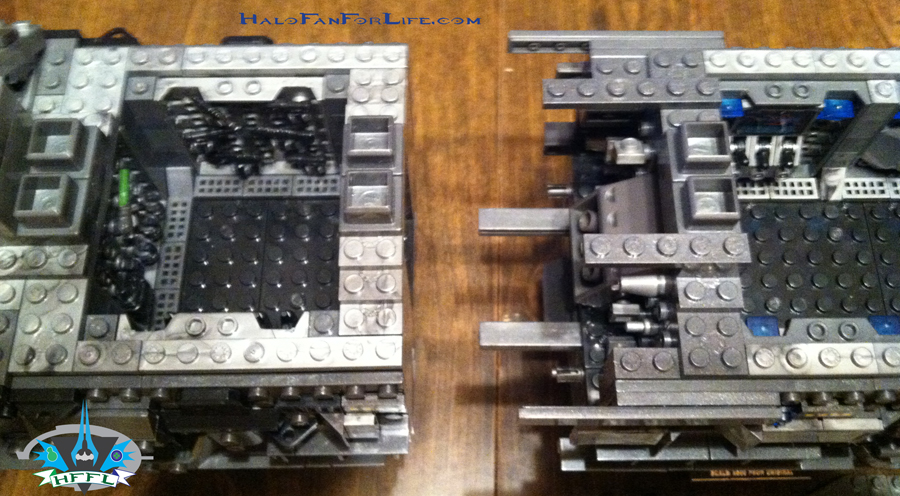
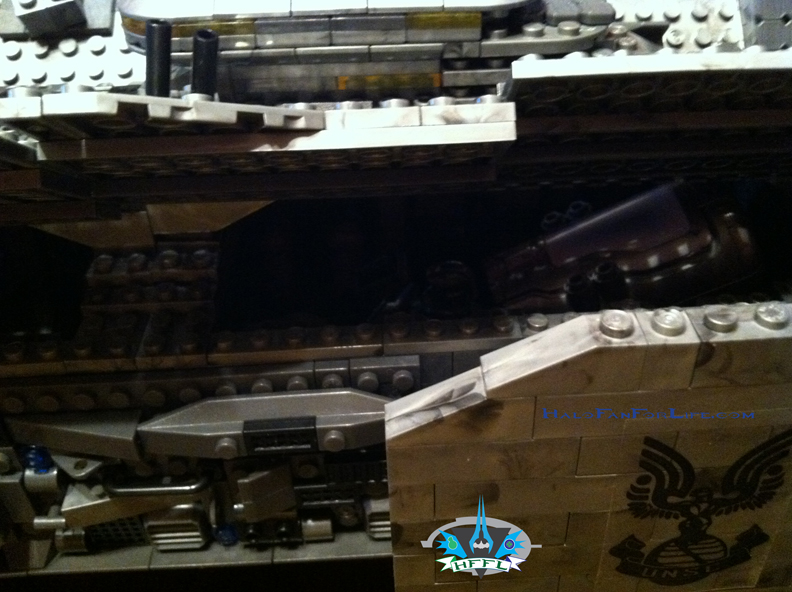
Here you can see where it appears that several pieces will slot into the other half of the ship. Notably the smooth tiles near the middle of the pic actually do slot into holes that are part of the construction of the front section. As well there are two pegs that click into other holes to help keep the ship together. A very well done and thought out design by MEGA.
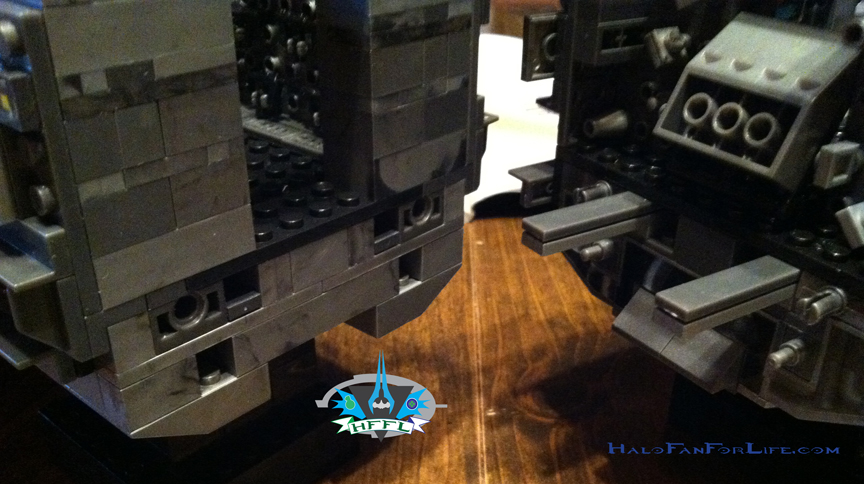
Here’s another view closer up of those holes and pegs that come together.
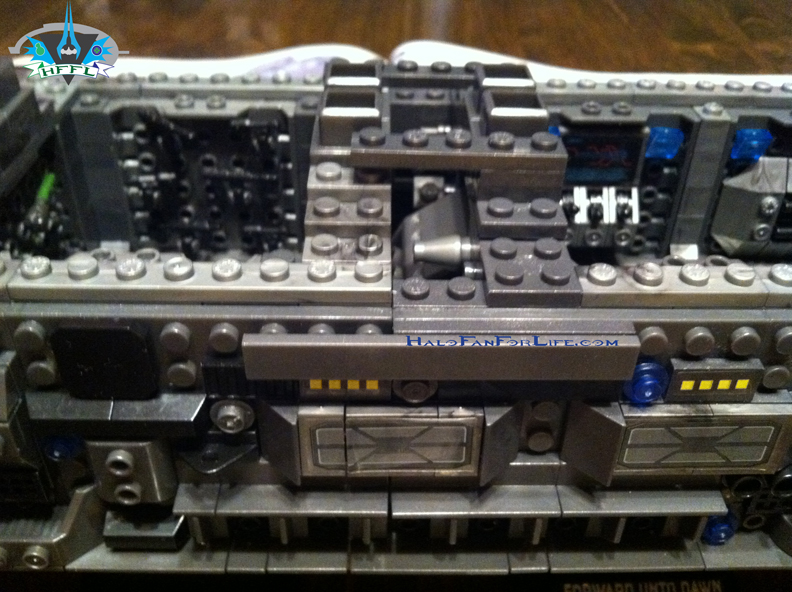
Here’s where the ship comes together. You can also see the sticker that was neatly cut by MEGA and how it comes together as well.
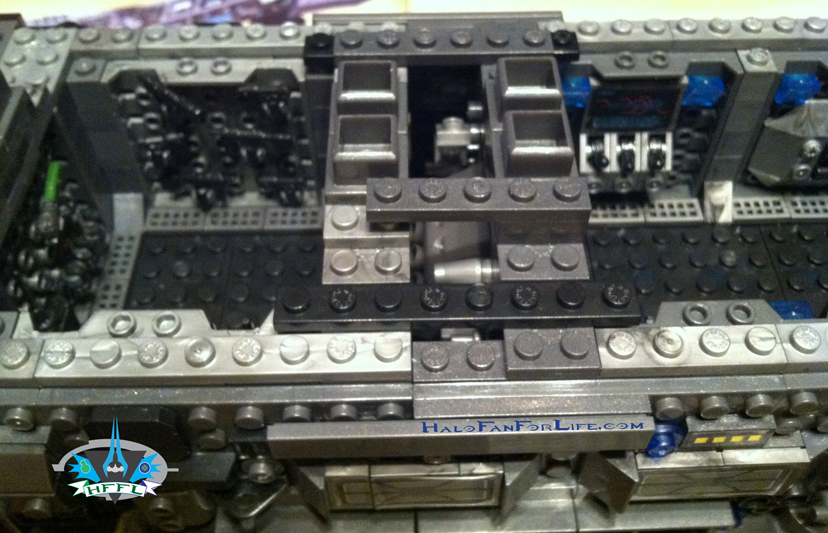
Note in the pic above the 1X8 plates that have been added. These too help in the connection of the halves. Surprisingly that’s all that is need. Those two, plus the pegs previously seen. Of course I wouldn’t go trying to pry them apart or carelessly carrying the ship around. But for the purposes of display those are all you need to keep the ship together.
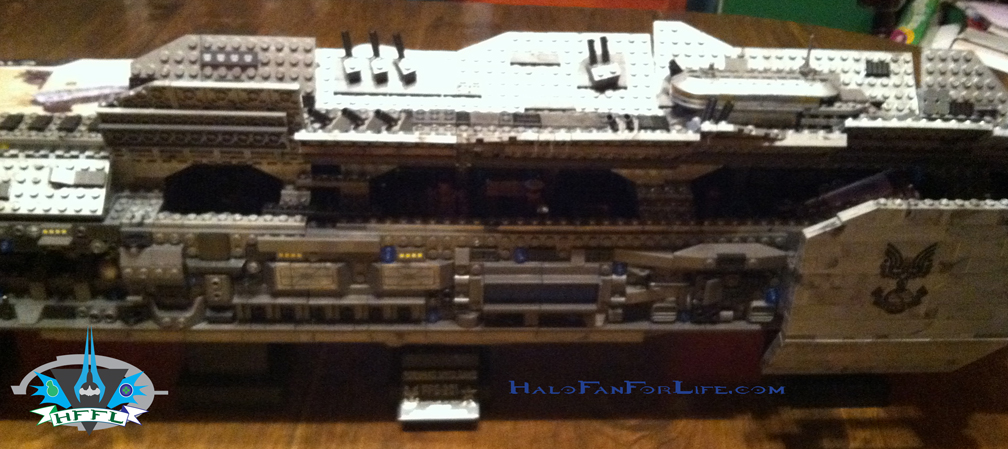
Fit the roof panels back on. By the way, I suggest taking them all off then start with the front one and work you way toward the back. It can be a tight fit with those middle two, especially with stickers applied at the front of the back half.
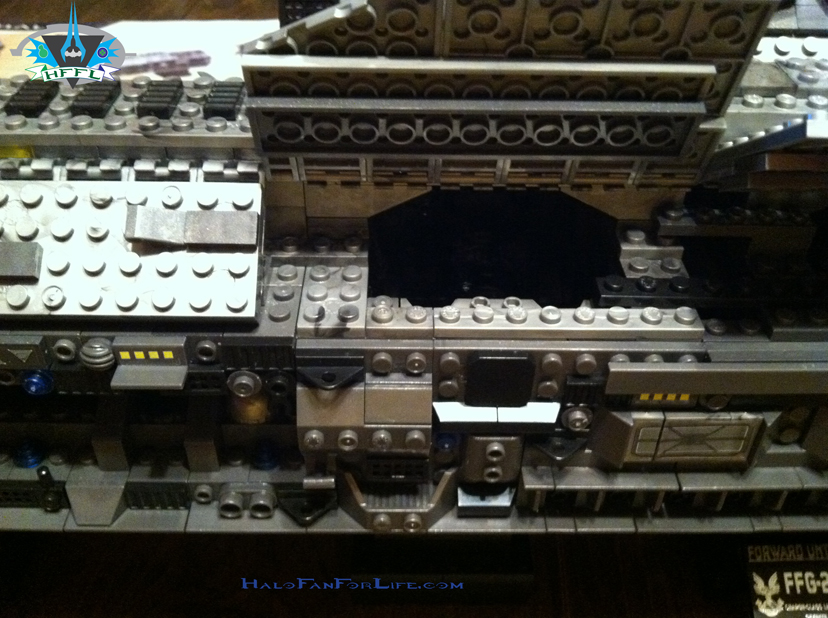
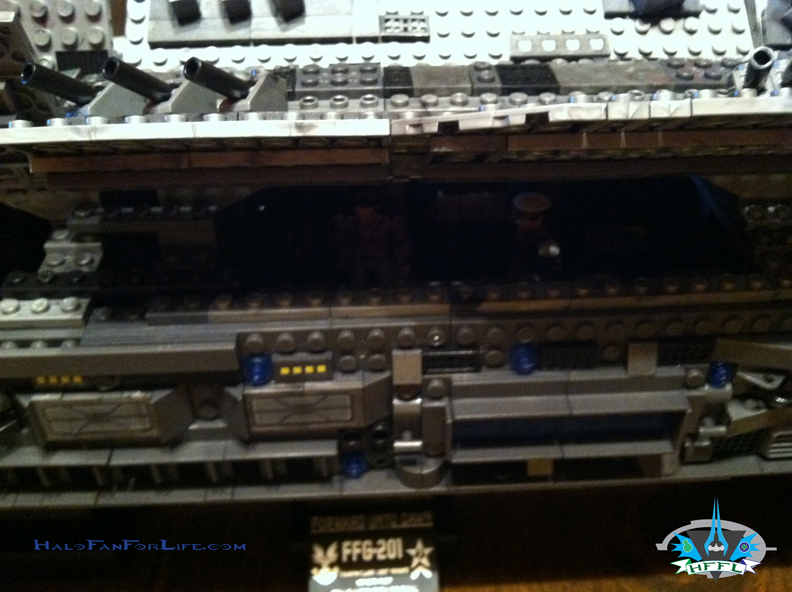
In the previous three pics I left the roof hatches deliberately open so you can see just how dark it is in there even with the hatches open.

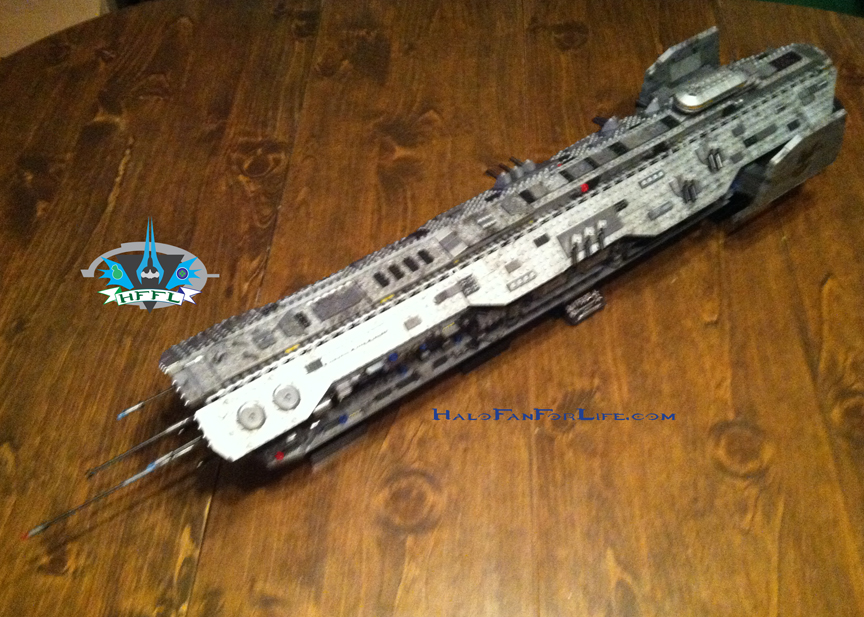
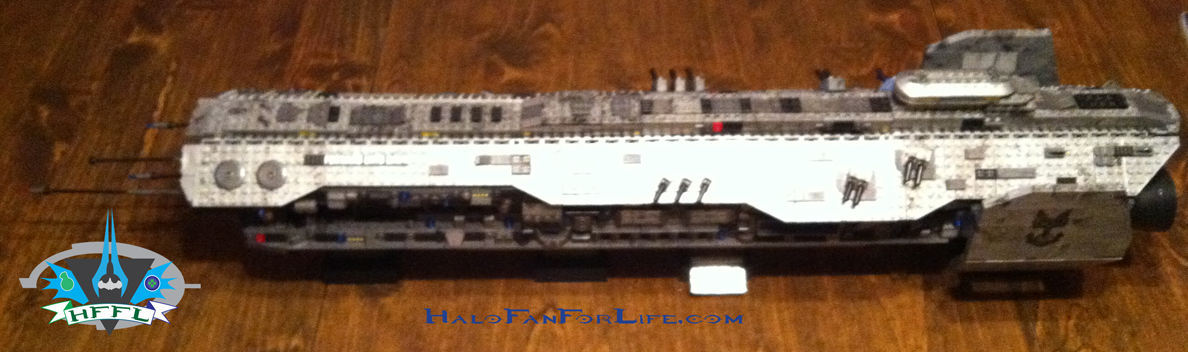
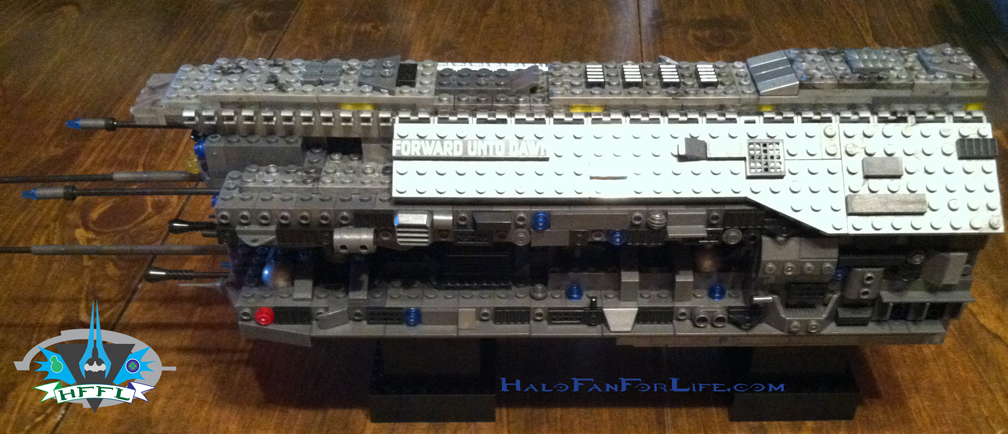
Now for the finished result! (Be sure to click the pic for the larger version!)
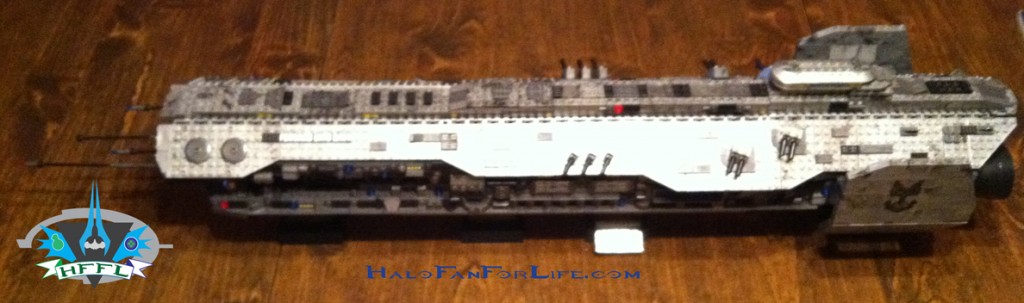
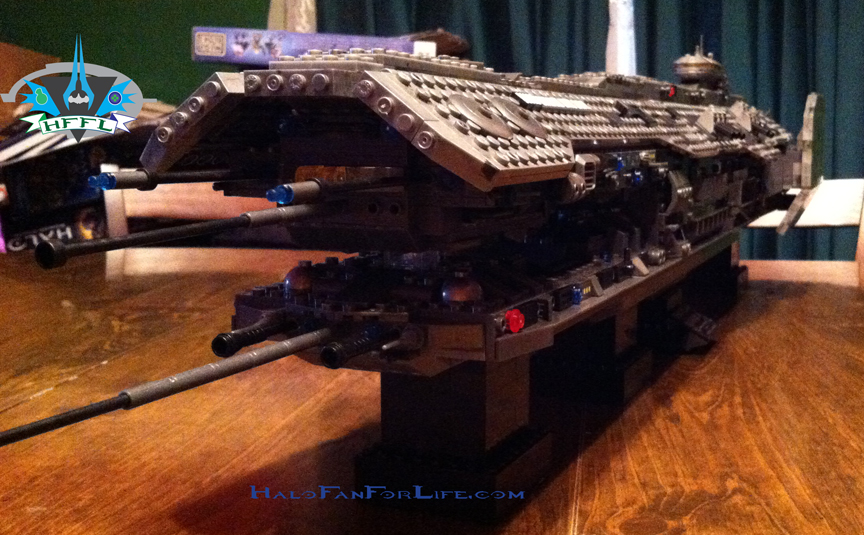
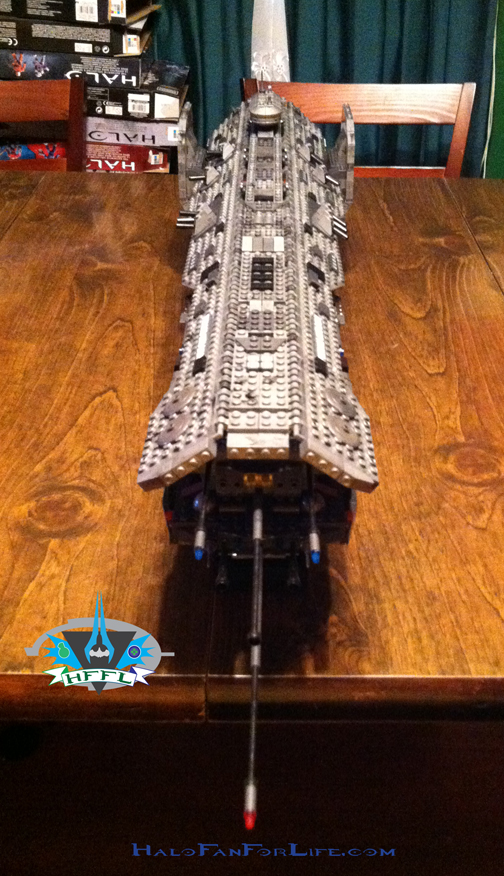
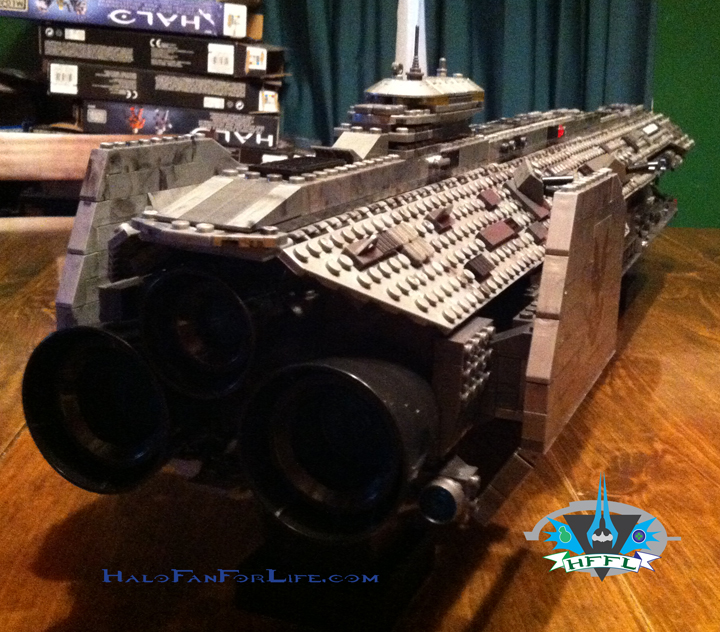
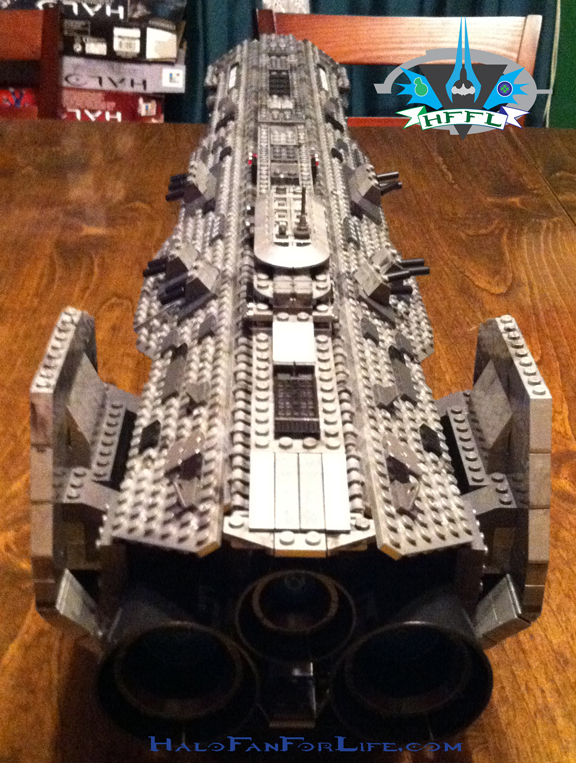
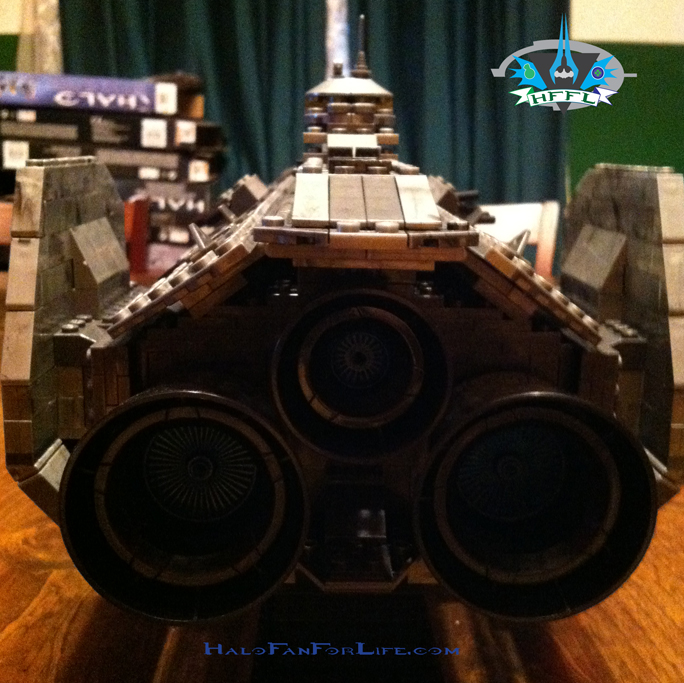
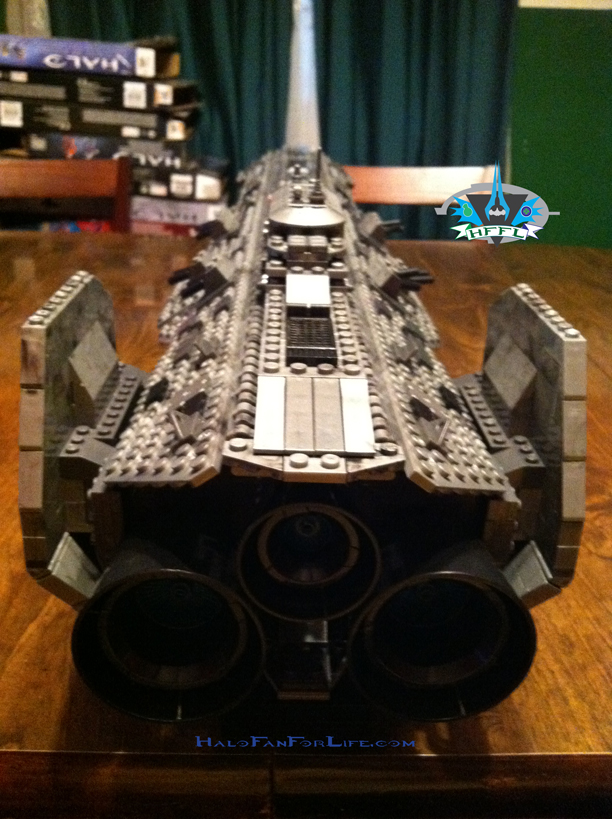
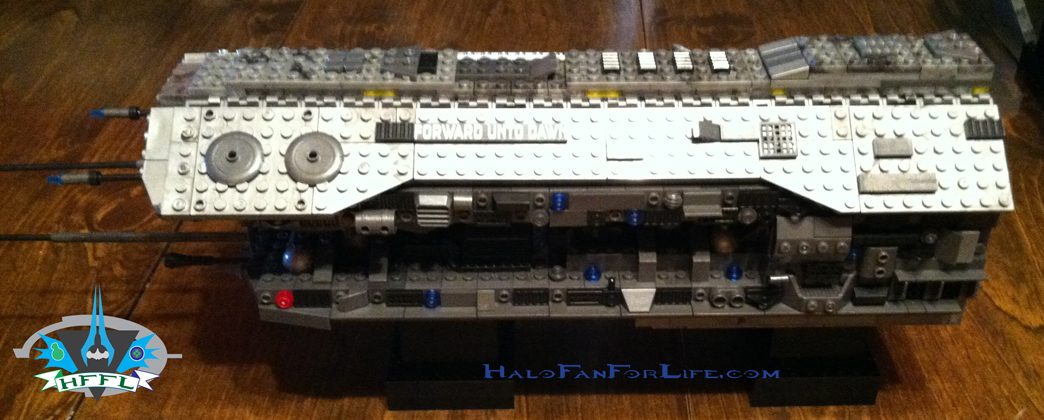
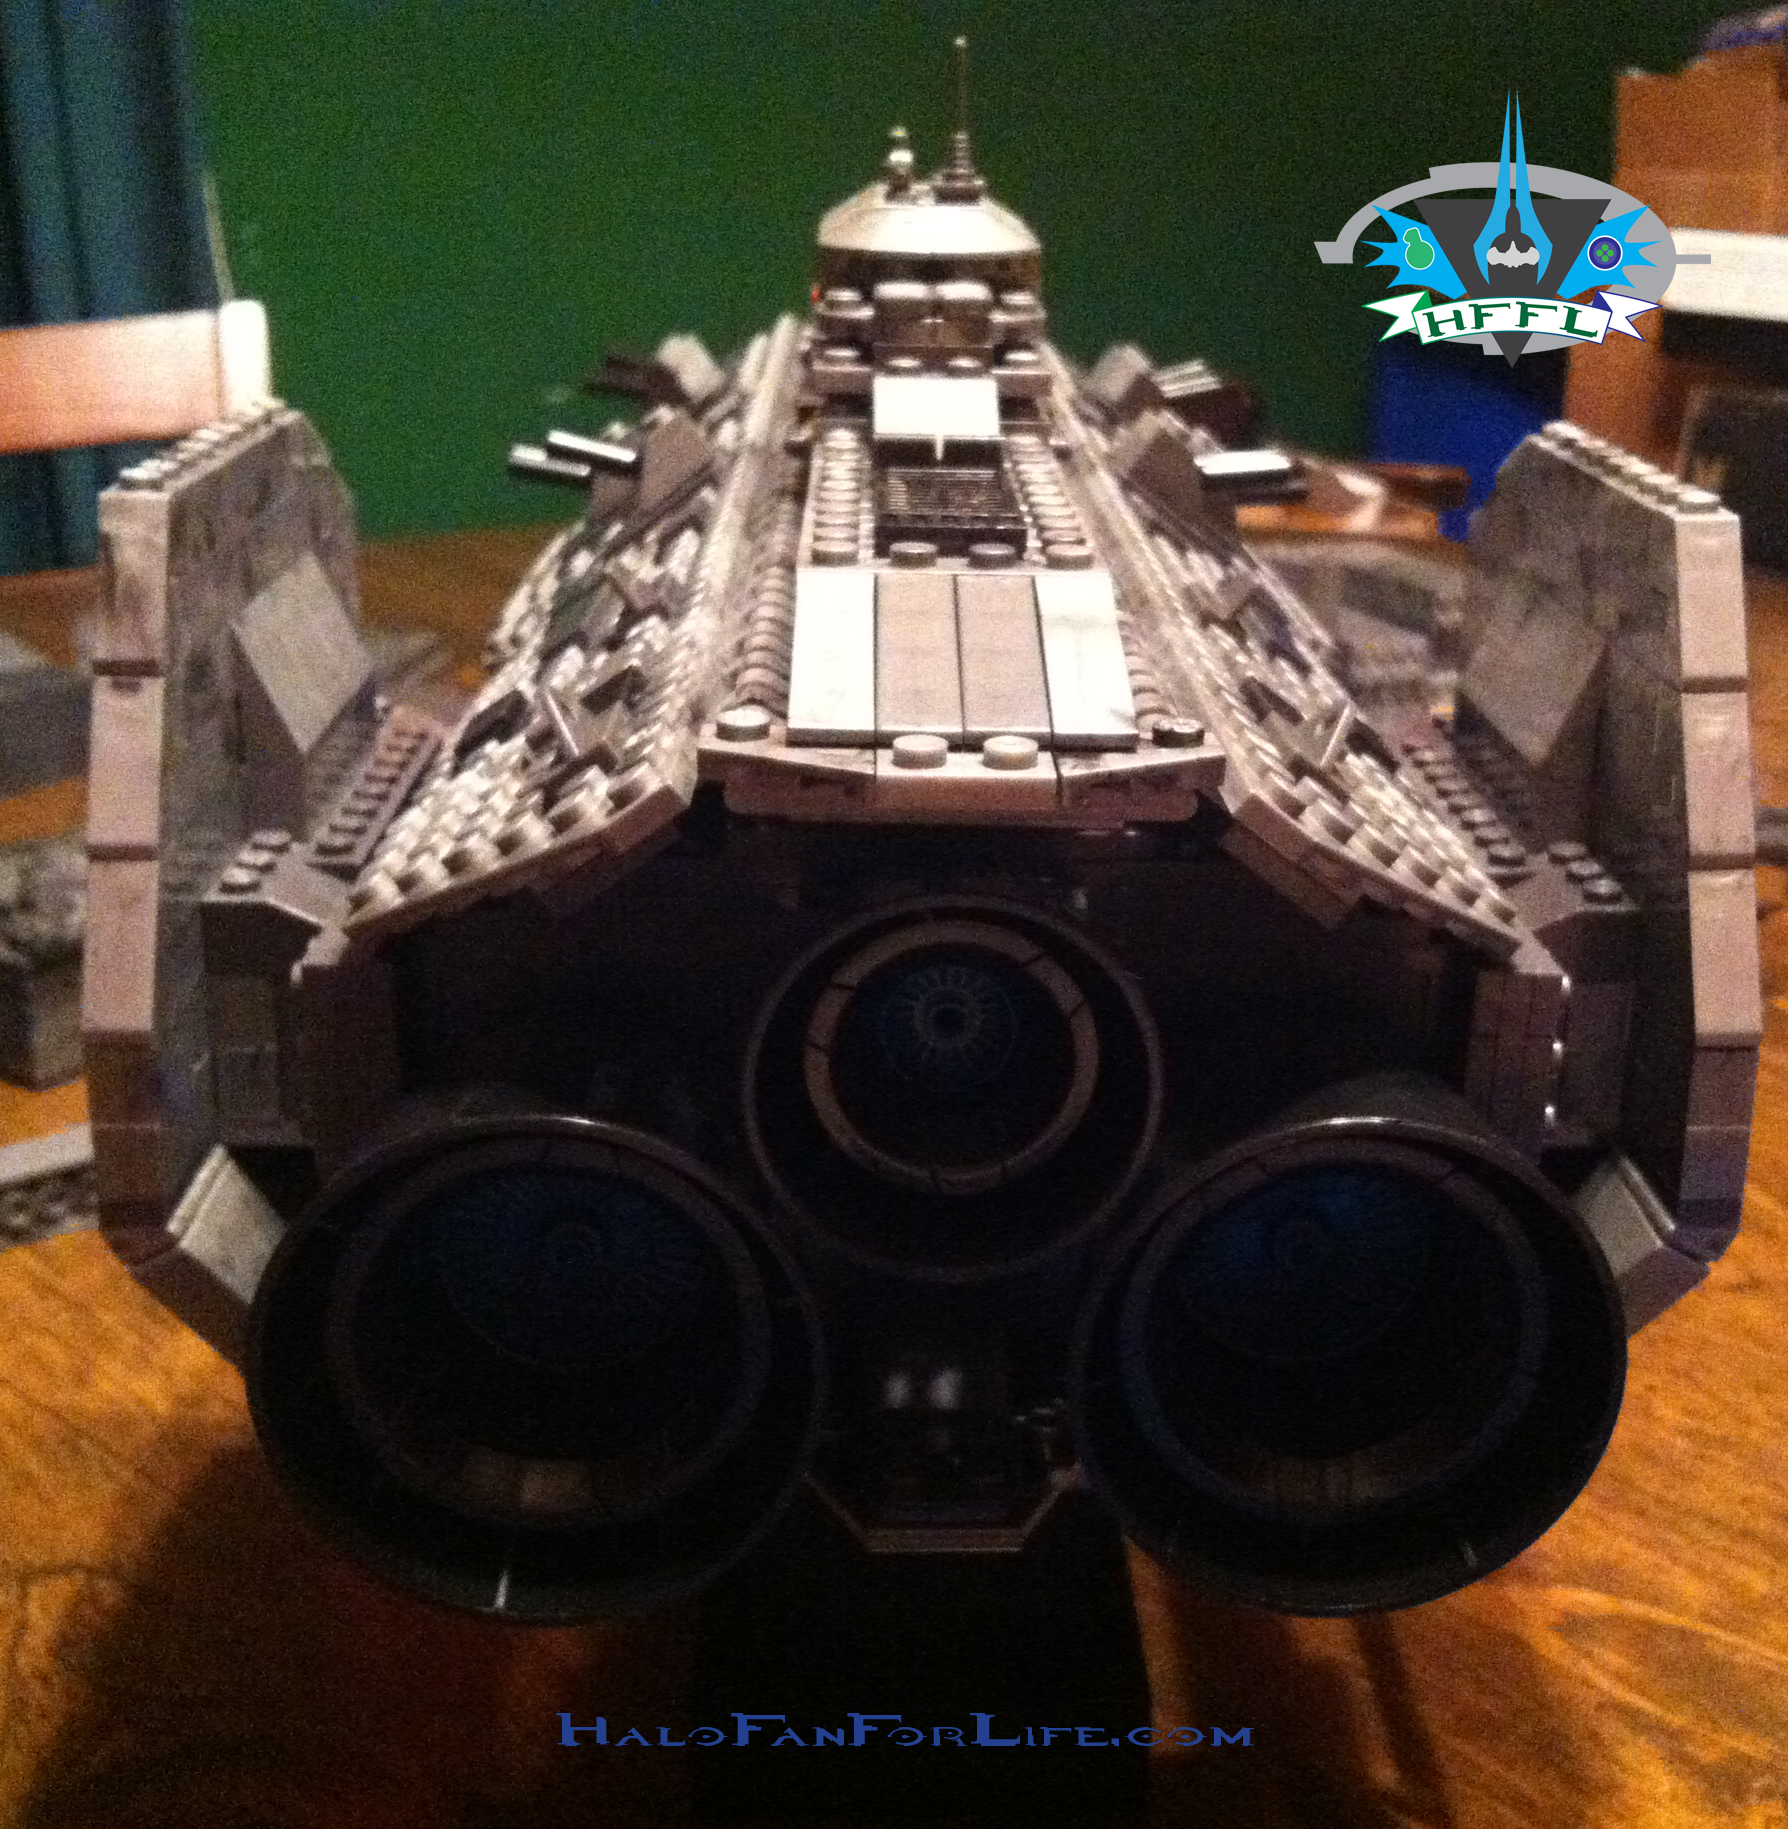
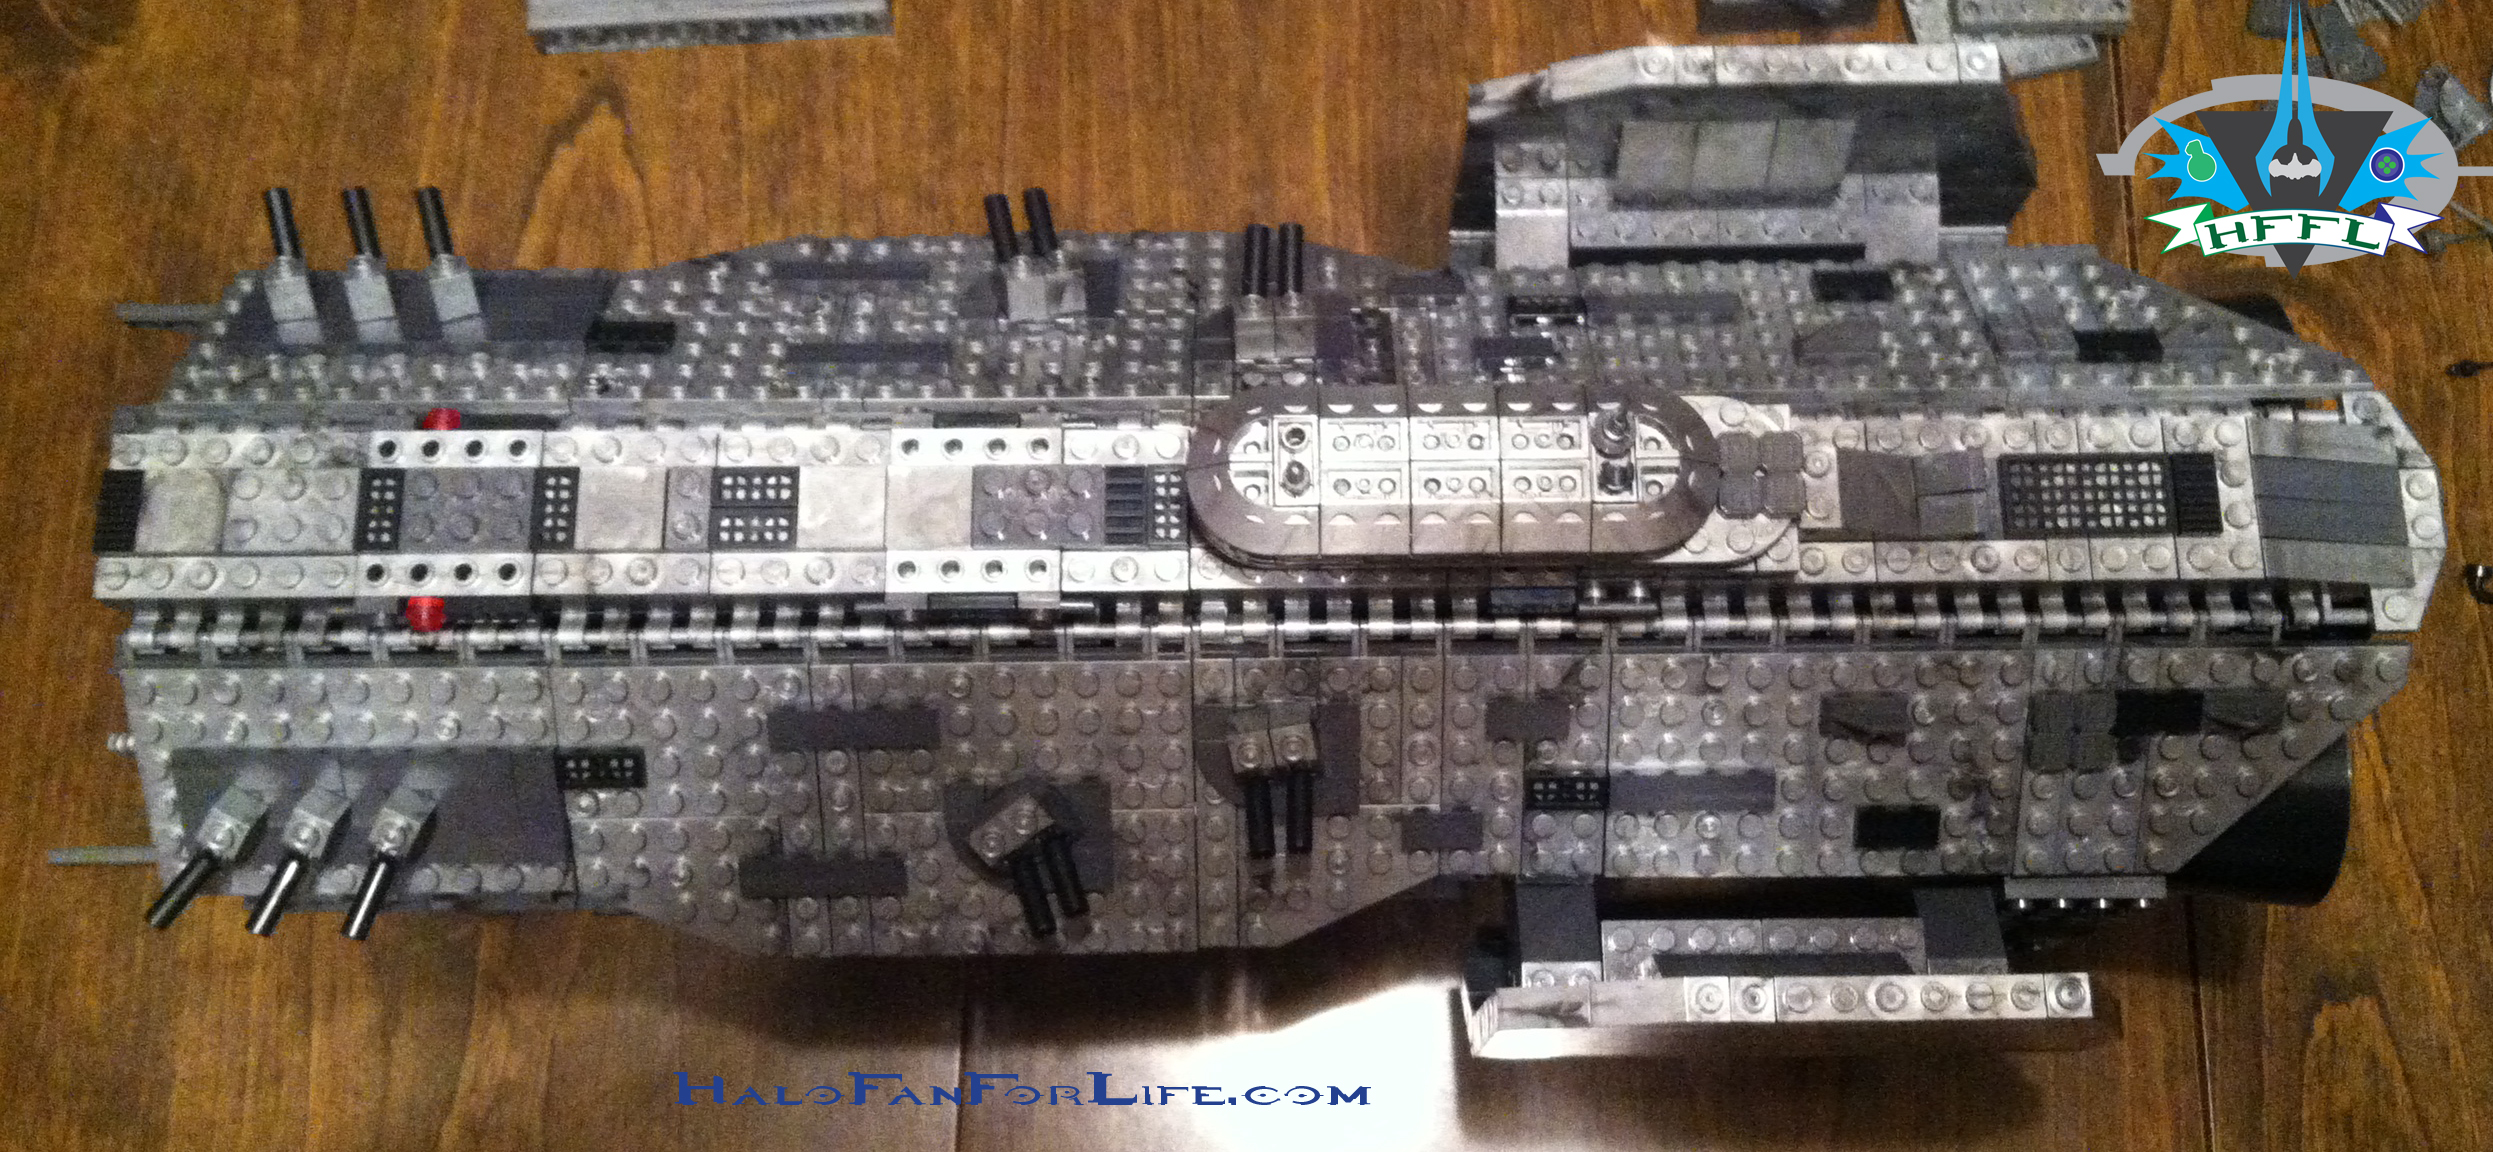
Isn’t she a beaut! I have to say I am SO impressed with this build. MEGA really knocked it out of the park here. So many added pieces to the sides give it great character. The main structure of the model is VERY sturdy. The minifigs are welcomed extras as are the MANY gun accessories. This is one impressive building block model.

Here are some stats I got during the build:
Build time: 5 hours sorting pieces ; 10 hours building. Not too bad for a model of this piece count.
Size: over three feet long, including the front antennae.
Weapons and accessories: 14 guns 1 radio back pack.
4 Minifigs

If you want any other stats on the model, just shoot me a reply below or e-mail me at sal@halofanforlife.com.

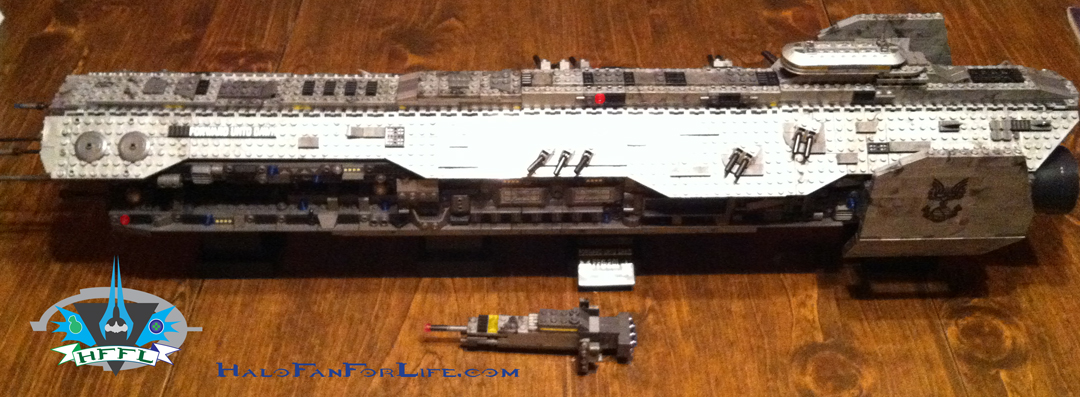
As always, MEGA allows for extra pieces in their models. This set was no different. In fact the allowed for so many extra pieces that I was able to build something I think was cool…
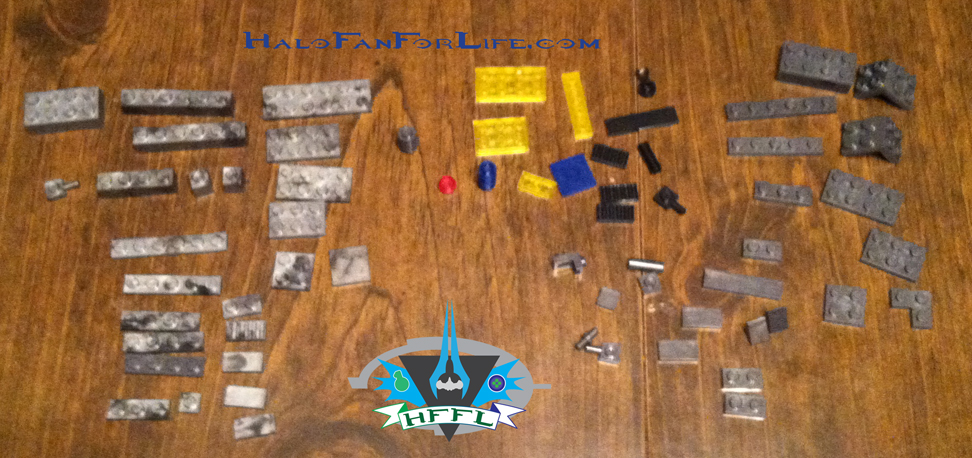
Above are the leftover pieces I had.

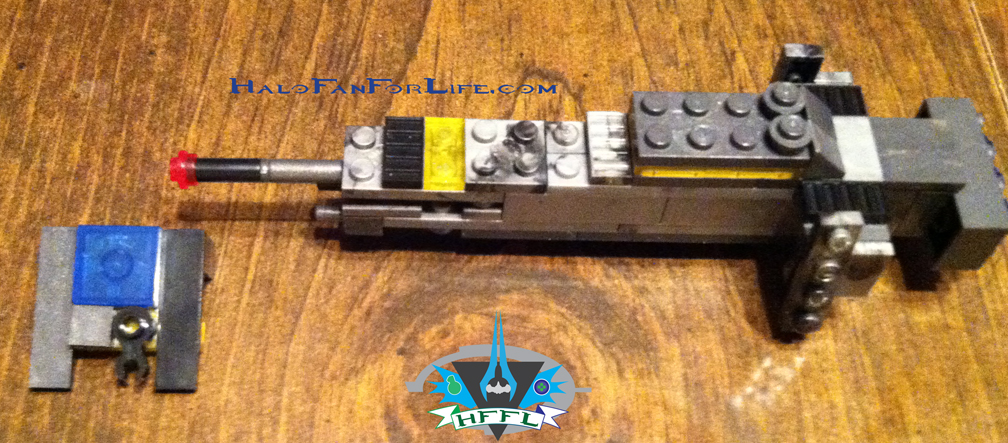
So I went ahead and built a mini Forward Unto Dawn with them!
And finally below the mini model with the full sized one!
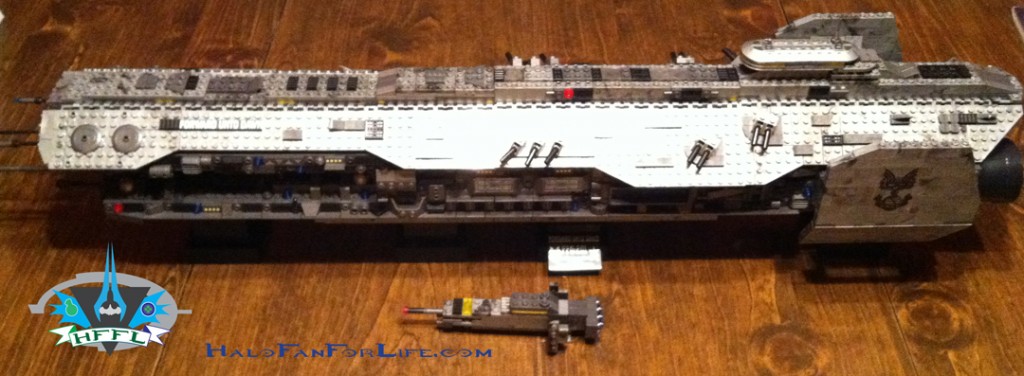
So that’s it. The Forward Unto Dawn from Halo 4. It’s a masterful piece and any Halo fan should be proud to own it.

It’s exclusive to Toys R Us for $250. Now before I go, I need to give a shout out to Toys R Us. When I first pre-ordered this back in July, I pre-ordered at the “Buy One Get One Half Off” price. I made sure to note that I wasn’t going to be charged on the credit card for the transaction until this shipped. However, I was charged which ended up making me default on other transaction for a total of $210 in fees. While the initial charge form TRU was put back into the account, the damage had been done from those fees. This is partly documented on the blog during that time.

What was good was that I was put in contact with one of their corporate customer service persons. He fixed this by calling up a local store that had it in stock. From there I just need to go pick it up. So in essence I got this for $40+tax less than retail. Also, he is to send me a gift card for $125 (half the amount for the second ship I would have got). I’m still waiting on the gift card and will let you all know when I get that. In fact you folks will benefit from it as I plan to buy Halo stuff with that gift card for prizes for contests on the blog.

Suffice to say that I’m glad the TRU made good on their end so far and hope they complete what we agreed upon as it will benefit the blog members too.

Back to the set for a final thought. This is the FIRST in MEGA Bloks “Signature” series. We can only hope that they release at least one new Halo signature series ship a year. I’m hoping for the UNSC Infinity next. Then possibly a Covenant ship. The price is up there, but again, for what you get, it is SO worth it. I’m COMPLETELY satisfied with the set!

THANKS MEGA!
-Sal
Mega Bloks Forward Unto Dawn set: Part 5 Front Roof

Alrighty then, here is the next part in this series of articles detailing the Mega Bloks Forward Unto Dawn signature series model.

This section sees about an hour and a half of build time. Nothing complicated at all. There were two slope pieces that were supposed to be of the smaller angle, not to taller, but those didn’t really make a big difference as they are just part of the side panel greeblies. I likely won’t ask Mega for new parts. It looks fine enough.

So on to the pics!

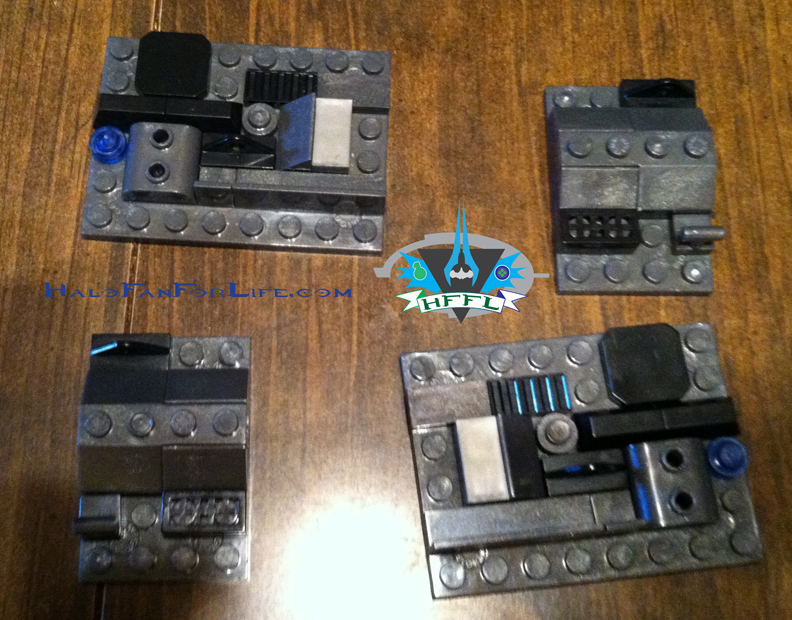
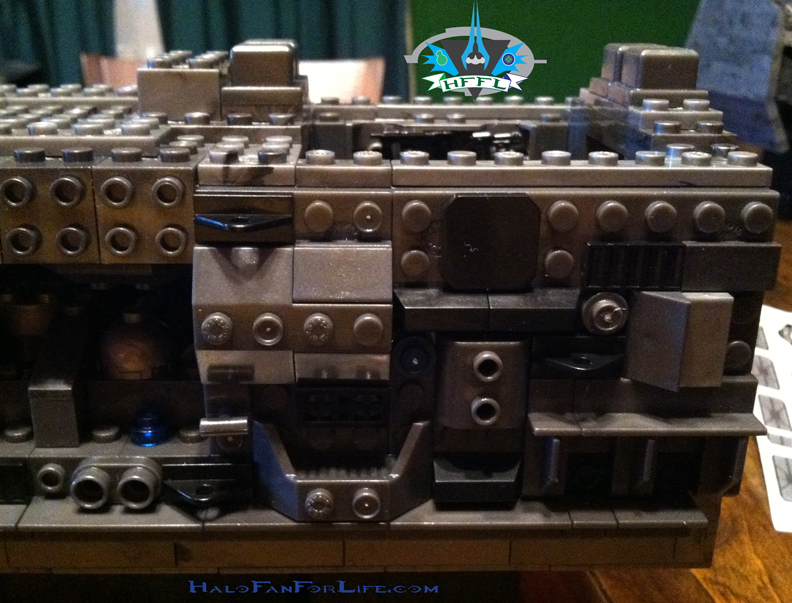
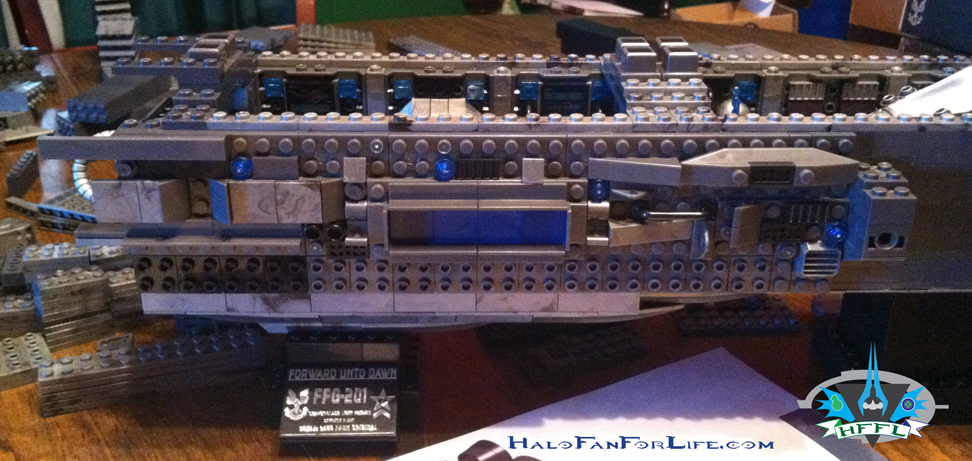
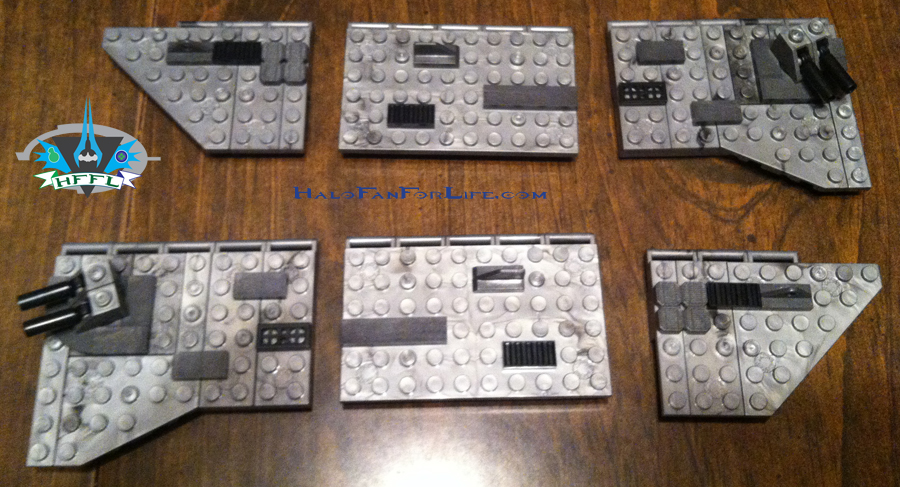
Here are the set of side panels at the rear of the front section. This is where those slope pieces are. Look at the bigger panels. See the 1×1 round pieces? The sloped parts next to them are supposed to be shorter so that they match up with the flat tile next to it. Now I checked the whole model through and through and know I didn’t screw up earlier. So it turns out then that I got two less of the smaller slopes and two more of the larger slopes instead. Again, no biggie. It doesn’t detract from the piece at all.

Here are those panels put on to the main frame of the model. The slope piece to the right of the second pic is more noticeable.

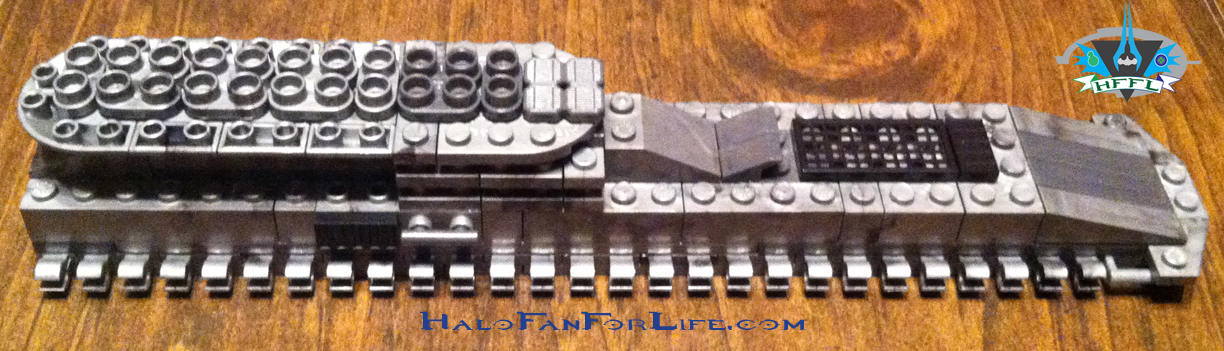
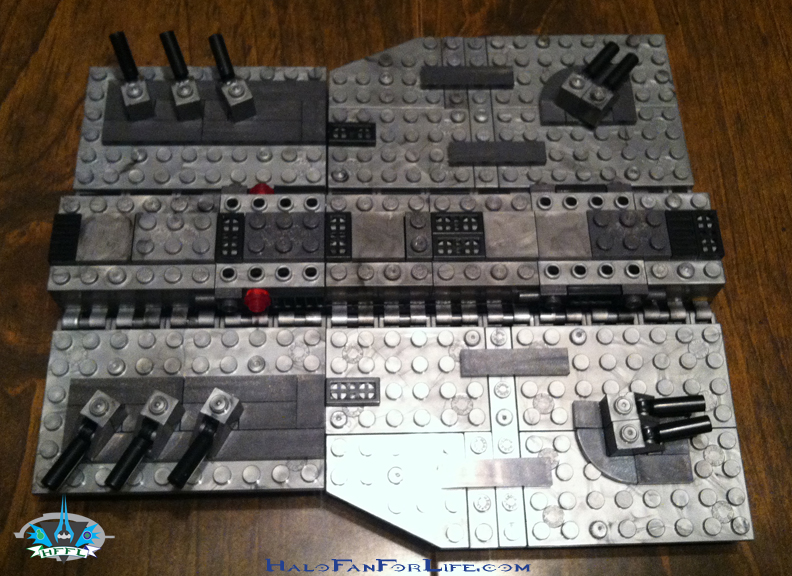
Above is the spine of the roof panels waiting to have those panels attached.

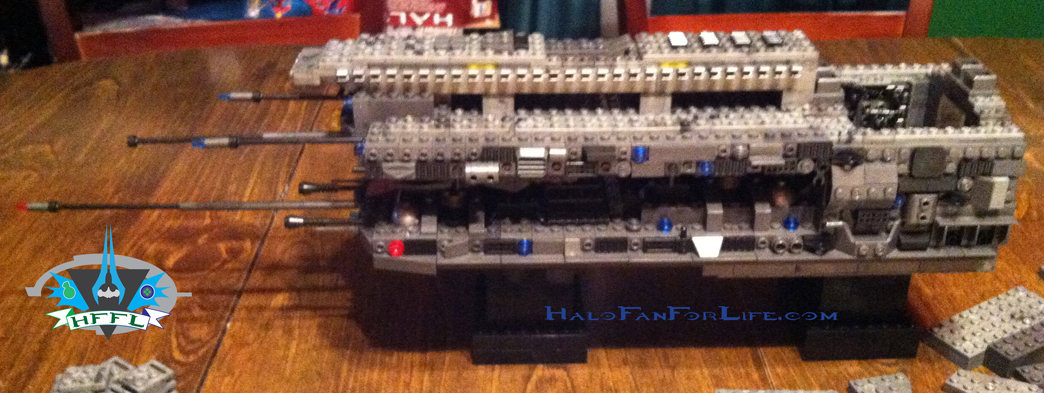
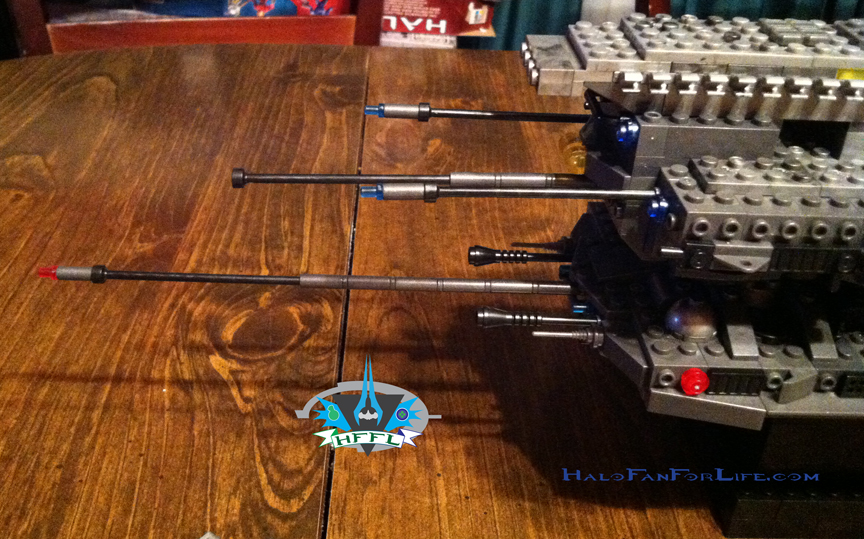
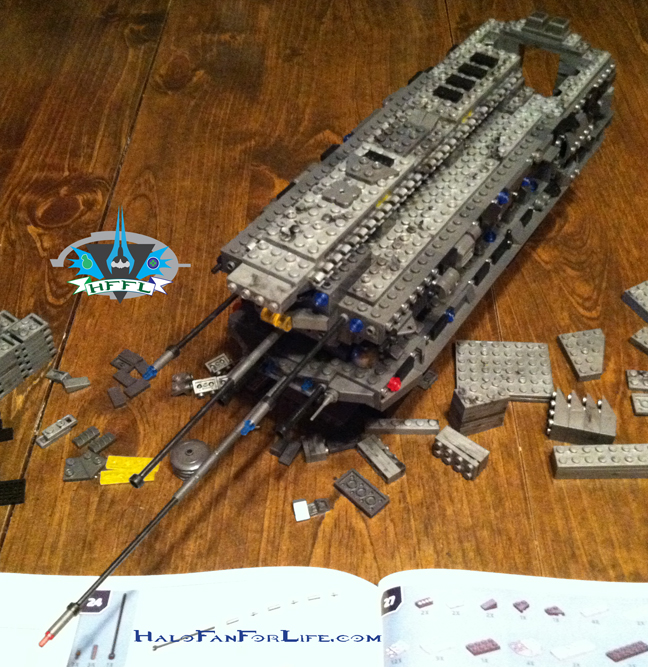
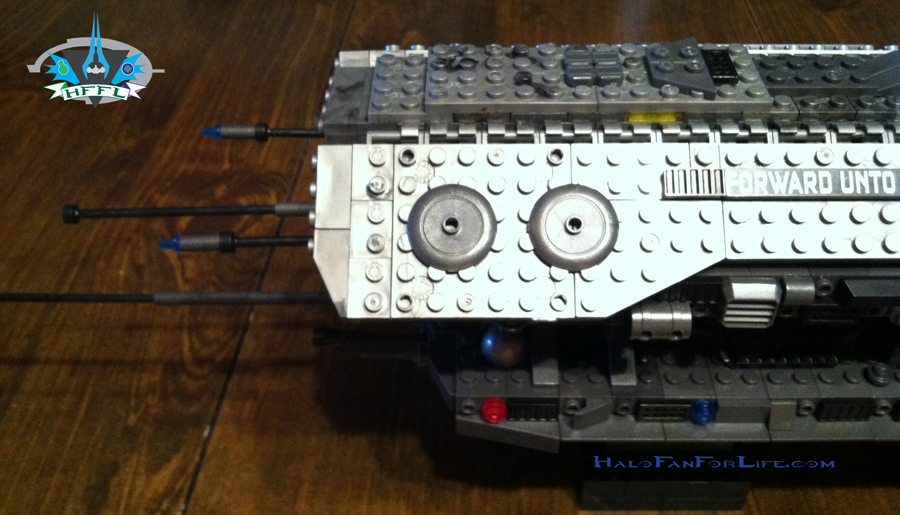
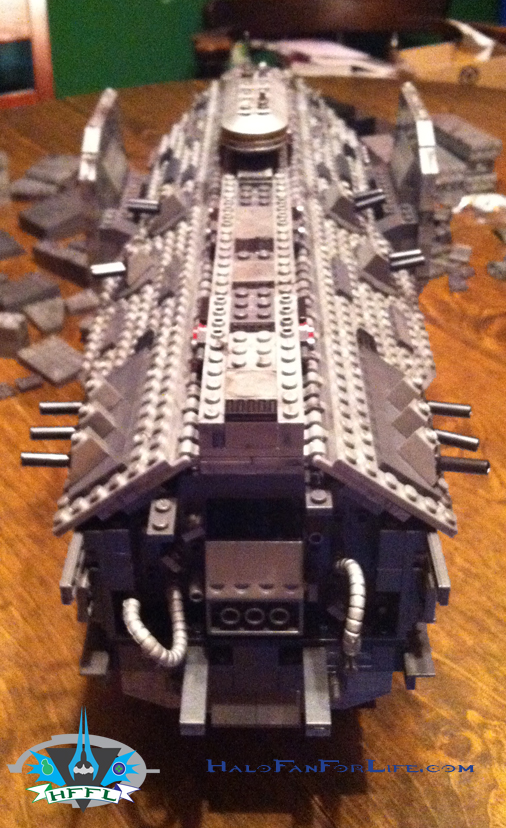
The above three pics show the antennae coming from the front of the ship. They are built in sections. I think they look quite cool. Do be careful though once you put these on. It’s easy to forget they are there and you could bump into them. I did. Thankfully there was enough give/bend to the front one that I didn’t snap it. So again, BE CAREFUL.

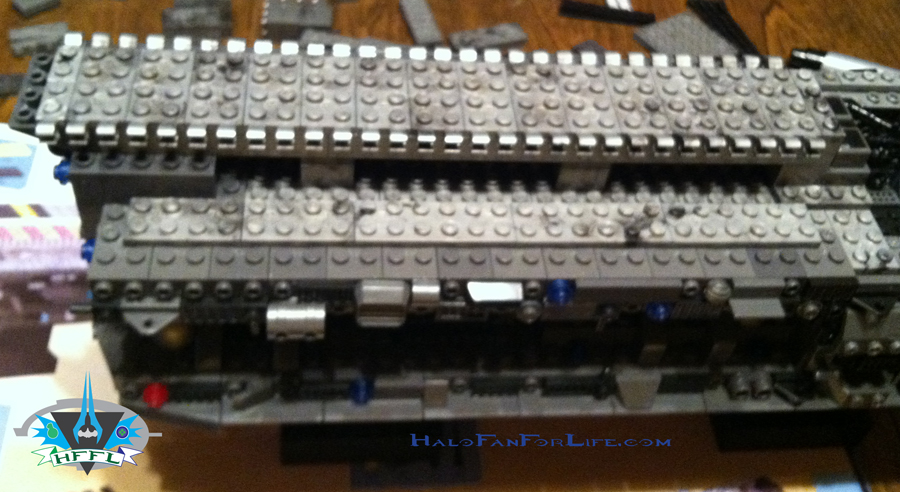
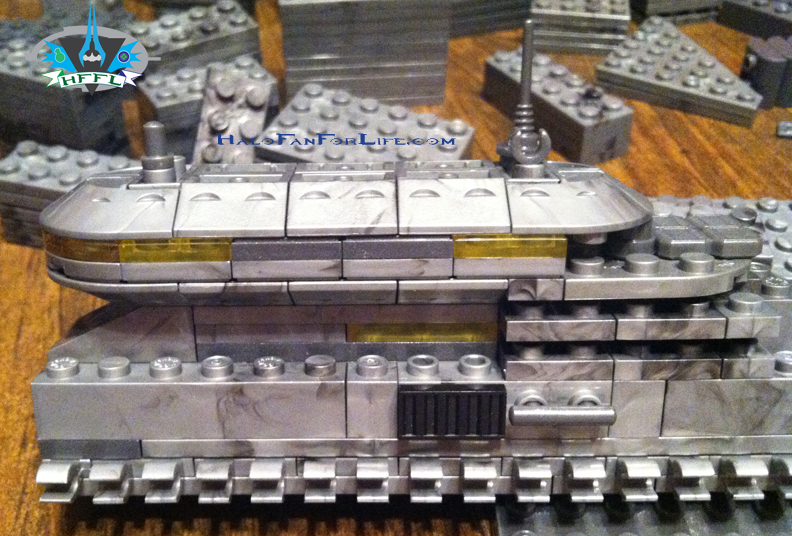
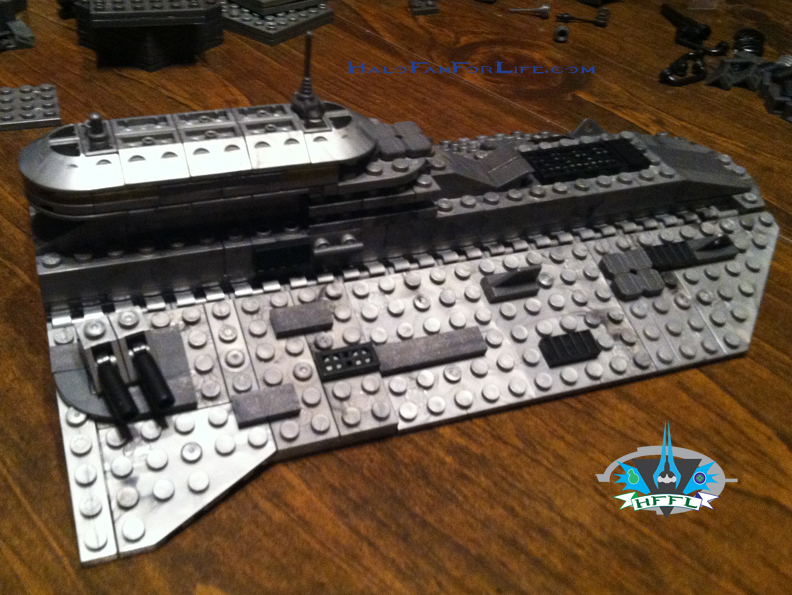
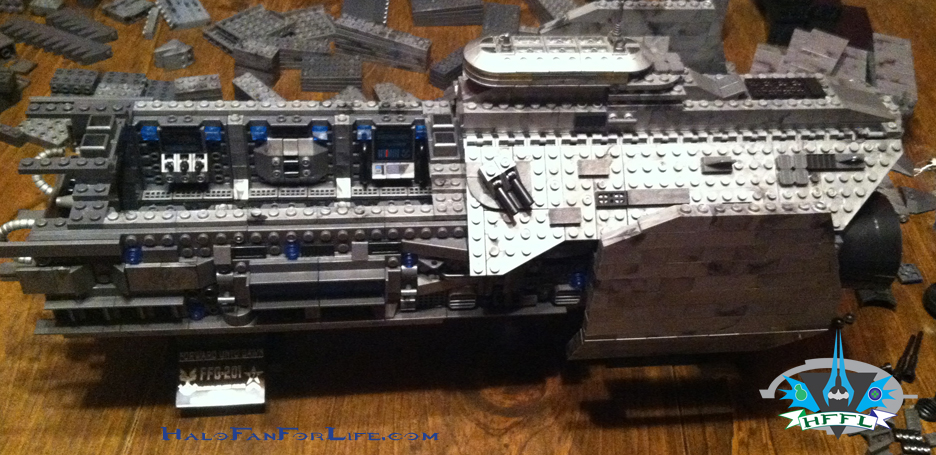
The next several pics above show the rear spine with it’s panels attached. This part is removable to show the interior of the armory, as well as to be able to access the middle of the ship for those times when you want to put them together or split them apart.

The middle panels added with the “Forward Unto Dawn” tile. Pretty cool.

Finally the front roof panels are added.

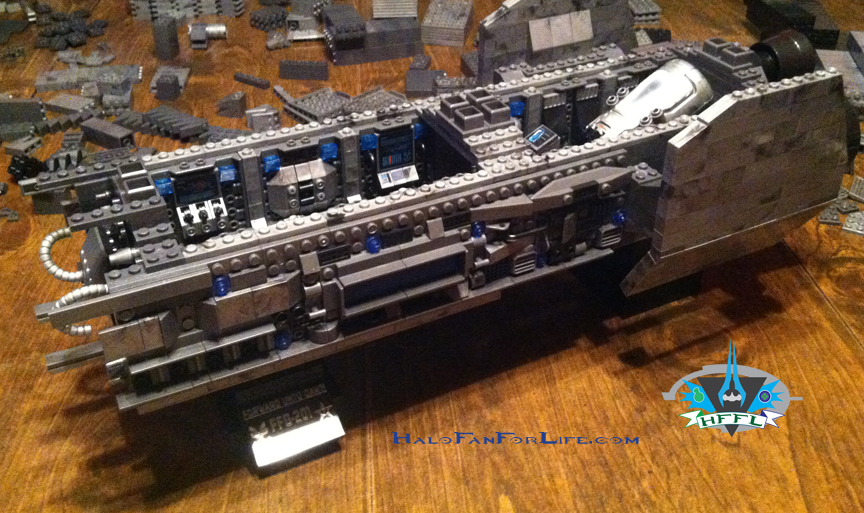
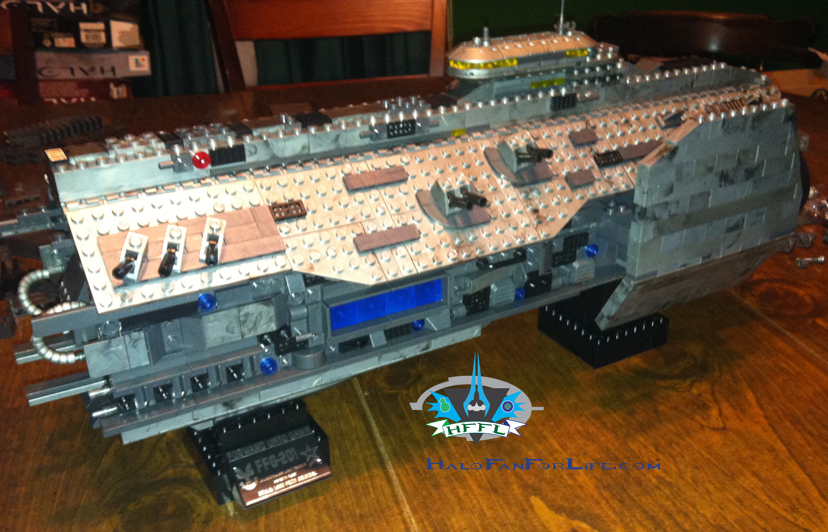
Now this doesn’t look boxy. With all the greeblies added and the antennae plus the roof panels, this looks like a ship in and of itself, albeit without engines.

Stay tuned for the last part of this series of articles on the Mega Bloks Forward Unto Dawn model. The last part will show how the two halves come together, how it’s held in place; as well all of the stickers applied, and finally the extra pieces left over (as Mega always allows for), plus what I made with those pieces.

-Sal

Halo Mega Bloks Promethean preview pics!

Brad over at Mega Bloks has shown two preview pics of the Prometheans coming soon. They will debut in the “Cauldron Clash” set and should be available in stores late December/Early January.

Here they are:

And in case you were wondering, YES, the Watcher does fit into the Knight’s back!

I for one think these minifigs look fantastic! The Knight is HUGE for a minifig. The Watcher looks pretty game accurate and the Crawler looks great in minifig form.

Hmm, now I’d have to guess that we’ll see the other versions of the Knights and Crawlers down the line. I am looking forward to the Knight Battlewagon and Alpha Crawler (Prime). You know, the ones with the hardlight spikes coming out of their backs!

-Sal
Mega Bloks Forward Unto Dawn set: Part 4 front section

As promised here is the next section in the Mega Bloks Forward Unto Dawn signature series model. This section took about 2 and a half hours to complete. I was missing just one piece, though thankfully not integral to the build. Technically it’s three pieces those as the two others I had were 2X1 slopes of the higher angle rather than the smaller angle as shown in the directions (these two will be pointed out in the next article). Aside from this, the build has gone on flawlessly and thankfully for the rest of the build there were not other issues as well.

Now, on to the pics!


The lower prong of the front section is started. Note the repetition here as in previous sections. It really helps in the strength/stability of the model.

The lower prong’s base shape is essentially complete. Now for underside.

I really like how Mega used reverse slope pieces here. And nice BIG ones too. Again stability.

And now for some greeblies and walls topside!

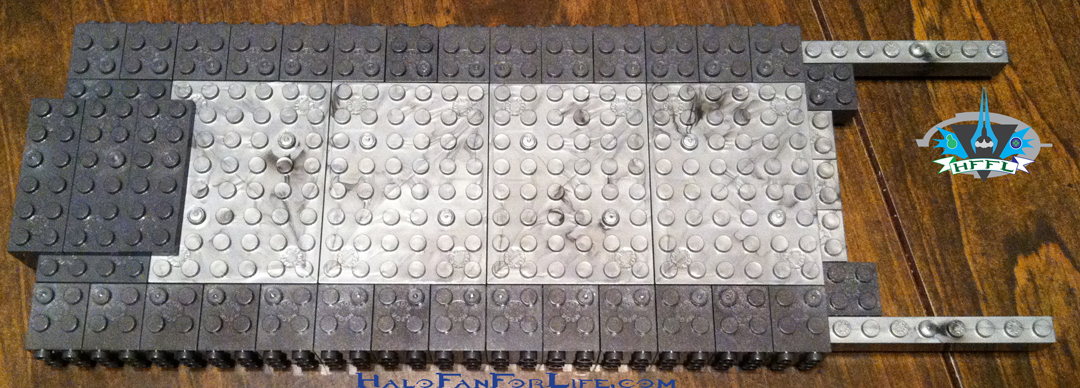
Yet more greeblies and the walls of the armory start to really take shape.

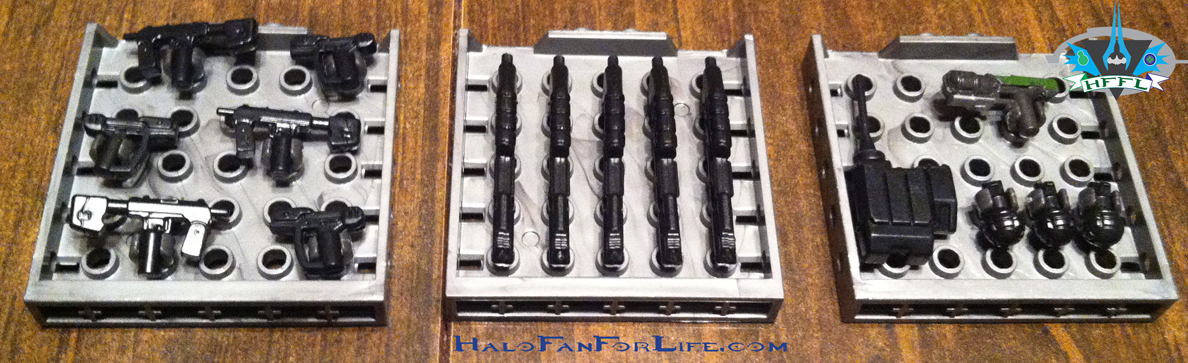
The armory panels to be inserted. 3 SMGs, 3 Magnums, 5 Assault rifles, 3 Frag Grenades, a Radio backpack, and finally the sticky detonator round out what you see here. Also included are a Covenant Plasma Rifle for the Elite and a grey BR for Master Chief.

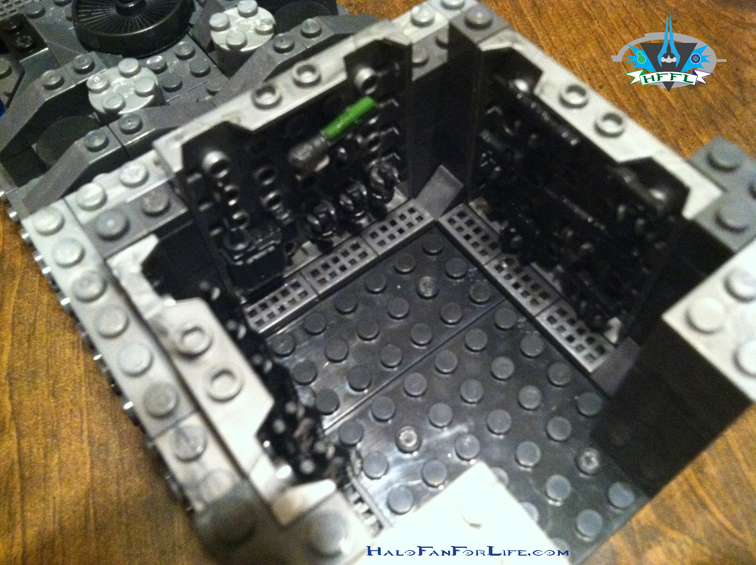
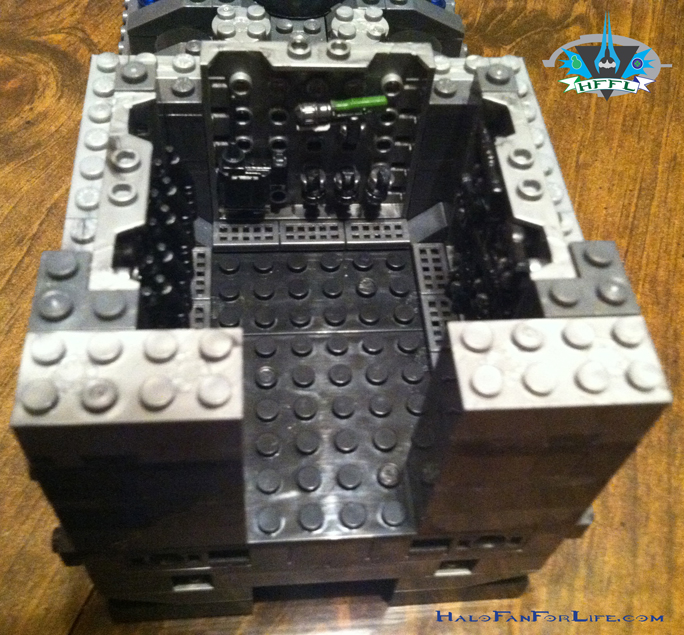
A couple of views of the armory. Really nice job here on Mega’s part. Good bit of weapons. I do wish the had more detail, like the Sticky Detonator. But really, these guns will just stay in their lockers anyway, so I’m fine with them being black. It likely helped to keep costs down too.

The top prong is built similarly to the bottom one. Note the long bloks extending form the right. These will be placed on the walls of the armory to position the prong and add stability.

Okay, now here is where Mega could have chosen to cheap out, but they DIDN’T! Kudos to them for adding greeblies to the bottom side of the top prong. As seen in the next pic, it really adds character to the empty space between the prongs. Here is where I was missing one part. Look to the top middle just right. There is a 2X1 plate in the two semi curved sections. Now look at the bottom. It’s not there. That was one of the parts missing. Again, not essential, though I’ll be asking Mega for that part.

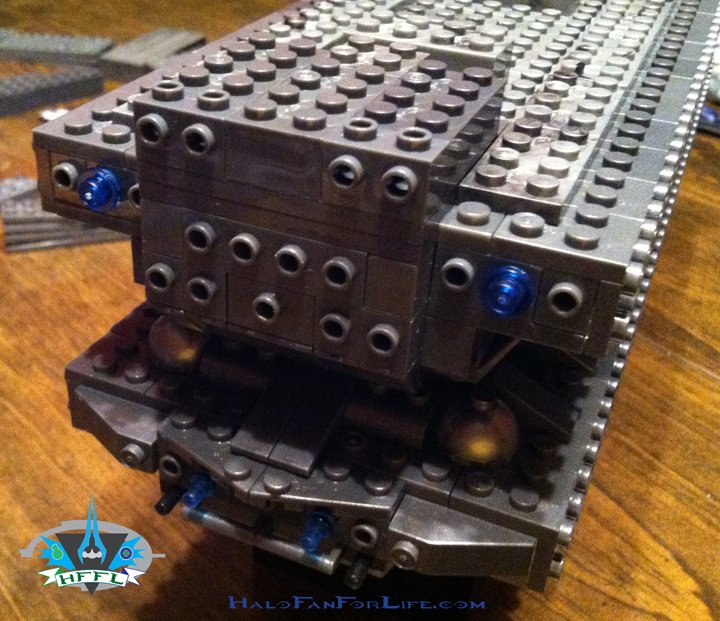
If you can see it, there is a clear 2×2 blok near the front of the prongs that ties them together. It adds stability, while not interfering with the look.

Here’s the top side assembly of the top prong. Note on the right side of the pic is where a soon to be built removable section of the roof will be housed.

The front shot shows were some neat attachments will be placed….in the NEXT part of the build!

Now, does this look a bit boxy at this point? Sure, but that does NOT tell the full tale. Come back and see the next part where I build the roof and side panels. Those really flesh out this portion of the ship and make it go from being boxy to being smexy!

-Sal
Mega Bloks Forward Unto Dawn set. Part 3 Aft Roof

Okay, so Thanksgiving slowed me down a bit on this project as I was away for a couple of days. Now that I’m back, I’m all over the project. In fact I’m literally over with the project. It’s finished! Originally I had planned on 4 parts for this project, but I think I’m going to stretch it to 5 or 6 parts now that I see the amount of photos and description this model needs.

So here is the third part. The Aft Roof.

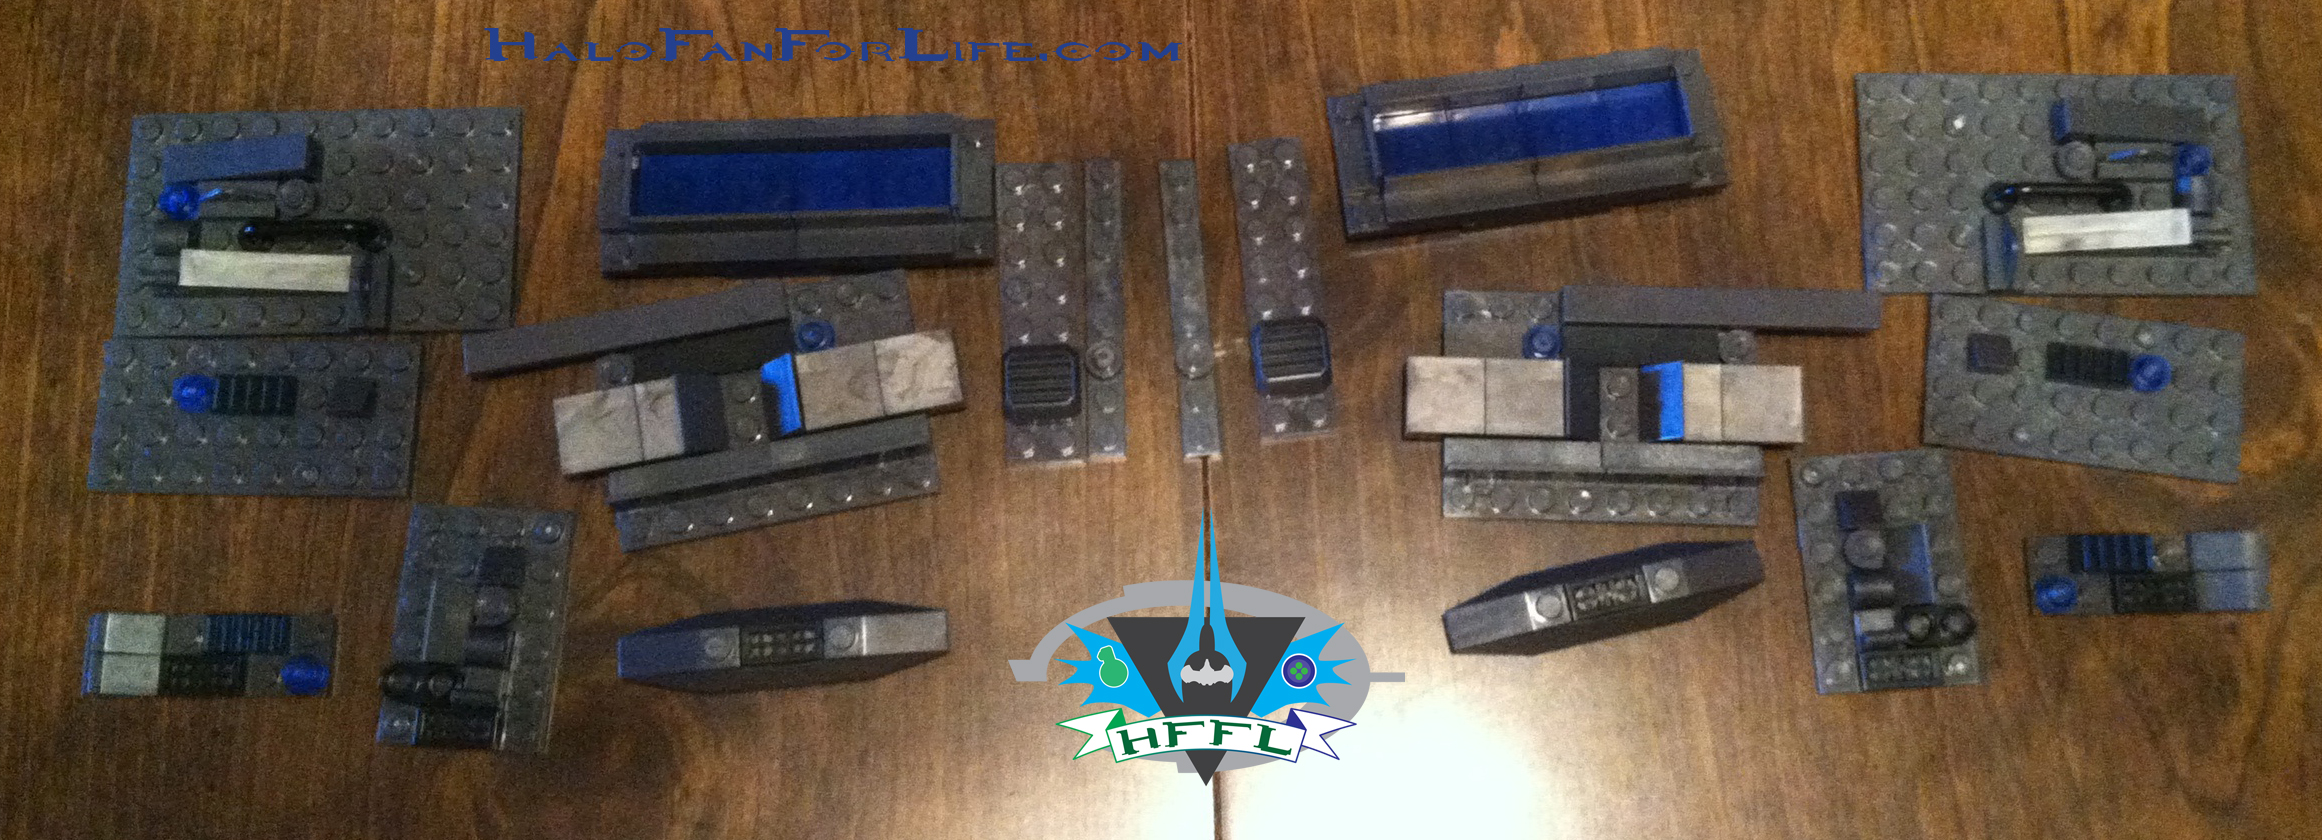
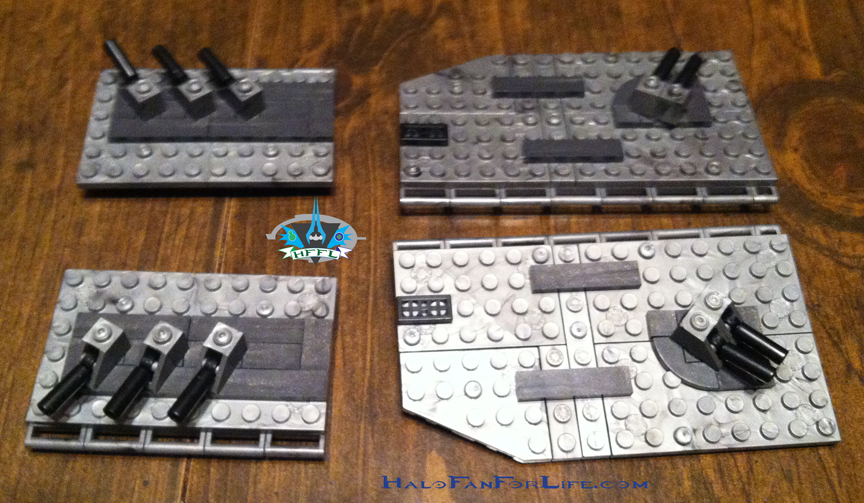
Above shows various panels built to be attached to the side of the aft part of the ship. Some really cool parts here. I especially like the ones with the clear blue panels.

Here are those same panels attached. They REALLY help to flesh out the sides of the ship.

Now we have the wing assemblies. These really show the camo effect of the bloks. I actually wish this would have been with solid color bloks than camo effect. No need for camo in space, imo.

The wings attached.

This is the start of the top part of the aft portion of the ship. It includes what will be the “bridge” of the ship. All those “arms” you see at the bottom will have roof panels snapped into them.

The bridge assembly further along. I like the way MEGA used their curved parts and wasn’t afraid to have them built inverted. Nice touch actually!

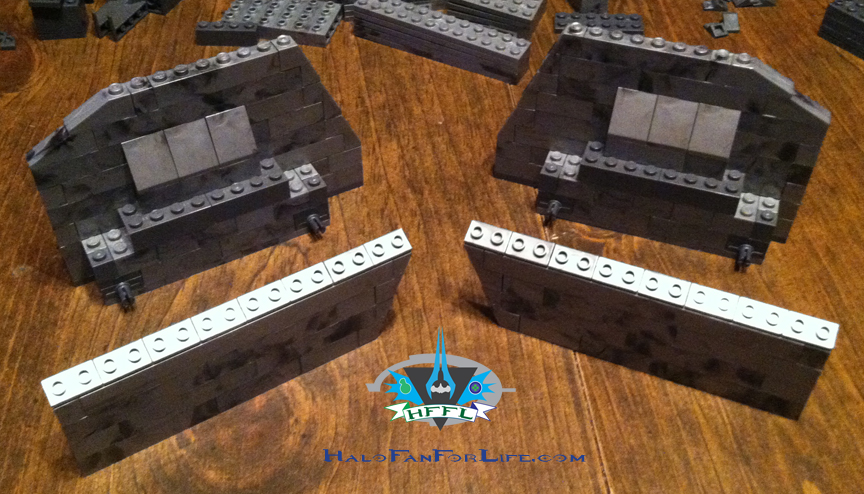
Here are the panels I mentioned. Easy to build. They are mirrored from side to side. I actually built these at the same time instead of one side at a time. I just mirrored the panel I built to make the other side’s panel. Very easy to do.

They’re now attached to the finished bridge section. This already looks like a spaceship itself…

Here it is placed on top of the ship. What’s cool is how it attaches. It’s NOT permanent. And that’s a good thing. It makes it easy to get to the inside of the ship at any time.

The next spine section. This one is in front of the bridge spine section.

The panels for that spine and attached. I like the little gun mounts. However, be careful as the hooks that attach to the sloped bloks aren’t tight, so you can easily knock them off if you’re not careful.

Added to the ship and a cool front view showing the ship in perspective.

And from the rear. Hmm, I’m thinking I may have to put some fiber optics in this ship. It would make it look VERY cool, especially in the dark.

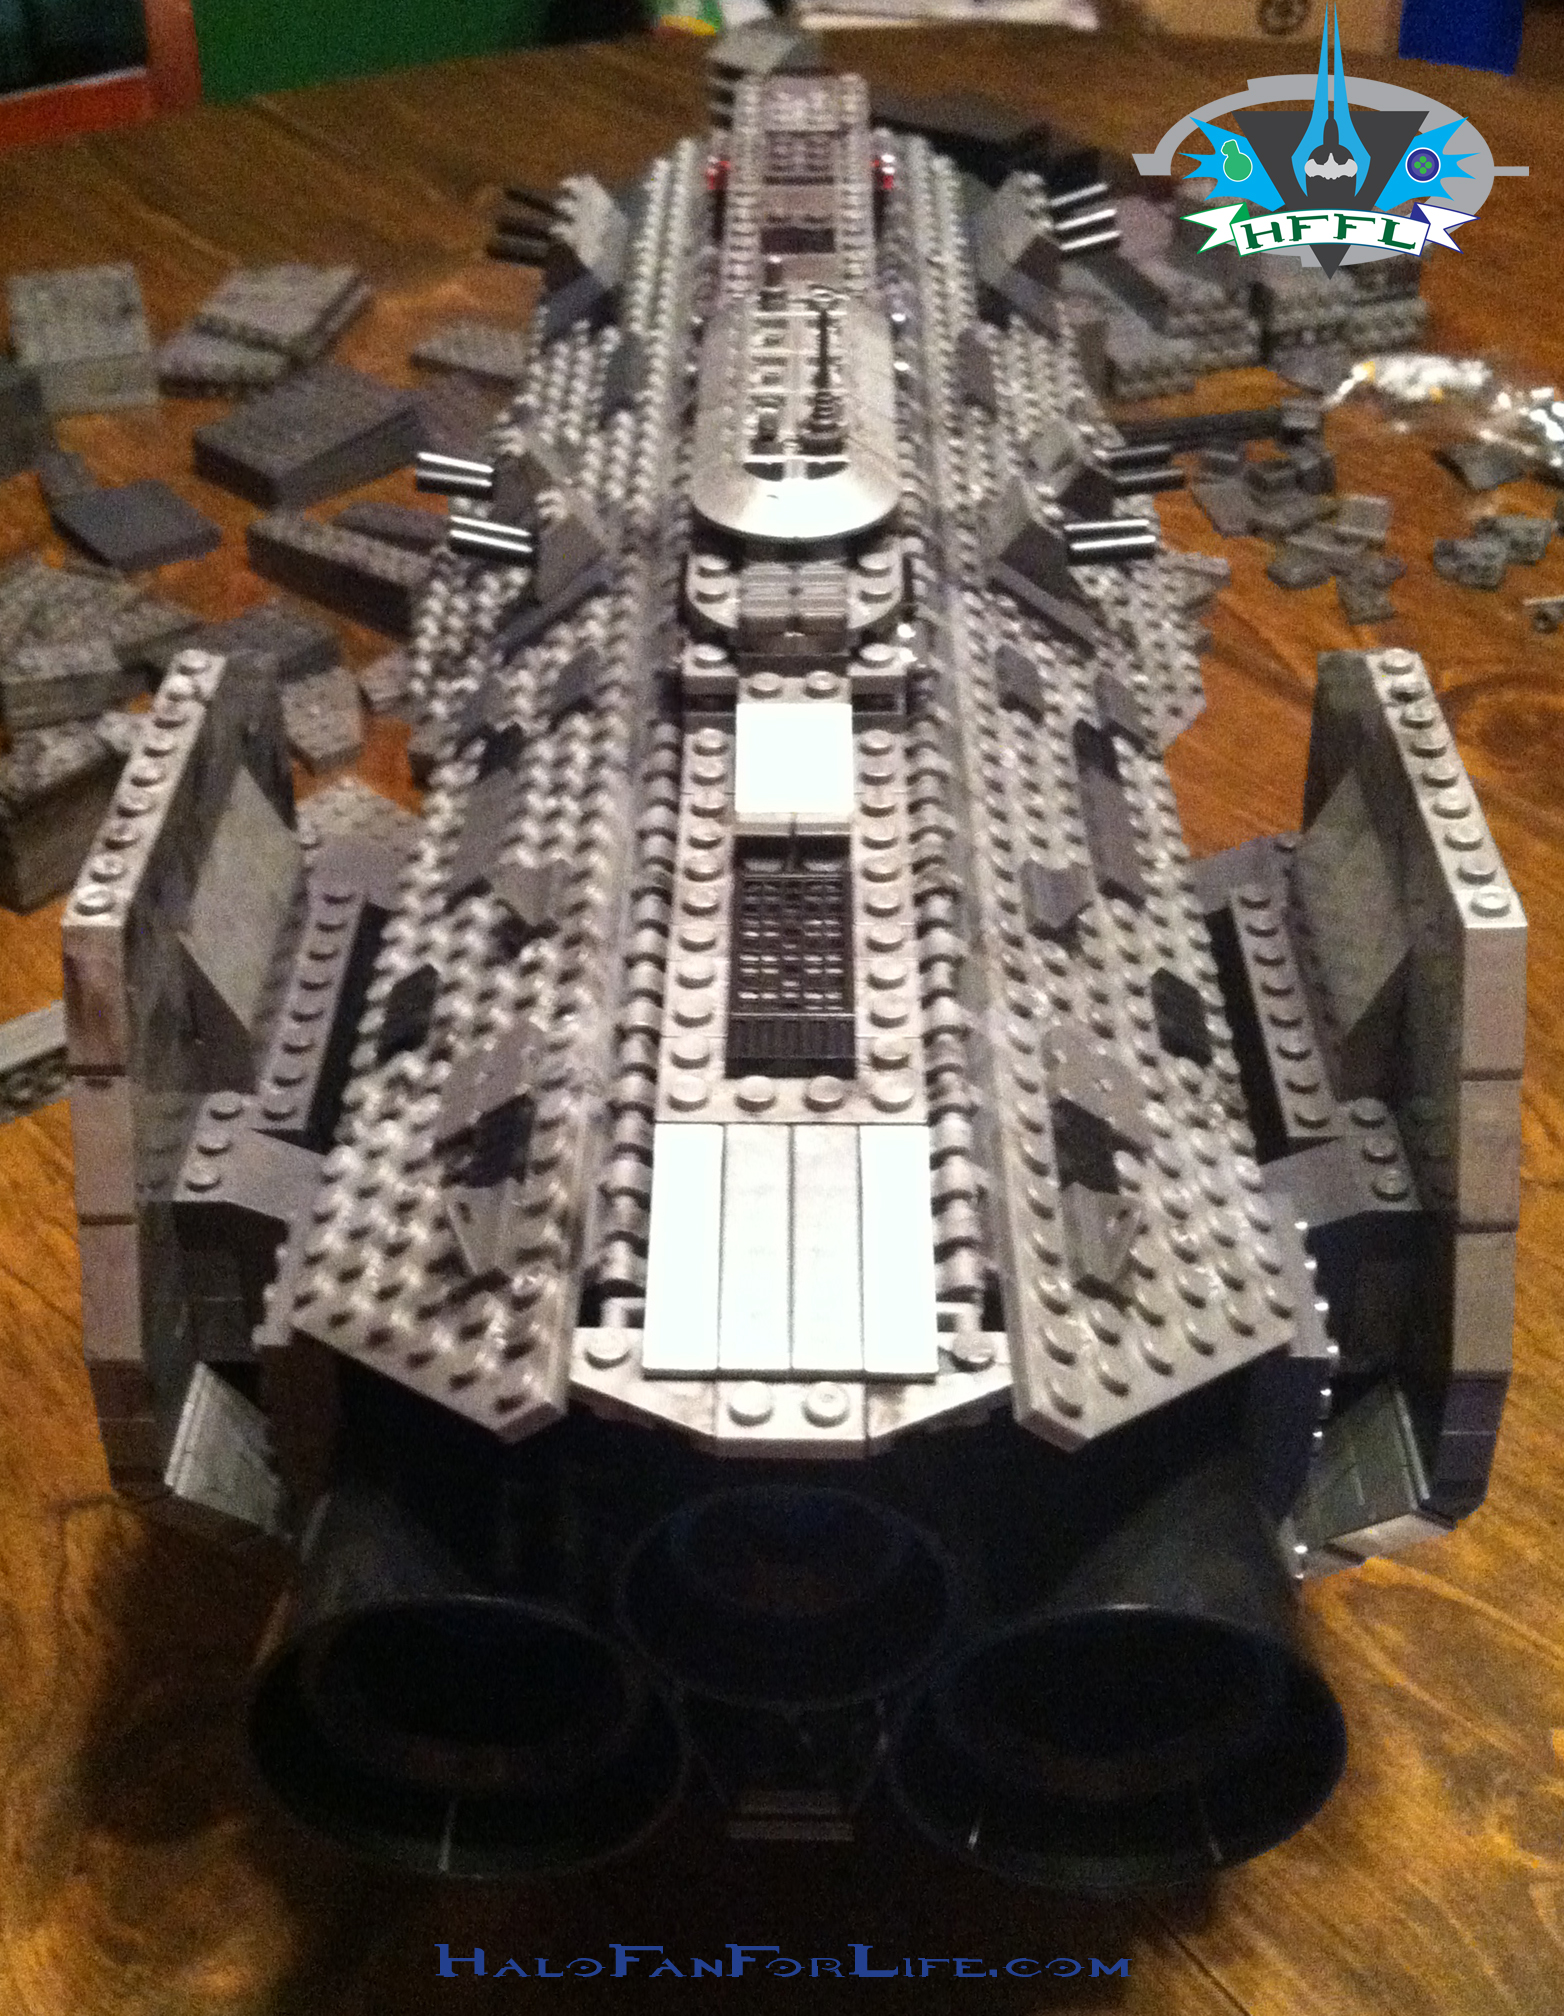
And here it is from the top. Just look at all that great detail!

Okay, so at this point you COULD actually stop. It just depends on if you want to have the WHOLE ship or just the part that is in Halo 4. The only thing you’d need to do now is add the stickers.

But I can’t do that. I have to complete the ship. So on to part 4 where you’ll see the front section of the ship come together.

-Sal
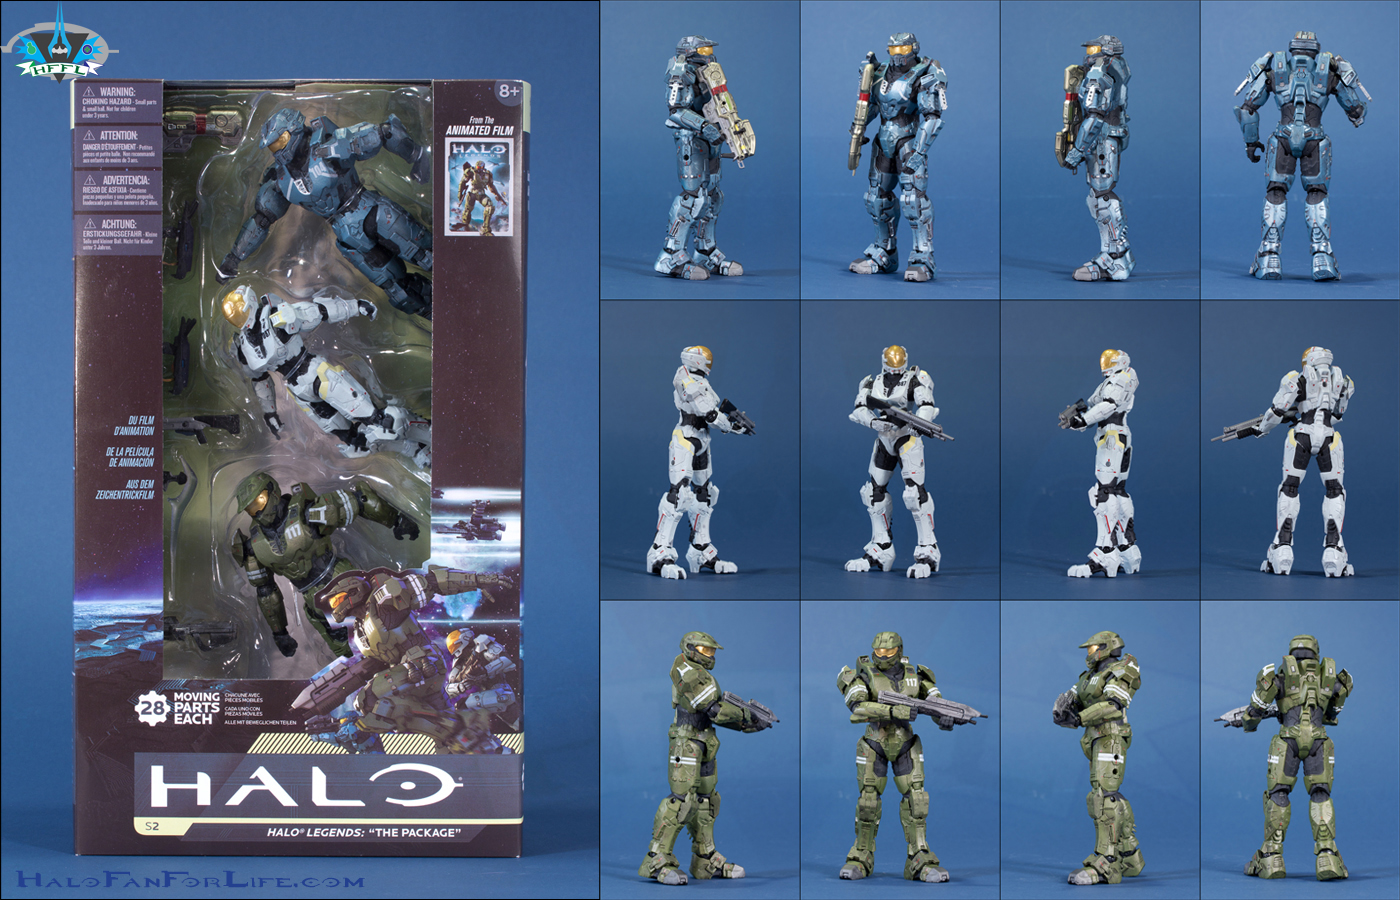
McFarlane “The Package” 3-pack from Halo Legends

Coming soon, this set sees Master Chief, Fred and Kelly in action. The Master Chief is the same as we’ve had on the single card. The Kelly and Fred Spartans are new/partially new. Some of Fred’s armor is reused, but it does have the cool metallic blue paint and that awesome helmet. Kelly looks to be mostly new and of course comes in white with a new helmet.

This will be one set I’ll be sure to pick up when I see it! If you loved the Halo Legends episode this set was based from, then I highly recommend you getting it too.

-Sal
Halo Mega Bloks Forward Unto Dawn…

is coming along. I just completed part 2. However, due to it being Thanksgiving, I’m going to give myself the night off and post the pics and write up of part two tomorrow. I will say this, the set is FANTASTIC! I HIGHLY recommend buying it if you don’t mind the price tag. It’s TOTALLY worth it! (And I’ve only got half the ship built…)