
We are at the FIFTH of the SIX part Halo Mega Bloks Scarab toy review. This is Mega Bloks third Halo Signature series set and it’s largest to date.
Due to it’s very large piece count (3,340), and it’s size, I’ve broken down the review into 6 parts so that you can easily see/read/download the review
When this series of articles is complete, I will edit in the links at the end of each article for easy reference later on.
Mega Bloks Covenant Scarab: Set # 97964
Technical Specifications:
Build Time: 5 hours Sorting, 8 hours Building TOTAL 13 hours.
Set Piece Count: 3,340
Minifigs: 2x Jackal Snipers, Dark Blue Ascetic Elite, Dark Blue Commando Elite, Translucent-Blue Prophet of Regret
Weapons: Fuel Rod Gun, 2x Carbine, 2x Plasma Pistol, Energy Sword (My set had 4 Carbines in it.)
Accessories: Buildable translucent blue Prophet Chair
Special Features: Legs pivot front to back at the hip, cannon turns 360°, hatch lifts up (on upper body), removable roof for cockpit, 2 side compartment area hatches open/close, some articulation at front plasma cannon (mandibles)
Cost: $250 Toys R Us Exclusive
And on with the pics! (Click pics to make BIGGER)
Today starts off with the base of the upper body. This multi-layered plate system forms a story platform by with the upper body is built upon.
A bit further along, you can see the large cross beams. These help with structural integrity. You can also see the underside of the ramp.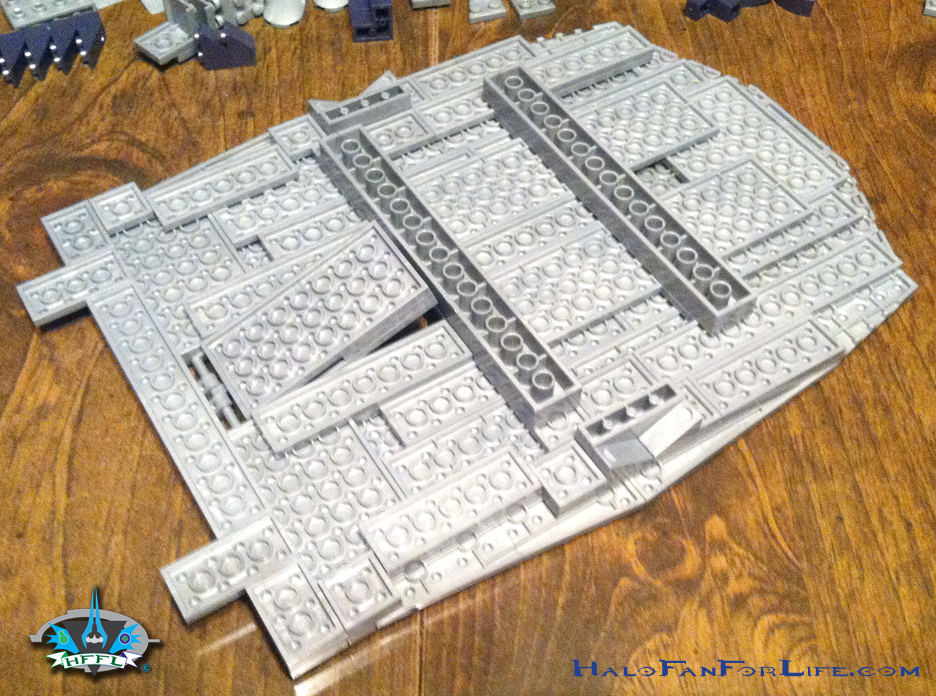
Here’s the base flipped right-side up. Again, note the ramp.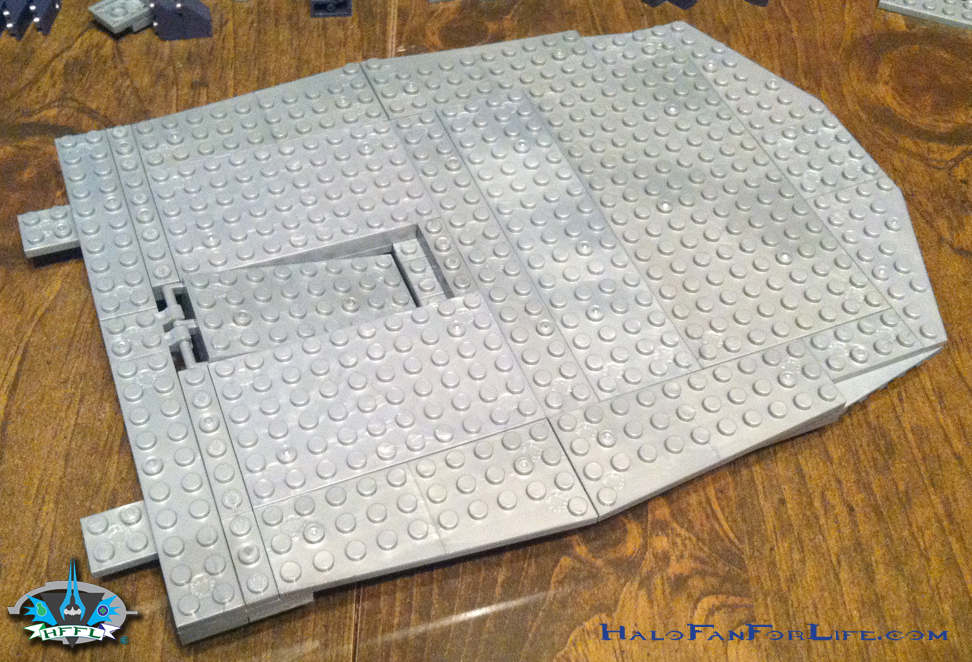
Okay, so yesterday I mentioned about a frustrating part, that being the mandibles at the front of the lower body. Now, we come to the other frustrating part. Putting the base onto the lower body.
Because it is so large and has many points of contact with the lower body studs, the base won’t just slip right on in. There are portions of the upper body base that fit like tabs into the lower body. Take you time with this and make sure the whole base is completely fitted onto the lower body studs. Once I had it in place, I flipped the whole thing over and pushed down carefully on the bottom of the lower body to help secure the upper body’s base. 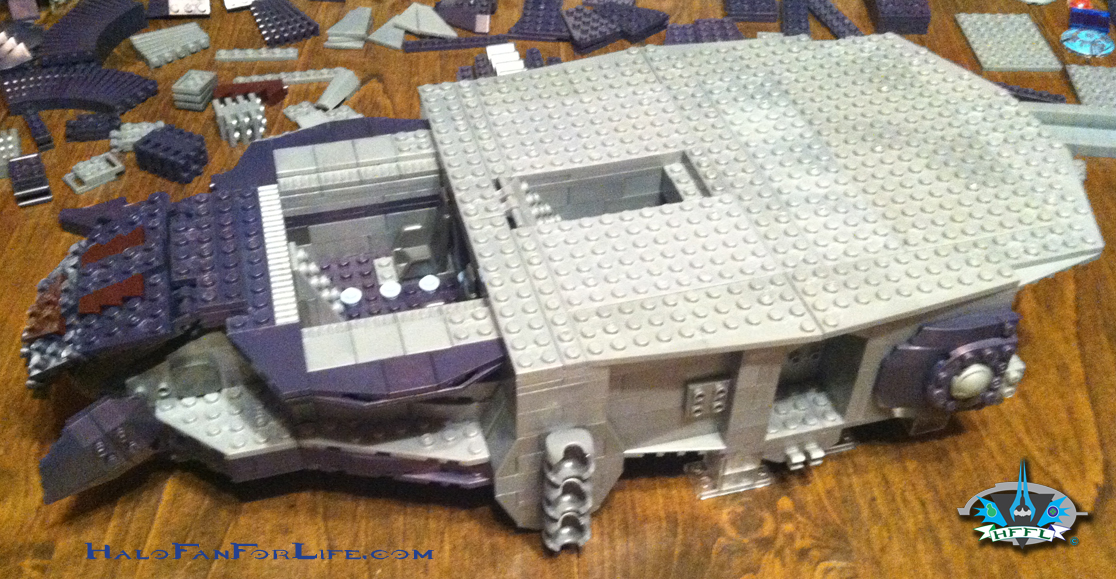
From there we begin to build the upper body.because it’s only about half as wide in some areas, it comes together a bit quicker than the lower body. Below note the ramp going down to the lower section. As well, there are some clips on the side wall of the upper body. Eventually, those will be used as storage for weapons.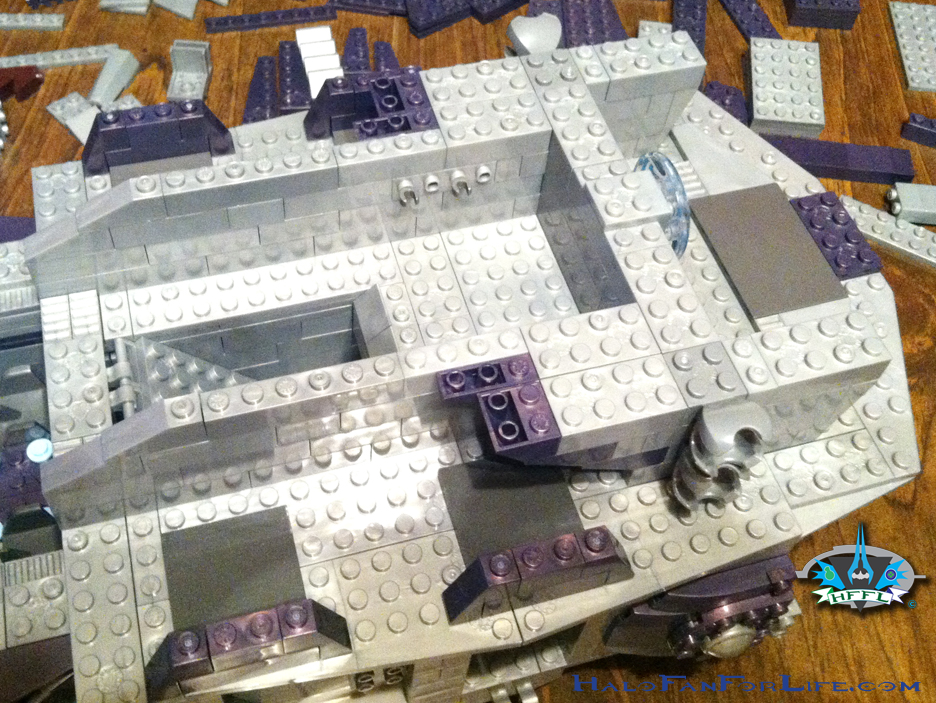
The core piece is added. I really like this piece. It’s not symmetrical and is quite unique.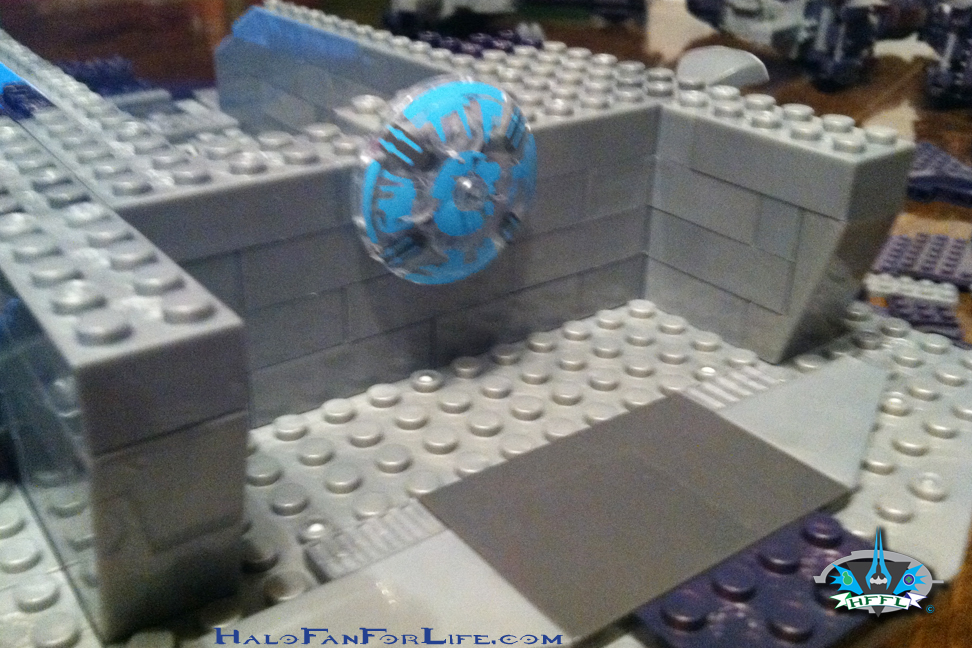
More of the upper body is built. The back section, where the cross beams are holds the core area. Note to the right the three hip receiving joints. These await the back legs to be attached later on.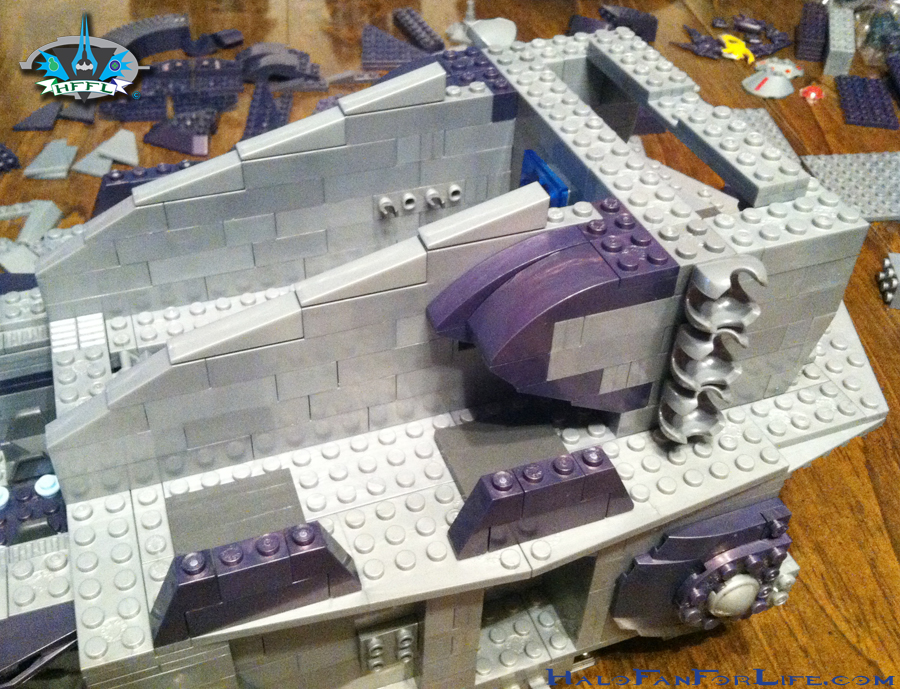
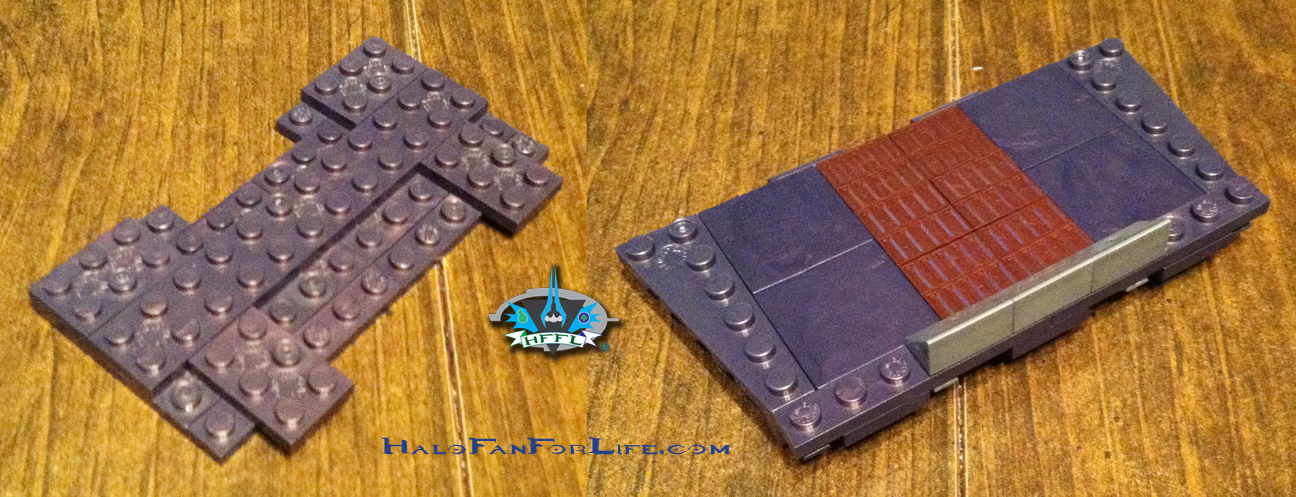
This series of photos shows how the core’s armor comes together. Once the whole Scarab is built, this is not easily removable. That’s one thing I wish Mega would have included. In the games, you can shoot off the back armor to allow for easier access to the core and destroy it. It can be removed, just not easily.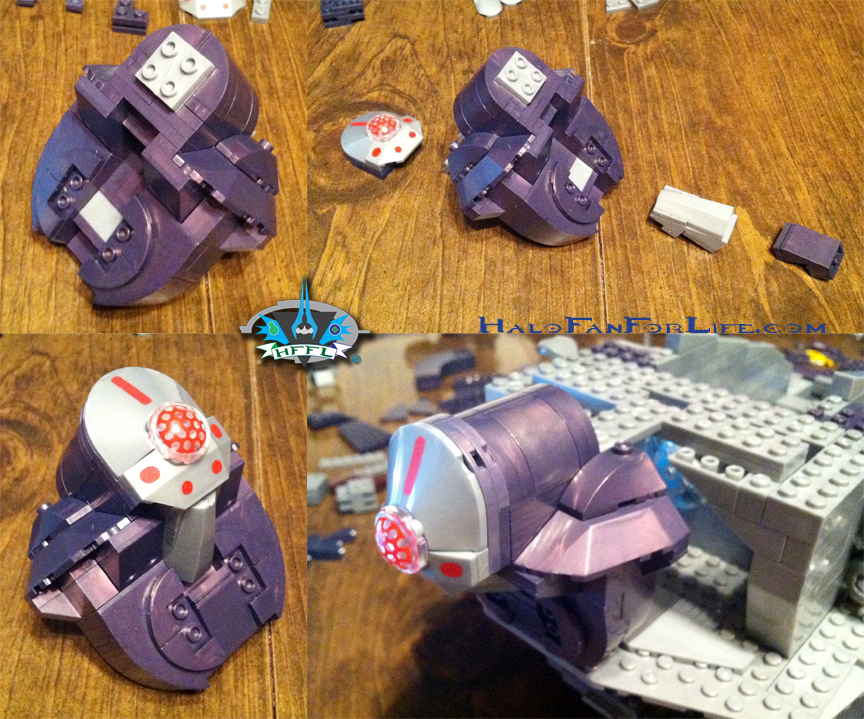
The below graphic shows the beginning of the platform for the turret.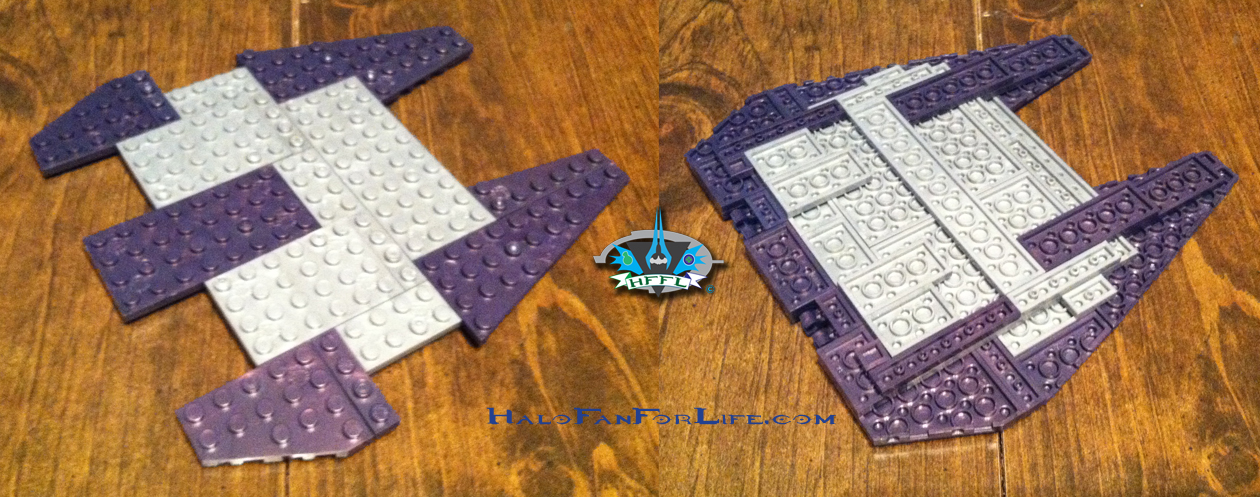
In the series below you see the platform come together. Some nice sloped and curving pieces really flesh this out. I like that the little alcoves were built in as well. 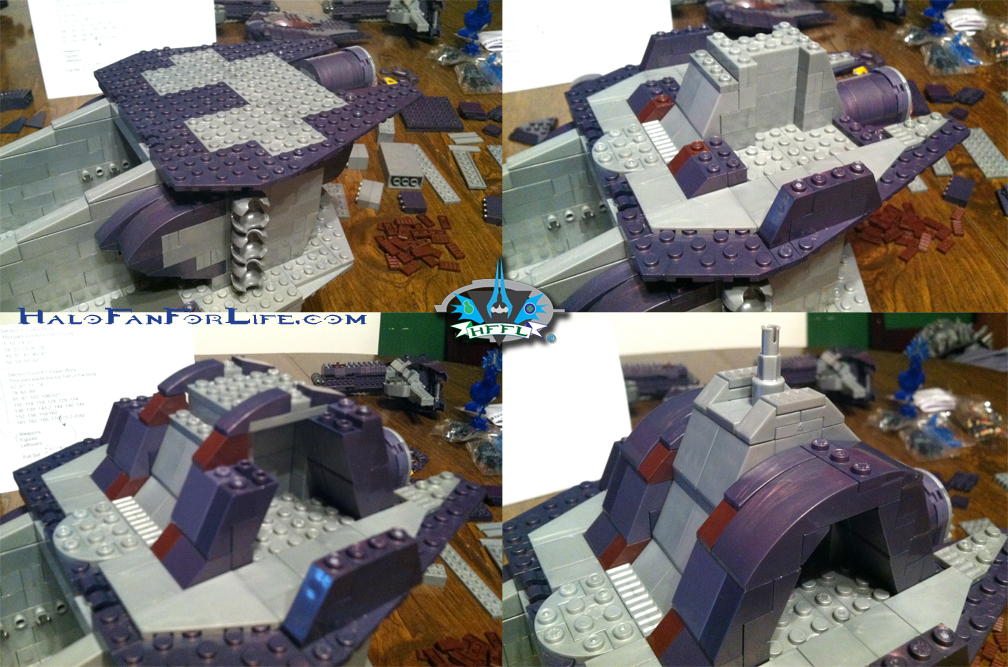
Below, the cockpit cover is built. It fits on nicely and isn’t secured to too many studs. This makes it easy to take off and put on, for quick access to the cockpit and any figures you may have stored in there.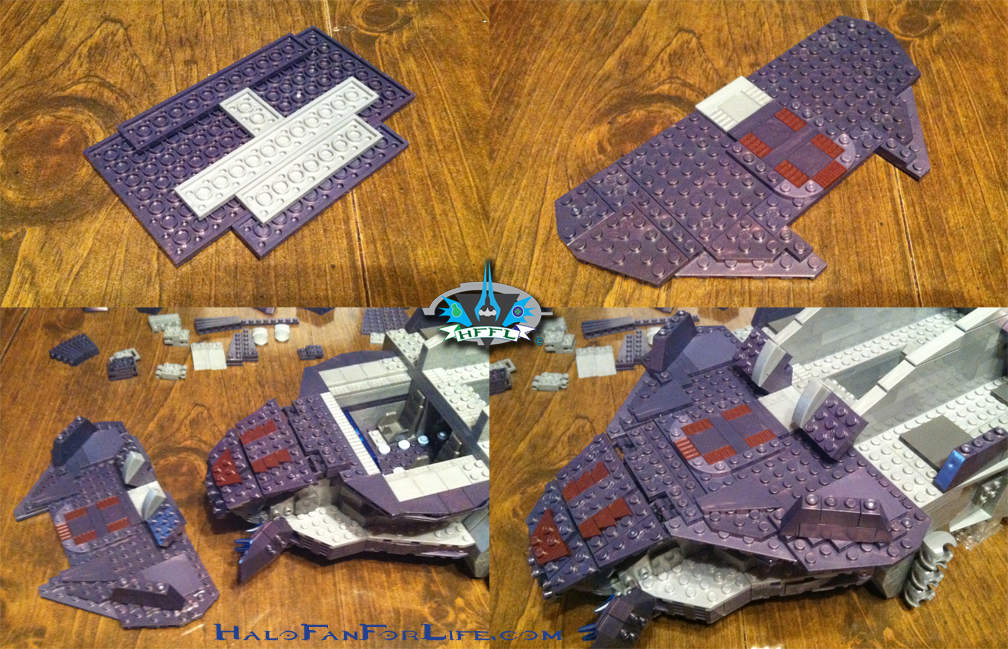
Now we begin a 3-part section of the upper body’s front ramp system.
Once all sections are built, the are connected by small slips.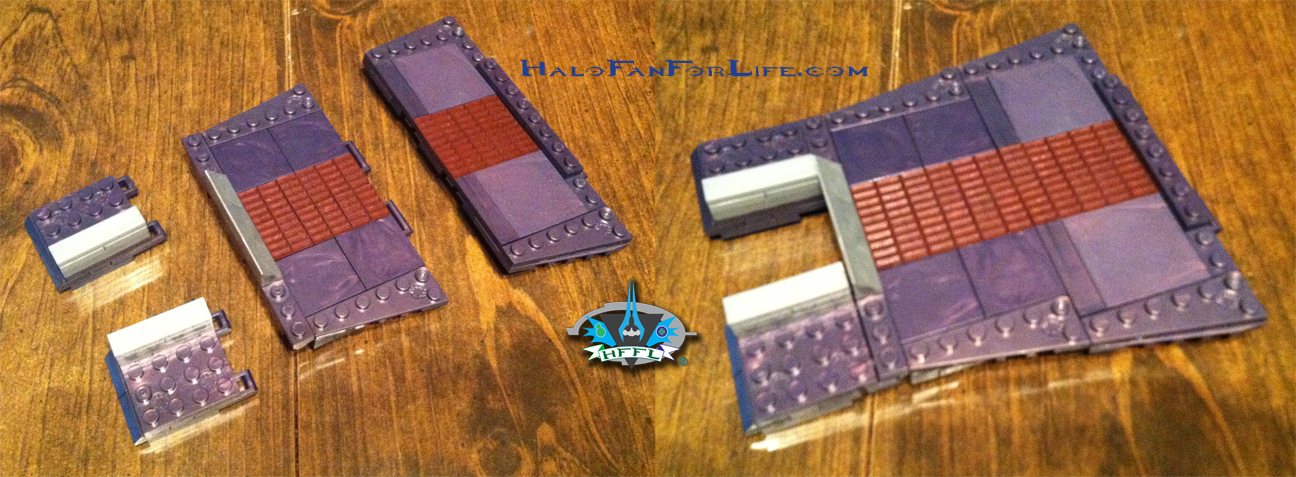
Here you can see where this is then attached to the body itself.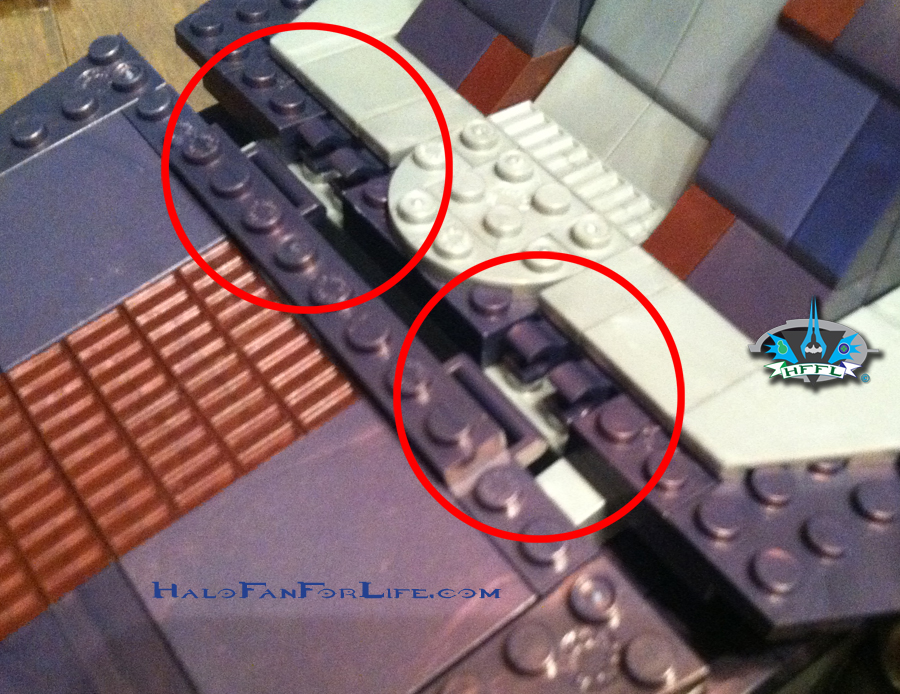
Once attached, the sections gently fold over to form a curving ramp. Again, very clever as well as consistent with the front plasma canon. I mentioned in an earlier part that I wasn’t keen on the burgundy parts. However, I quickly changed my thought on those as the build came along. I think these actually accentuate the Scarab nicely and keep it form being just two colors, which some might find boring.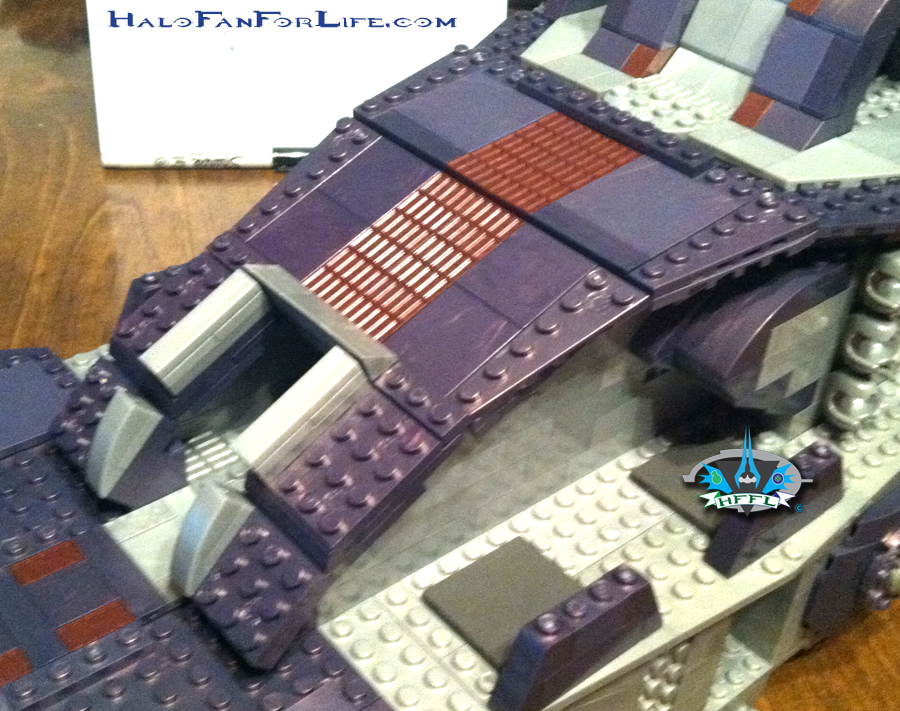
So that’s it for the upper body. Tomorrow is the last part of the review. In that, you’ll see how the top turret comes together as well as see the weapons and figures that come with the set.
As always, I’ll show the leftover parts and what I made from them.
And of course, I’ll show the whole Scarab so that you can appreciate it’s truly massive scale!
Here are the links to the rest of the parts of the review:
Halo Mega Bloks Toy Review, Covenant Scarab: Part 1 (of 6) The Unboxing
Halo Mega Bloks Toy Review, Covenant Scarab: Part 2 (of 6) Front Legs
Halo Mega Bloks Toy Review, Covenant Scarab: Part 3 (of 6) Back Legs
Halo Mega Bloks Toy Review, Covenant Scarab: Part 4 (of 6) Lower Body
Halo Mega Bloks Toy Review, Covenant Scarab: Part 5 (of 6) Upper Body
Halo Mega Bloks Toy Review, Covenant Scarab: Part 6 (of 6) Turret, figures, weapons and the rest
-Sal
I’m liking this multi part review. My scarab is setting in its box waiting for me to find the time to build it. This review is helping me get thru the wait. I don’t know how I feel about all the grey though. Anyways great job on the review.
Thanks Chad. I don’t mind the grey at all. If it were all purple, I’d mind that. I think there is a good balance between purple and grey in this set, with that little bit for burgundy as well.
I agree all purple would be to much. I would have like to see a darker shade of grey. I’ll reserve final judgment after I get my built.
So tomorrow it all comes together………….
I’ll be looking forward to the last part of this great series of reviews Sal!