
Halo Toy Review: Mega Bloks Ultimate Combat Pack

MB grey logo
Mega Bloks Ultimate Combat Pack: Set #97233

Technical Specifications:
Build Time: N/A
Set Piece Count: 167
Minifigs: Jump Pack Brute (Cyan Active Camo), Cyan Grunt, Cyan Spec Ops Grunt, Cyan Brute, Cyan Jump Pack Brute, Spartan CQB (Green Active Camo), Green Spartan CQB, Green Flame Marine. Green Spartan Recon, Green Spartan EVA, Orange Elite Pilot, Orange Elite Commando, Orange Elite Combat, Orange Grunt, Orange Spec Ops Grunt, Black Spartan Security, Black Spartan EOD, Black Spartan Scout, ODST (Bronze highlights), ODST (Silver Highlights)
Weapons: Crimson Needler X2, Crimson Plasma Rifle, Cyan Active Camo Plasma Rifle, Grey Brute Mauler, Purple Plasma Pistol, Purple Plasma Repeater, Purple Plasma Launcher, Black Spike Grenade, Translucent Purple Plasma Grenades (X4), Green Active Camo Grenade Launcher, Silver Assault Rifle, Silver Assault Rifle (Reach style), Silver DMR, Silver Grenade Launcher, Silver Spartan Laser, Silver SMG, Silver Magnum X3, Frag Grenade X2, Flame Thrower (Silver Flamethrower, Black Hose, Green gas tank)
Accessories: 2X3 figure stands (20 pieces), Cyan Active Camo Jump Pack, Black Backpack X2
Price: $49.99 Toys R Us Exclusive (My wife got this for the discount price of $29.99 on Black Friday)
Special Features: N/A
This pack is a TOYS R US Exclusive!

And on with the pics! (Click pics to make BIGGER)
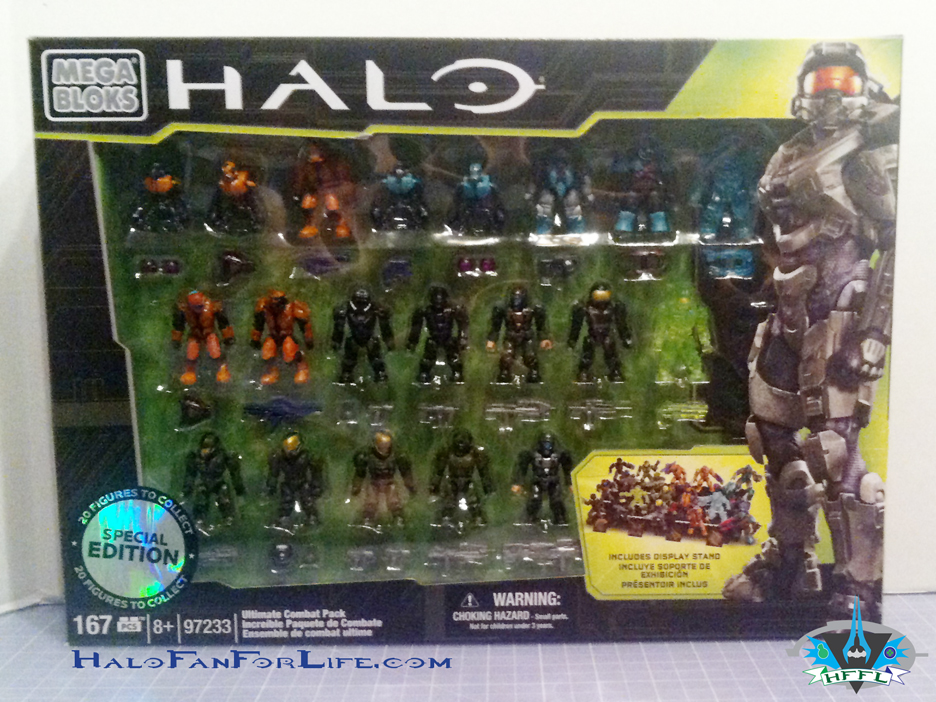
MB Ultimate Combat Pack BOX FrontThe box is very nicely done showing the figures off quite nicely. This box art has a slightly different color scheme than we’ve seen in the past. It has green for the detail. Zoom in on the pic, especially the lower left side and you can see it. I really like this color scheme and hope we see it again.
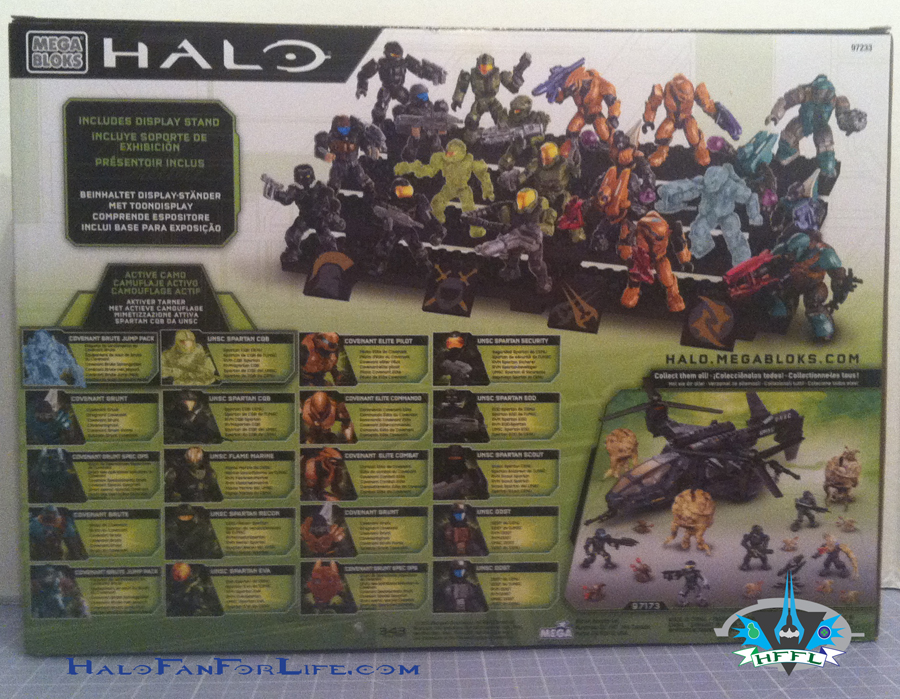
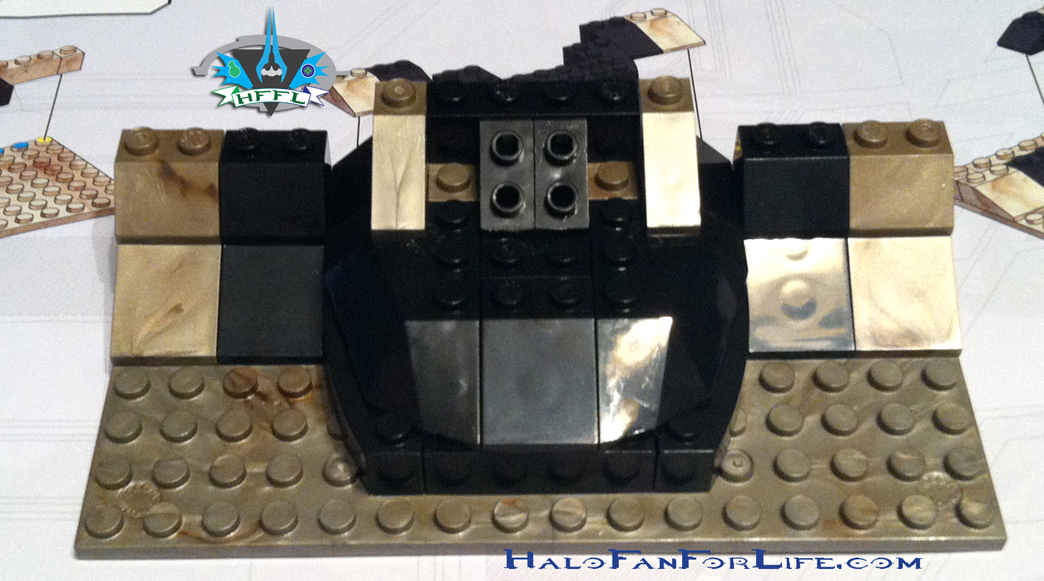
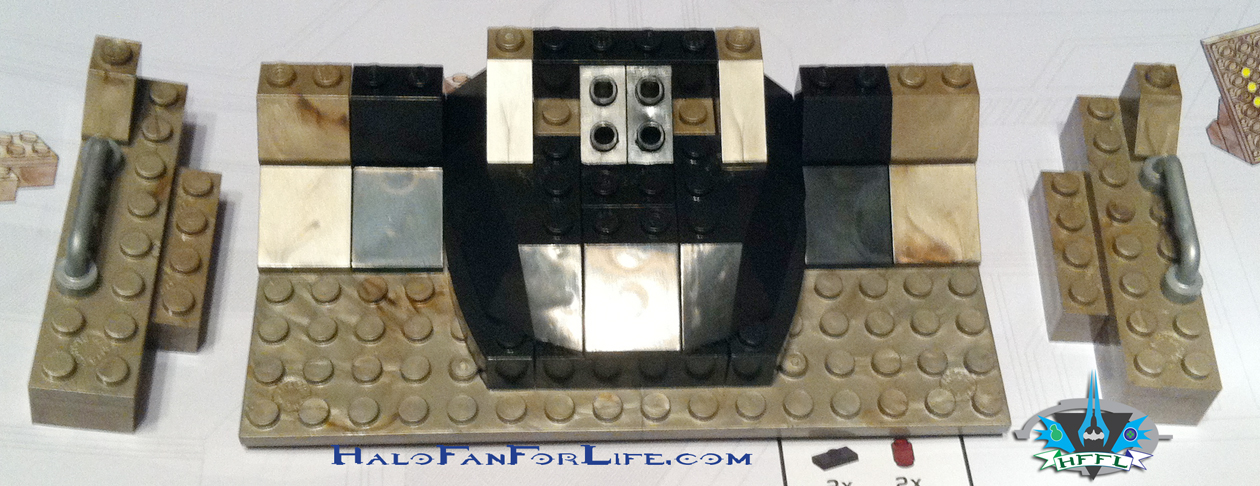
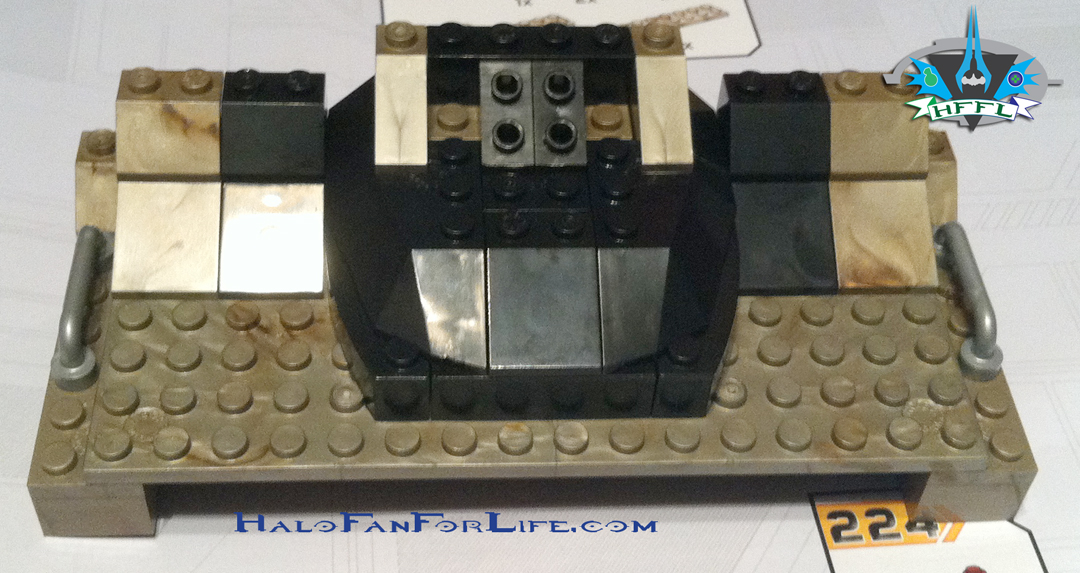
MB Ultimate Combat Pack BOX BackThe back of the bos shows the set of minifigs on the provided pieces that make up the display stand. I really like that Mega gives that extra effort to include those parts so people that want to display them outside the package have the parts necessary instead of having to buy expensive display stands. THANKS Mega! 

MB Ultimate Combat Pack BOX Back detailA closer up pic of the figures included with their designations.
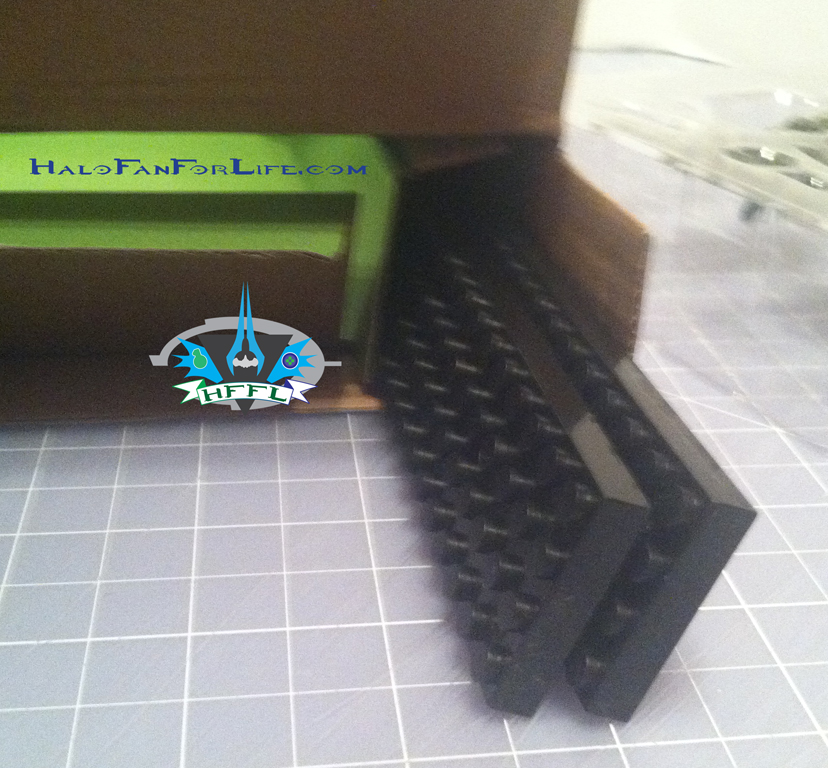
MB Ultimate Combat Pack BOX insideWhen you open up the box, there are slots on both sides that contain the long pieces for the display stand.
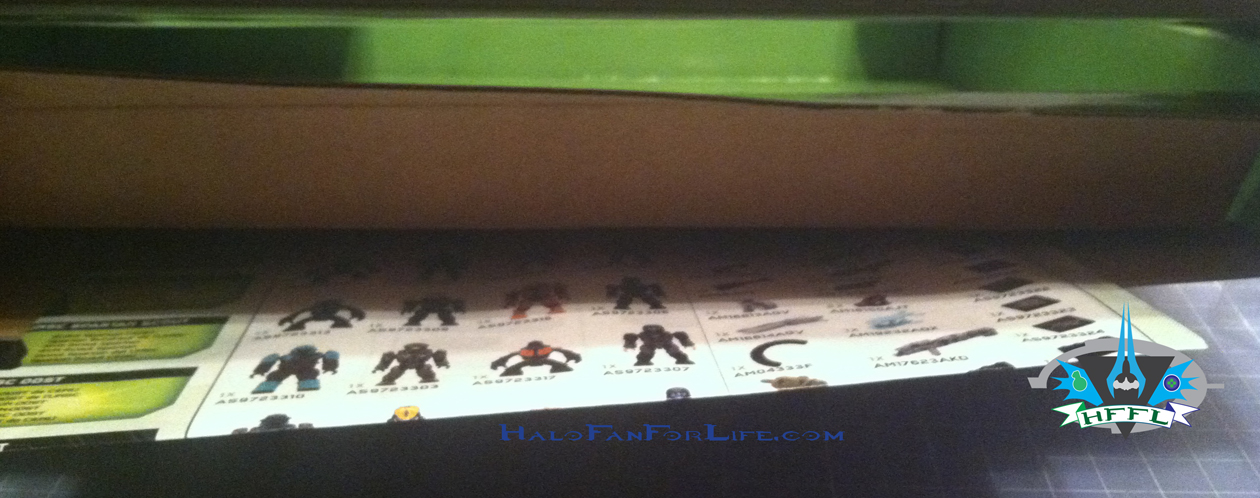
MB Ultimate Combat Pack BOX inside 2Likewise, the direction sheet is between the back of the box and the green cardboard insert.
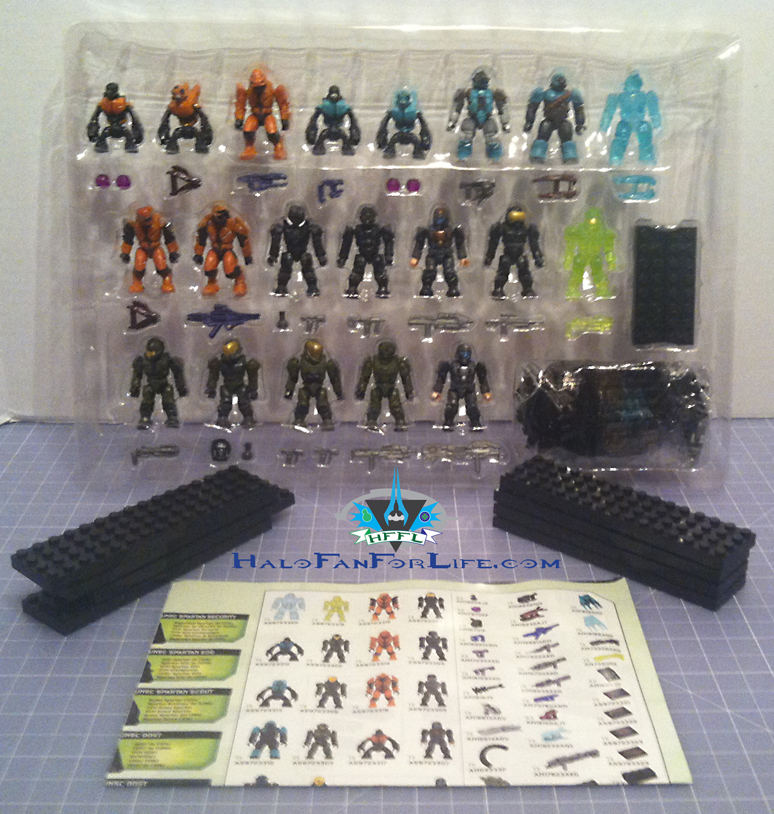
MB Ultimate Combat Pack contentsThis is what you initially get when you take the contents out. Some might say it looks cool like that. But I have to take take those figs out of the plastic tray. 
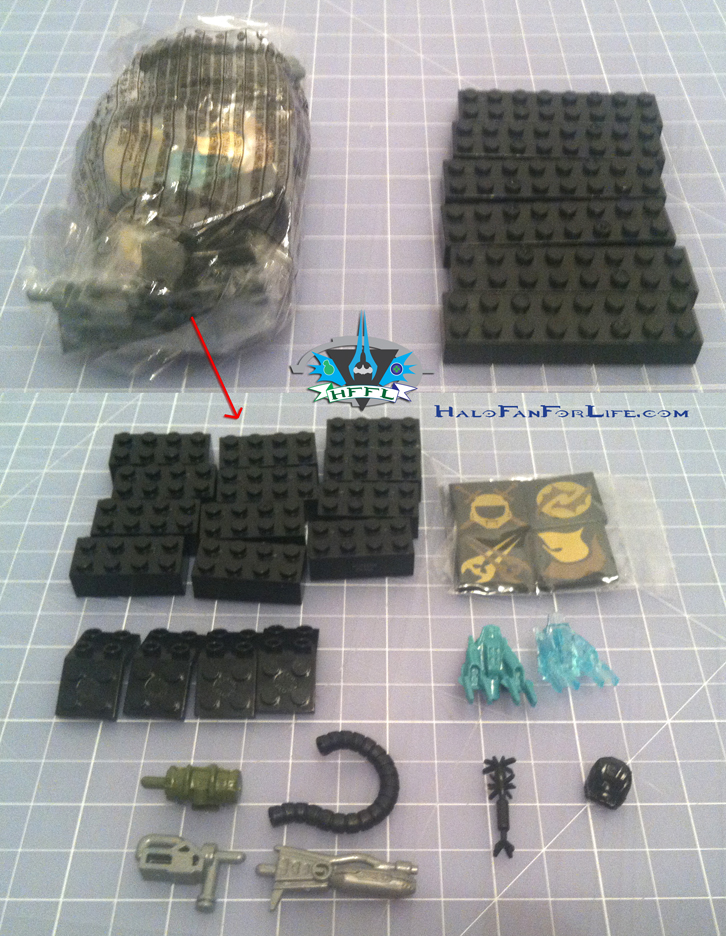
MB Ultimate Combat Pack contents 2You get a plastic bag and some more parts for the display stand. Within the plastic bag are the pieces shown above. It’s neat that Mega even included 4 tiles that show various emblems on them.
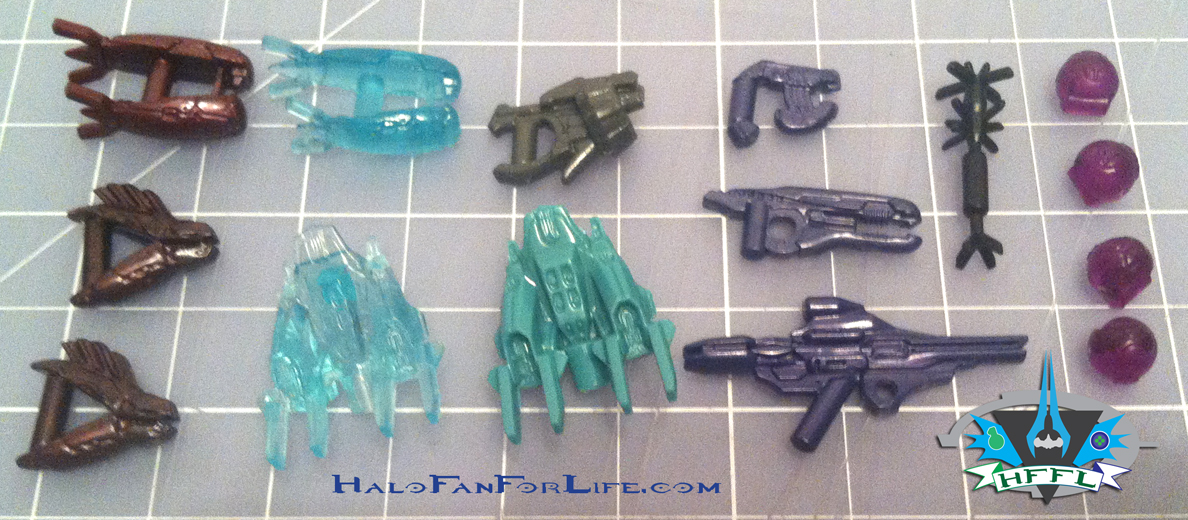
MB Ultimate Combat Pack weapons CovenantHere are all of the Covenant Weapons and Accessories in the pack. I do like that Mega made the one Plasma Rifle in Crimson, as that is the Brute’s color for the weapon. Of course, I’m very happy with the translucent weapons and nades. 
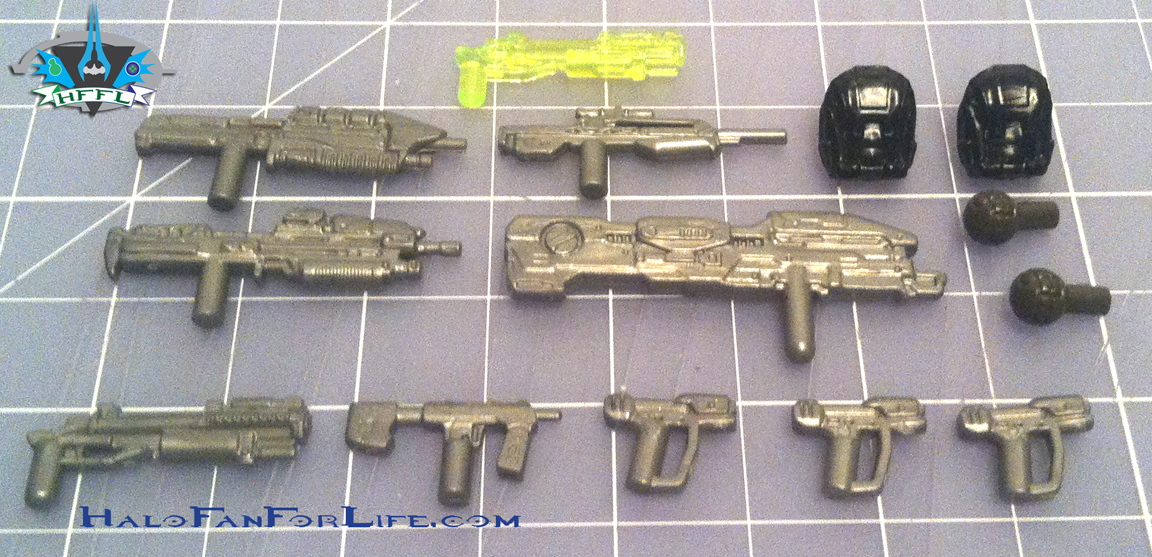
MB Ultimate Combat Pack weapons UNSCHere are all the UNSC weapons (sans Flamethrower). That A/C Green Nade Launcher is AWESOME!!! I do wish the silver weapons were painted, even if two-toned. However, given the excellent price of the pack, this is minor.
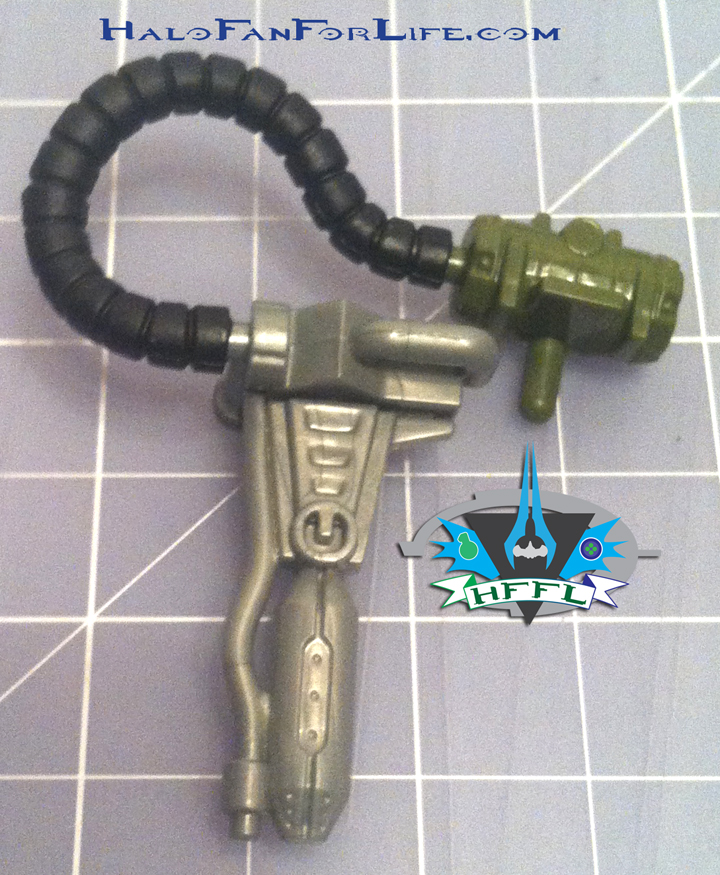
MB Ultimate Combat Pack weapons UNSC 2The flamethrower assembled.

Now we get to the minifigs. First up, the Elites.MB Ultimate Combat Pack minifigs ElitesWhat’s cool about this is now we have Orange Elites to match the Flood infected Orange Elites that came in the Flood Siege set last year. (Which I reviewed right here: https://halofanforlife.com/?p=2531)
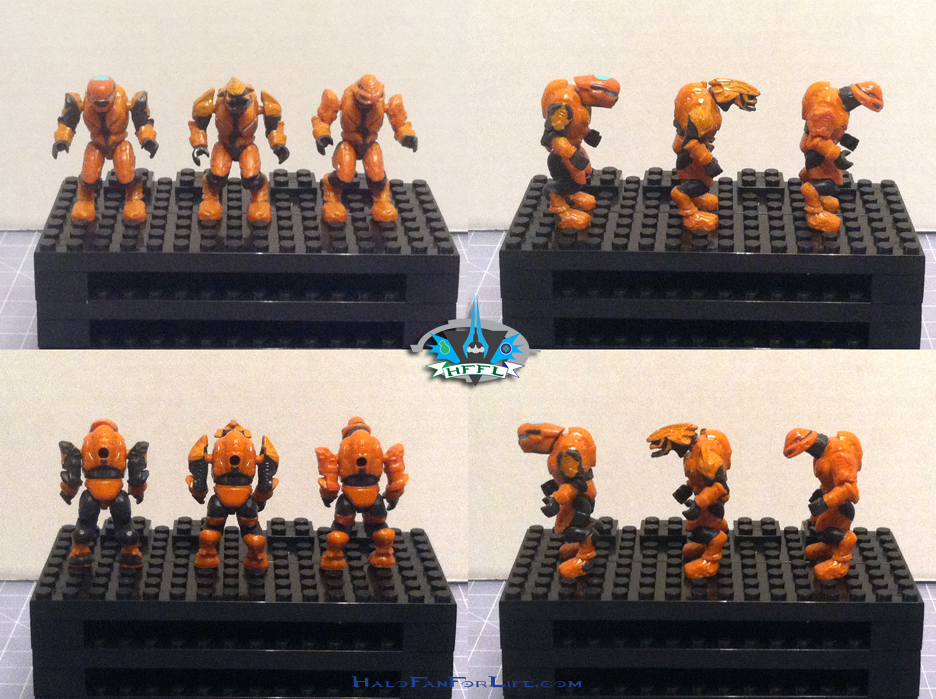
Next we have the grunts.
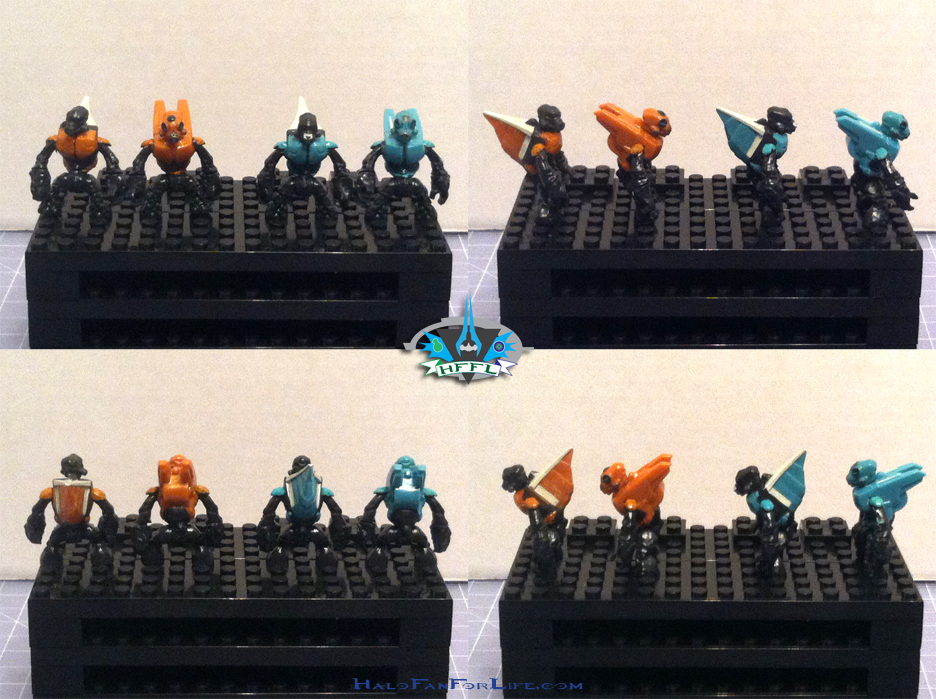
MB Ultimate Combat Pack minifigs Grunts
I love my Grunties! Can’t have enough of those little guys!
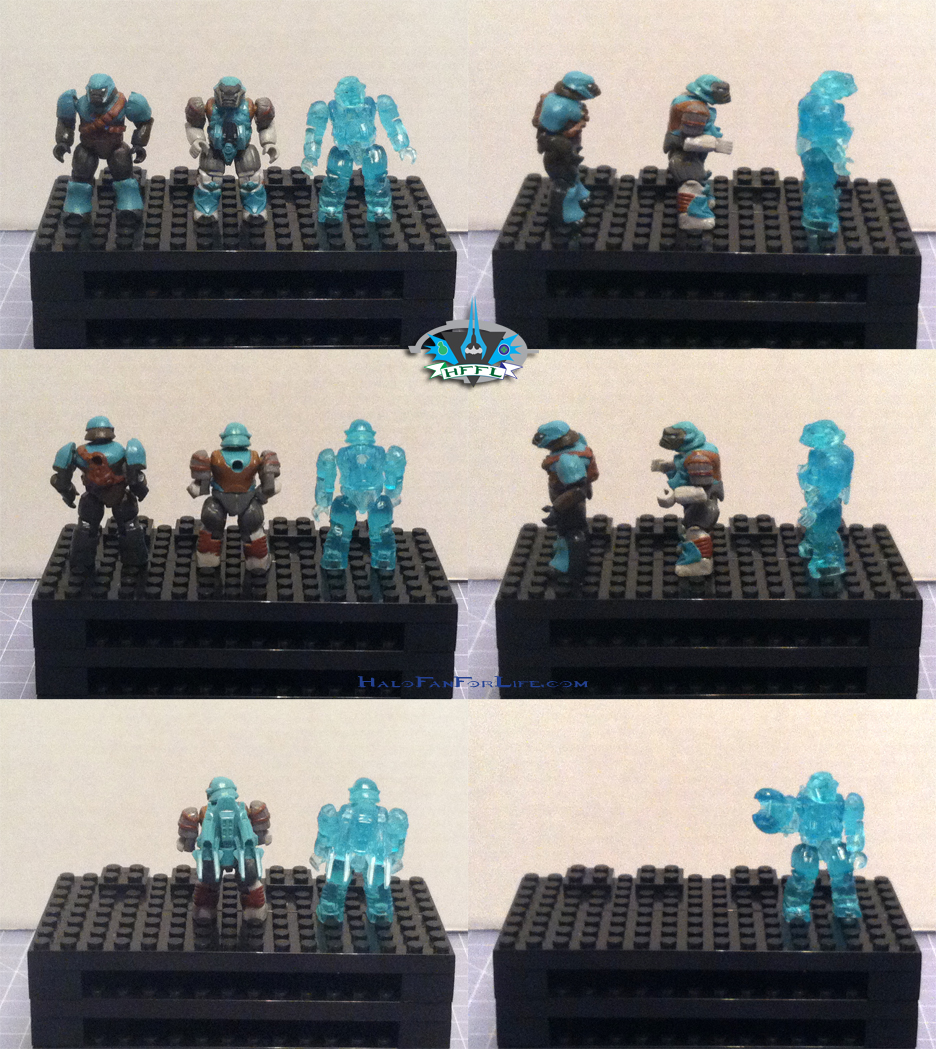
MB Ultimate Combat Pack minifigs BrutesThe Brutes are next. I’m actually digging this cyan color. I didn’t think I would, but out of the box, they look GREAT! And of course, you KNOW I was going to love the translucent Brute regardless!

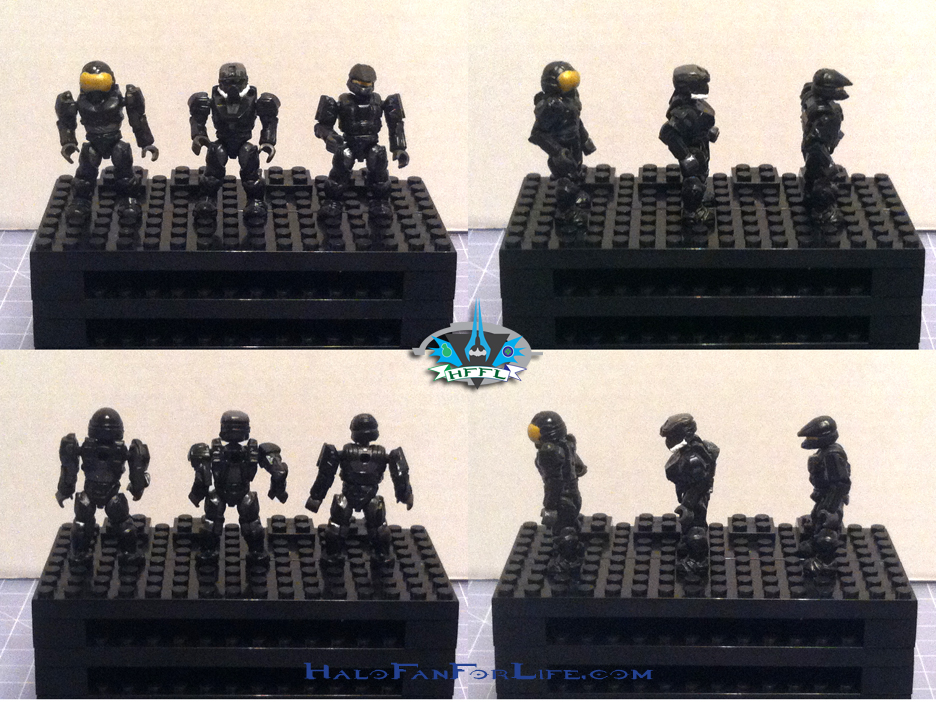
We move on to the UNSC figs.MB Ultimate Combat Pack minifigs Spartans BlackI think Black is one of the best choices for color. They feel so Spec Ops/Special Forces/Seal Team, etc. While I am not a huge fan of the Security helmet, I know there are a lot of Halo Mega Bloks collectors that are. I AM a big EOD fan, so I’m happy to have that one.
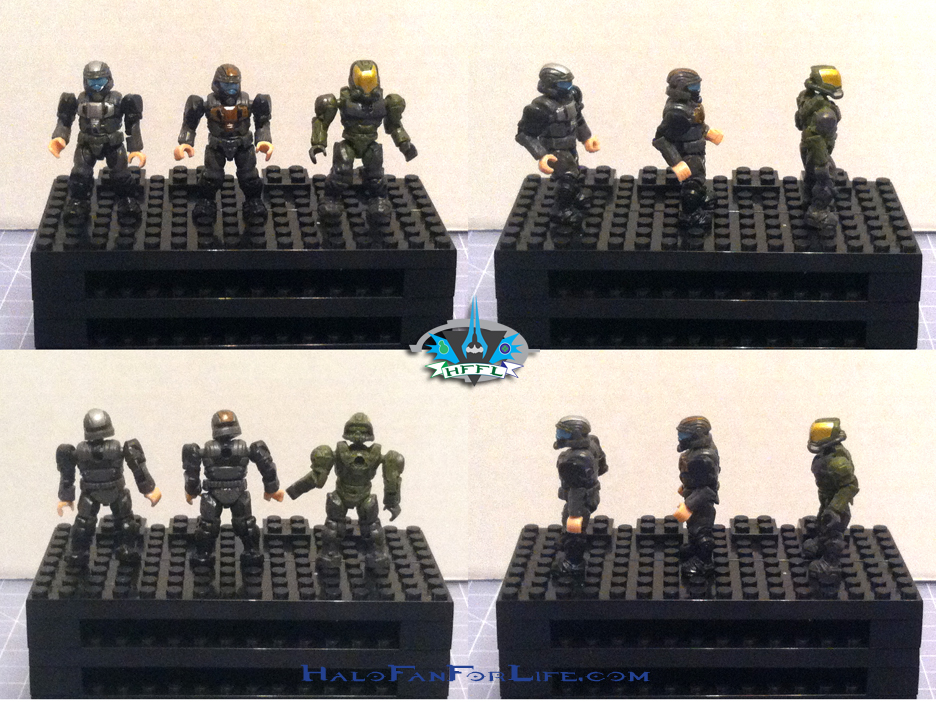
Next up are the ODSTs and Flame Marine.MB Ultimate Combat Pack minifigs ODSTs MarineAs with Grunts, I don’t think you could ever have enough ODSTs. The color highlights for these two are fantastic. Not over the top team colors. Just nice metallic colors that fit well with the uniform. I’m happy that the Flame Marine comes in the green color. My favorite color for these Spartans is the default green. To me, it harkens back to the little green army men of old!
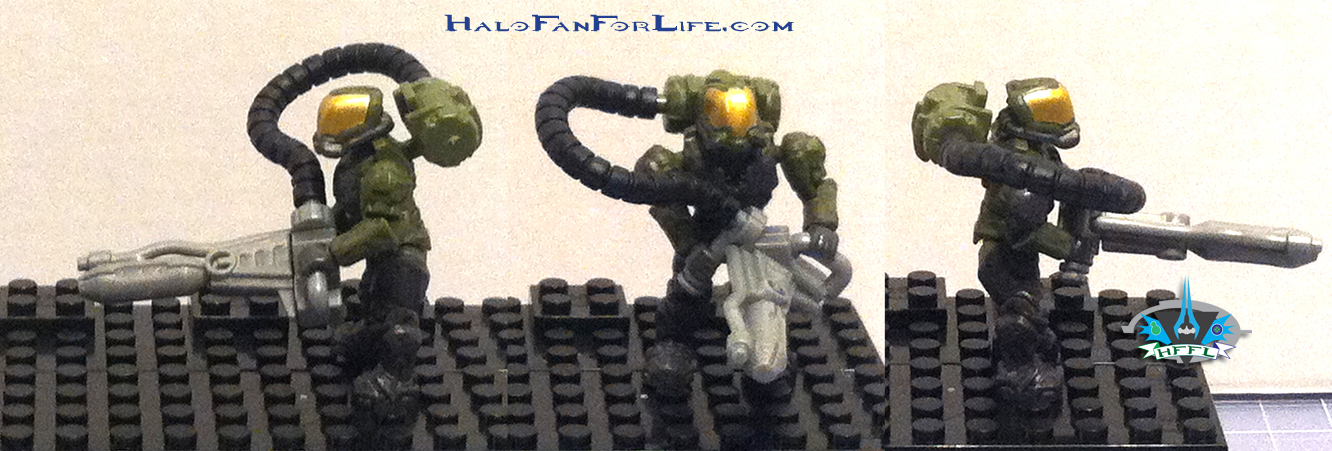
MB Ultimate Combat Pack minifigs Marine 2Some additional views of the Flame Marine, with the backpack on.

Finally we come to the Green Spartans.MB Ultimate Combat Pack minifigs Spartans GreenOkay, ONE guess which one is my favorite….LOL. First, I’m extremely happy to have CQBs. They were my favorite helmet back in Halo 3. I WISH they’d come back to Halo. Hopefully the next game! Recon is always good to have. Like the Security helmet, I’m not a huge fan of the EVA’s helmet. I think it has to do with having such a large visor. It makes me feel like they are less protected, even though they have greater visibility. Note the A/C Green CQB’s visor is painted!
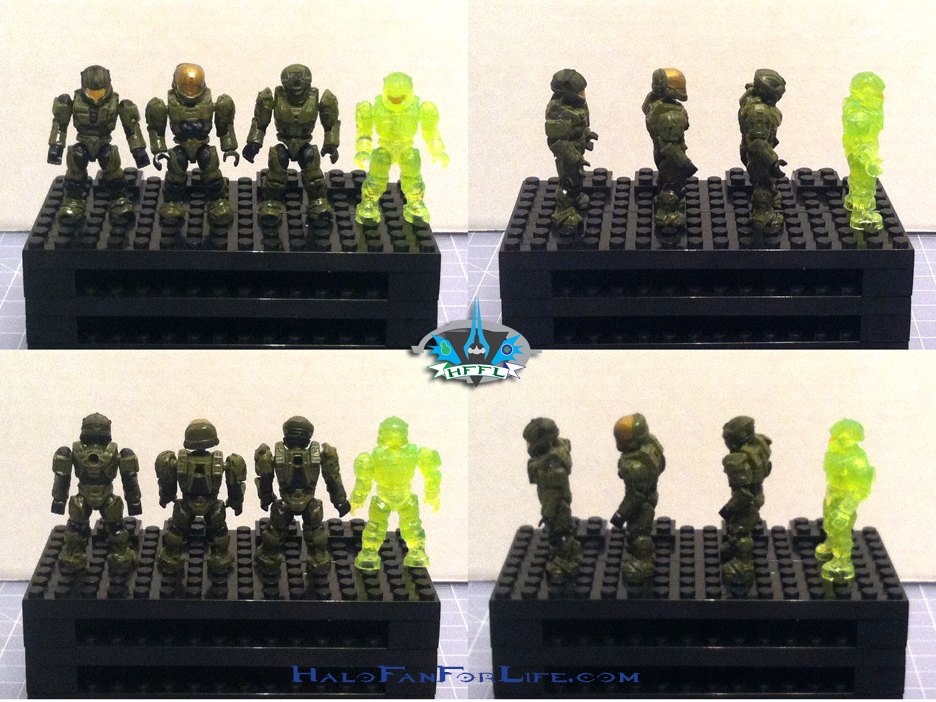
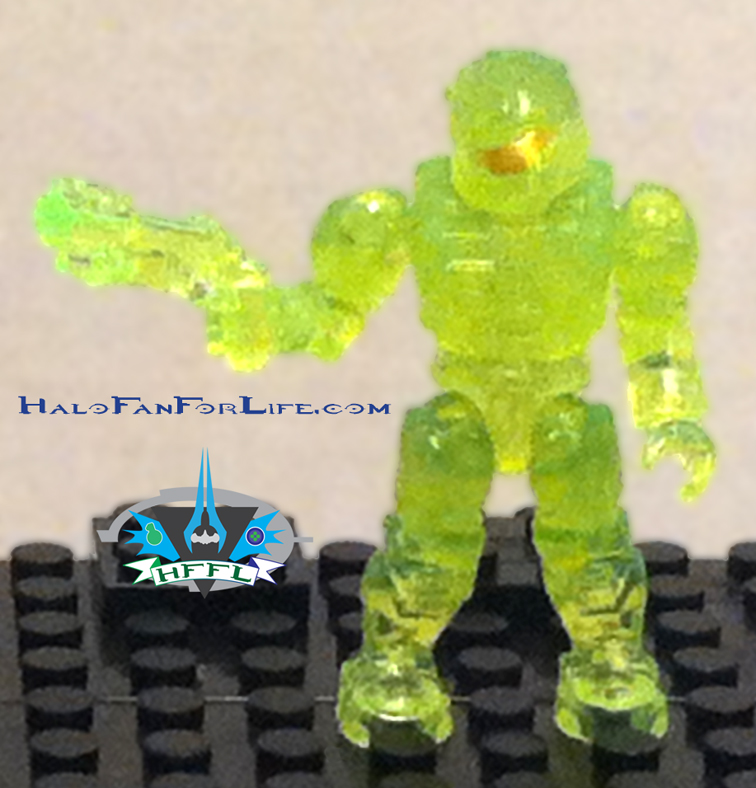
MB Ultimate Combat Pack minifigs Spartans Green 2One more shot of my favorite fig in the set!

And lastly, a battle has indeed sprung up!!!!
MB Ultimate Combat Pack Battle FIN


Summary: No time needed to build this as it’s just the figures, weapons and their stands. The figs came pre-assembled. This is an excellent set. The mix of Covenant and UNSC is good. The further mix of Brutes, Grunts, Elites, ODST, Spartan and the Flame Marine makes this a well diversified set and an instant army!

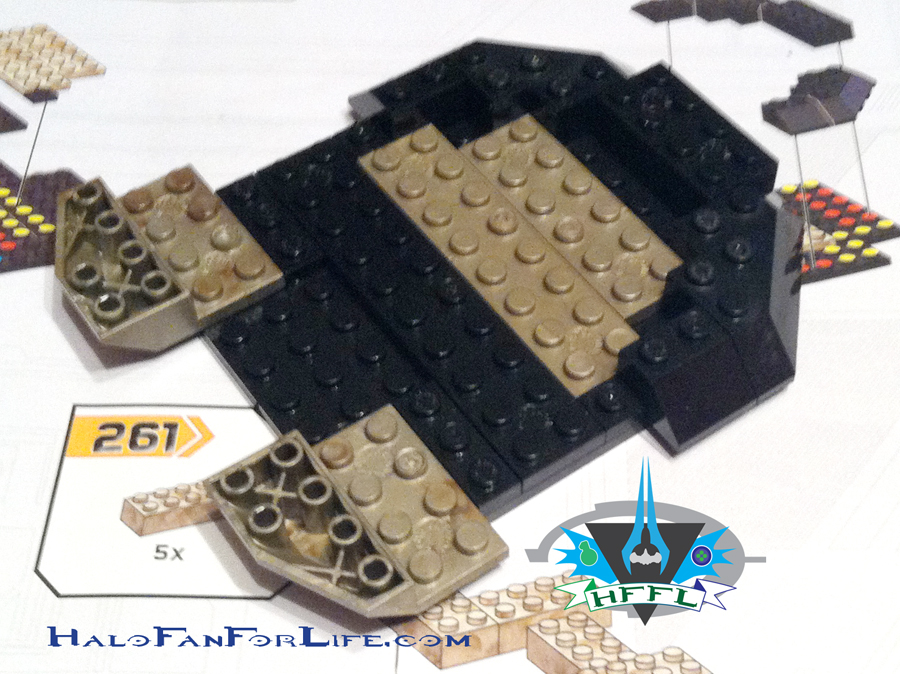
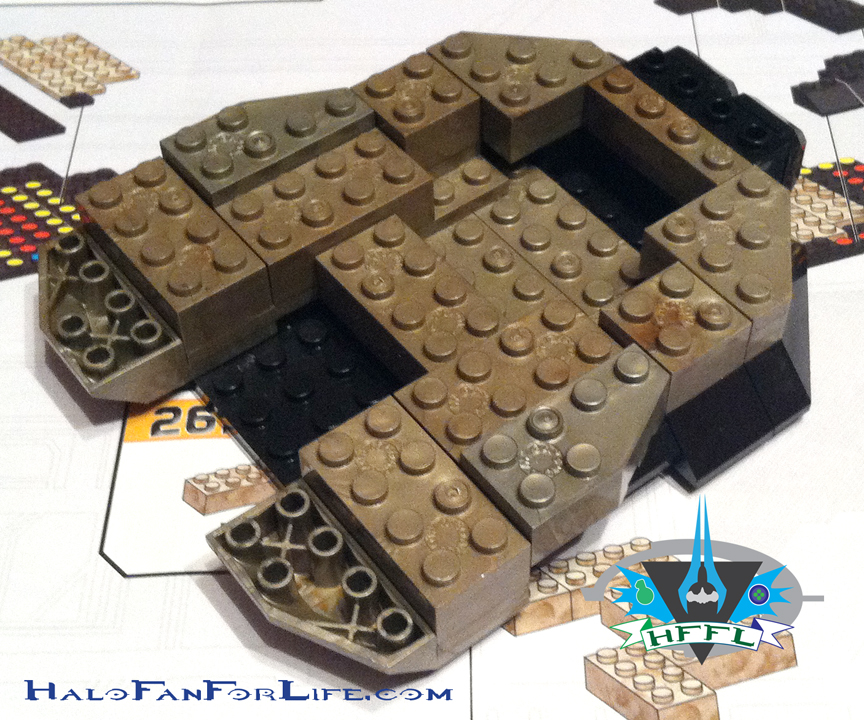
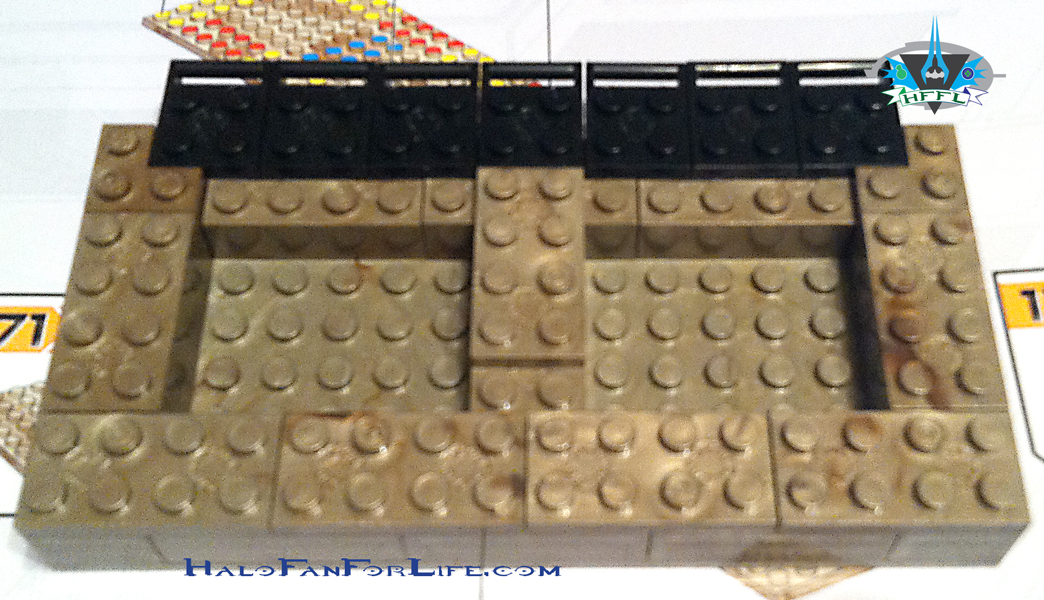
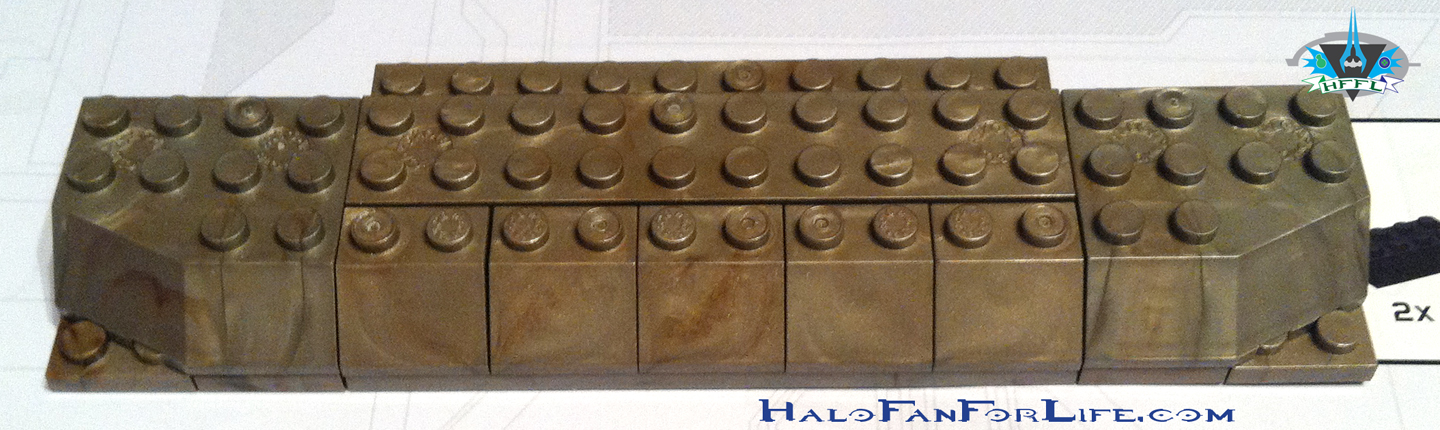
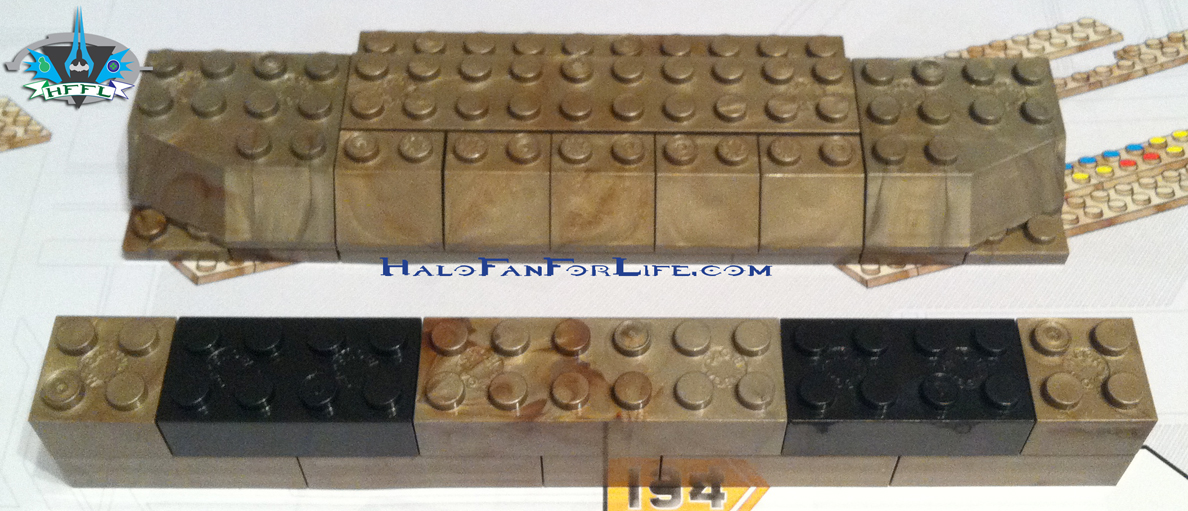
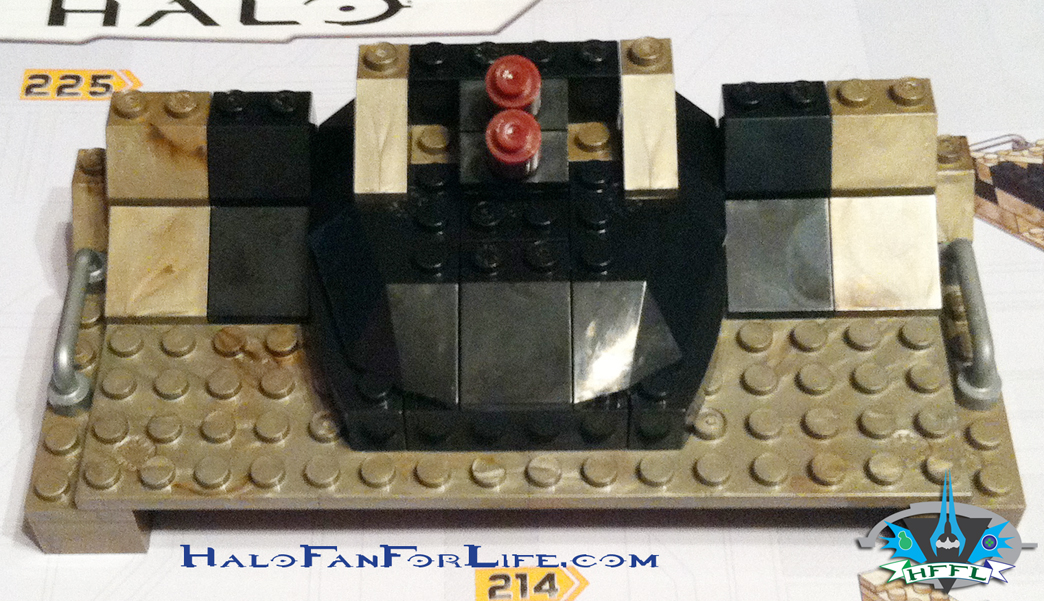
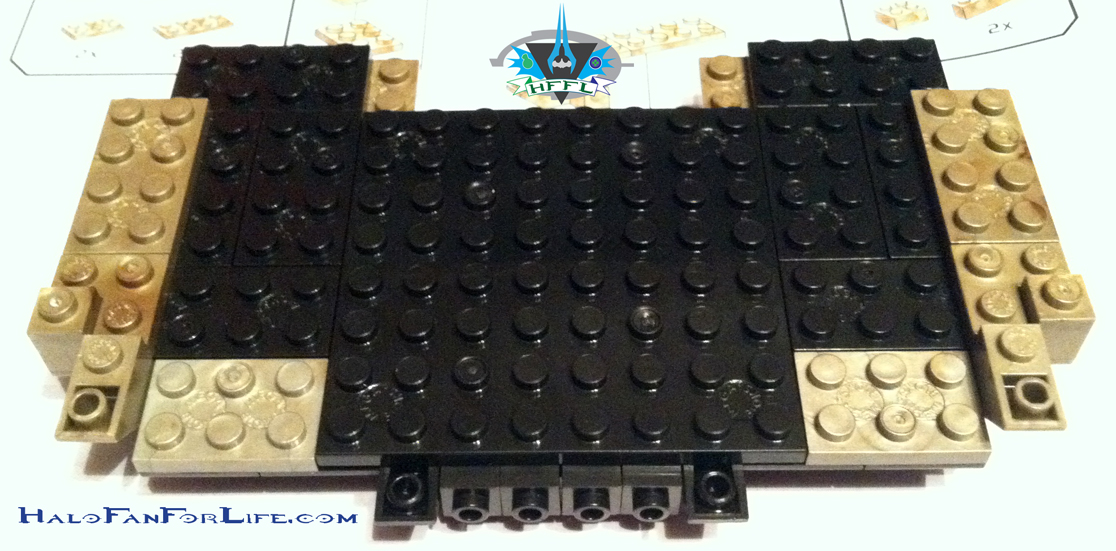
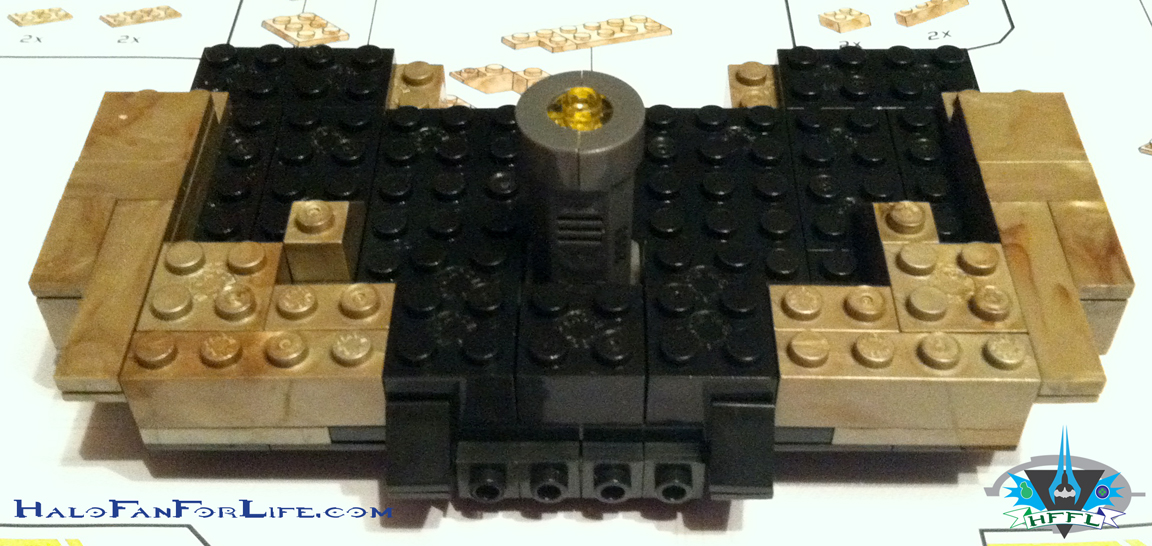
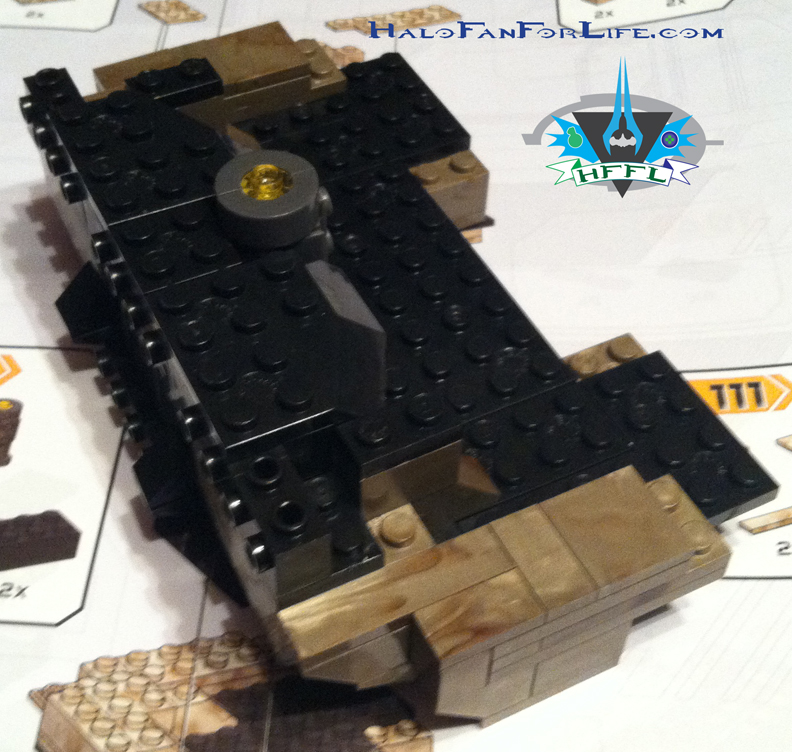
Now you might be wondering why didn’t I make the display stand? I usually don’t. I instead use these black parts for an ongoing project….

Even if you didn’t get it for the sale price, at $50 for 20 minifigs, that still comes to only $2.50 per figure. That’s 50 cents to $1 cheaper than the single packed mystery figures and you know exactly what you’re getting in this set! If you lucked out and did get this for the Black Friday sale, KUDOS to you. I was surprised by my wife with this. She was a bit of a sneak and ordered this online. Ha, if I’d have known that, i wouldn’t have gone shopping for it. Then again, I wouldn’t have been able to help that nice family and save the mom $40 on the two packs she got for her two sons. So I guess it worked out for all anyway.

Overall Rating: I give this set 9.5 out for 10 medals. The only very minor thing was the bland silver weapons. Had they been two-toned, this would have got a perfect 10 from me. Still, it’s TOTALLY worth getting, even at the full price! I’d highly suggest getting this soon if you haven’t already and are on the fence about it. It’s sure to sell out during the holidays and I don’t expect Toys R Us to get a replenishment of them any time soon.

Thanks for reading and let me know what you think of the review. If you have this set yourself, please give me your thoughts on it too!

-Sal
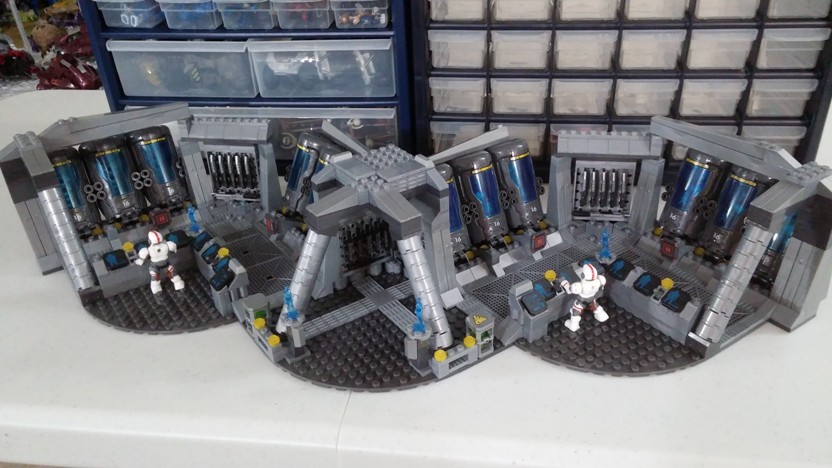
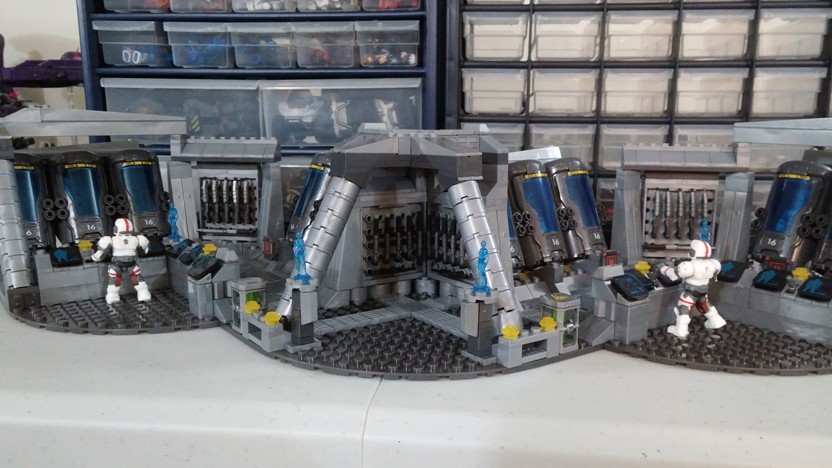
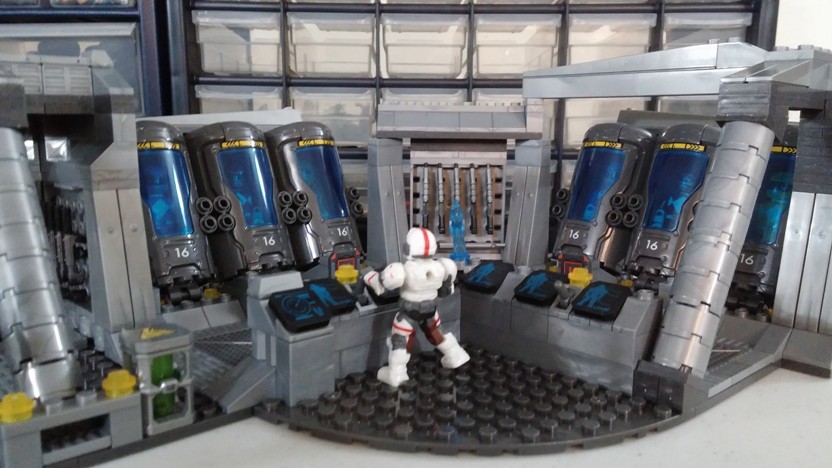
Halo Mega Bloks custom Cryo chamber!

Over the next few days, I’ll be posting some Halo Mega Bloks customs. Since it’s the Holiday season, a time known for toys, I figure why not show off some impressive customs.

This one actually came to light to me just a couple of days ago. It’s made by a fellow Halo Mega Bloks fan, Dielectric. This is his custom build of a full  bay cryo chambers.

Dielectric: I broke my phone last month, and was holding off until I could get a new Blackberry. I eventually decided to get a smartphone, and give up my qwerty. What does this have to do with anything? An 8MP camera, that’s what. I can now take pictures of my customs that have been collecting dust. 😛

First up: a Cryo Bay. I had several concepts before I went ahead and built it. First, it was an exposed two storey affair, but I lacked the bloks to do a decent job filling in the gaps. Next was a boring straight depth design. I went with a diagonal spread in the end, although I still lacked the bloks to fill in all the gaps in the back.

Di Cryo Top view

Built mainly using 12 Cryo Bay sets, along with pieces from Highgrounds, Cauldron Clashes, and an AA Turret.

Di Cryo Horiz view

The concept was to have the bay adjust curves of the ship. The support struts make it feel more like its somewhere in the bowels of the ship, rather than a spacious area.

Di Cryo Close-up

The precious cargo sleeps until they are needed…

HFFL: I have to say this is an AWESOME custom build. It’s amazing what some people can come up with, especially given having enough extra pieces to work with. Look close at the people in the cryo chambers. They are not Spartans…LOL

Does Noble Squad outshine Chief in Reach?

Writer Drew Toal would have you believe so.

I got the link to this article from a fellow Halo fan, “Deino” and felt it needed to be further passed on to other fans.

Here’s the article in it’s entirety:

Noble Squad Article

Whatever their veracity, stories of battles like The Alamo or Thermopylae are more compelling than stories where the good guys run the table with barely a scraped knee to show for their trouble. A small band of fighters facing impossible odds but never flinching in the face of their impending doom inspires in a way that Rambo’s seeming invincibility never could. On the contrary, these never-tell-me-the-odds types meet their maker with a devil-may-care grin and a song on their lips.

In this context, the story of Master Chief—the taciturn protagonist of the Halo series and the future’s genetically enhanced super Rambo—is about as dramatic as watching the Denver Broncos play football against my hometown peewee team, the scrappy yet hypothetically overmatched Absecon Blue Devils. Watching the Chief mow down wave after wave of palpably terrified Grunts is good for a laugh, but the outcome is never in doubt. And while he may not be immortal (this isn’t established, by the way), it’s pretty safe to say that he’s developed an immunity to extraterrestrial small-arms fire. Through four full games, the Chief has wiped out entire civilizations while barely breaking a sweat. Even when he’s presumed dead, you know he’s just biding his time, waiting for the next big-budget sequel and the next horde of bad guys to dispatch with extremely bland prejudice.

The developers at Bungie, the studio that originally developed the Halo series, must have felt some of this malaise, as the last Halo they made didn’t feature the indestructible Chief at all. Released in 2010, Halo: Reach was a prequel of sorts, and it laid the groundwork for all the recycled carnage that would come later. But Reachwas fundamentally different, and not just because it was missing the face of the series.

From the game’s outset, it’s apparent that at least some of your comrades are not getting off the planet Reach alive. The first thing you see is a Spartan helmet with a bullet hole through the visor, half-buried in the muck of Reach’s blasted surface. It’s to be a heroic death, then, with no sequels and no happy ending, the stuff of songs and stories. Whereas the Chief will eventually be sent to a Spartan retirement home where he’ll fight pitched battles over Jell-O cups and the television remote, the heroes of Reach will die as they lived—kicking ass and taking names. Thousands of years on, do we remember Leonidas, or the guy who eventually defeated the Persians?

As the newest member of Noble Team, a group of Spartan soldiers similar to but less implacable than the Chief, you find yourself on Reach in the immediate lead-up to the main series’ galaxy-spanning conflict between humans and non-humans. Whereas Chief is a faceless, violent cipher—you never see his face—each of the characters in your squad has personality and a humanity that feels alien to the series—so much so that it’s hard to square the notion that Noble Team and Chief come from the same unfeeling hero factory.

There’s no doubt that the Master Chief has been programmed to get the job done no matter the cost—that his life has no meaning outside the mission. When he first appears on screen, he’s being ejected from a test tube for that very purpose. The members of Noble are equally invested in seeing things through, but these ferocious killers have a more human side. They clearly care about each other—their interactions feel more like family than co-workers—and they probably have hobbies outside of the oncoming xenocaust. Within the first few minutes of Reach, you learn that your character is replacing a recently deceased Noble member, and not everyone is pumped to bring in the new guy. Your commander has read your heavily redacted file. “We’re a team,” he tells you. “That lone wolf stuff stays behind.” Clearly, the “army of one” tactics of the Chief wouldn’t fit in too well with this group.

It turns out they really do need one another, because Noble Team is much less bullet-resistant than the lumbering Spartan man-monster we’re used to. As you fight your way across Reach and the scale of the invasion is slowly revealed, your comrades are whittled down. On a covert mission to take out a giant alien battleship, not everything goes according to plan. Somebody has to stay behind and manually set off the weapon that will destroy this space-invader leviathan. As the newest member of Noble team, that duty doesn’t fall to you. Your character will live to fight another day—or at least a few more hours. The same can’t be said for your buddy Jorge, who with his last breath sends those alien bastards straight to alien hell. He’s the first to die but certainly not the last, or even the one who suffers the most heroic death. When they made these Spartans, they must have spawned them from a DNA cocktail made from the genes of Audie Murphy, a lion, and Bruce Willis from Armageddon.

Only one member of Noble doesn’t get to choose how she dies. In one of the game’s more sudden and unexpected moments, the team’s single female member falls to a sniper’s bullet mid-sentence. Just like that, she’s gone. The moment is profound for a number of reasons besides the sad piano music. There’s nothing you can do about it. It’s an act of God, pure and simple. These games, the first-person shoot-for-all variety, almost always put you behind the scope of a far-off sniper rifle at some point and ask you to pick off helpless victims—soldiers, aliens, or civilians of a irreconcilable ideological bent—from a hidden perch. These are moments of extreme empowerment. The lives of distant targets are yours to extinguish with the mere pull of a trigger, and they are completely unaware. To suffer on the other end of that transaction is jarring. Your buddy’s death feels ignoble, and the means of her demise feel dishonorable. In that moment, these super-soldiers know what it’s like to be powerless. She’ll be the only one to endure such a fate.

As the game ends, the remaining members of Noble Team escort a group of scientists and important artifacts to an escape ship. But somebody has to stay behind and keep the aliens off their back in a desperate rearguard action. Noble Team fights valiantly as they’re swallowed up by waves of attackers. Your squad’s commander, riddled with bullets, crashes a ship into an alien craft to buy you time. Another gets a plasma sword through his back as he mans a gun to cover the escape of the Pillar Of Autumn’s, the ship from the original game that carries a still-hibernating Master Chief. (In Reach’s final scenes, there’s a split-second where you can see Master Chief in his cryogenic sleep chamber, right before he awakens to the events of the first Halo game.) It raises the question: You guys couldn’t have woken him up for this fight? Does he need his beauty rest?

Apparently not, and Master Chief’s absence neatly encapsulates the divide betweenReach and Halo proper. Master Chief is a product of science, a thing to be preserved at all costs. Your character in Reach has other plans. When presented the opportunity to escape, your fighter chooses instead to delay the enemy, thus allowing the survivors to slip away. Before the ship lifts off, the Admiral tells you that Noble Team’s sacrifice won’t be forgotten. He’s right. While the Chief is busy getting his 40 winks, the soldiers of Reach calmly stare down oblivion and fashion a legend, making their brief existence all the more memorable.

HFFL: Okay, so what do you think. The writer gives a compelling argument. Yes, I know nothing will ever truly replace Chief. Most of Noble do die a heroic deaths, but is that enough to say they outshine Chief?

Jorge’s death bothered me. He was my favorite of Noble and a fellow Spartan II like Chief. He made a call and did die very heroically.
Kat’s death was ridiculous. One snipe through the helmet?
Carter’s death seemed a little needless. Somehow he was riddled with bullets, yet I know we didn’t see that.
Emile’s death was a bit cocky, as he was. He didn’t have a choice though as he was snuck up on. Honorable, but didn’t outshine Chief.
Jun got away….
and finally Noble Six. Did he really need to stay on Reach? No, I think he could have gone with Keyes. That would of course changed the story. He did die honorably, but again, I do not think he is better than Chief.

Let me hear/see/read your opinion on this. Hit that reply link and give me your thoughts on this.
-Sal
Source Link

Halo Toy Review: Mega Bloks UNSC Mammoth; Part 4 Weapons, Wheels, Minifigs and more!

Ah, here we are at the final part of the four part review of the Mega Bloks UNSC Mammoth. It’s be so much fun so far. This last part brings it all together!

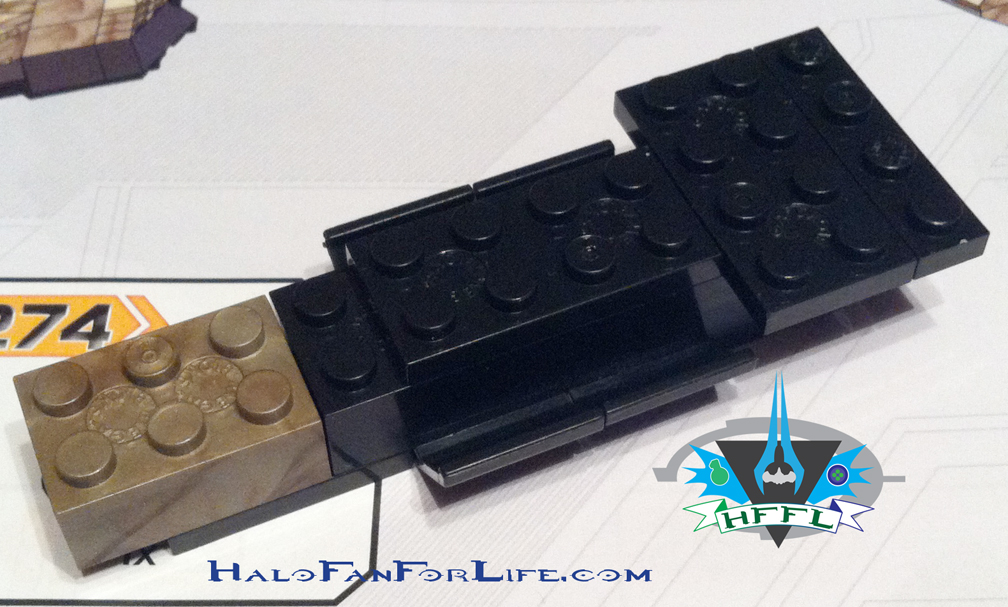
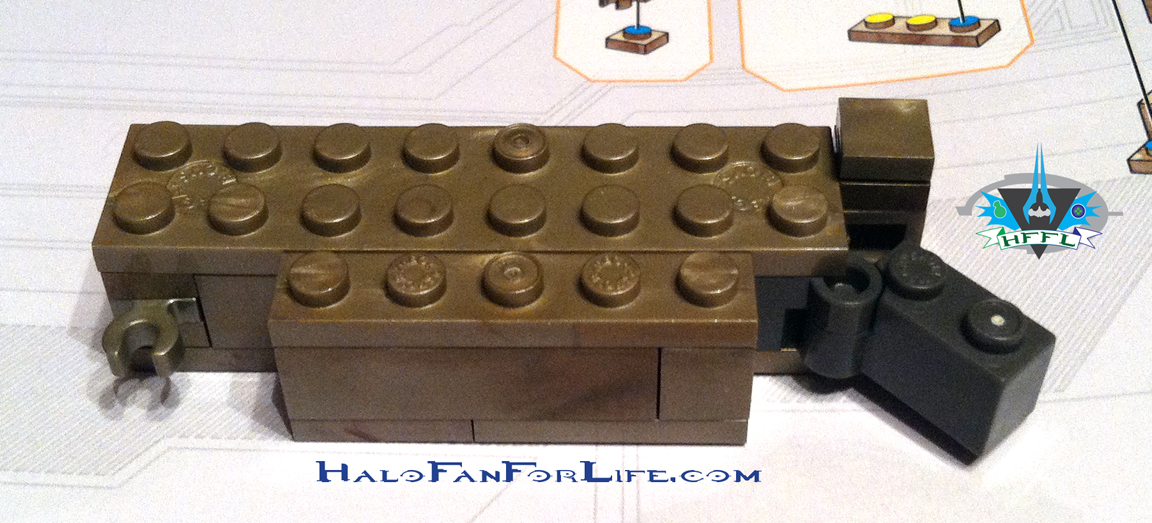
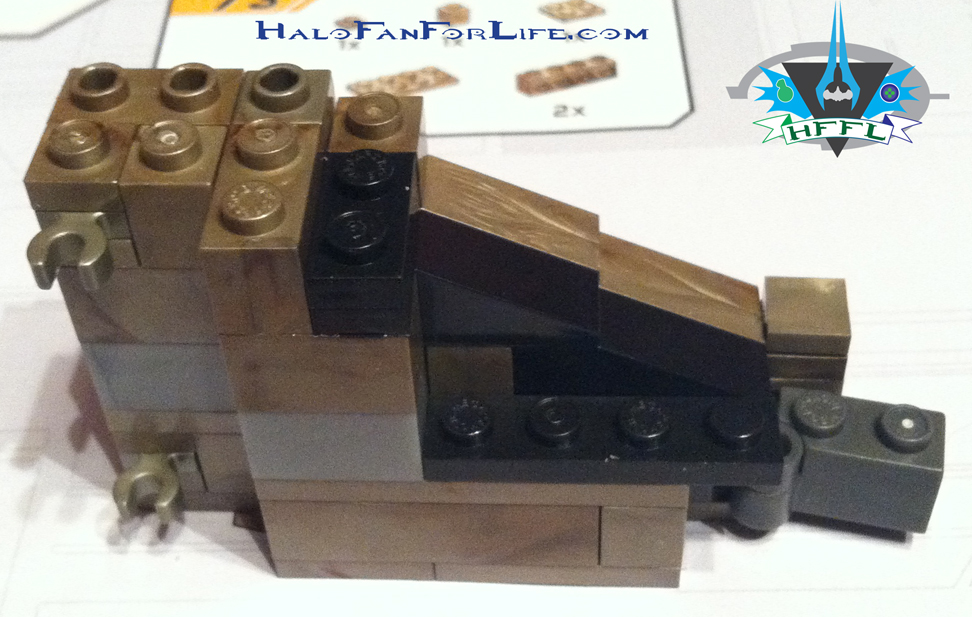
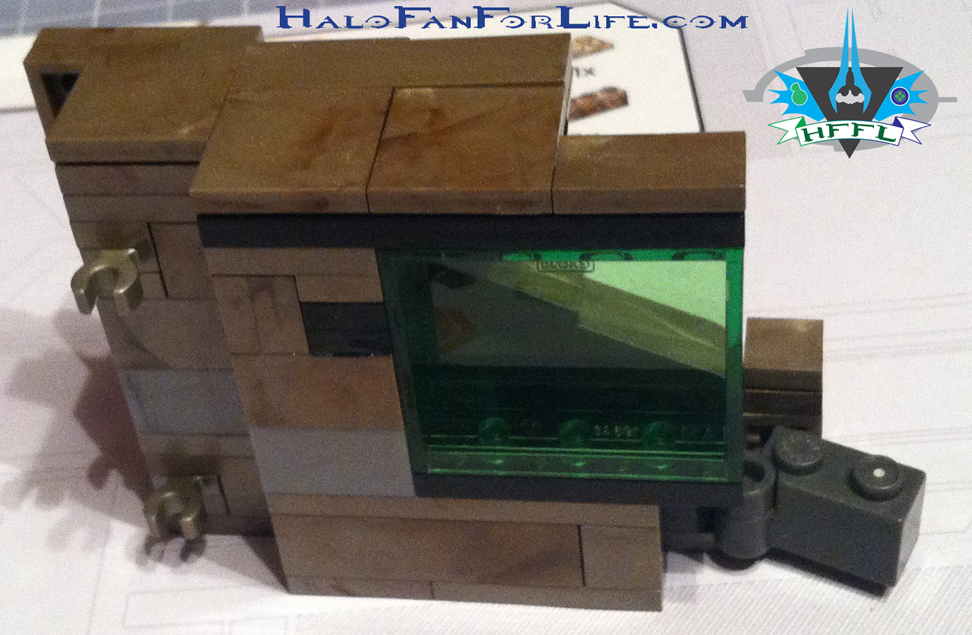
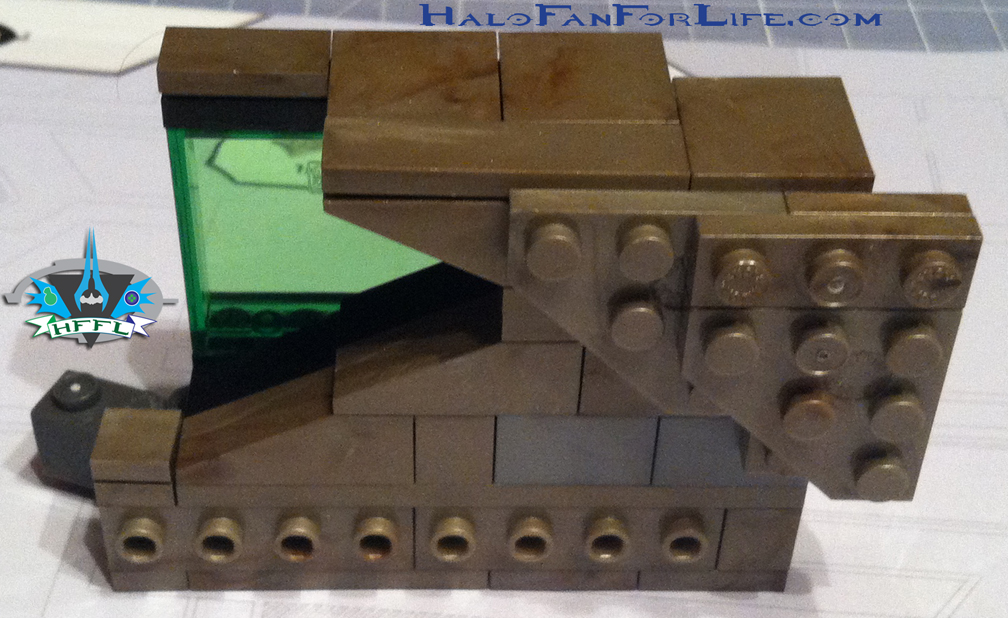
The next stage in the build is the Mini-Mac turret on the top rear of the Mammoth.
MB Mammoth Mini Mac
MB Mammoth Mini Mac 2
MB Mammoth Mini Mac 3
MB Mammoth Mini Mac 4
MB Mammoth Mini Mac 5
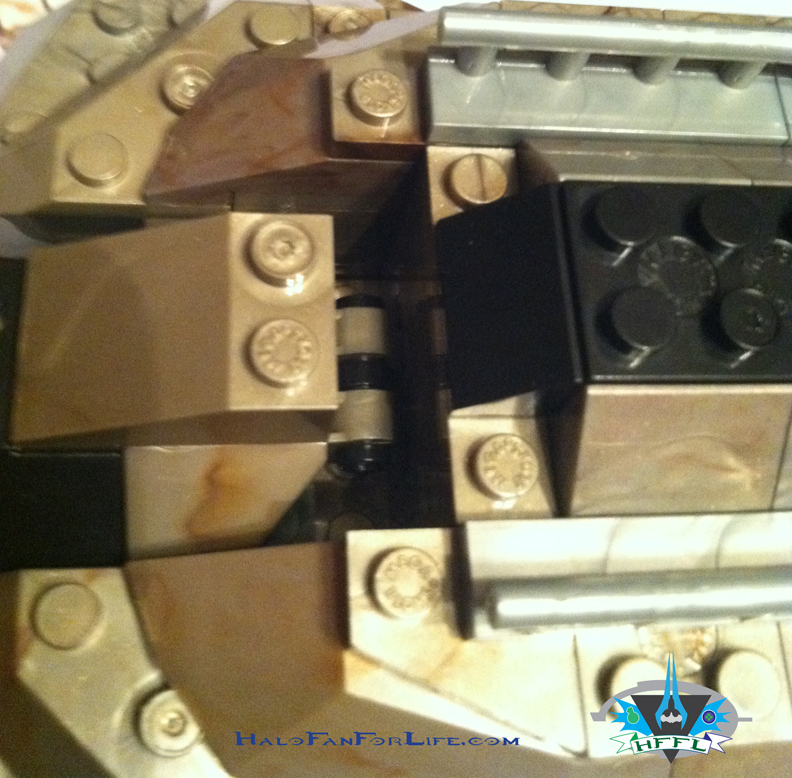
MB Mammoth Mini Mac 6 underside
The above pic shows where the turret will attach to the Mammoth.

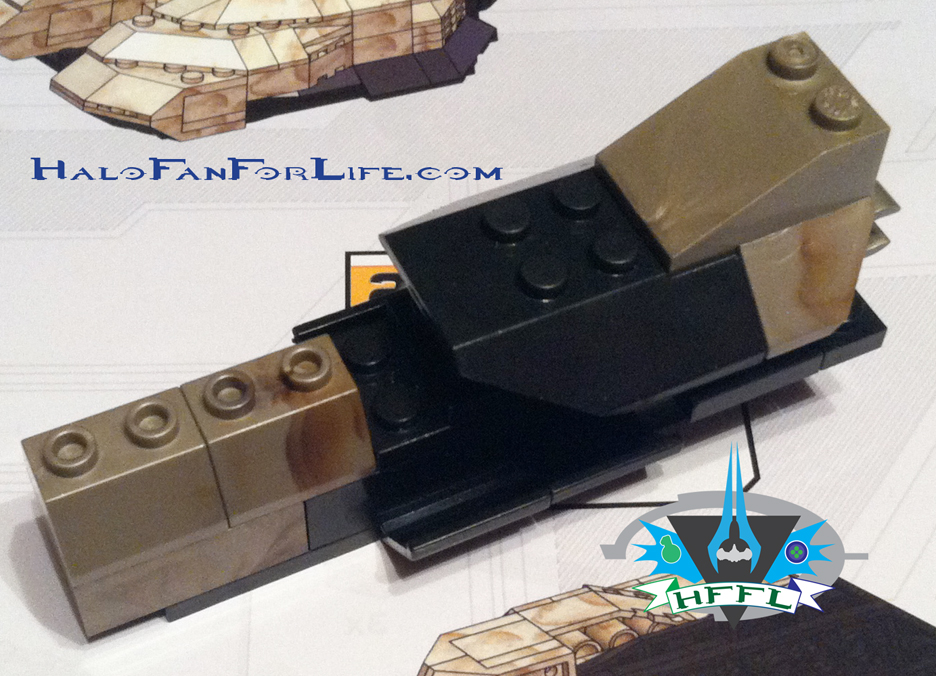
Next up is the cannon portion of the turret.
MB Mammoth Mini Mac 7 cannon
MB Mammoth Mini Mac 8 cannon
MB Mammoth Mini Mac 9 cannon attachment
MB Mammoth Mini Mac 10 cannon attachment
MB Mammoth Mini Mac 11 cannon attachment

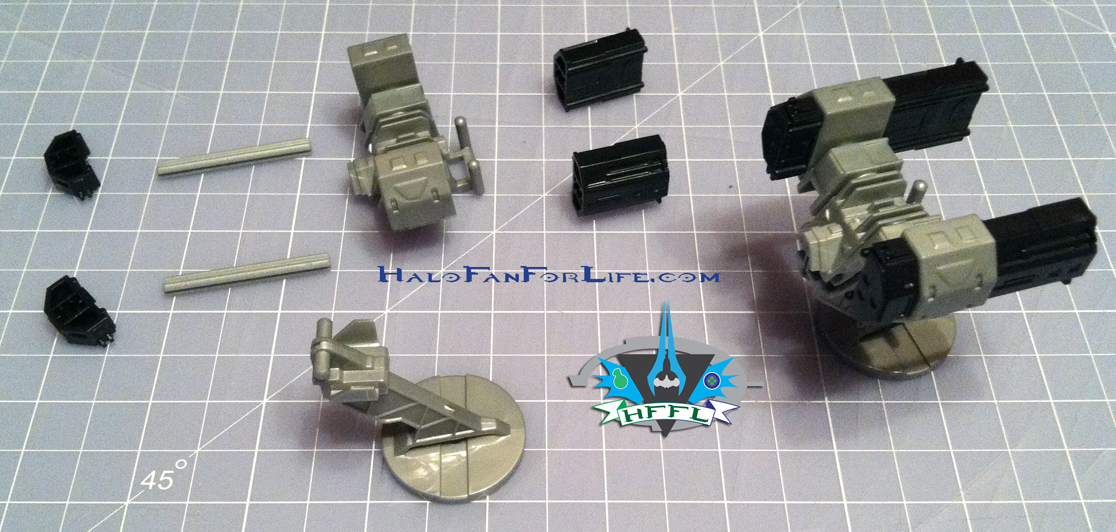
Next are the two Rocket Launchers. I’ve shown one in parts and one completed. This is the same Rocket Launcher design that comes with the Rocket Launcher Warthog, other than the color.
MB Mammoth Rocket Launchers

MB Mammoth Rockets and Mini-Mac
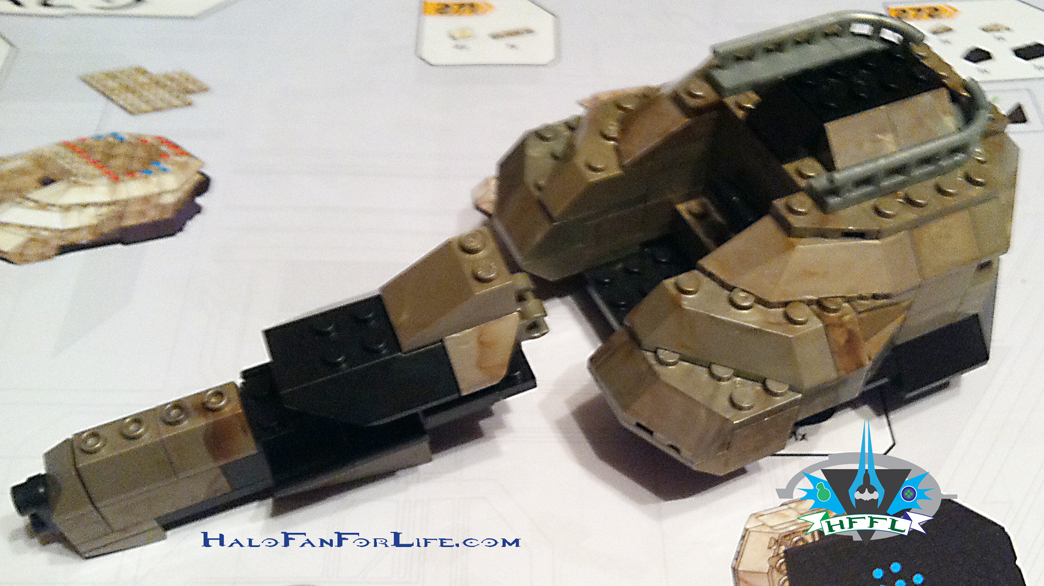
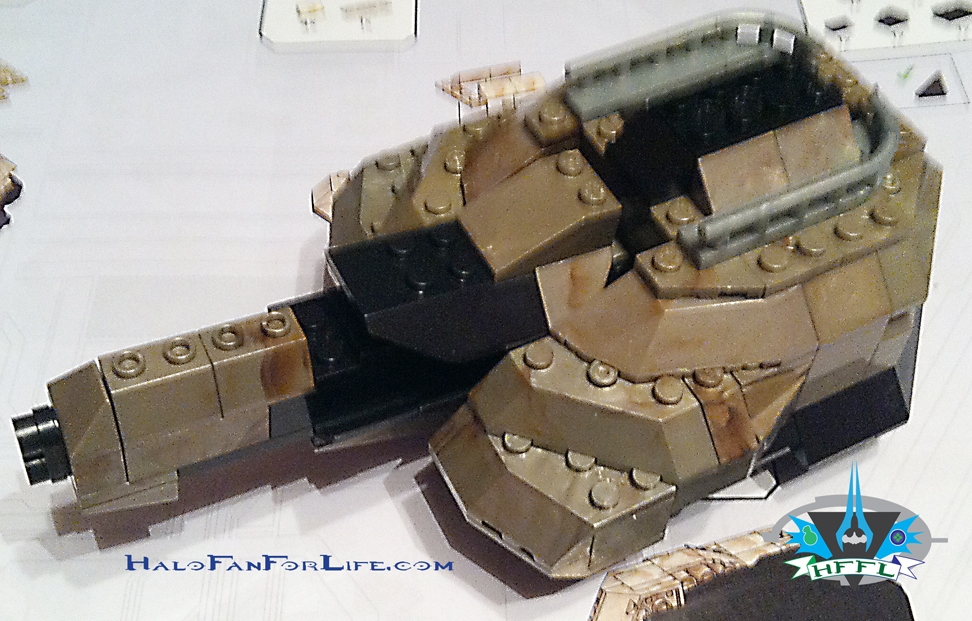
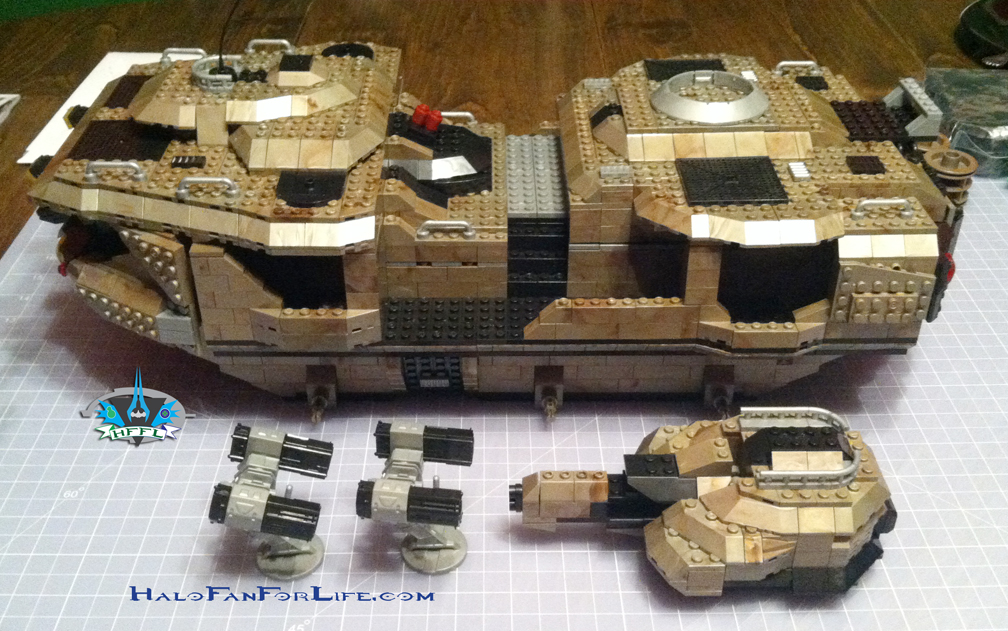
MB Mammoth Rockets and Mini-Mac PROGRESSThat turret really added some bulk to the top of the Mammoth! It’s almost done now. It just needs some mobility…. 

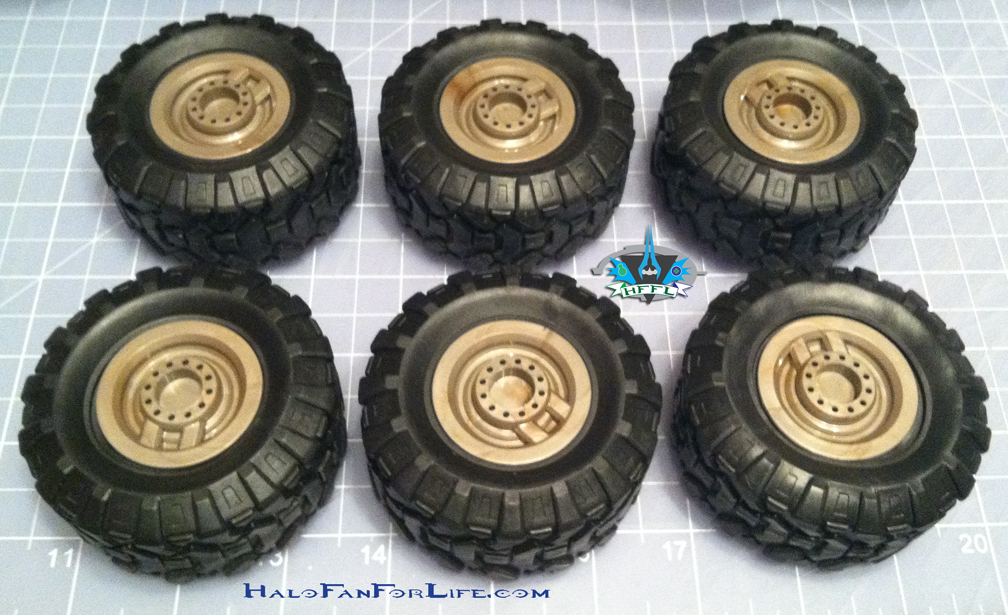
MB Mammoth WheelsThe wheels are the same as the ones with the Anniversary Warthog, except the hubcaps are of the Mammoth design.
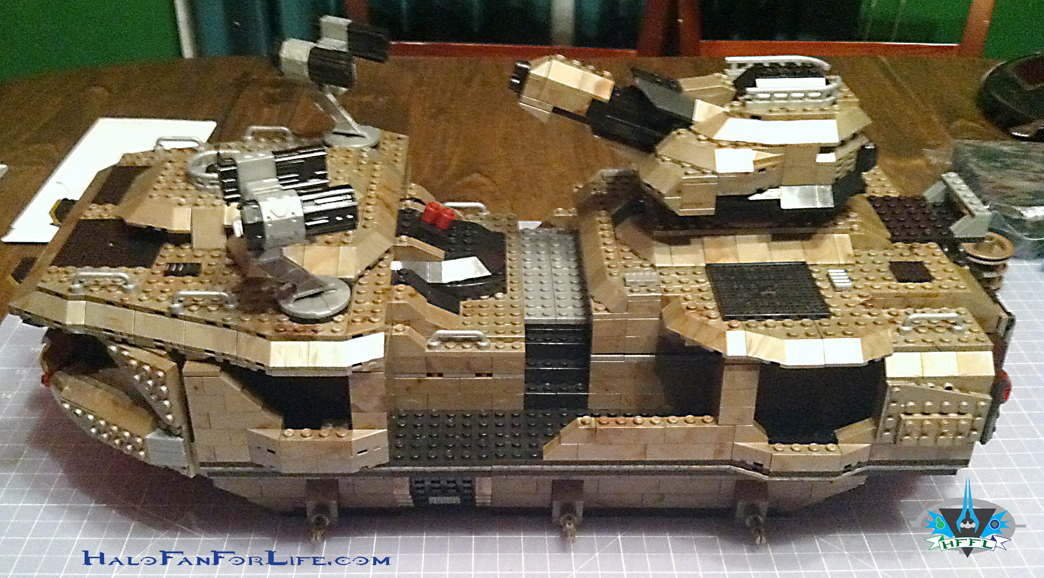
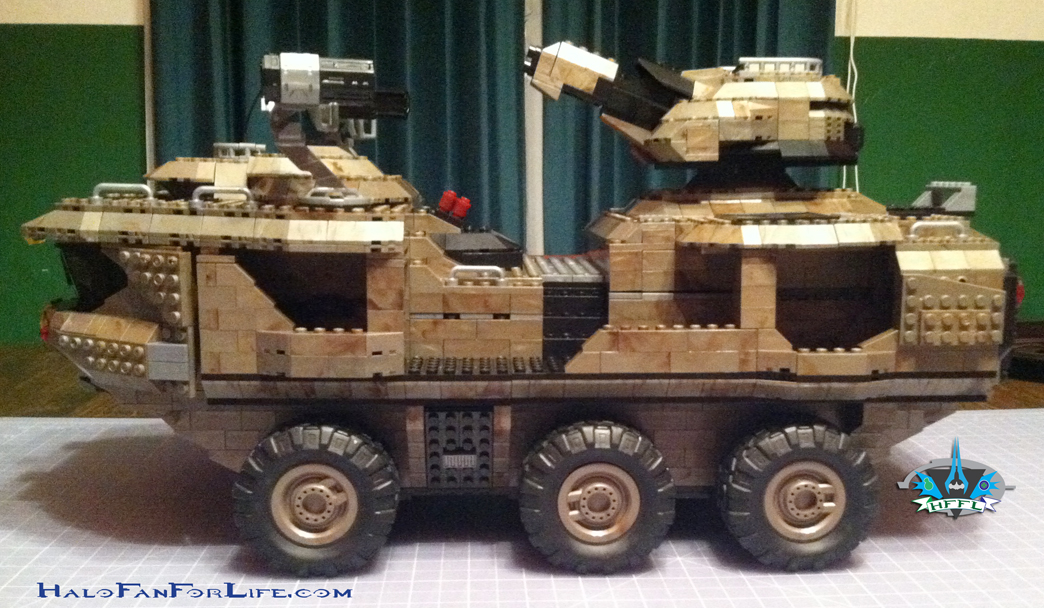
MB Mammoth Ortho Side
Here it is!!! A BEAUTY!!! It’s MASSIVE. Mammoth you might say…
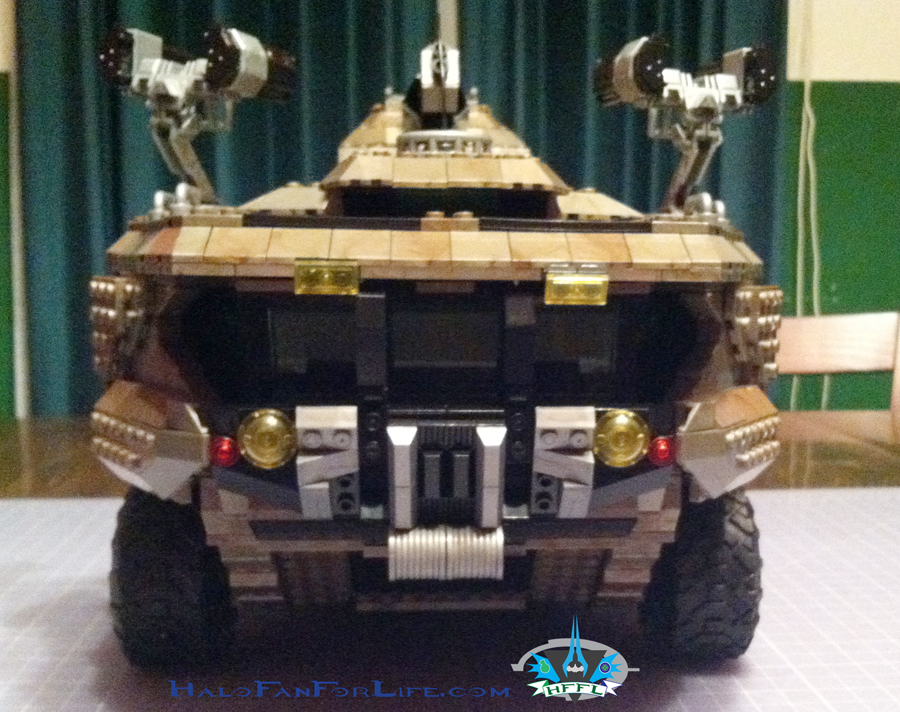
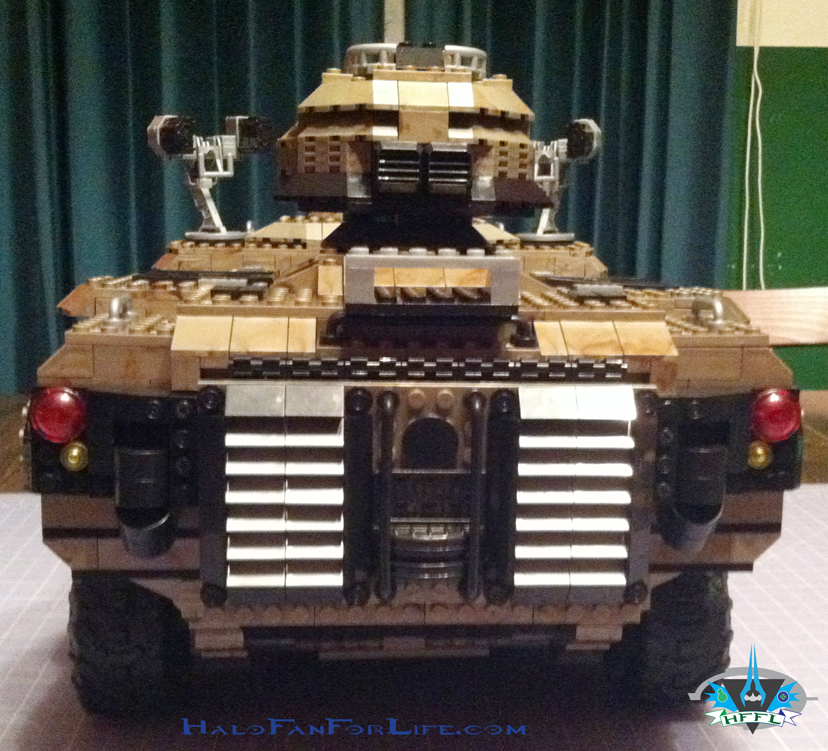
MB Mammoth Ortho Front
The front view finished. Wow, that command deck looks sweet. The tires add just a little bit of height, but they really do help to complete the model.
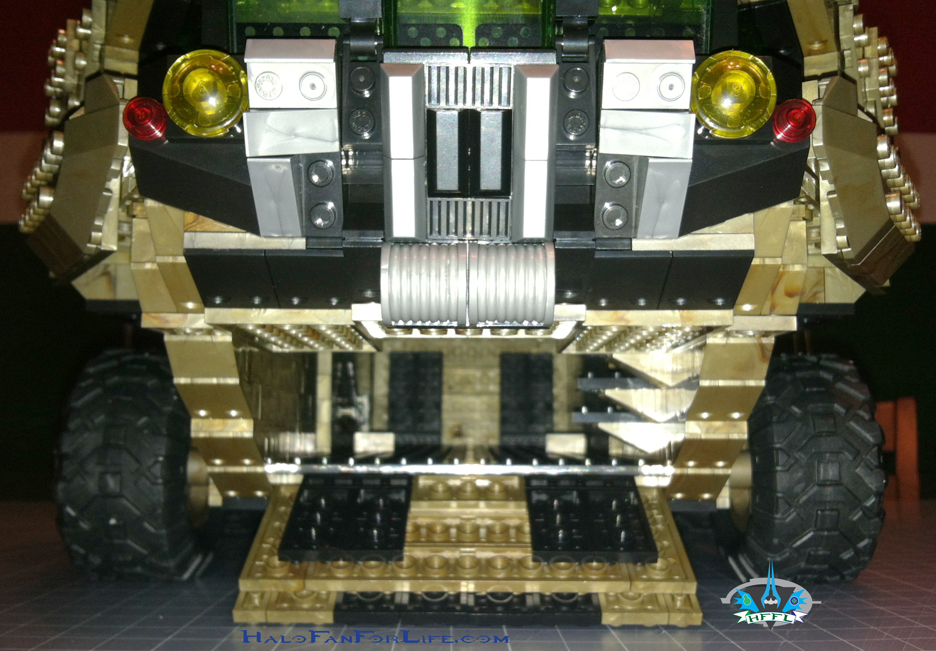
MB Mammoth Front ramp
This would be the grounds eye view of the Mammoth if you were a minifig. You can see from this perspective how long the inside is. Also note the steps to the right of the pic inside the Mammoth.
MB Mammoth Ortho Back
The back view. With everything complete the rear of the Mammoth looks powerful! I believe those are heat vents from the Mini-Mac.
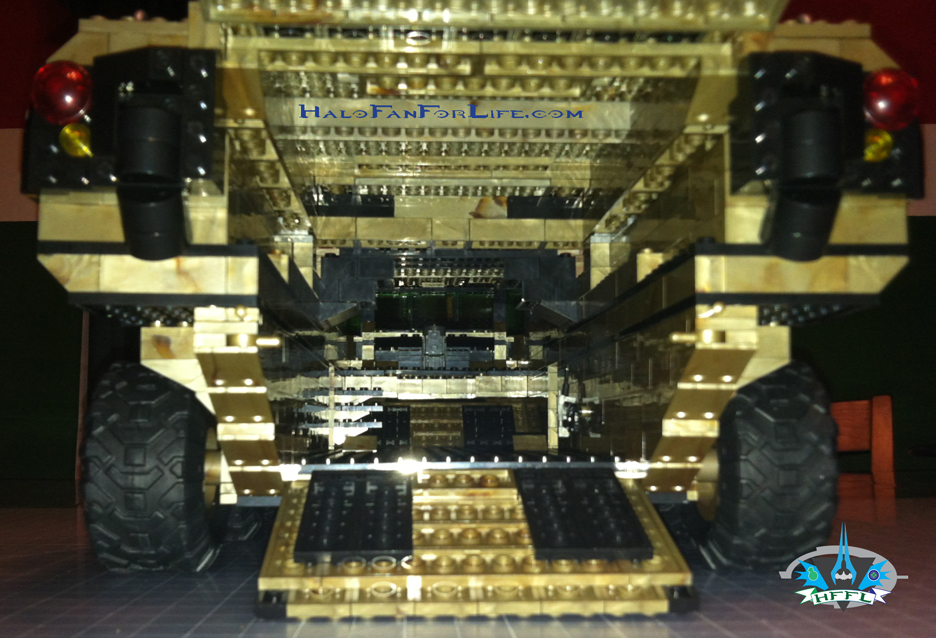
MB Mammoth Back ramp
The is the shot from the back with both the ramp and the upper flap opened. Just look at how cavernous the inside looks from this perspective! Again you can see the steps, now on the left. And the Command Deck farrrr away.

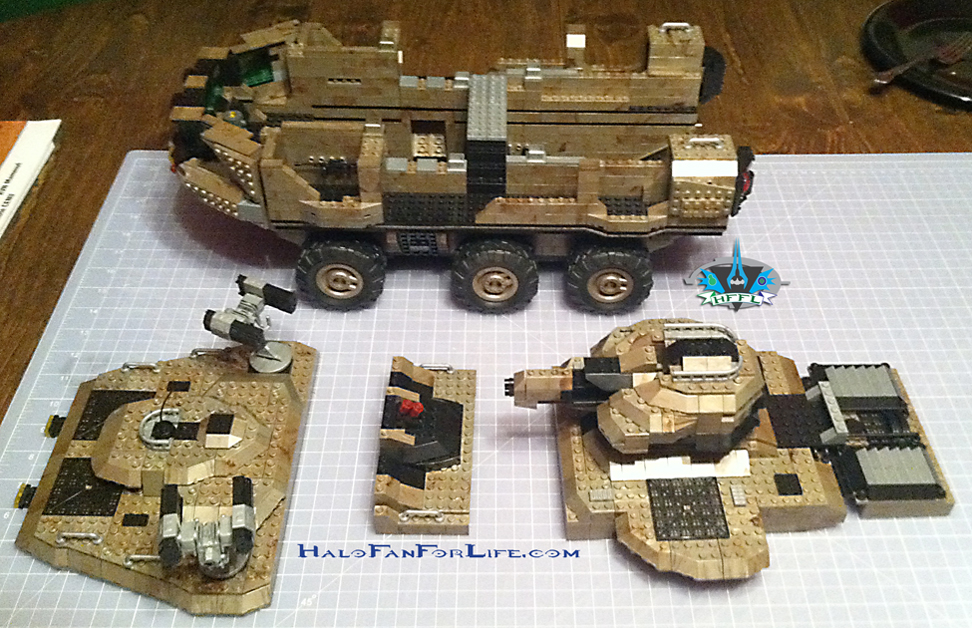
MB Mammoth Roof panels offThe pic shows the Mammoth with all three of the roof panels set aside. As I mentioned in one of the previous parts of this review, this set is MUCH more than a vehicle. It’s a WHOLE playset!

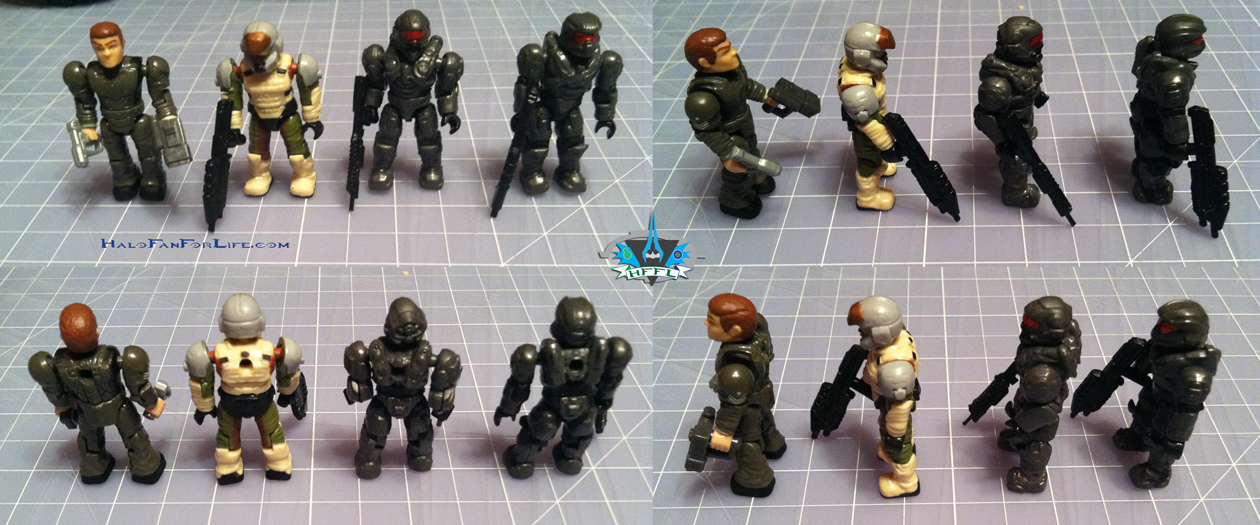
MB Mammoth MinifigsHere are the minifigs. From left to right: Commander Lasky, UNSC Marine (w/brown skin), Spartan Operator, Spartan Recruit. I had thought the two Spartans were going to be part of Fireteam Majestic. Unfortunately the armor color is dark grey and the visors are red. So clearly these are not Majestic. Sadface…. Then again, I can understand why MEGA wouldn’t want to do that. Imagine if you HAD to purchase this just to complete Majestic. That might irk some consumers. So I’m cool with it. Though, that Lasky figure is a huge draw too. Hopefully, he’ll be released in a future set.

Here’s the finished set with minifigs in place.
MB Mammoth FIN

And finally for pics we come to the leftover parts.
MB Mammoth Leftovers
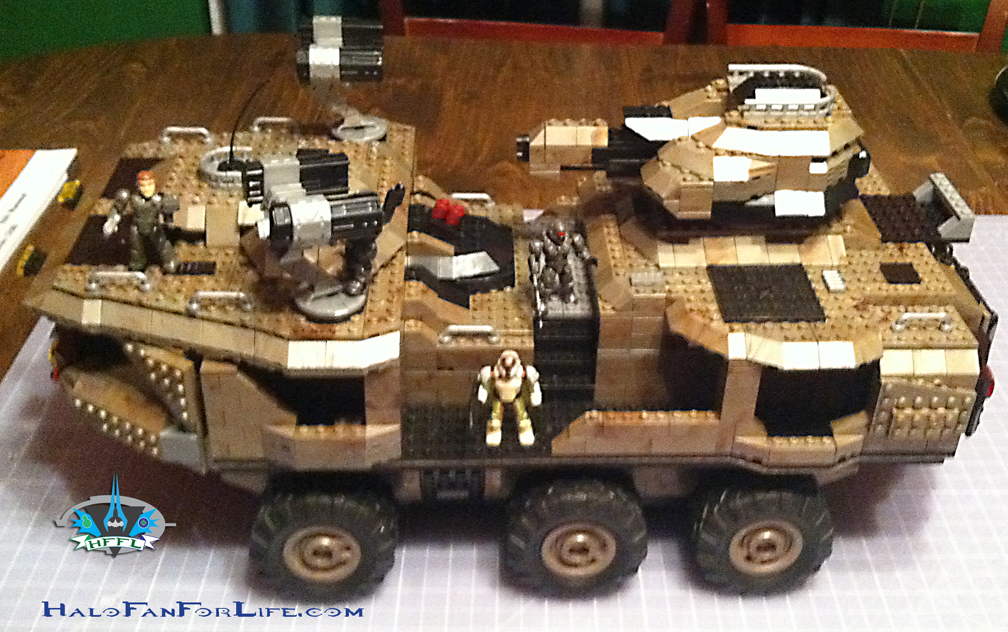
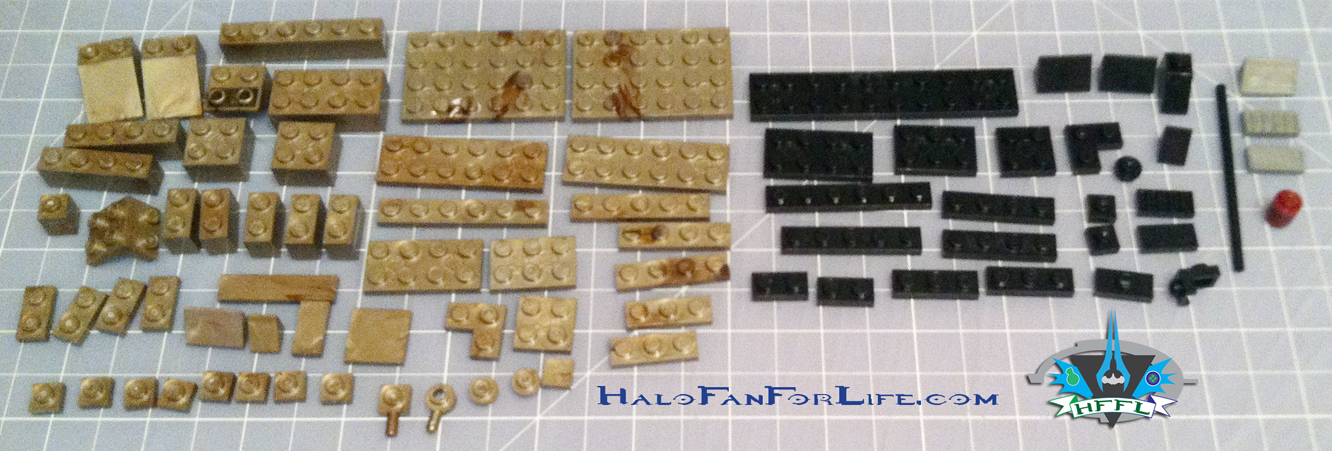
As you can see there are PLENTY of part left over. Hmm, so what can I make with those???

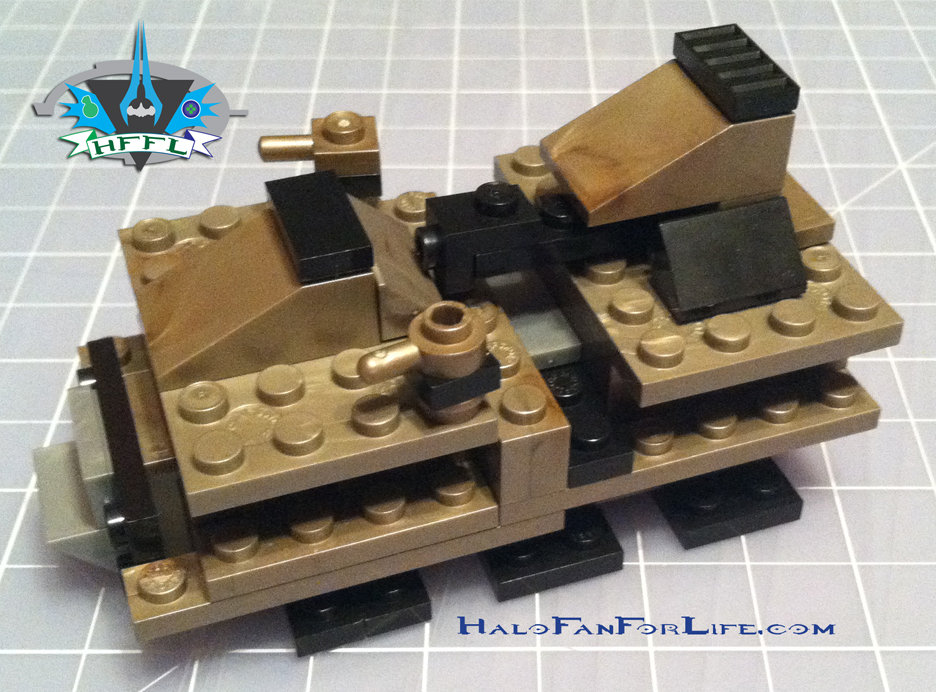
MB Mammoth Mini-MammothWhy a Mini-Mammoth of course! (Well, as close as I could get to one with the parts left over.)
MB Mammoth Leftovers UNUSED
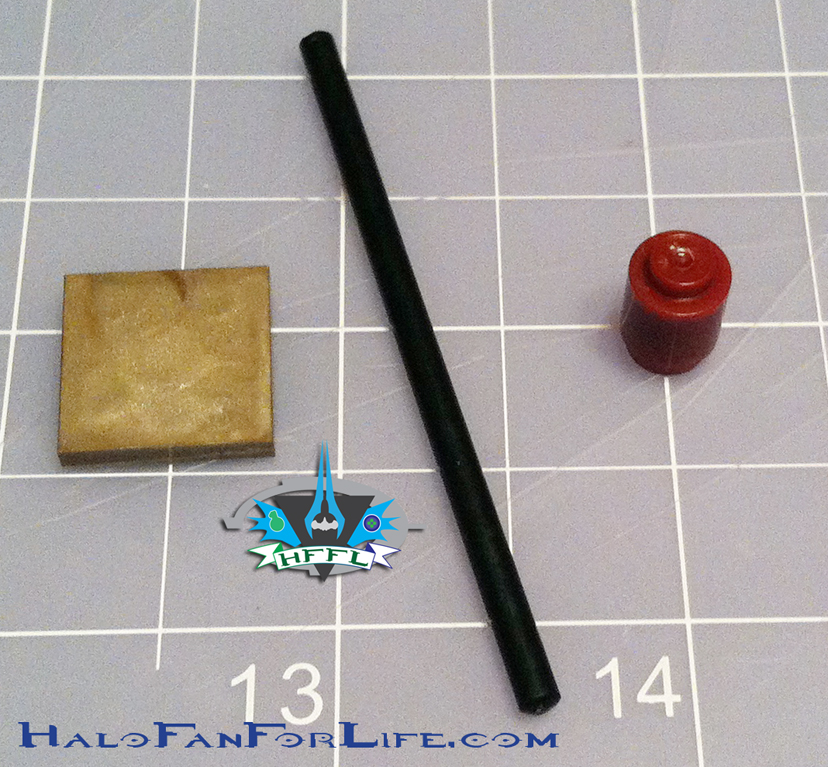
Only these three parts remained unused from the leftovers. I’ll probably put them inside the  Mammoth attached for safe keeping.

Whew, so that’s the whole build of the Mega Bloks Mammoth. Okay, so let’s get to some specifics here.

First, I know this isn’t to scale. However, does that bother me? NO WAY! This really is big enough. WHile it would have been awesome to have one to scale, it would have been MUCH bigger and much more costly because of it. To scale with the mini-figs, we would probably have had a $400+ model, rather than the $180 that it is now.
Speaking of price…I think it’s TOTALLY worth it! You get more than 2,000 pieces with this set (not to mention those extras). Factoring in my usual 10 cents per piece, the set should have been over $200. Instead we get a break of about $20. (Yes, this is all in U.S. dollars, sorry overseas folks). When you consider the Forward Unto Dawn (FUD) set from last year, that set had almost 2900 pieces and cost $70 more than this, I think we get the Mammoth for a great price. It’s worth it’s weight in value, in my opinion.
Now as to the inside not being accurate to the game, while I would have loved that, again, it would have meant the model would have to be bigger and again more expensive. I think MEGA found a GREAT way to bring this vehicle to market, even making those scale and accuracy compromises. I really will not fault them at all. This is an AMAZING set.
As to the figs, while I wanted more of them with this set and originally it was shown that way in a prototype shot, I’m fine with what is included.

The set is VERY sturdy. The only very slight issue for me was the back ramp. When I close it, I have popped off two thin plates. They are easy to put back on, so no worry. Just be aware of that, should you get this. Again, not a big deal. The model does have some weight to it, so I wouldn’t recommend it for small children. Use your own judgement there though.
I did have a couple of defective parts. As mentioned in other parts of the review, the Roland Dias wasn’t working, and there was that one defective part on the front roof panel. AS well, you may have noticed that my Mammoth doesn’t have any of the stickers attached. That’s due to the sticker sheet being damaged. I think some moisture must have got onto it somehow as my stickers were curling up off the backing. When I tried to place a couple of the stickers, they wouldn’t stay in place for more than a few seconds before peeling off. The remedy was to call MEGA’s customer service number and ask for replacements. I was greeted by a very nice lady by the name of Pat. She took my order for replacement parts with no issue. I should receive those in a couple of weeks. When I do, I’ll post a short follow up to this review to show the new pieces in place and working, as well as the model itself with all of the stickers in place.

So you’ve likely been asking, “How long did this take to build?” Well, I can say it’s NOT likely a one-sitting affair. Hmm, though if you start early enough in the day, maybe… I took my time with it and marked clear goals for each day I worked on it. Mind you, my sorting process is likely longer than most due to my stacking pieces. However, I believe that actually helps me in the long run of the build as I can count pieces out faster on the fly. So the sorting time is negligible in comparison to the rest of the build. All told, sorting time was 3 hours. Lots of big parts and bags that were filled with only one kind of part made this a VERY easy sorting process and relatively quick, considering the piece count. The building time was just slightly over 6 1/2 hours for me. The building time was split over three different days about 2 hours each, with the last day being the longest of the three at 2 1/2 hours. Again, comparing that to the FUD, that’s pretty quick as it took me 5 hours to sort those pieces and 10 hours to build the FUD.

The dimensions for the set are as follows:
Height: 9.5in / 24.13cm
Length: 19in / 48.26cm
Width: 9in / 22.86cm

I have to say that the Mammoth is absolutely my favorite MEGA BLOKS set to date and will likely hold that title for awhile. Only a very few other ideas for sets might top that. Those being a Scarab or the UNSC Infinity. We’ll just have to wait and see.

So how do I rate this? Well of course this gets a 10 out of 10 medals. Again, for the scaled down version and some structural changes from the in-game model, this is still an absolutely FANTASTIC set! I’m just glad (a family member that I’m not allowed to disclose-not my wife) got it for me for Christmas. I know I wouldn’t have been able to afford this otherwise. If you’re lucky enough to afford one, GET IT! If you need to think about it some more, pour over the 140 or so pics from the 4-part review I’ve done for this and think about it some more. This is SURE to become a valued set of Halo collecting in the future.

If you have ANY questions regarding the set, please feel free to ask. I think I’ve covered just about everything in the review, but I might have missed something.
Also, please let me know what you’ve thought of the 4-part review as a whole. Click reply below. If you haven’t yet registered, please do. Click the link in the menu bar above for directions on how to register.

Thanks for taking the time to read my review of the Mega Bloks UNSC Mammoth.
-Sal
The Halo Bulletin 12.11.13

halobulletinheader_12-11-13Well this week’s bulletin is fairly dull with one exception. Bravo writes this one up and starts with a rehashing of the events of 343 day which took place on December 9.

Next up is the Matchmaking Update.
This focuses on Race. Rocket Race will be starting on the 23rd of December. In the meantime you can play regular race in the rotational playlist. If you’ve wanted to see yours or other community made maps in race, you’ll need to first build them off of the race gametype from the official playlist. Sigh….with respect to 343, they have way too many checkpoints and those are often so bright that it’s hard to see the track in front of you to actually enjoy the race itself. Hopefully that will be fixed in the future…

The bright spot to this bulletin is the following Matchmaking Playlist Calendar.
calendarlayout_12-11-13

The previously mentiones Race and Rocket Race are there. As well, Big Team Swat, then Team DLC (YES!!!). After that comes an old favorite in Heavies. Following that is Big Rumble which is a FFA playlist with 12 people instead of 8 as in Rumble Pit. After that comes Medal Madness. Looks like earning medals are the way you score in this game type. Not sure on that though, so I’ll update you as I find out. Also, team size to be determined. Extraction comes back for the two weeks follow. Then we get yet another DLC gametype in Squad DLC (YESSSSSSS!!!!). Lastly the secretive Ninja Assassins at the end of April. No details on that just yet, so let the speculation begin!

Here are the dates each of those gametypes will be active for two weeks:
1.6 – Big Team SWAT
No shields, but lots of players and headshots. Lots of those. 8 vs. 8.
1.20 – Team DLC
Team game types on DLC maps. 4 vs. 4.
2.3 – Heavies
Big guns, big vehicles, big fun. 6 vs. 6.
2.17 – Big Rumble
Free-For-All with 12 players.
3.3 – Medal Madness
Earn medals to help your team win the match. Team sizes TBA.
3.17 – Extraction
Extract supply sites to win. 5 vs. 5.
3.31 – Squad DLC
Team game types on DLC maps. 6 vs. 6.
4.14 – Ninja Assassins
Details TBA.

Next up is some news that Halo 4 will be the game of choice for the Red Bull 5G 2013 Finals. Nice to see Halo can still be used for gaming championships!
The finals will be streamed at http://www.twitch.tv/redbull5g at 3PM JST on 12.15.13 (10PM PST on 12.14.13 /
The finals will be streamed at http://www.twitch.tv/redbull5g at 3PM JST on 12.15.13 (10PM PST on 12.14.13 1AM EST 12.15.13).

The next article is one that showcases a community made map called Advantage. Bravo has an interview with the creator of the map. Decent read. The map reminds me of Uncaged from Halo Reach. Hmm, since Bravo talked to the fellow who created it, I bet we’ll see this fast-tracked into matchmaking…

Finally the Screenshot Spotlight. This week’s subject: YELLOW To be honest, I didn’t find any one of the selections to be appealing. I think it’s more to do with the color of choice, than what is in the pics. “YOUR IN” for some bright yellow…if you take my meaning. LOL

According to Bravo, there will be a bulletin next week, however, possibly not the two weeks following due to the holidays.

To read the full bulletin, go to the official site HERE.
-Sal
Halo Toy Review: Mega Bloks UNSC Mammoth; Part 3 Removable Roof Panels

Well here we are at the third of a four part review for the Mega Bloks UNSC Mammoth. It came together nicely in part two with the body being built. Now we move on to the removable roof panels.

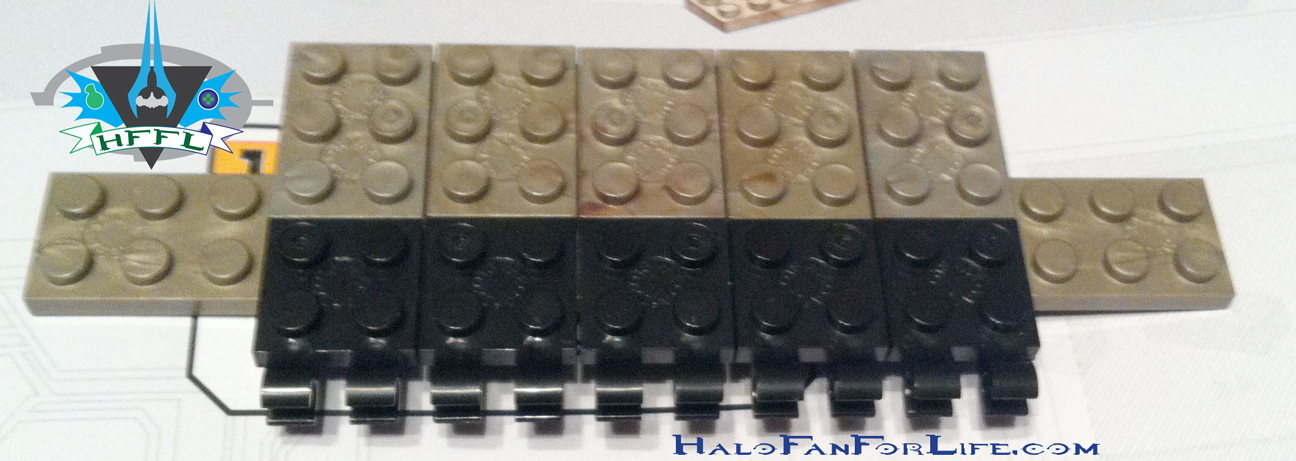
First up are a couple of pics showing the build for what will become the back flap of the rear roof. This enables a minifig sized warthog to fit into the rear of the model.MB Mammoth back flap
MB Mammoth back flap FINI love all of those little greeblies on the back. BTW, if you didn’t already know, “greeblies” are a term meant for those little extra bits and parts that add depth and character to a piece.

MB Mammoth Rear Roof sideThe above pic is of one of the side walls of the rear roof. The other side is the exact same but flipped. So as before, no need to show it as well until later, when it gets attached.

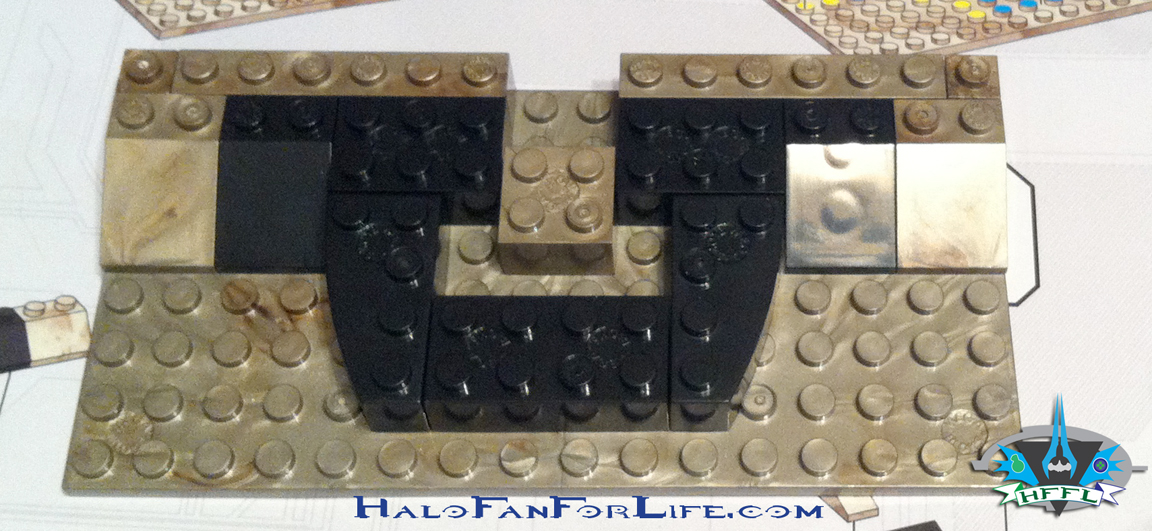
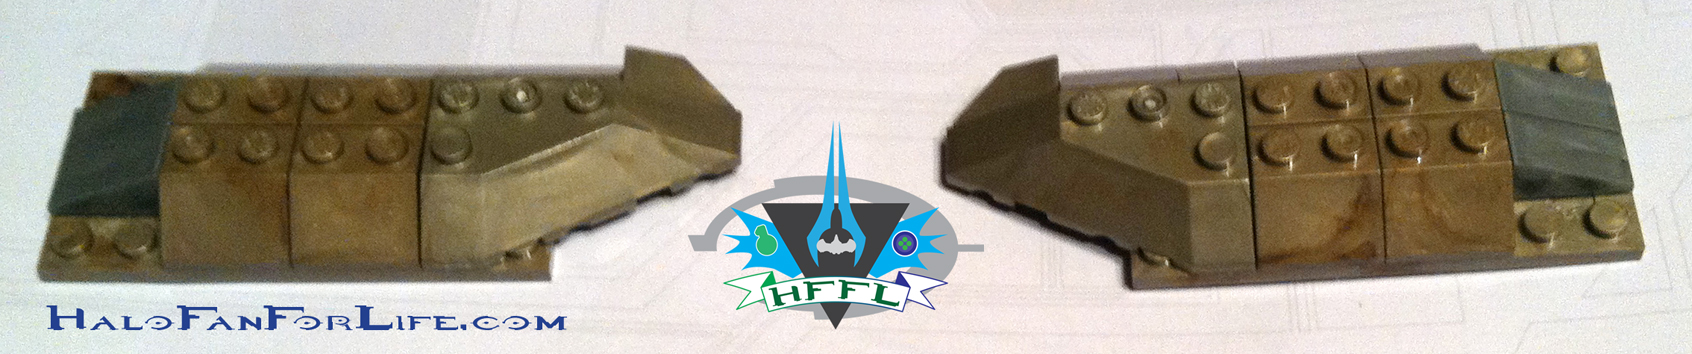
MB Mammoth Rear Roof back hingeHere is the start of the back hinge that will be attached to the rear roof panel.
MB Mammoth Rear Roof back hinge FIN
Here it is finished.

The next few pics are of the construction of the front wall of the rear roof panel.MB Mammoth Rear Roof front
MB Mammoth Rear Roof front 2
MB Mammoth Rear Roof front 3
MB Mammoth Rear Roof front 4

Next are all of the walls of the rear roof panel along with the base part of that roof itself.
MB Mammoth Rear Roof attachments
MB Mammoth Rear Roof attachments 2
MB Mammoth Rear Roof assembly
MB Mammoth Rear Roof assembly 2
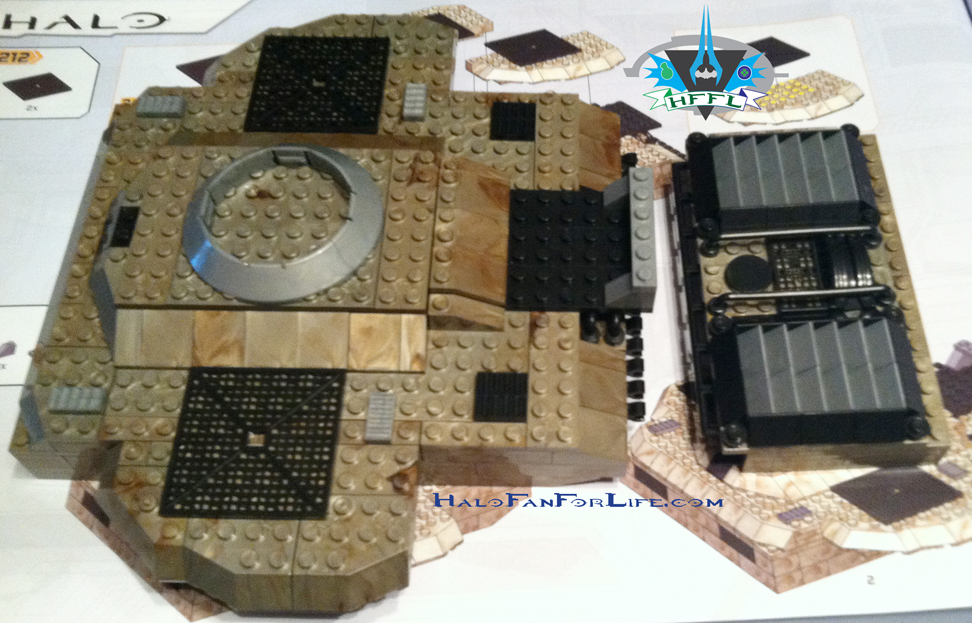
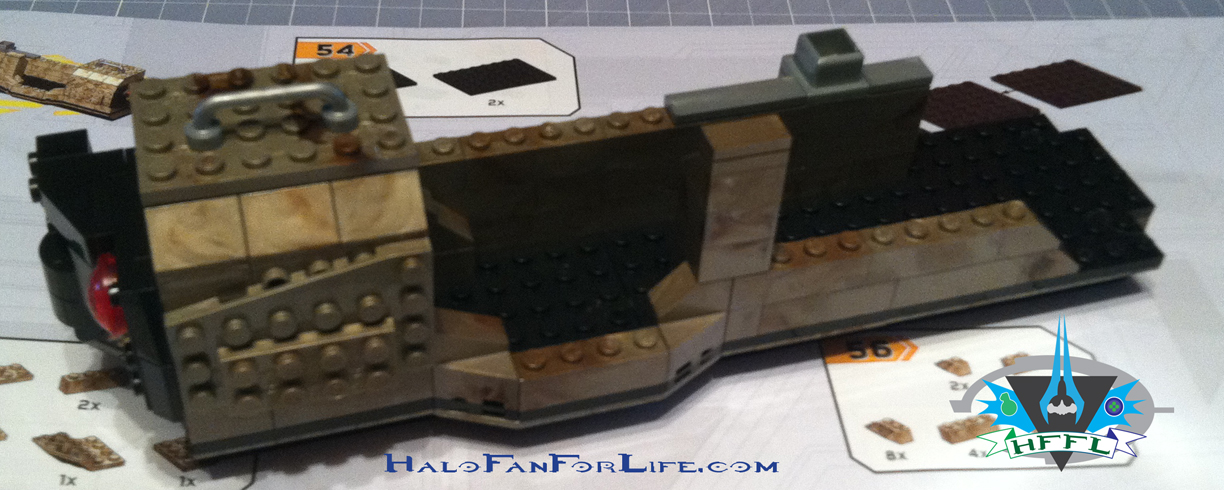
As you can see by the above pic, we now have the spot where the Mini-Mac is going to be placed.

MB Mammoth Rear Roof assembly 3 sidesOne of the sides of the rear roof starting construction.
MB Mammoth Rear Roof assembly 4 sides 2
MB Mammoth Rear Roof assembly 5 sides 3
Here are both sides ready to be attached.

MB Mammoth Rear Roof assembly 6

Now we’re ready for the rear flap to be attached!MB Mammoth Rear Roof assembly 7

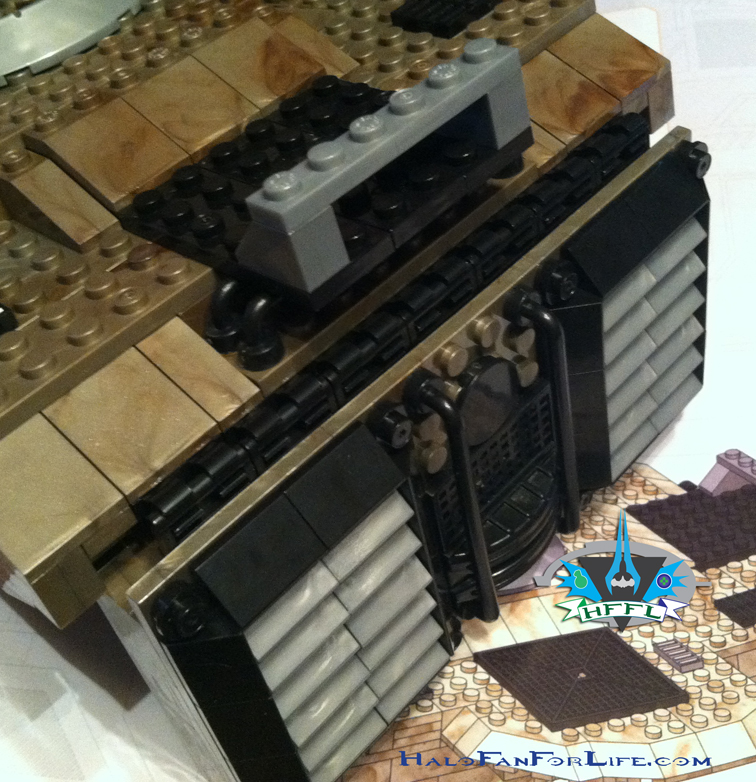
MB Mammoth Rear Roof assembly 8Above shows a close-up of the hinges clamped together. With exception to the very edges, they hide the gap nicely from the roof to the flap.

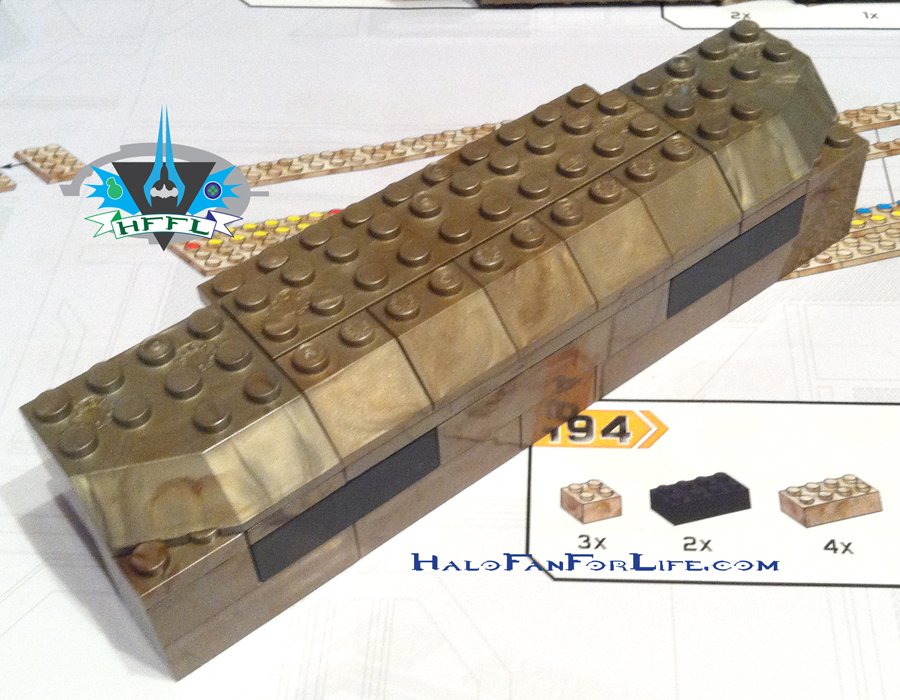
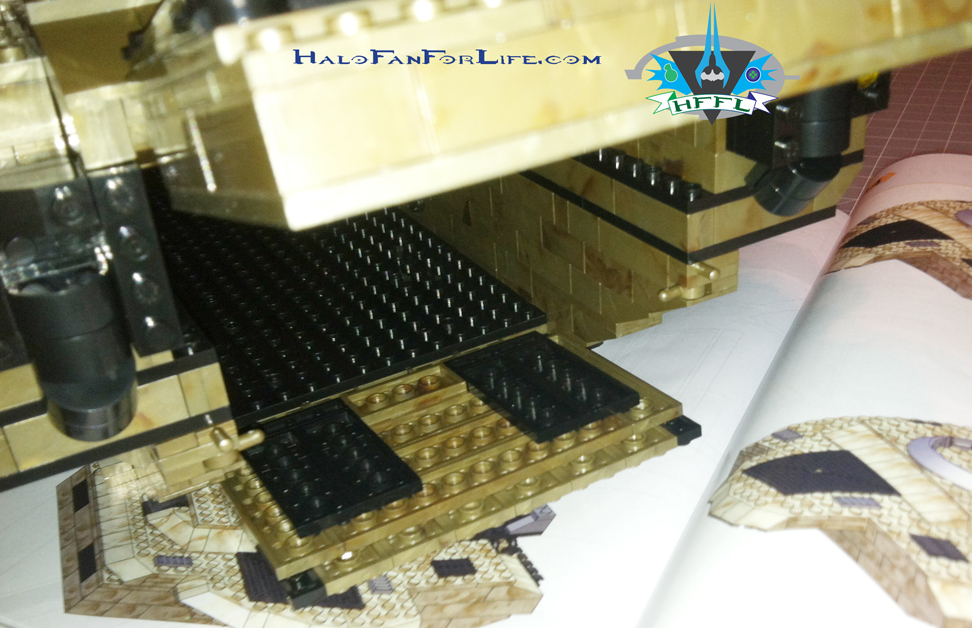
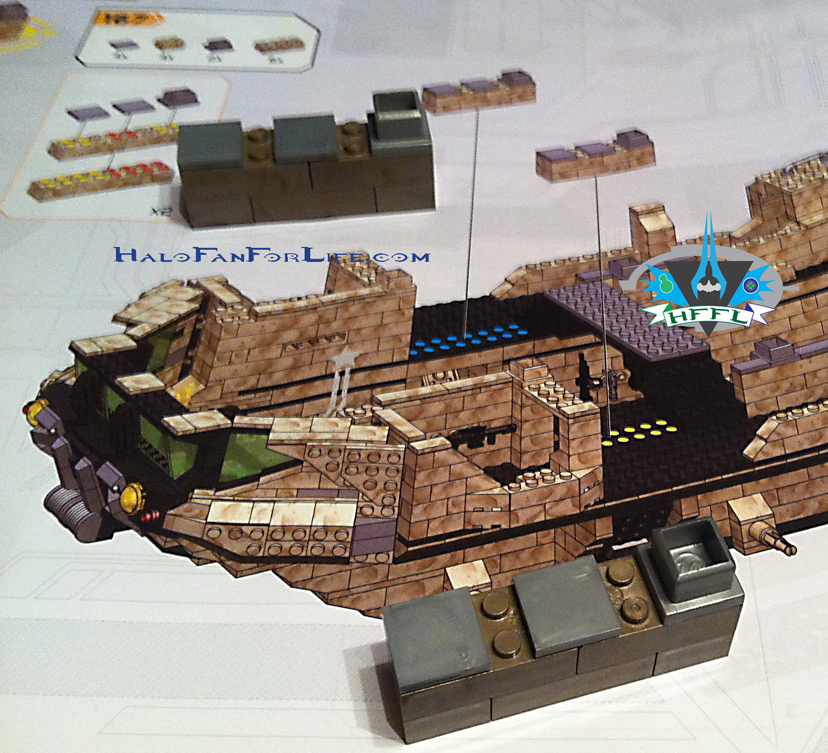
MB Mammoth Rear Roof assembly 9 attachmentThe above pic shows where the rear roof panel is connected to. It rests nicely upon two hollow square grey pieces that keep it in place. As well the sides of the body keep it snugly fit. This is similar to how the Forward Unto Dawn set was done, with regards to it’s removable panels as well.

MB Mammoth Rear Roof assembly 10 attachment 2Shown in position. There should be NO gaps underneath. If there are, you haven’t quite fit it in properly. Believe me, it fits tight and right.

MB Mammoth Rear Roof assembly 11 rear hatchA look at the rear flap and rear ramp opening into the body of the Mammoth itself.

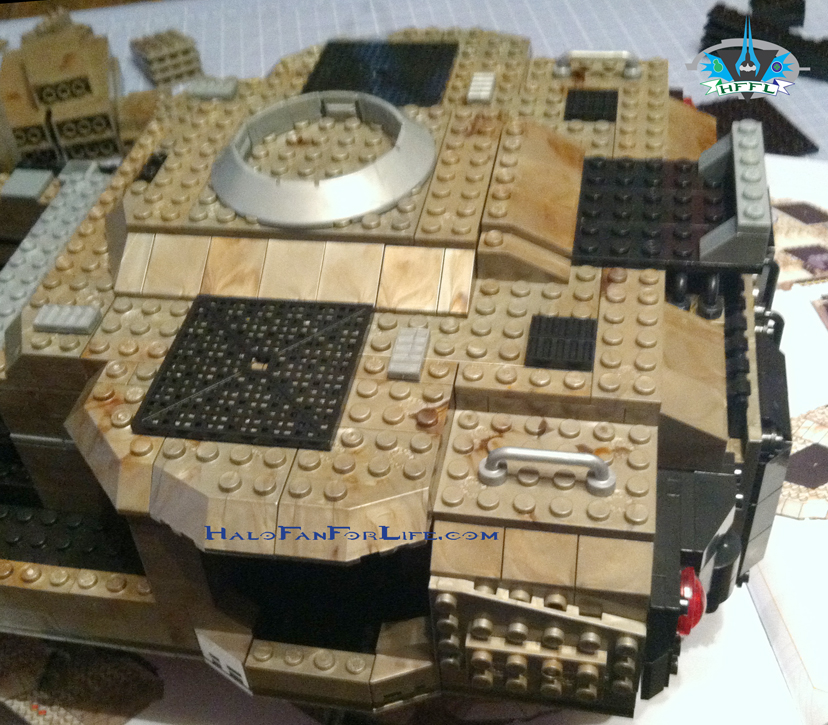
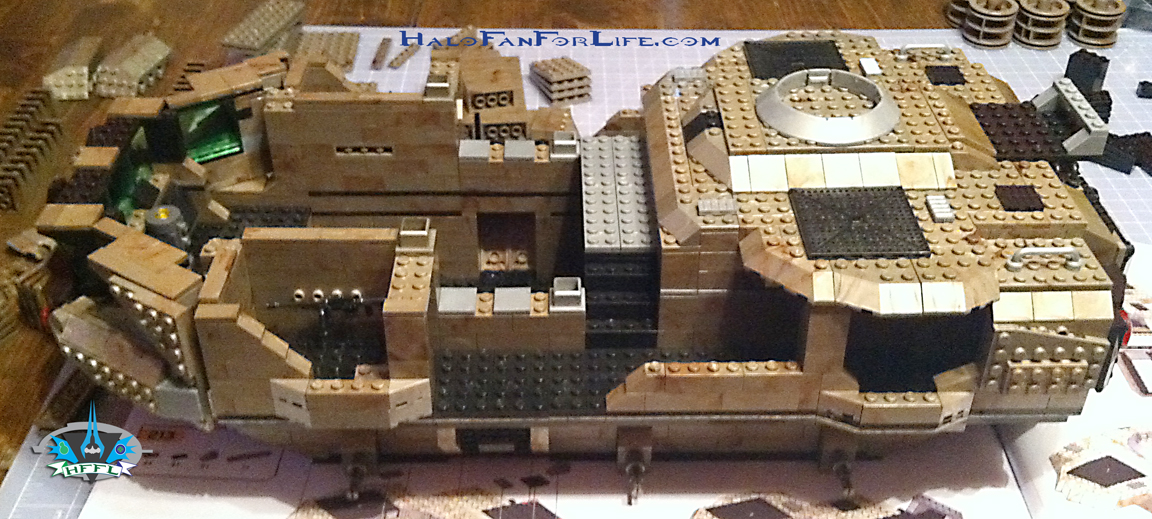
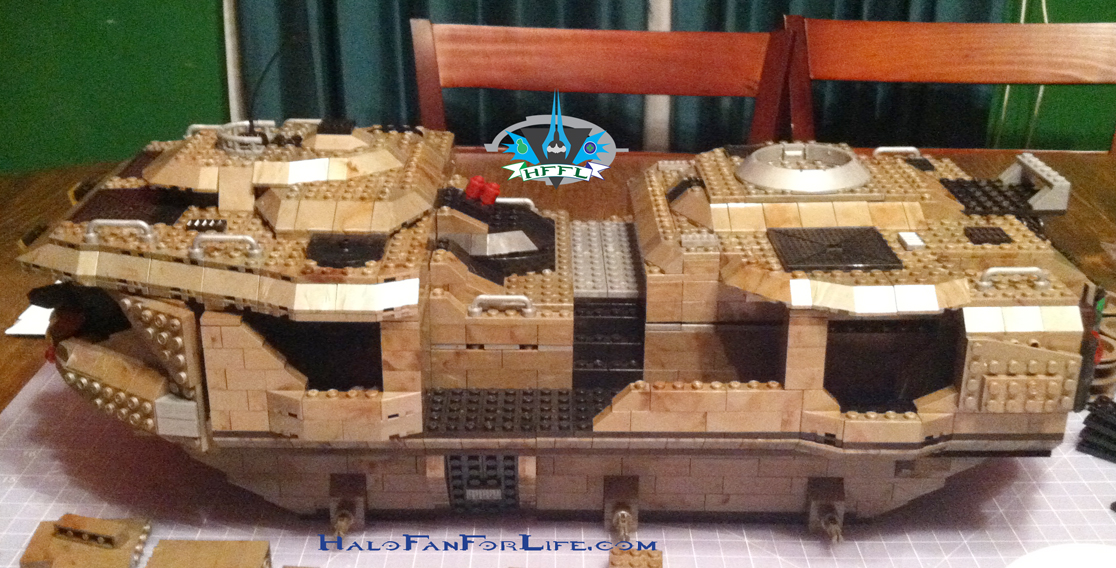
MB Mammoth Rear Roof assembly 12 PROGRESSHere’s a full side view with the rear roof panel in place. Wow, is the Mammoth looking great or what?

The next eight pics show the construction of the mid roof removable panel.MB Mammoth Mid Roof
MB Mammoth Mid Roof 2
MB Mammoth Mid Roof 3
MB Mammoth Mid Roof 4
MB Mammoth Mid Roof 5
MB Mammoth Mid Roof 6 FIN
MB Mammoth Mid Roof 7 attachmentHere is the attachment point for the mid roof panel. Just as with the back, it too fits snugly onto a hollow grey square piece.
MB Mammoth Mid Roof 8 PROGRESS
And here it is attached. Apologies for the blurriness of the shot. At this point I was excited to get the front roof panel done that I didn’t go back and retake this shot as I should have.

The final roof panel now starts being built!
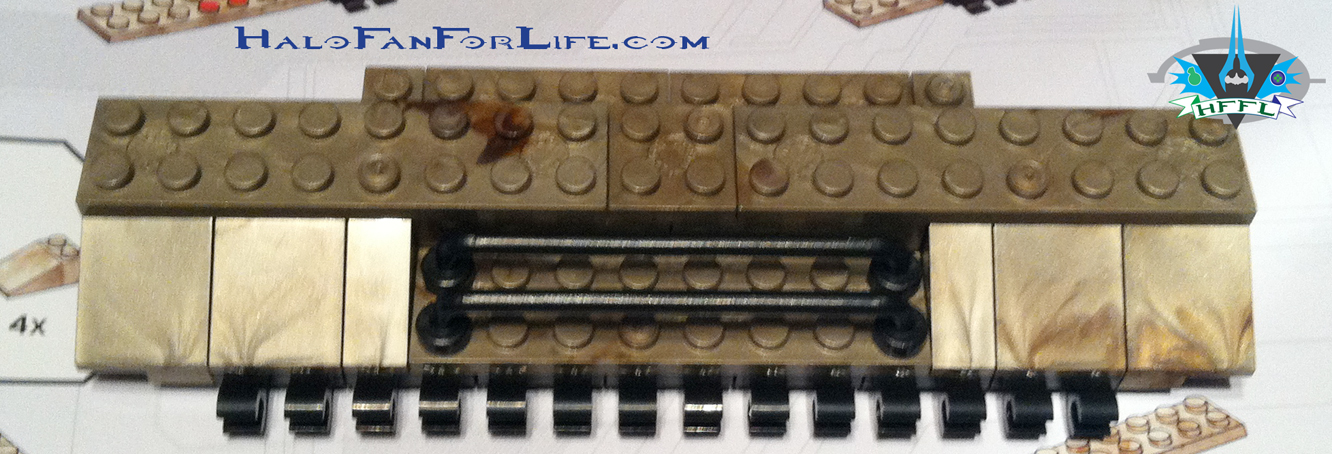
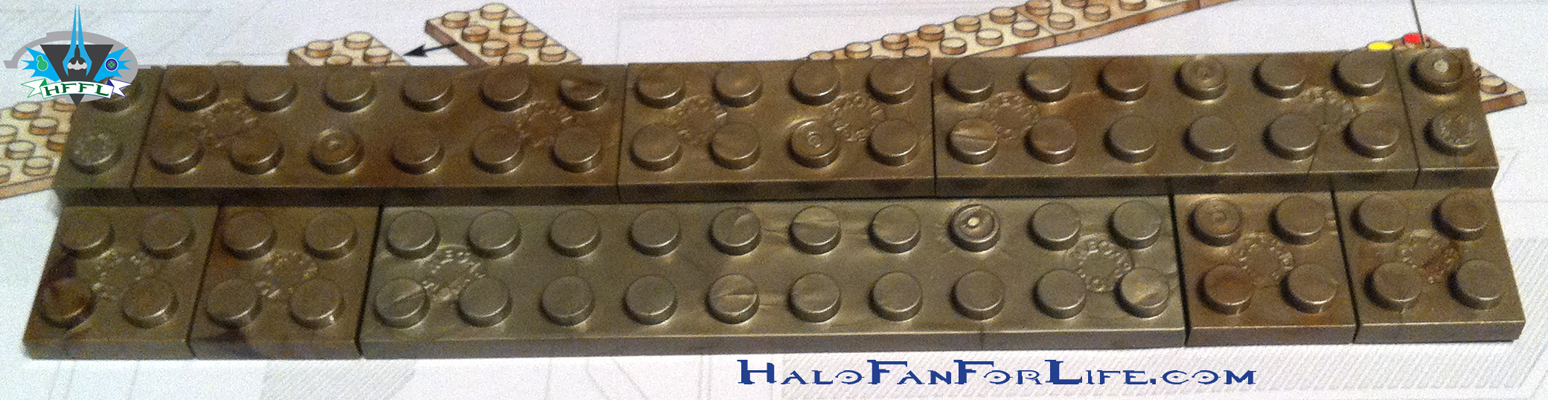
MB Mammoth Front Roof
Not much to start, but it QUICKLY comes together.
MB Mammoth Front Roof 2 Space Invaders
Heh, don’t you think this section looks like some kind of “Space Invader”? Oh, I should mention that in my excitement to get this done, I accidentally skipped a couple of steps and had to go back and rebuild things correctly.

Here is a helpful tip when building large models like these: Have a coin or some other small object to place over the numbered step on the directions to remind you of where you are in the build process. ONLY move it to the next step when you are ready to continue to build.

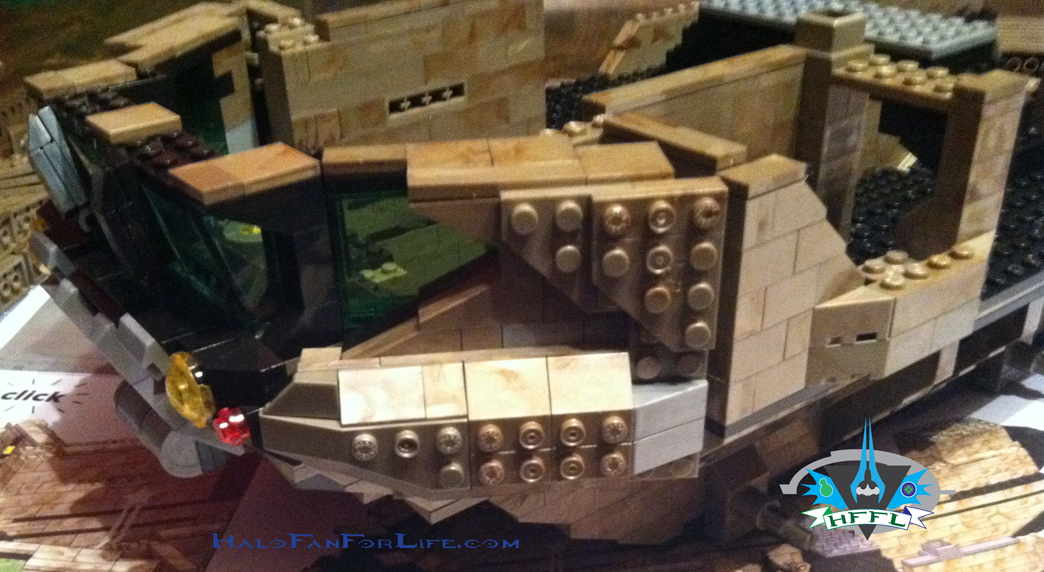
MB Mammoth Front Roof 3 CopperheadNow at this point in the build of the front roof panel, I think it looks like a snake head. Copperhead??? LOL
MB Mammoth Front Roof 4
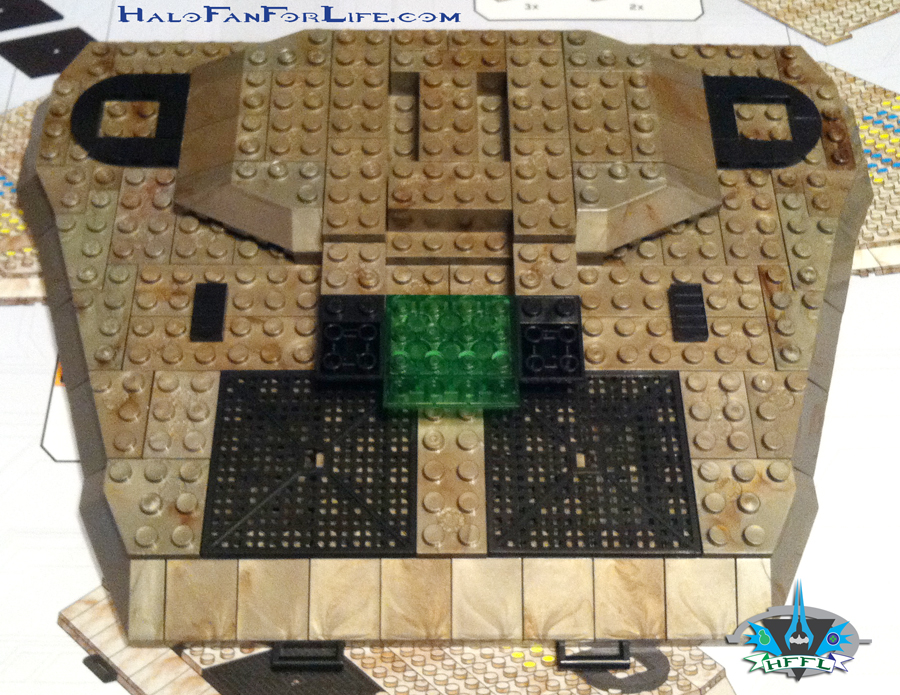
Oh yeah! We’re getting to the “meat” of the roof panel’s build by adding in the green translucent part! (You all know I love transparent toys. That goes for parts too!)

MB Mammoth Front Roof 5Dang…it’s mostly hidden now. LOL. Ah well, the in-game vehicle calls for this as well.

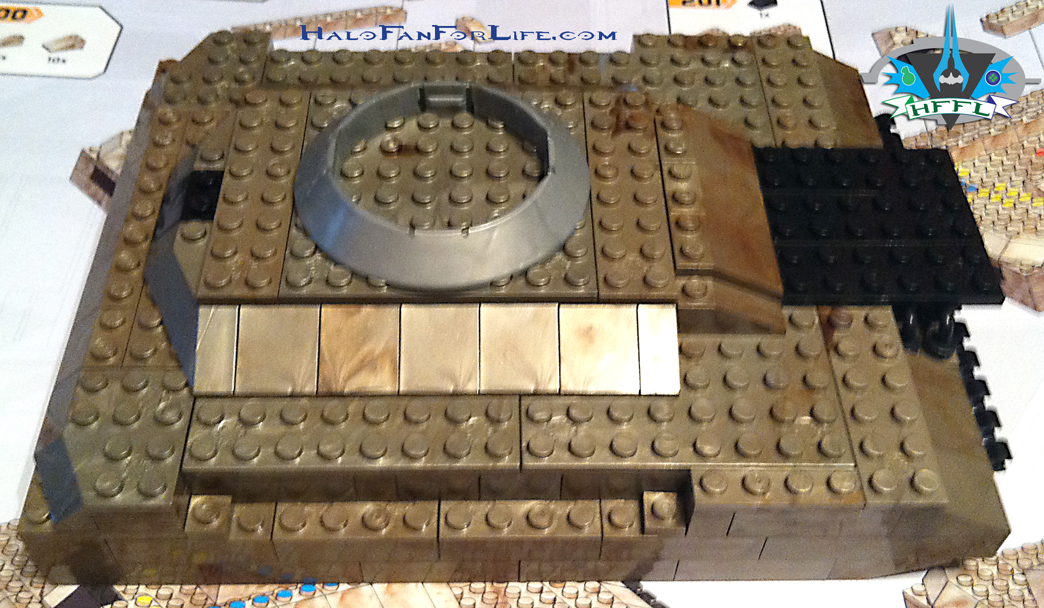
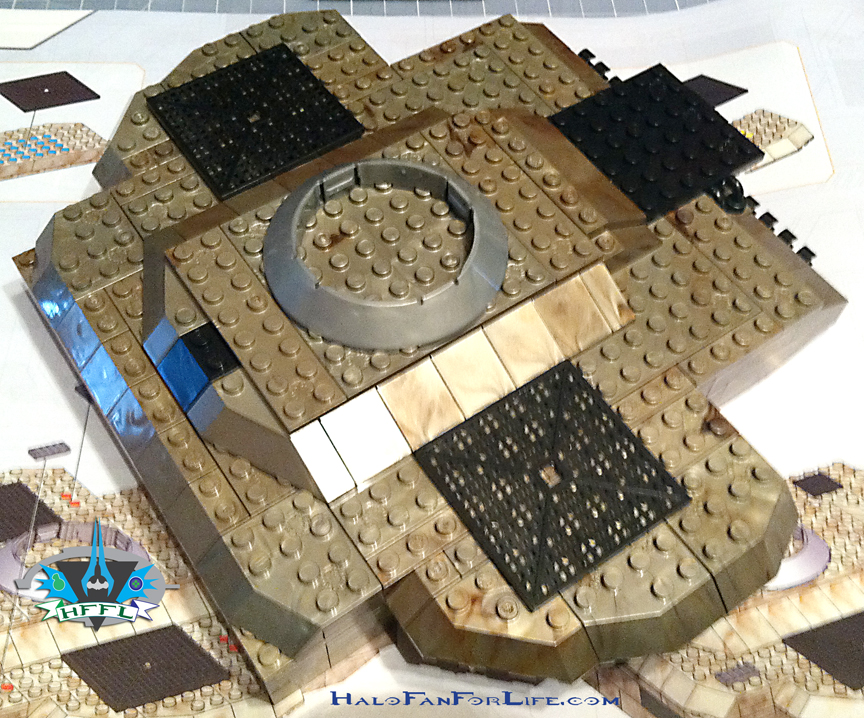
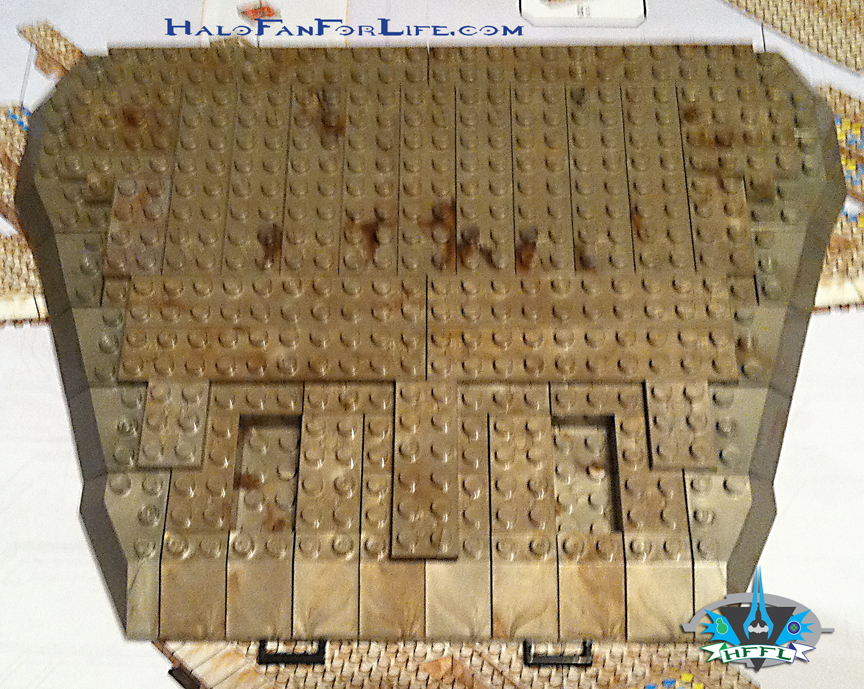
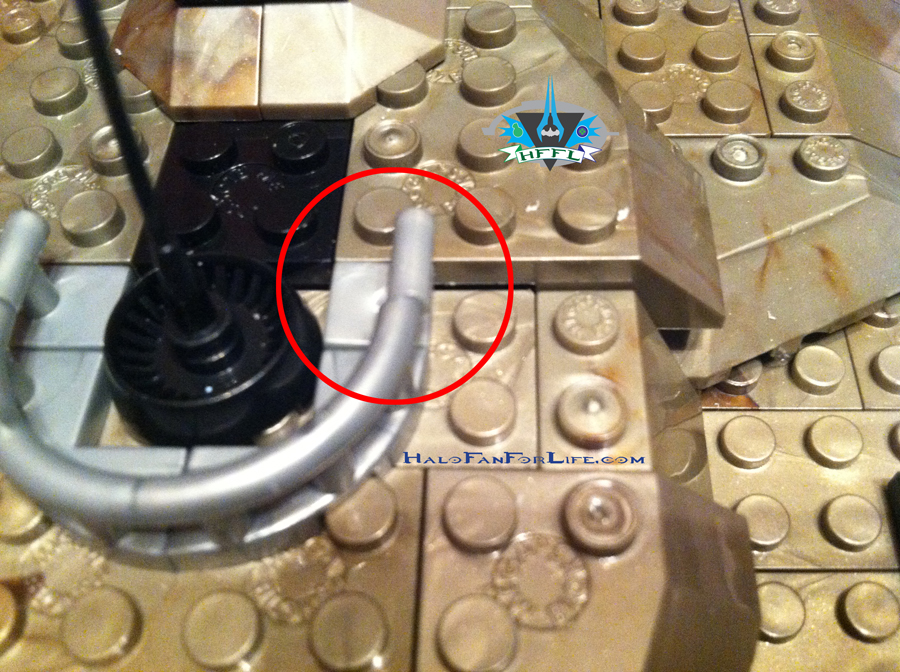
MB Mammoth Front Roof 6 malformed partAt this point, I did come across a deformed part. The one circled did not fit properly. I did try to gently carve out some of the underside plastic to make it fit. After a bit I stopped. I figured it better to just call MEGA for a replacement part. (More on that in the fourth part of the review.)

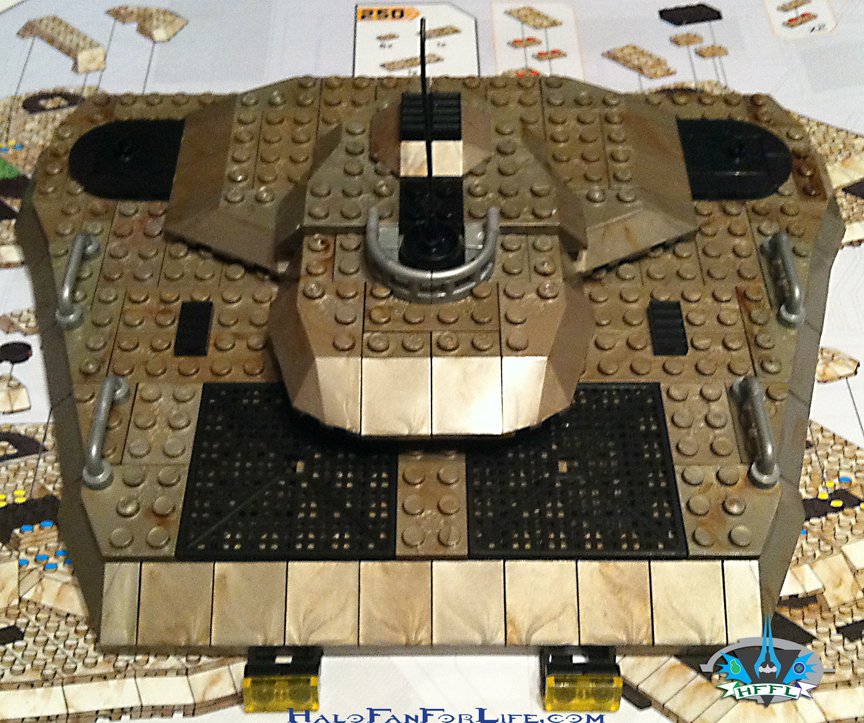
MB Mammoth Front Roof 7 PROGRESSAnd here we are at the last pic for this part of the review.  The Mammoth is almost done! It’s looking VERY buff and built to last! 

I was so excited at being so close to being done with the build that I did complete it then. However, you’ll have to come back tomorrow to see the Mammoth finished. Along with that, I’ll show the minifigs that come with the vehicle.

I hope you are finding this multi-part review helpful and/or entertaining. Please let me know by commenting below. If you haven’t yet registered for HaloFanForLife.com, it’s FREE and easy to do so. Just send me an e-mail at: sal@halofanforlife.com asking to be registered. As well, include what you want your screen name and password to be. I’ll get you set up shortly there after.

-Sal
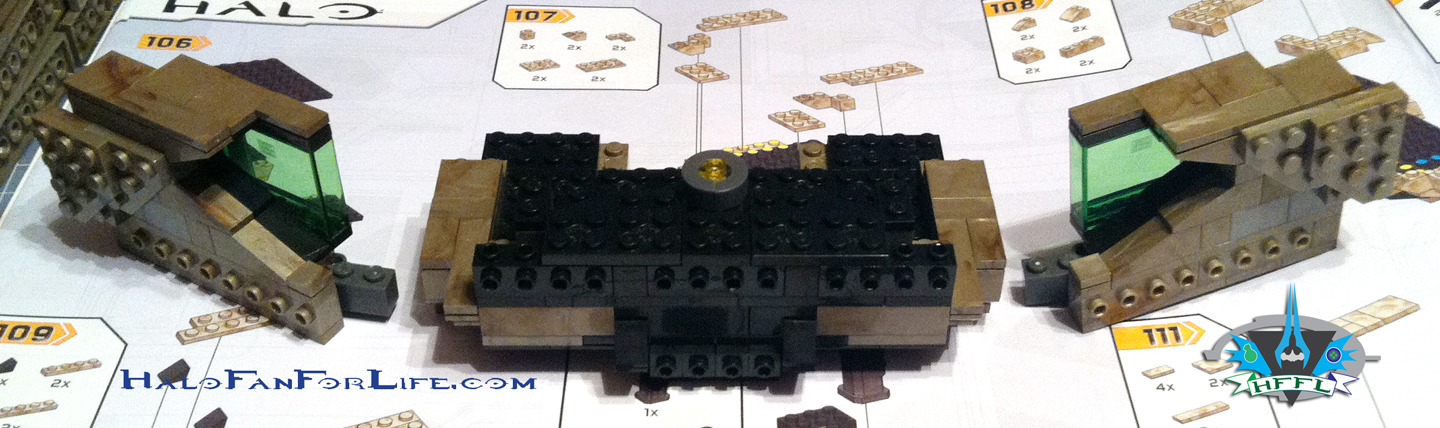
The Spirit of Fire podcast for 12.9.13. Spartan Assault on the XBOX!

We’ve not had a podcast in a month. Truthfully, there wasn’t much exciting news to report and repeating the Halo bulletin every week when I already do a synopsis of it on the blog is redundant. Anyone can reread the bulletin, so I’ve decided I won’t do that and only focus are the real news worthy topics.

In the episode Martin and I talk about Spartan Assault being released for the One and the 360, but at different times. We briefly talk about the One’s graphics, some of our favorite types of covenant, the new Dark Horse Halo comic book and more.

This is a short podcast for us at just about 45 minutes.

      SoF 12-9-13
Click above to listen

SoF 12-9-13
Right click above to download and listen at your leisure.

-Sal
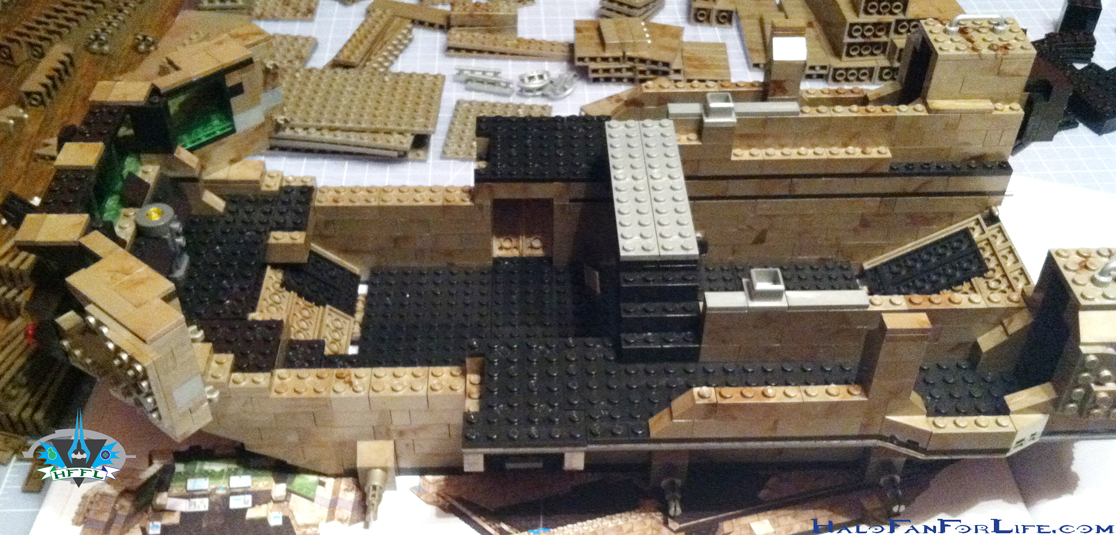
Halo Toy Review: Mega Bloks UNSC Mammoth; Part 2 Lower and Second Levels

This is the second of a four part toy review for the Mega Bloks UNSC Mammoth. In this part, you’ll see how the lower and second levels come together.

There’s more than 40 pics in this part of the review, so let’s get started.

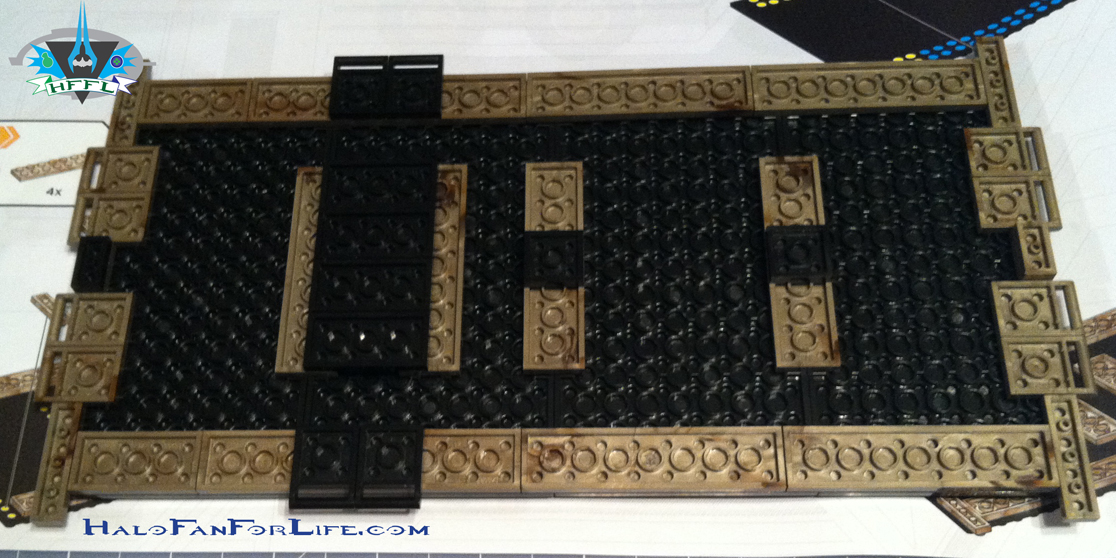
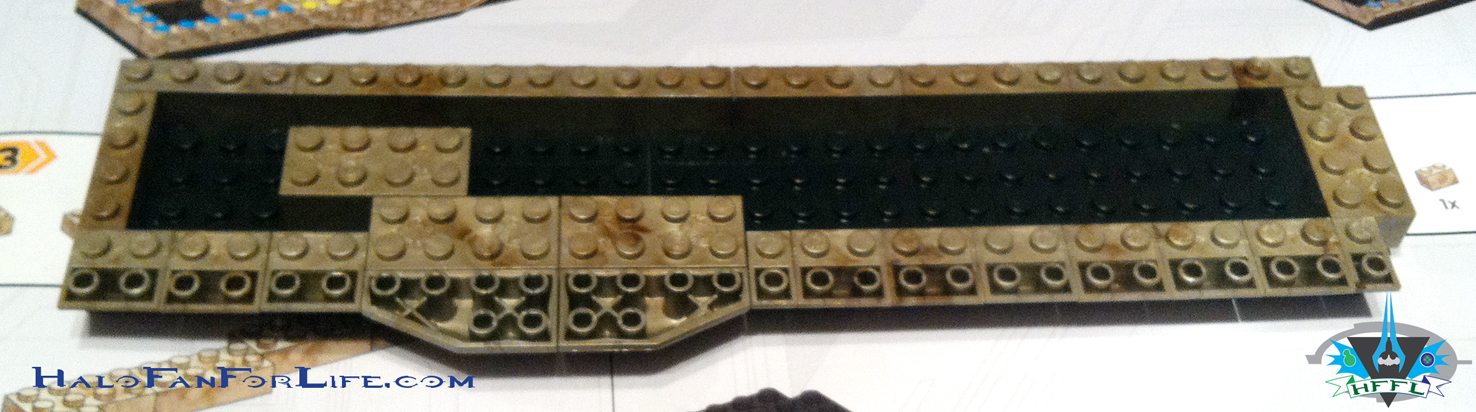
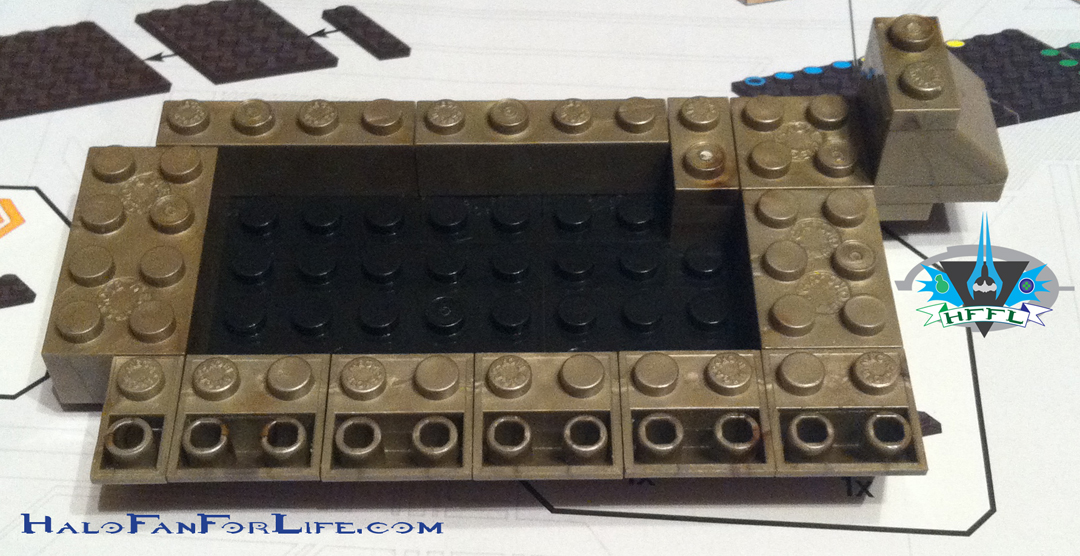
MB Mammoth bottom level baseThis is first couple of steps to build the base of Mammoth. All of the weight of this model is going to be supported by the base so it has to be sturdy and strong.

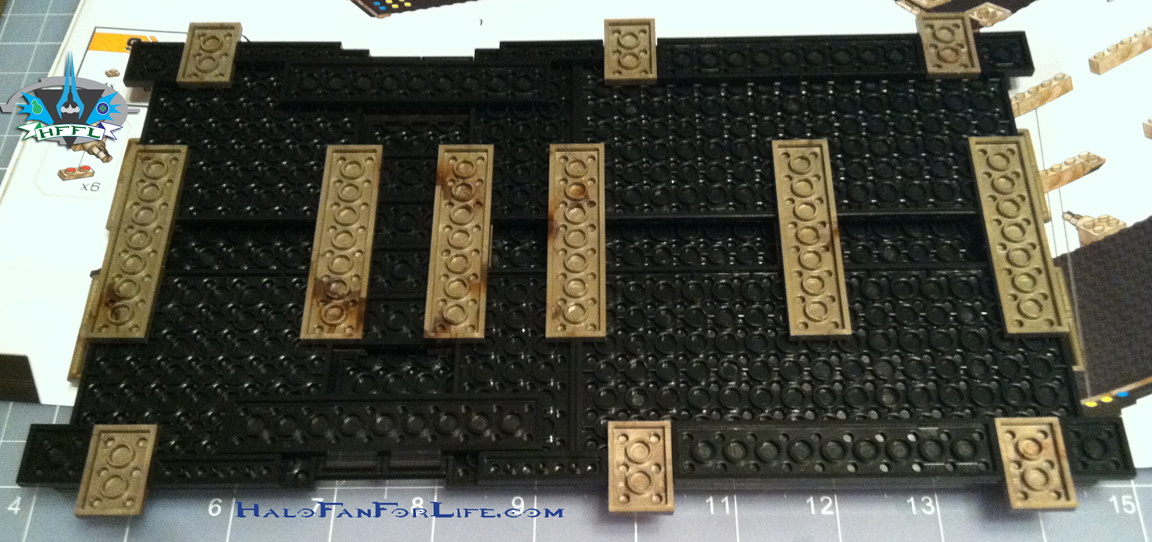
MB Mammoth bottom level base 2These next few steps to building the base of the Mammoth show just how many more plates are added to strengthen it.

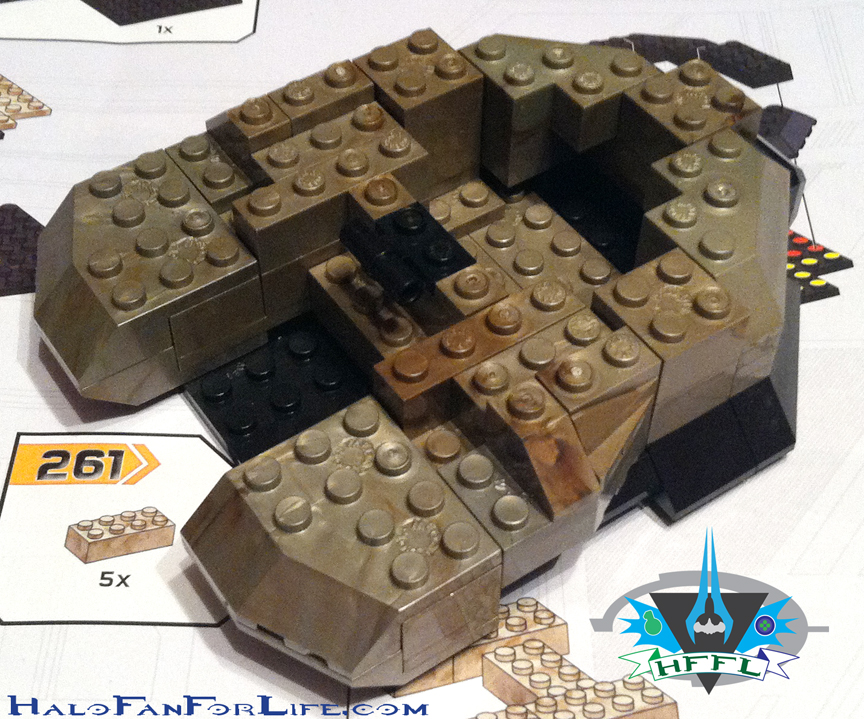
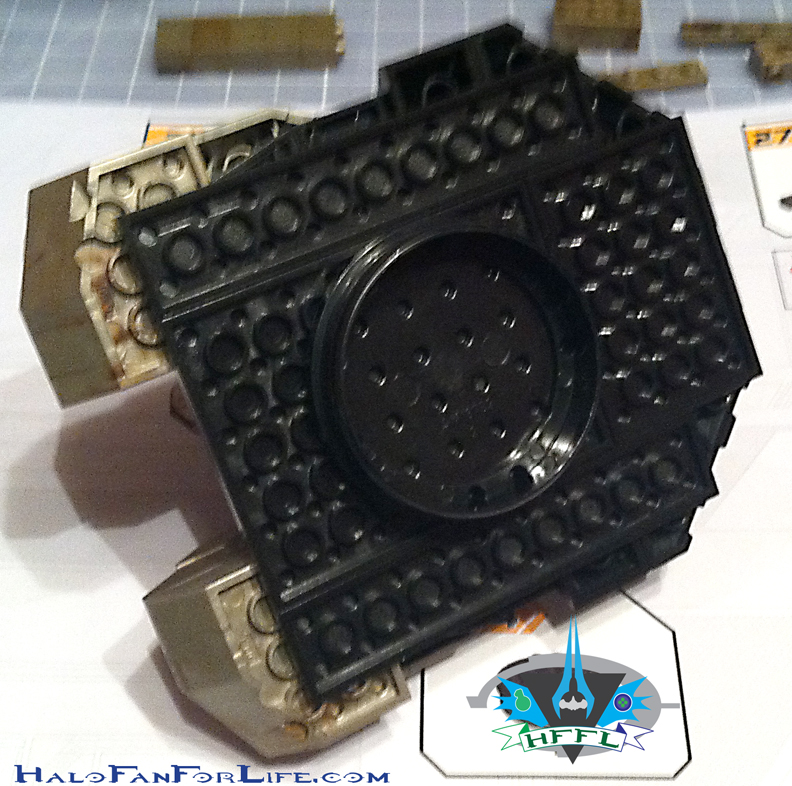
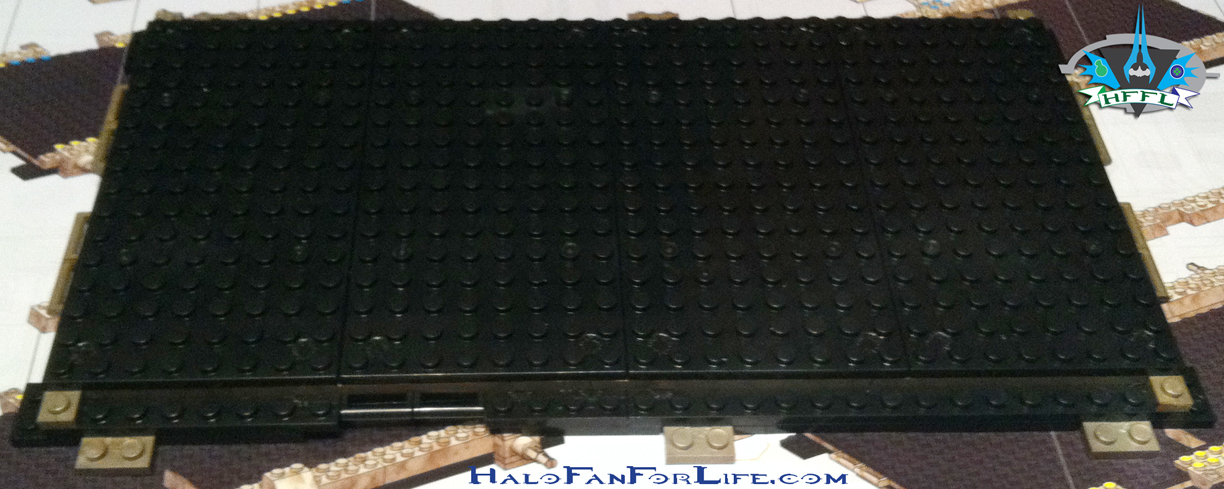
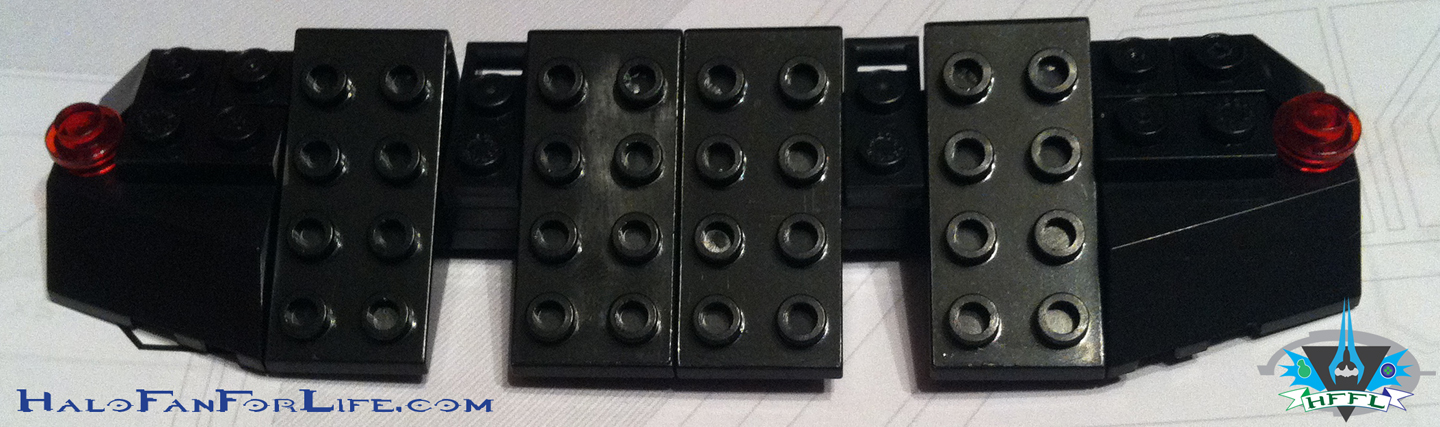
MB Mammoth bottom level base 3The base ends up being 4 plates thick. Believe it or not, that’s quite enough to keep the Mammoth propped up.

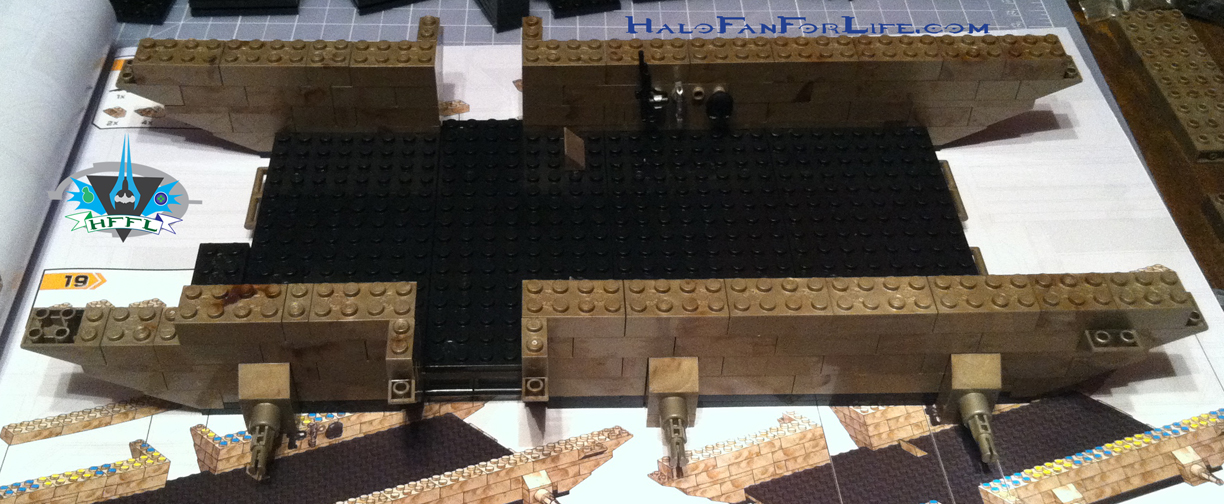
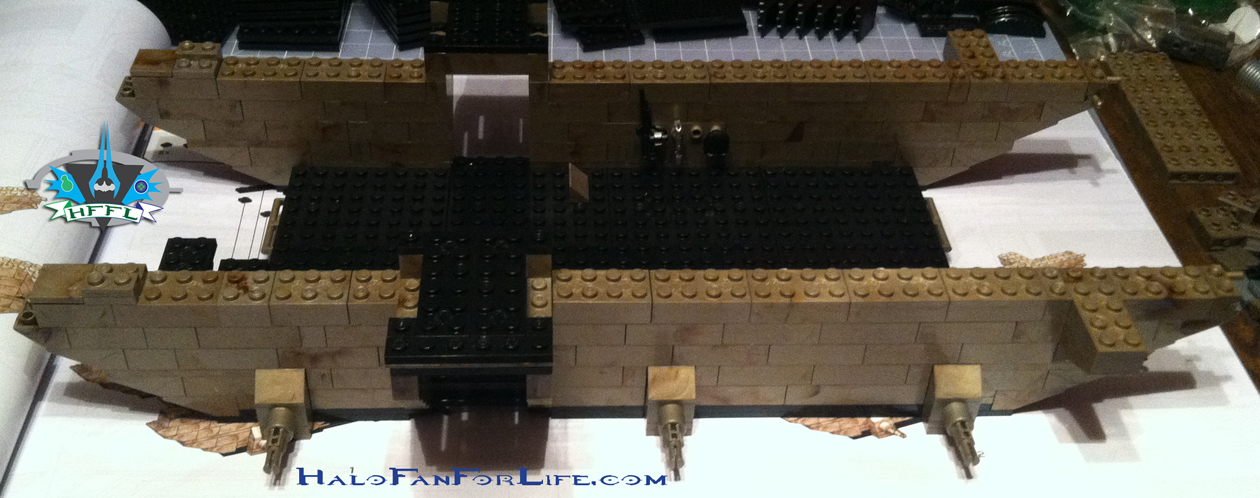
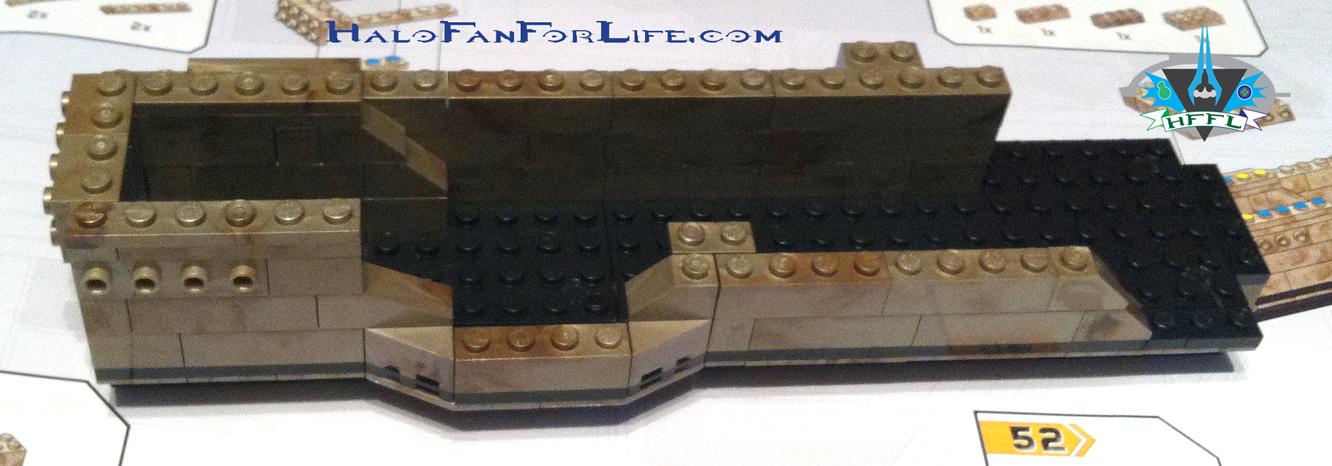
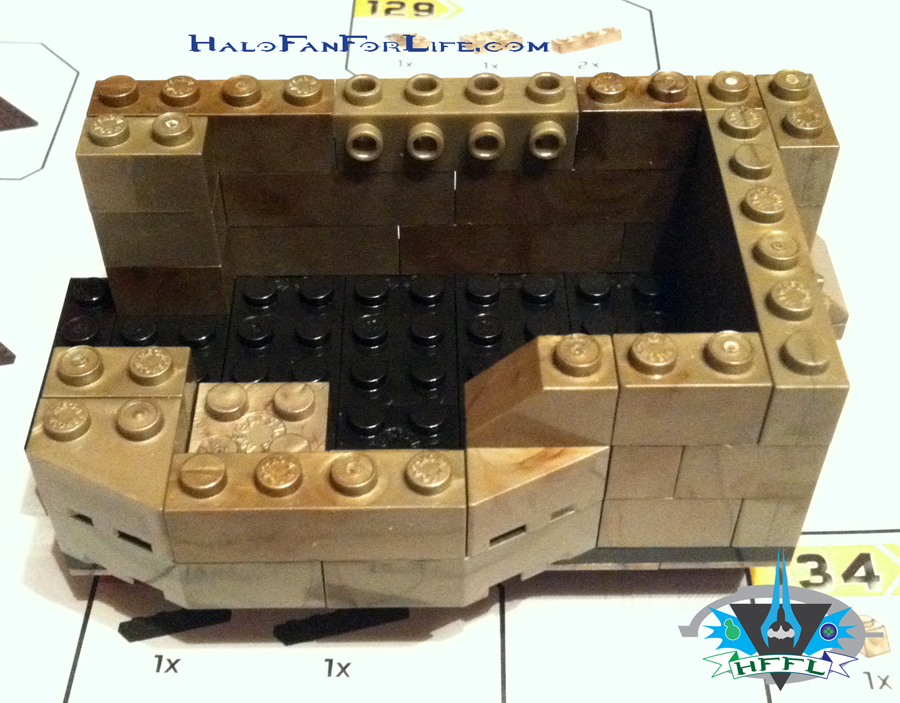
MB Mammoth bottom level wallsThe first few steps of the lower level (garage) walls go up.

MB Mammoth bottom level walls 2The next few steps. By this point the build has felt similar to the UNSC Elephant’s build at the beginning. But that quickly changes after this.

MB Mammoth bottom level rampsHere are the ramps and side doors.

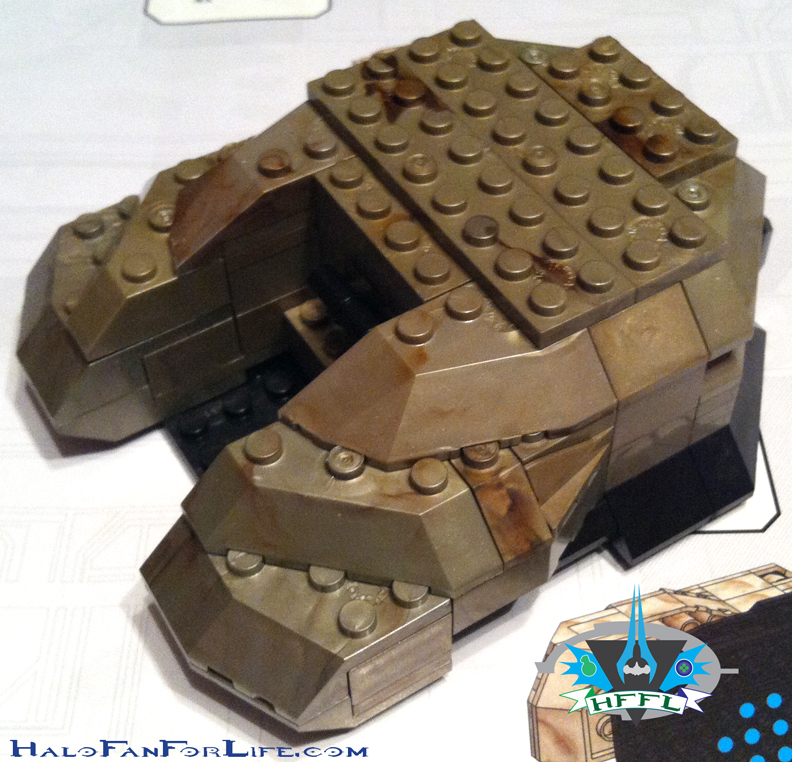
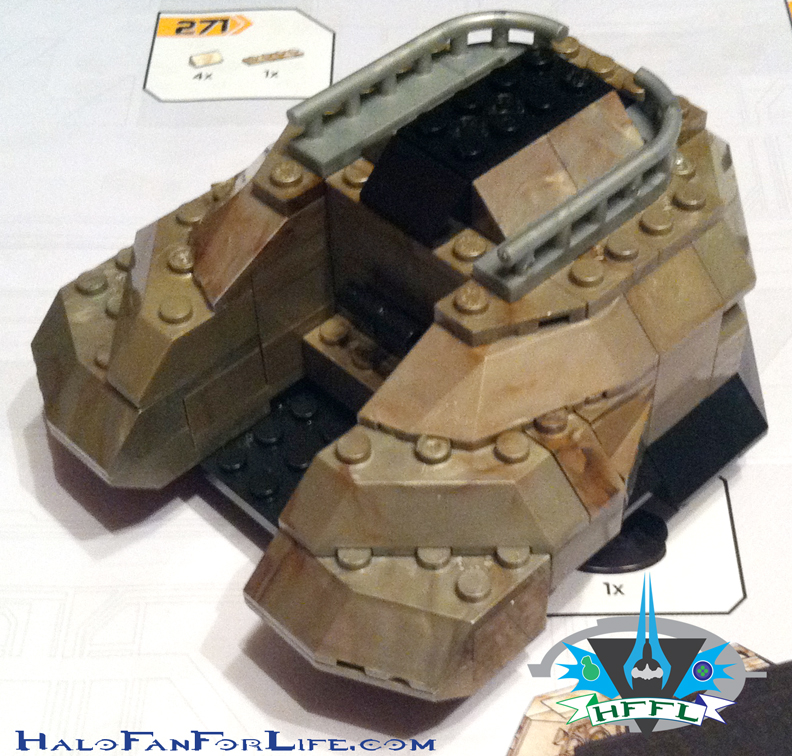
MB Mammoth bottom level FINAnd here they are attached. This is looking more like a World War II landing craft at this point, LOL. 

The next few pics will show the stages of build for the side command deck windows.MB Mammoth side wall front
MB Mammoth side wall front 2
MB Mammoth side wall front 3
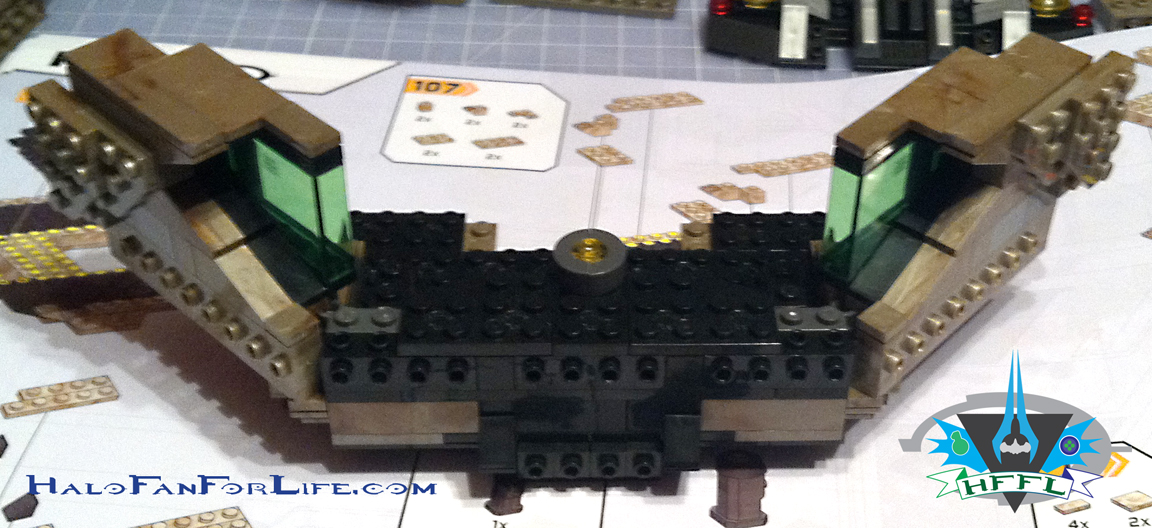
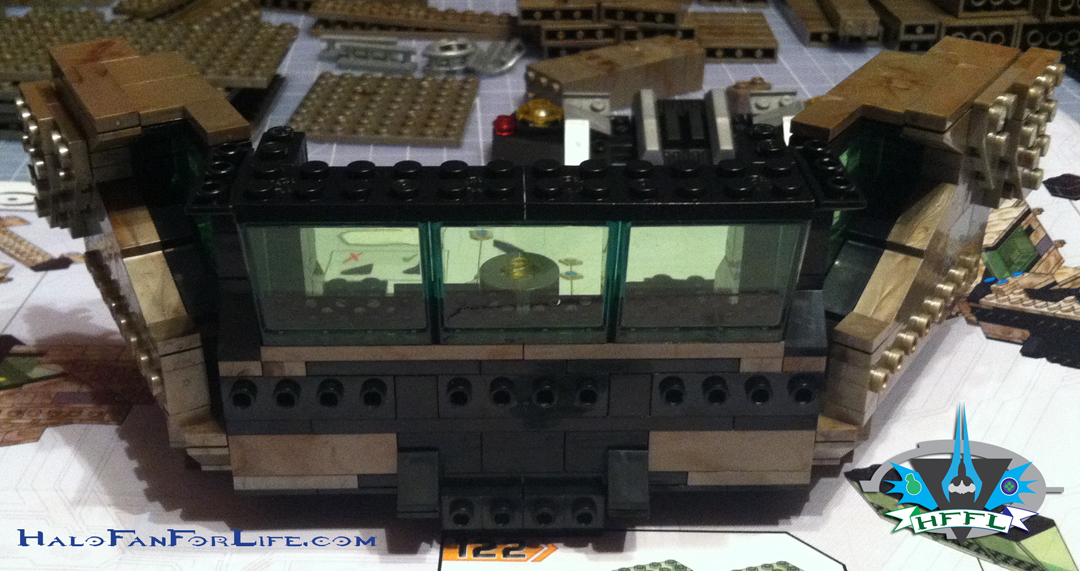
MB Mammoth side wall front 4 FINThis last pic of the side command deck window shows it turn around as that is the outside of the window.

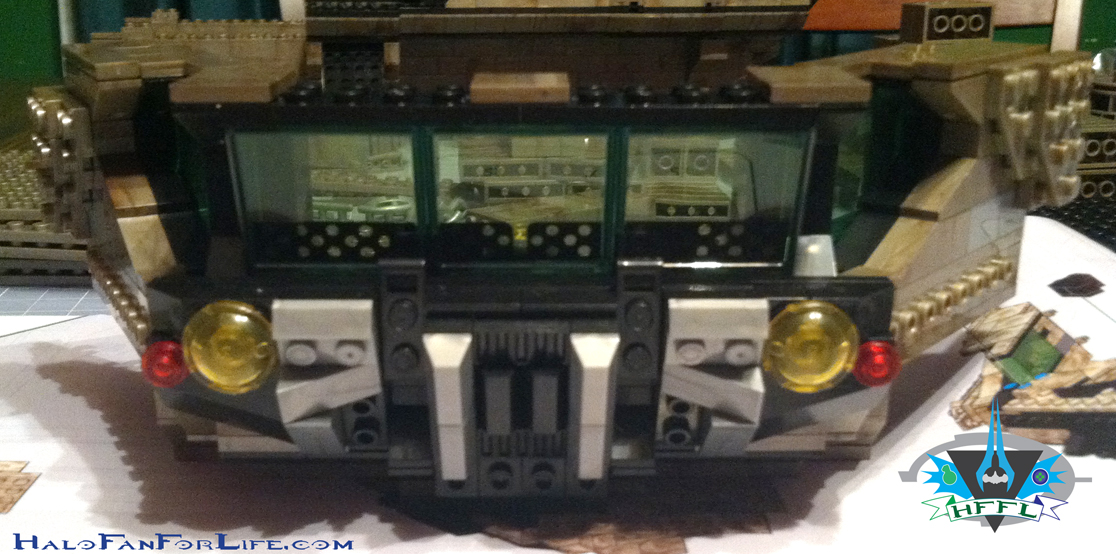
The front grill takes shape in the next two pics.MB Mammoth grill
MB Mammoth grill FINThere are a lot of “greeblies” on the grill. I love it!

The next several pics show how the rear second level walls are build. Since both sides are the same (but flipped) I only show one of the walls being built.MB Mammoth side wall back
MB Mammoth side wall back 2
MB Mammoth side wall back 3
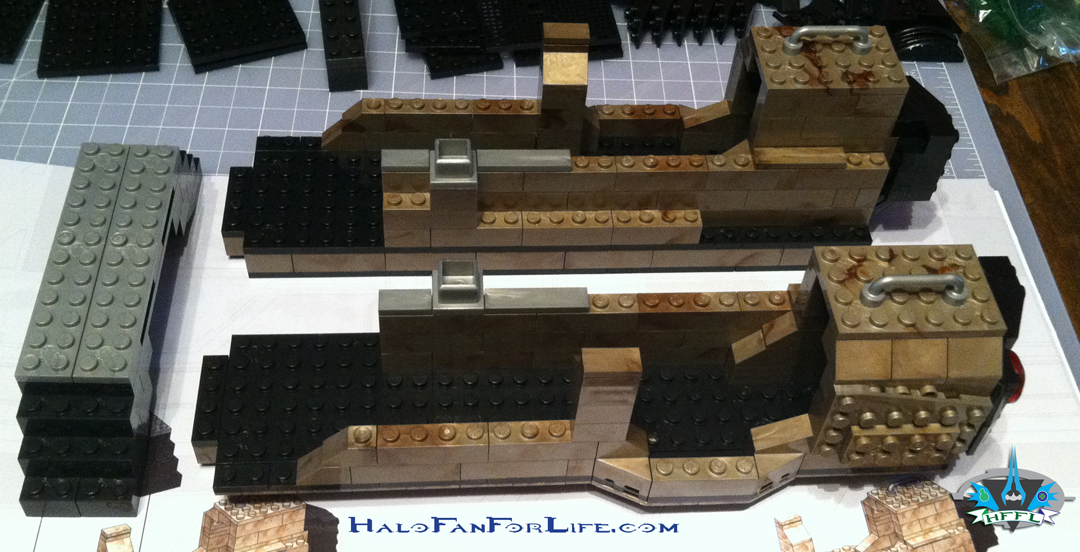
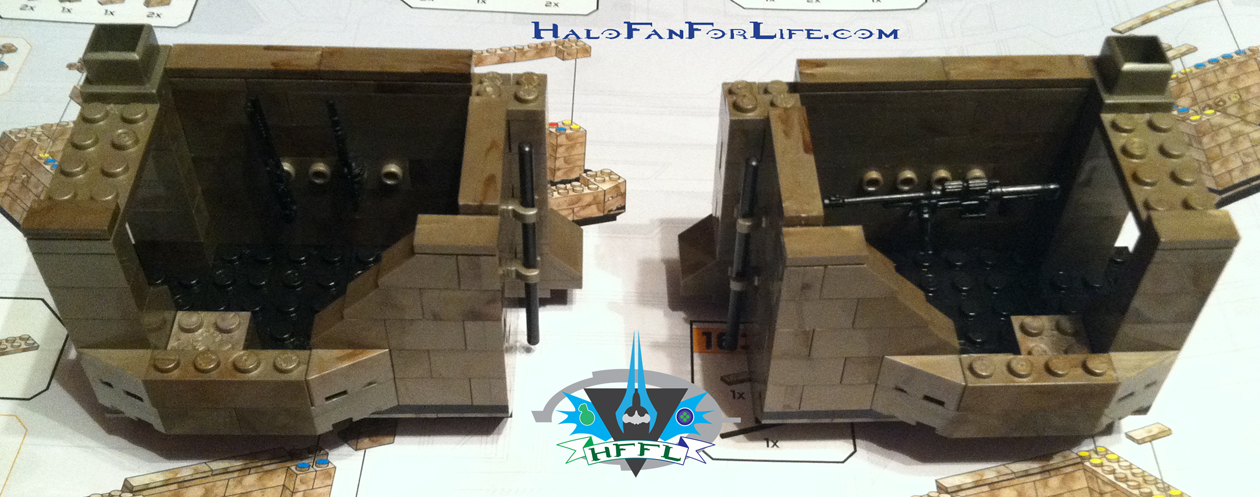
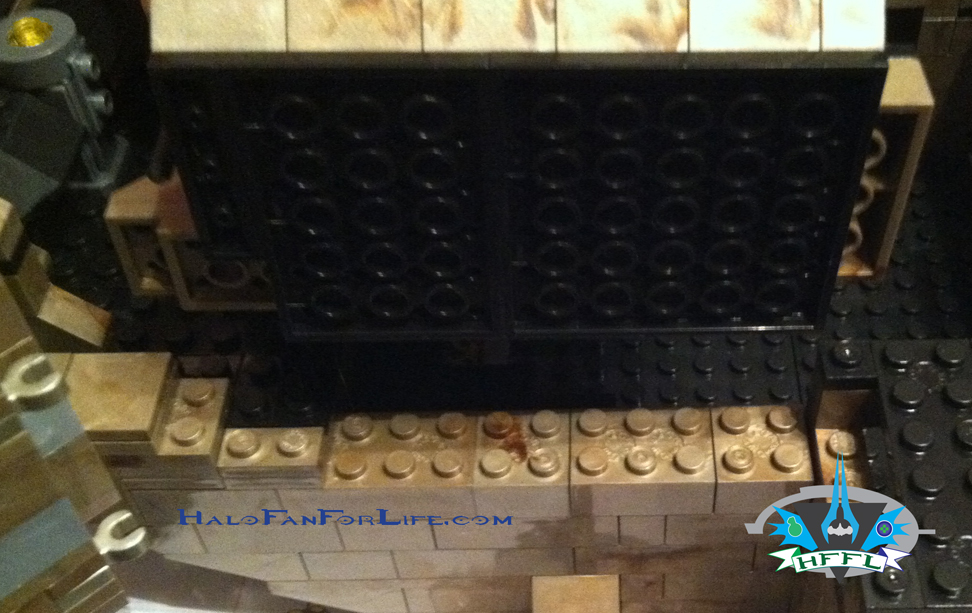
MB Mammoth side wall back 4 and bridgeHere are both rear walls built, plus the bridge that crosses the middle of the second level. There are small alcoves in the rear walls at the back that can fit a figure or weapons if you so desire.
MB Mammoth side wall back 4 and bridge FIN
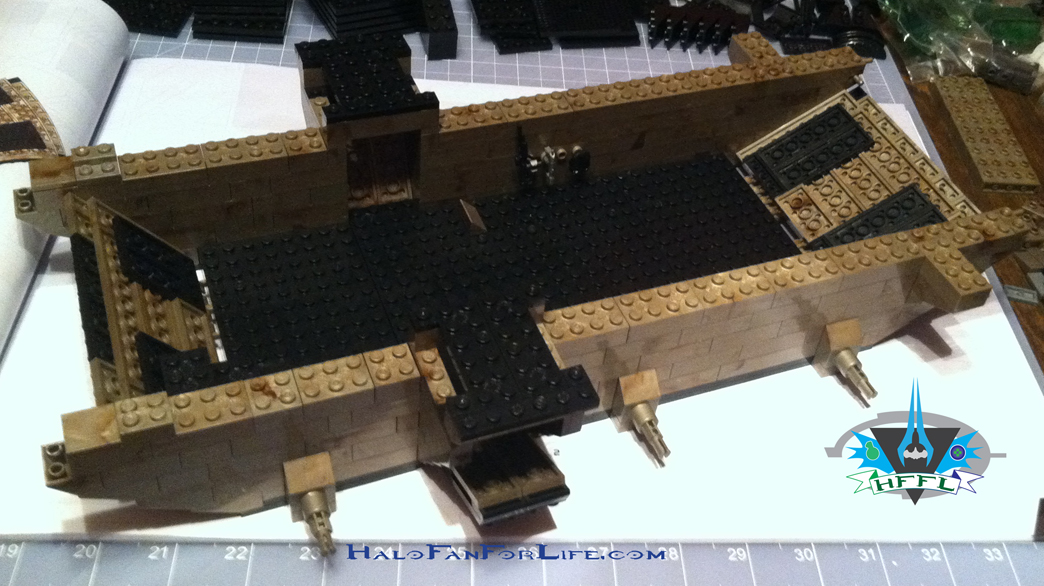
And here they are attached. The Mammoth is really starting to build up at this point.

These next several pics show the construction of the bridge deck and connecting windows.
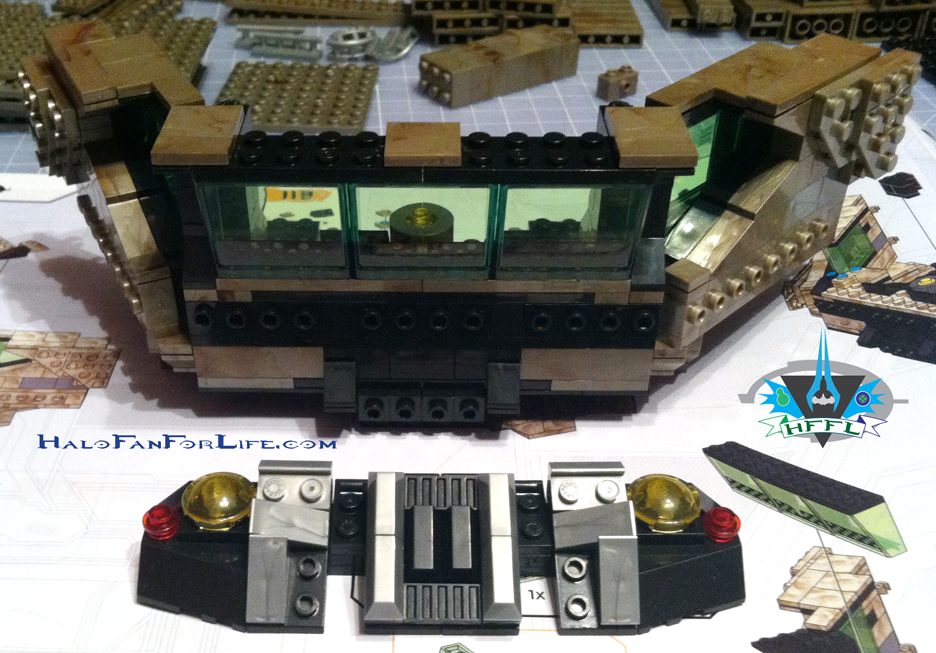
MB Mammoth command deck
MB Mammoth command deck 2
MB Mammoth command deck 3 Rolands Dias
This is Roland’s “Dias”. Mine wasn’t working. I even replaced the batteries to make sure. Thankfully, Mega is great for replacing parts. More on that later.
MB Mammoth command deck 4 Rolands Dias 2
MB Mammoth command deck 5
MB Mammoth command deck 6 side walls
Here are the side windows from earlier.
MB Mammoth command deck 6 side walls 2
MB Mammoth command deck 7
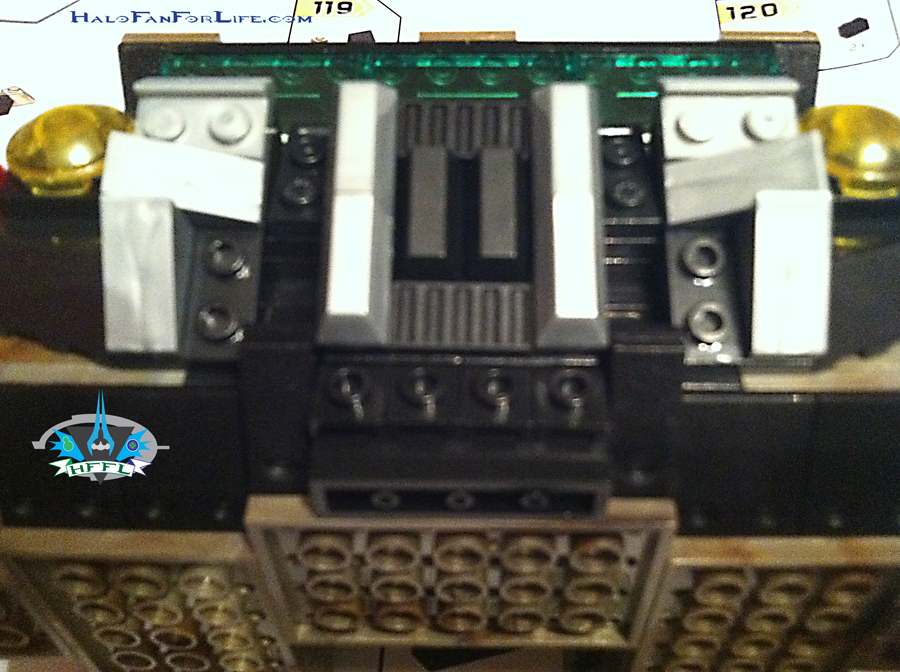
MB Mammoth command deck 8 grill
The grill is about to be attached.
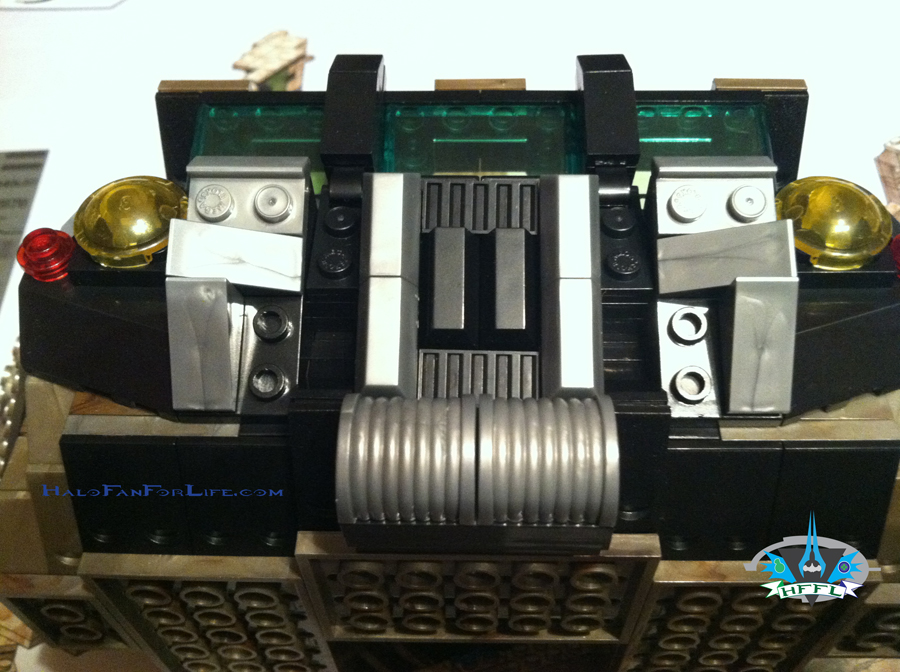
MB Mammoth command deck 8 grill 2
MB Mammoth command deck 8 grill 3
MB Mammoth command deck 8 grill 4
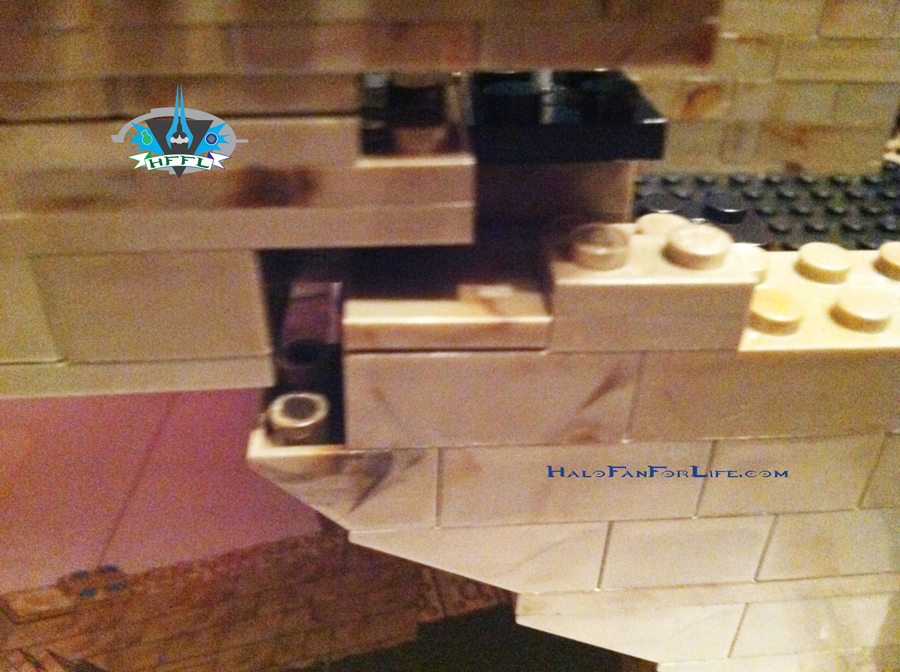
The next pic shows the attachment point for the bridge deck on one side.
MB Mammoth command deck 9 attachment point
MB Mammoth command deck 10 back walls and bridge
Now the Mammoth is REALLY taking shape. Adding the bridge immediately adds a lot of character to the vehicle.

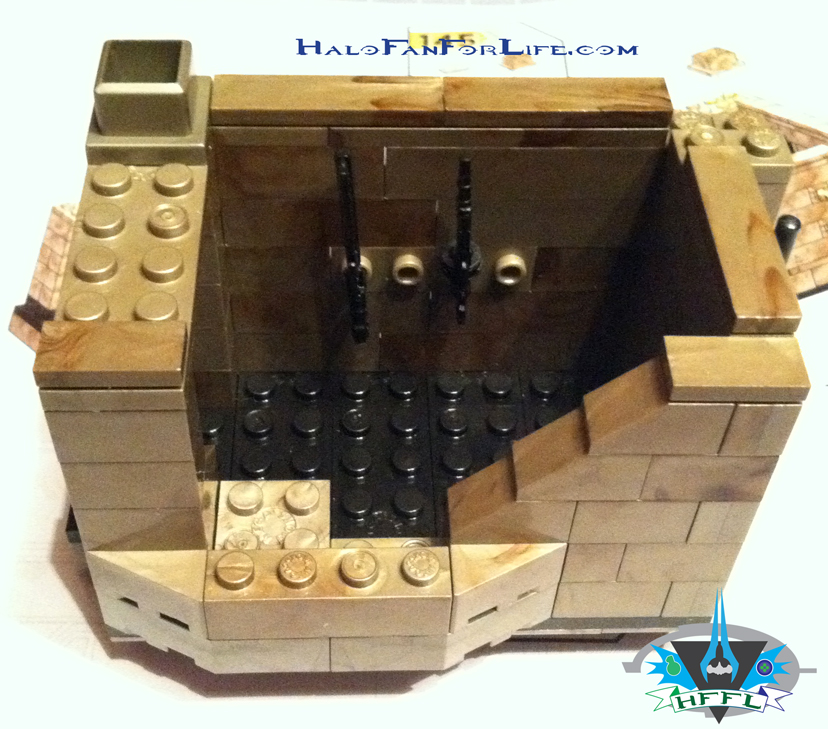
The next several pics show the construction of the mid walls on the second level. Again they are the same for both sides, just flipped. Only exception is the weapons placed in each of these walls.MB Mammoth mid wall
MB Mammoth mid wall 2
MB Mammoth mid wall 3
MB Mammoth mid wall 4 both sidesBoth side mid walls. You can switch weapons as you like. That’s not a critical step.
The next steps show how these walls connect with the model.MB Mammoth mid wall 5 attachment point
MB Mammoth mid wall 5 attachment point 2
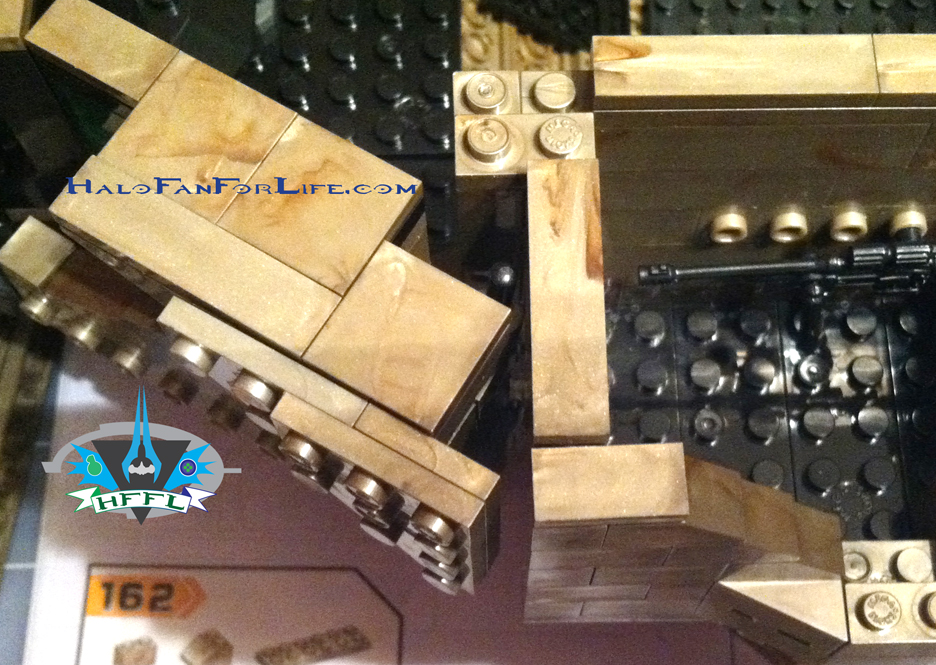
In the above pic, note just to the left of the sniper wall, there is a rod that connects with two “c” clamps on both the wall AND the side bridge. This helps to secure the bridge in places as the side walls are actually on a hinge so that they can make that angle. Great design here.
MB Mammoth mid wall 6 fin
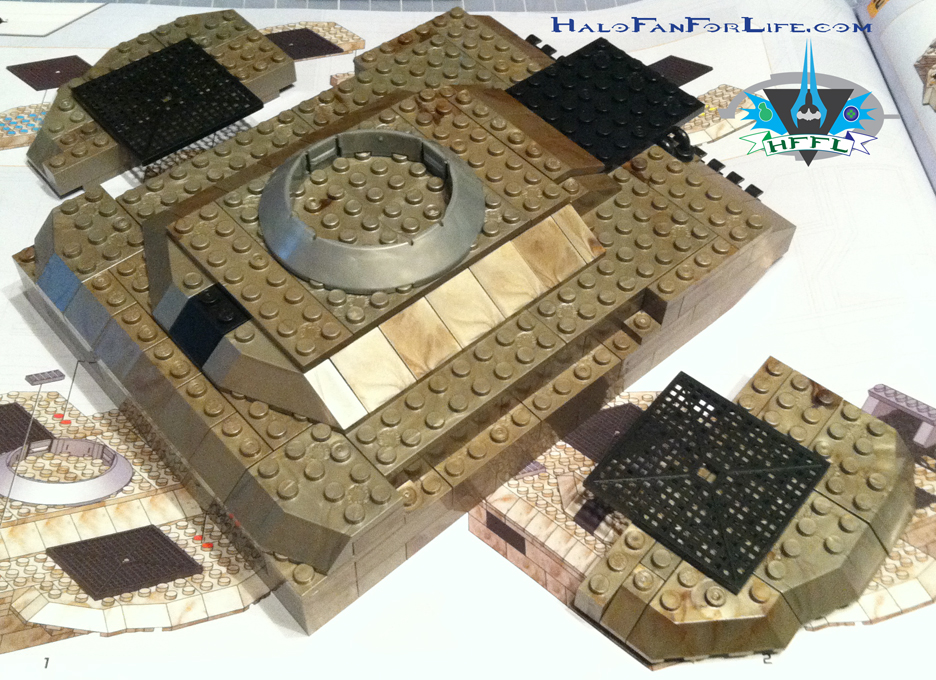
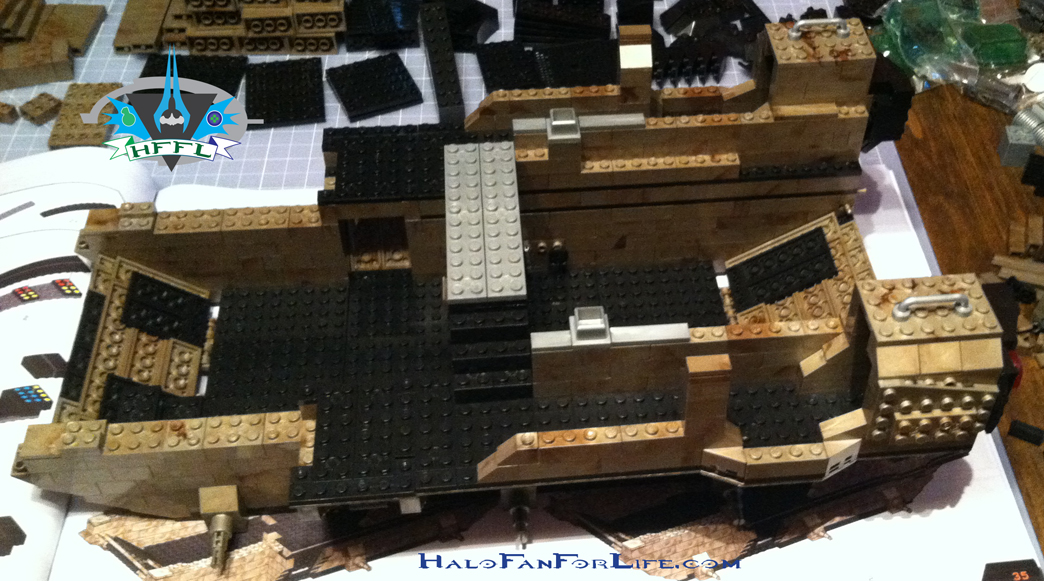
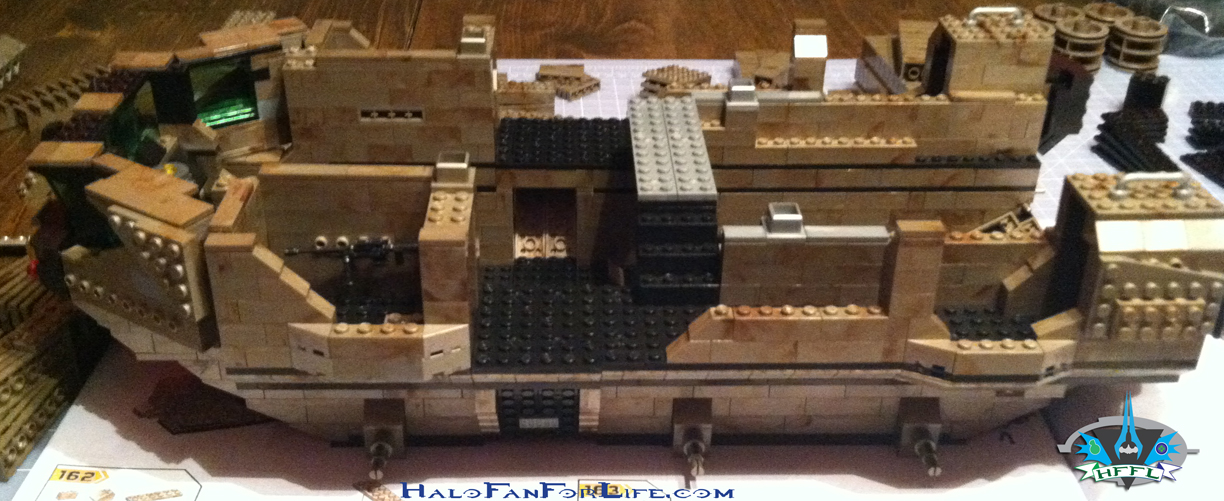
The model so far. Wow, is it really coming together or what? It’s HUGE!
MB Mammoth front flaps
These are two side panels that are added to the side bridge walls.
MB Mammoth front flaps FIN
And finally below, there are two small walls that will actually hold one of the roof panels.
MB Mammoth mid SMALL walls

At this point, I need a bit of a break from building as I had been building for a few hours already. Tomorrow I’ll show you how the roof panels are assembled and attached. So stayed tuned for HFFL for the continuing toy review of the Mega Bloks UNSC Mammoth!

And please reply below with what you think of the review thus far.
-Sal
Spartan Assault this AND next month…

Halo Spartan Assault Logo

It was announced on 343’s twitch stream today that Spartan Assault will be available for the XBOX One on Dec 24. For those curious about when for the 360, it was only stated, sometime in January.
As someone who will not be able to afford an XBOX One for at least 6 more months, this is disappointing. Yes, I’m glad it will come to the 360, but I’m disappointed that it’s not coming out at the same time as the One.

Marketing strategy or not, it would have been a nice gesture by 343 to release it for both console at the same time. Sigh….

I can only hope that someone out there who is getting this for the 360 will play co-op with me. Those of my friends who are getting this that I know of, are getting it for the One.

-Sal