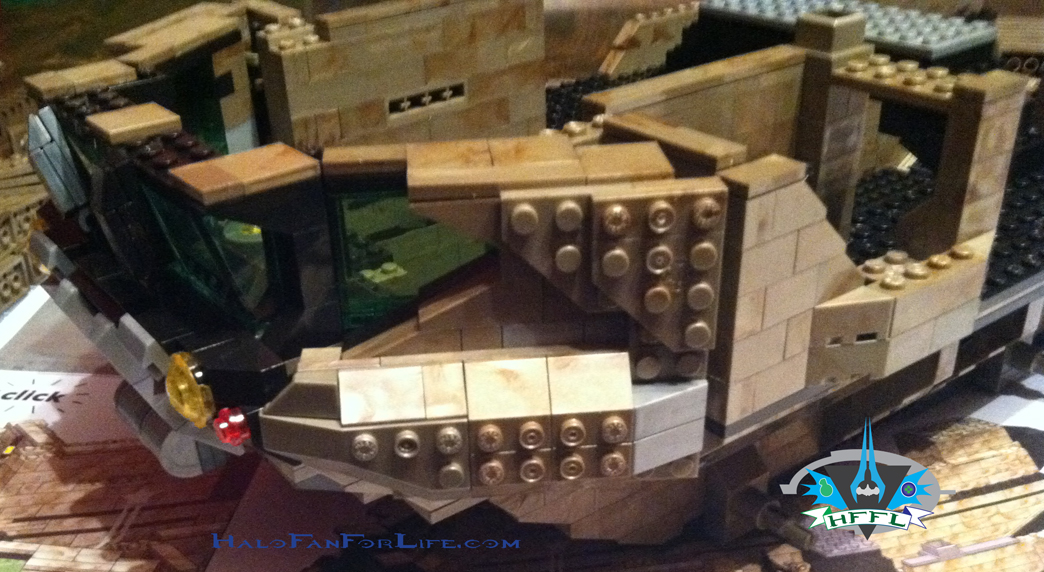
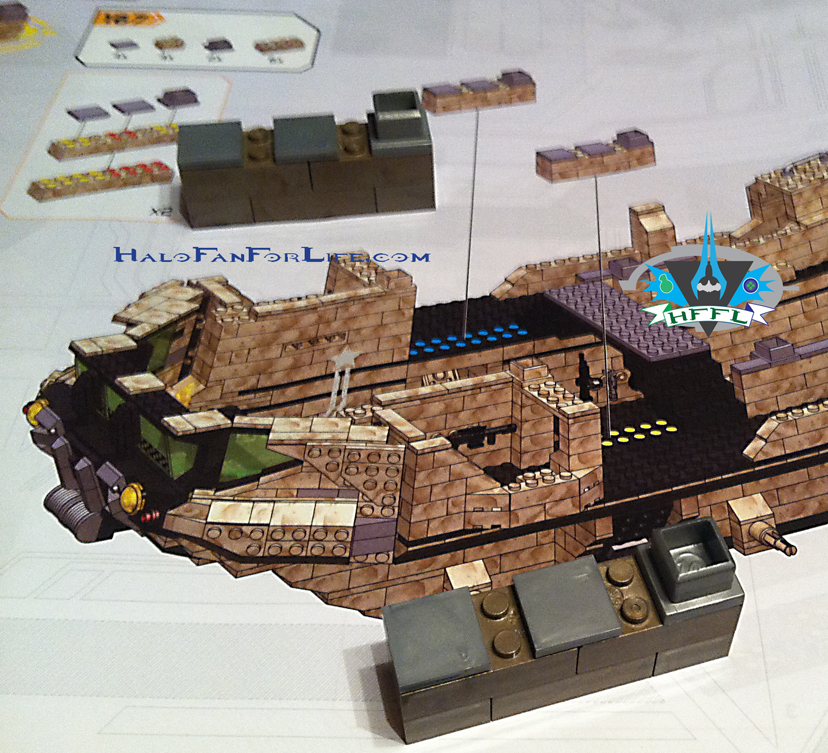
This is the second of a four part toy review for the Mega Bloks UNSC Mammoth. In this part, you’ll see how the lower and second levels come together.
There’s more than 40 pics in this part of the review, so let’s get started.
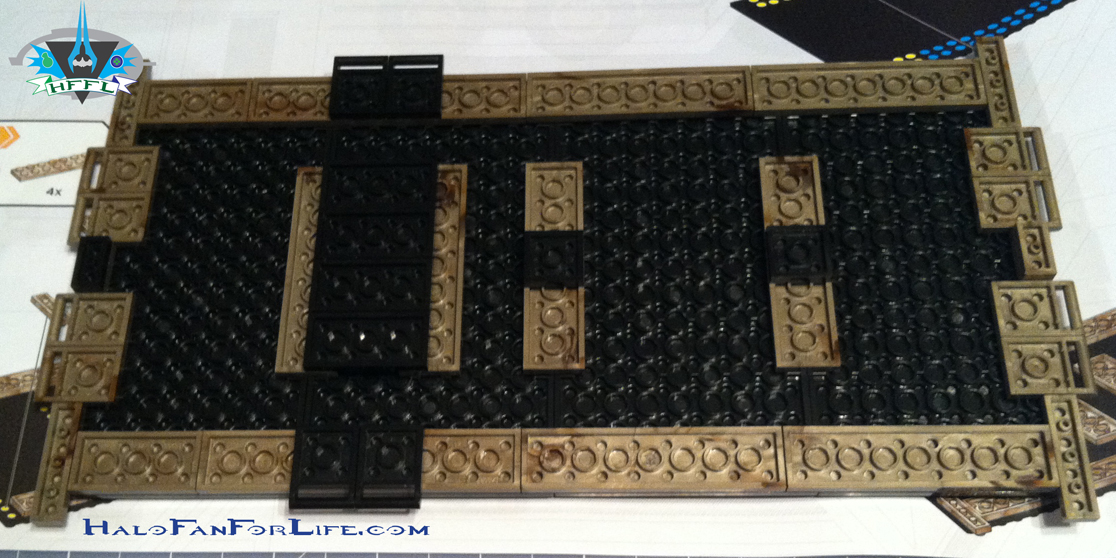
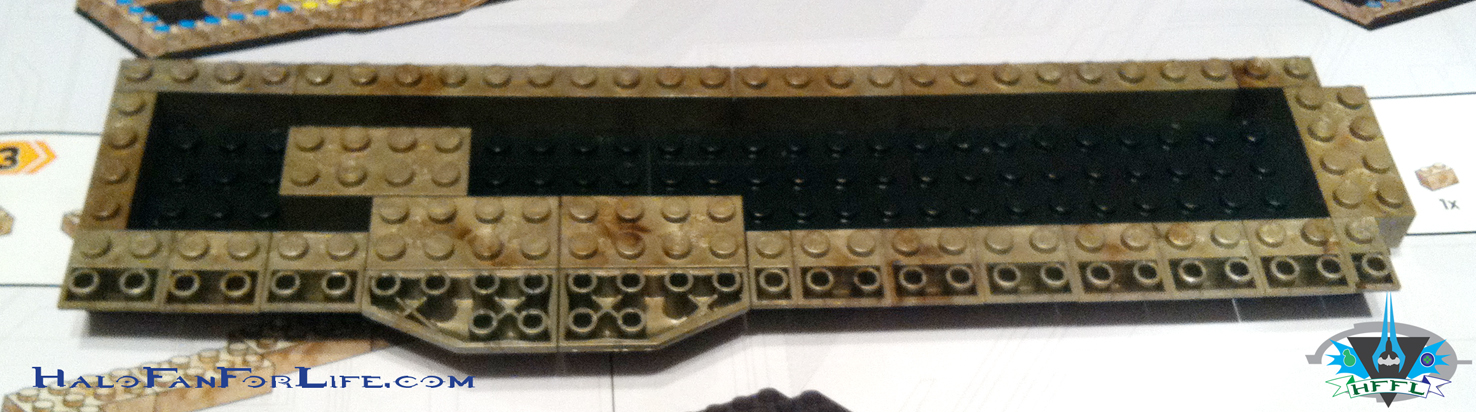
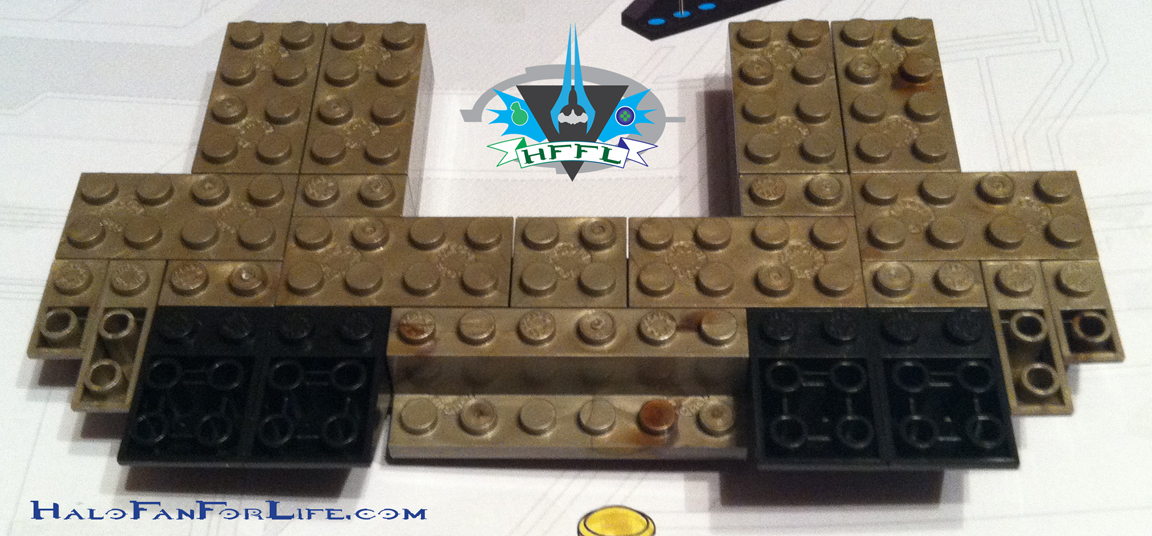
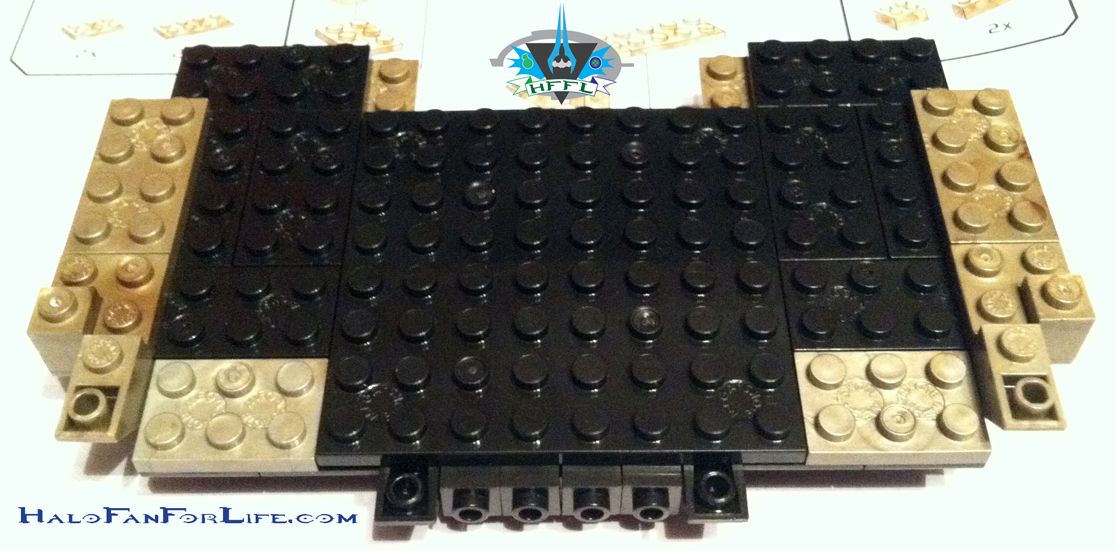
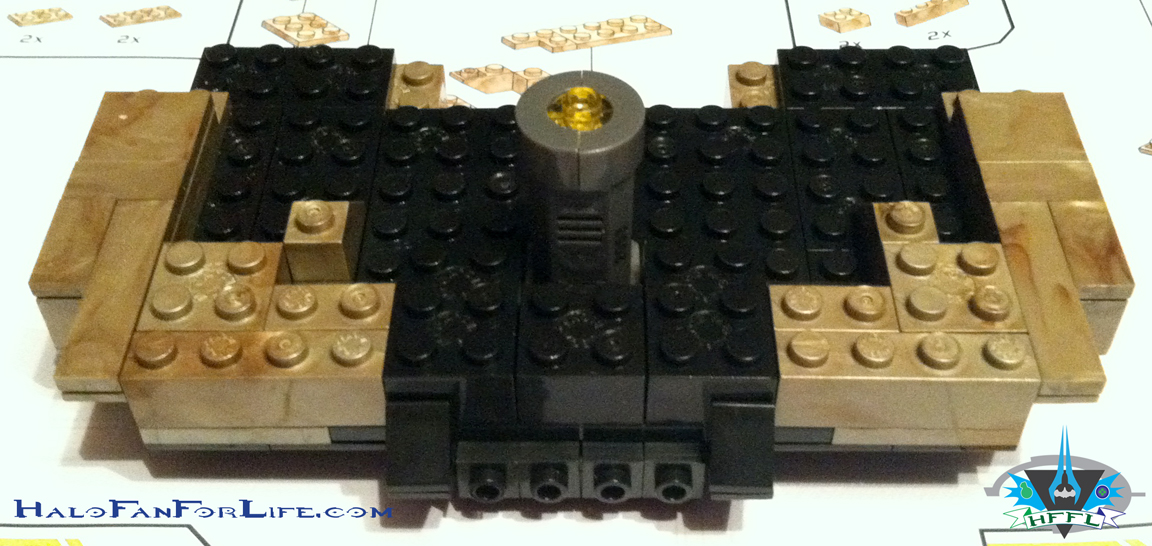
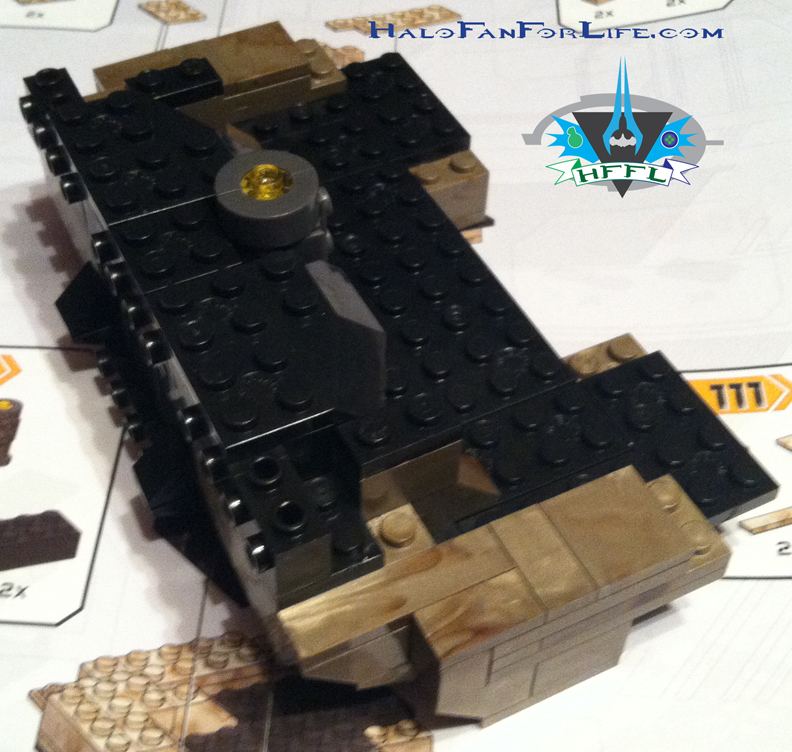
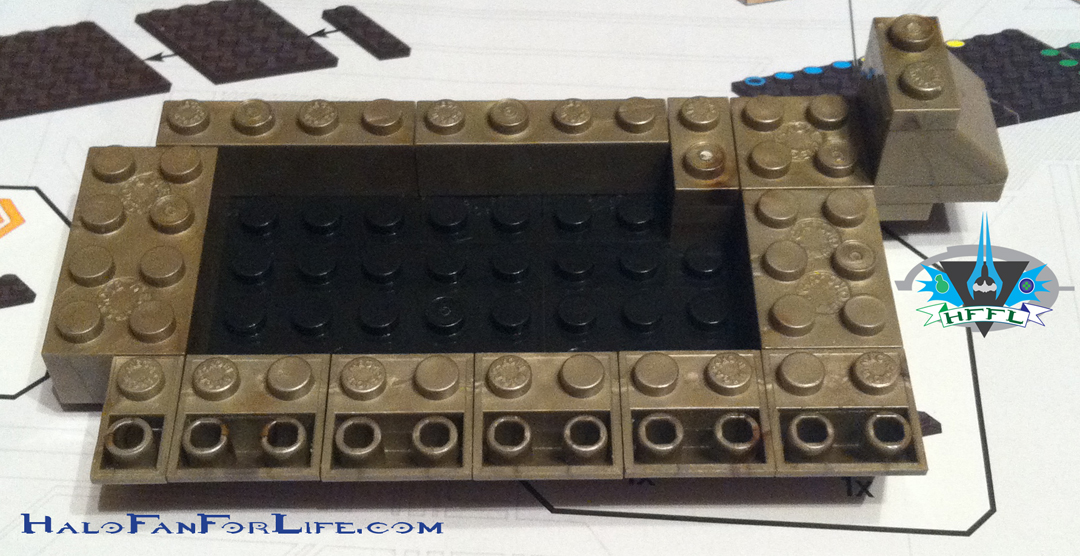
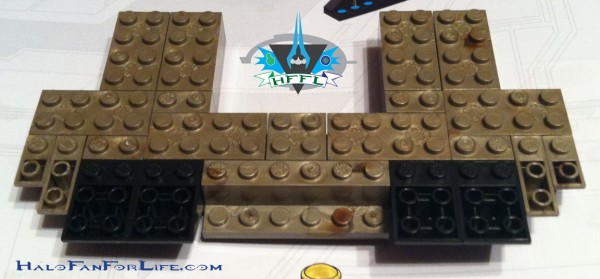
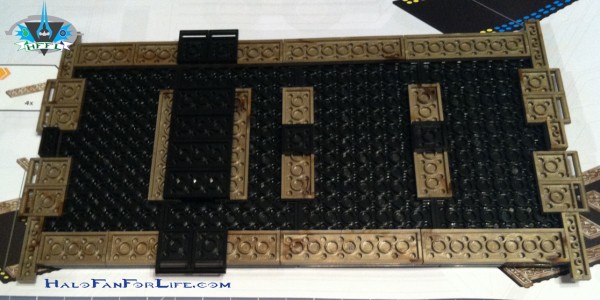 This is first couple of steps to build the base of Mammoth. All of the weight of this model is going to be supported by the base so it has to be sturdy and strong.
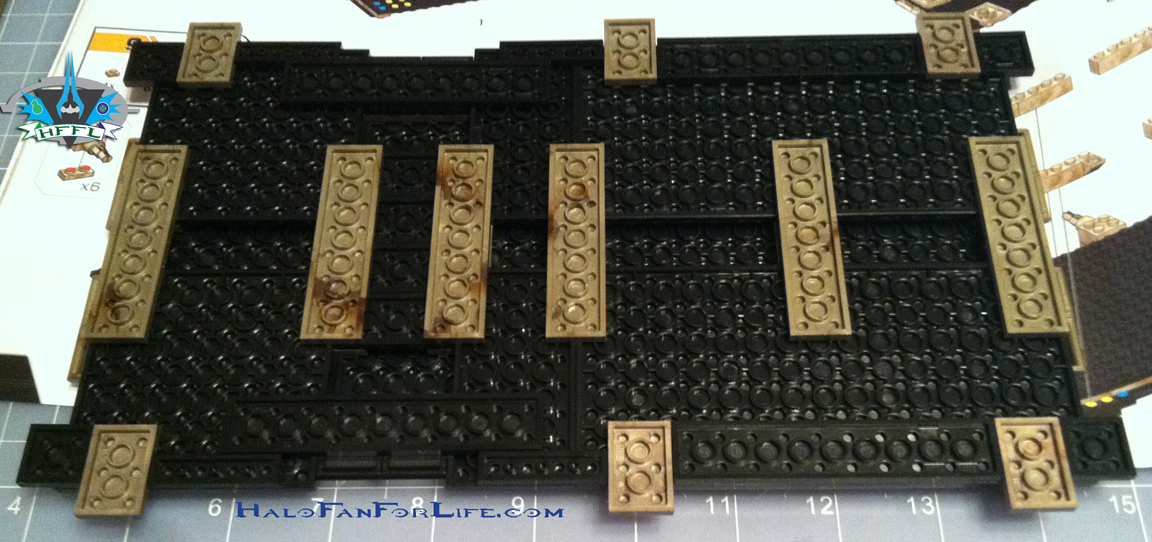
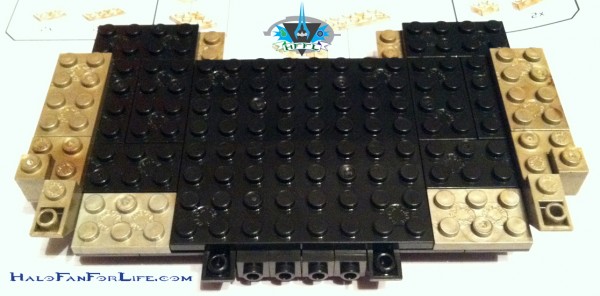
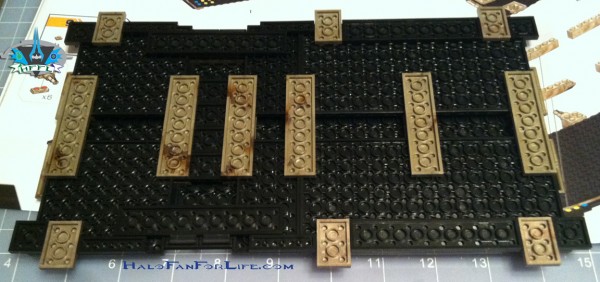 These next few steps to building the base of the Mammoth show just how many more plates are added to strengthen it.
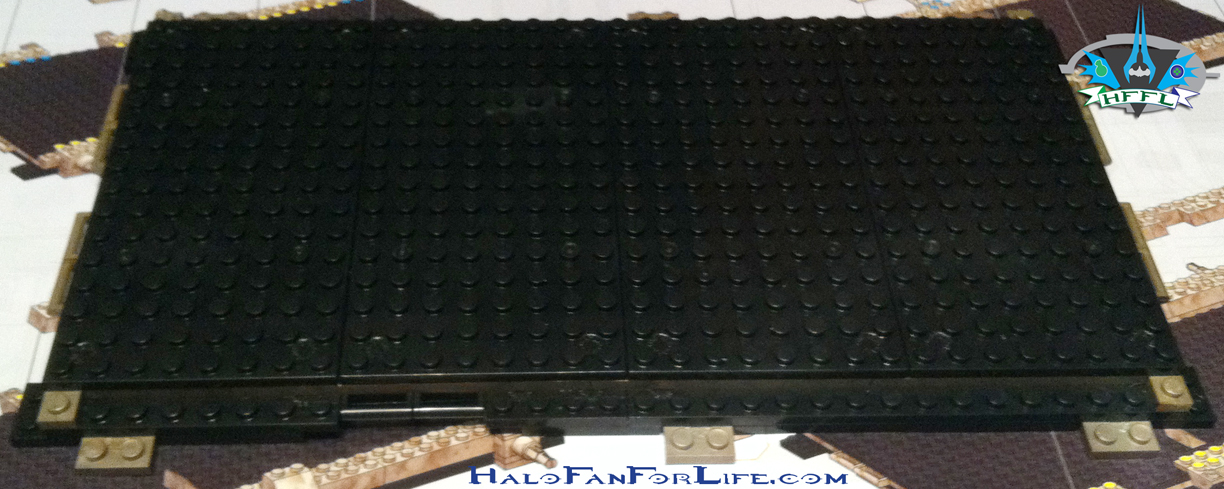
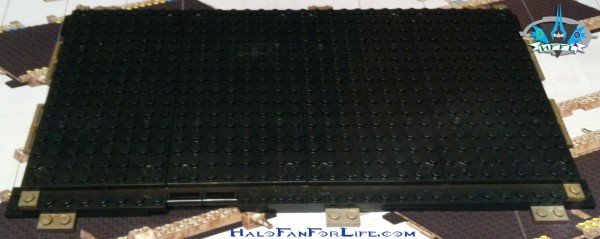 The base ends up being 4 plates thick. Believe it or not, that’s quite enough to keep the Mammoth propped up.
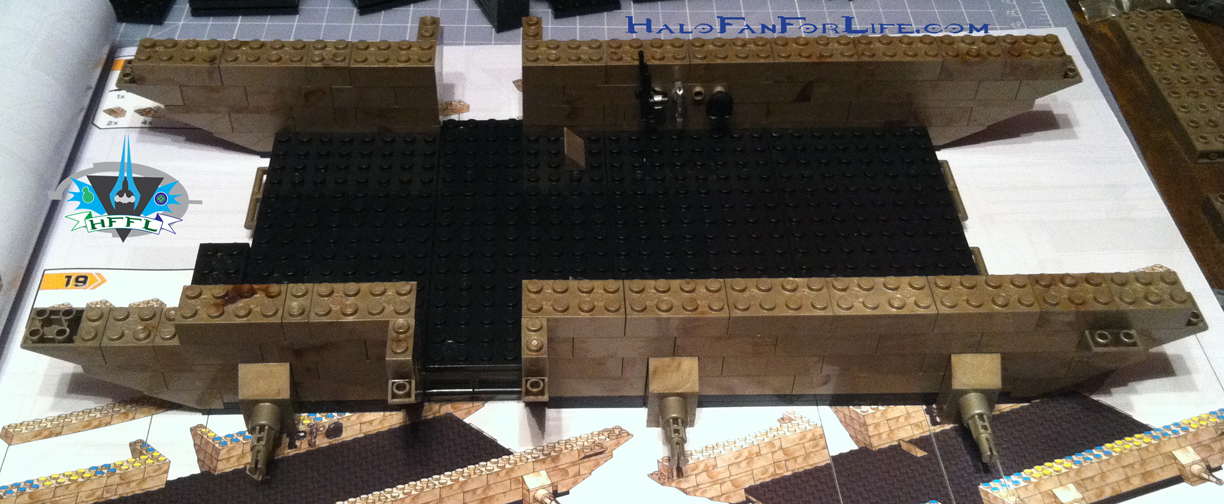
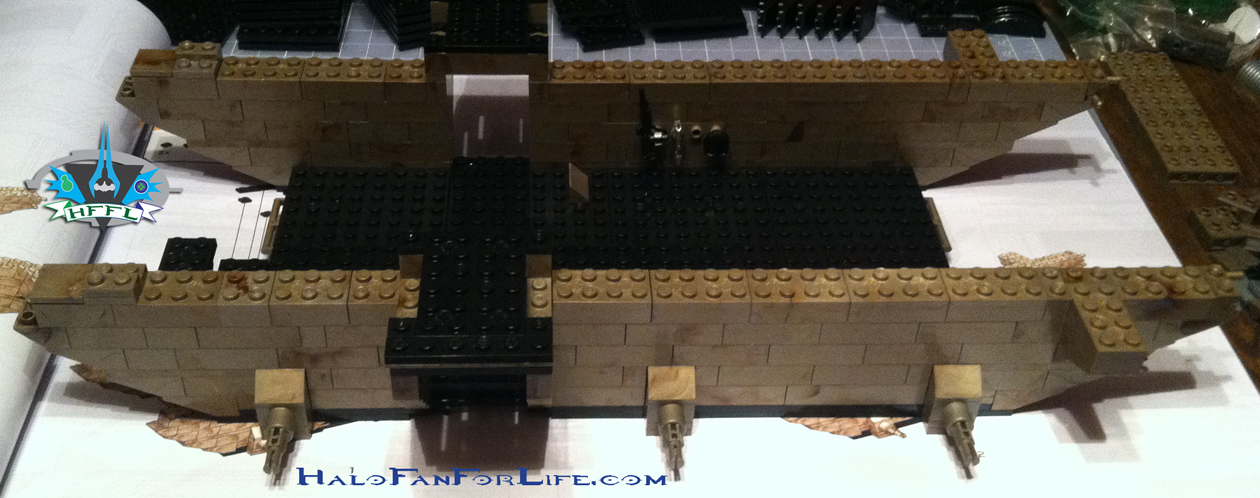
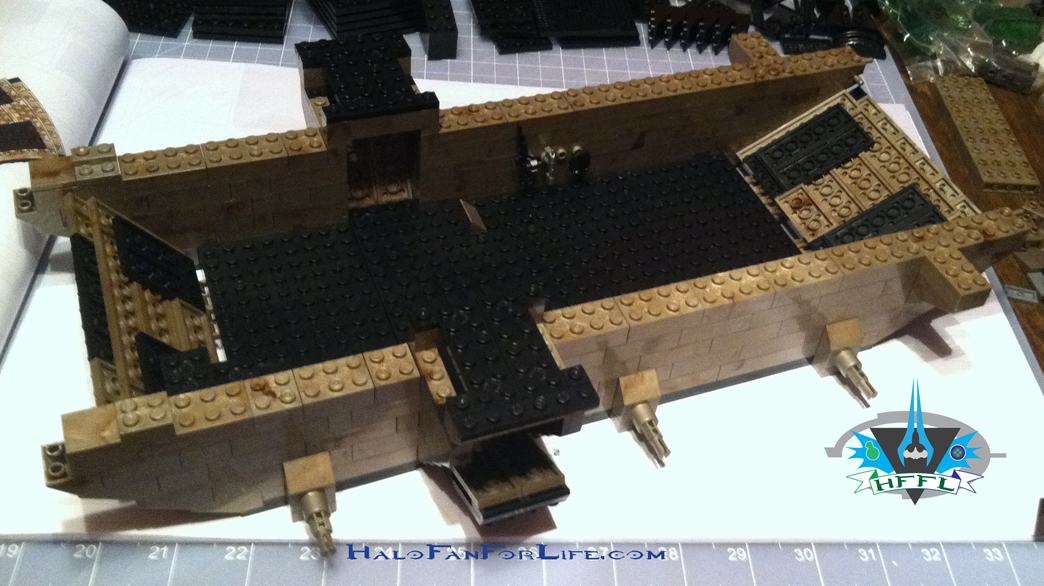
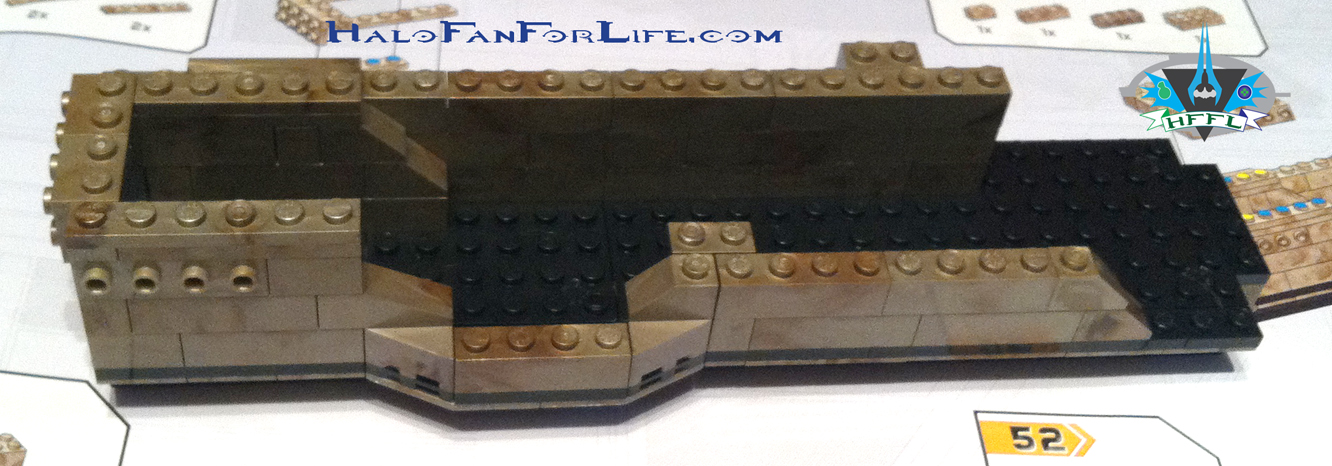
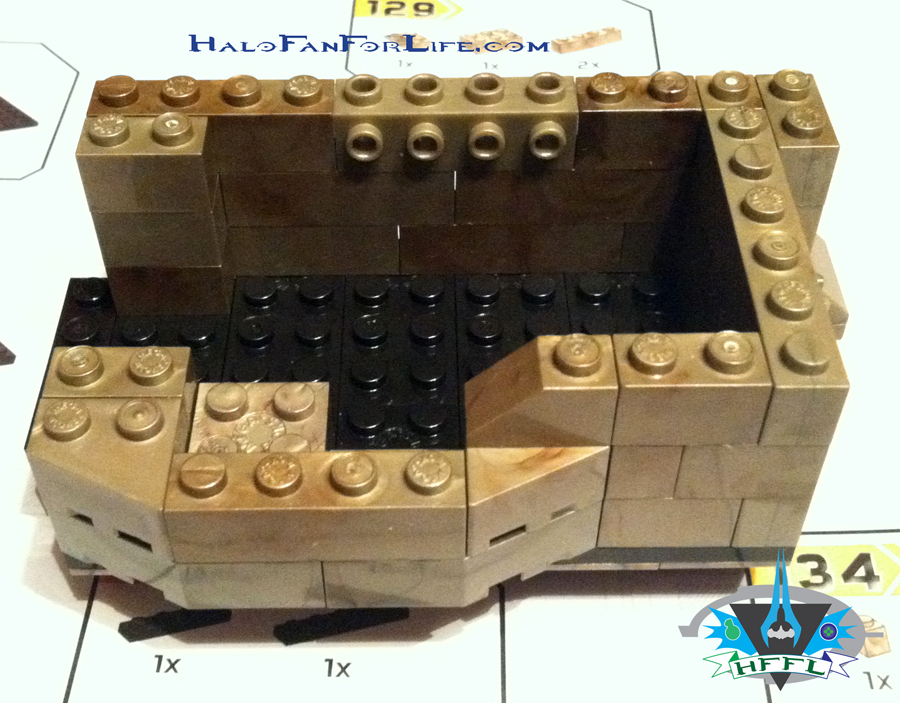
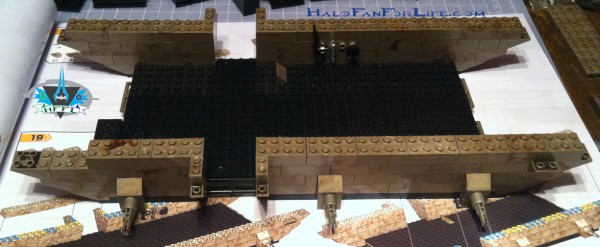 The first few steps of the lower level (garage) walls go up.
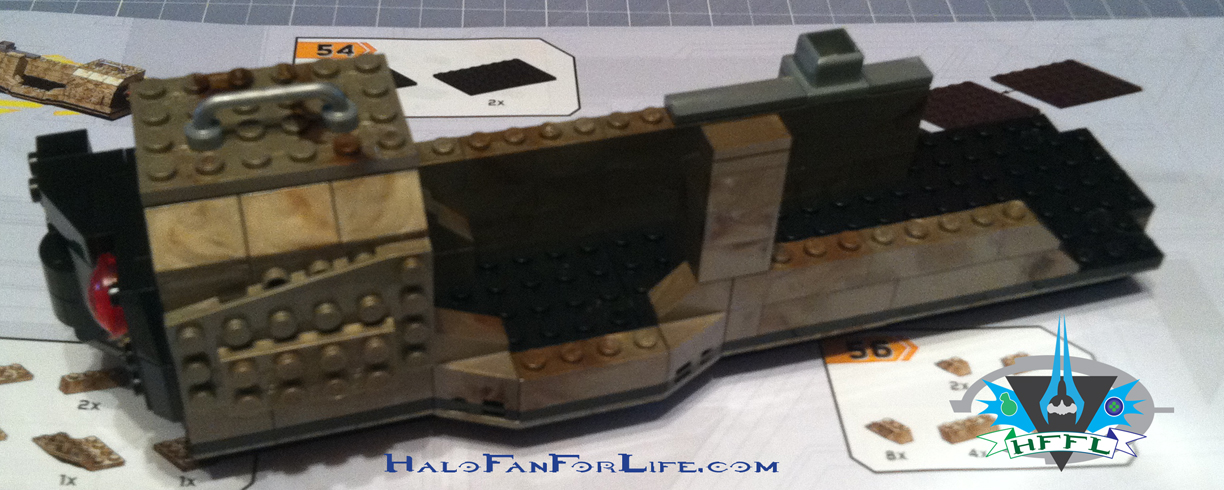
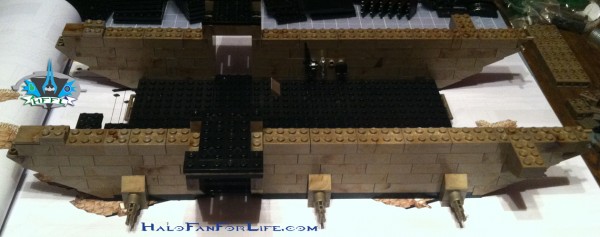 The next few steps. By this point the build has felt similar to the UNSC Elephant’s build at the beginning. But that quickly changes after this.
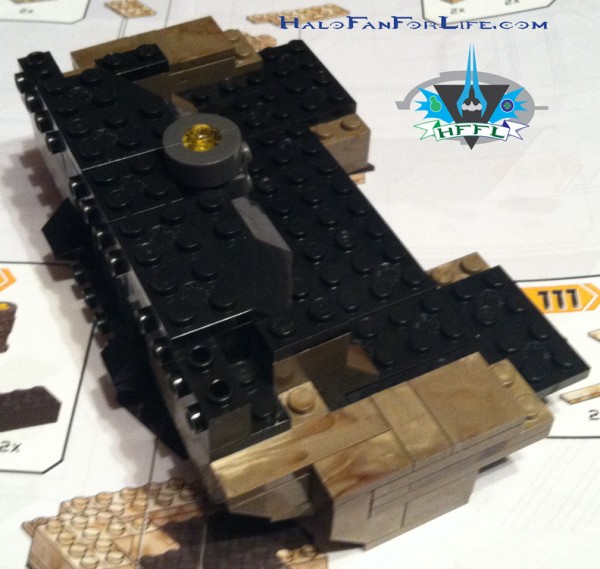
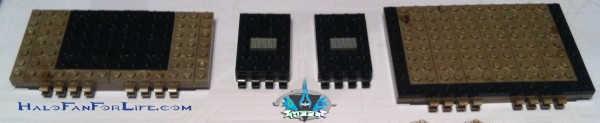 Here are the ramps and side doors.
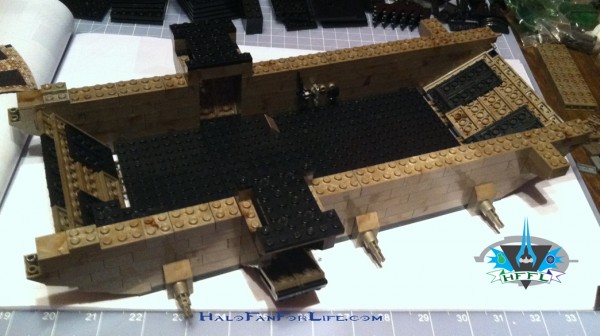 And here they are attached. This is looking more like a World War II landing craft at this point, LOL.
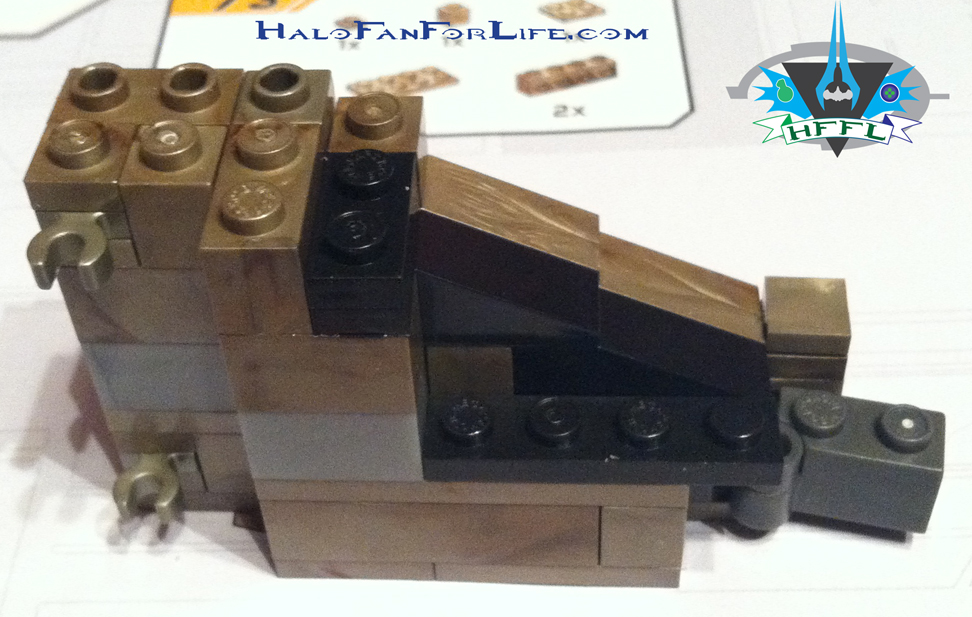
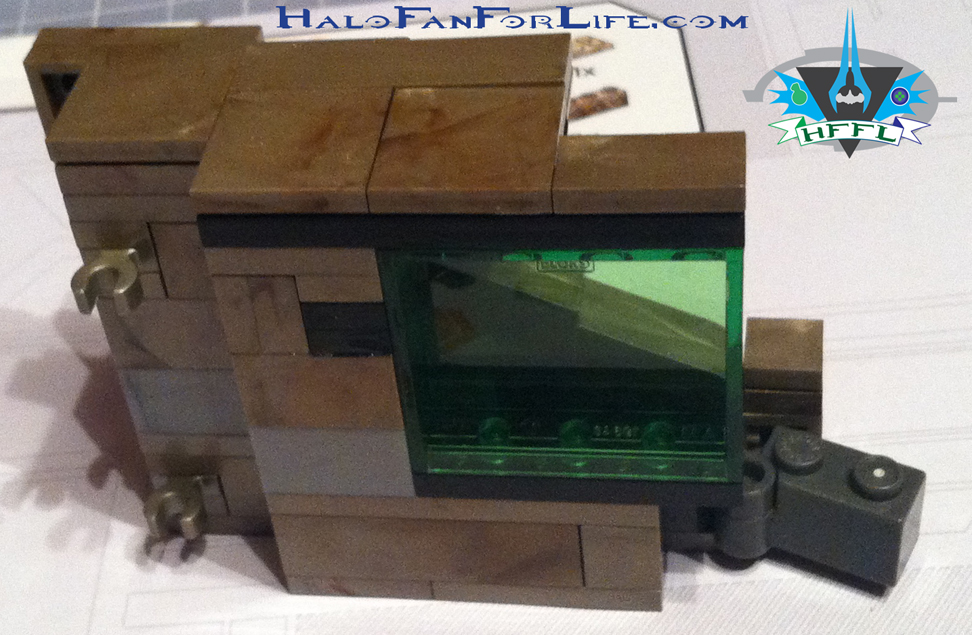
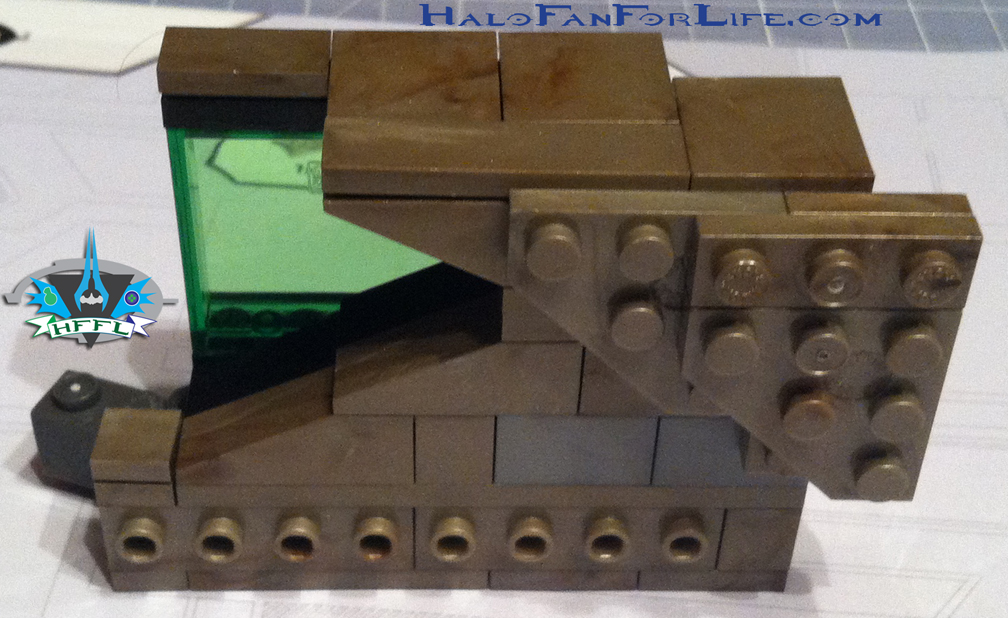
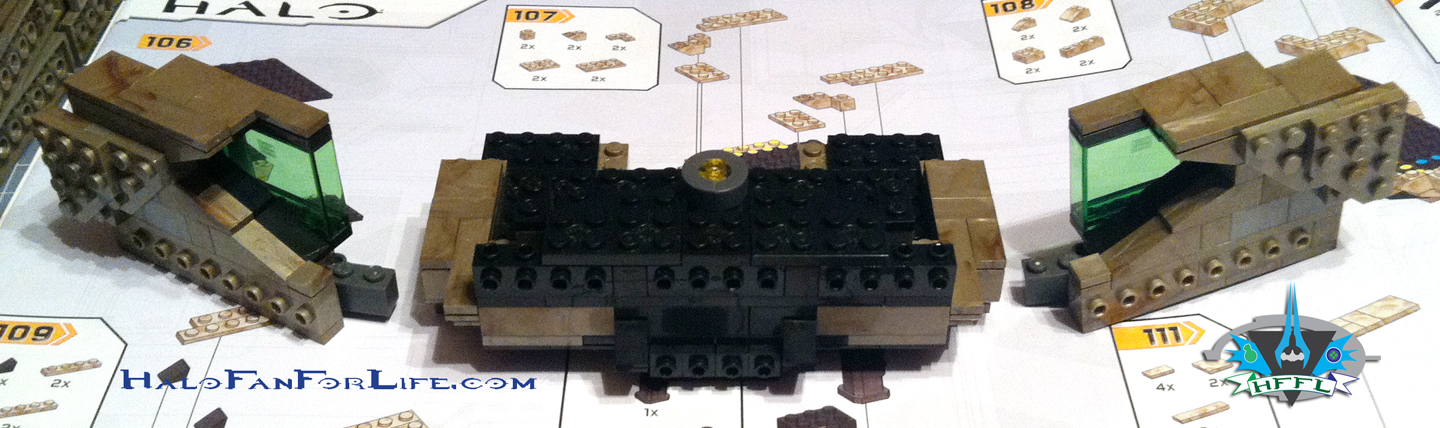
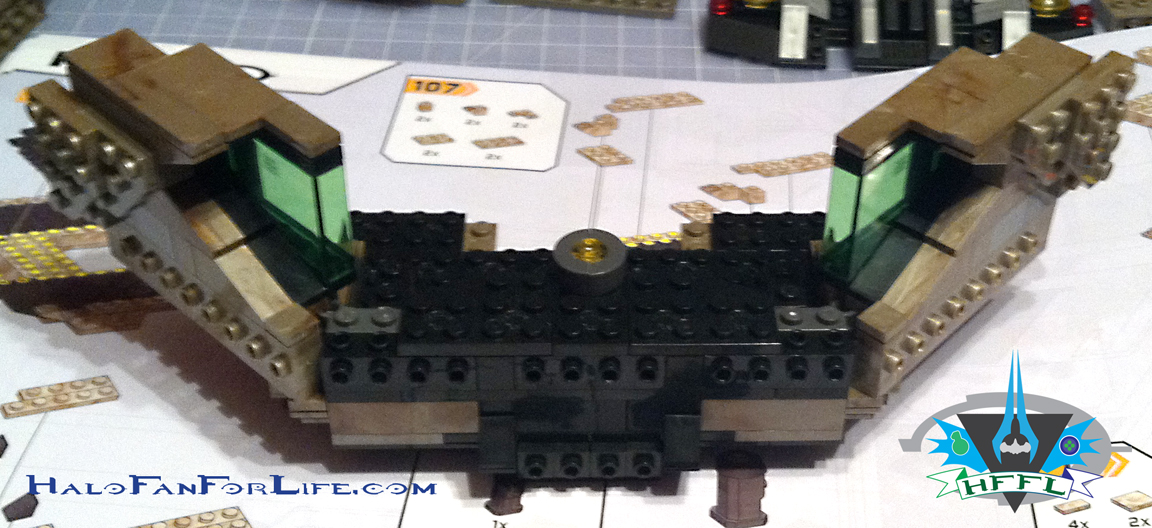
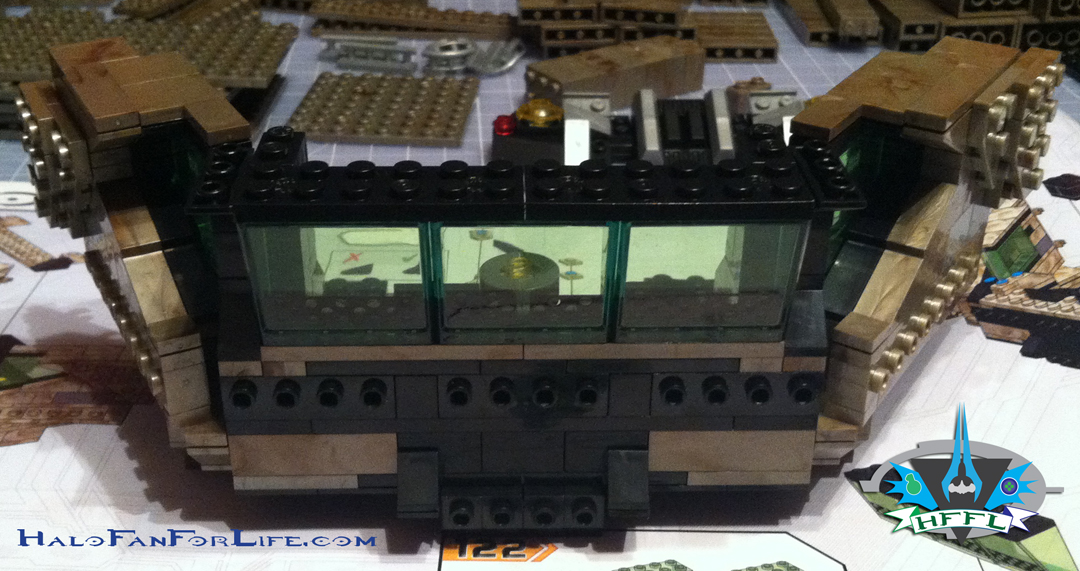
The next few pics will show the stages of build for the side command deck windows.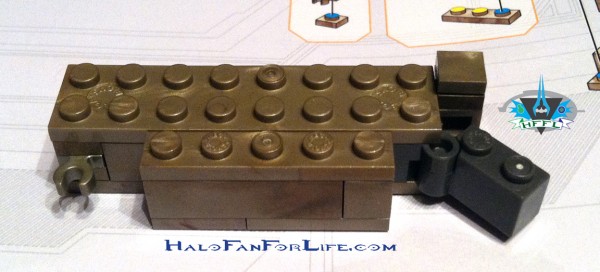
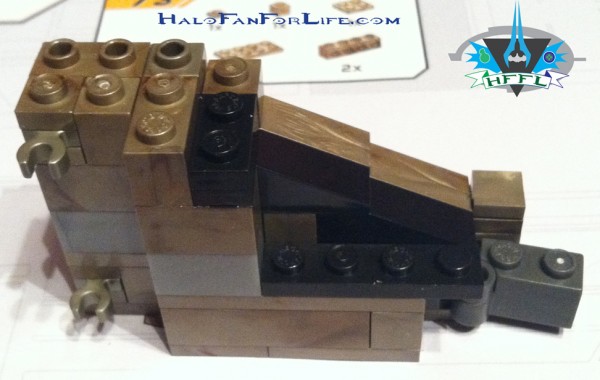
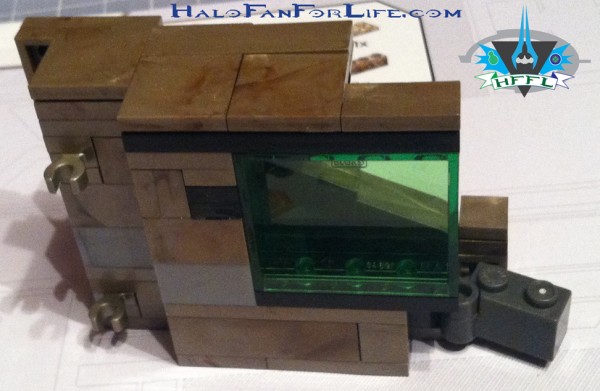
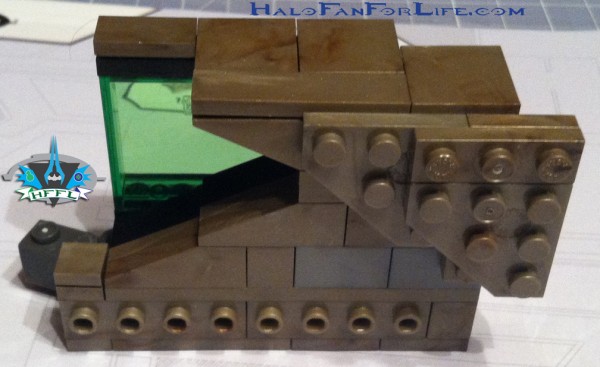 This last pic of the side command deck window shows it turn around as that is the outside of the window.
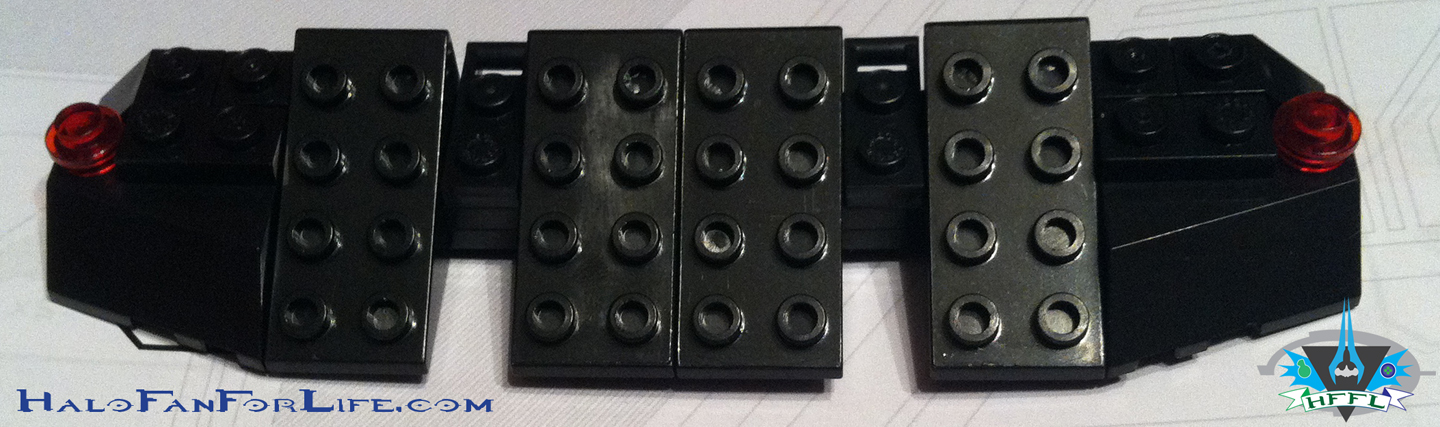
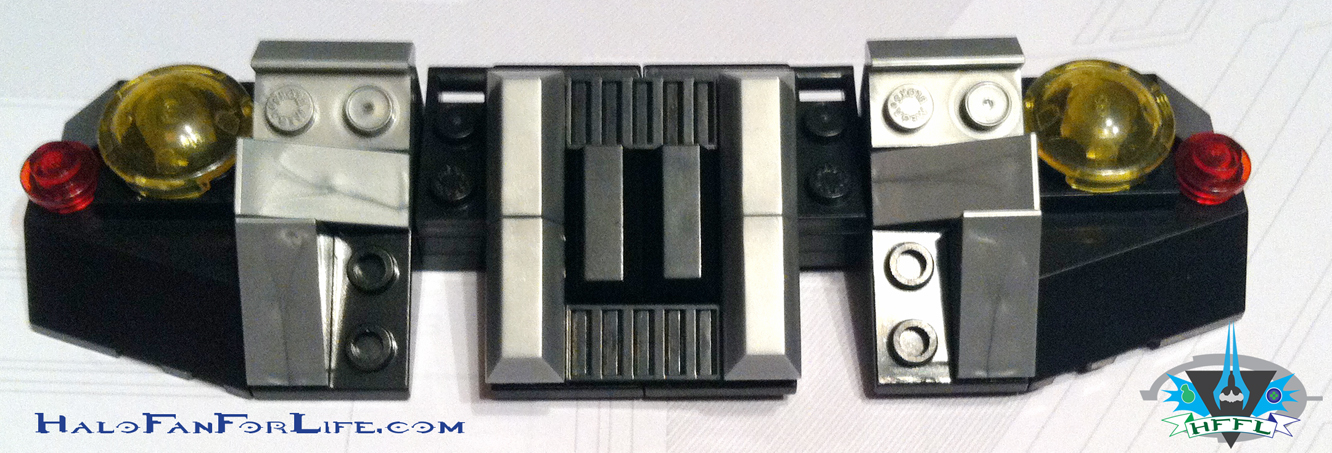
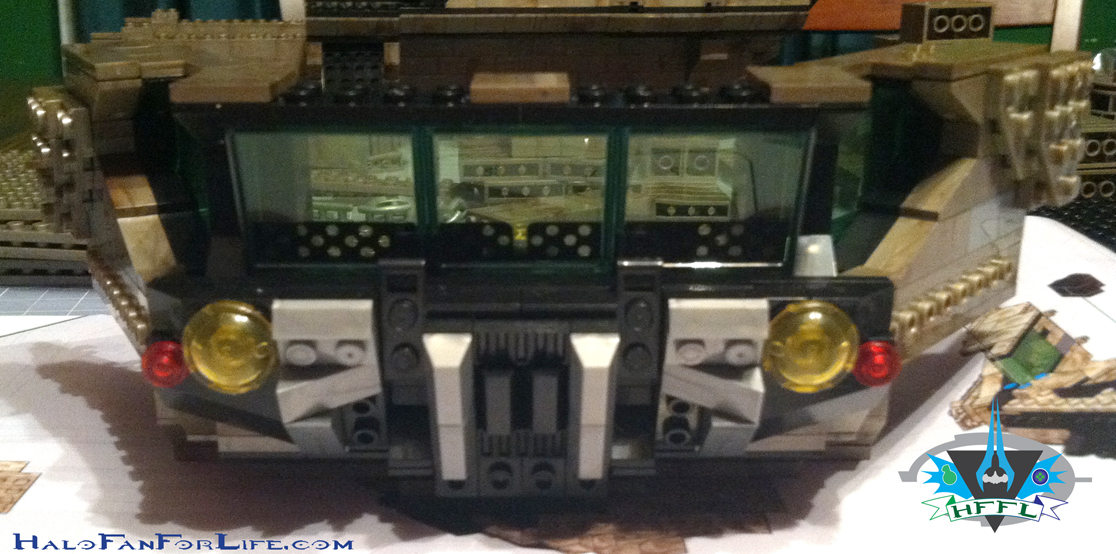
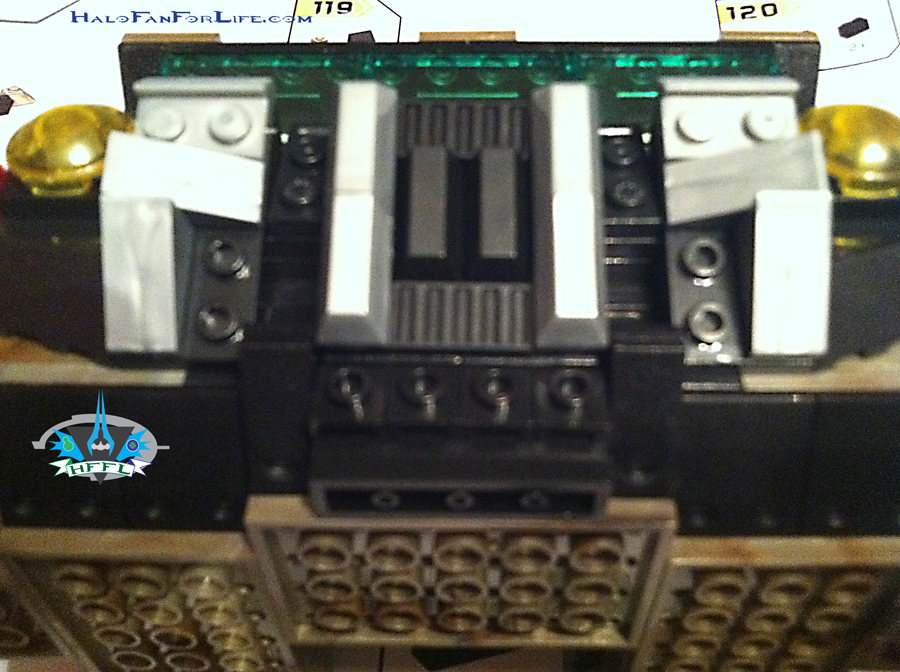
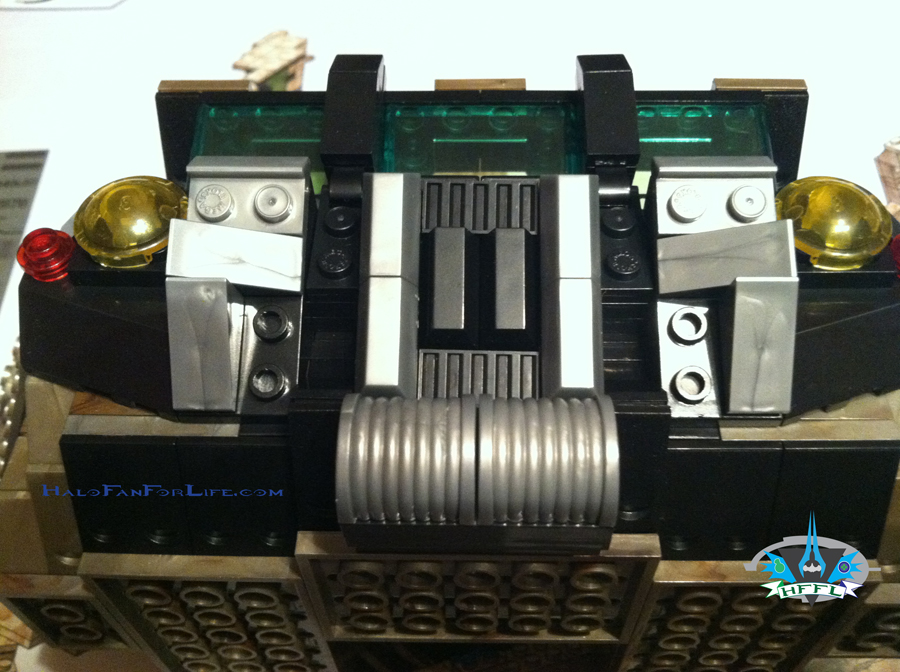
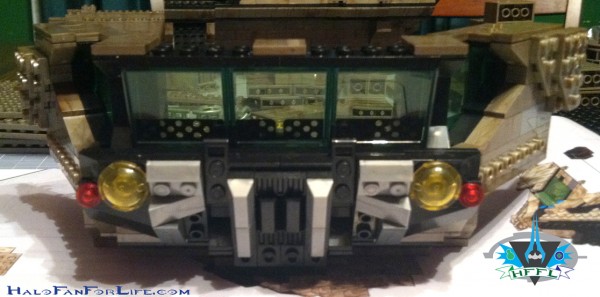
The front grill takes shape in the next two pics.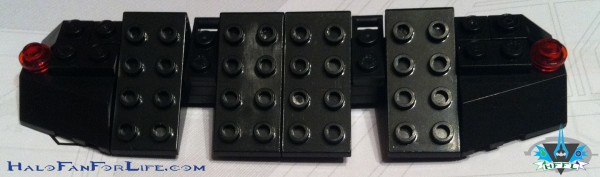
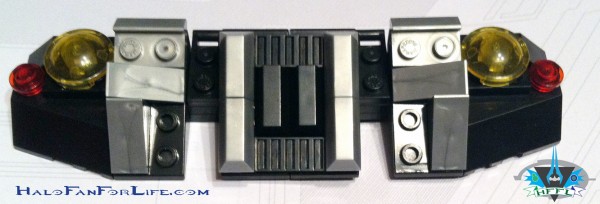 There are a lot of “greeblies” on the grill. I love it!
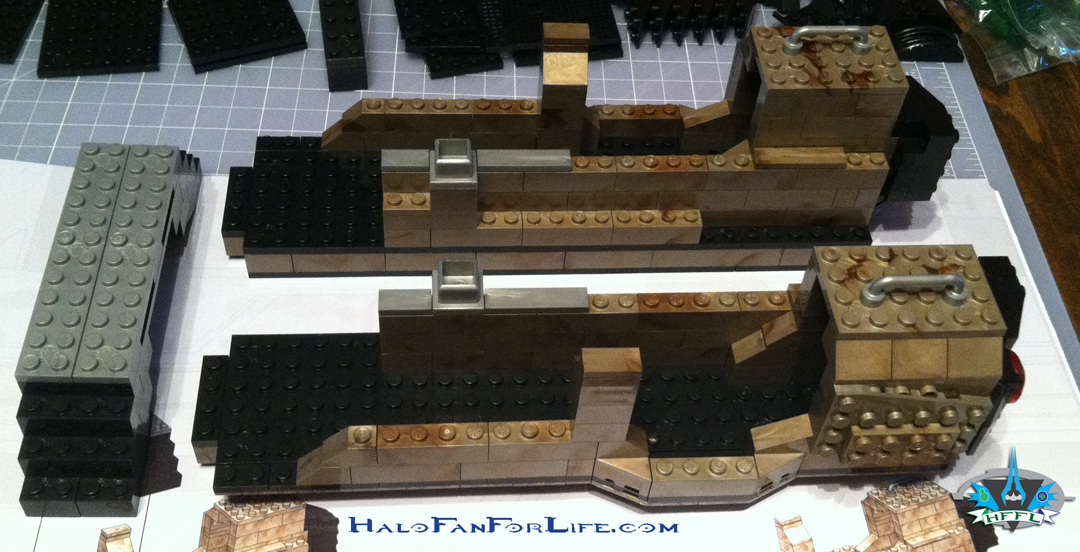
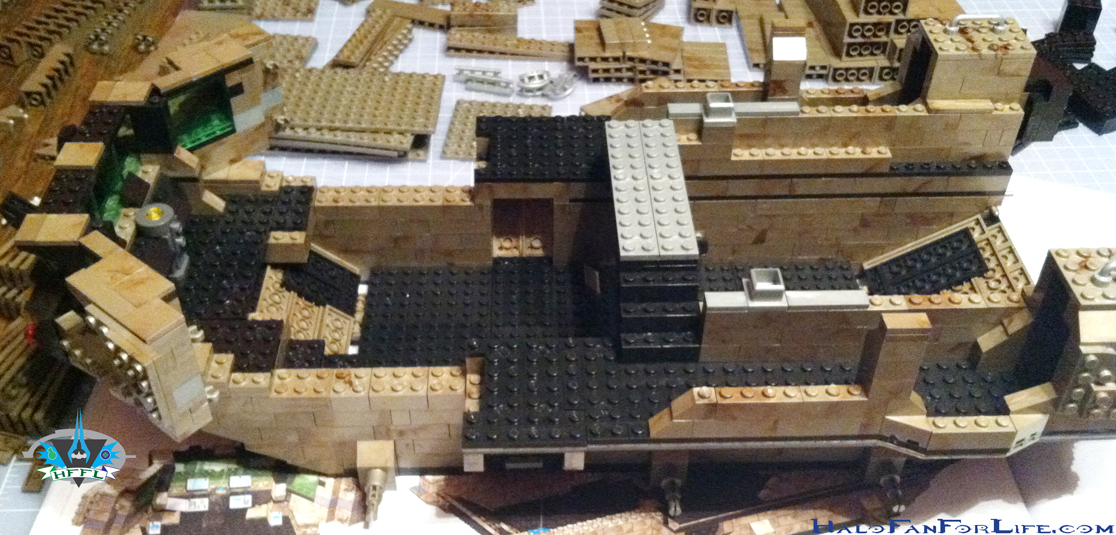
The next several pics show how the rear second level walls are build. Since both sides are the same (but flipped) I only show one of the walls being built.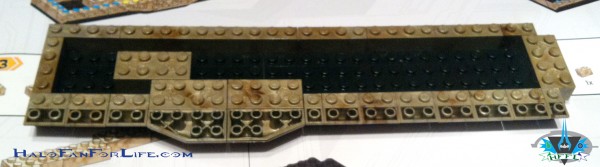
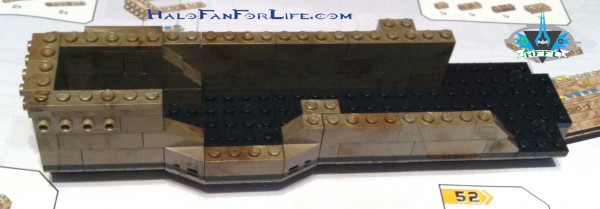
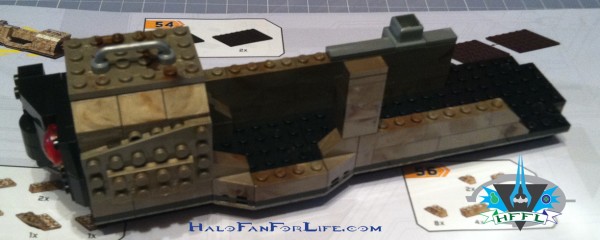
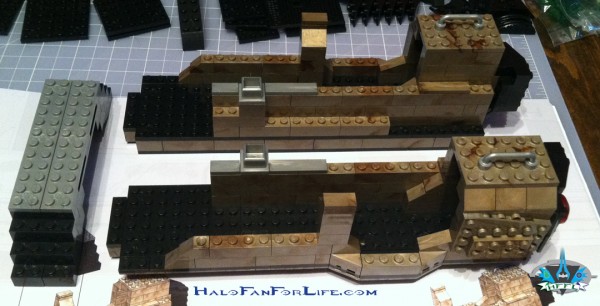 Here are both rear walls built, plus the bridge that crosses the middle of the second level. There are small alcoves in the rear walls at the back that can fit a figure or weapons if you so desire.
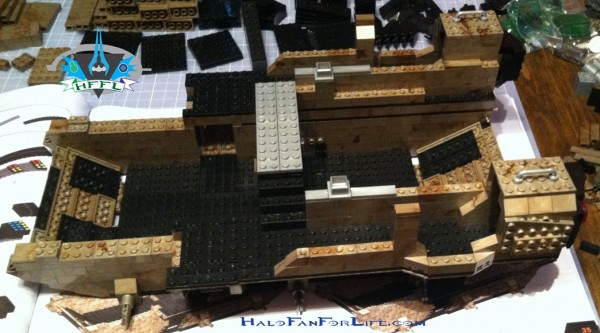
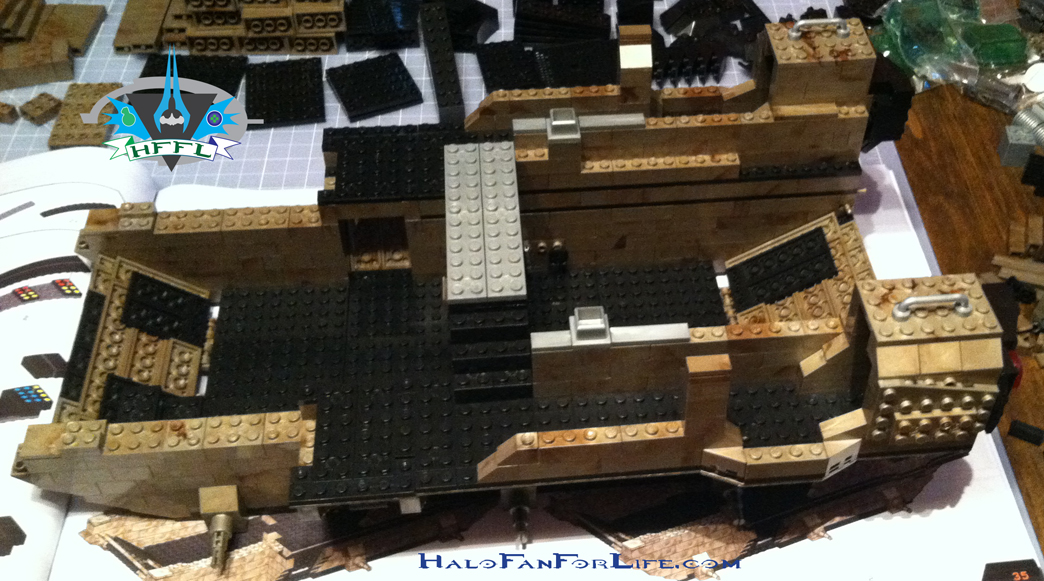
And here they are attached. The Mammoth is really starting to build up at this point.
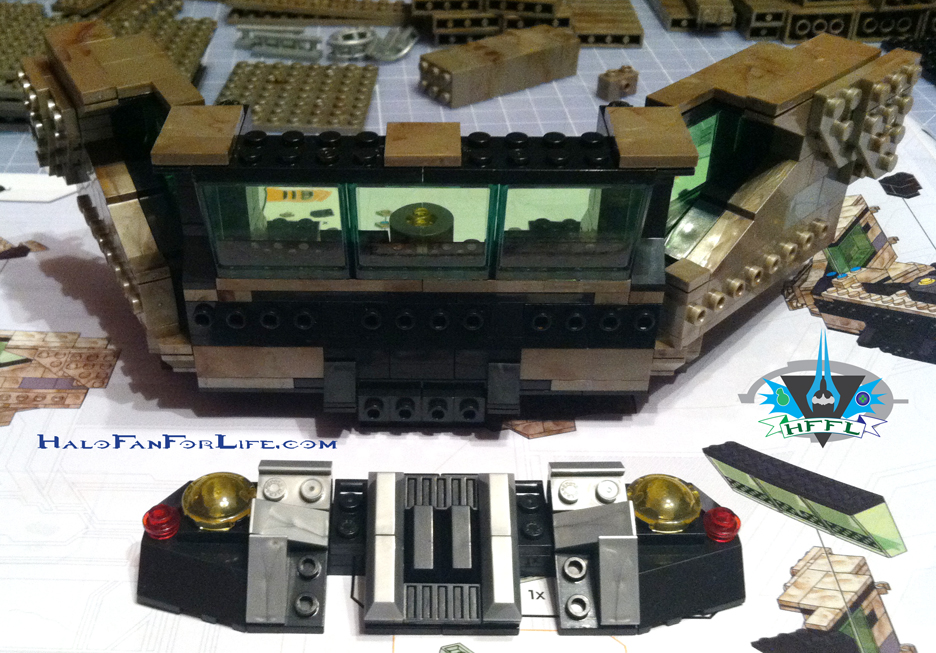
These next several pics show the construction of the bridge deck and connecting windows.
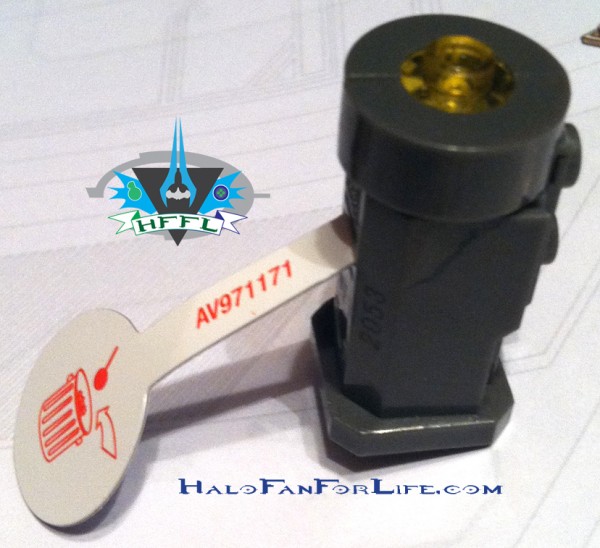
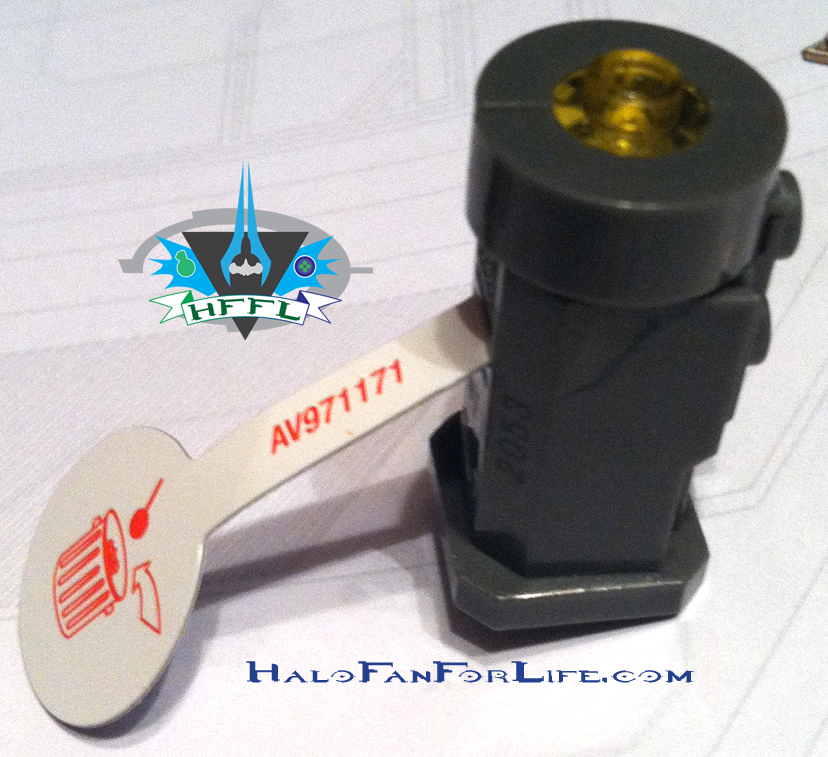
This is Roland’s “Dias”. Mine wasn’t working. I even replaced the batteries to make sure. Thankfully, Mega is great for replacing parts. More on that later.
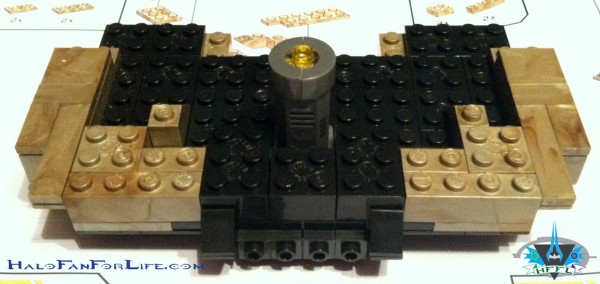
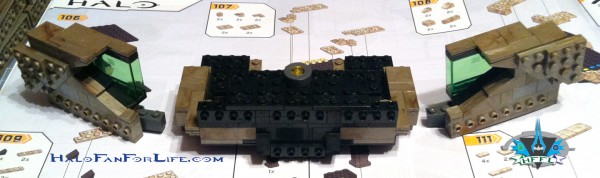
Here are the side windows from earlier.
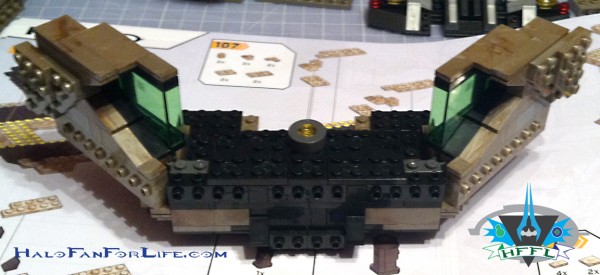
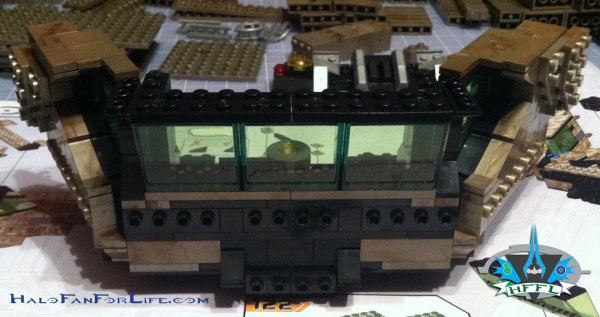
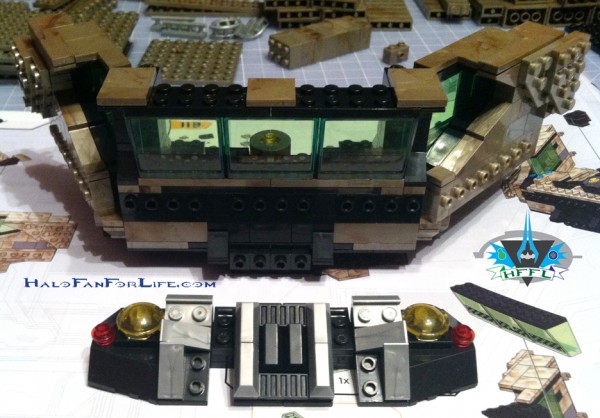
The grill is about to be attached.
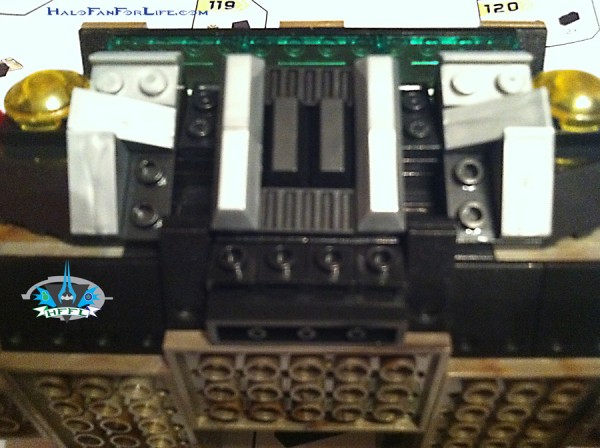
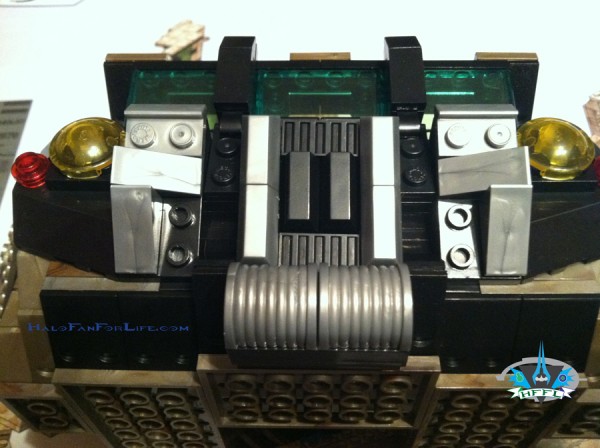
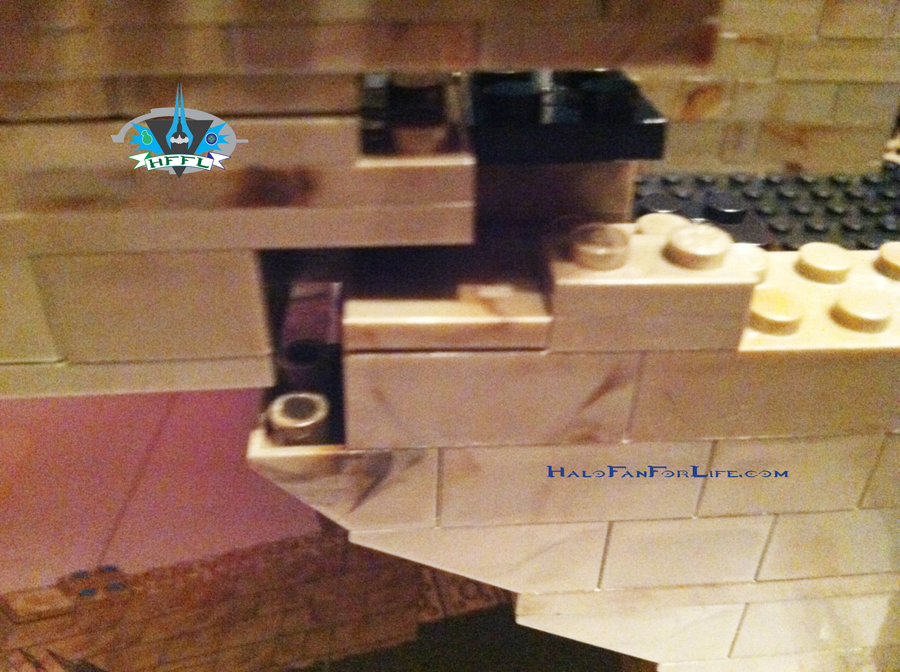
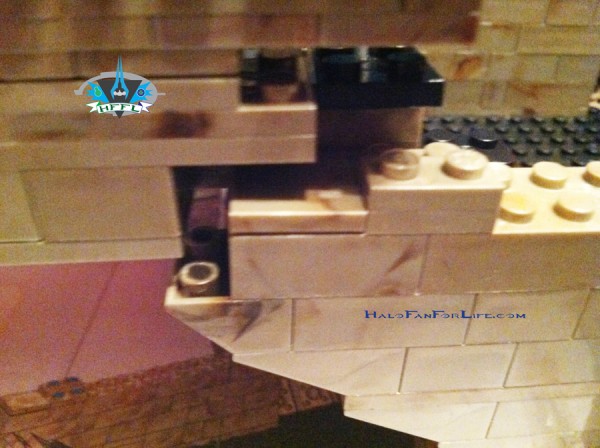
The next pic shows the attachment point for the bridge deck on one side.
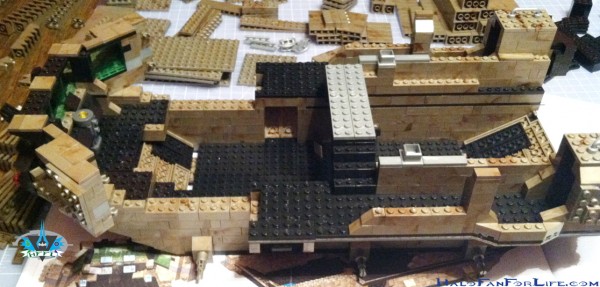
Now the Mammoth is REALLY taking shape. Adding the bridge immediately adds a lot of character to the vehicle.
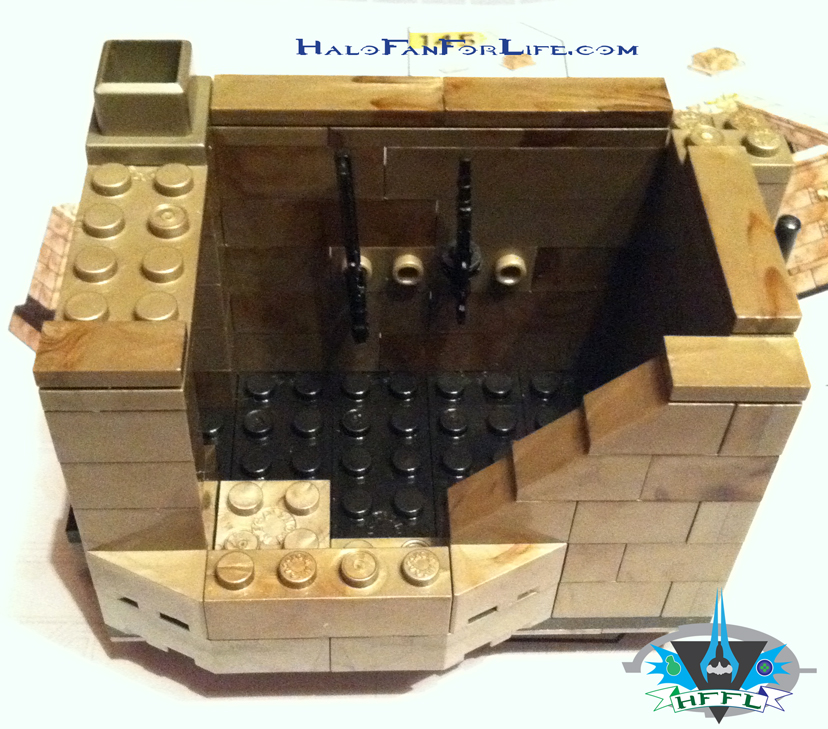
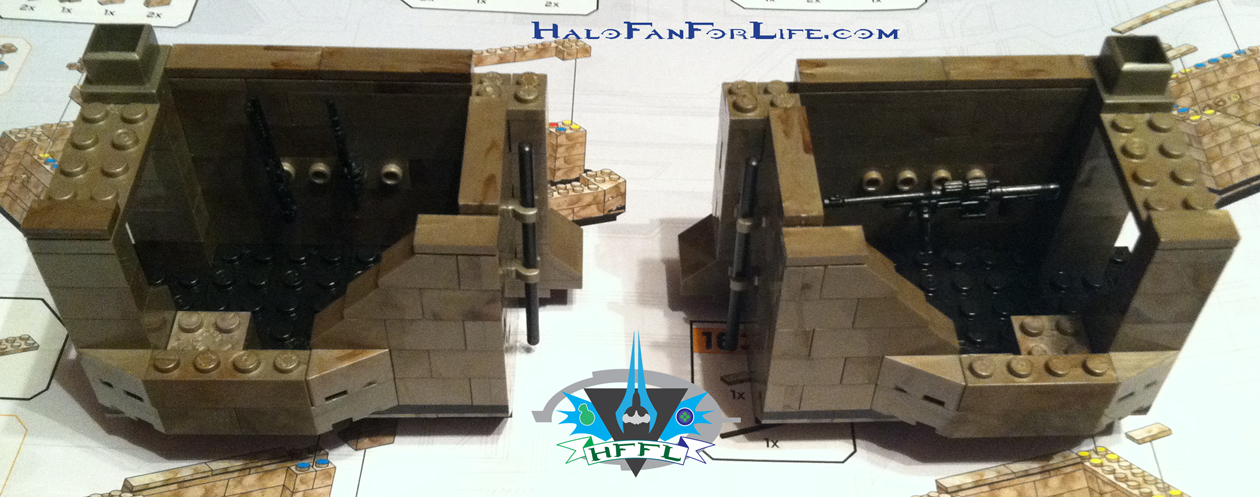
The next several pics show the construction of the mid walls on the second level. Again they are the same for both sides, just flipped. Only exception is the weapons placed in each of these walls.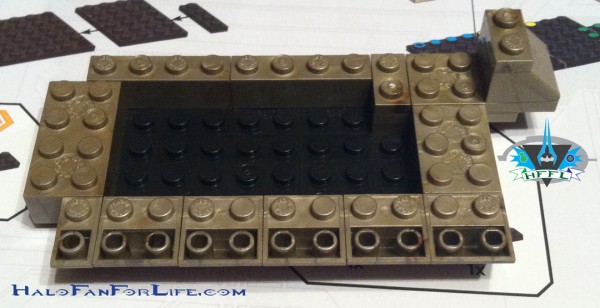
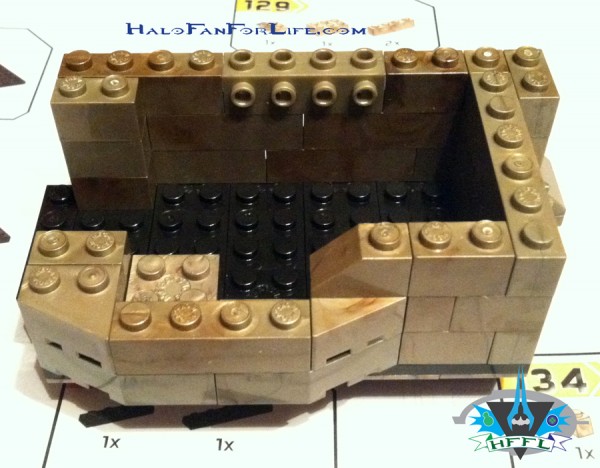
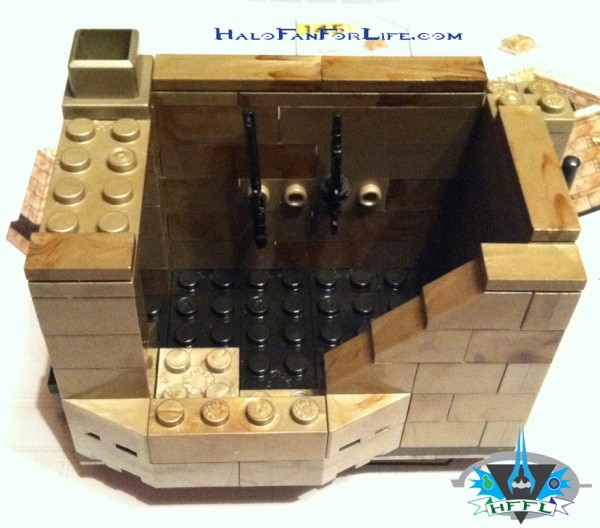
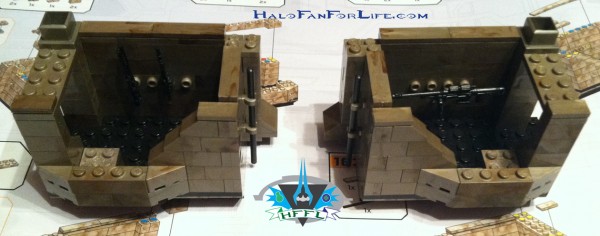 Both side mid walls. You can switch weapons as you like. That’s not a critical step.
The next steps show how these walls connect with the model.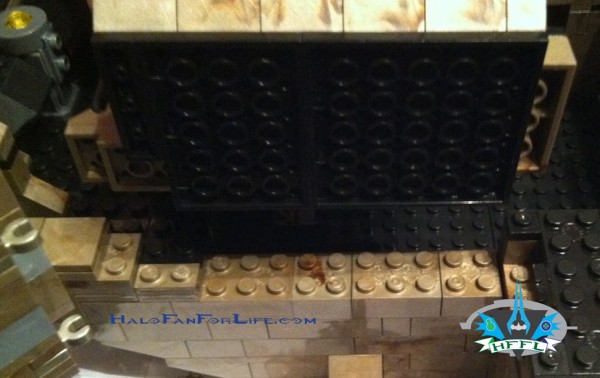
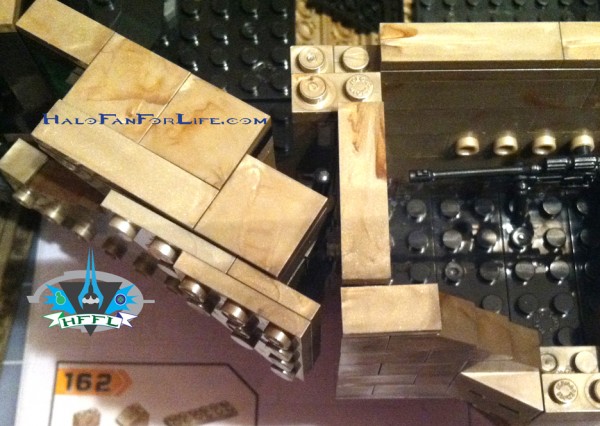
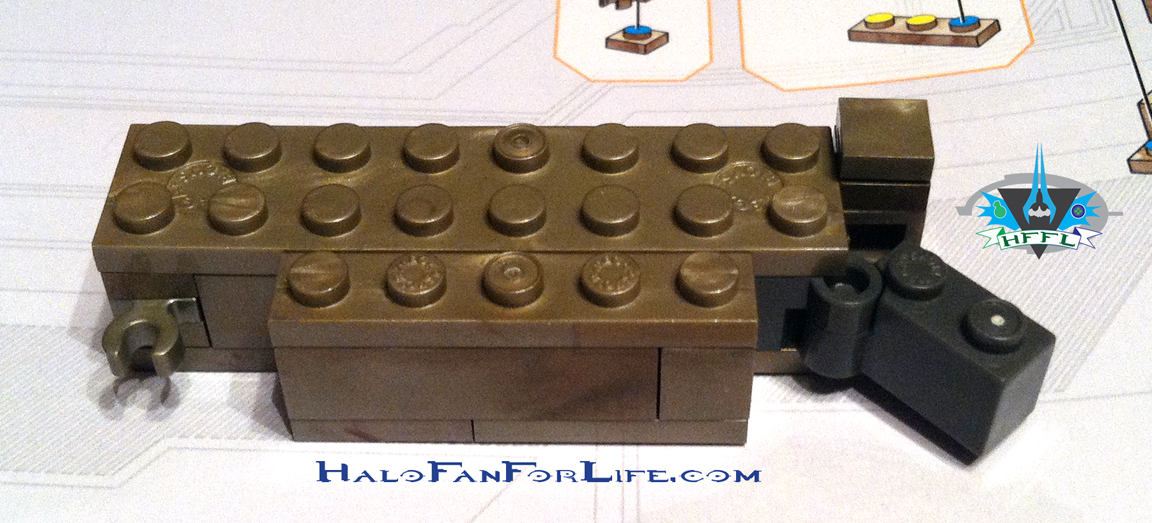
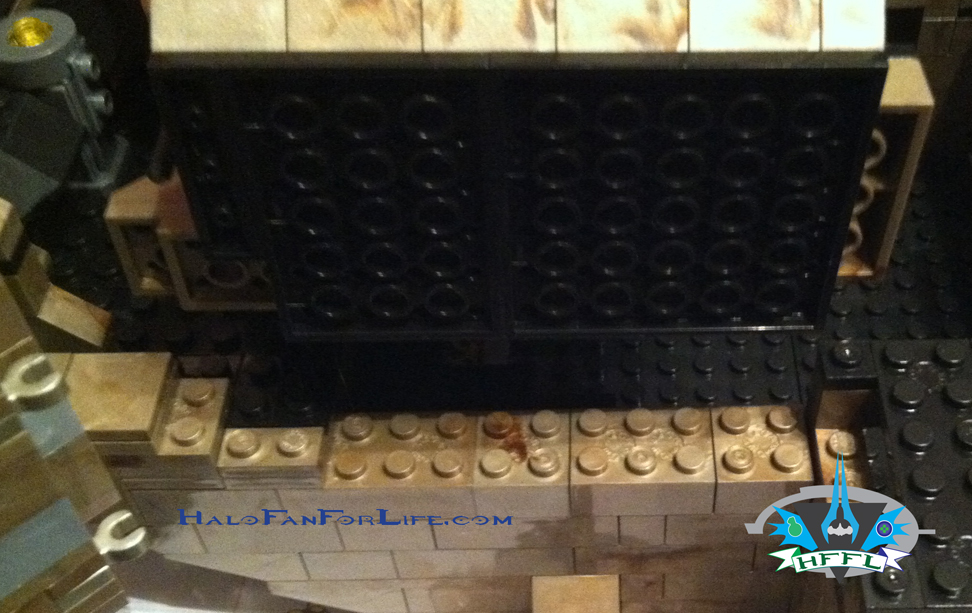
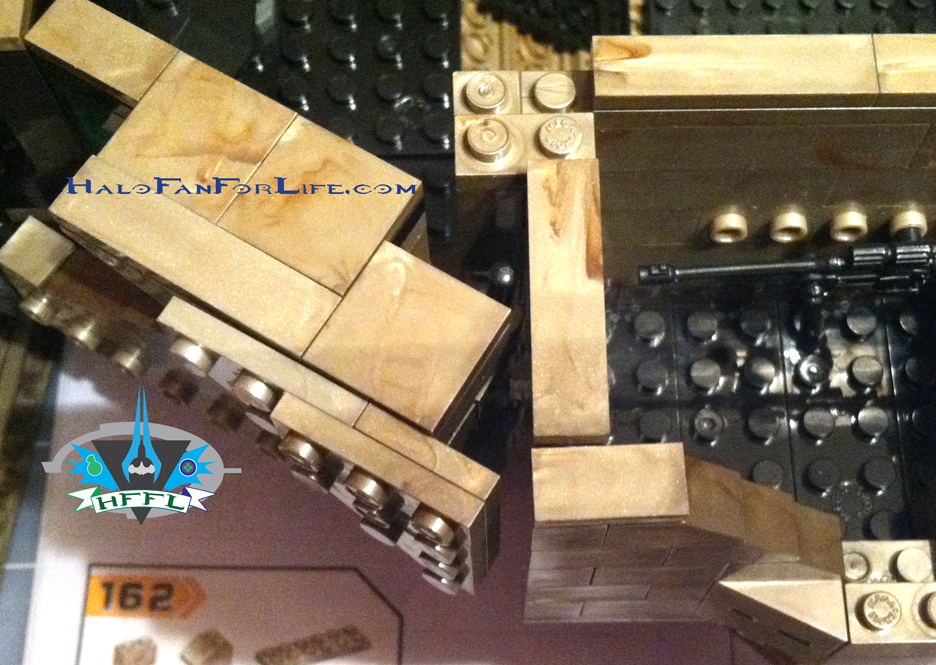
In the above pic, note just to the left of the sniper wall, there is a rod that connects with two “c” clamps on both the wall AND the side bridge. This helps to secure the bridge in places as the side walls are actually on a hinge so that they can make that angle. Great design here.
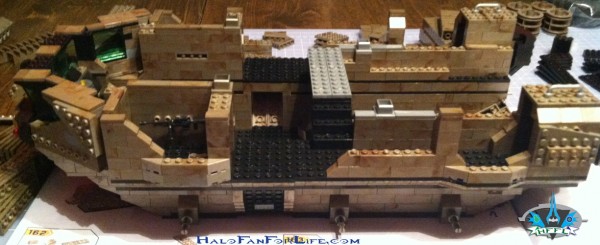
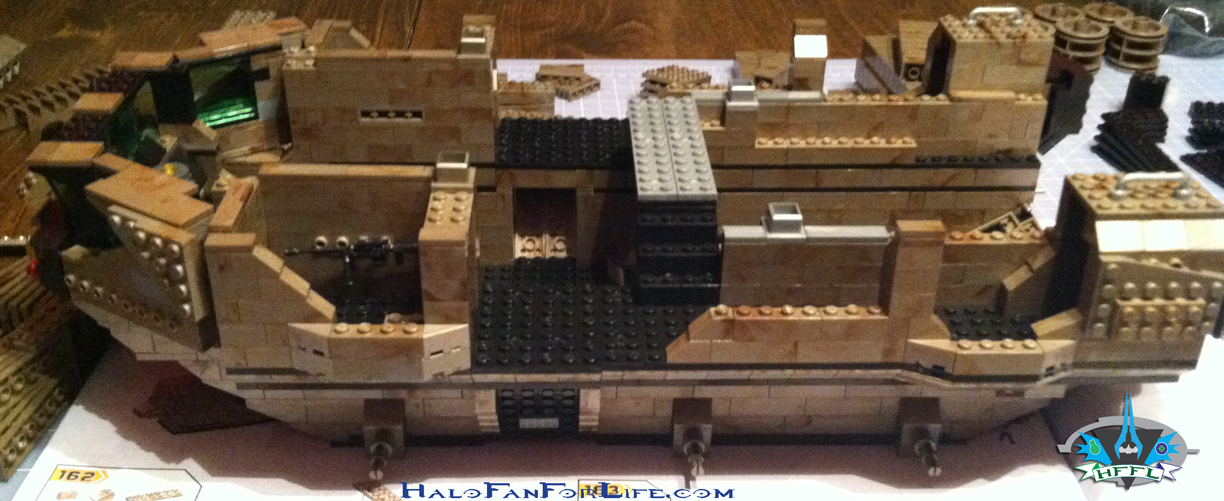
The model so far. Wow, is it really coming together or what? It’s HUGE!
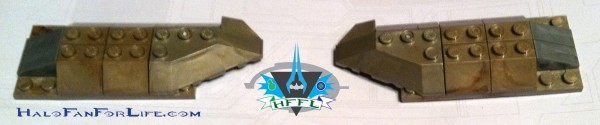
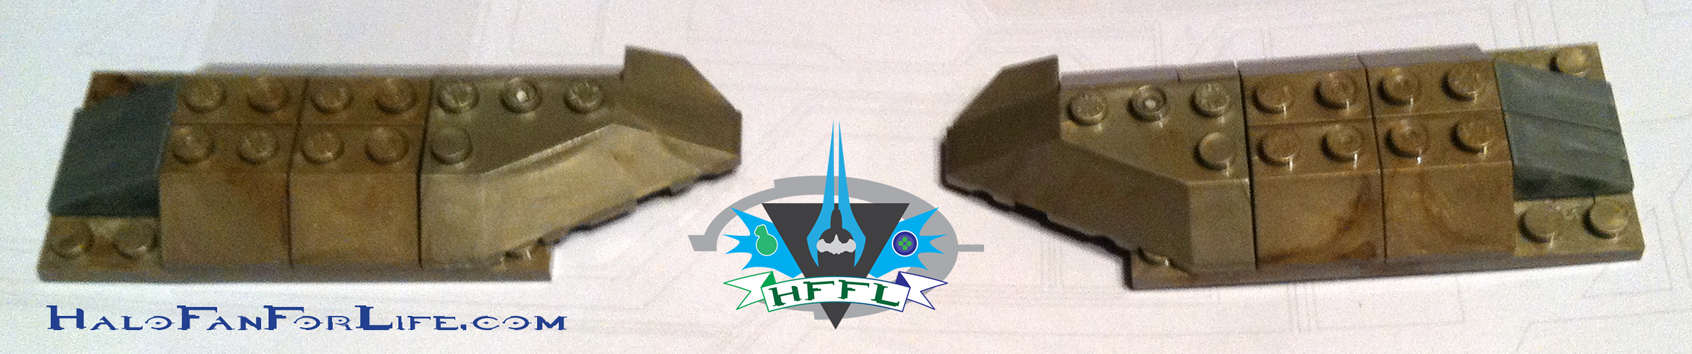
These are two side panels that are added to the side bridge walls.
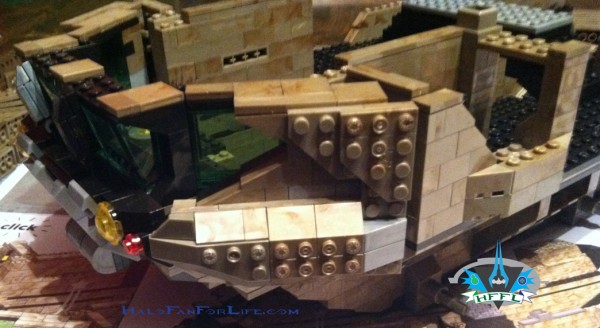
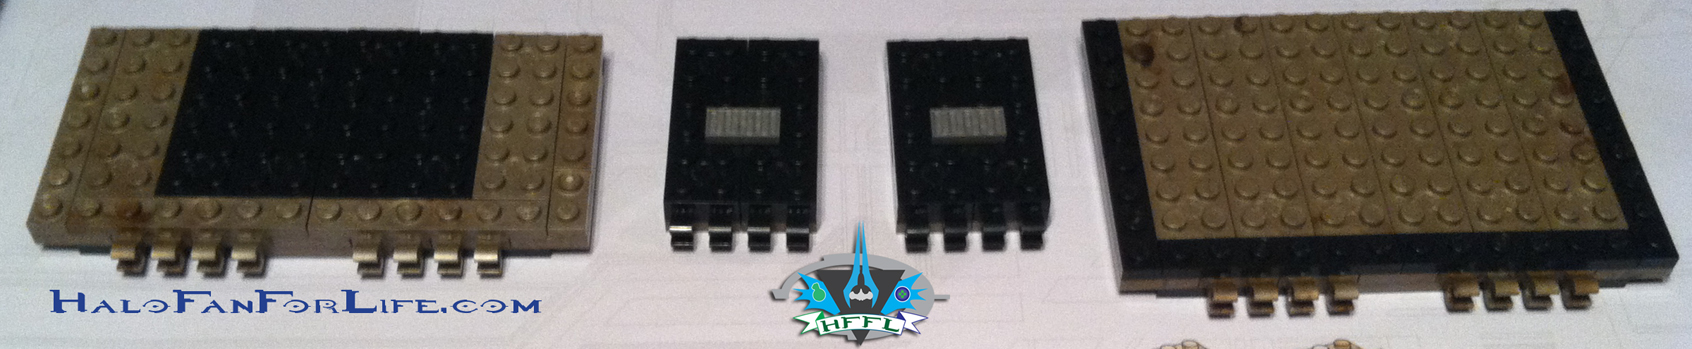
And finally below, there are two small walls that will actually hold one of the roof panels.
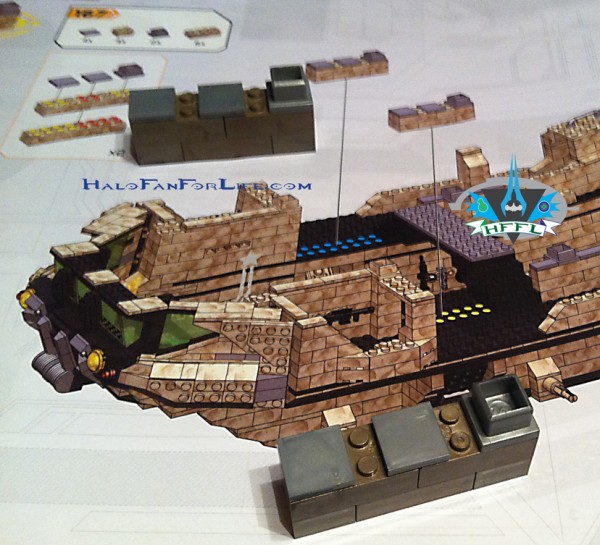
At this point, I need a bit of a break from building as I had been building for a few hours already. Tomorrow I’ll show you how the roof panels are assembled and attached. So stayed tuned for HFFL for the continuing toy review of the Mega Bloks UNSC Mammoth!
And please reply below with what you think of the review thus far.
-Sal